The Ultimate Guide to Freezing Bananas: Never Waste a Ripe Banana Again for Smoothies, Baking & Beyond
Don’t let those perfectly ripe (or even overripe!) bananas go to waste. Instead of discarding them, preserve their natural sweetness and nutritional value by tossing them into your freezer! Freezing bananas is a simple, effective way to ensure you always have this versatile fruit on hand for your favorite recipes. Whether you’re making a refreshing smoothie, baking a delicious banana bread, or whipping up a healthy dessert, frozen bananas are a game-changer. Here, you’ll discover multiple methods for freezing ripe bananas successfully, along with a treasure trove of inspiring recipes that make the most of your frozen bounty.
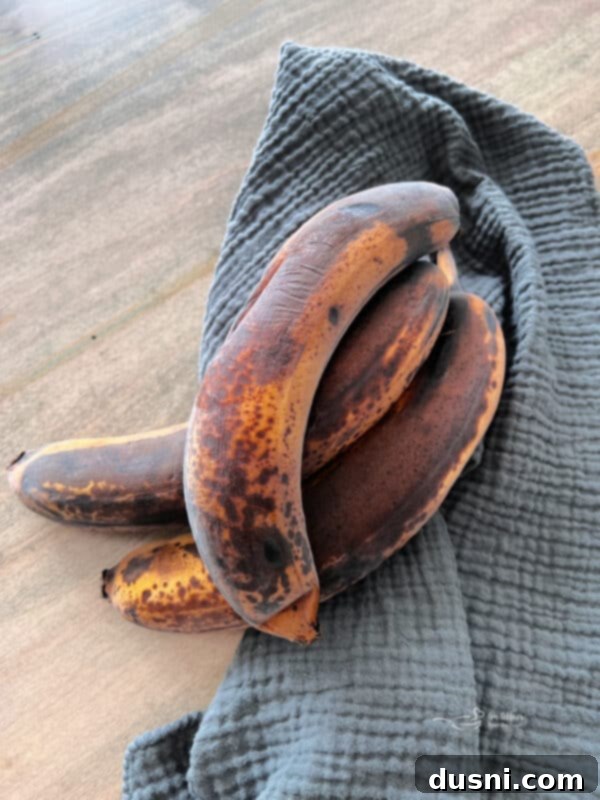
It seems I am always buying bananas. They are a staple in many households, cherished for their natural sweetness, potassium, and versatility. However, the lifespan of a fresh banana in its “perfect” state can feel incredibly short. We all know the journey:
- Buy them green: Too firm, not sweet enough. Patience is a virtue.
- Green to slightly yellow: Still a little firm, but getting there.
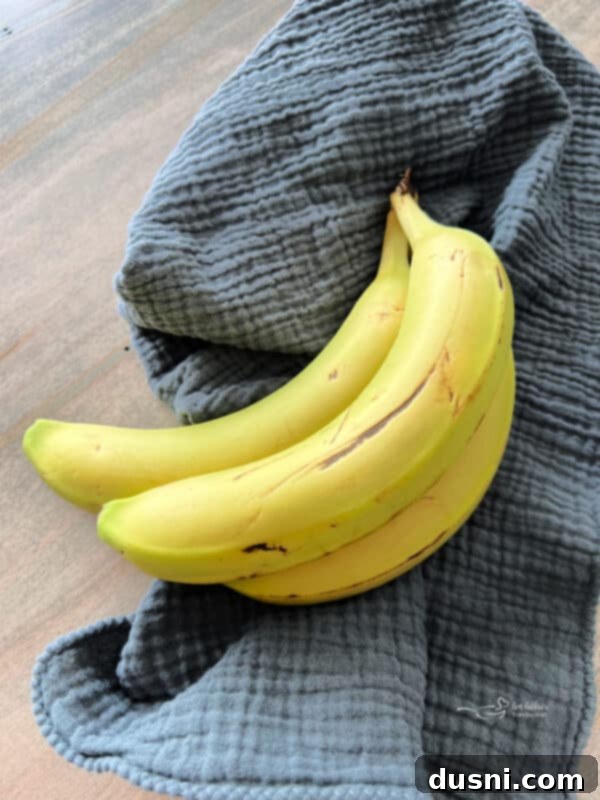
- Almost all yellow (but NO brown spots!): ABSOLUTE PERFECTION! This is the prime eating window – enjoy them quickly!
- Next day: Still good, but you better eat them quickly before they turn.
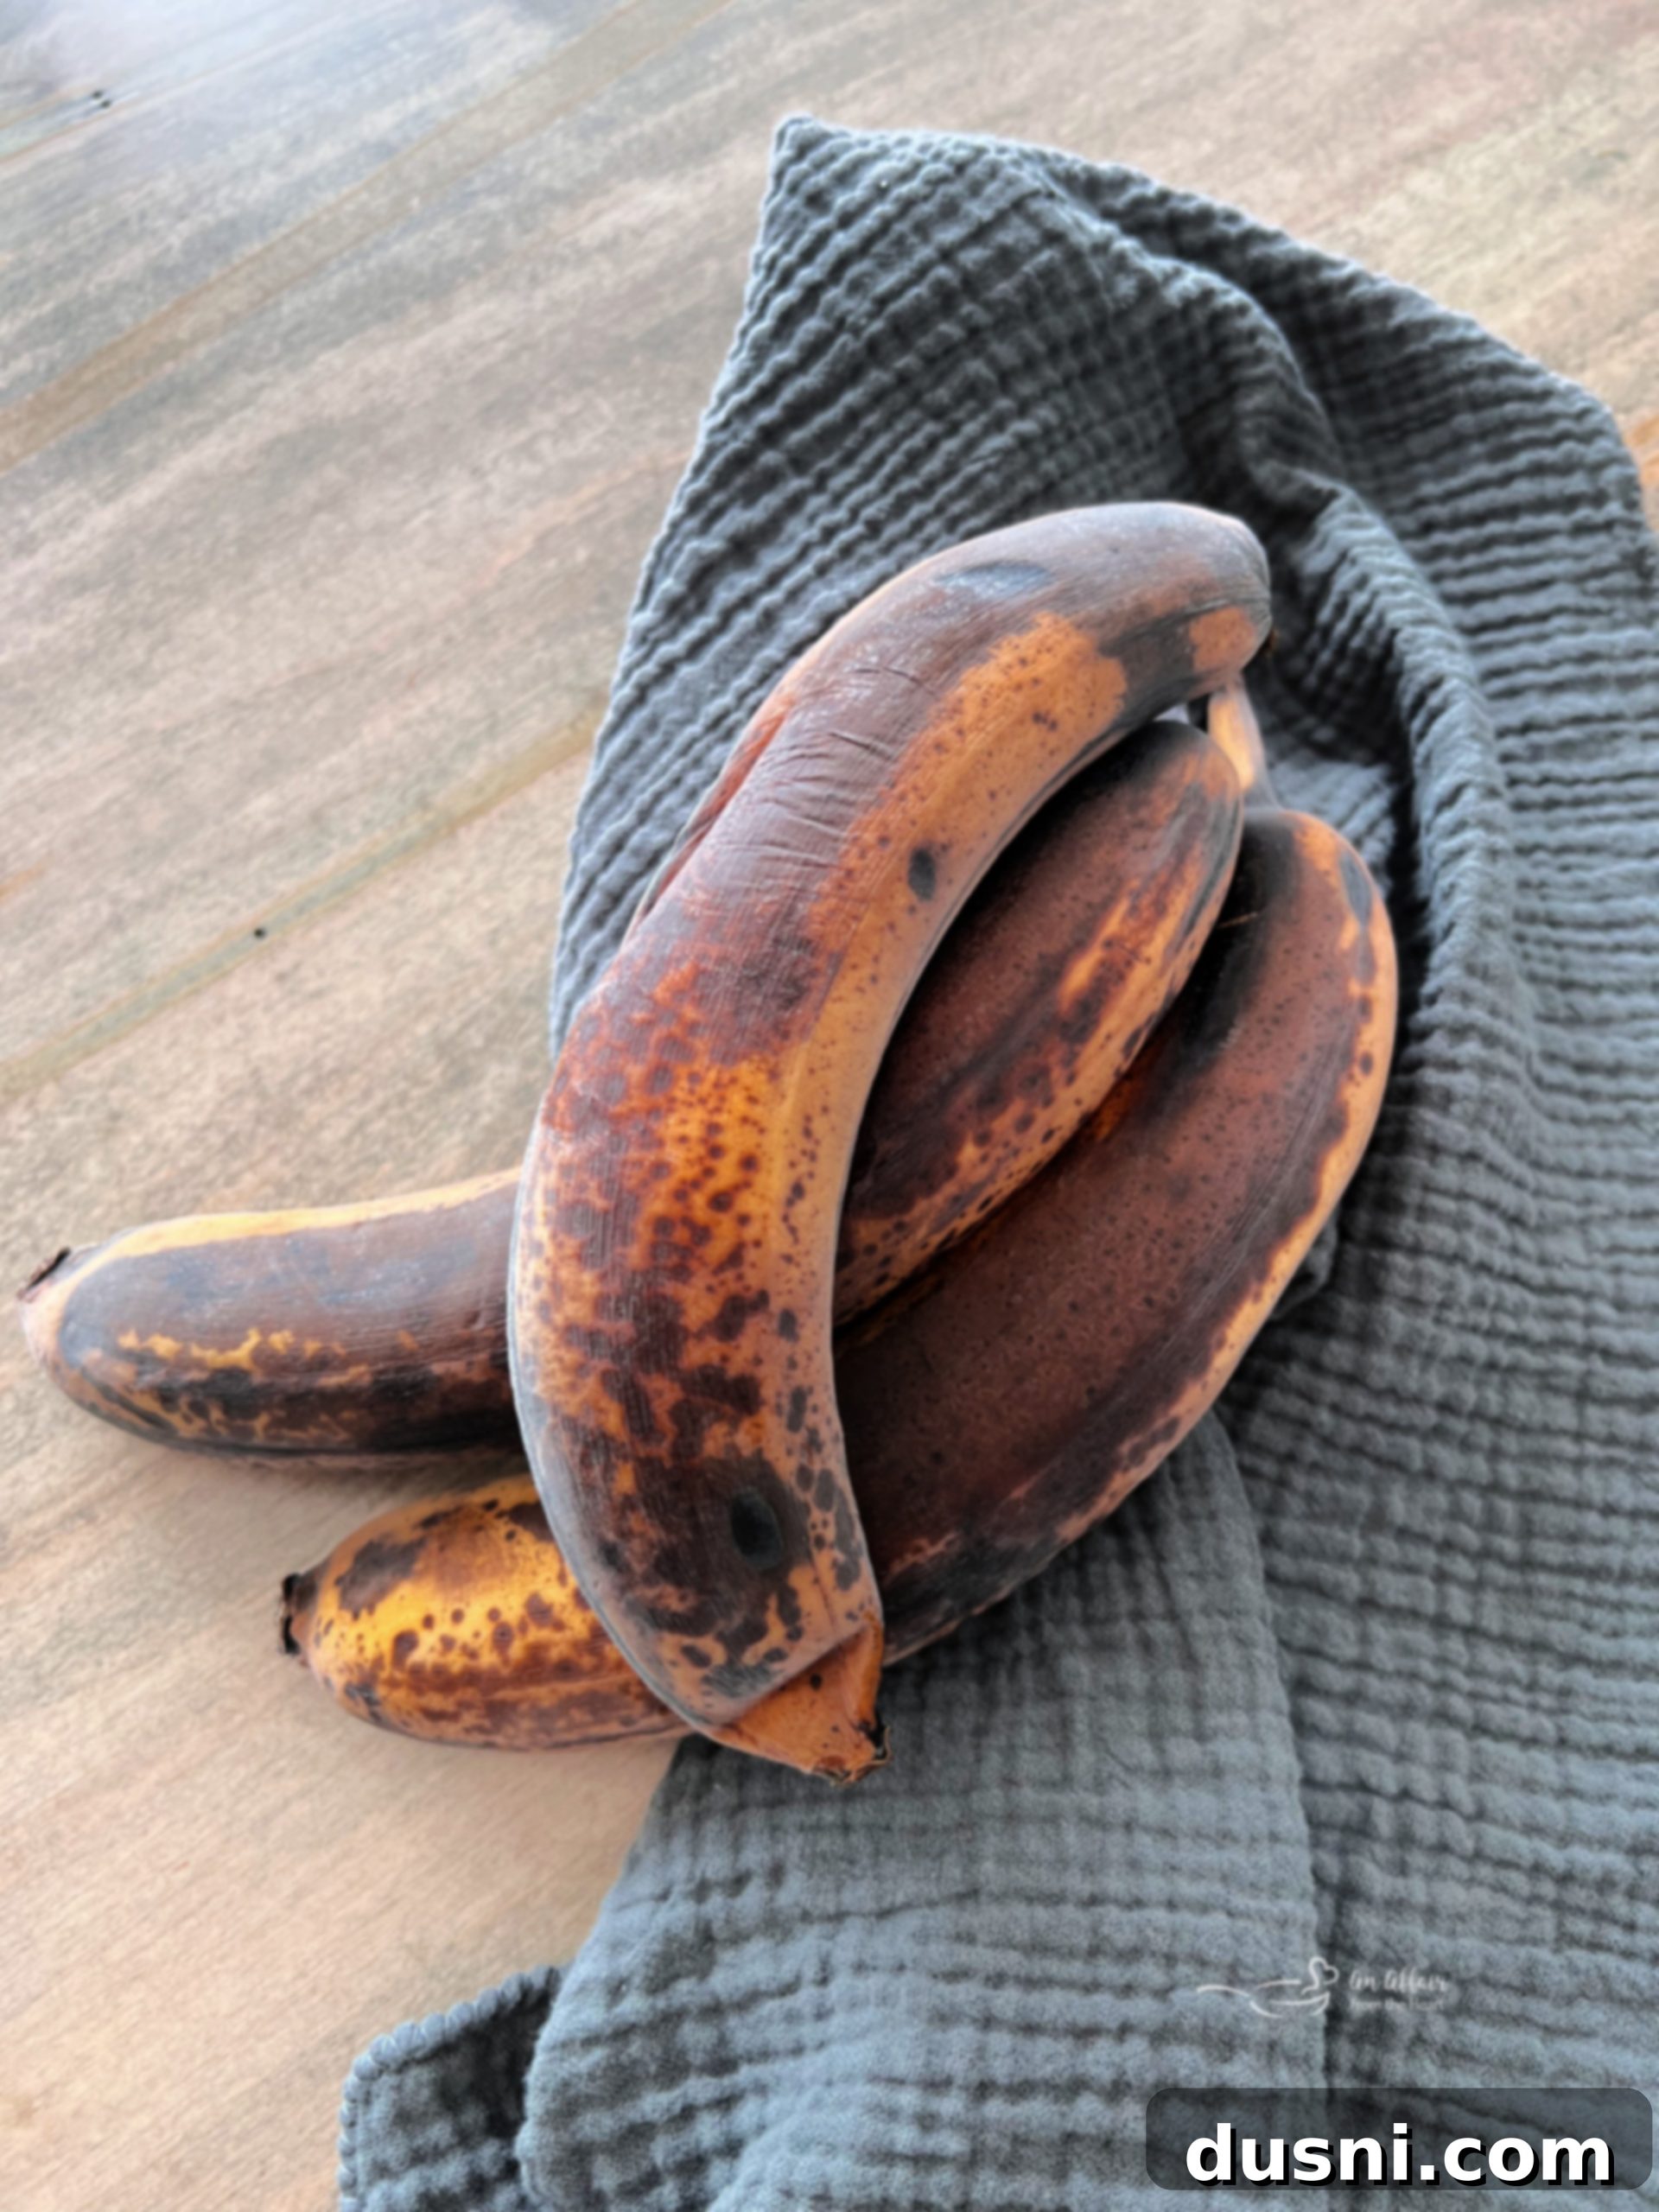
- Brown spots appear: They sit on the counter, often overlooked, until a decision is made: use them in a recipe or, better yet, freeze them.
The moment those tell-tale brown spots emerge, bananas enter their ideal stage for baking and freezing. Their starch converts to sugar, making them incredibly sweet and flavorful. Freezing ripe bananas ensures that this peak sweetness is locked in, ready to enhance your next culinary creation. By freezing them, you not only prevent food waste but also guarantee a convenient supply of perfectly ripe fruit whenever you have a craving for a smoothie or a batch of warm banana bread.
Gone are the days of feeling pressured to use up bananas before they spoil. With frozen bananas readily available, you have an ingredient that’s not only convenient but also packed with nutrients. For a quick smoothie, simply peel and toss a frozen banana directly into your blender. For baking projects like bread or muffins, they defrost surprisingly quickly on your counter. You can even slice the side with a knife or cut off an end and squeeze out the soft, defrosted banana flesh like soft-serve ice cream. It’s truly that simple and efficient!
Don’t ever throw away those ‘naners! Give those brown bananas a delicious second life. After all, wouldn’t that sweet, overripe banana rather be transformed into a delectable banana bread recipe or a batch of yummy double chocolate banana muffins instead of contributing to your trash bin? Freezing is the smart, sustainable, and satisfying solution!
HOW TO FREEZE BANANAS: A STEP-BY-STEP GUIDE
Frozen bananas are an incredibly versatile ingredient, perfect for a wide array of recipes including smoothies, homemade “nice” cream, muffins, quick breads, and various desserts. Beyond their delightful flavor, they also contribute a significant boost of potassium, fiber, and other essential nutrients to your dishes. So, what’s the absolute best way to freeze leftover or ripe bananas to ensure they’re always ready when inspiration strikes? Below, we’ll explore three effective methods for how to freeze ripe bananas, guaranteeing you a year-round supply. When stored correctly, frozen bananas can last perfectly for 3-6 months, and often even longer without significant loss of quality.
Method 1: How to Freeze Banana Slices – The Single Layer Freeze Technique
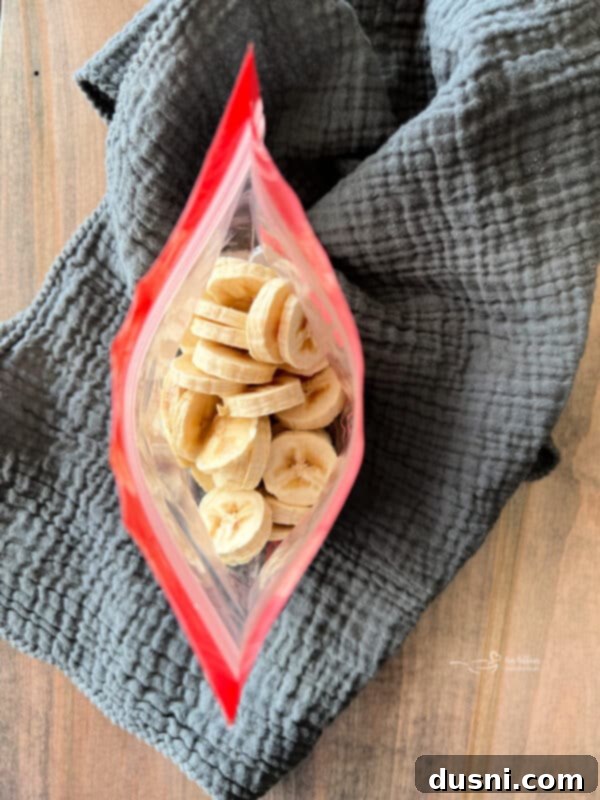
This single layer freezing method, often referred to as “flash freezing,” is ideal for ensuring that your banana slices remain separate, preventing them from clumping together into one large, unmanageable block. This makes them incredibly easy to portion out for individual servings. Use this technique especially for bananas you intend to use in smoothies, shakes, and homemade ice cream, where individual frozen pieces are highly desirable.
Method Steps:
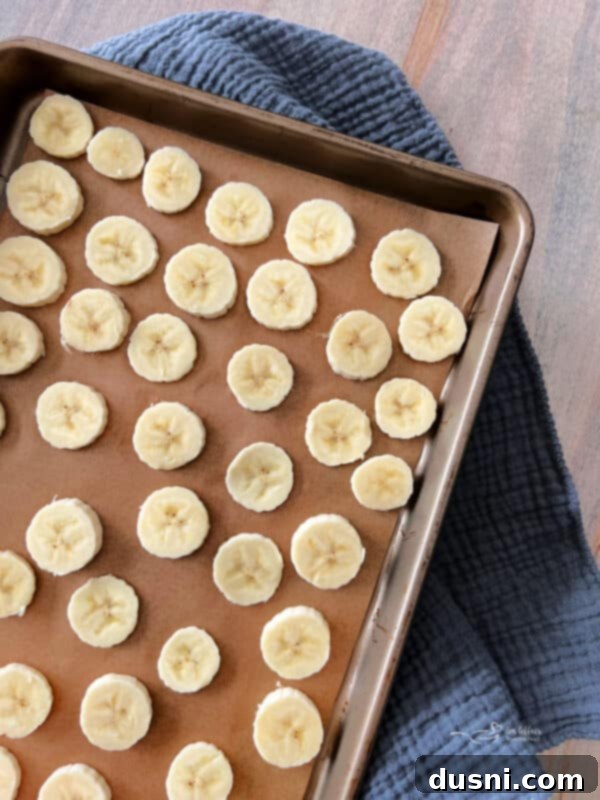
- Peel and Slice: Begin by peeling your ripe bananas. Then, slice them crosswise into uniform ½-inch thick pieces. Consistent thickness helps with even freezing and thawing.
- Arrange for Flash Freeze: Place the banana slices in a single layer on a baking sheet lined with parchment paper or a silicone mat. It’s crucial to space the pieces so they do not touch each other. This separation is key to preventing them from freezing into a solid block.
- Flash Freeze: Transfer the baking sheet to the freezer for 1-2 hours. This initial “flash freeze” will harden the individual slices, ensuring they remain separate when transferred to a storage container.
- Transfer and Store: Once the slices are frozen solid, remove them from the baking sheet and transfer them to an airtight freezer-safe container or a heavy-duty freezer bag. For freezer bags, try to remove as much air as possible to prevent freezer burn.
- Labeling is Key: Always remember to label your container or bag with the date of freezing and the quantity (e.g., “3 bananas, sliced” or “2 cups sliced bananas”). This helps with inventory and ensures you use them within their optimal timeframe.
- Usage: These frozen banana slices are perfect for direct use in smoothies, shakes, and delightful “nice” cream – no thawing required!
Method 2: How to Freeze Whole Bananas
Yes, you can absolutely freeze bananas whole! This method of freezing whole bananas is incredibly handy, particularly when a recipe, such as for a banana bread or cake, calls for a specific number of bananas. It’s also one of the easiest and quickest approaches to freezing. You have two main options here: freezing them with their peels on or peeling them first. While some sources recommend taking the peel off, freezing them in their peel is a perfectly viable “lazy way” that many, including myself, prefer for its sheer simplicity. Whole frozen bananas are also surprisingly easy to cut with a knife if you later decide you need slices or smaller pieces.
Method Steps (Peeled):
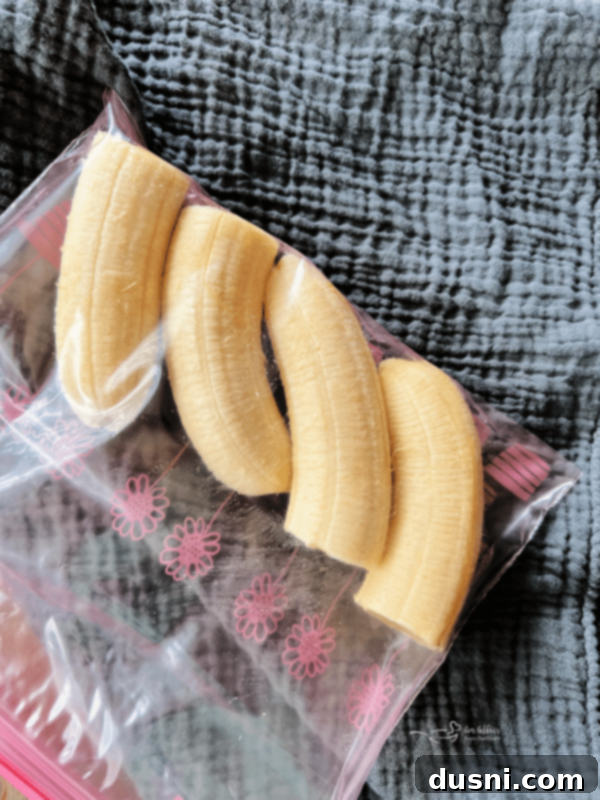
- Peel Bananas: Remove the peels from your ripe bananas.
- Store Airtight: Place the peeled whole bananas into an airtight freezer-safe container or a heavy-duty freezer bag. If using a freezer bag, gently squeeze out as much excess air as you can before securely sealing the bag. This minimizes exposure to air and helps prevent freezer burn.
- Label Clearly: Label the container or bag with the date of freezing and the quantity (e.g., “5 whole bananas, peeled”). This makes it easy to grab exactly what you need for your next recipe.
Alternative Method (With Peel):
Alternatively, you can just place the unpeeled bananas directly into the freezer. This is often my go-to “lazy way” – no baggies or containers needed initially, just pop them into a freezer door bin or drawer. The peels will turn completely black in the freezer, which is normal and does not affect the fruit inside. When you’re ready to use them, simply run the frozen banana under warm water for a few seconds, and the peel will become easier to remove. The banana inside will be soft and perfectly ready for mashing.
Method 3: How to Freeze Mashed Bananas
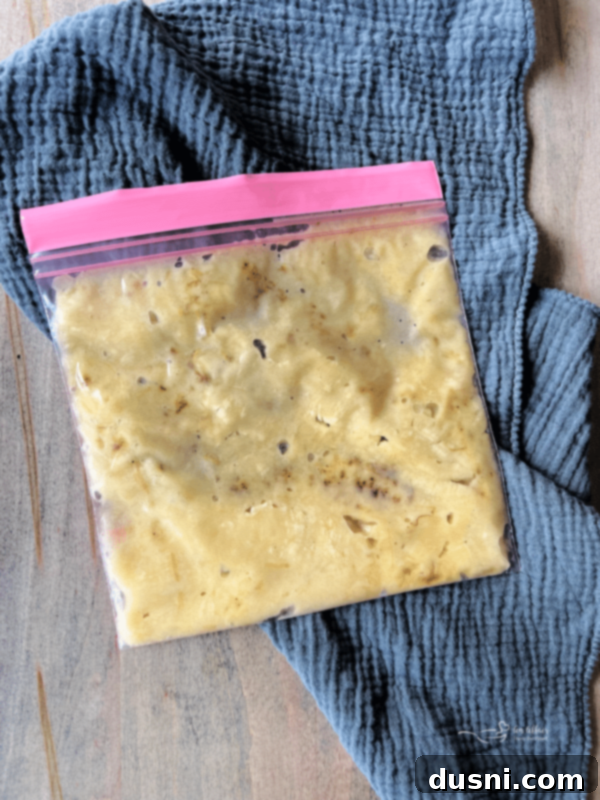
This method is exceptionally practical for freezing overripe bananas, making them perfectly suited for all your baking adventures. Since the bananas are already mashed, you save significant preparation time when it comes to baking. However, because you won’t be freezing whole bananas, accurately labeling your containers with the exact quantity will be more important than ever. An added bonus of this method is its incredible efficiency in saving freezer space – mashed banana portions can be stacked neatly, making organization a breeze.
Method Steps:
- Peel and Mash: Start by peeling your ripe or overripe bananas. Then, mash them thoroughly with a fork, potato masher, or even in a food processor until smooth, or leave slightly chunky, depending on your preference for future recipes.
- Portion and Store: Place the mashed bananas into airtight freezer-safe containers or heavy-duty freezer bags. For maximum convenience in baking, consider portioning them into quantities typically called for in recipes, such as ½ cup, 1 cup, or the equivalent of 1 or 2 mashed bananas. If using freezer bags, flatten them before freezing to create thin, stackable blocks, and squeeze out as much excess air as possible to prevent freezer burn.
- Detailed Labeling: Label the container or bag with the freezing date and the precise quantity (e.g., “1 cup mashed banana” or “mashed equivalent of 2 bananas”). This ensures you can easily grab the exact amount you need without any guesswork.
HOW TO FREEZE BANANAS WITHOUT BROWNING THEM
The primary goal when freezing bananas is to preserve their quality and prevent excessive browning. When you freeze bananas using any of the methods described above, your fruit should generally freeze without significant additional browning. However, it’s important to note that if your bananas were already quite overripe with many brown spots before freezing, they will naturally retain that coloration. The key to minimizing further browning and maintaining optimal texture lies in proper storage.
The main reason bananas might turn an unappealing dark brown in the freezer is exposure to air, which leads to oxidation. To combat this, always ensure your bananas are stored properly in an airtight container or a heavy-duty freezer bag. If you’re using a freezer bag, make a conscious effort to squeeze out all the excess air before sealing it completely. This creates a vacuum-like seal that greatly helps prevent oxidation and subsequent browning. Even if your bananas do develop some browning over time, rest assured that they are still perfectly fine to use for your recipes, especially in baked goods or smoothies where the color won’t impact the final dish.
HOW TO THAW FROZEN BANANAS
For most baking applications, you will need to defrost your frozen bananas before incorporating them into your recipe. While they can be used frozen in smoothies or “nice” cream, baked goods require a thawed consistency. Here are the common methods for thawing:
- Refrigerator Thawing: Transfer your frozen bananas (whole, sliced, or mashed) to the refrigerator. This method is the slowest, typically taking about 5-6 hours for slices and mashed portions, and longer for whole bananas (overnight is best). Thawing in the fridge is ideal for maintaining the banana’s texture and preventing excessive liquid release, though some is inevitable.
- Countertop Thawing: For a quicker option, you can defrost frozen bananas on your counter at room temperature. Sliced or mashed bananas will thaw in about 1-2 hours, while whole bananas may take 2-4 hours, depending on their size and ambient temperature.
- Quick Microwave Thawing (Use with Caution): If you’re really pressed for time, you can carefully microwave frozen bananas. Place them in a microwave-safe bowl and heat in short bursts (e.g., 30 seconds at a time) on a low-medium setting, checking frequently and mashing to break up ice crystals. Be careful not to “cook” them. This method is best for mashed bananas intended for baking.
Important Note: Regardless of the thawing method, once bananas are thawed, they will look significantly mushier and release a lot of liquid. This is entirely normal due to the ice crystals formed during freezing breaking down cell walls. Do NOT discard this excess liquid! This moisture is crucial for baking and contributes significantly to the tenderness and flavor of your baked goods. Simply stir the liquid back into the mashed banana before adding it to your recipe.
HOW TO USE FROZEN BANANAS: DELICIOUS RECIPE IDEAS
The culinary possibilities with frozen bananas are truly endless. Their concentrated sweetness and creamy texture, once thawed, make them perfect for adding moisture and flavor to a wide variety of dishes. You’ll find a plethora of amazing banana recipes right here on this blog. Here are some of my all-time favorites, categorized for your convenience:
Cakes
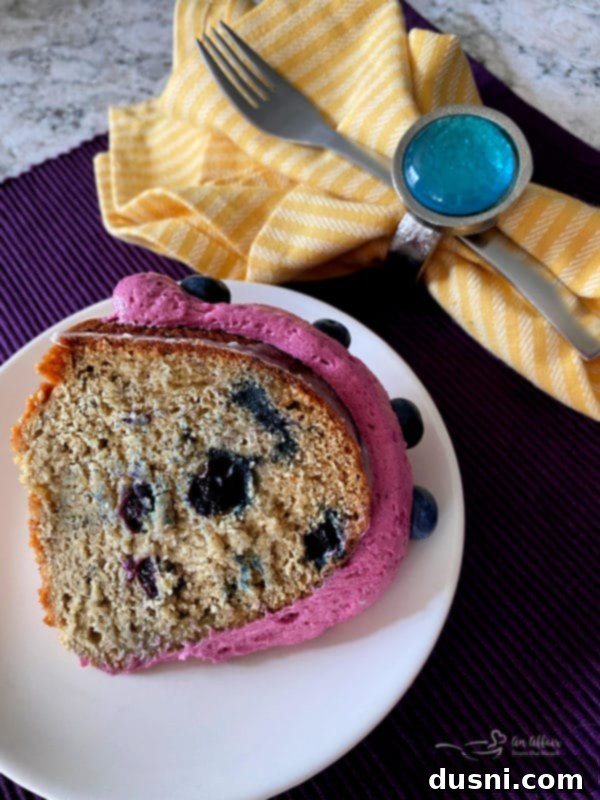
Frozen bananas lend incredible moisture and a naturally sweet, rich flavor to cakes, making them delightfully tender and aromatic. They’re a fantastic way to elevate any cake recipe.
- Blueberry Banana Cake (pictured above)
- Chocolate Banana Cake
- Banana Cake with Cream Cheese Frosting
- Banana Bread Coffee Cake
- Chocolate Banana Bars
- Banana Cream Jelly Roll
Pies
For creamy, dreamy pies, frozen bananas (once thawed and mashed) are a revelation. They provide a luscious base and a depth of flavor that’s hard to beat.
- Coconut Banana Cream Pie (pictured above)
- Strawberry Banana Cream Pie
- Banana Cream Pie
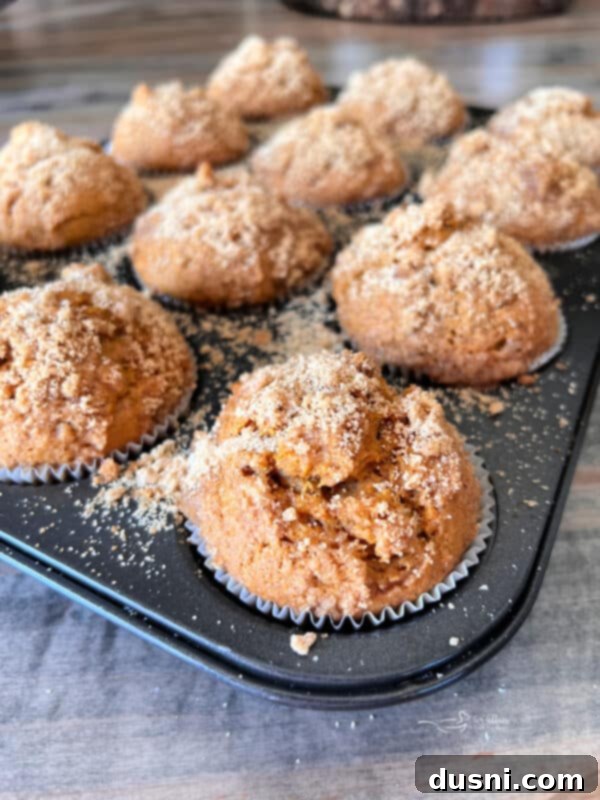
Bread and Muffins
This is where overripe, frozen bananas truly shine! They are the secret to the most moist, flavorful, and perfectly textured banana breads and muffins. Always have a stash ready!
- Cinnamon Streusel Banana Bread
- Pumpkin Spice Banana Muffins (pictured above)
- Chocolate Orange Banana Bread
- Banana Pecan Rolls
- Baked Banana Fritters
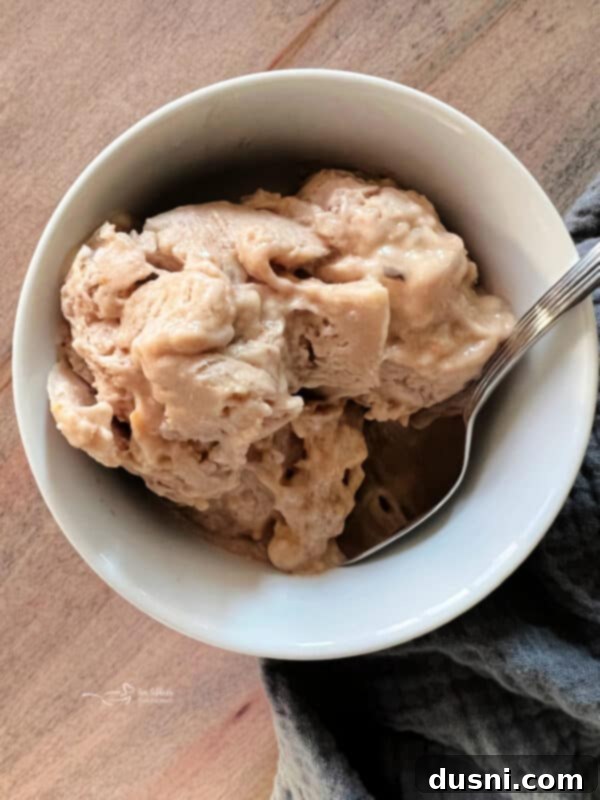
Smoothies, Shakes, and Ice Cream
Frozen banana slices are absolutely essential for achieving thick, creamy, and naturally sweet smoothies, shakes, and homemade “nice” cream without needing ice or added sugar. They are a healthy and refreshing base.
- Banana Berry Fiber Smoothie Recipe
- 4 Ingredient Peanut Butter Banana Ice Cream (pictured above)
- Banana Cream Pie Shakes
- Strawberry Banana Smoothie Bowl
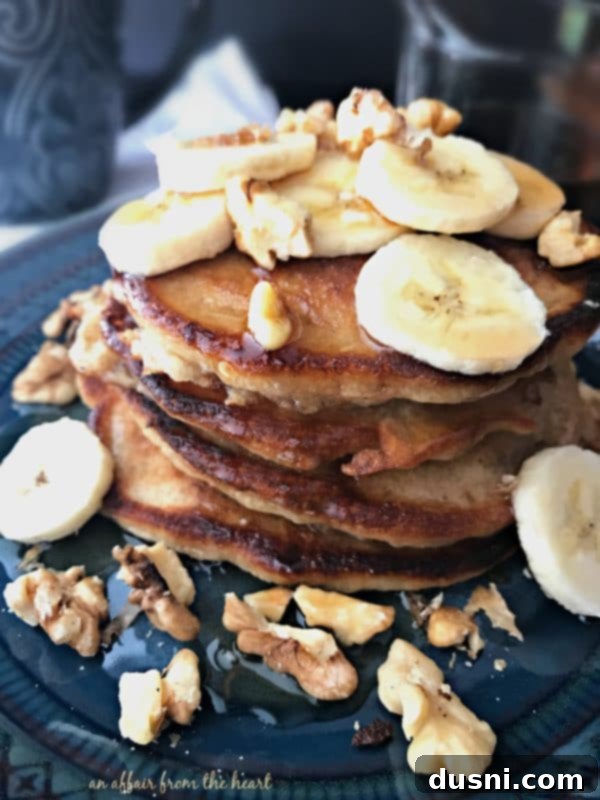
Breakfast Delights
Start your day right with the wholesome goodness of bananas. Frozen bananas can be thawed and incorporated into various breakfast dishes, adding natural sweetness and moisture.
- Banana Bread Pancakes (pictured above)
- Baked Banana Donuts
- Banana Bread Quinoa Breakfast Bowls
Everything Else
Beyond traditional cooking, bananas have a surprising array of uses, from beauty to gardening!
- Banana Botox Mask
- Chocolate Dipped Frozen Bananas
- Elvis Cheese Ball
- Banana Peels as Fertilizer in Gardens
To discover even more creative and delicious ways to use bananas, simply search “banana” right here on my website! You’ll be amazed at the variety!
ESSENTIAL TIPS AND TRICKS FOR FREEZING BANANAS
- Longevity in the Freezer: While bananas can technically last in the freezer for longer than 6 months, I highly recommend using them within this timeframe. Beyond 6 months, they may start to develop freezer burn, which can affect their flavor and texture, though they would still be safe to eat. Proper sealing (like vacuum sealing or double-bagging) can extend their quality.
- Optimal Ripeness for Freezing: The best time to freeze bananas is when they are fully ripe, just starting to show a few brown spots. At this stage, their natural sugars are at their peak, ensuring maximum sweetness and flavor for your recipes. Freezing will halt the ripening process completely, so don’t freeze green bananas unless you specifically want that flavor profile. For more information on how to ripen bananas quickly if yours aren’t quite ready, see the section below.
- Homemade Chocolate-Covered Bananas: A delightful treat! Insert popsicle sticks into peeled, whole ripe bananas (or large slices). Dip them into melted chocolate (dark, milk, or white!). For added flavor and crunch, sprinkle with chopped nuts, sprinkles, shredded coconut, or a drizzle of contrasting chocolate. Place the chocolate-covered bananas on a parchment-lined tray and freeze for at least 2 hours, or until solid. Yummy and refreshing!
3 WAYS TO QUICKLY RIPEN BANANAS FOR FREEZING OR BAKING
Sometimes you need ripe bananas for a recipe, but your stash is still green. Don’t despair! Here are three effective methods to speed up the ripening process:
1. The Paper Bag Method
This natural ripening method typically takes 1-3 days, depending on how firm and green your bananas are to begin with. The principle here is to trap ethylene gas, a natural plant hormone that promotes ripening.
- Instructions: Place your bananas in a paper bag (crucially, not a plastic bag, as plastic traps moisture, which can lead to mold). Fold the bag loosely to close it.
- Speed It Up: For even faster ripening, place a ripe pear, apple, or avocado inside the bag with your bananas. These fruits release higher concentrations of ethylene, accelerating the process.
- Warmth Helps: You can further speed up ripening by placing the paper bag in a warm spot, such as on top of your refrigerator or near a sunny window. The warmth encourages ethylene production and fruit softening.
2. The Oven Method (For Baking Only)
This method is perfect when you need soft, sweet bananas specifically for baking and have very little time. It mimics the natural sugar development of a very ripe banana.
- Preparation: Preheat your oven to 300 degrees F (150 degrees C). Line a baking sheet with parchment paper or aluminum foil. This step is important for easy clean-up, as the bananas may leak a little sugary liquid during baking.
- Bake: Place unpeeled bananas on the prepared baking sheet, ensuring there’s some space between them. Bake for about 30-40 minutes, checking every 15 minutes.
- Indicators: The banana peels will turn completely black, and the fruit inside will become wonderfully soft and mushy – absolutely perfect for mashing into your baked goods.
3. The Microwave Method (For Mashing)
If you’re in a real hurry and need firm bananas softened quickly for mashing in a recipe, the microwave is your fastest option. This method primarily softens the banana, rather than developing intense sweetness.
- Preparation: Pierce unpeeled bananas a few times with a fork or a knife. This allows steam to escape and prevents the banana from bursting.
- Microwave: Place the bananas on a paper plate or a microwave-safe plate. Cook them on high for 30 seconds at a time.
- Check and Repeat: After each 30-second interval, check the bananas for desired softness. Repeat the microwaving process until they are soft enough to mash easily. The peels may darken, but the fruit will be pliable. While this method won’t result in super-sweet bananas compared to natural ripening, they will be perfectly mashable and suitable for use in most baking recipes.

Love it? Pin it!
Want to keep this comprehensive post for HOW TO FREEZE BANANAS handy? Make sure to pin it to your favorite Pinterest recipe or kitchen tips board before you go! Sharing is caring!
By mastering these simple freezing techniques, you will always have perfectly ripe bananas on hand for all of your favorite recipes, eliminating waste and boosting convenience. So next time you spot a fantastic sale on bananas at the grocery store, and you have that precious freezer space, don’t hesitate – GO BANANAS and stock up! Your future self (and your taste buds) will thank you.
This recipe was originally posted on February 22, 2014. It has been thoroughly updated and expanded to improve user experience, enhance SEO, and provide more comprehensive information, and was reshared on May 18, 2023.
