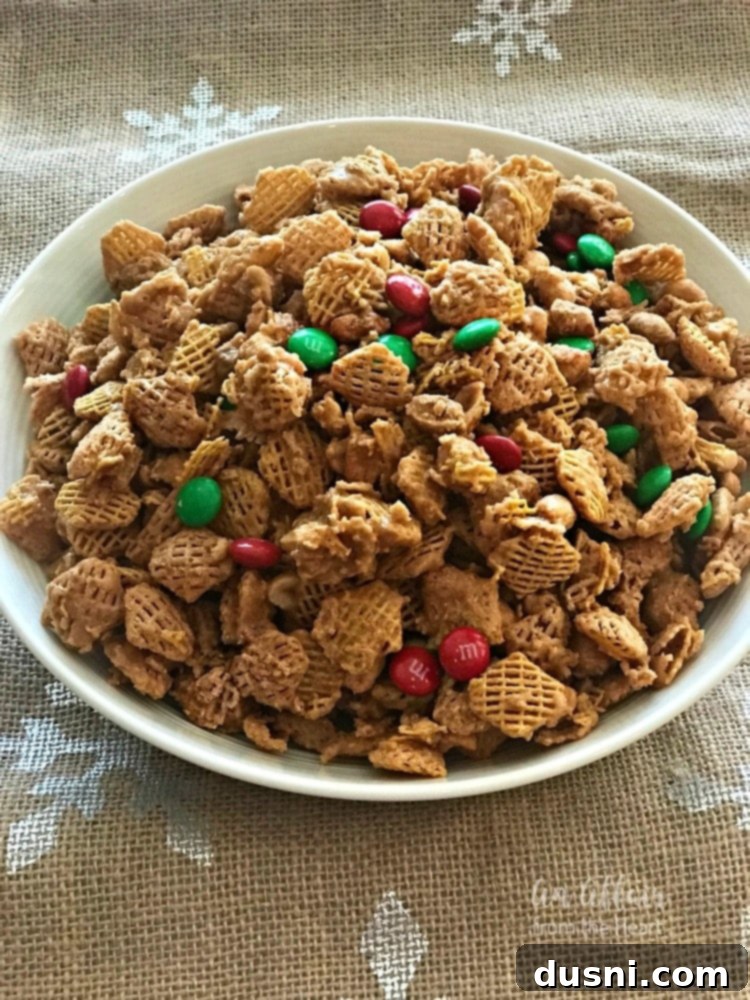
Ultimate Sweet & Salty Candy Coated Crispix Mix: An Easy, Irresistible Holiday Snack Recipe
Whenever I place a bowl of this Candy Coated Crispix Mix out, it vanishes right in front of my eyes! It should come with a warning label: “Make a Double Batch of this addicting sweet and salty mix.” If you’re searching for a wonderfully crunchy, perfectly sweet, and satisfyingly salty snack to munch on this holiday season (or any time of year!), this easy Candy Coated Crispix Mix is absolutely it! This straightforward recipe uses minimal ingredients—Crispix cereal, brown sugar, butter, corn syrup, salted peanuts, and vibrant M&M’s—to create a truly irresistible treat. It’s designed for a big batch, making it perfect for parties, family gatherings, or thoughtfully packaged as edible gifts.

This delightful Crispix snack mix has been a beloved staple in my kitchen for decades. A dear friend shared this crunchy snack mix recipe with me many years ago, and for a long time, it was my signature contribution to our annual holiday cookie exchange. One memorable year, I got creative and decorated empty Pringles cans, filling them to the brim with this incredible mix. Everyone who received one absolutely adored it! The joy of sharing this homemade treat with loved ones has become as much a part of the tradition as the irresistible flavors themselves.

The Irresistible Appeal of Crispix Mix
This caramel Crispix snack mix recipe is truly ideal for preparing ahead of holiday parties, cookie exchanges, or as heartfelt edible gifts. It comes together in just over an hour from start to finish and yields a massive batch—approximately 18 cups! That’s a generous amount of crunchy, sweet, and salty snack mix, more than enough to fill numerous festive holiday tins to distribute among friends, neighbors, teachers, or family members. The sheer volume ensures you’ll have plenty to share and perhaps even a little extra to keep for yourself!
What makes this Crispix mix recipe even more appealing is its reliance on readily available pantry staples. You likely have most of the ingredients on hand already: butter, brown sugar, corn syrup, salt, Crispix cereal, crunchy peanuts, and your favorite M&Ms. The preparation couldn’t be simpler: combine everything in a pot on the stovetop, bring it to a boil, then bake to achieve that perfect, crisp texture. Honestly, the hardest part of the entire process is patiently waiting for it to cool completely before you can dive in and enjoy its delightful crunch!

Kids and adults alike will absolutely adore munching on this dynamic mix of flavors and textures. The combination of crispy cereal, salty peanuts, and sweet chocolate candies creates an unforgettable experience with every handful. It makes the perfect finger-food snack for lively holiday parties, cozy family game nights, or even as an on-the-go treat. Simply set it out in a festive bowl for guests to effortlessly grab handfuls, or elegantly fill up decorative tins or charming cellophane bags to give out as thoughtful edible gifts. Imagine the smiles when teachers, bus drivers, mail carriers, or any special person you wish to thank receives this homemade delight during the most wonderful time of the year. No matter how you choose to share it, this Candy Coated Crispix Mix is guaranteed to be a monumental hit!
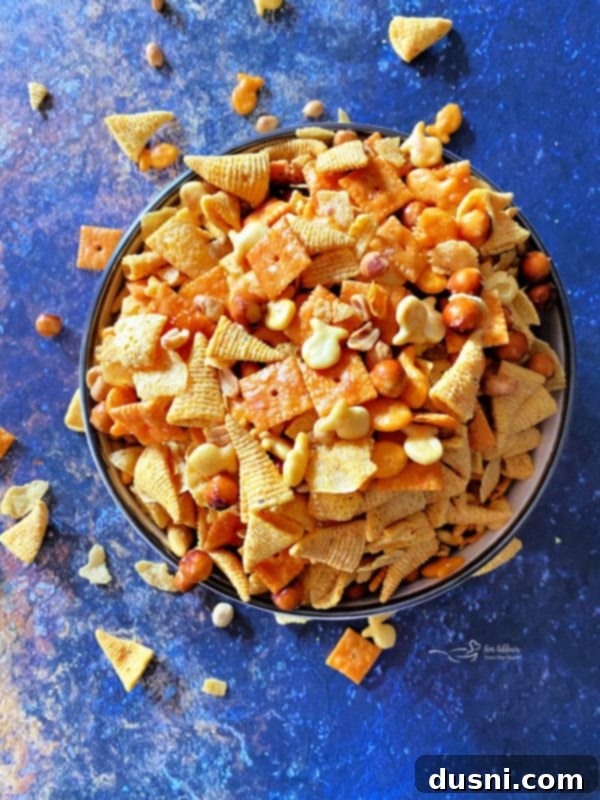
If you’re already a fan of this incredible snack mix, be sure to explore some of my other popular creations! You’ll love my Touchdown Snack Mix (perfect for game days, and pictured above), as well as my delightful Coconut Muddy Buddies and the famously irresistible Better Than Sex Chex Mix! Each offers a unique twist on the classic snack experience.
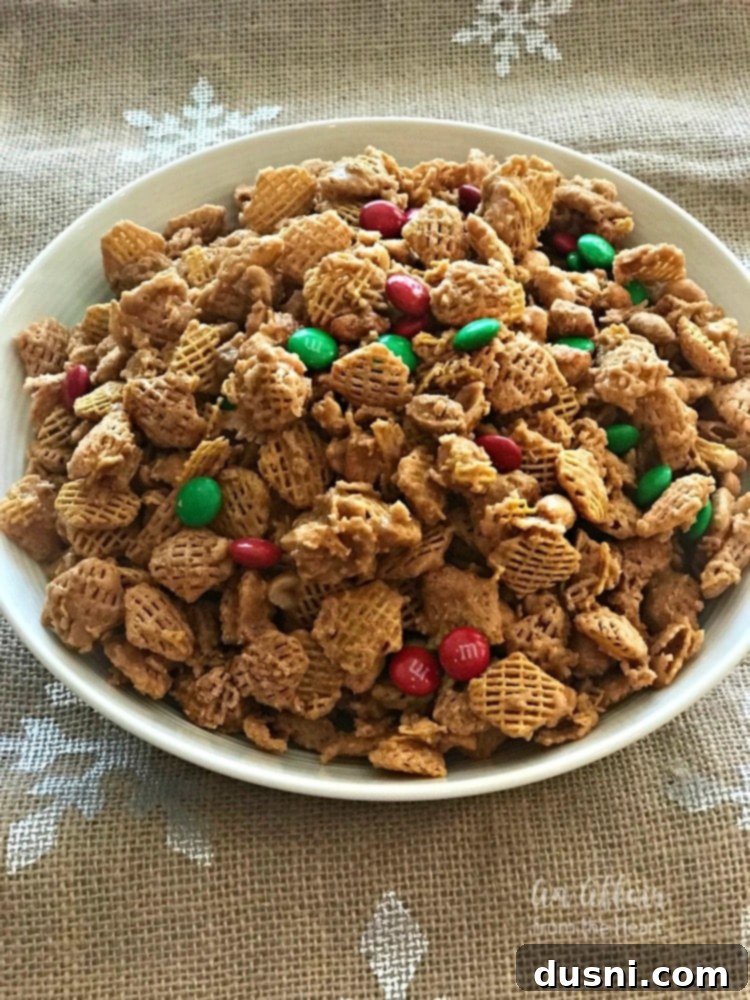
Make it a Festive Christmas Crispix Mix
While we’ve come to crave this delightful Crispix Mix recipe year-round, making it a fun snack with any color M&M’s, it truly shines during the holidays. For a truly festive touch, I always make sure to grab the holiday-themed M&M’s, typically colored in cheerful reds and greens. Incorporating these vibrant candies instantly transforms it into a true Crispix Christmas Mix, perfectly suited for spreading holiday cheer. The festive colors make it an even more enchanting treat for gatherings and gift-giving during the most wonderful time of the year.
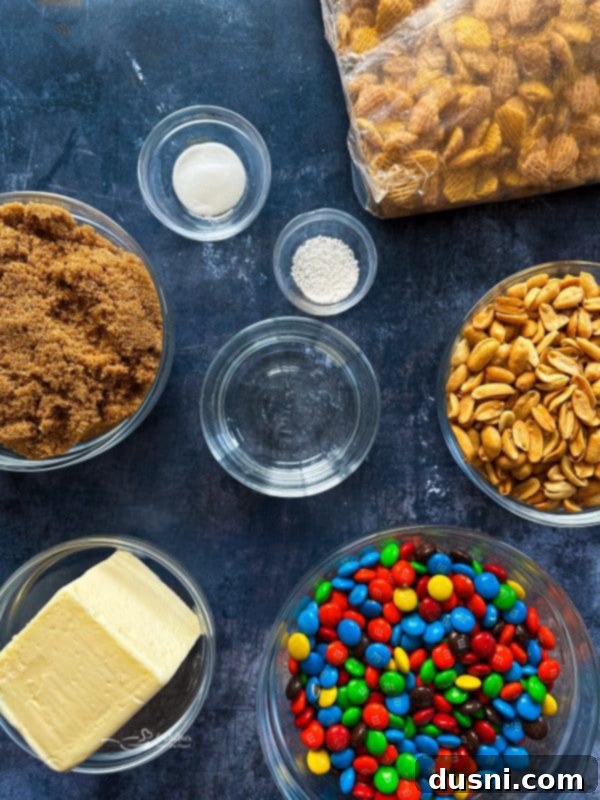
Key Ingredients for Your Perfect Crispix Mix
Below, you’ll find a detailed breakdown of the simple yet essential ingredients that come together to create this irresistible Sweet and Salty Candy Crispix Snack Mix. The complete recipe and step-by-step instructions are available in the printable recipe card located at the very bottom of this post.
- Brown Sugar: Whether you choose light or dark brown sugar, both will work beautifully to create the rich, deep caramel flavor that coats the mix. Dark brown sugar will impart a slightly more robust molasses note.
- Butter: I typically opt for salted butter, as the hint of salt perfectly balances the sweetness of the caramel. However, if you only have unsalted butter on hand, it will work just fine; you might just want to consider adding a pinch more salt to the mixture later to achieve that ideal sweet and salty dynamic.
- Light Corn Syrup: This is a crucial ingredient for achieving that perfectly smooth, glossy, and non-crystallized caramel coating. Light Karo Syrup is highly recommended, as it helps to maintain a beautiful light golden brown color for your candy coating, ensuring an appealing look.
- Salt: Essential for cutting through the sweetness and enhancing all the other flavors. Use either table salt or a fine-grain sea salt.
- Crispix Cereal: The star of the show! Crispix cereal offers a unique combination of crispy corn and rice squares, providing an ideal texture that holds the candy coating wonderfully without becoming soggy. It can sometimes be a bit tricky to locate in stores. If you’re unable to find it, Rice Chex cereal makes an excellent substitute. *Important Note: Approximately 17 ounces of Crispix Cereal is equivalent to about 11 1/3 cups of Rice Chex cereal, so adjust accordingly if substituting.*
- Salted, Dry-Roasted Peanuts: These provide that absolutely essential salty element to perfectly balance the sweet caramel and chocolate. Their crunchy texture also adds another layer of delightful contrast to the snack mix.
- M&M’s: This is where you can truly customize your mix! Use whatever variety you like best. I often mix it up—sometimes plain M&M’s, sometimes peanut M&M’s. I’ve even experimented successfully with the pretzel and peanut butter M&M’s for extra flavor dimensions. For holidays, use seasonal colors!
- Baking Soda: This seemingly small ingredient plays a big role! When stirred into the hot caramel mixture, it reacts to create a “foamy effect,” which lightens the caramel and gives it a more tender, less sticky consistency, making the coating deliciously airy and easier to distribute evenly.
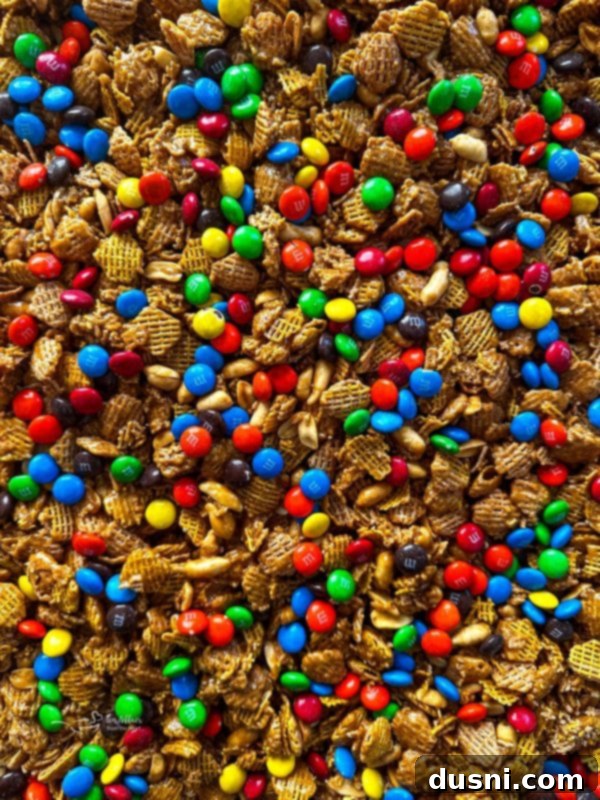
How to Make This Addictive Candy Coated Crispix Mix
Creating this irresistible snack mix is surprisingly simple! Follow these steps to achieve a perfectly crispy, sweet, and salty treat:
First, preheat your oven to 200 degrees F (93 degrees C). Line a large baking sheet with parchment paper or a silicone baking mat. This step is crucial for easy cleanup and preventing the caramel from sticking.
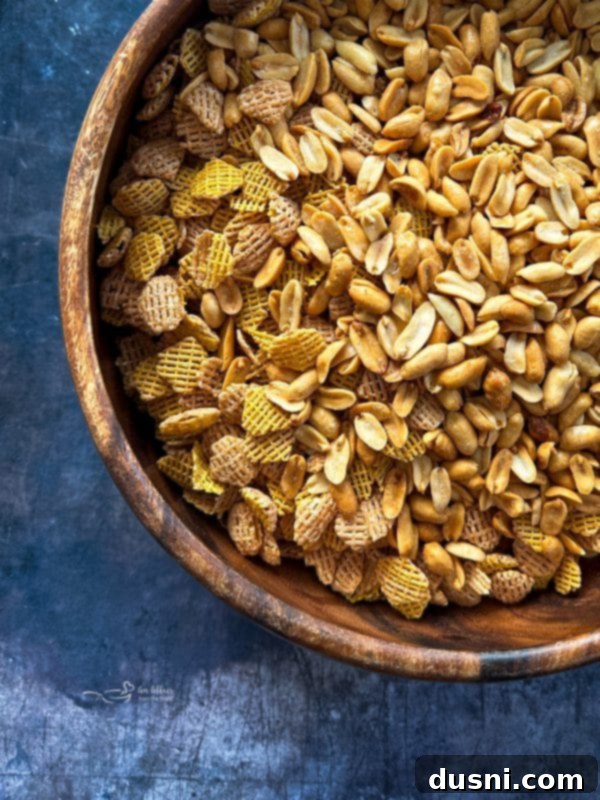
In a very large bowl, combine your Kellogg’s Crispix cereal and the salted, dry-roasted peanuts. Give them a gentle toss to distribute evenly, then set this bowl aside. This prepares your base for the glorious caramel coating.
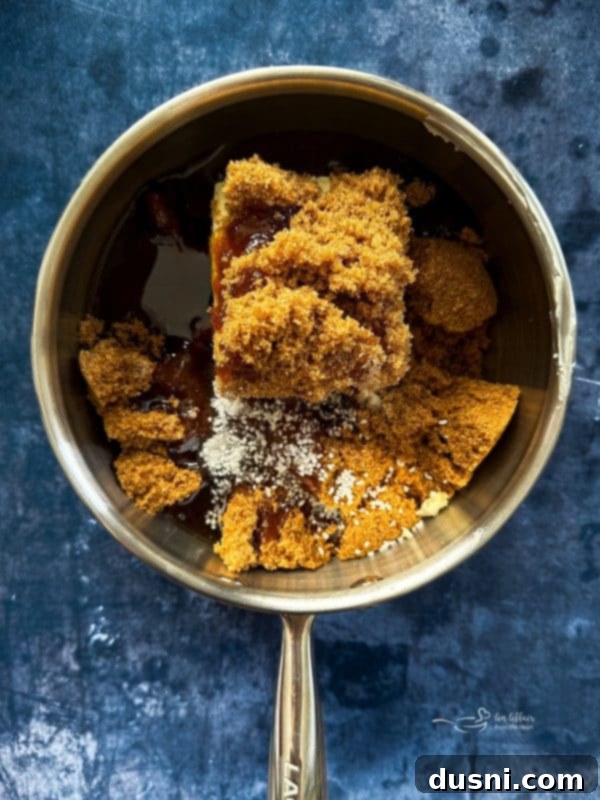
Next, in a medium saucepan over medium heat, combine the butter with the brown sugar, corn syrup, and salt. Stir these ingredients frequently as they melt and dissolve. Bring the mixture to a rolling boil and continue to boil for precisely 5 minutes, stirring often to prevent scorching and ensure the sugar fully dissolves and the caramel develops properly.

After 5 minutes of boiling, remove the saucepan from the heat. Carefully stir in the baking soda. You’ll notice a remarkable transformation as the mixture becomes lighter in color and starts to foam and bubble. This is exactly what you want—it creates a lighter, crispier caramel coating.
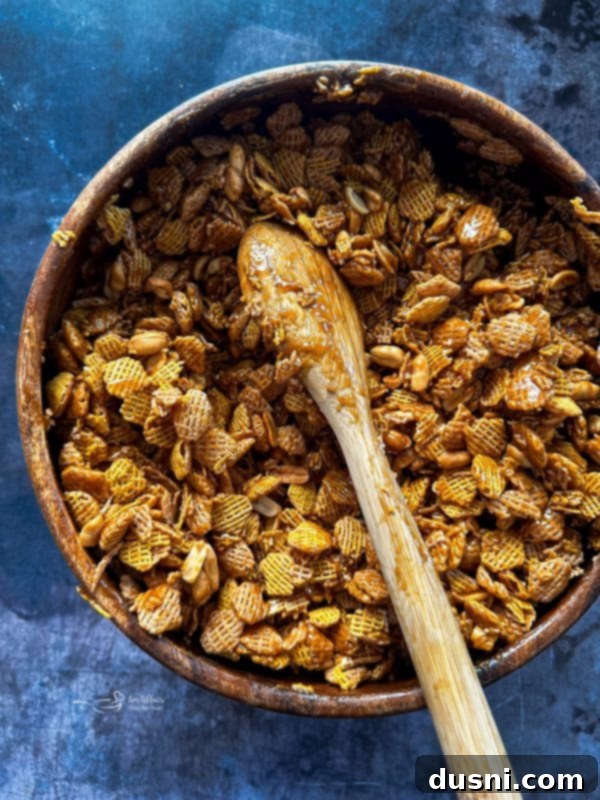
Quickly pour the hot caramel mixture over the cereal and peanuts in the large bowl. Mix well and thoroughly, but take great care to be gentle so as not to smash the delicate Crispix cereal. A rubber spatula works well here. Ensure every piece is evenly coated for maximum flavor and crunch.
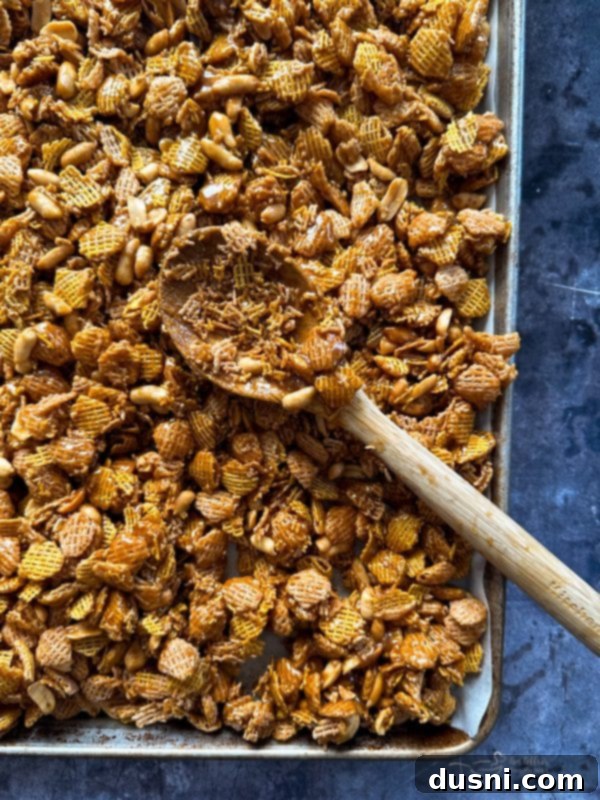
Spread the coated cereal mixture onto your prepared large baking sheet in a single, even layer. Bake for 1 hour, making sure to stir the mixture every 15 minutes. This regular stirring ensures even baking and allows the caramel to crisp up perfectly on all sides, preventing it from clumping excessively.
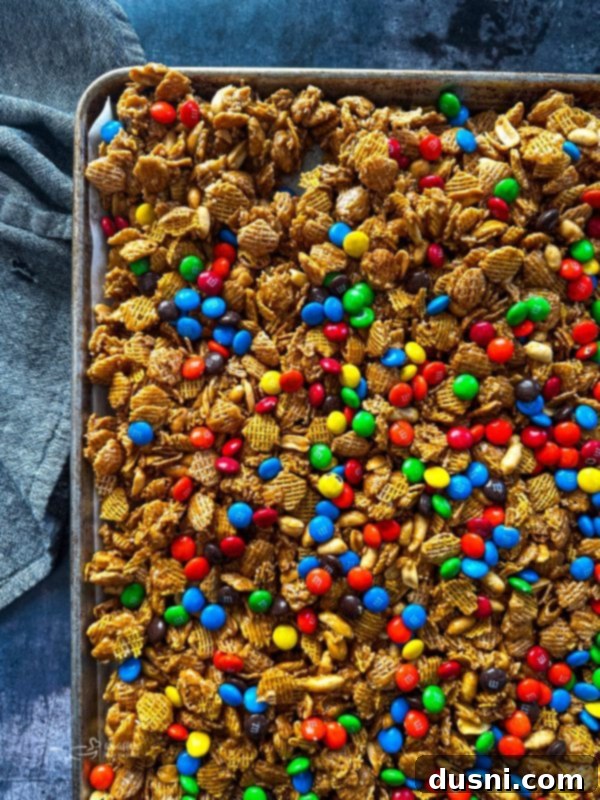
Once baked, remove the baking sheet from the oven and let the mix cool completely on the sheet. Resist the urge to add the M&Ms until it is absolutely cold to the touch; otherwise, they will melt into a messy puddle. Once cool, mix in your favorite M&Ms for a burst of color and chocolatey sweetness!
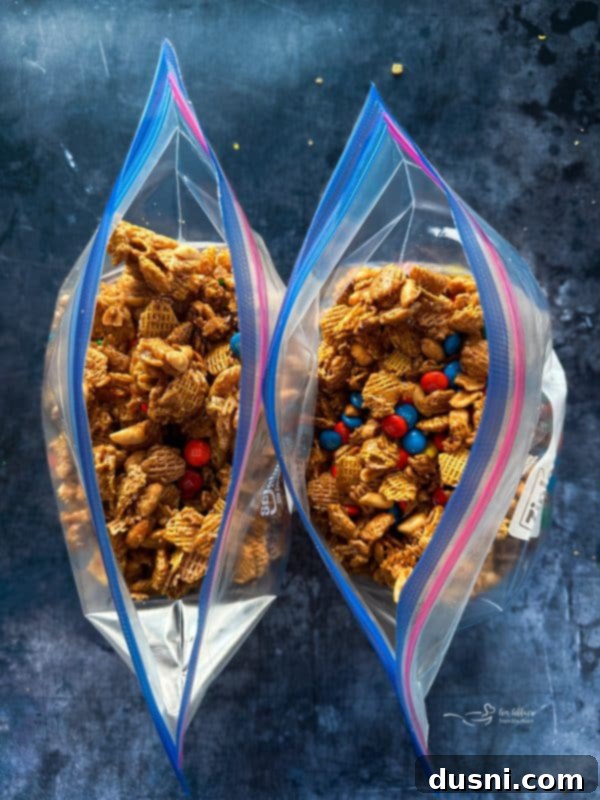
Store your delicious Candy Coated Crispix Mix in an airtight container. When kept in a cool, dry place, it will remain fresh and crunchy for up to a couple of months, making it a fantastic make-ahead snack. I do not recommend freezing this particular snack mix, as it can affect its desirable texture.
Expert Tips for Making This Crispix Candy Recipe Even Better

Love it? Pin it!
If you’re already dreaming of making this incredibly delicious Crispix Mix – make sure you can easily find the recipe when you’re ready! Pin it to your favorite recipe board on Pinterest now so it’s always just a click away!
Frequently Asked Questions About Crispix Mix
- How long does this snack mix last? When sealed properly in an airtight container, this Candy Coated Crispix Mix will stay delightfully fresh and crunchy for a month or two if stored in a cool, dry place. Its long shelf life makes it an excellent choice for gifting or preparing ahead for events.
- Can I use unsalted butter instead of salted butter? Absolutely! If you only have unsalted butter, feel free to use it. However, to ensure that perfect sweet and salty balance, you might want to increase the salt in the caramel mixture to 3/4 teaspoon, as the recipe is typically balanced for salted butter.
- What if some cereal gets smashed during mixing? Don’t worry one bit if some of the cereal pieces get a little crushed or break during the mixing process! It will still taste absolutely delicious. In fact, many people (myself included!) find that the crunchy, coated pieces that stick together in delightful clumps are often the best part of the entire mix. Embrace the imperfect perfection!
Additional Tips for a Perfect Crispix Candy Recipe
- Preparation is Key: Always use parchment paper or a silicone baking mat to line your baking sheets. This ensures that the sticky caramel coating won’t adhere to the pan, making it incredibly easy to lift the mix off after baking and simplifying cleanup.
- Even Crisping: To achieve a consistently crispy texture throughout your snack mix, remember to stir the mixture every 15 minutes while it bakes in the oven. This prevents burning on the bottom and ensures every piece gets that golden, crunchy caramelization.
- Patience with M&M’s: It’s vital to let the Crispix mix cool completely before you incorporate the M&M’s. Adding them too soon to warm caramel will cause them to melt, resulting in a chocolatey mess rather than distinct, colorful candies.
- Customizing Your Crunch: While peanuts are traditional, feel free to experiment with other nuts like pecans, almonds, or even cashews. For an extra sweet and salty kick, consider adding small pretzel pieces or miniature marshmallows *after* the mix has cooled, alongside the M&M’s.

More Irresistible Chex Mix & Snack Mix Recipes to Love
Do you love snack mixes as much as we do? Us, too! I have an entire section on my website passionately dedicated to them! After trying this Crispix Mix, you will definitely want to try my famous Crack Corn recipe, and my festive Peppermint Bark Popcorn. And, for a truly seasonal delight, don’t forget to make Lucky Leprechaun Bait when St. Patrick’s Day rolls around! Here are some more of our absolute favorite finger-food snack mix recipes that are guaranteed crowd-pleasers:
- Praline Crunch Snack Mix: A delightful blend of sweet caramel and crunchy pecans.
- Homemade Moose Munch Popcorn: A gourmet caramel and chocolate popcorn with nuts.
- Caramel Churro Chex Mix: A cinnamon-sugar spiced mix with a satisfying churro flavor.
- Crockpot Chex Mix: The classic savory snack mix made effortlessly in a slow cooker.
- Mexican Hot Chocolate Chex Mix: A unique twist with warm chocolate and a hint of spice.
- Winter Wonderland Snack Mix: A festive, sweet mix perfect for snowy days.
- Spicy Sriracha Snack Mix: For those who love a bold, fiery kick in their snacks.

I genuinely hope you’ll give this incredible sweet and salty Crispix party mix a try for your next game day gathering, a family movie night, or an enjoyable road trip snack! Its irresistible combination of flavors and textures is sure to be a monumental hit, especially during this upcoming holiday season. Enjoy the crunch!

LIKE THIS RECIPE?
Don’t forget to give it a ⭐️⭐️⭐️⭐️⭐️ star rating and
leave a comment below the recipe!

Print Recipe
Original Candy Coated Crispix Mix Recipe
Equipment
-
Oggi Mixing Bowl, 4 Quart
-
OXO 3- Piece Wooden Spoon Set
-
Cuisinart Chef’s Classic Nonstick 1-Quart Saucepan with Lid
-
Reynolds Kitchens Non-Stick Parchment Paper
-
Silicone Baking Mat Set of 4
-
13×18 Half Sheet Pan
Ingredients
- 2 cups brown sugar
- 1 cup butter
- 1/2 cup light corn syrup
- 17 ounces of Crispix Cereal
- 1 pound of M&M’s
- 2 cups salted Dry roasted peanuts
- 1/2 teaspoon salt
- 1 teaspoon baking soda
Instructions
-
In a large bowl, empty the Crispix cereal and the peanuts. Set aside.
-
In a saucepan on the stove, melt butter, brown sugar, corn syrup, and salt. Bring the mixture to a rolling boil and boil for 5 minutes, stirring constantly to prevent scorching. Remove from heat, then add the baking soda and stir well; the ingredients will foam and become frothy.
-
Pour the hot caramel mixture over the cereal and peanuts. Mix quickly but carefully, taking care not to smash all of the cereal. Spread the coated mixture evenly onto a large cookie sheet lined with non-stick foil or sprayed generously with non-stick cooking spray.
-
Bake at 200 degrees F (93 C) for one hour, making sure to turn and stir the mix over every 15 minutes to ensure even baking and crispness.
-
When the mix has cooled completely to room temperature, add the M&M’s. Store in an airtight container for lasting freshness.
Notes
Nutrition

