Effortless No-Knead Peasant Bread: Crusty, Buttery Soft & Baked in a Pyrex Bowl
Prepare to fall head over heels for this incredible buttery soft, artisan Peasant Bread recipe. It’s incredibly simple to create, yielding two loaves of utterly delicious, crusty homemade peasant bread with an irresistibly soft, airy center that truly tastes heavenly. The best part? This remarkable no-knead bread bakes directly in a Pyrex bowl, simplifying the process and guaranteeing perfect results every time. Say goodbye to complicated bread-making and hello to homemade perfection!
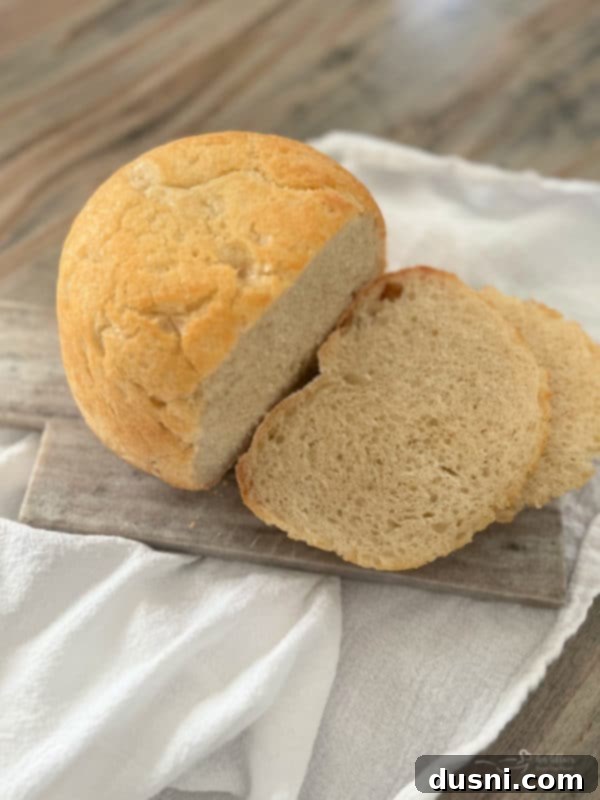
Listen up, fellow food enthusiasts! This is more than just a recipe; it’s a culinary revelation. You absolutely, positively *must* try making this extraordinary peasant bread.
My journey with this recipe began back in 2016 when it serendipitously appeared in my Facebook newsfeed. A dear friend shared it, and from the moment I saw its golden-brown crust and inviting texture, I knew it was a recipe I had to conquer. What makes this so special? It breaks down all barriers to baking with yeast.
For the longest time, I harbored an inexplicable intimidation towards yeast-based recipes. My baking repertoire mostly consisted of quick breads, like my much-loved Banana Bread recipe (which, by the way, might just be the last banana bread recipe you’ll ever need!). The idea of working with yeast, proofing, and kneading felt daunting.
That all changed when I ventured into making No Knead Crusty Dutch Oven Bread. It was a game-changer! I genuinely believed I couldn’t find another bread recipe that could rival its deliciousness. But then, this peasant bread came along and proved me delightfully wrong.
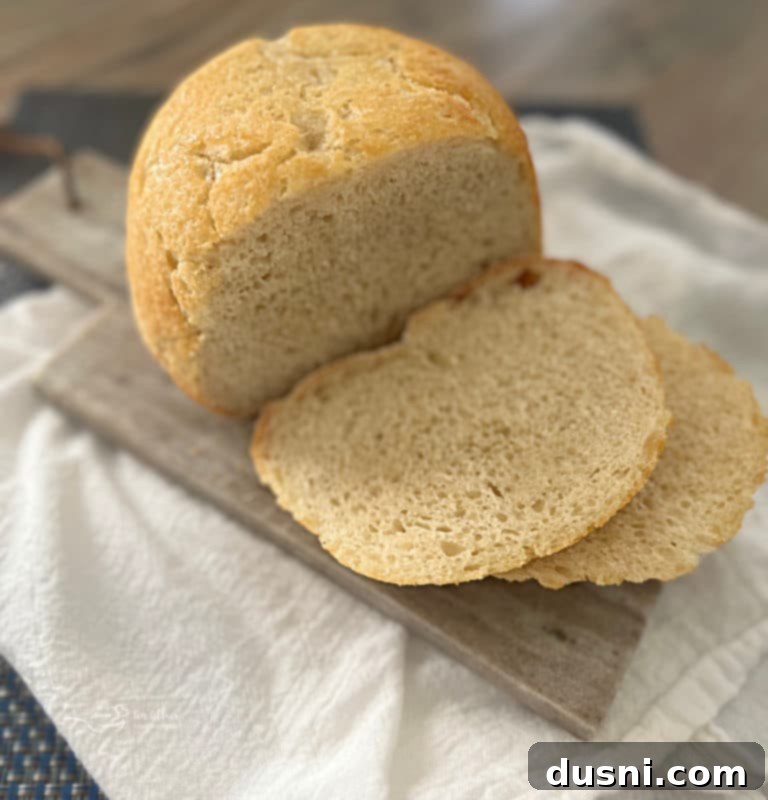
What truly sets this homemade bread apart is its simplicity and incredible outcome. Made with just a handful of basic ingredients, it achieves a heavenly buttery crust and an incredibly soft, tender interior. Plus, the genius lies in baking it directly in a Pyrex bowl, eliminating the need for special bread pans and ensuring a perfectly rounded loaf. This recipe yields two delightful small loaves, and I’m not ashamed to admit I baked it twice on that very first day – it’s that good!
Peasant-Style Bread: A Dream Come True for Every Bread Lover
If the aroma of freshly baked bread fills your kitchen with joy, then you’re undoubtedly a bread lover, just like us! This particular homemade, no-knead peasant bread is the ultimate answer to all your homemade bread cravings. Its straightforward, basic steps make it incredibly easy to prepare, even for beginners, bringing that artisan bakery experience right into your home without any fuss.
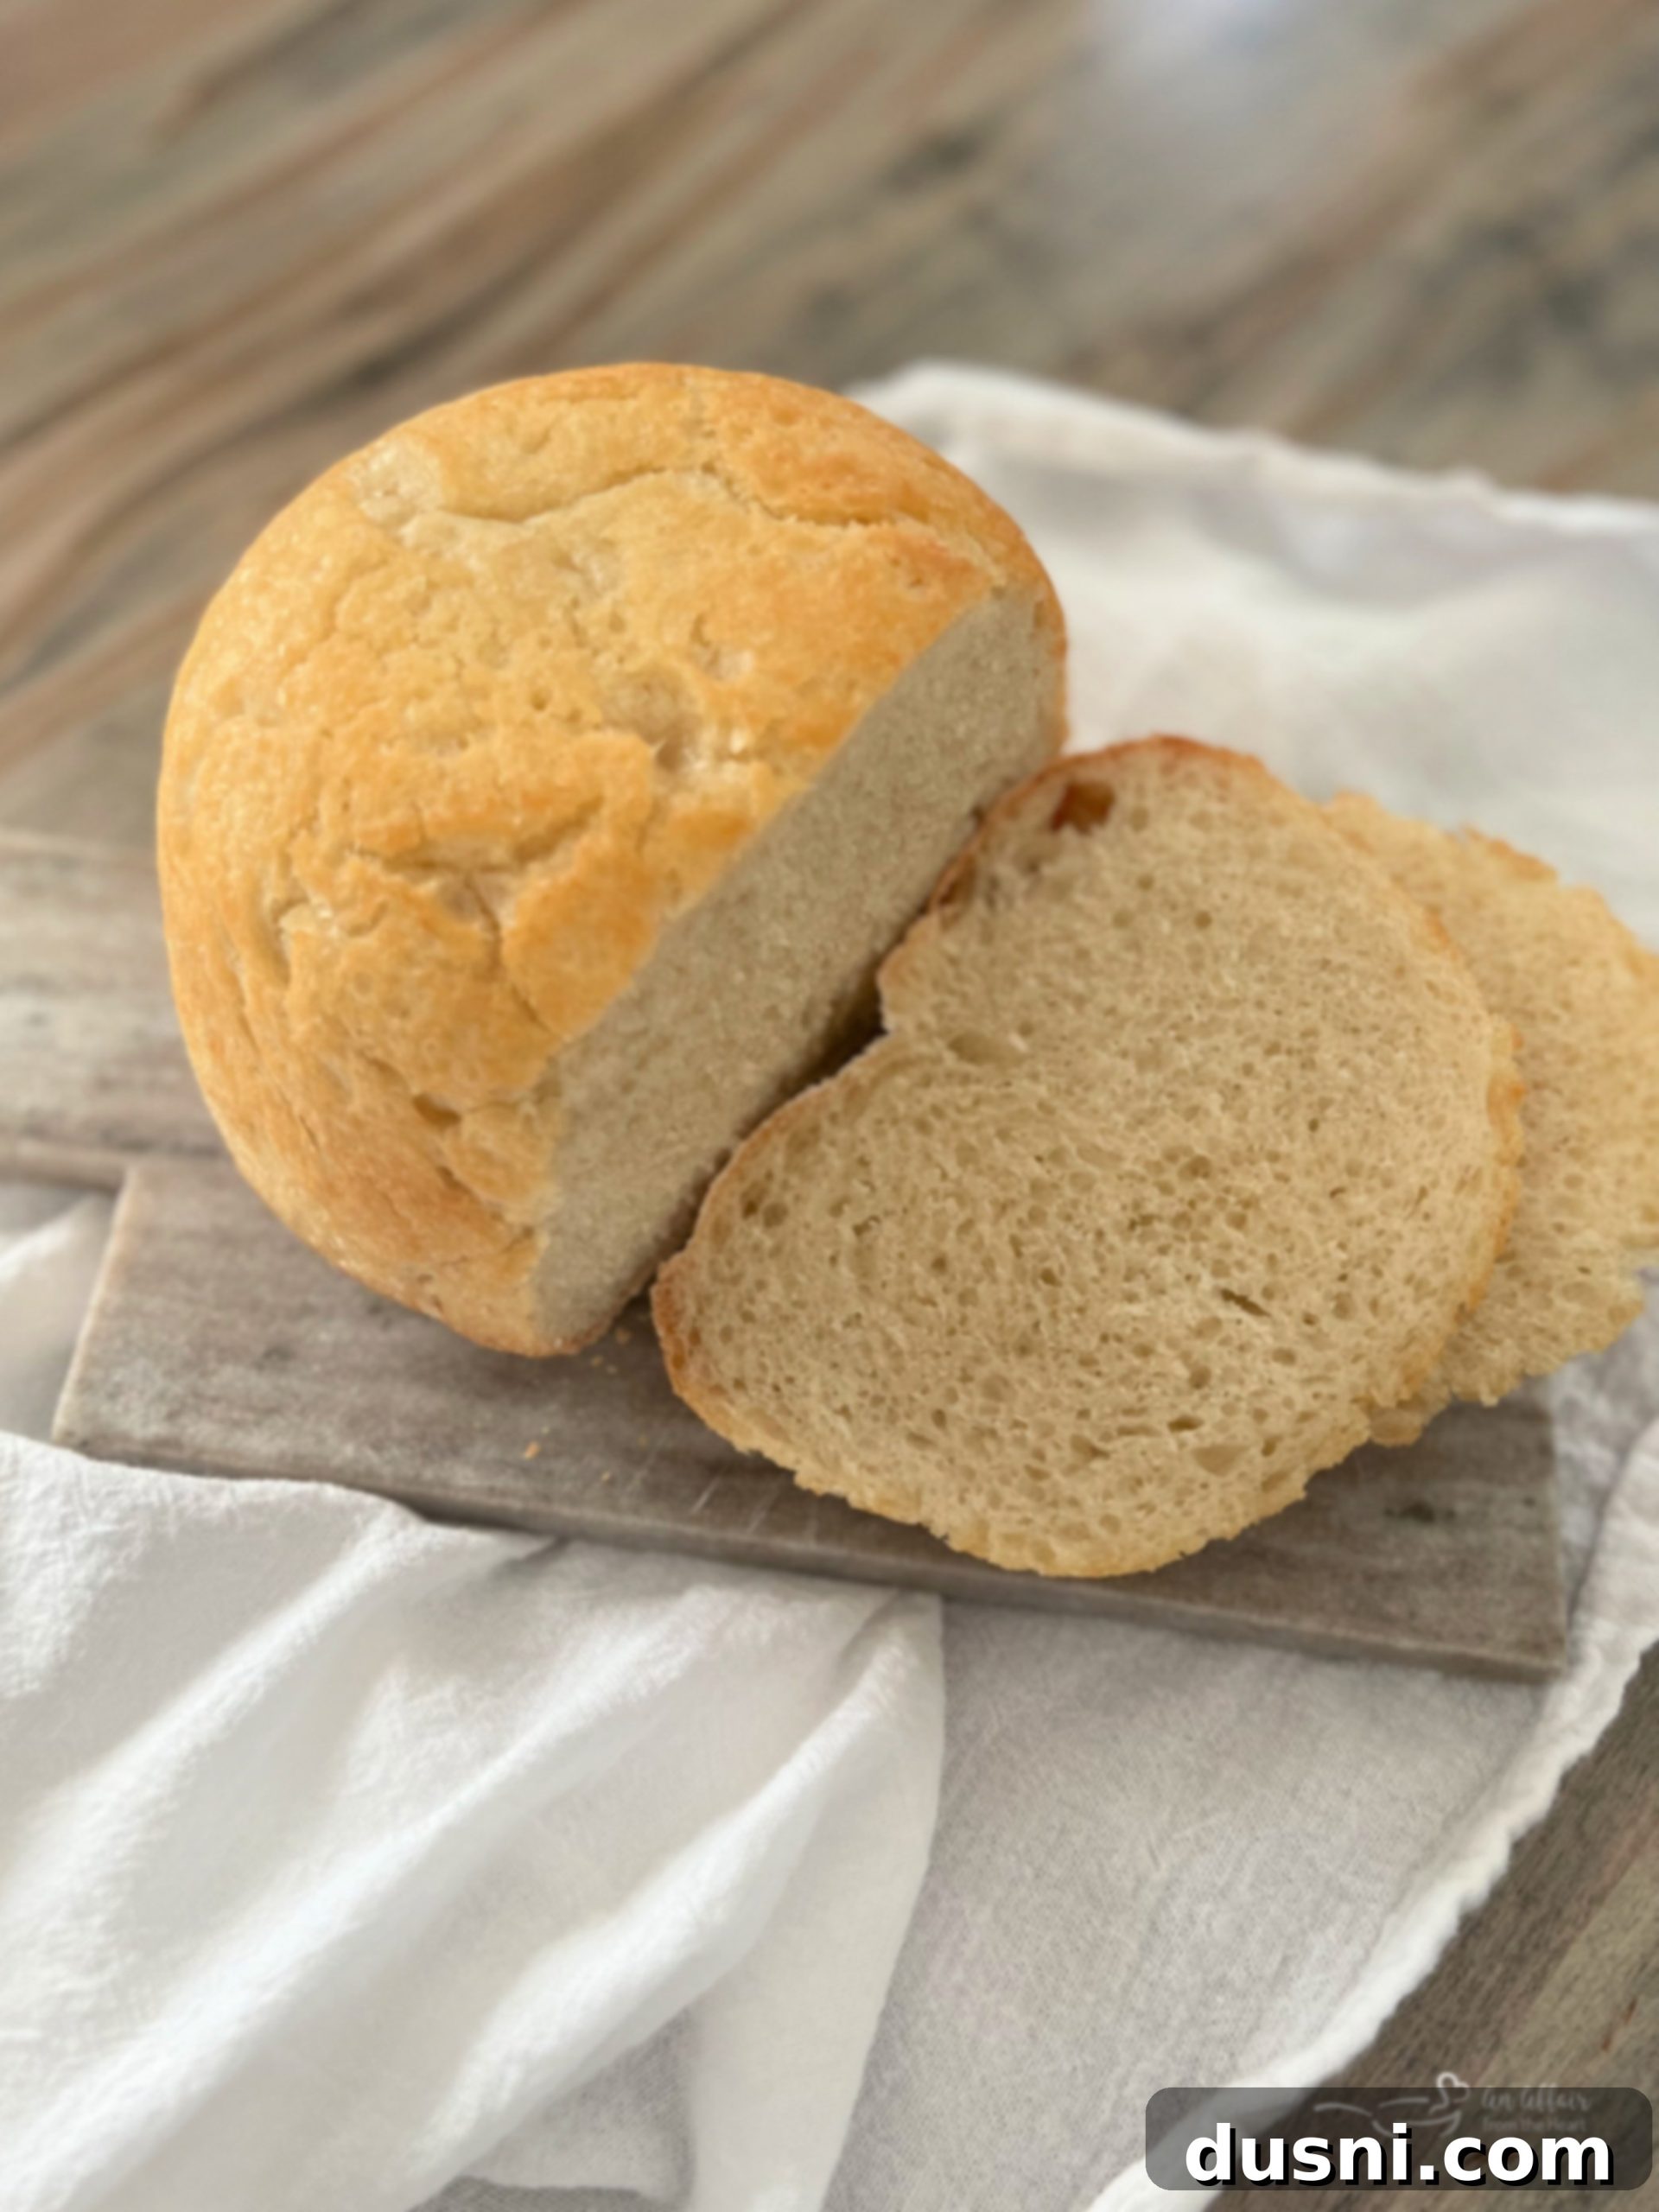
Artisan bread holds a special place in my heart, and this peasant-style loaf exemplifies why. Each bite offers a delightful contrast: a wonderfully buttery soft interior encased in a beautifully crisp, golden crust. It’s truly divine to enjoy on its own, perhaps with a simple spread of butter, but its versatility shines when used for other culinary creations. Imagine it as the foundation for incredible sandwiches! My husband, a connoisseur of comfort food, declared that the grilled cheese made with this bread was the best he’d ever had – high praise indeed!
Beyond sandwiches, this rustic, crusty bread is an absolute marvel for pairing with meals. It’s exceptionally delicious when used for dipping into hot, savory soups, transforming a simple meal into one filled with heartwarming comfort. Some of my personal favorite soup companions for this easy-to-make bread include my rich and creamy Cheesy Potato Soup, the hearty Sauerkraut, Bratwurst, and Potato Soup, and my comforting Hamburger Soup. It’s the perfect vehicle to soak up every last drop of flavorful broth.
Understanding the Name: Why is it Called Peasant Bread?
The term “peasant bread” evokes images of a simpler time and rustic charm, and its name truly reflects its origins. This beloved homemade artisan bread gets its moniker from the way European peasants traditionally prepared their daily loaves. It embodies a philosophy of straightforwardness: utilizing very few, readily available ingredients and requiring minimal, uncomplicated steps. Unlike elaborate brioches or complex sourdoughs, peasant bread was designed for accessibility and practicality.
Historically, peasant-style bread was a staple in every household, often made with whole grains to be hearty and nutritious. It served as the foundation for countless meals, enjoyed at breakfast, lunch, and dinner, and even incorporated into appetizers. Its unfussy nature meant it could be baked regularly, providing sustenance and comfort. Our modern version pays homage to this tradition, bringing that same rustic goodness and ease to your kitchen, ensuring you can enjoy truly authentic, delicious bread without needing to be a master baker.
Essential Ingredients for Your Rustic, Crusty, Yet Soft Peasant Bread
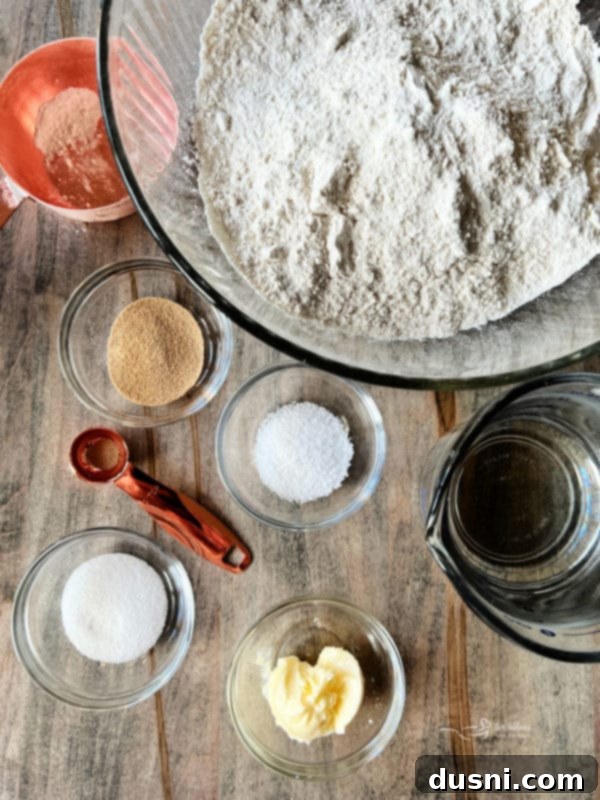
One of the many beauties of this no-knead peasant bread recipe lies in its incredibly simple ingredient list. You likely have most of these staples in your pantry already! Here’s a closer look at what you’ll need to create this rustic masterpiece:
Yeast: This recipe typically uses active-dry yeast, which requires a brief activation step to ensure it’s lively and ready to make your bread rise beautifully. While I personally don’t mind the short wait, I’ve also made sure to provide clear instructions within the recipe card for those who prefer the convenience of instant yeast, which can be mixed directly with the dry ingredients. The yeast is what gives the bread its characteristic airy texture and delightful flavor.
Sugar: Just a touch of granulated sugar plays a crucial role, especially when working with active-dry yeast. It acts as “food” for the yeast, helping to activate it and encourage its growth, which in turn leads to a robust rise. Even with instant yeast, a small amount of sugar contributes to the bread’s overall flavor and helps with browning.
Water: Lukewarm water is absolutely essential for properly activating the yeast. Water that is too cold won’t awaken the yeast, and water that is too hot can kill it. Achieving the perfect lukewarm temperature is key; a clever trick is to combine cold water with a small amount of boiling water until it feels warm to the touch, like a baby’s bath (precise ratios are in the recipe card for guaranteed success).
Flour: All-purpose unbleached flour is the workhorse of this recipe, offering a versatile and easy-to-handle base for almost any baking endeavor. Its balanced protein content makes it ideal for achieving both the desired structure and a soft crumb in your homemade bread. It truly is “easy peasy” to work with!
Salt: Kosher salt is my preferred choice for its pure flavor and coarse texture, which dissolves evenly into the dough. It’s more than just a seasoning; salt is vital for enhancing the overall taste of the bread, bringing out the subtle sweetness of the flour, and also plays a role in regulating the yeast activity and strengthening the dough’s gluten structure during baking.
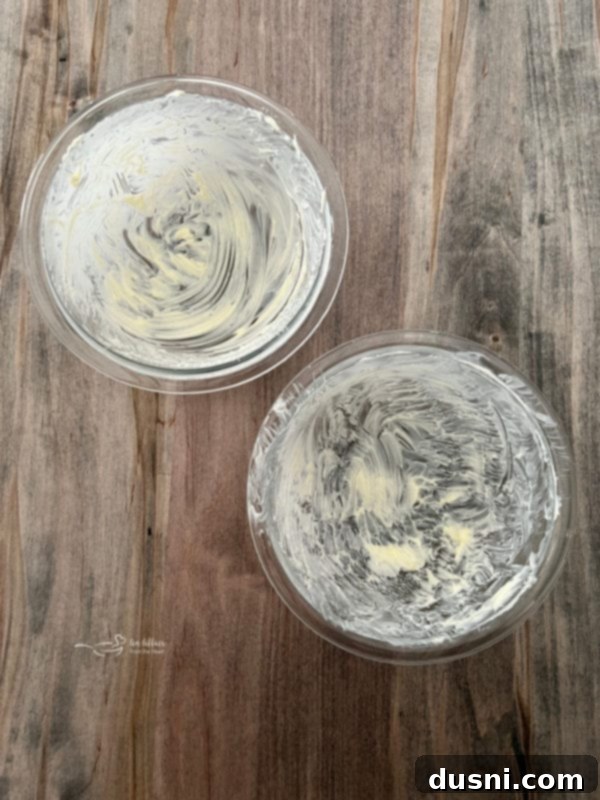
Butter: Room temperature, softened butter is generously used to grease the Pyrex dishes. This step is not just about preventing sticking; it’s a secret to achieving that signature wonderfully buttery crust and ensuring the no-knead bread releases easily and comes out with a beautiful golden finish. It adds another layer of irresistible flavor to every loaf.
The Simplicity of Baking Bread in a Pyrex Bowl
One of the most appealing aspects of this peasant bread recipe is the ingenious method of baking it in a Pyrex bowl. You might be wondering, “Just how easy is it?” The answer is, remarkably easy! Unlike some traditional baking methods that require preheating heavy Dutch ovens or specific bread forms, with Pyrex, there’s no need for any intricate pre-heating steps for the bowl itself. All you need to do is generously grease it with butter, and you’re ready to go.
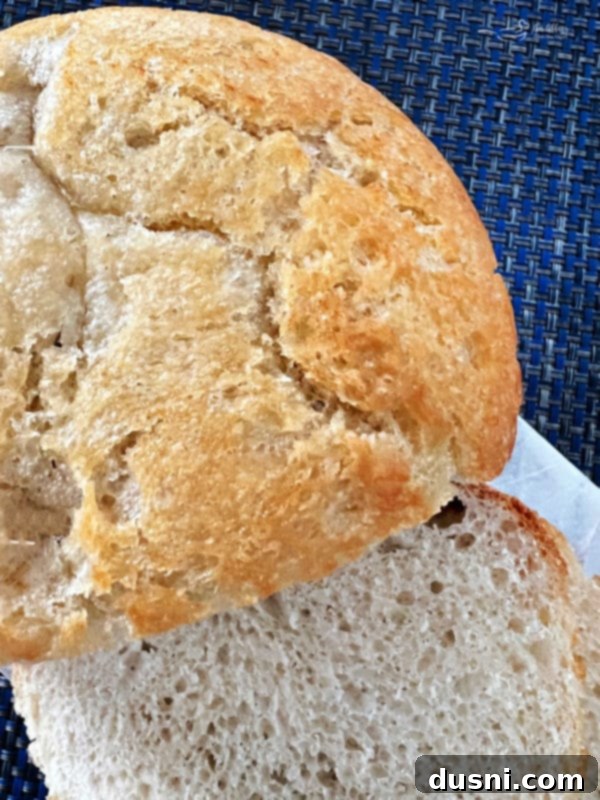
Baking bread in an oven-safe glass bowl, like a Pyrex dish, offers several distinct advantages. Firstly, it helps to create an incredibly uniform and even brown crust all around the loaf. The glass conducts heat beautifully, promoting a consistent bake and resulting in that coveted crusty and delightfully crunchy exterior. Secondly, the shape of the Pyrex bowl naturally creates a lovely, rustic round loaf, giving your homemade bread an authentic artisan appearance without any complex shaping techniques. It’s a simple trick that elevates your baking with minimal effort. Just remember to always refer to the manufacturer’s safety guidelines and care instructions for your specific glass bakeware to ensure safe and successful baking.
Crafting Your Buttery, Homemade Peasant Bread: A Step-by-Step Guide
Creating this irresistible buttery peasant bread is a truly rewarding experience, and you’ll be amazed at how simple the process is. Follow these easy steps, and soon your kitchen will be filled with the intoxicating aroma of freshly baked homemade bread.
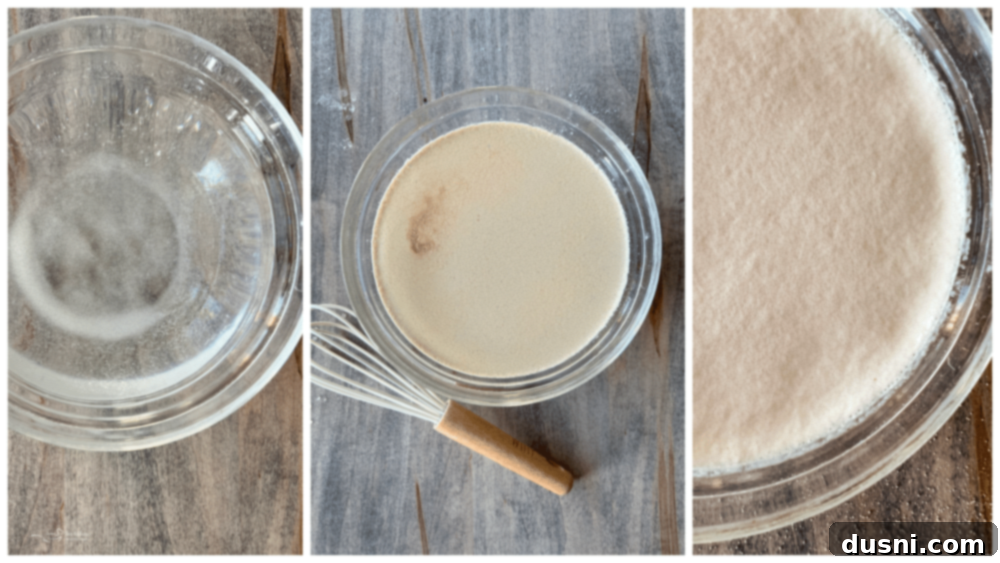
Step 1: Activate Your Yeast for a Perfect Rise
The first crucial step to ensure a beautifully risen loaf is activating your yeast. In a small bowl, combine the granulated sugar with the lukewarm water, stirring gently until the sugar completely dissolves. This provides the yeast with its initial fuel. Next, carefully sprinkle the active dry yeast evenly over the surface of the sugared water. It’s important *not* to stir the mixture at this point; let the yeast granules absorb the water naturally. Allow this mixture to rest undisturbed for about 10 to 15 minutes. During this time, you’ll observe the surface becoming noticeably frothy and bubbly – this effervescence is your visual cue that the yeast is active and thriving, ready to work its magic in your dough.
For precise guidance on achieving the ideal “lukewarm” water temperature, including a clever trick to mix cold and boiling water, refer to the detailed instructions in the printable recipe card below. This ensures your yeast is happy and active!
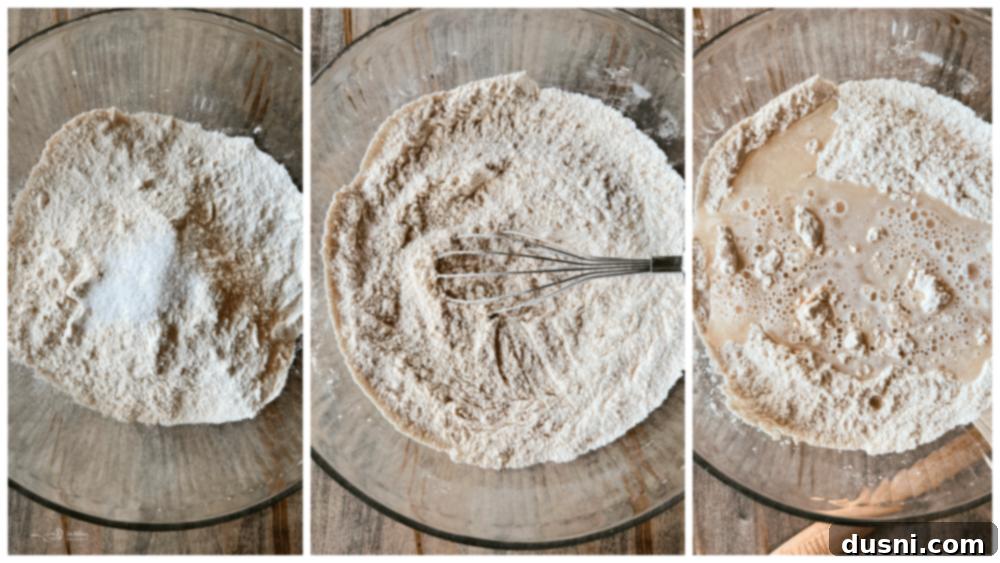
Step 2: Effortlessly Combine Your Dough Ingredients
Once your yeast is happily activated, it’s time to bring the rest of the ingredients together to form your no-knead peasant bread dough. In a large mixing bowl, whisk together the all-purpose flour and kosher salt. This dry mix forms the foundational base for your bread and ensures the salt is evenly distributed for consistent flavor. Next, gently pour the frothy, activated yeast mixture directly into the bowl with the flour and salt. Using a sturdy spoon or a Danish dough whisk, mix everything together until all the flour is fully absorbed and a shaggy, cohesive dough forms. Remember, there’s no vigorous kneading required here – just a simple mix until well combined is all it takes to prepare this easy homemade bread.
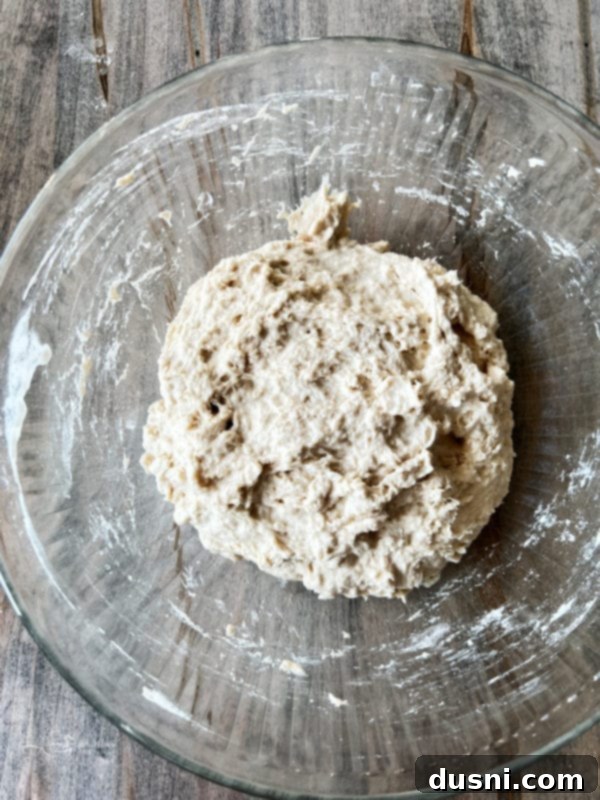
Step 3: The First Rise – Allowing the Dough to Develop Flavor and Volume
With your dough fully mixed and the flour completely absorbed, the magic of fermentation begins: it’s time for the dough to undergo its first rise. This crucial step allows the yeast to work, producing gases that give the bread its airy structure and developing its rich flavor profile. To facilitate this, cover the bowl tightly with a clean tea towel or plastic wrap. Place the covered bowl in a warm, draft-free, and ideally slightly humid area. A warm spot is key for an efficient rise. In a comfortably warm environment, your dough should typically double in size within one to one and a half hours. If your kitchen is cooler, don’t worry – the rise might take a bit longer, up to two hours, but the results will be just as delicious. Patience is a virtue in bread making!
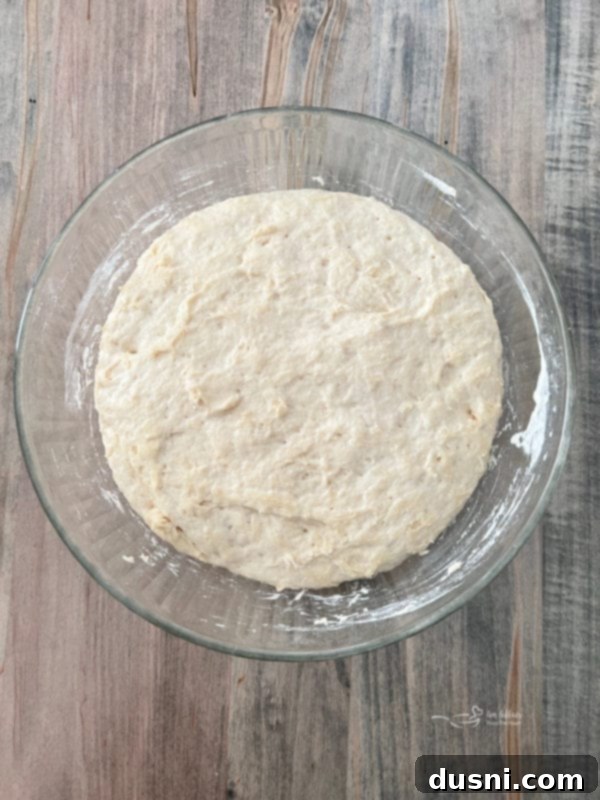
Step 4: Preparing for Baking – Punching Down and Dividing the Dough
As the dough finishes its first rise, begin preheating your oven to a robust 425 degrees Fahrenheit (220°C). This high initial temperature is key for developing that signature crust. Simultaneously, prepare your baking vessels: generously grease two oven-safe glass bowls, such as one-quart Pyrex dishes, with softened butter. Don’t be shy with the butter; this not only prevents sticking but also contributes significantly to the gorgeous golden color and buttery flavor of the finished peasant bread.
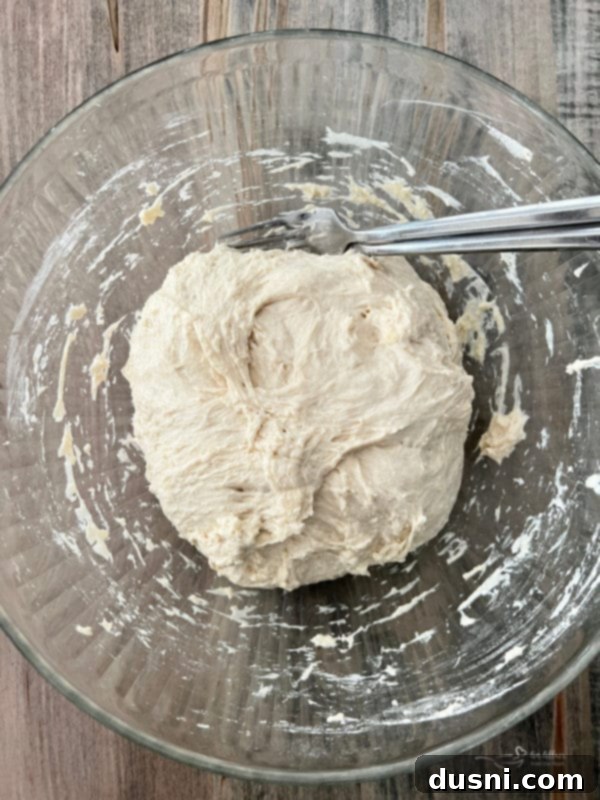
Now, return to your risen dough. Using two forks (smaller ones work best for this), gently but firmly push down the dough to deflate it. Then, scrape the dough from the sides of the bowl, gathering it towards the center. You’ll want to turn the dough onto itself a few times, gently folding it to create some tension and ensure it’s a cohesive mass. Once it’s loosened entirely from the sides of the bowl, use your two forks to divide the dough into two approximately equal portions. This method allows for minimal handling, preserving the airy texture. Carefully transfer each half of the dough into the prepared, buttered Pyrex bowls. They’ll look small in the bowls, but they’re about to undergo another transformation!
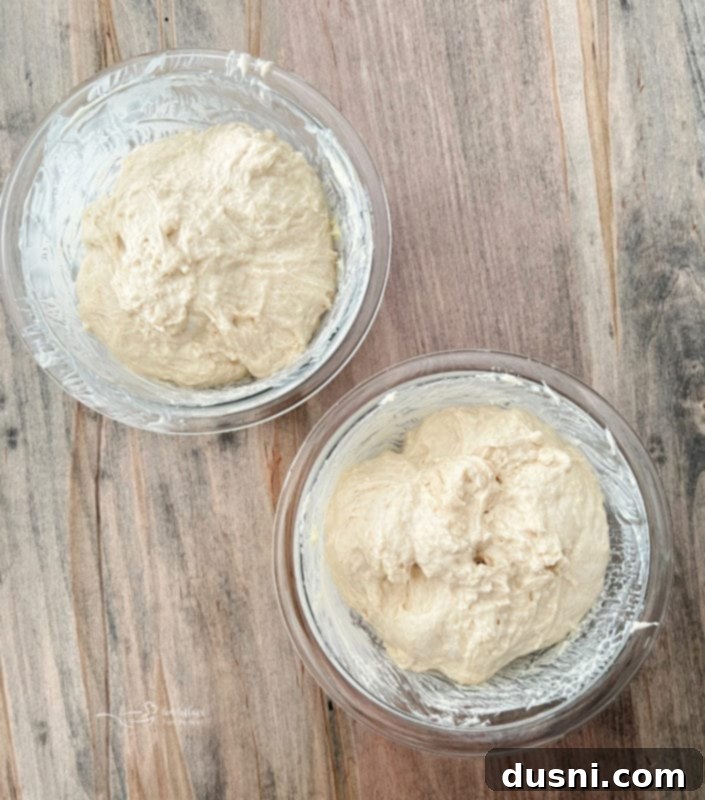
Step 5: The Crucial Second Rise for Ultimate Fluffiness
The second rise, often called the “proof” or “final proof,” is absolutely vital for achieving the perfectly fluffy and exceptionally soft crumb that characterizes this buttery peasant bread. This shorter rise allows the dough to relax, develop more air pockets, and expand once more before baking.
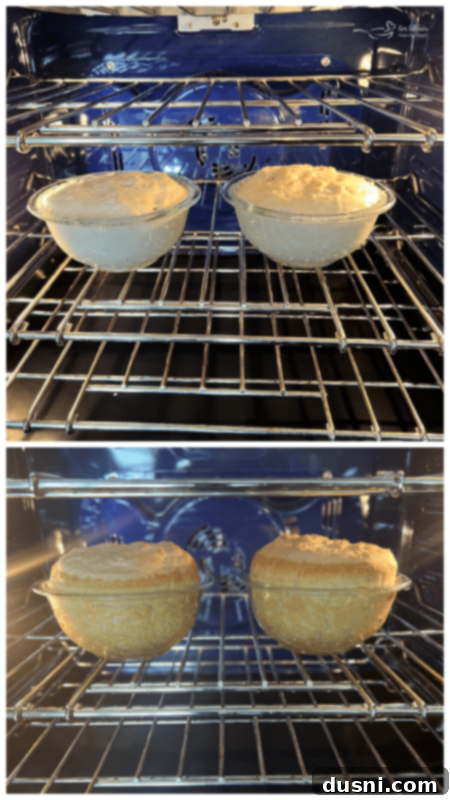
With the divided dough now nestled in its buttered Pyrex bowls, allow it to rise for a second time in a warm, draft-free location. This rise is typically quicker than the first, requiring only about 20 to 30 minutes. An excellent spot for this second rise is on top of or directly adjacent to your preheating oven – the residual warmth provides an ideal environment. Keep an eye on the dough: it should expand until it reaches just at or slightly above the tops of the bowls. This indicates it’s perfectly proofed and ready to be transformed into golden, crusty loaves.
Step 6: Baking Your Perfectly Crusty Peasant Bread
The moment of truth has arrived! Carefully place your Pyrex bowls containing the risen dough into the preheated 425°F (220°C) oven. This initial high heat is crucial for creating that beautiful oven spring and establishing the rustic, crackly crust. Bake at this temperature for exactly fifteen minutes.
After the initial 15 minutes, reduce the oven temperature to 375 degrees Fahrenheit (190°C) and continue baking for another fifteen minutes. This two-stage baking process is a secret to success: the high initial heat ensures a great crust, while the reduced temperature allows the interior of the bread to cook through gently and evenly, guaranteeing that the crumb remains incredibly moist, soft, and tender. You’ll be rewarded with a gorgeously golden-brown loaf with an irresistible aroma filling your kitchen.
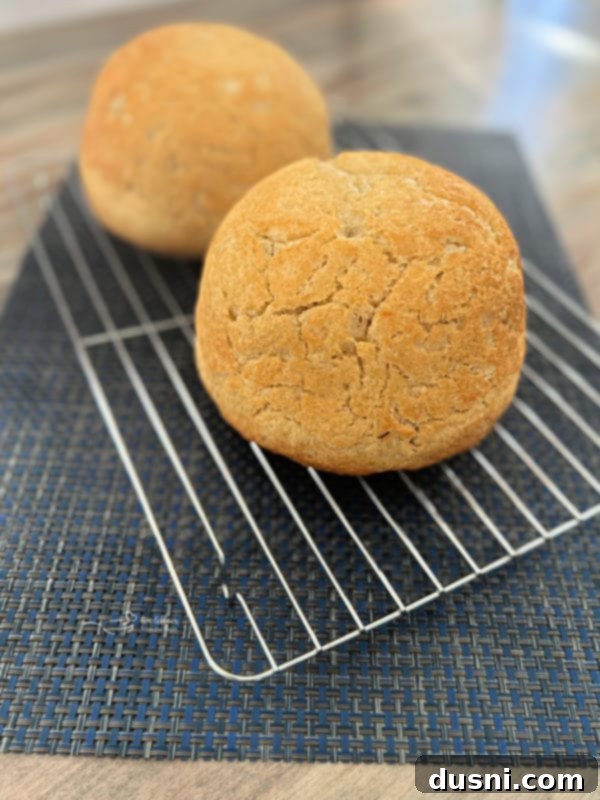
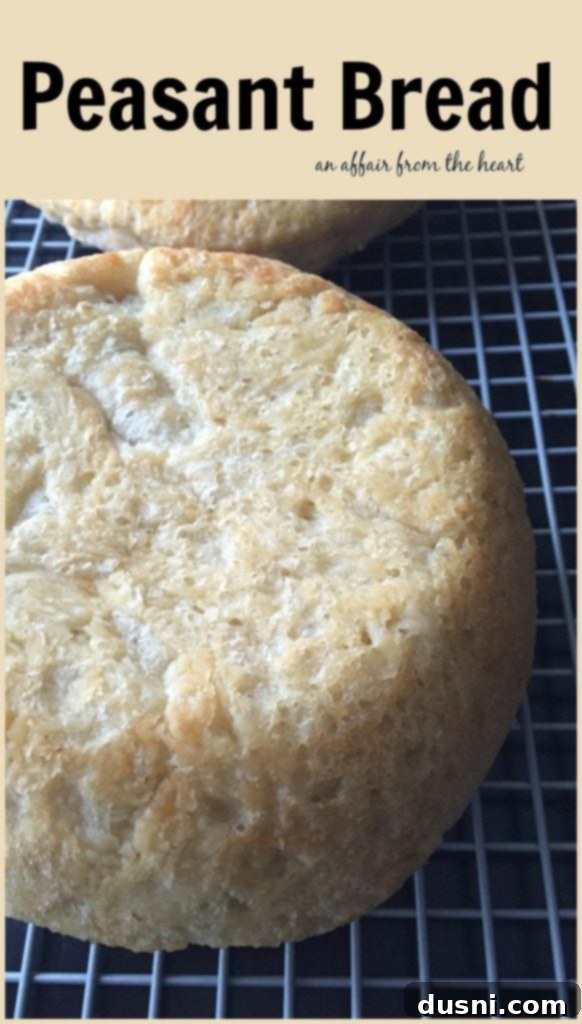
Once baked to perfection, carefully remove the bowls from the oven. Immediately, turn the warm loaves out onto wire cooling racks. It might be tempting to slice into your beautiful homemade bread right away, but resist! Allowing the bread to cool for at least ten minutes (or even longer for best results) is essential. This cooling period allows the internal structure of the bread to set properly, preventing it from crumbling when sliced and ensuring a clean, perfect cut every time. Enjoy the anticipation – it’s worth the wait for this ultimate peasant-style bread.
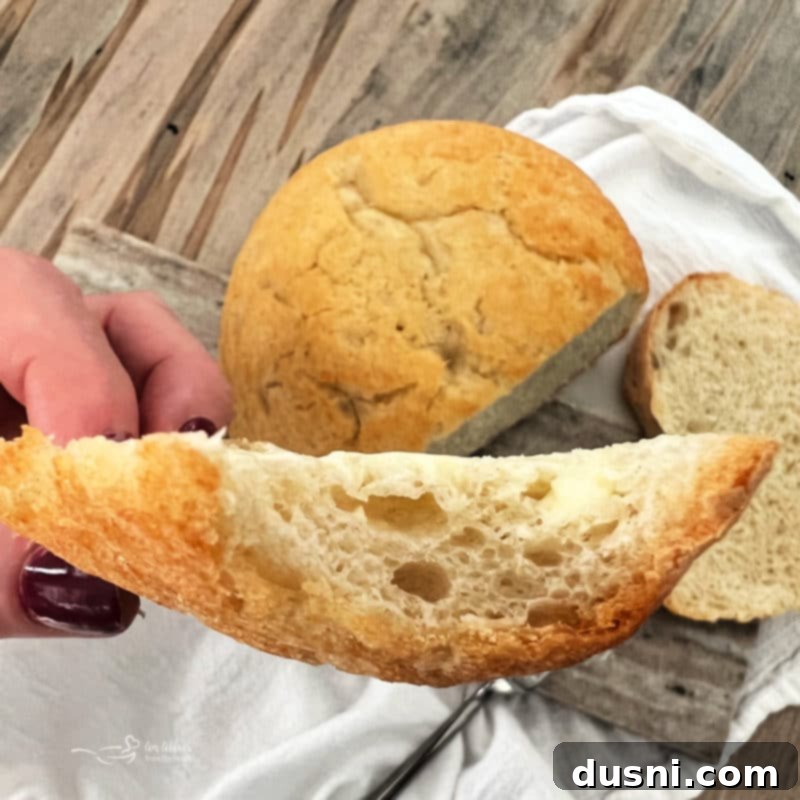
This truly is the easiest, most buttery, and utterly delicious bread, perfectly baked in a Pyrex bowl. It’s quite possibly the most perfect homemade bread you’ll ever make.
Expert Tips for Enjoying Your Homemade Peasant Bread
This buttery soft, crusty peasant bread is incredibly versatile and delicious in countless ways. Here are some of my top tips for making the most of your freshly baked loaves:
- Serve it Simply: The exquisite flavor of this homemade soft bread recipe truly shines when enjoyed simply. Spread slices with your favorite sweet or savory additions like homemade jams, luscious jellies, or delightful preserves, honey and butter, and other gourmet spreads. Consider using high-quality butter and a sprinkle of sea salt for an elevated experience.
- Versatile Meal Companion: This no-knead bread is more than just a side dish! Its robust structure and soft crumb make it ideal for a variety of uses. Transform it into trendy avocado toast for a nutritious breakfast, create classic, comforting PB&Js for lunch, or elevate your morning with the best French toast you’ve ever tasted. Of course, it’s also perfect for simply toasting and enjoying with your morning coffee or tea, perhaps with a poached egg.
- Repurpose Leftovers into Croutons: Don’t let a single crumb of this delicious bread go to waste! Any leftover peasant bread that might be a day or two old is perfect for making your very own homemade croutons. Simply cube the bread, toss with olive oil and your favorite herbs and spices like garlic powder, oregano, or paprika, then bake or pan-fry until golden and crispy. They’re far superior to store-bought varieties and add a wonderful crunch to salads and savory soups.
- Optimal Storage for Freshness: To maintain the freshness and delightful texture of your freshly baked peasant bread, it’s best to store any leftovers in an airtight container or a clean bread bag at room temperature. Properly stored, it will remain wonderfully delicious for up to four days. Avoid refrigerating bread, as this can often dry it out and alter its texture. For prolonged freshness, consider cutting it into slices before storing.
- Freezing for Long-Term Enjoyment: If you’ve baked two loaves or simply want to enjoy this incredible bread over a longer period, it freezes exceptionally well. Allow the bread to cool completely, then slice it or keep it as a whole loaf. Wrap it tightly in plastic wrap, then place it in a freezer-safe bag or aluminum foil. It can be stored in the freezer for up to three months. When you’re ready to enjoy it again, simply transfer the frozen bread to the refrigerator to thaw overnight, or for quicker results, you can lightly toast individual slices directly from frozen, making it as good as fresh.
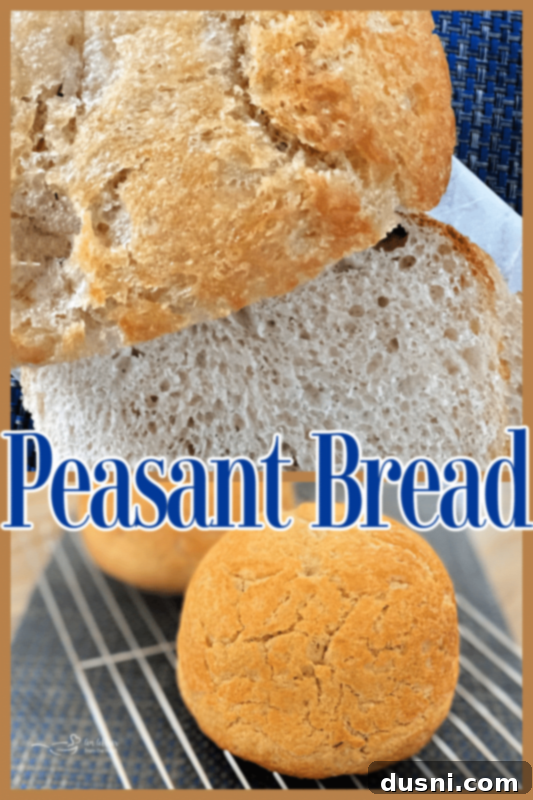
Love It? Pin It!
Don’t let this amazing recipe get lost in the digital ether! Make sure you can easily find this delightful peasant bread recipe whenever the craving strikes to whip up some more of this yummy homemade bread. Pin it to your favorite Pinterest board before you go and share the deliciousness with your friends!

A little anecdote from the original post: when I first shared this recipe, I included a whimsical instruction to “Pause momentarily to kiss the nose of your audience.” That instruction was inspired by my very own kitchen companion.
This adorable pup is Theo, our beloved boxer. In this photo, he was just 12 weeks old, already establishing himself as my loyal kitchen sidekick. Theo has always possessed an uncanny nose for all things delicious, showing particular curiosity whenever whipped cream or, especially, homemade bread is being prepared!
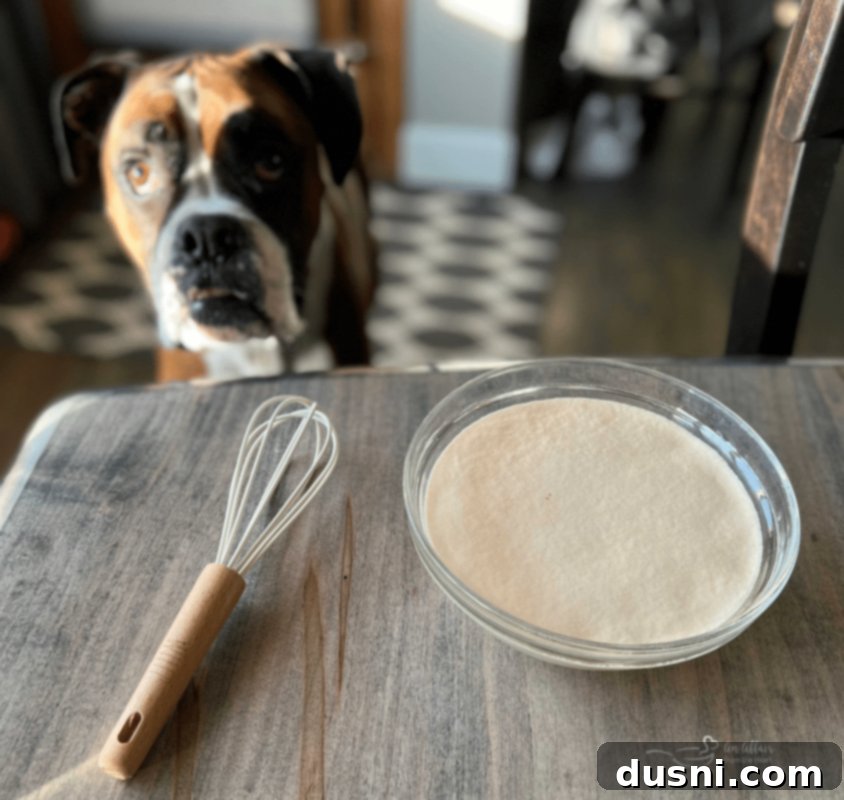
Fast forward six years, and here he is, still diligently “guarding” the yeast for Mom. He truly is the best boy, always a comforting presence in the kitchen as these wonderful homemade bread recipes come to life.
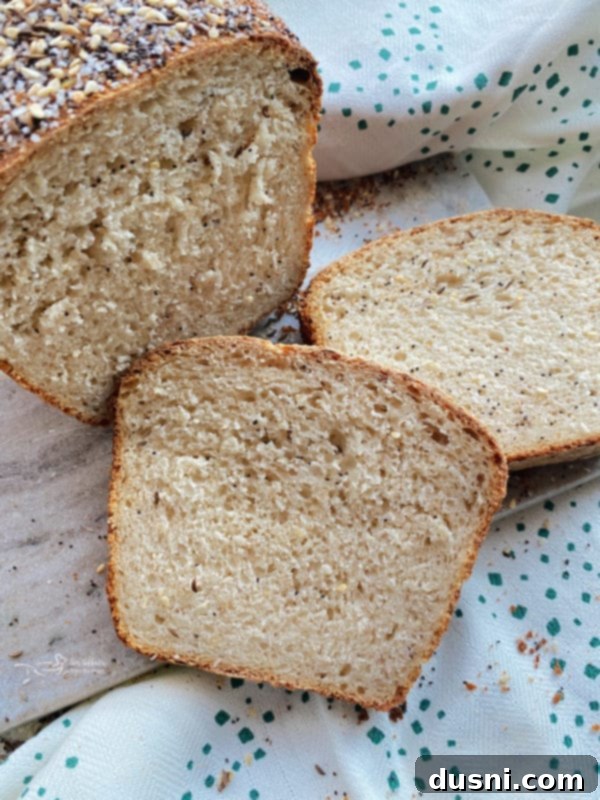
Discover More Irresistible Bread Recipes You’ll Adore
If you’ve fallen in love with making this simple peasant bread, you’re in for a treat! There’s a whole world of delightful bread recipes waiting for you to explore. From savory to sweet, these bakes are perfect for any occasion:
- Everything Sauerkraut Bread (pictured above) – A unique and flavorful twist on traditional bread.
- Crack Bread – An addictively cheesy and garlicky pull-apart bread.
- Lemon Sweet Rolls – Bright, zesty, and perfectly sweet for breakfast or brunch.
- Honey Cornbread Recipe – A classic, moist, and subtly sweet cornbread.
- Lemon Blueberry Sweet Rolls – A delightful combination of citrus and berries in a soft roll.
- Irish Soda Bread – A quick and traditional rustic bread, no yeast required.
- Cheesy Bacon Pull Apart Bread – The ultimate savory bread for sharing (or not!).
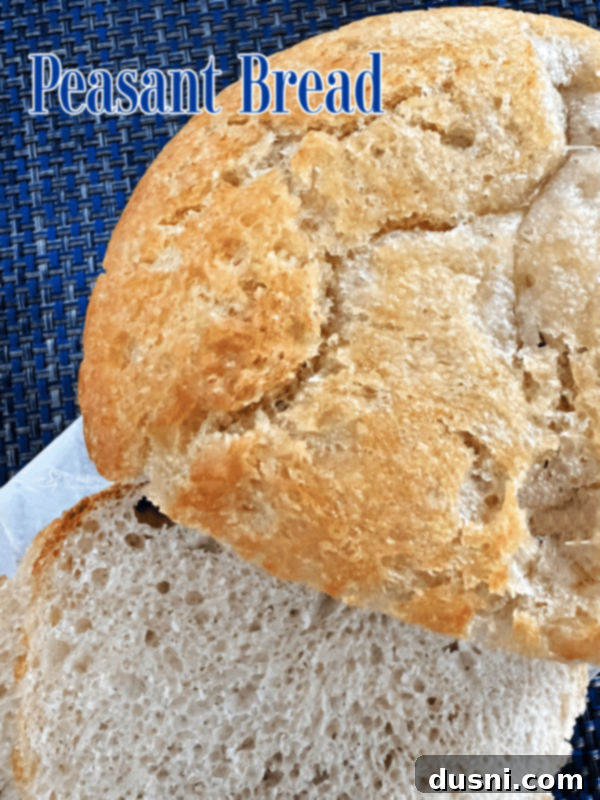
Now, let’s get baking and create some truly incredible Peasant Bread! 
LIKE THIS RECIPE?
Don’t forget to give it a ⭐️⭐️⭐️⭐️⭐️ star rating and
leave a comment below the recipe!

Print Recipe
Peasant Bread
Ingredients
- 4 cups all-purpose UNBLEACHED Flour
- 2 teaspoons kosher salt
- 2 cups lukewarm water **Tip from Alexandra: add 1 1/2 cups cold water to 1/2 cup boiling water to have the perfect temperature
- 2 to 3 teaspoons sugar I used 2 1/2
- 2 teaspoons active-dry yeast
- 2 Tablespoons butter room temperature
Instructions
-
Mixing the dough: If using active-dry yeast: Dissolve the sugar into the water, in a small bowl. Sprinkle the yeast over top. (no need to stir) Let it stand for about 10 to 15 minutes or until the mixture is foamy. — this step ensures that the yeast is active. In a large bowl, whisk together flour and salt. When yeast/water/sugar mixture is foamy, stir it up, and add it to the flour bowl. Mix until the flour is absorbed. ** If you are using instant yeast: In a large mixing bowl, whisk together the flour, salt, sugar, and instant yeast. Add the water. Mix until the flour is absorbed.
-
Rising Dough: Cover bowl with a tea towel or plastic wrap and set aside in a warm place to rise for 1 – 1 1/2 hours. (If you are letting the bread rise in a cool place, it can take as long as two hours to rise.) ** Tip from Alexandra: Create a slightly warm spot for your bread to rise by turning the oven on to 350 degrees for a minute, then turn it off. Note: Do not allow the oven to heat for more than 1 minute — it will be too hot. Place bread in warm(ish)oven to rise.
-
Dividing Dough: Preheat the oven to 425ºF. Grease two oven-safe glass bowls (such as a 1 quart pyrex) with about a tablespoon of butter each. Using two (smaller sized) forks, punch down your dough and scrape it from the sides of the bowl. Turning dough onto itself towards the middle. Loosen entirely from the sides of the bowl. Using your two forks, divide the dough into two equal portions — scoop up each half and place into your buttered bowls.
-
Second Rise: Let the dough rise for about 20 to 30 minutes (uncovered) in a warm place. (If your stove top is over your oven place it on your stove top, this will work great. I have a wall oven, so I just placed mine on the counter next to the oven) Let it rise until just below or slightly above (depending on what size bowl you are using) the top of the bowls.
-
Baking the bread: Place bowls in oven, and bake for 15 minutes. Reduce the heat to 375º and bake 15 minutes longer. Remove from oven and turn loaves onto a cooling rack. Cool for 10 minutes before slicing..
Notes
Nutrition
This homemade peasant bread recipe was originally posted on January 23, 2016. It has been thoroughly updated and expanded to improve user experience, enhance clarity, and optimize for SEO, then reshared on January 21, 2022.
