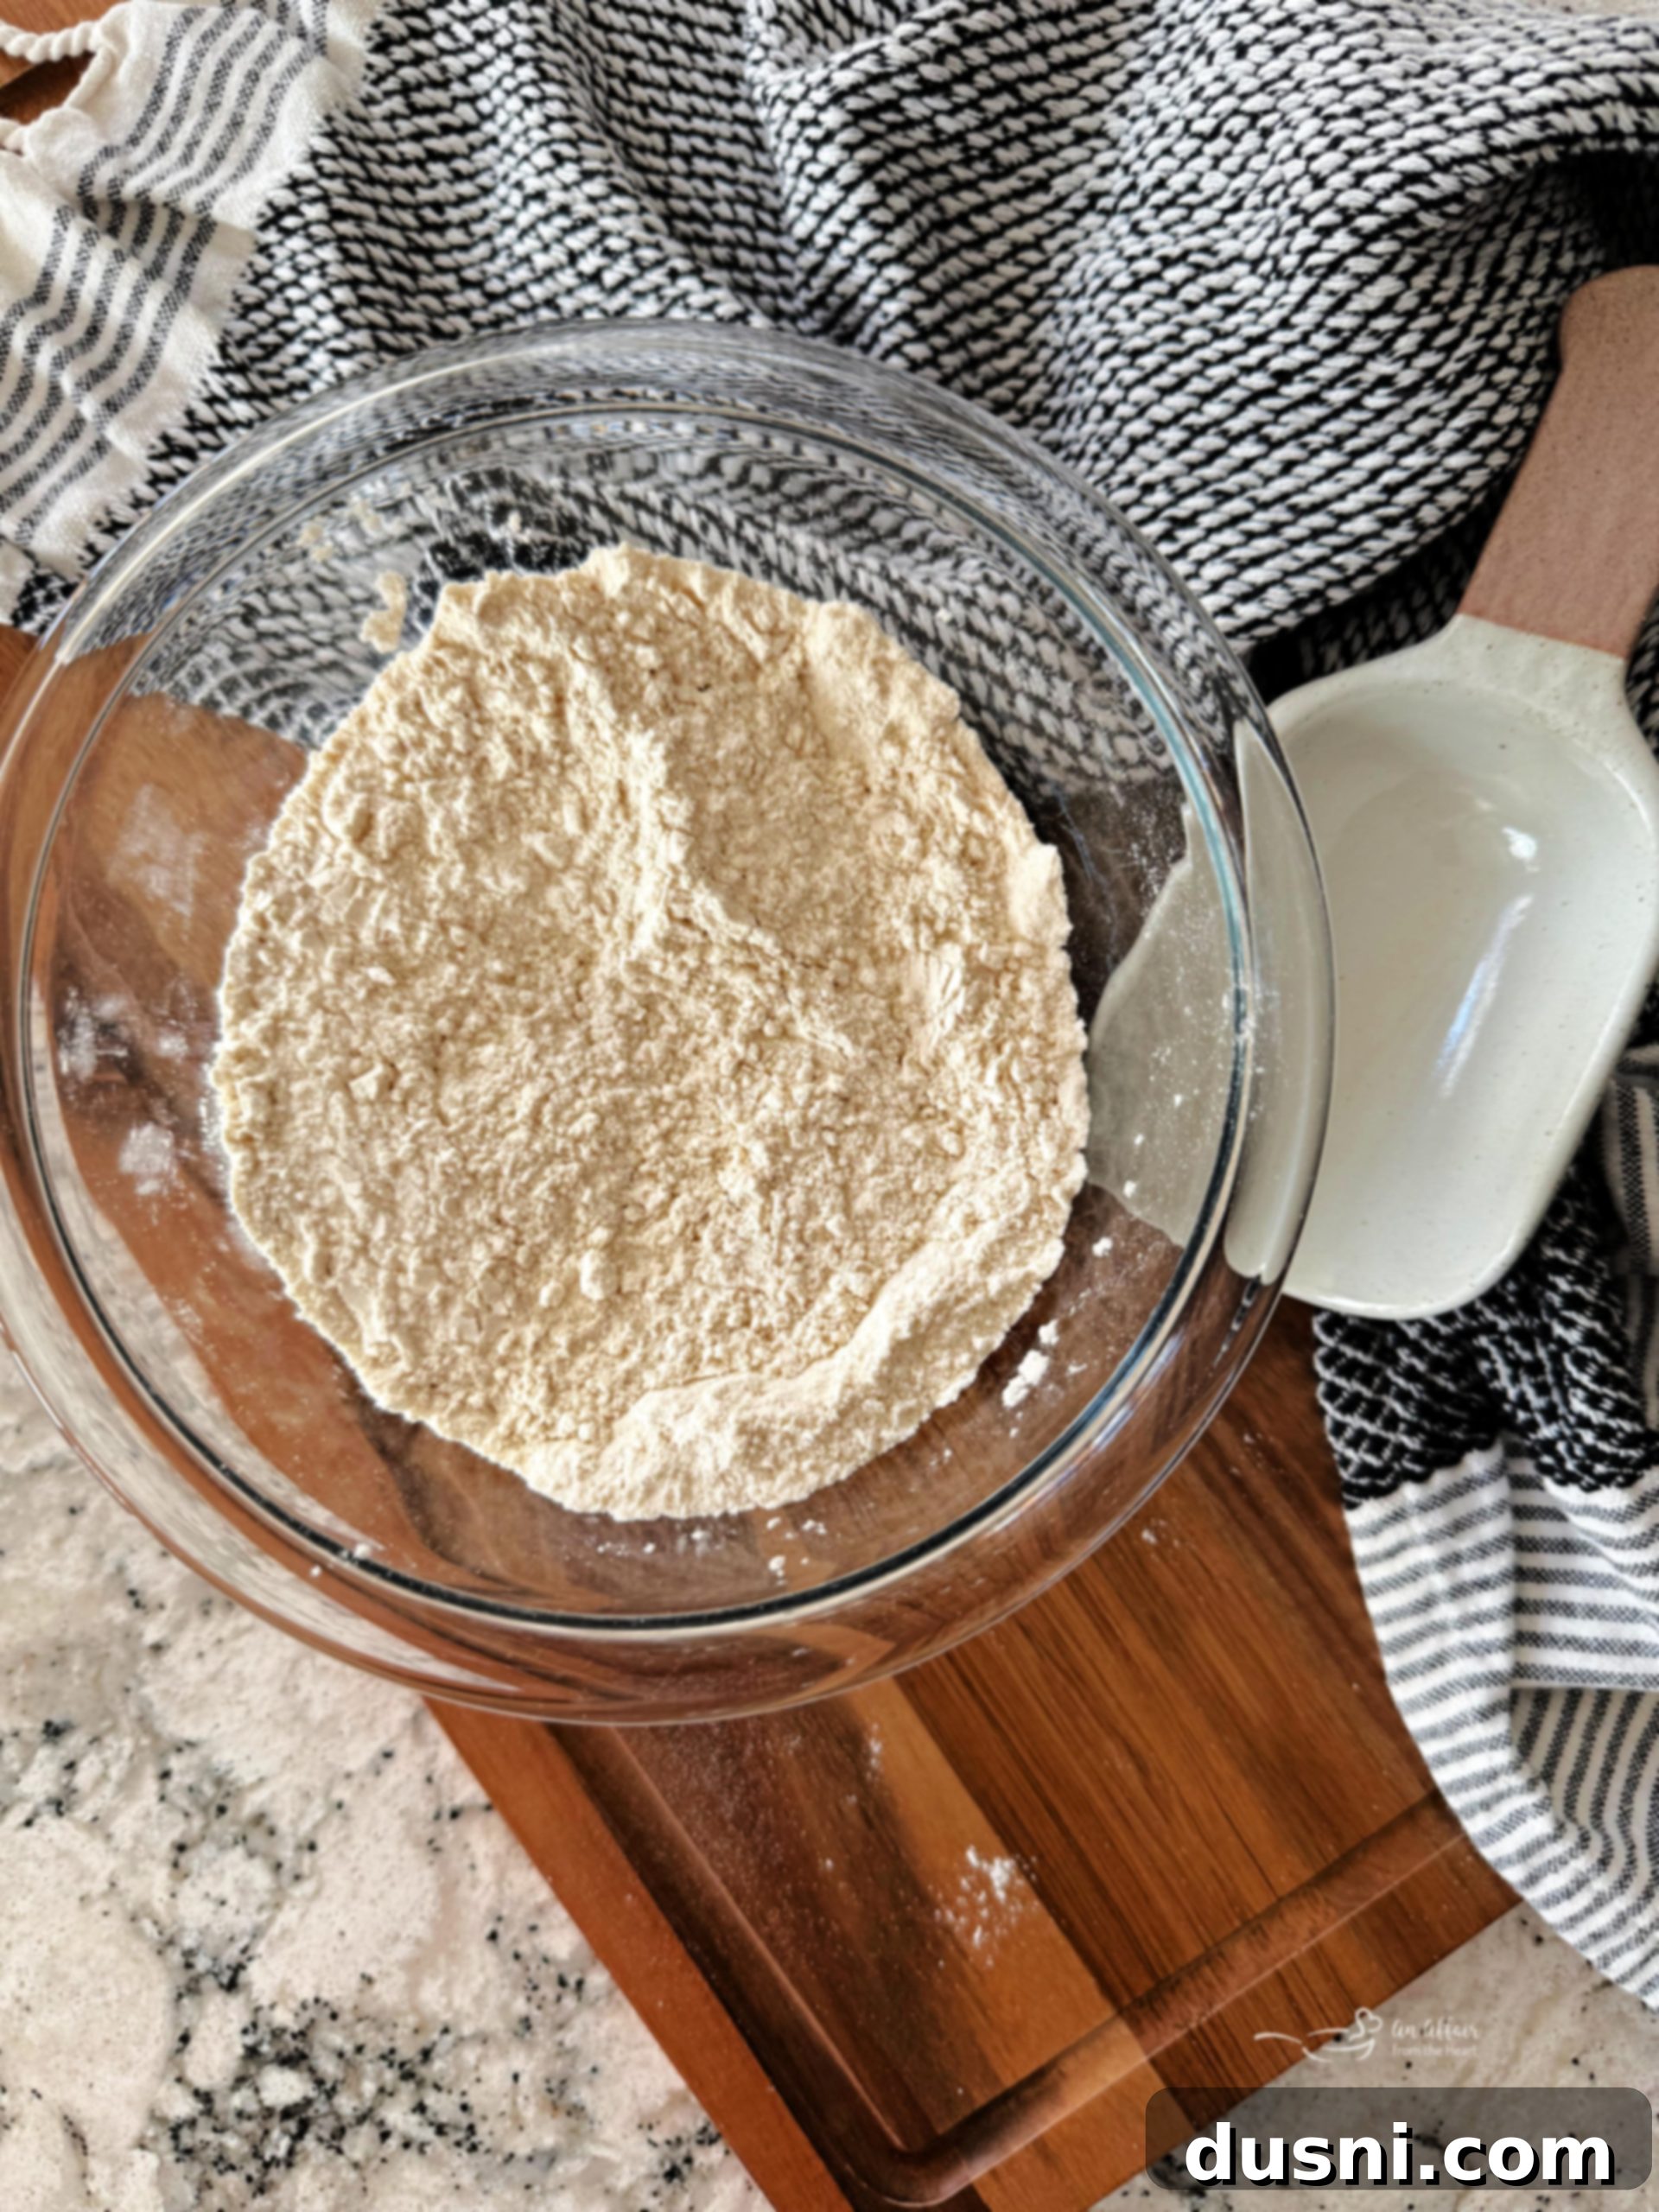
Ultimate Guide to Homemade Self-Rising Flour: Easy DIY Recipe & Baking Tips
There’s an undeniable satisfaction that comes from crafting your own pantry staples. Among these, homemade self-rising flour stands out as a true kitchen hero. Many beloved baking recipes, from fluffy biscuits to tender cakes, specifically call for this convenient ingredient. But what happens when you’re mid-recipe and realize your pantry is bare? Instead of a frantic run to the grocery store, you can effortlessly whip up your own self-rising flour substitute in minutes, using basic ingredients you likely already have on hand. This simple guide will show you how to master this essential baking trick, making your kitchen more efficient and your baking adventures smoother.
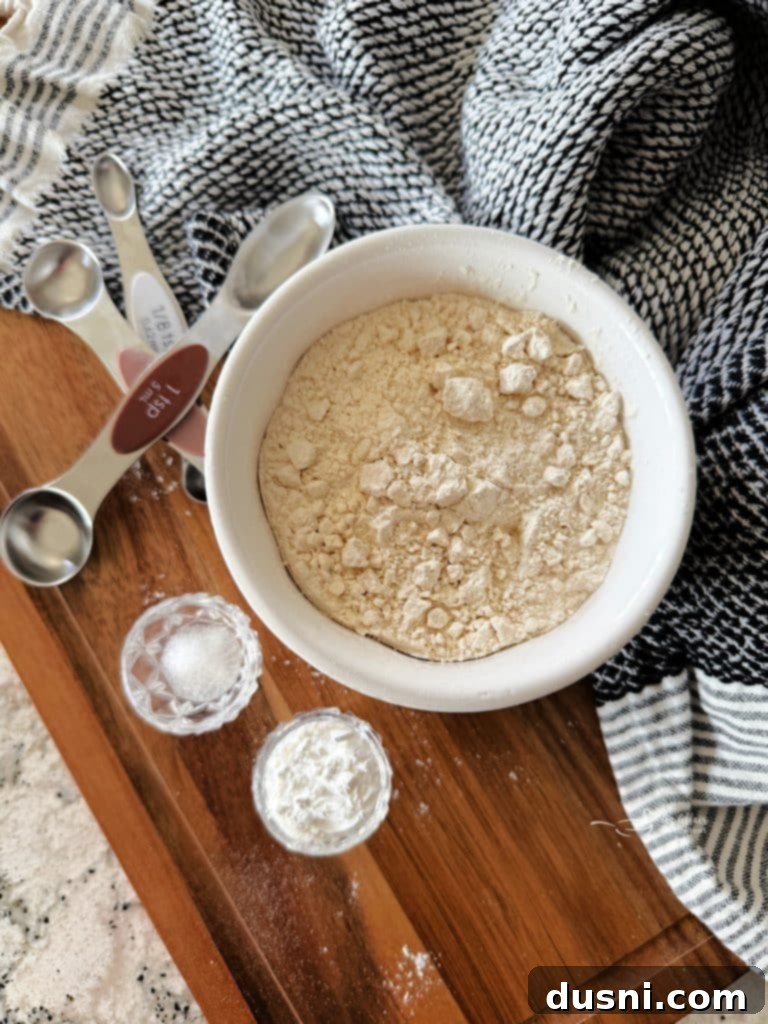
How to Transform All-Purpose Flour into Self-Rising Flour
Imagine this common scenario: your recipe confidently lists “self-rising flour,” but your pantry shelves offer no such item. Don’t despair! You don’t need to halt your baking plans or make an emergency grocery run. With just three common ingredients and a few simple steps, you can create a perfect self-rising flour substitute that performs just like its store-bought counterpart. It’s a game-changer for any home baker, offering convenience and control. This straightforward method is truly as easy as combining 1-2-3 ingredients!
What Exactly is Self-Rising Flour?
Self-rising flour is a pre-mixed convenience product, essentially a blend of three crucial baking components: plain white flour (typically all-purpose), a leavening agent (specifically baking powder), and a pinch of salt. This ingenious 3-in-1 ingredient simplifies many recipes, particularly those from Southern American cuisine, where it’s a staple for fluffy biscuits, pancakes, and quick breads. Its primary purpose is to provide lift and flavor without requiring the baker to measure out separate leavening agents like baking powder or baking soda. By having the leavening already incorporated, it reduces the number of extra ingredients you need to add, streamlines the mixing process, and helps ensure a consistent rise in your baked goods.
Why Make Your Own Homemade Self-Rising Flour?
While readily available in stores, there are several compelling reasons why making your own self-rising flour at home is a smart choice for any baker:
- Unbeatable Convenience: Never again get stuck mid-recipe because you don’t have self-rising flour. If you have all-purpose flour, baking powder, and salt – common pantry items – you’re always just moments away from having what you need.
- Cost-Effective: Buying individual ingredients and mixing them yourself is often more economical than purchasing pre-made self-rising flour, especially if you bake frequently.
- Freshness Factor: The potency of baking powder can diminish over time. By mixing your own in smaller batches, you ensure that your leavening agent is fresh and active, leading to better rises and lighter textures in your baked goods. Store-bought versions might sit on shelves longer.
- Ingredient Control: When you make it yourself, you know exactly what goes into your flour. This is particularly beneficial if you want to avoid certain additives or if you’re mindful of sodium intake (you can adjust the salt content).
- Dietary Adaptability: While all-purpose flour is standard, making your own allows you to experiment with different base flours, including gluten-free options, tailoring it to specific dietary needs or preferences.
- Empowerment in the Kitchen: Mastering this simple hack builds confidence in the kitchen and gives you a deeper understanding of how baking ingredients work together.
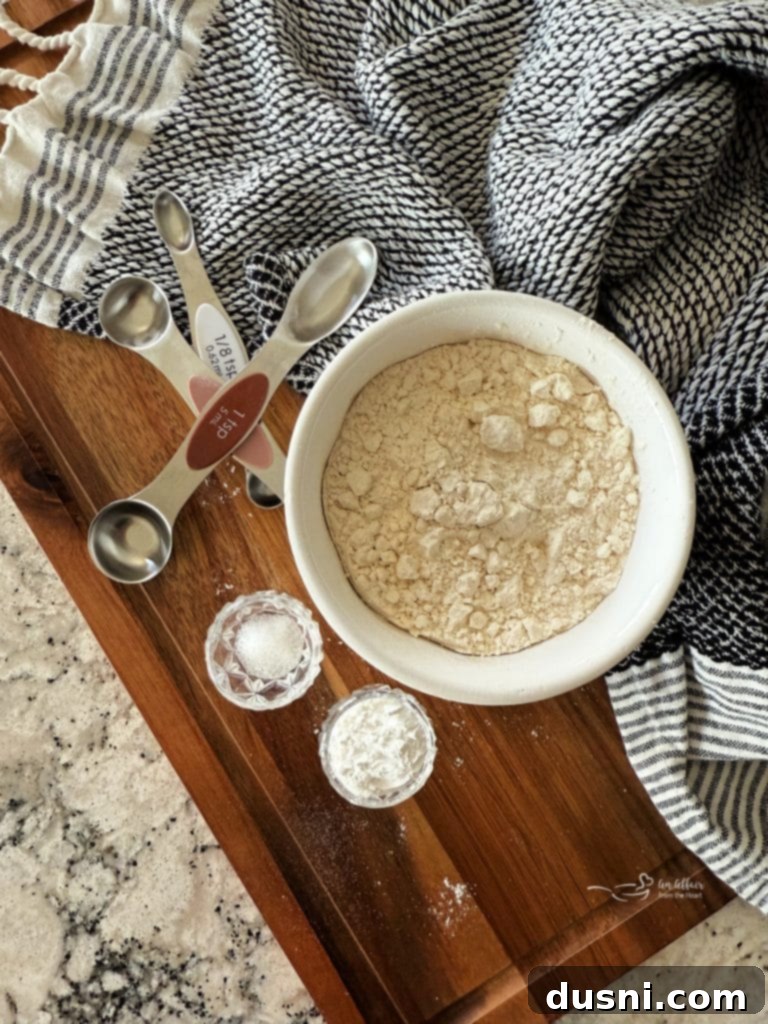
What Type of Flour Can I Use to Make Homemade Self-Rising Flour?
The beauty of making your own self-rising flour lies in its adaptability. While most commercial self-rising flours use a soft wheat flour (which has lower protein content), you have the flexibility to experiment with different base flours to suit your baking needs and preferences. Here are the most common and suitable types:
- All-Purpose Flour (Plain Flour): This is by far the most common and recommended flour for making your own self-rising blend. Its moderate protein content makes it incredibly versatile, suitable for a wide range of baked goods, from fluffy pancakes to tender cakes and quick breads. It provides a good balance of structure and tenderness.
- Pastry Flour (or Cake Flour): These flours have a lower protein content than all-purpose flour, resulting in a more delicate, tender crumb. If you’re aiming for exceptionally light biscuits, scones, or cakes, pastry or cake flour can be an excellent choice for your homemade self-rising blend. Just be aware that the final texture will be softer.
- Bread Flour: Characterized by its higher protein content, bread flour develops more gluten, leading to a chewier texture. While not typically used for self-rising flour recipes (which often aim for tenderness), you *can* use it if it’s all you have. Expect a slightly denser and chewier result in your baked goods. It’s generally not recommended for delicate items like biscuits.
- Whole Wheat Flour: For a more rustic, wholesome flavor and added fiber, whole wheat flour can be used. However, it’s important to note that whole wheat flour is denser and absorbs more liquid. Baked goods made with whole wheat self-rising flour will be heavier and may require slight adjustments to the liquid in your recipe to prevent them from becoming too dry. It also has a stronger flavor profile.
- Gluten-Free Flour Options: If you need a gluten-free alternative, you can absolutely create a self-rising version. Popular gluten-free flours include:
- Almond Flour: Often used for its low carb content and nutty flavor, but it behaves very differently from wheat flour. It’s best used in recipes specifically designed for almond flour, and the leavening ratio might need adjustment.
- Rice Flour (White or Brown): A common gluten-free staple, it can be used, but it might lead to a grittier texture. It’s often best used in a blend with other gluten-free flours.
- Gluten-Free All-Purpose Blend: Many brands offer pre-mixed gluten-free all-purpose flour blends designed to behave similarly to wheat flour. These are often the best starting point for a gluten-free self-rising flour, as they already contain a mix of flours and starches for optimal texture. Always check if the blend already contains a leavening agent before adding more.
When using gluten-free flours, especially single-ingredient ones, you might need to adjust the amount of baking powder slightly and consider adding a binder like xanthan gum to your overall recipe if the gluten-free flour blend doesn’t already contain it, to help with structure.
No matter which flour you choose, ensure it’s fresh and stored properly for the best results in your homemade self-rising blend.
Essential Ingredients for Your Self-Rising Flour Recipe
This recipe for homemade self-rising flour couldn’t be simpler, requiring just three foundational ingredients you likely keep in your pantry. For precise measurements and step-by-step instructions, make sure to scroll down to the bottom of this post for the full printable recipe card.
- All-Purpose Flour: This forms the bulk of your self-rising flour. It’s a versatile wheat flour with a moderate protein content, making it suitable for a wide array of baked goods.
- Baking Powder: The crucial leavening agent. When combined with liquid and heat, baking powder produces carbon dioxide gas, creating bubbles that cause your baked goods to rise and become light and airy. It’s a blend of an acid, a base (baking soda), and a starch.
- Salt: A small amount of salt enhances the flavor of your baked goods, balancing sweetness and bringing out the natural tastes of other ingredients. It also plays a role in strengthening the gluten structure, contributing to a better texture.
Simple Instructions for How to Make Self-Rising Flour
Creating your own self-rising flour is a quick and straightforward process. The key to success is ensuring all ingredients are thoroughly combined for even distribution of the leavening agent.
Step 1: Gather Your Ingredients.
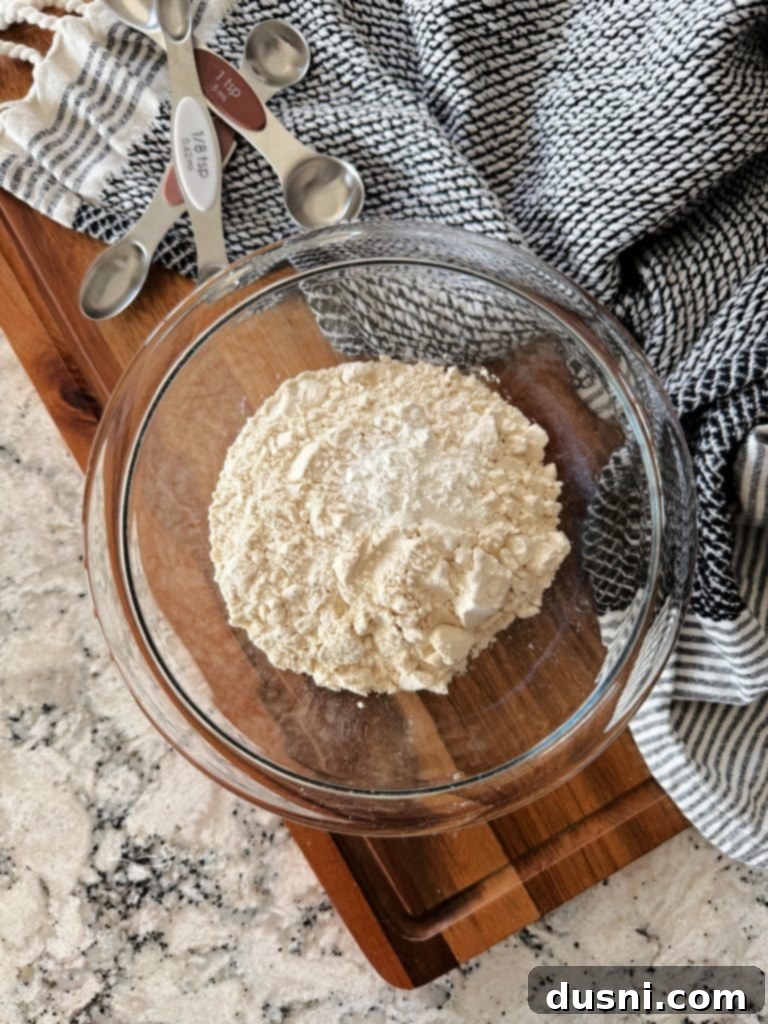
Before you begin, measure out your all-purpose flour, baking powder, and salt. Accuracy is important here, especially for the baking powder. For one cup of self-rising flour, you’ll typically need 1 cup of all-purpose flour, 1 ½ teaspoons of baking powder, and ¼ teaspoon of fine salt.
Step 2: Combine and Mix Thoroughly.
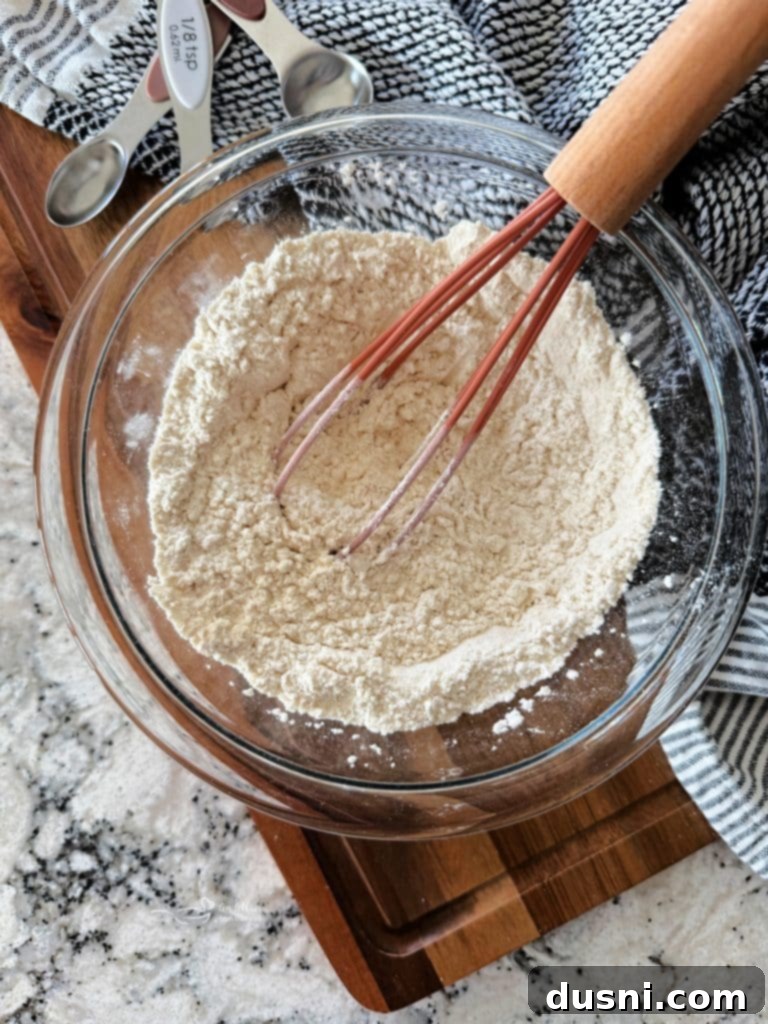
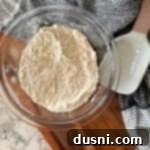
In a medium-sized bowl, add the measured flour, baking powder, and salt. The most effective way to combine these ingredients is by sifting them together. Sifting not only ensures the leavening agent and salt are evenly distributed throughout the flour but also aerates the flour, which can lead to a lighter, fluffier end product. If you don’t have a sifter, you can use a whisk. Vigorously whisk the mixture for at least 30-60 seconds, ensuring there are no lumps and the salt and baking powder are completely integrated. This thorough mixing is crucial for uniform rising in your baked goods.
Step 3: Use in Your Favorite Recipes.
Once your homemade self-rising flour is mixed, it’s ready to be used immediately in any recipe that calls for it! Simply substitute it cup for cup. The beauty of this blend is that you now have a versatile baking ingredient at your fingertips, saving you time and a trip to the store. Scroll down a bit further for some delicious recipe suggestions where your freshly made self-rising flour will shine!
Love This Recipe? Pin It for Later!
If you found this recipe for Homemade Self-Rising Flour incredibly useful and plan to use it in your future baking endeavors, don’t let it get lost in your bookmarks! Make sure to save it for easy access later. Pin it to your favorite Pinterest recipe board, whether it’s for “Baking Hacks,” “Pantry Staples,” or “Essential Recipes.” Sharing is caring, and pinning helps others discover this fantastic kitchen trick too!
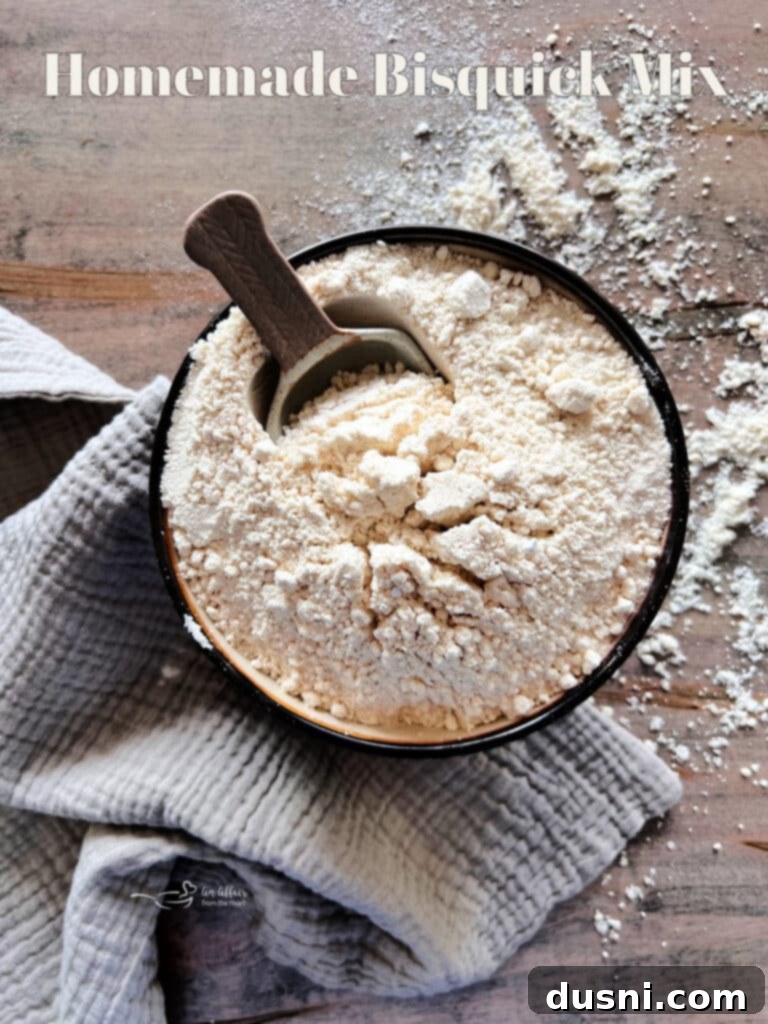
More “How To” Guides by An Affair From the Heart
If you’ve enjoyed learning this invaluable kitchen hack, you’re in for a treat! This self-rising flour tutorial is just one piece of a much larger puzzle. I’ve dedicated an entire “How To” Section on my website, brimming with practical guides and clever tricks to make you a more confident and capable home cook.
Dive into a world of homemade seasoning recipes, where you can learn to create your own signature blends like chili seasoning, aromatic pumpkin pie spice, classic apple pie spice, and flavorful homemade taco seasoning. Beyond seasonings, I also cover essential baking techniques and ingredient substitutions, such as how to blind bake a pie crust, smart ways to freeze and use ripe bananas, how to effortlessly make your own Bisquick mix, and a simple guide on how to make a buttermilk substitute. These “how-to” posts are designed to demystify cooking and baking, making complex processes accessible and enjoyable.
Explore all my insightful “How To’s Here” and elevate your culinary skills today!
Substitutions and Variations for Your Homemade Blend
While the standard recipe for self-rising flour uses all-purpose flour, baking powder, and salt, there’s room for customization to suit various dietary needs or flavor preferences:
- Flour Alternatives: As discussed earlier, all-purpose flour is the ideal choice for its balanced protein content. However, you can certainly experiment with other types. For a lighter, more tender crumb, consider using pastry flour or cake flour. For a denser, chewier texture, bread flour can be used, though it might not be suitable for all recipes. If you’re looking for a gluten-free option, a commercial gluten-free all-purpose flour blend is usually the most reliable substitute, followed by single-ingredient flours like rice flour or almond flour, which may require further recipe adjustments.
- Salt Variations: The type of salt you use can subtly impact the flavor and requires careful measurement. While fine table salt is typically recommended for its even distribution, you can also experiment with other salts:
- Kosher Salt: Has a coarser grain, so if substituting for table salt, you’ll need to use more by volume (e.g., about 1.5 to 2 times the amount) to achieve the same salinity. Always measure by weight if possible for accuracy.
- Fine Sea Salt: Similar to table salt in grind, so it can be substituted cup for cup.
- Pink Himalayan Salt: Can also be used, but ensure it’s finely ground to mix properly and avoid visible specks in your baked goods.
Remember that salt primarily acts as a flavor enhancer; its structural role is secondary. Ensure whatever salt you choose is finely ground to prevent uneven pockets of salt in your finished product.
Always consider the impact of these substitutions on the final texture and flavor of your baked goods, and don’t hesitate to do a small test batch if you’re trying a new combination.
Essential Tips & Tricks for Perfect Self-Rising Flour
To get the most out of your homemade self-rising flour and ensure consistent results in your baking, keep these helpful tips and tricks in mind:
- Achieve Optimal Mixing with a Sifter: The absolute best way to thoroughly combine your all-purpose flour, baking powder, and salt is by using a flour sifter. Sifting not only ensures that the leavening agent is perfectly distributed, preventing dense spots or uneven rises, but it also aerates the flour. This aeration contributes to a lighter, more tender crumb in your finished baked goods. If you don’t have a sifter, a balloon whisk can be a good alternative; just make sure to whisk vigorously for at least 1-2 minutes to ensure everything is fully incorporated.
- Batch Making and Proper Storage: If you anticipate needing self-rising flour frequently or in larger quantities, you can certainly make a bigger batch. However, it’s crucial to store it correctly. The effectiveness of baking powder diminishes over time, especially when exposed to moisture and air.
- Airtight Container: Always store your homemade self-rising flour in an airtight container. This protects it from humidity and odors.
- Cool, Dark Place: Keep the container in a cool, dark pantry or cupboard, away from direct sunlight or heat sources, which can accelerate the degradation of the baking powder.
- Shelf Life: Aim to use your homemade self-rising flour within six months. After this period, the baking powder may lose its potency, resulting in baked goods that don’t rise as well.
- Testing Potency: To check if your baking powder (and thus your self-rising flour) is still active, mix a teaspoon of your homemade flour with a few tablespoons of warm water. If it fizzes vigorously, it’s good to go. If there’s little to no fizz, it’s time to make a fresh batch.
- Accurate Measurement: Always use the “spoon and level” method when measuring flour. Spoon the flour lightly into your measuring cup until it’s overflowing, then use a straight edge (like the back of a knife) to level off the top. Scooping directly with the measuring cup can compact the flour, leading to too much flour and a dry, dense product.
- Salt Consideration: If your recipe calls for additional salt, remember that your homemade self-rising flour already contains some. You might want to slightly reduce the extra salt called for in the recipe, depending on your taste preference and the recipe’s requirements.
By following these tips, you’ll be able to create and use perfectly functional homemade self-rising flour every time, ensuring your baking projects are a success!
More Recipes to Love Using Self-Rising Flour
Now that you’ve mastered the art of making your own self-rising flour, it’s time to put your freshly mixed blend to good use! This versatile ingredient is the secret to many light, fluffy, and tender baked goods. Here are some wonderful recipes where your homemade self-rising flour will truly shine:
- Fluffy Biscuits: Self-rising flour is practically synonymous with light and airy Southern-style biscuits. Try it in these incredibly delicious cheesy drop biscuits for a savory treat that’s perfect with any meal.
- Moist Cakes: It’s fantastic for quick cakes that need a tender crumb. Whip up a delightful apple dapple cake, where the self-rising flour helps create a wonderfully soft texture infused with fruit.
- Nostalgic Treats: Recreate childhood favorites with ease. These homemade moon pies will bring a smile to everyone’s face, thanks to the perfect lift provided by your flour blend.
- Comforting Breakfasts: Elevate your breakfast or brunch with a delicious coffee cake. This sweet potato coffee cake is moist, flavorful, and incredibly satisfying, benefiting greatly from the consistent leavening of self-rising flour.
- Hearty Casseroles: Don’t limit self-rising flour to just sweet bakes! It’s excellent for savory dishes too. Use it to create light and fluffy dumplings in a comforting southern chicken and dumplings casserole. The self-rising flour ensures your dumplings are tender and provide the perfect complement to the rich, savory broth.
With your homemade self-rising flour, a world of effortless and delicious baking awaits!

LIKE THIS RECIPE?
Don’t forget to give it a ⭐️⭐️⭐️⭐️⭐️ star rating and
leave a comment below the recipe!
Print Recipe
Homemade Self Rising Flour
Ingredients
- 1 cup all-purpose flour
- 1 ½ teaspoons baking powder
- ¼ teaspoon salt
Instructions
-
In a medium bowl, combine the all-purpose flour, baking powder, and salt. Whisk vigorously for 1-2 minutes or, ideally, sift all three ingredients together multiple times to ensure they are thoroughly and evenly mixed. This crucial step guarantees consistent leavening throughout your baked goods.
-
Your homemade self-rising flour is now ready to use! Substitute it cup for cup in any recipe that specifically calls for self-rising flour. Enjoy the convenience and freshness of your DIY pantry staple!
