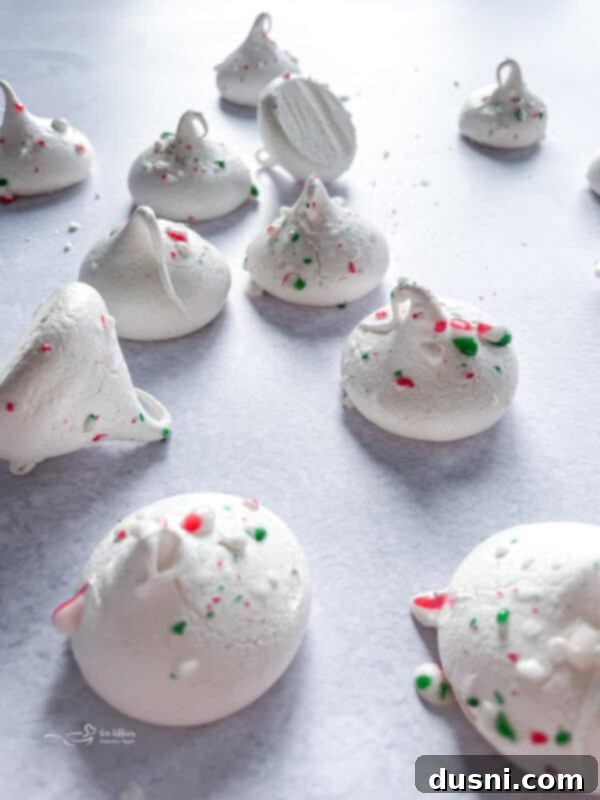
Delightful Peppermint Meringues: Your Ultimate Festive Cookie Guide
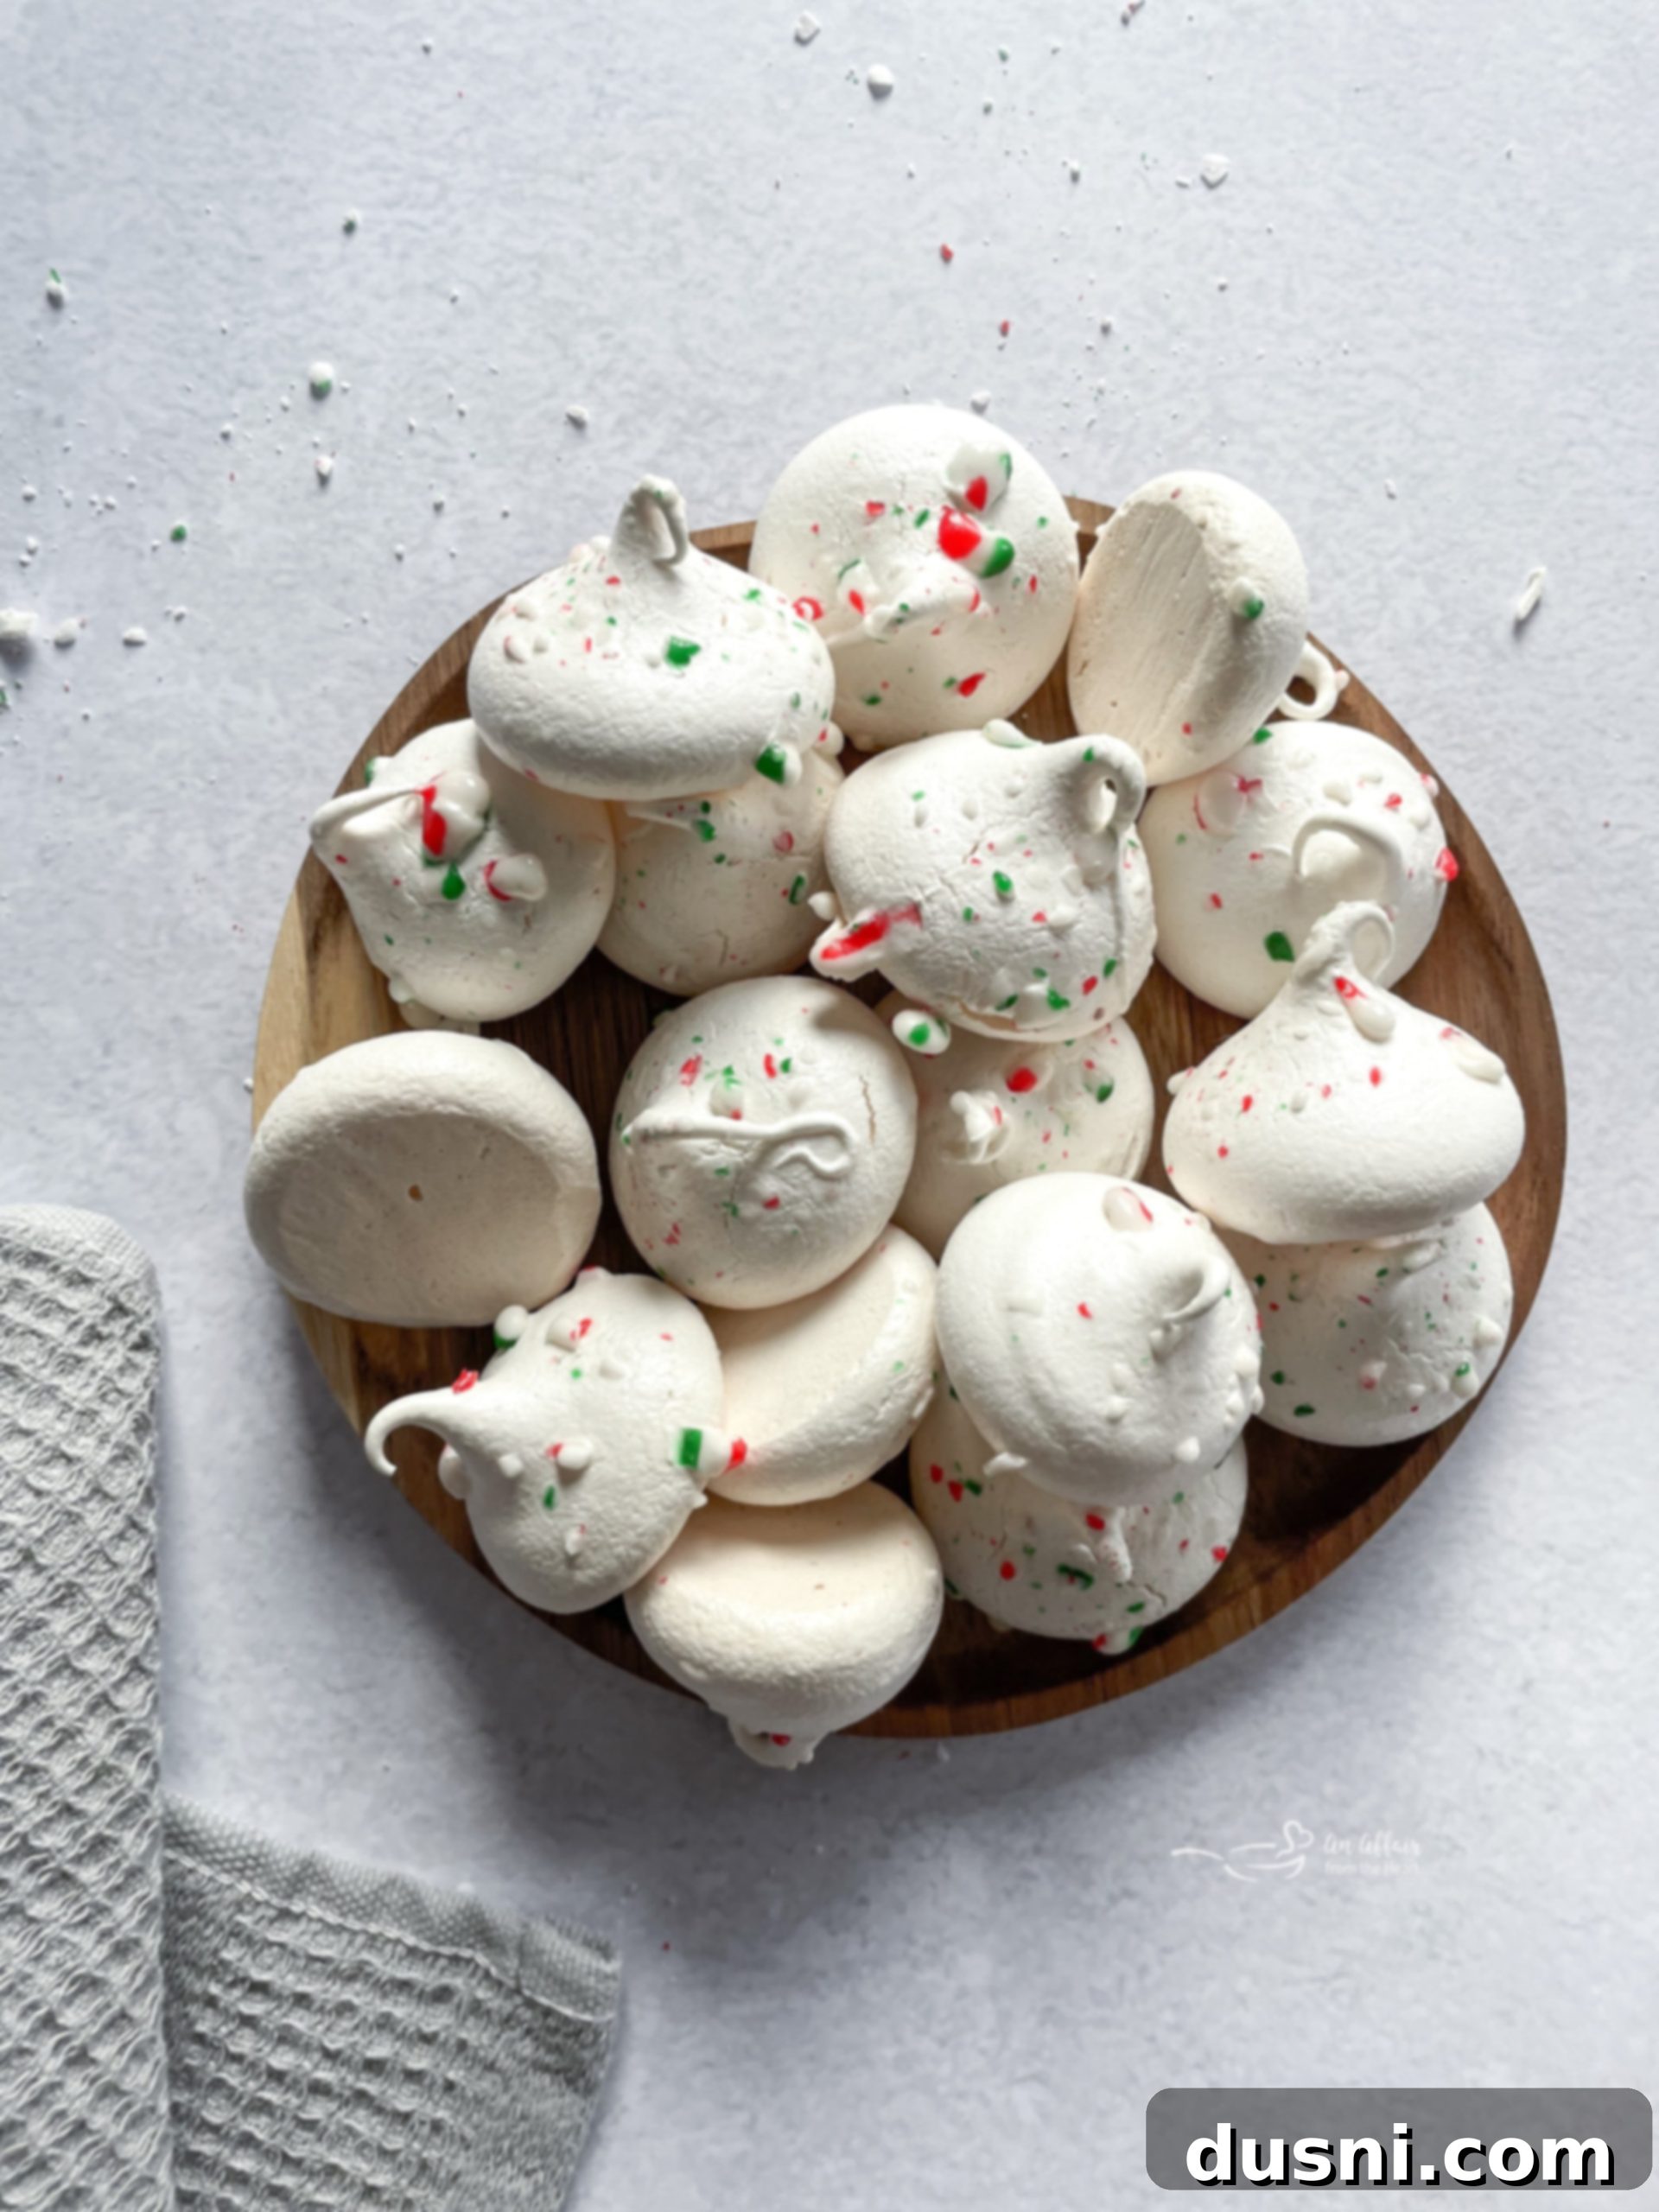
It’s the most wonderful time of the year, and that means holiday cookie season is in full swing! These enchanting Peppermint Meringues are the quintessential festive treat, perfectly capturing the spirit of celebration. With their irresistibly light, airy, and wonderfully crispy texture, each bite delivers a delightful burst of refreshing peppermint flavor. You’ll discover it’s incredibly challenging to stop at just one, but thankfully, their delicate and airy nature means you can indulge in a few without a second thought. Get ready to impress your guests and add a touch of minty magic to your holiday spread with these gorgeous, melt-in-your-mouth cookies.
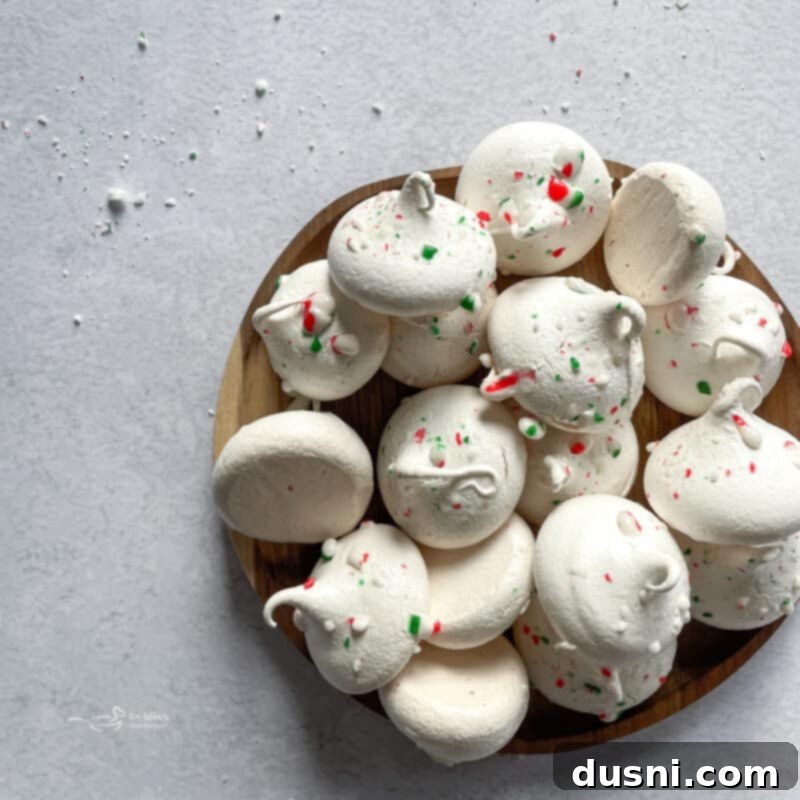
These delightful peppermint meringue cookies are not only perfect for the upcoming holiday season as they are, but they are also incredibly versatile and easy to customize. Unleash your creativity by adding various flavors to the meringue base, experimenting with different toppings, or incorporating vibrant food coloring to match your holiday decor. Whether you choose to serve them plain, dressed up, or somewhere in between, these meringues are guaranteed to be a huge hit. Their charming appearance and exquisite taste mean they’re likely to vanish from your dessert table almost as quickly as you place them there.
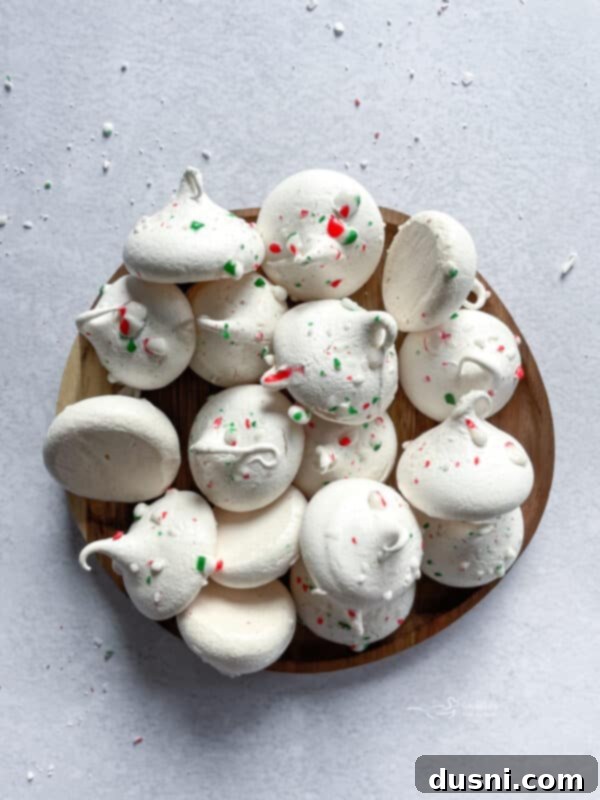
I wholeheartedly believe these delicate meringues make an exceptional gift for friends, family, and neighbors. They are also an absolute must-have for any holiday cookie exchange, where their unique texture and festive flavor will surely stand out. Imagine these elegant meringues adorning your holiday cookie tray – they’ll not only look stunning but will also be among the first to disappear. For an even more spectacular presentation, consider arranging these peppermint meringue kisses in a beautiful large bowl, surrounded by other festive decorations, to create an edible centerpiece that’s as eye-catching as it is delicious.
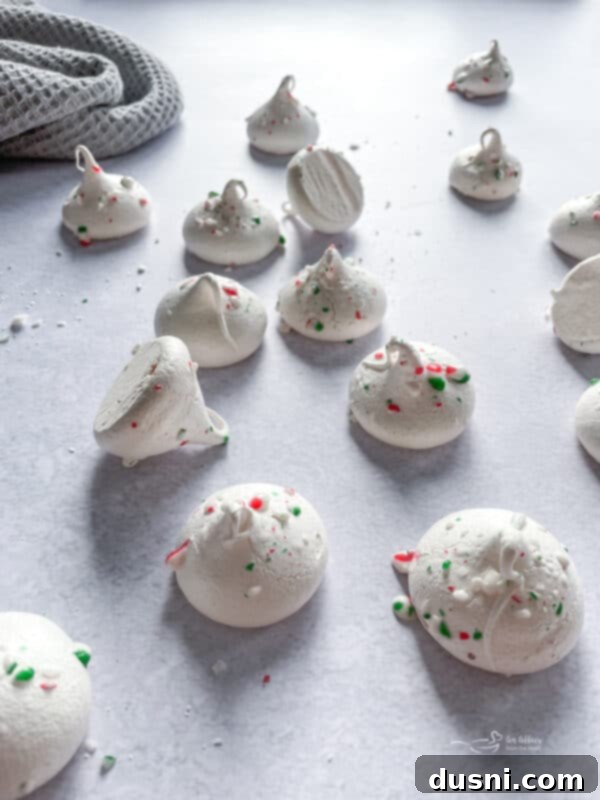
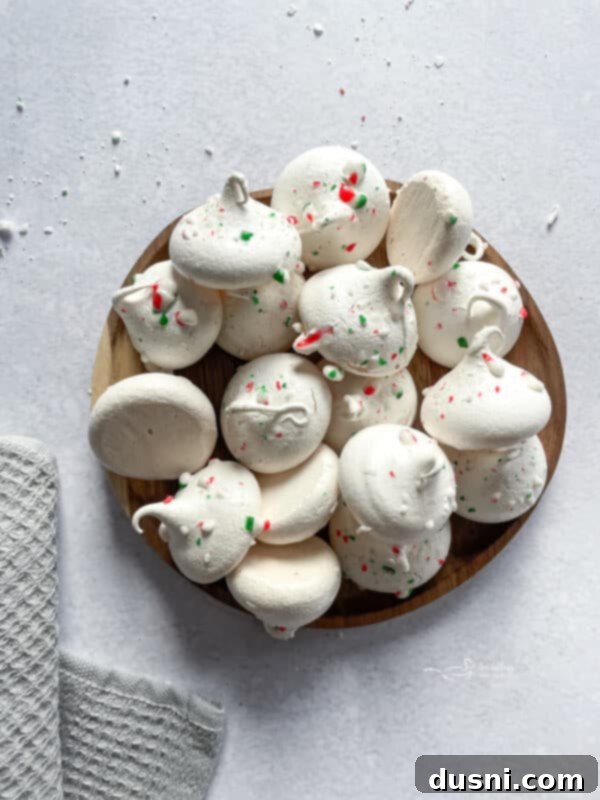
If your holiday to-do list resembles a never-ending scroll, you’ll be thrilled to know that these peppermint meringues can be prepared in advance. This fantastic feature allows you to bake them a few days before your event, freeing up valuable time during the busy holiday rush. Just be sure to find a clever hiding spot for them, as their alluring aroma and tempting appearance might lead to an early disappearance before you’re ready to serve them to your eagerly awaiting guests. Proper storage is key to maintaining their perfect crispness and flavor, ensuring they remain a delightful surprise when it’s time to share.
For those seeking even more cookie inspiration this holiday season, look no further! Expand your baking repertoire with these other tried-and-true recipes that promise to bring joy to your kitchen and your loved ones: Old Fashioned Spritz Cookies, a classic buttery delight; Peppermint Dipped Chocolate Chip Cookies, a modern twist on a beloved favorite; or these fun and colorful Funfetti Sugar Cookies, perfect for adding a pop of whimsy to any celebration. Each recipe offers a unique flavor profile and baking experience to make your holidays extra special.
Essential Ingredients for Perfect Peppermint Meringues
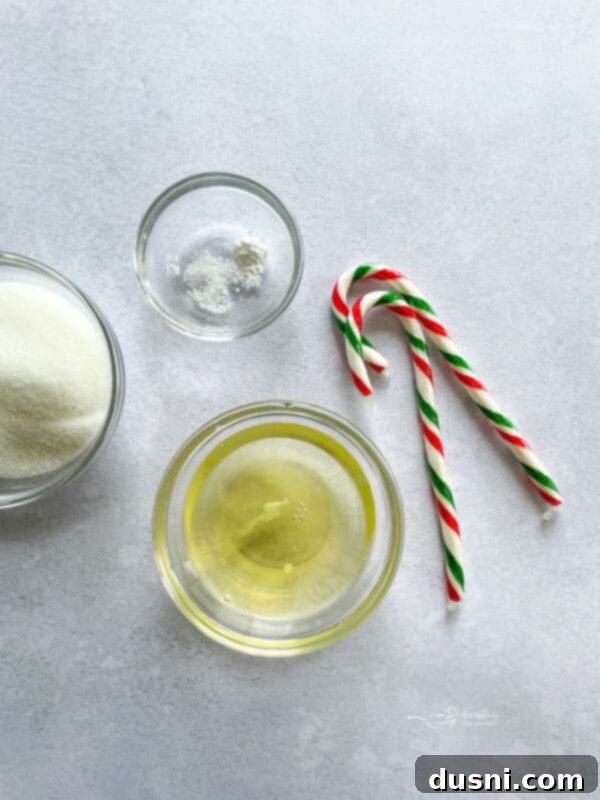
Crafting these delectable peppermint meringues requires just a few simple, high-quality ingredients. Each component plays a crucial role in achieving the signature light, crisp, and flavorful meringue. Here’s a detailed look at what you’ll need and why each ingredient is important:
- Egg whites: For this particular meringue recipe, I recommend using two large egg whites. The key to perfect meringues often starts with how you handle your eggs. To separate them easily, gently crack each egg in the middle and carefully pour the contents back and forth between the two shell halves, allowing the egg white to drip into a clean bowl while the yolk remains in the shell. Remember, even a tiny speck of yolk or fat can prevent your egg whites from whipping up properly. Don’t discard those yolks! They’re excellent for making a rich and fluffy omelet or other delicious recipes.
- Cream of tartar: You’ll only need a small pinch, typically about ⅛ teaspoon, of cream of tartar for this recipe. While it might seem like an “obscure” ingredient if you don’t bake frequently, it’s a powerful stabilizer for egg whites. It helps them whip up faster, achieve greater volume, and maintain their stiff, glossy peaks without deflating. Cream of tartar has an exceptionally long shelf life, so investing in a jar to keep on hand for future baking adventures is definitely worthwhile.
- Salt: A mere ⅛ teaspoon of regular table salt is included in this meringue recipe. While it might seem counterintuitive to add salt to a sweet dessert, it plays a vital role in enhancing and balancing the overall flavor profile. It subtly cuts through the sweetness, making the peppermint notes more pronounced and adding depth to each bite.
- Sugar: This recipe calls for ½ cup of white granulated sugar. Sugar is more than just a sweetener in meringues; it’s essential for structure. When gradually beaten into the egg whites, it dissolves and creates a stable, glossy foam. The sugar crystals help to stiffen the egg whites, trapping air and creating the light, airy texture that is characteristic of perfect meringues. Do not substitute with powdered sugar unless the recipe specifically calls for it, as it contains cornstarch which can alter the texture.
- Peppermint candy canes: To infuse that classic holiday peppermint flavor and add beautiful festive color, I used two regular-sized candy canes – one red and one green, crushed into small pieces. The crushed candy canes provide a delightful crunch and a burst of minty sweetness. If candy canes aren’t readily available, or you prefer a different kind of mint, you can easily substitute them with other crushed peppermint candies. Ensure they are finely crushed for best results, as larger chunks might weigh down the meringue or melt too quickly.
Step-by-Step Guide: How to Make Irresistible Peppermint Meringues
Note: For the best results and highest volume, it is crucial to allow your egg whites to stand at room temperature for at least 30 minutes before you begin preparing this recipe. Room temperature egg whites whip up much more quickly and achieve a greater, more stable volume than cold ones.
1. Prepare Your Oven and Baking Sheet: Begin by preheating your oven to a low temperature of 225 degrees F (107 degrees C). This low heat is essential for slowly drying out the meringues, rather than baking them, which helps them become perfectly crisp without browning. Next, line a large baking sheet with parchment paper. Parchment paper is crucial here as it prevents the meringues from sticking and ensures easy removal once cooled. Do not use wax paper or aluminum foil.
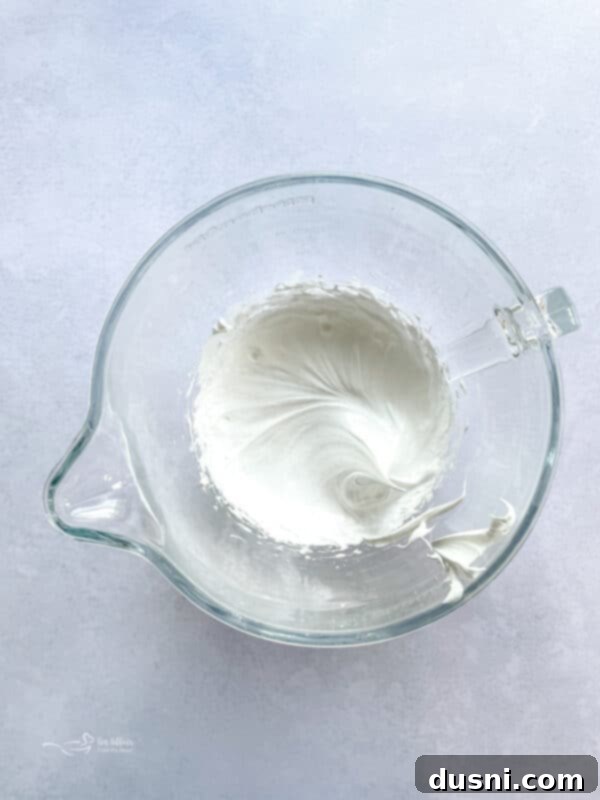
2. Whip the Egg Whites: In the very clean bowl of your electric mixer (ensure it’s grease-free!), add the room temperature egg whites. Sprinkle in the salt and cream of tartar. Attach the whisk attachment and begin beating the mixture on medium-high speed. Continue to beat until the egg whites become foamy and soft peaks begin to form. This initial foaming indicates that air is being incorporated, creating the foundation for your meringues.
3. Gradually Add Sugar for Stiff Peaks: Once the egg whites are foamy, it’s time to introduce the sugar. Gradually add the granulated sugar, one tablespoon at a time, while continuing to beat on high speed after each addition. This slow and steady process allows the sugar to dissolve completely into the egg whites, preventing a grainy texture and creating a stable, glossy meringue. Continue beating until the mixture is thick, very glossy, and forms stiff peaks that hold their shape firmly when the whisk is lifted. The meringue should feel smooth when rubbed between your fingers, indicating the sugar has fully dissolved.
4. Pipe the Meringues: Carefully transfer the prepared egg white meringue mixture into a piping bag fitted with your desired tip. A large star tip works beautifully for creating classic meringue kisses with lovely ridges, but you can use any tip you prefer for different shapes. Pipe 1 ½-inch cookies onto the prepared baking sheet, ensuring they are spaced approximately 2 inches apart to allow for proper air circulation during baking. Aim for uniform sizes for even baking.
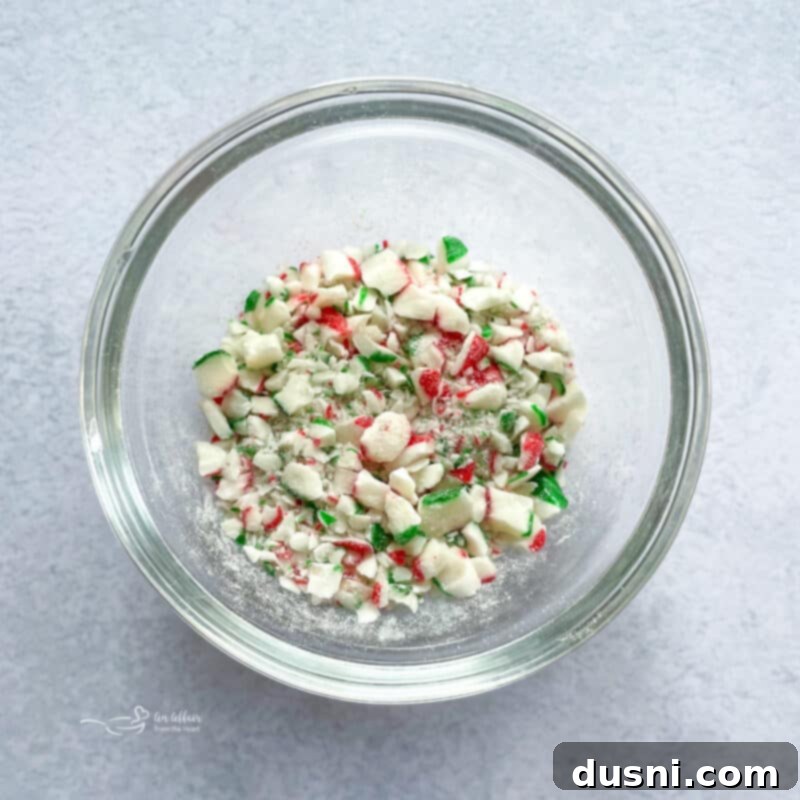
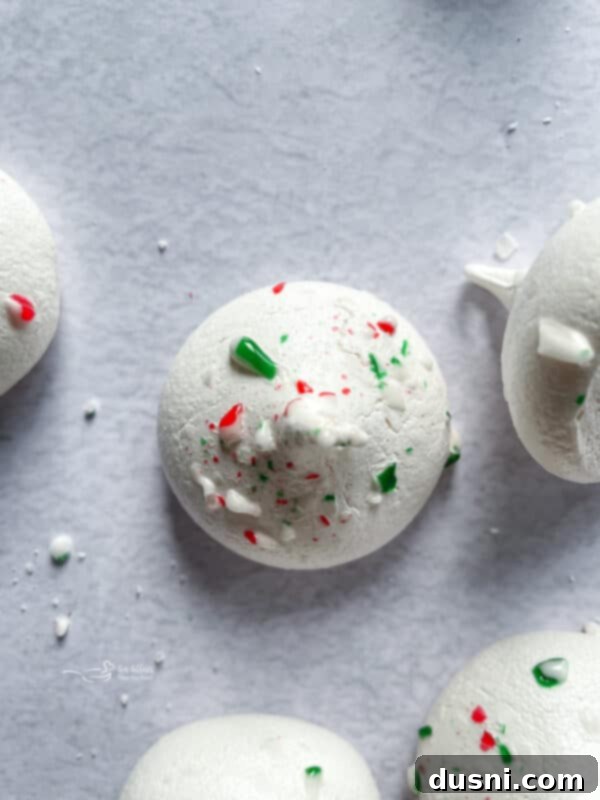
5. Add Crushed Candy Canes: Immediately after piping, generously sprinkle the tops of each meringue cookie with the crushed peppermint candy canes. The vibrant red and green pieces will not only add a festive visual appeal but also a delightful burst of minty flavor and a satisfying crunch. Don’t be shy with the sprinkles!
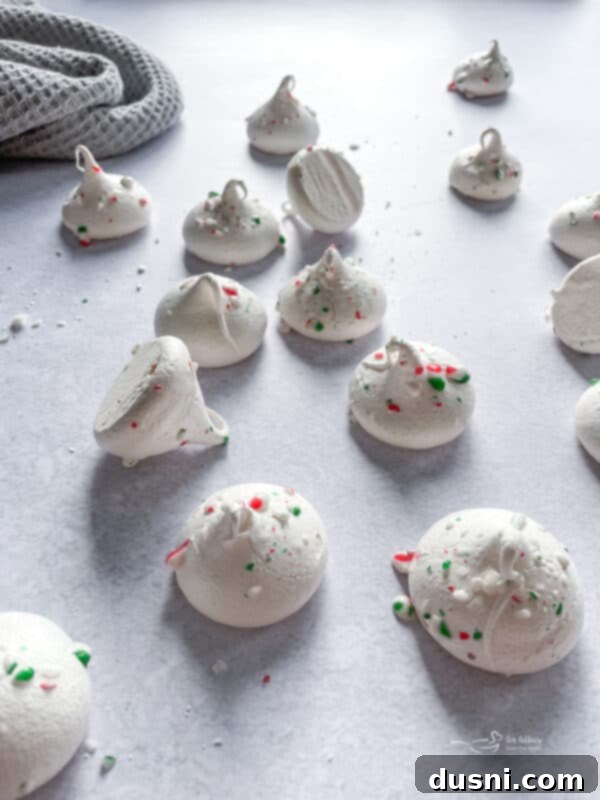
6. Slow Bake to Perfection: Gently place the baking sheet into your preheated oven. Bake the meringues until they are firm to the touch, completely dry, and crisp throughout, but crucially, not browned. This slow-baking process typically takes about 1 ½ to 2 hours. The exact time can vary depending on your oven and the size of your meringues. Avoid opening the oven door frequently, as sudden temperature changes can cause cracking. When done, they should easily lift off the parchment paper.
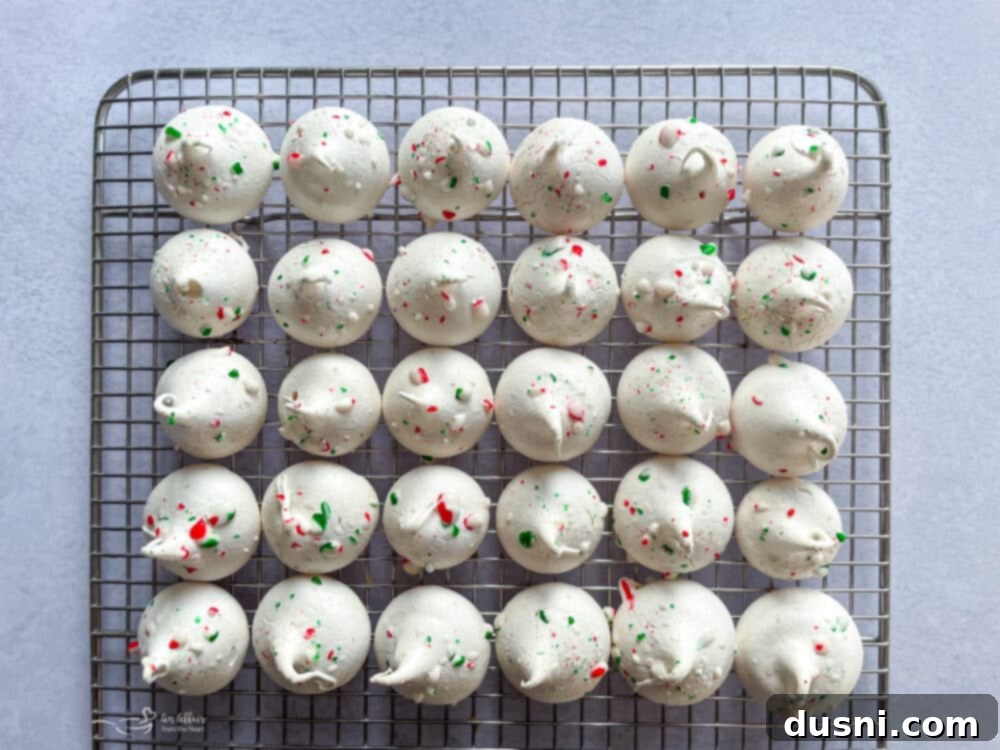
7. Cool and Store: Once baked, remove the meringues from the oven and carefully transfer them to a wire rack to cool completely. Allowing them to cool on a rack prevents them from becoming soggy on the bottom. Once fully cooled, store your beautiful peppermint meringues in an airtight container in a cool, dry place. Proper storage is key to maintaining their crisp texture and extending their shelf life. Enjoy your homemade, festive treats!
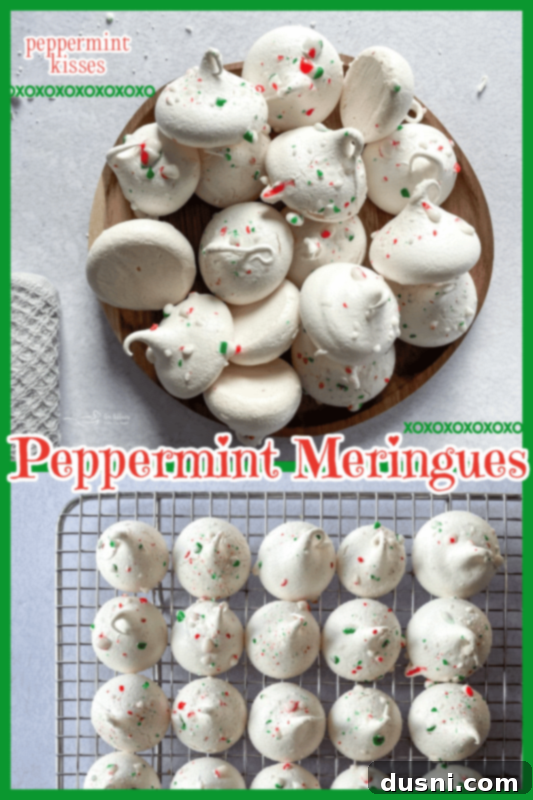
Love This Recipe? Pin It for Later!
If you adore the idea of these delicate and delicious meringue cookies, ensure you don’t lose this fantastic recipe! Pin it directly to your favorite Pinterest recipe board before you navigate away. This way, you’ll always have quick access to this simple yet elegant treat whenever the holiday baking mood strikes or you need a charming gift idea!
Frequently Asked Questions (FAQs) About Meringues
Got questions about achieving meringue perfection? Here are some common inquiries and their answers to help you master these delightful peppermint treats:
- How do you make perfect meringues? To achieve truly perfect meringues, several factors are key. Start with fresh eggs that have been brought to room temperature, as this significantly aids in whipping them to maximum volume and stability. Ensure your mixing bowl and whisk are impeccably clean and completely free of any grease or fat. Whip the egg whites until they form stiff, glossy peaks. Finally, the other crucial element is baking them at a very low temperature for a prolonged period, which effectively dries them out rather than baking them, resulting in that desired crispy texture.
- What is meringue? Meringue is a delicate, airy confectionery typically made from whipped egg whites and sugar, often with a touch of acid like cream of tartar or vinegar to stabilize the foam. It can be baked into crispy cookies (like these peppermint meringues), used as a topping for pies (think classic lemon meringue pie), or incorporated into various other desserts to add a light, sweet element.
- How do you make candy cane meringue? To create festive peppermint meringue cookies, the primary method involves folding finely crushed candy canes into the whipped meringue mixture before piping. Additionally, a generous sprinkle of crushed candy canes on top before baking enhances both the visual appeal and the intense peppermint flavor. For an extra kick, a few drops of peppermint extract can be added to the meringue base.
- Should meringues be chewy or crunchy? The hallmark of a well-made meringue cookie is its delightful crunch. A perfect meringue should be completely dry and crisp throughout, melting in your mouth with a satisfying snap. If your meringues turn out chewy, it usually indicates they haven’t been baked long enough or at the correct low temperature to fully dehydrate.
- What do vinegar and cornflour do to meringue? Some bakers advocate for adding a small amount of an acidic agent like vinegar or lemon juice, or a tiny bit of cornflour (cornstarch), to meringue. Vinegar and other acids help to stabilize the egg whites, making them stronger and less prone to weeping or deflating, leading to a more robust and consistent meringue. Cornflour can also act as a stabilizer and help create a slightly chewier interior while maintaining a crisp exterior, though for these purely crisp peppermint meringues, cream of tartar is preferred.
- Why are my meringues chewy? If your meringues end up chewy instead of crisp, it’s most likely due to two primary reasons: an incorrect oven temperature or insufficient baking time. Meringues need a long, slow bake at a very low temperature (around 200-225°F or 95-107°C) to dry out thoroughly. If the oven is too hot, they might brown and remain soft inside. If they’re not baked long enough, the moisture won’t fully evaporate, leaving them chewy. Humidity in the air can also play a role.
- What is the difference between divinity and meringue? While both divinity and meringue are sweet confections made primarily from whipped egg whites and sugar, the key difference lies in their preparation and texture. Divinity often incorporates corn syrup or honey and is cooked to a higher temperature on the stovetop before being whipped, resulting in a fudgy, nougat-like texture that is typically softer and chewier than a crisp baked meringue. Meringues are usually baked at low temperatures to achieve a dry, airy crunch.
- Can you make meringue with cold eggs? While technically possible, it is highly recommended to use room-temperature eggs when making meringue. Room-temperature egg whites have lower surface tension, allowing them to whip up much faster, achieve significantly greater volume, and form a more stable foam than cold egg whites. This leads to a lighter, airier, and more reliable meringue.
Creative Substitutions & Delicious Variations
These peppermint meringues are wonderfully versatile, offering plenty of room for creative twists to suit your taste or occasion. Here are some fantastic substitution and variation ideas:
- For an intensified minty experience and truly robust peppermint meringues, consider adding a few drops of high-quality peppermint extract to your meringue mixture. This will elevate the flavor, giving you the ultimate mint meringue that bursts with refreshing taste. Start with a small amount and add more to taste, as extracts can be quite potent.
- To infuse more festive cheer and holiday color into your peppermint meringue kisses, experiment with food coloring. A few drops of red or green gel food coloring, carefully folded into the meringue after it’s whipped to stiff peaks, can transform them into visually stunning treats perfect for Christmas. You can even divide the meringue into two bowls and color one red and the other green for a vibrant display.
- Indulge your sweet tooth by transforming these into chocolate peppermint meringues. Drizzle the cooled meringues with a rich chocolate glaze – either dark, milk, or white chocolate works beautifully. Alternatively, sprinkle them with dark chocolate sprinkles or even white chocolate shavings immediately after piping, before baking, for an extra layer of decadence and texture. The combination of chocolate and mint is always a holiday favorite!
- Experiment with other extracts: Instead of peppermint, try vanilla, almond, or even orange extract for different flavor profiles throughout the year.
- Add a swirl of color: Use food coloring to create beautiful swirls in your meringues by painting thin stripes of gel color inside your piping bag before filling it with meringue.
- Different toppings: While candy canes are classic, you could also use crushed peppermints, small chocolate chips, or even edible glitter for extra sparkle.
Expert Tips & Tricks for Meringue Success
Making perfect meringues can feel like an art, but with these simple tips and tricks, you’ll achieve flawless, crisp peppermint meringues every time:
- Room Temperature Eggs are Non-Negotiable: This is arguably the most crucial tip. The eggs absolutely must be at room temperature for the meringue to whip up properly and achieve maximum volume and stability. Cold eggs will result in a flatter, less stable meringue. Plan ahead and take them out of the fridge at least 30 minutes before you start.
- Cleanliness is Key: Ensure your mixing bowl and whisk attachment are spotlessly clean and completely free of any grease, oil, or egg yolk. Even a tiny trace of fat can prevent the egg whites from whipping into stiff peaks. Wipe your bowl and whisk with a paper towel dampened with lemon juice or vinegar for extra assurance.
- Avoid Humid Days: Meringues are sensitive to moisture. If it’s a particularly humid day, consider postponing your meringue-making, or if you must proceed, place the baked meringues in the fridge or a low-temperature oven (turned off, door slightly ajar) to cool and firm up faster, helping them maintain their crispness. Humidity can make meringues soft or sticky.
- Don’t Waste the Yolks: As mentioned, don’t throw away those leftover egg yolks! They can be used to make a delicious omelet, a rich custard, hollandaise sauce, or added to baked goods for extra richness.
- Resist Opening the Oven Door: Once your meringues are in the oven, try not to open the door during the baking process. Sudden changes in temperature can cause the meringues to crack, deflate, or turn chewy. Let them bake undisturbed until the specified time.
- Whip to Stiff, Glossy Peaks: Don’t under-whip the egg whites. They should be firm enough to hold their shape when the whisk is lifted, and appear shiny and smooth, not dull or crumbly.
- Add Sugar Gradually: Always add the sugar slowly, one tablespoon at a time, allowing each addition to dissolve before adding more. This ensures a stable meringue and prevents it from becoming grainy.
- Store Properly: Once cooled, store meringues in an airtight container at room temperature. They are susceptible to moisture, so keeping them sealed helps maintain their crispness for up to a week.
More Peppermint-Inspired Recipes to Love
Beyond these delightful meringues, there’s a whole world of peppermint goodness to explore, especially during the festive season. One of my most cherished childhood recipes is my grandma’s incredible Chocolate Meringue Pie – it was my birthday pie every single year! If you, like me, adore all things peppermint, here are even more irresistible peppermint recipes that are sure to become new favorites:
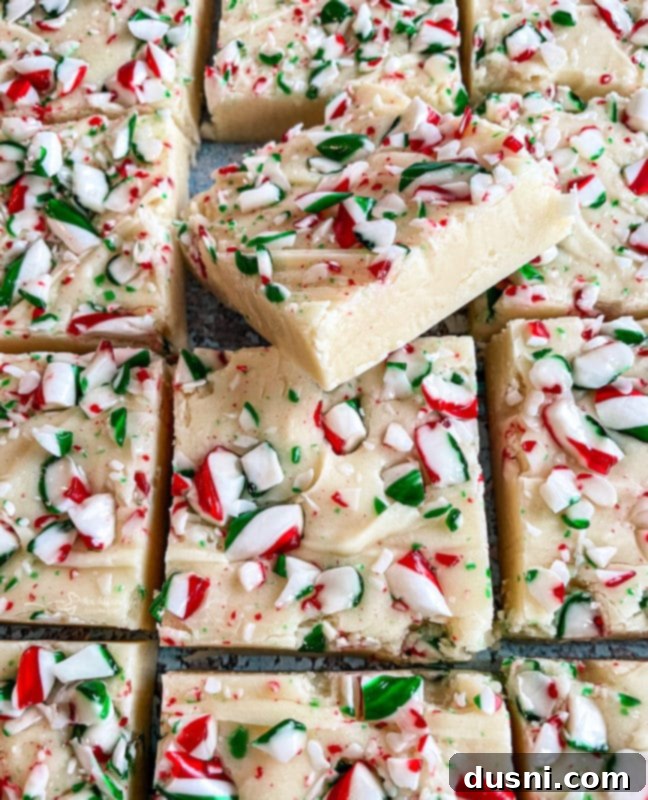
- White Chocolate Peppermint Fudge (as pictured above) – A creamy, rich, and minty delight that melts in your mouth.
- White & Dark Chocolate Peppermint Bark – A classic holiday treat with layers of chocolate and crunchy peppermint.
- Peppermint Dipped Chocolate Chip Cookies – A festive upgrade to the beloved chocolate chip cookie.
- Chocolate Peppermint Stirring Spoons – Perfect for hot cocoa or coffee, adding a burst of flavor.
- Peppermint Bark Popcorn – A sweet and salty snack that’s surprisingly addictive.

This delightful recipe is proudly featured as part of The Sweetest Season, an inspiring annual virtual cookie swap. This wonderful initiative is enthusiastically co-hosted by Erin of The Speckled Palate and Susannah of Feast + West. Each year, a community of talented food bloggers comes together to joyfully share a collection of new and exciting holiday cookie recipes, perfect for baking and gifting throughout the festive period. It’s a celebration of baking, community, and giving back.
This year, our participation in The Sweetest Season has an even more profound purpose: we are dedicated to raising much-needed funds for Cookies 4 Kids’ Cancer. This highly respected 501(c)3 non-profit organization is passionately committed to funding critical research for new, innovative, and less-toxic treatments for children battling cancer. Every contribution, big or small, makes a tangible difference in the lives of these brave children and their families.
Since its inception in 2008, Cookies for Kids’ Cancer has achieved remarkable milestones, granting nearly $18 million to pediatric cancer research. This substantial funding has supported over 100 research grants to leading pediatric cancer centers across the nation. The impact is undeniable, as these grants have directly led to the development of over 35 new treatments that are now available to kids battling cancer today. Your support helps accelerate this vital progress.
Adding to the excitement, Cookies for Kids’ Cancer is currently in a special matching window with their generous friends at OXO. This means that OXO will be matching every dollar raised through the end of 2022, up to an incredible $100,000! Whatever amount of money we collectively raise will automatically be doubled on our fundraising page, maximizing our impact. Please join us in this incredibly important cause and help us make a significant difference in the fight against childhood cancer. You can easily donate through our dedicated fundraising page. Your generosity can bring hope and healing to so many.
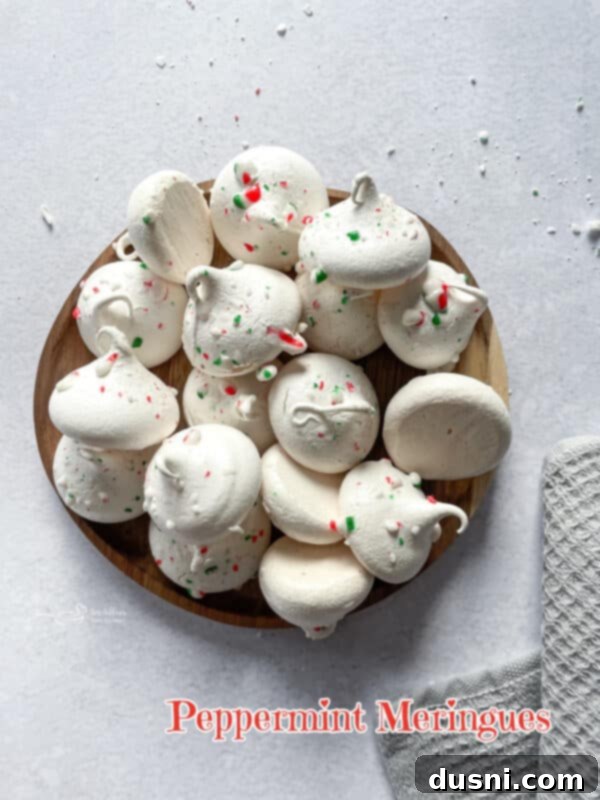
If you, like me, have a deep affection for all things peppermint, then this easy Peppermint Meringues recipe is an absolute must-add to your holiday baking list this season. A true and delightful symbol of the festive season, these light, crispy, and refreshing peppermint meringues offer a deliciously airy and elegant addition to any holiday celebration, party, or cozy evening in. They’re simple to make, yet incredibly impressive, making them perfect for sharing joy.

LIKE THIS RECIPE?
Don’t forget to give it a ⭐️⭐️⭐️⭐️⭐️ star rating and
leave a comment below the recipe!

Print Recipe
Peppermint Meringues
Equipment
-
Wilton Cupcake Decorating Icing Tips, 12-Piece Set
-
Kitchenaid Stand Mixer
-
KitchenAid Hand Mixer
-
13×18 Half Sheet Pan
-
Hiware 2-Pack Cooling Racks for Baking
Ingredients
- 2 large egg whites
- ⅛ teaspoon cream of tartar
- ⅛ teaspoon salt
- ½ cup sugar
- 2 regular-sized peppermint candy canes 1 red and 1 green, crushed
Instructions
-
Let eggs stand at room temperature for 30 minutes prior to beginning this recipe.
-
Preheat the oven to 225 degrees F. Line a baking sheet with parchment paper.
-
Add egg whites into the bowl of your stand mixer, sprinkle in salt and cream of tartar. Beat on medium speed until foamy.
-
Gradually add in the sugar one Tablespoon at a time, beating on high after each addition. Continue to beat until glossy stiff peaks form.
-
Transfer the egg white mixture into a piping bag. Pipe 1 ½ “ cookies approximately 2” apart onto the prepared cookie sheet.
-
Sprinkle with crushed candy canes.
-
Bake until firm but not brown. 1 ½-2 hours.
-
Remove to a wire rack to cool.
