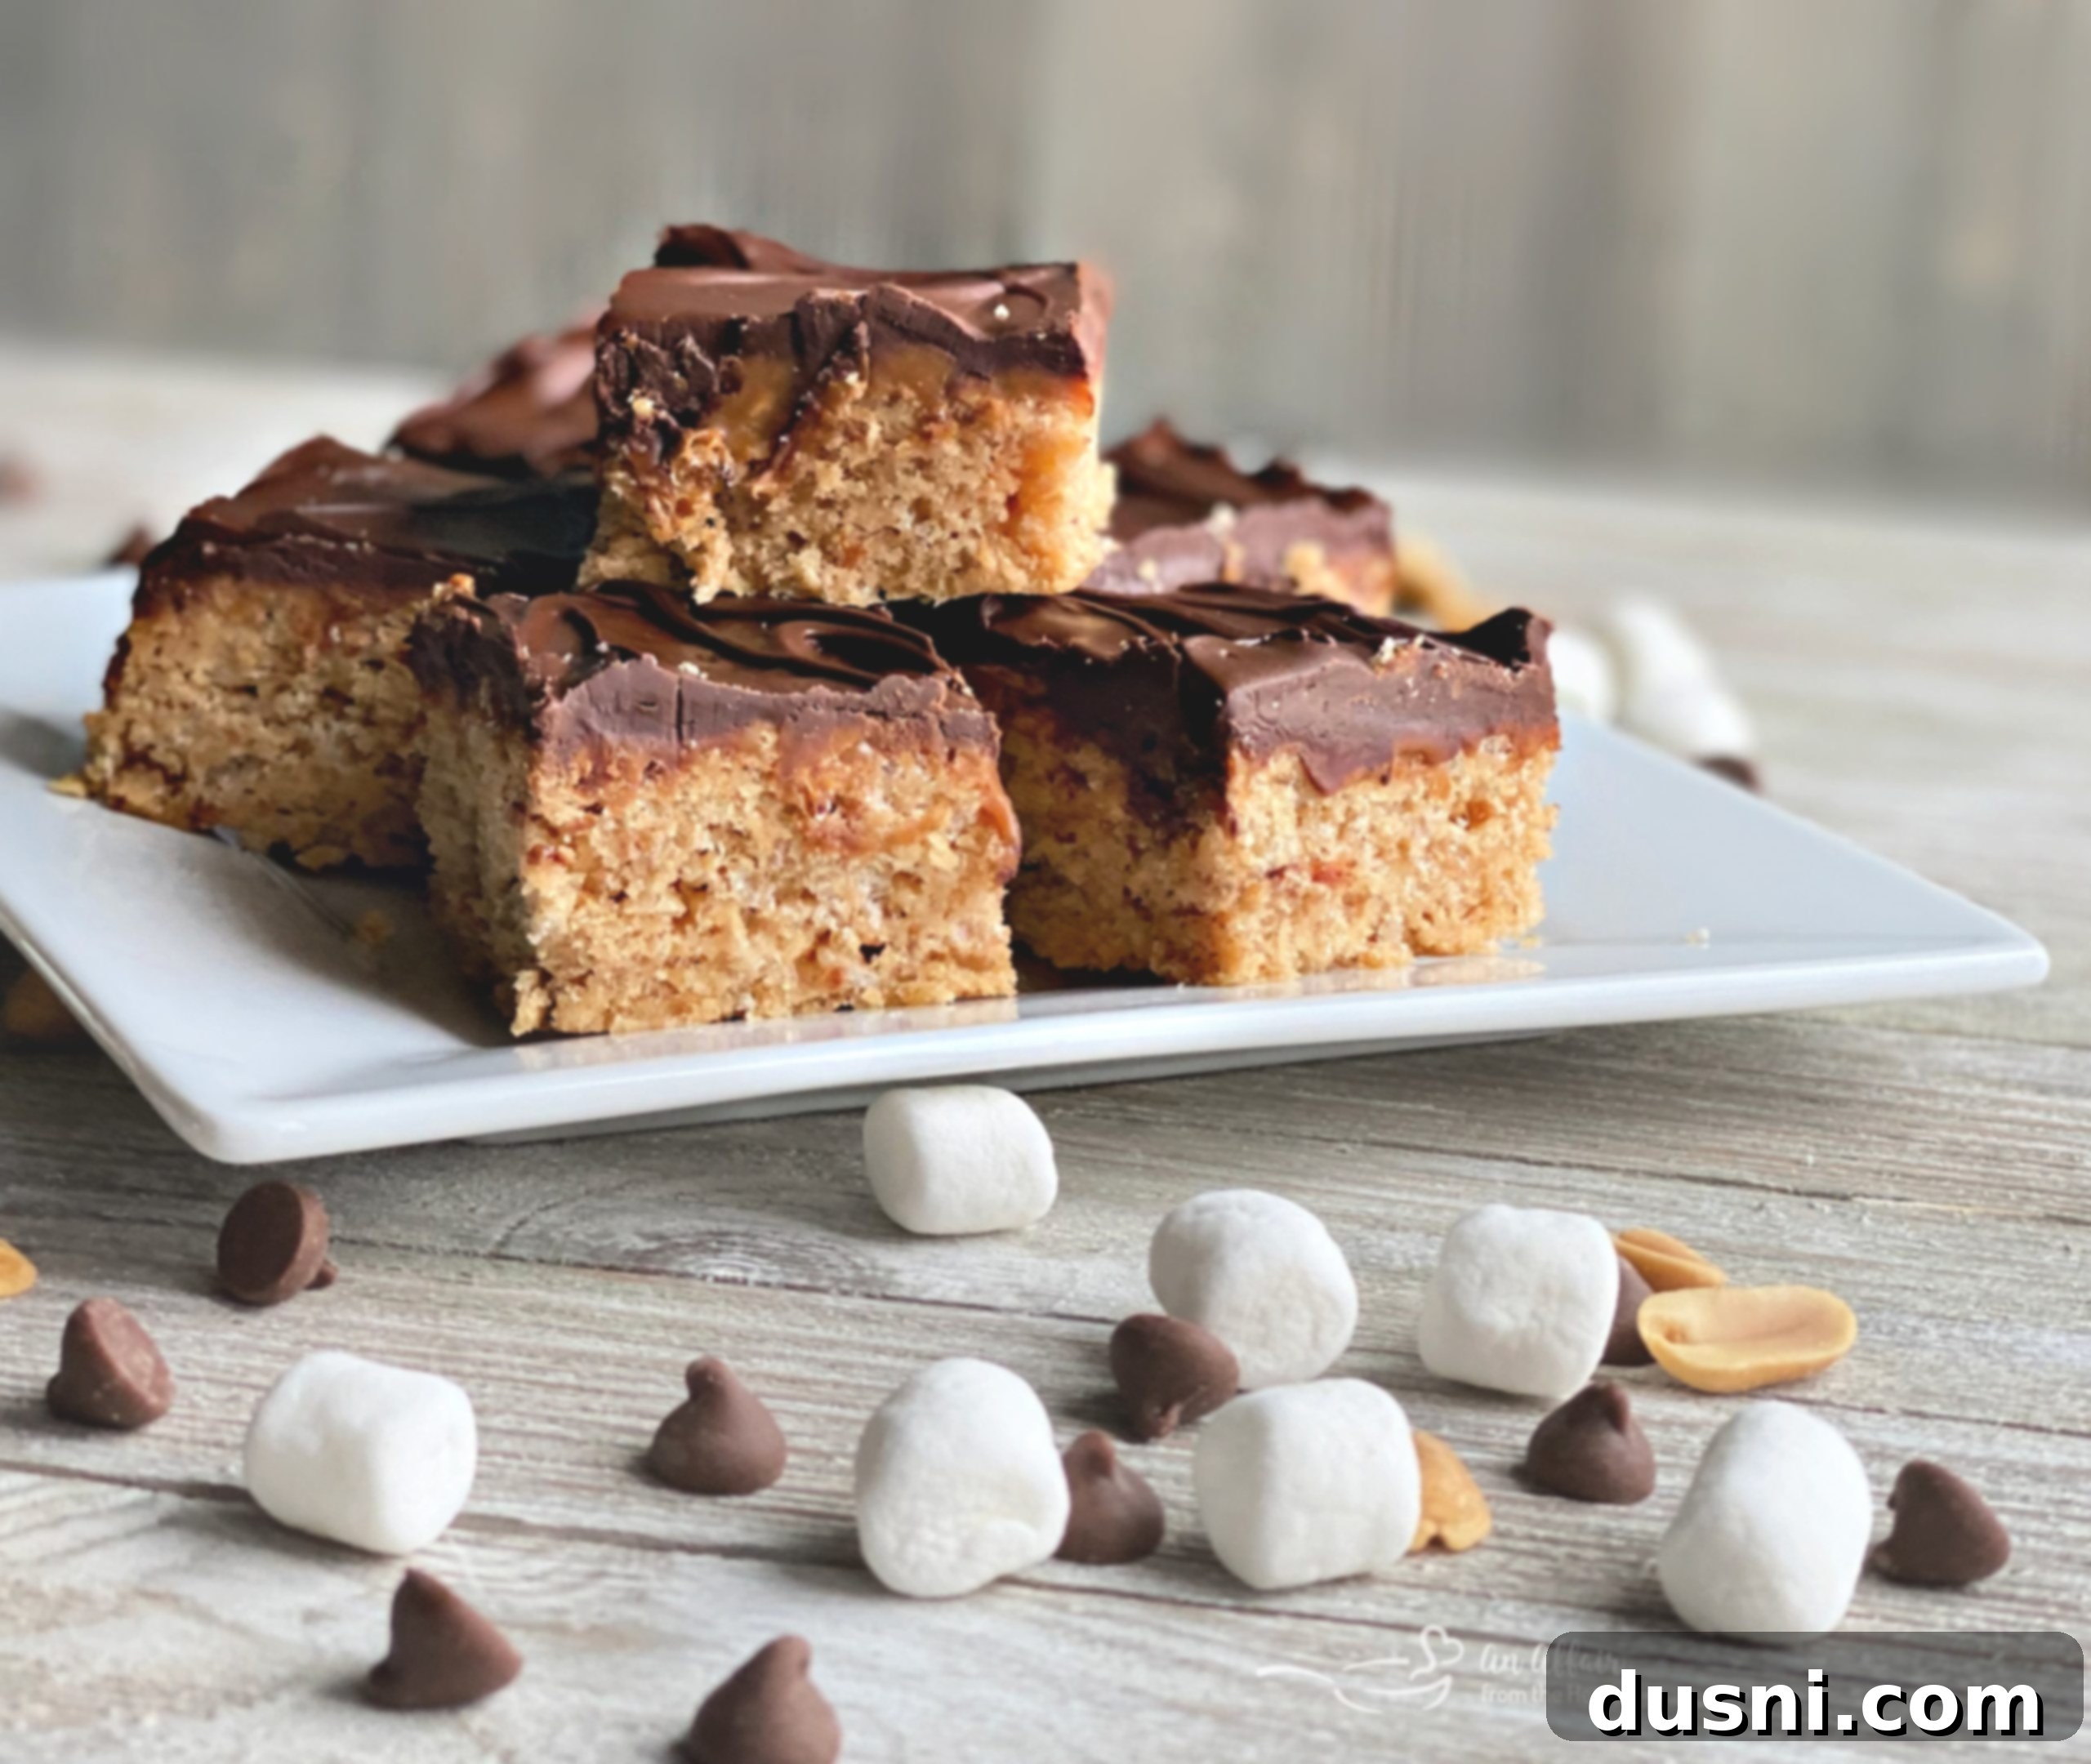
Easy Homemade Whatchamacallit Bars: Your New Favorite No-Bake Candy Treat
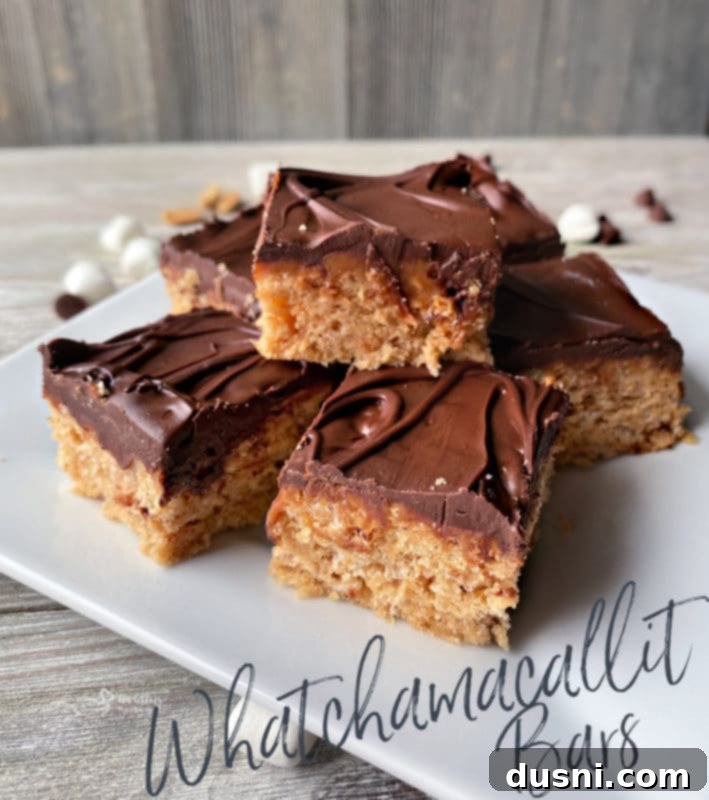
Get ready for a sensational sweet experience with these Homemade Whatchamacallit Bars! Featuring a decadent base of marshmallow-peanut butter-infused Rice Krispies, layered with luscious caramel, and crowned with a smooth blanket of melted chocolate chips. This no-bake recipe is so incredibly delicious, you’ll want to make extra to ensure you get a share before they vanish!
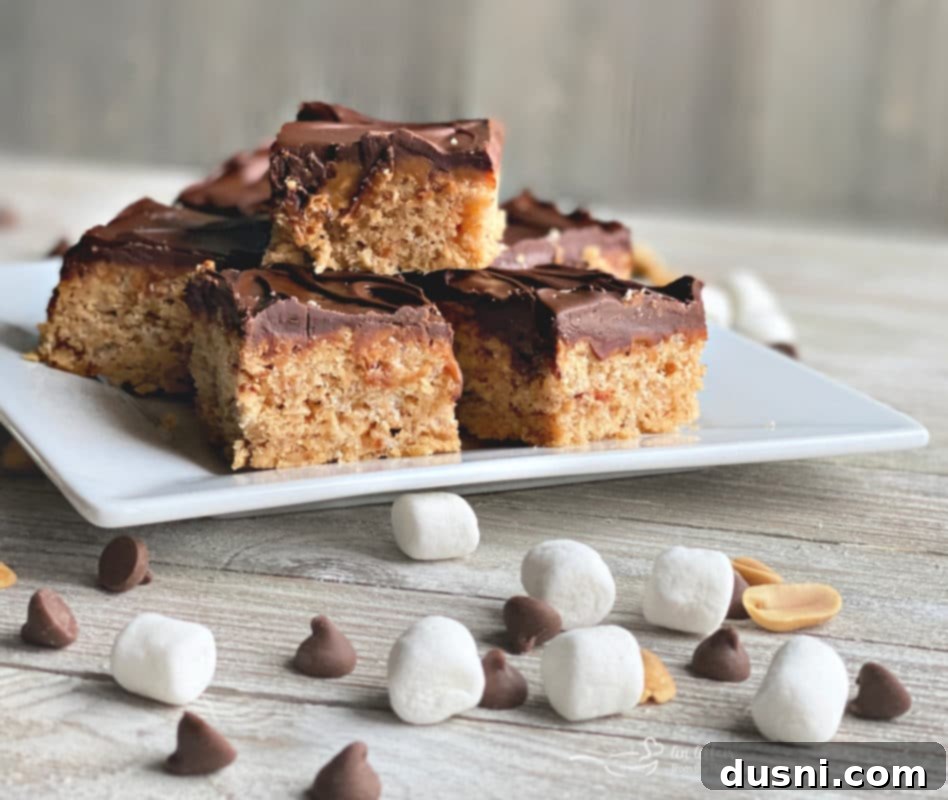
Inspired by the iconic candy bar, this homemade version of the Whatchamacallit bar takes everything you love about the classic and elevates it. The original Whatchamacallit candy bar made its debut in 1978, courtesy of the renowned American chocolatiers, Hershey’s Chocolate. It quickly became a beloved treat, known for its unique blend of textures and flavors. Interestingly, the name itself, “Whatchamacallit,” is quite memorable, reflecting a playful, almost whimsical approach to naming a new confectionery marvel.
While the exact story behind its quirky name remains a fun topic of speculation, it certainly stuck with consumers and has been a staple in candy aisles for decades. This recipe pays homage to that enduring legacy, allowing you to recreate the magic right in your own kitchen.
SOME OF THE ITEMS BELOW CONTAIN AFFILIATE LINKS; I AM A PARTICIPANT IN THE AMAZON SERVICES LLC ASSOCIATES PROGRAM, AN AFFILIATE ADVERTISING PROGRAM DESIGNED TO PROVIDE A MEANS FOR US TO EARN FEES BY LINKING TO AMAZON.COM AND AFFILIATED SITES. I AM ALSO AN AFFILIATE FOR OTHER BRANDS. HOWEVER, I ONLY PROMOTE THINGS THAT I LOVE AND THINK YOU WILL LOVE, TOO. FOR MY ENTIRE DISCLOSURE POLICY PLEASE CLICK HERE.
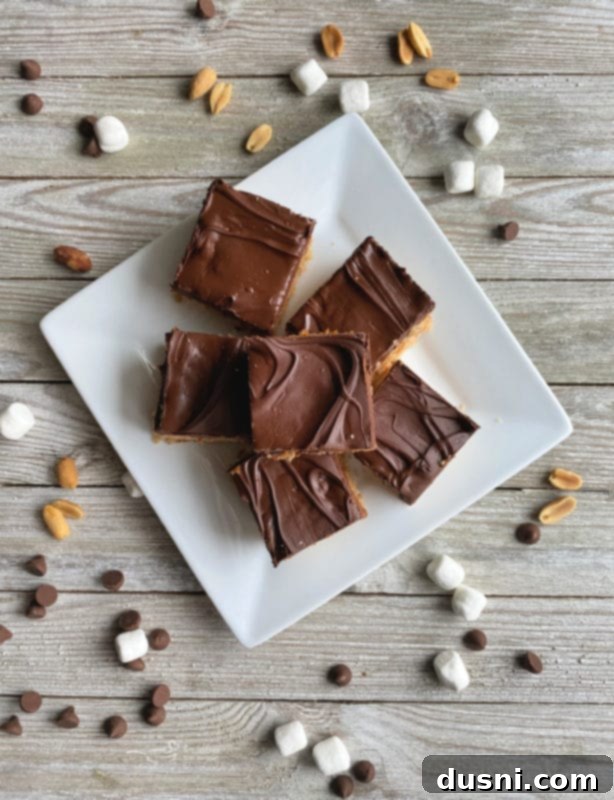
Crafting Perfect Homemade Whatchamacallit Bars
The original Whatchamacallit bar from 1978 was a bit different than what we know today. It didn’t initially feature the soft, chewy caramel layer that is now a signature part of the bar; that delicious addition was introduced by Hershey’s in 1987. My homemade Whatchamacallit bars embrace this evolution, building upon the universally adored Rice Krispy Treat. We start with a foundation of puffed rice cereal bound with marshmallow and creamy peanut butter, then generously slather it with a rich layer of melted caramel, and finally crown it all with a smooth, glossy melted chocolate topping.
The hardest part of making these delightful bars is patiently waiting for them to cool and set. Every layer needs time to firm up, creating that perfect bite – a challenge when the aroma of chocolate and caramel is wafting through your kitchen! But trust me, the wait is absolutely worth it for the symphony of flavors and textures you’re about to enjoy.
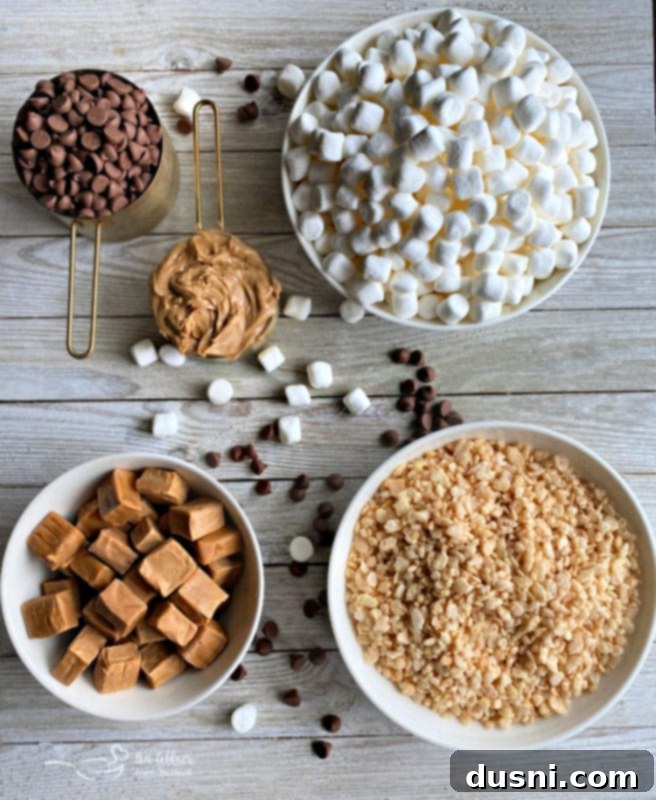
The Essential Base: Rice Krispies
When it comes to puffed rice cereal, Kellogg’s Rice Krispies truly set the gold standard. While many generic brands exist, there’s a certain nostalgia and consistent quality associated with the original. Kellogg’s introduced Rice Krispies in the 1920s, revolutionizing breakfast tables with their unique “snap, crackle, and pop” sounds when milk is added.
The creation of Rice Krispies involves a fascinating process: a paste of rice and sugar is formed, then rolled into small, rice-shaped kernels. These kernels are then carefully dried and toasted, which causes them to puff up and become delightfully porous. It’s these tiny, hollow bubbles within the kernels that are responsible for the iconic sounds as they absorb milk. If Rice Krispies were only destined for cereal bowls, their story might end there, but fortunately, a culinary breakthrough expanded their destiny.
The Ubiquitous Delight: Rice Krispy Treats
Indeed, the world of snacking was forever changed by a stroke of genius: the combination of melted marshmallows and puffed rice cereal. It’s difficult to imagine a childhood without the joy of making or eating Rice Krispy Treats. This simple yet brilliant invention has transcended generations, offering an incredibly easy and fun activity for parents and children alike.
The beauty of Rice Krispy Treats lies in their versatility. They serve as a perfect canvas for countless creative variations, from adding sprinkles and chocolate to different flavor extracts. If you’re new to the world of homemade treats, diving in with a recipe like these Whatchamacallit bars is an excellent way to experience the magic. They’re straightforward, incredibly rewarding, and guarantee smiles all around.
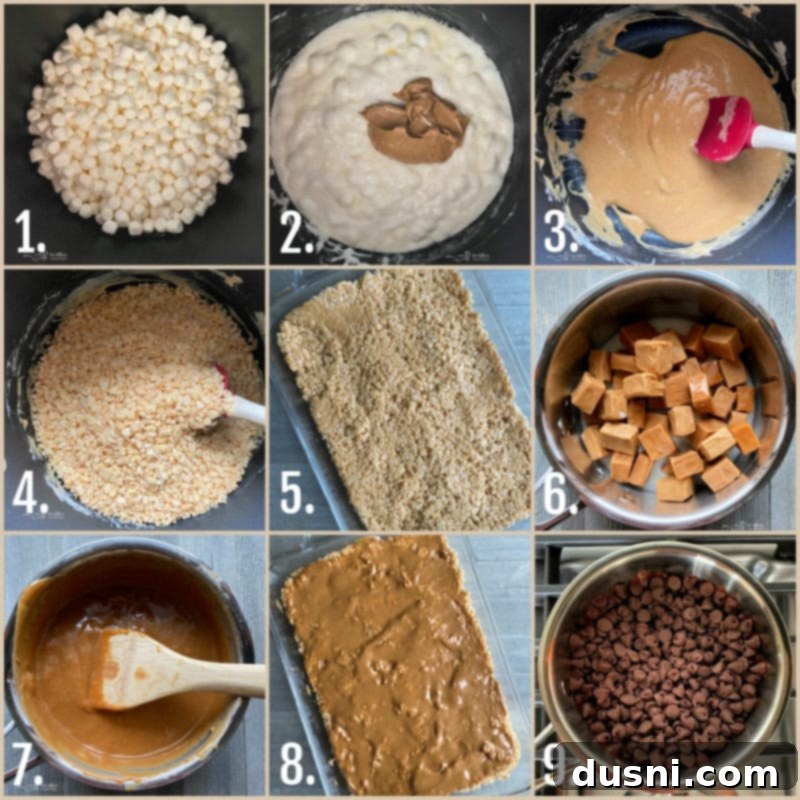
Simple Steps to Making Whatchamacallit Bars at Home
Creating these delightful bars is simpler than you might think, primarily involving melting and mixing. Here’s a brief overview of the process before we dive into the detailed recipe card:
- First, you’ll melt butter in a large saucepan on the stove. Once melted, add in marshmallows and stir until they’ve transformed into a smooth, gooey mixture. This forms the essential binding agent for our base.
- Next, incorporate creamy peanut butter into the marshmallow mixture, stirring it thoroughly until fully combined. Continue stirring this delightful concoction constantly for about three minutes to ensure everything is perfectly blended and slightly cooked.
- Remove the pan from the heat and gently fold in the Rice Krispy cereal until every grain is coated. Then, press this mixture firmly and evenly into the bottom of a 9×13 inch baking dish. This creates the satisfyingly crisp and chewy foundation of your bars.
- For the caramel layer, melt unwrapped caramels or caramel bits with a splash of milk in a saucepan over the stove. Stir constantly until you achieve a silky-smooth, pourable caramel.
- Carefully spread this warm, melted caramel evenly over the Rice Krispy base.
- Finally, melt your preferred chocolate chips in a saucepan over low heat, stirring until beautifully smooth and glossy.
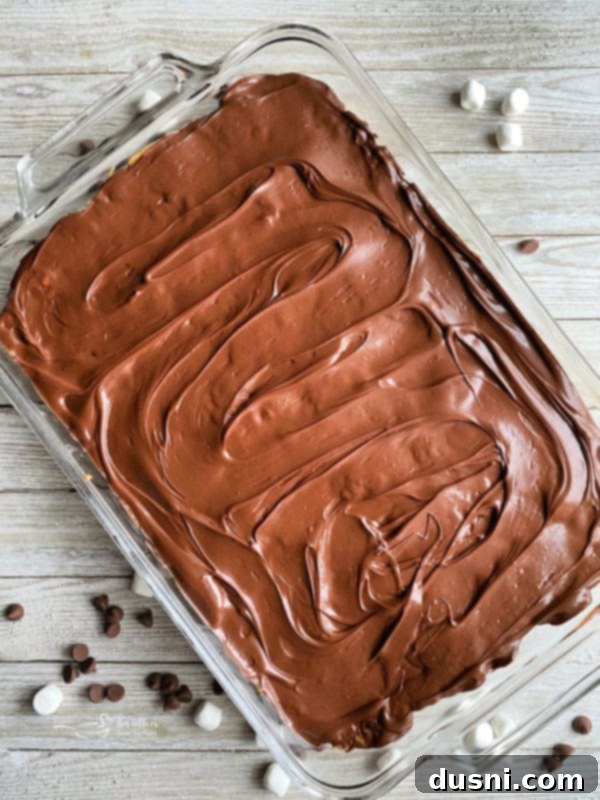
Once your chocolate is perfectly melted, gently “frost” the caramel layer, spreading it evenly to cover the entire surface. For the best results and clean cuts, chill the bars in the refrigerator for at least 30 minutes. This allows the chocolate to set firmly, making them easy to slice into perfect squares. The anticipation is a small price to pay for such a rewarding, multi-layered treat!

Love Them? Pin Them!
If you’re already envisioning these delectable bars in your kitchen, don’t let this recipe slip away! Be sure to pin them to your favorite Pinterest board. That way, this Homemade Whatchamacallit Bar Recipe will always be just a click away when that sweet craving hits. It would truly be a shame to misplace such a fantastic treat idea!
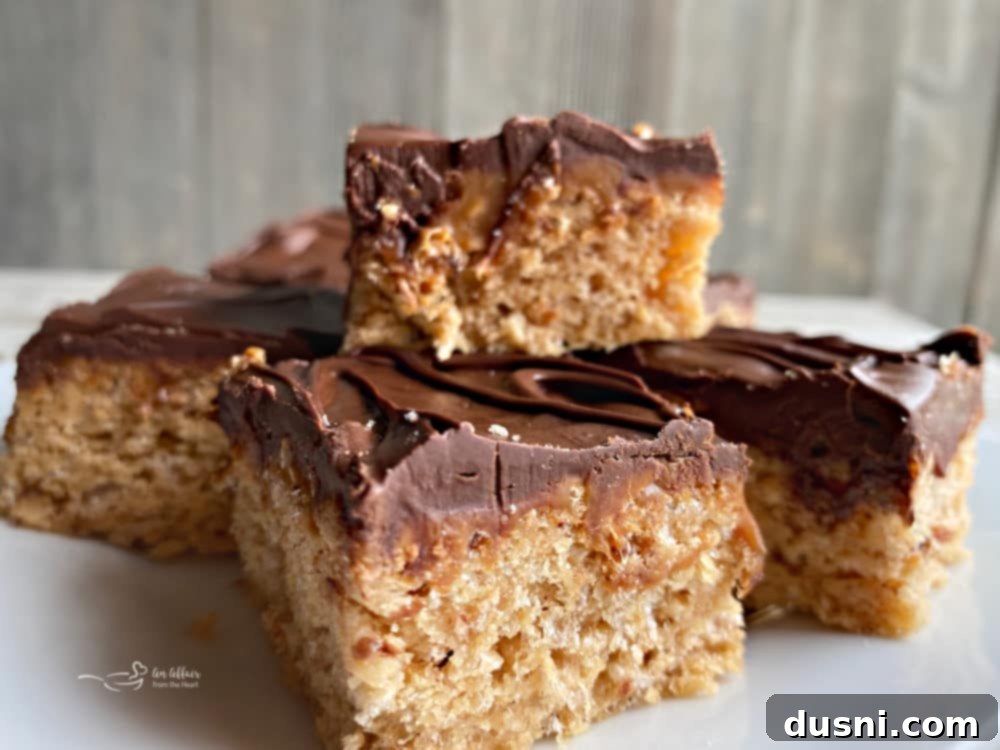
Choosing the Best Chocolate Morsels for Your Whatchamacallit Bars
The chocolate topping is the crowning glory of these Whatchamacallit bars, and the choice of chocolate morsels can significantly influence the final flavor profile. You’ll find a wide variety of chocolate chips available, each offering a distinct taste experience. The “best” choice truly depends on your personal preference for chocolate intensity and sweetness.
For a richer, less sweet topping, bittersweet chocolate chips are an excellent option. If you prefer a balanced flavor that’s neither too sweet nor too bitter, semi-sweet chocolate chips are a popular and versatile choice – they’re often my personal favorite! For those who love a classic, creamy candy bar taste, milk chocolate chips will provide that familiar, sweet smoothness. All these varieties are fantastic and will work beautifully as the melted chocolate layer.
However, if your goal is to replicate the authentic taste of the original Hershey’s Whatchamacallit bar as closely as possible, then opting for Hershey’s Chocolate Chips is the way to go. They bring a specific flavor that’s true to the candy bar’s heritage. While typically easy to find in the baking aisle, recent times have shown us that even common baking ingredients can become scarce. Always check your pantry first, or be open to experimenting with what you have on hand – as I often do!
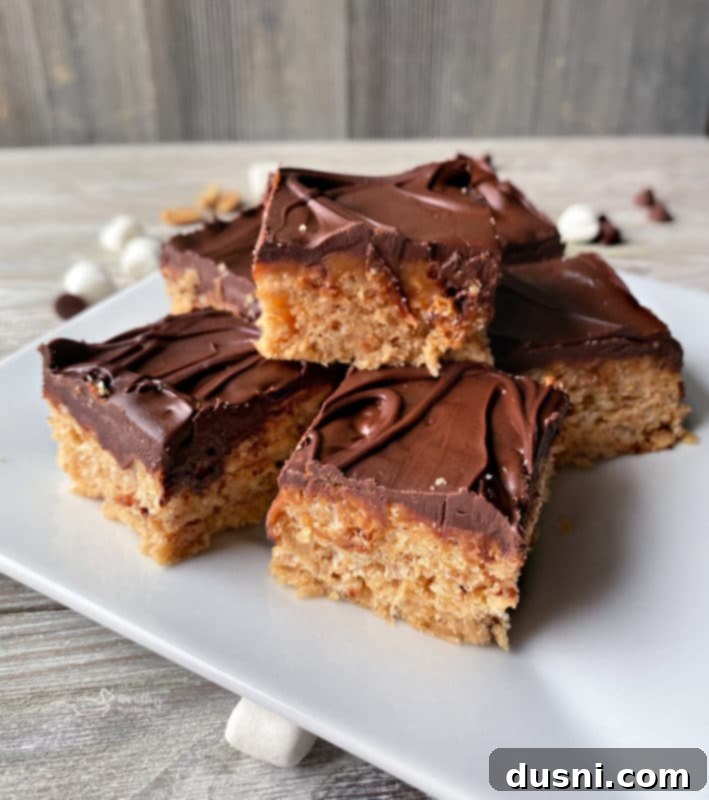
Understanding the Different Types of Chocolate Chips
Navigating the world of chocolate can sometimes be confusing, with terms like dark, semi-sweet, bittersweet, milk, and white chocolate. Let’s break down the key differences:
**Dark, Semi-Sweet, and Bittersweet Chocolate:** These are all variations of dark chocolate, with the primary distinction being their cacao and sugar content. Dark chocolate generally has a higher percentage of cocoa solids and less sugar. Bittersweet chocolate contains a minimum of 35% cocoa solids and often has less sugar than semi-sweet. Semi-sweet chocolate also contains at least 35% cocoa solids but typically has more sugar than bittersweet, resulting in a milder, sweeter flavor. While some dark chocolates may contain a small amount of milk solids, it’s not enough to classify them as milk chocolate.
**Milk Chocolate:** This is characterized by its lower cacao content and significantly higher sugar and milk solids content. The addition of milk gives it a creamier texture and a much sweeter, milder flavor compared to dark chocolates.
**White Chocolate:** Technically, white chocolate is not considered “true” chocolate because it does not contain cocoa solids. Instead, it is made from cocoa butter (the fat extracted from cocoa beans during processing), sugar, milk solids, and sometimes vanilla. While it offers a delightful creamy sweetness, without the cocoa solids, it lacks the characteristic flavor profile of other chocolate varieties.
More Irresistible Candy Bar Inspired Recipes
If you’re a fan of the Whatchamacallit bars, you’ll surely appreciate these other delightful recipes inspired by or featuring classic candy bars. I’ve collected quite a few over the years, and I’m excited to share them with you. These treats bring all the joy of your favorite confections into easy-to-make desserts perfect for any occasion!
- Homemade Twix Bars
- Salted Nutroll Bars
- Almond Joy Brownie Bites
- Snickers Apple Salad
- York Peppermint Patty Fudge
- Kit Kat Cake
- Snickers Dip (pictured above)
- Candy Bar Fudge
- Almond Joy Cheeseball
- Twix Dip
Now that you’re well-acquainted with the delicious possibilities and the simple steps involved, it’s time to dive into the full recipe! Get ready to sink your teeth into one (or three!) of these incredible Homemade Whatchamacallit Bars. Happy baking! 
LIKE THIS RECIPE?
Don’t forget to give it a ⭐️⭐️⭐️⭐️⭐️ star rating and
leave a comment below the recipe!

Print Recipe
Whatchamacallit Bar Recipe
Equipment
-
9×13 Pyrex Baking Dish with a Lid
Ingredients
- 1/4 cup butter
- 1 10 ounce package of marshmallows
- 1/2 cup creamy peanut butter
- 6 cups Rice Krispies cereal
- 11 ounces caramels
- 2 Tablespoons milk
- 1 1/4 cup chocolate chips milk chocolate or semi-sweet are fine
Instructions
-
Butter a 9×13 baking dish, or spray with non-stick cooking spray. Set aside.
-
In a large saucepan over medium heat, melt butter. Add in marshmallows and stir into butter until melted.
-
Reduce heat to low, and stir in peanut butter. Cook for 3 minutes, stirring constantly.
-
Remove from heat, stir in rice Krispies. Once incorporated and cereal is evenly covered, press evenly into the bottom of a prepared 9×13 baking dish.
-
In a saucepan over medium heat, melt caramels and milk, stirring frequently, until smooth.
-
Remove from heat and pour over Rice Krispy mixture, spreading evenly.
-
In a saucepan over low heat, melt chocolate chips, stirring frequently until smooth.
-
Spread over the top of the caramel. Refrigerate until chocolate is set. About 30 minutes.
-
Cut into squares for serving.
