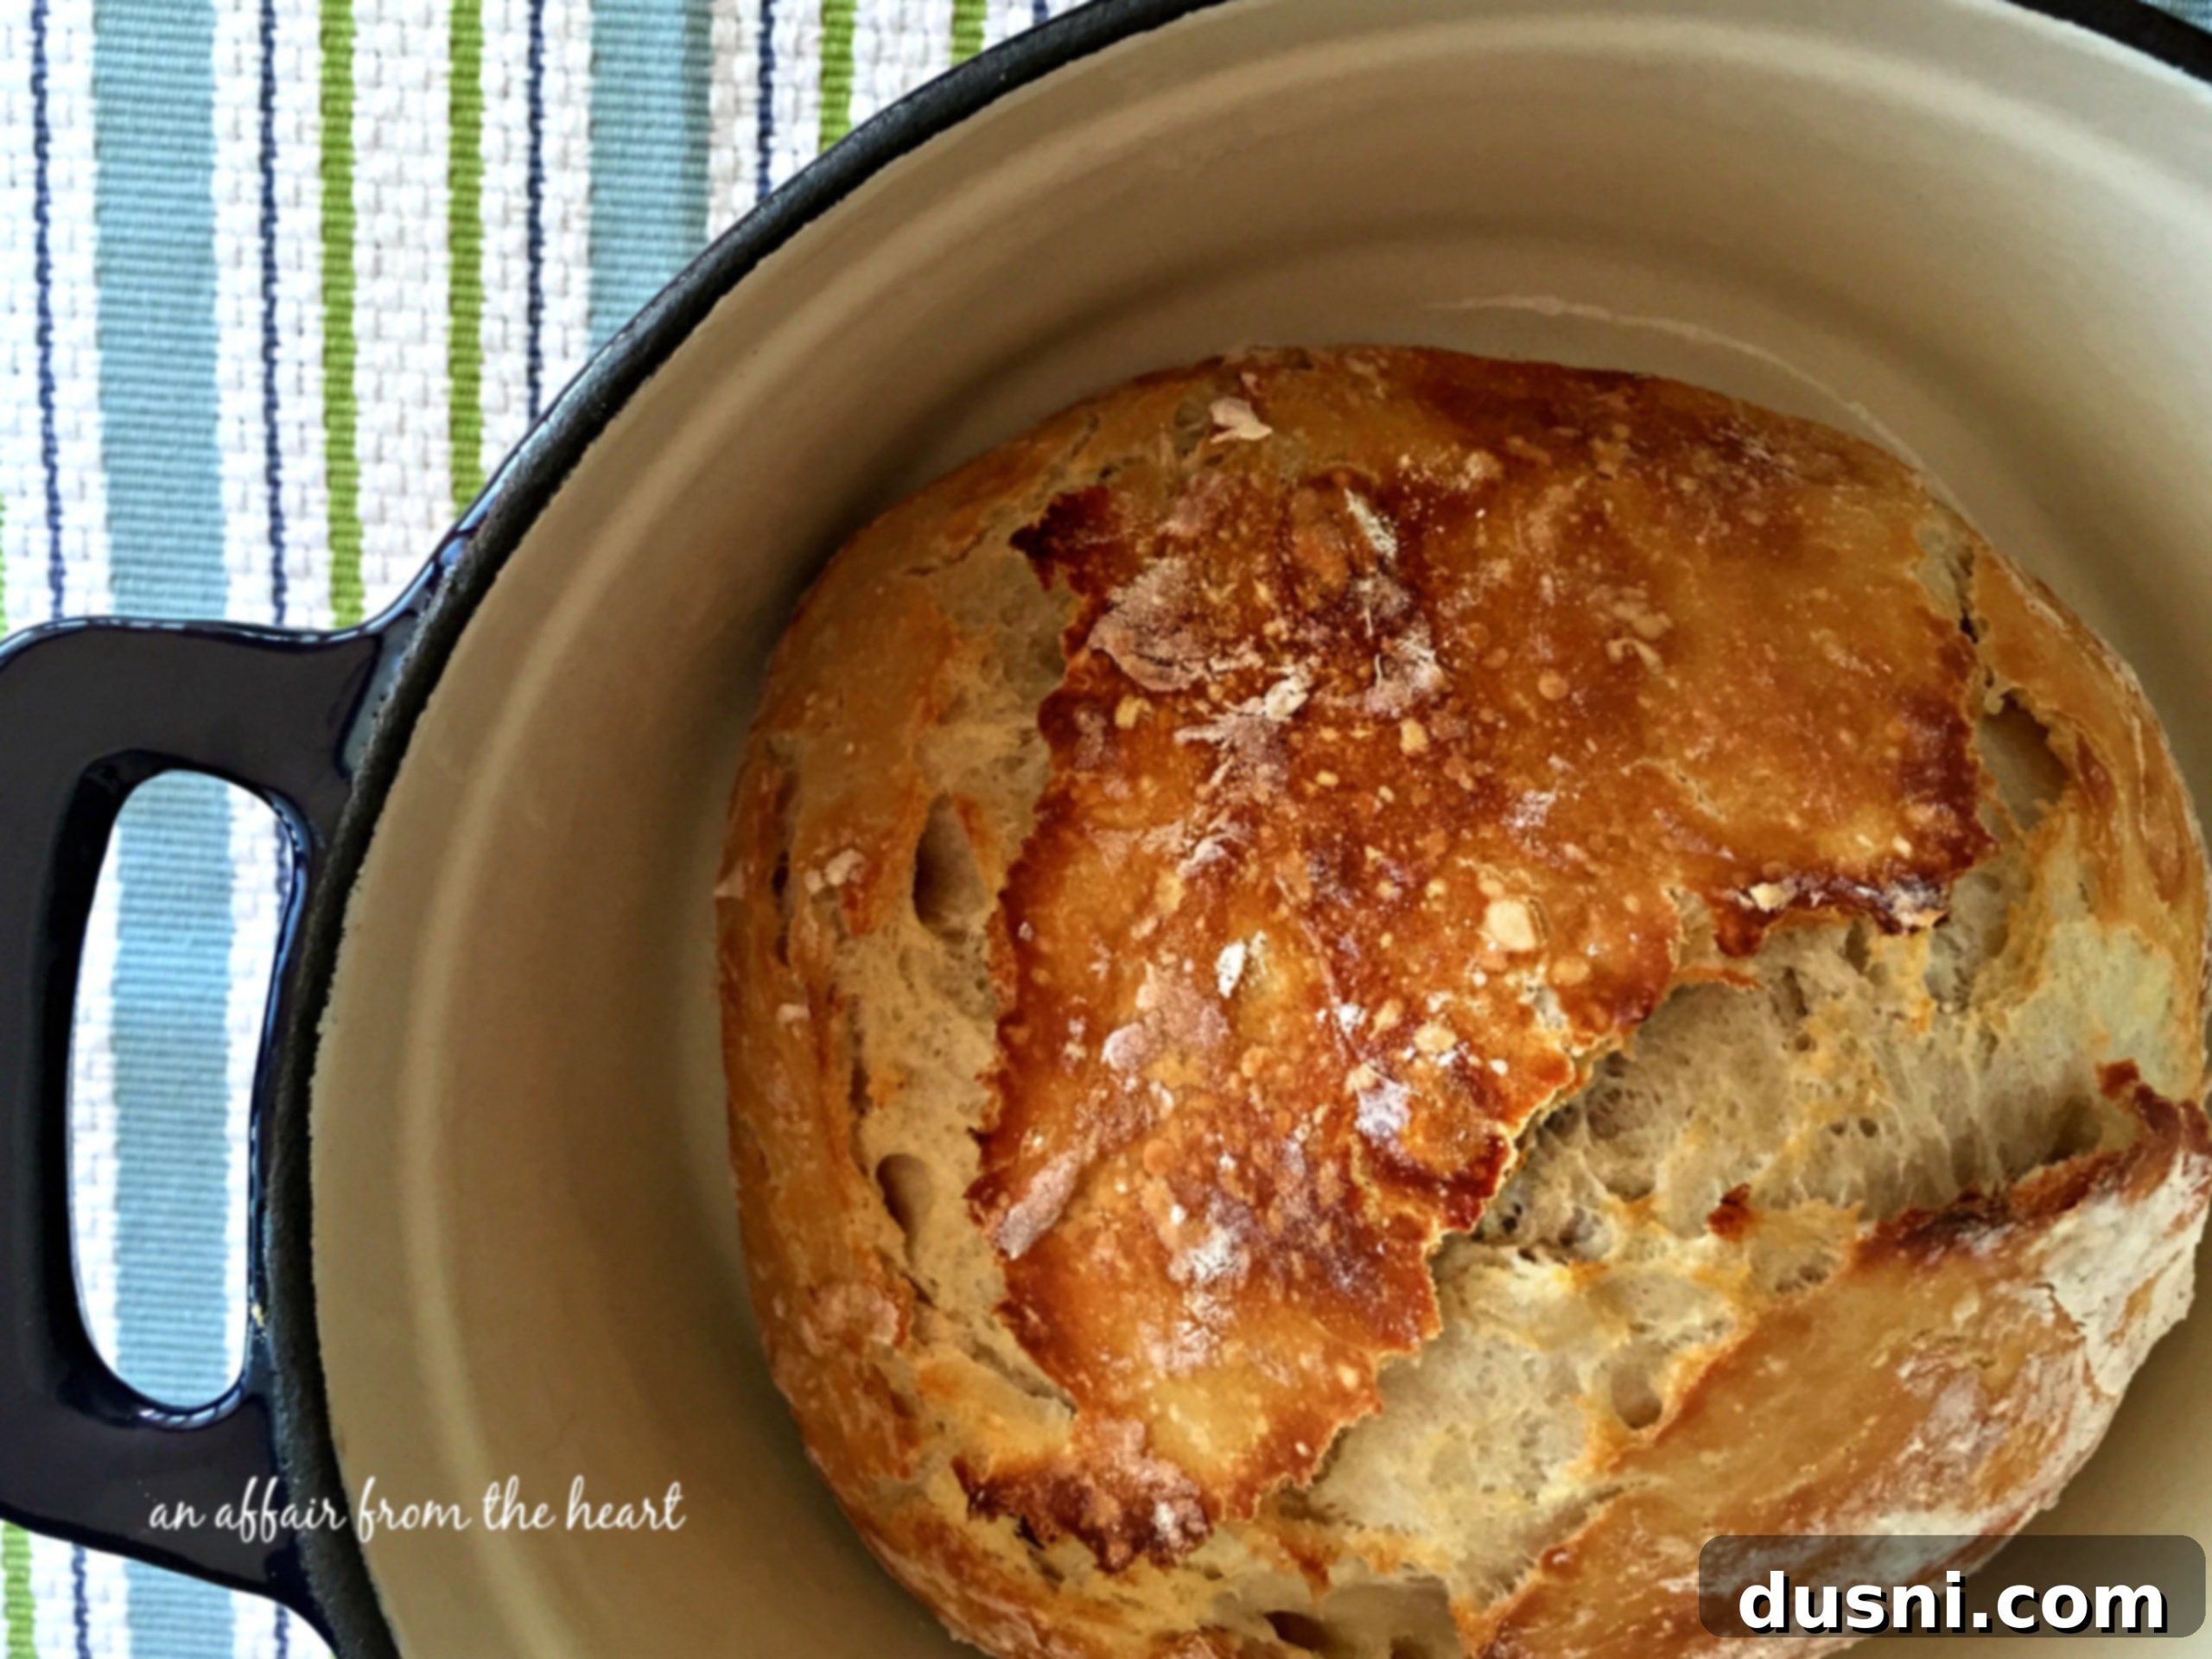
No-Knead Crusty Dutch Oven Bread: The Easiest 4-Ingredient Recipe for Perfect Homemade Loaves
Imagine the irresistible aroma of freshly baked bread wafting through your home. Now imagine achieving that incredible experience with minimal effort and just four simple ingredients. This No-Knead Crusty Dutch Oven Bread is truly the easiest bread you will ever bake, consistently turning out perfect results every single time.
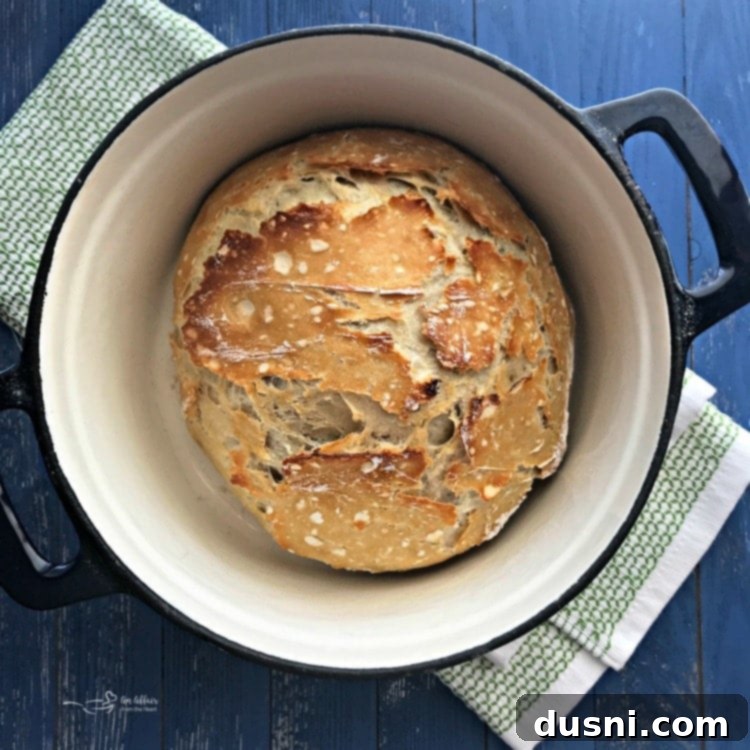
There’s an undeniable magic in homemade bread that store-bought versions simply can’t replicate. The warmth, the incredible smell, and that satisfying crunch of a perfectly crusty exterior give way to a soft, airy interior. I still remember the first time I pulled this loaf from my oven. I was so incredibly proud of how this rustic, crusty bread turned out, I was *literally* patting myself on the back! When my husband came home from work that night, I met him at the door, dutch oven in my mittened hands, proclaiming, “Welcome Home Honey, I baked you a fresh loaf of bread!” with a flourish. He just smiled and lovingly replied, “You’re such a DORK!” Somehow, we make it work. 😉
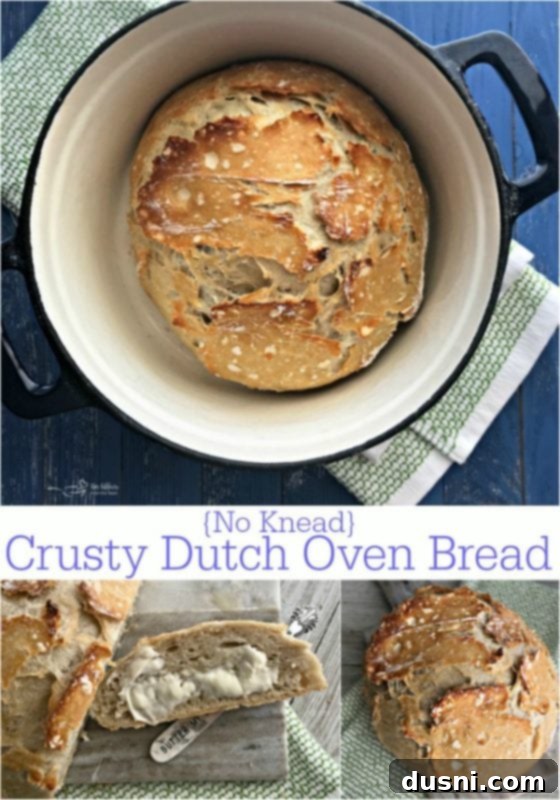
^Love this recipe? PIN It for later!^
I originally set out to make this bread because I was preparing Chicken Linguine Carbonara and wanted a delicious, fresh accompaniment. I decided it was high time I ventured into baking my own yeast bread. I scrolled through my Pinterest Bread Recipes Board for inspiration, and there it was—a recipe claiming to be incredibly easy. Now, I’m quite comfortable with quick breads, but baking with yeast has always intimidated me. The precise measurements, the proofing, the kneading – it all felt like a daunting science experiment. If you share that hesitation, this no-knead recipe is your perfect starting point. You absolutely *need* to try this!
Why “No-Knead” Bread is a Game Changer
The concept of “no-knead” bread might sound too good to be true, especially for those new to yeast baking. However, it’s a revolutionary method that leverages time instead of muscle. Instead of kneading the dough to develop the gluten structure, this recipe relies on a long, slow fermentation period. During this extended rise (typically 12-18 hours), the yeast works its magic, breaking down the starches and allowing the gluten strands to naturally align and strengthen. This hands-off approach not only eliminates the most labor-intensive part of bread making but also contributes to a more complex flavor profile and a superior texture.
For beginners, the no-knead method is incredibly forgiving. There’s no worrying about over-kneading or under-kneading. The dough might look shaggy and sticky initially, but trust the process. The long fermentation does all the hard work for you, resulting in a bread that tastes like it came from a professional bakery, but was made with minimal effort right in your kitchen.
The Essential Role of a Dutch Oven for a Crusty Loaf
This bread recipe, with its mere four ingredients, simplifies baking, but the secret to its incredible crust lies in one piece of equipment: a cast iron Dutch oven. I was particularly excited to try this recipe when I got my new Dutch oven, and it exceeded all expectations.
A heavy, lidded pot like a Dutch oven is crucial for achieving that signature crust and a beautiful “oven spring” (the final burst of rising that occurs during the initial minutes of baking). Here’s why:
- Steam Environment: When the dough is placed into a preheated Dutch oven and covered, it creates a steamy environment. This steam prevents the crust from forming too quickly, allowing the bread to fully expand before hardening. This results in a much higher rise and a lighter, airier crumb.
- Consistent Heat: Cast iron retains and distributes heat incredibly well, ensuring even baking and a consistent temperature around the loaf. This helps in developing a deep, golden-brown crust.
- Mimics a Professional Oven: The trapped steam and high, even heat mimic the conditions of a professional steam-injected oven, which is essential for artisan-quality bread.
Preheating your Dutch oven along with your oven is a non-negotiable step. This ensures that when the dough hits the hot surface, it immediately starts baking and benefiting from the trapped steam.
What Do I Need for this No-Knead Crusty Dutch Oven Bread?
As mentioned, this recipe boasts an incredibly short ingredient list, making it approachable for even the most hesitant bakers. You only need four kitchen staples:
- All-Purpose Flour: The foundation of our bread. All-purpose flour has a moderate protein content, making it versatile and perfect for a rustic loaf like this. While bread flour (with higher protein) can create a chewier texture, all-purpose yields fantastic results.
- Active Dry Yeast: This is the leavening agent that makes our bread rise. Active dry yeast needs to be activated, but in a no-knead recipe with a long fermentation, simply adding it to the dry ingredients with room temperature water is sufficient. The extended rising time ensures it gets to work.
- Salt: More than just a flavor enhancer, salt plays a crucial role in controlling yeast activity and strengthening the gluten structure. Don’t skip it, and don’t reduce it too much, as it contributes significantly to the bread’s taste and texture.
- Water (Room Temperature): Water is essential for hydrating the flour and activating the yeast. Using room temperature water is ideal; if it’s too cold, the yeast will be sluggish; if it’s too hot, it could kill the yeast.
That’s it! No fancy ingredients, no sourdough starter needed, just these four simple components.
The Effortless Process: Step-by-Step Baking
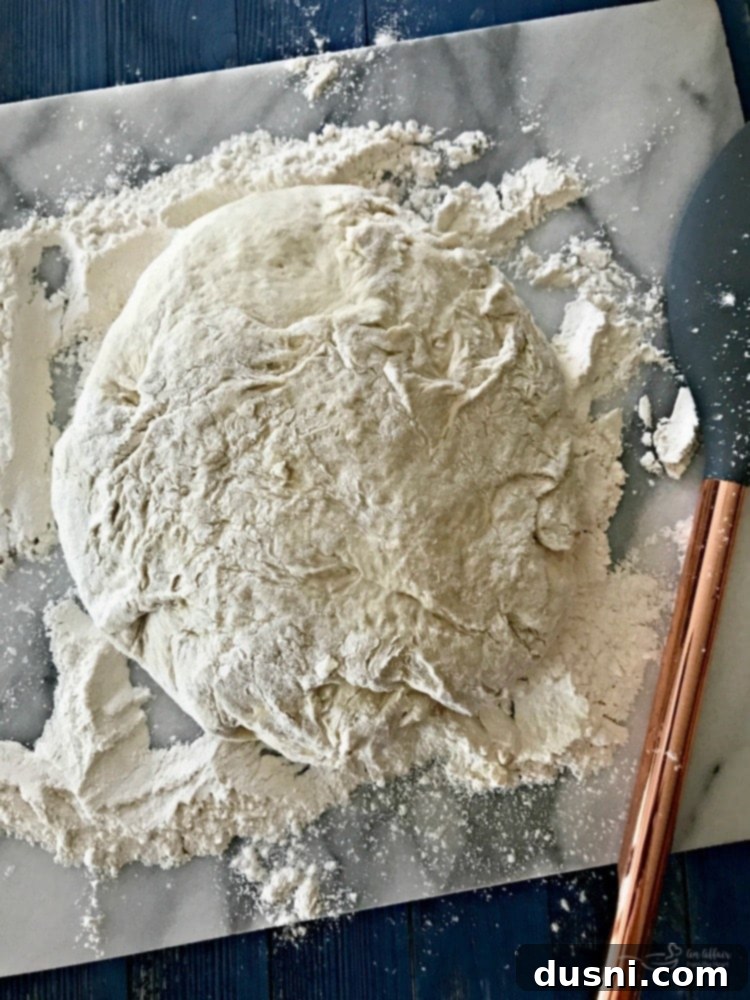
The beauty of this recipe truly lies in its simplicity, particularly in the preparation phase. Here’s a detailed breakdown of the steps:
1. The Initial Mix and Long Rise (12-18 Hours)
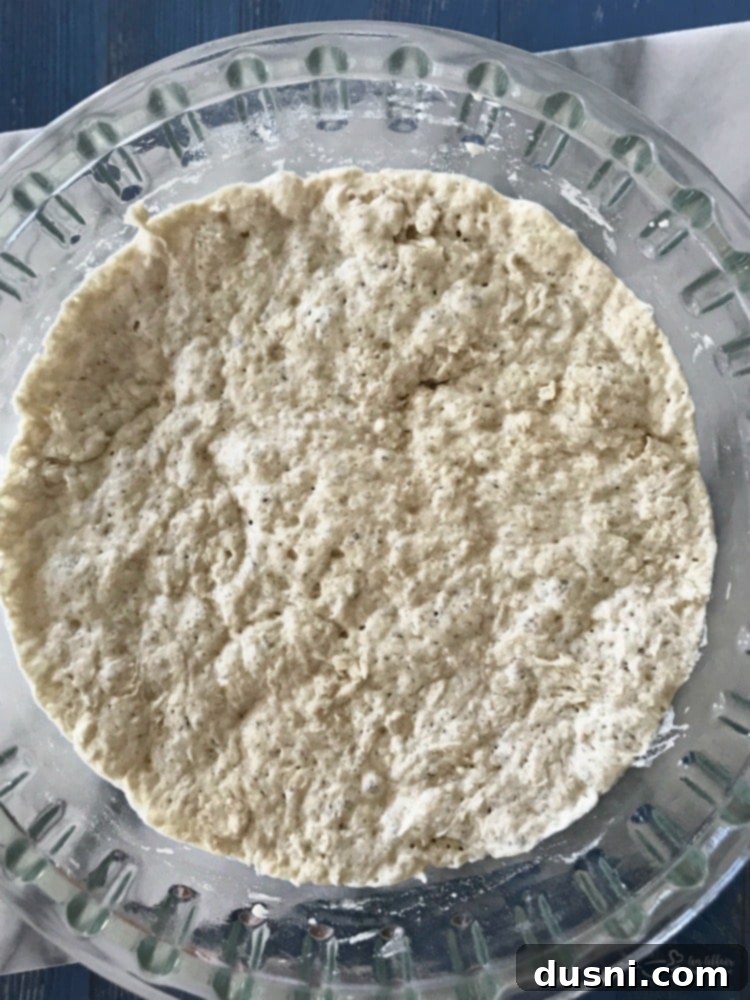
In a large bowl, combine your all-purpose flour, salt, and active dry yeast. Give it a quick whisk to ensure everything is evenly distributed. Then, add the room temperature water. Using a rubber spatula, mix the ingredients until they are just combined and no dry streaks of flour remain. The dough will look shaggy, sticky, and quite wet – this is exactly how it should be! Do not be tempted to add more flour. Cover the bowl tightly with plastic wrap and place it on your kitchen counter at room temperature. Let it rest for a generous 12 to 18 hours. This long, slow fermentation is where the magic happens, developing the flavor and gluten structure without any kneading from you.
2. Preparing for Baking
When your dough is ready (it should be bubbly and have increased significantly in volume), preheat your oven to 450°F (232°C). Crucially, place your empty cast iron Dutch oven with its lid inside the oven as it preheats. This ensures the pot is piping hot when the dough goes in, which is key for a great crust and rise. Allow at least 30-45 minutes for the Dutch oven to get thoroughly hot.
3. Shaping the Dough
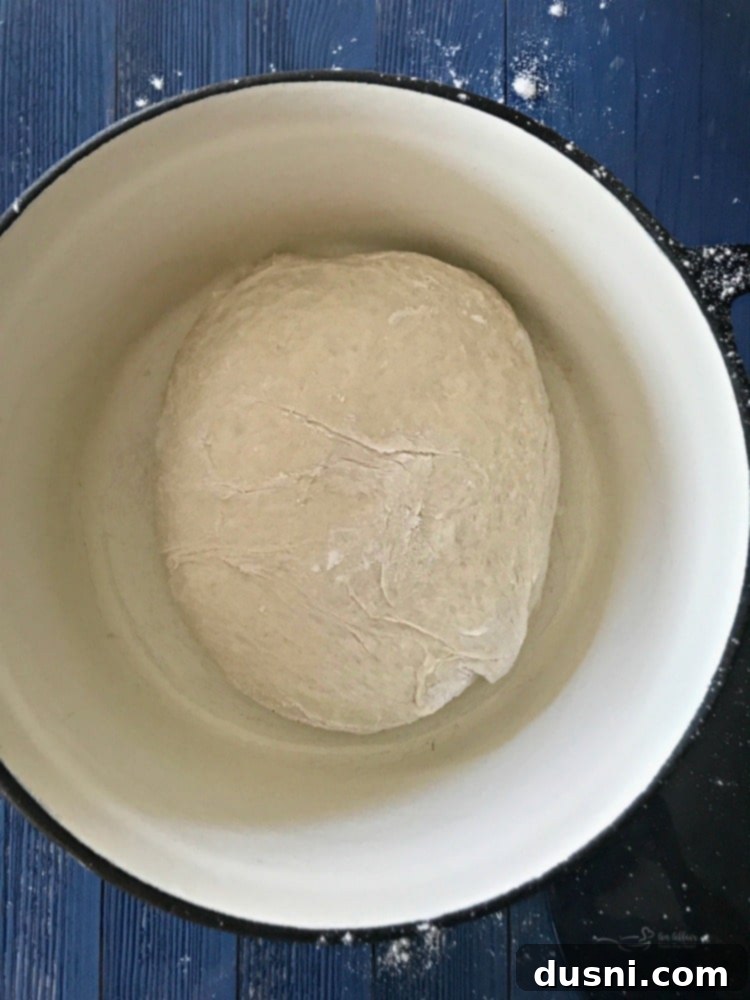
Generously flour your work surface and your hands. The dough will be very sticky, so don’t skimp on the flour for your hands! Gently scrape the dough out of the bowl onto the floured surface. Fold the edges of the dough towards the center a few times to create some surface tension, then gently form it into a loose ball. Avoid overworking the dough; the goal is just to create a somewhat cohesive shape. Remember, it’s okay if it’s not a perfect sphere; its rustic charm is part of its appeal.
4. Baking in the Dutch Oven
Carefully remove the scorching hot Dutch oven from the preheated oven using oven mitts. Take off the lid. Gently lift the ball of dough and carefully drop it into the hot pot. Don’t worry if it looks a bit messy. Place the lid back on the Dutch oven and return it to the oven.
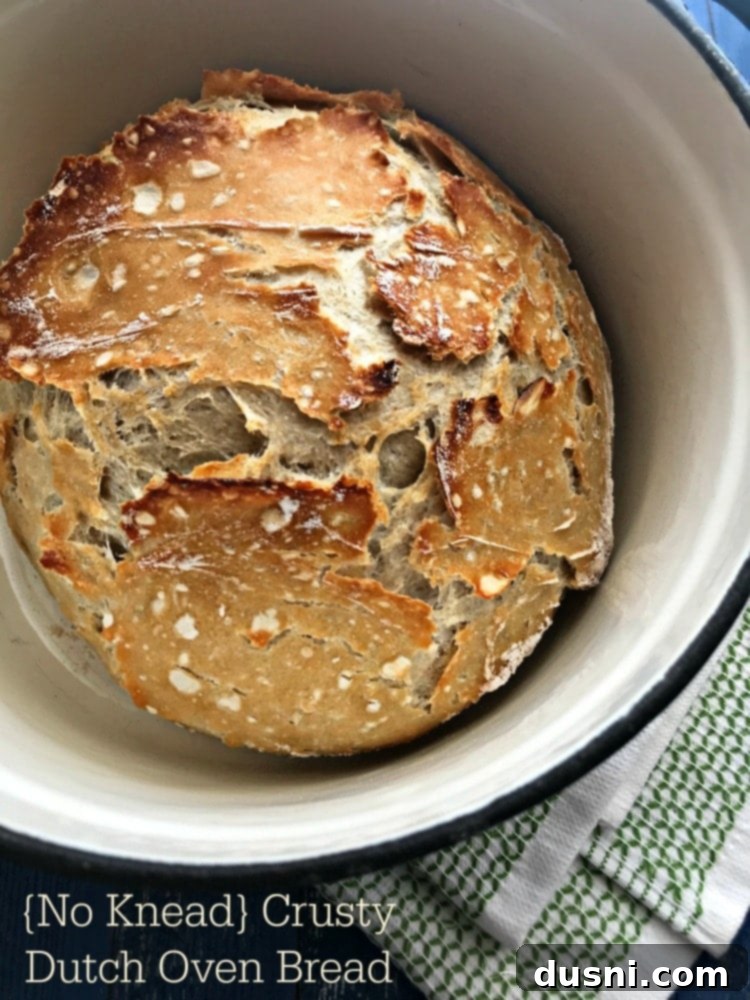
Bake for 30 minutes with the lid on. This phase traps steam, allowing the bread to achieve maximum rise and preventing the crust from setting too soon. After 30 minutes, remove the lid and continue baking for another 15 to 20 minutes, or until the crust is a deep golden brown and sounds hollow when tapped. The uncovered baking period develops that beautiful, crisp crust.
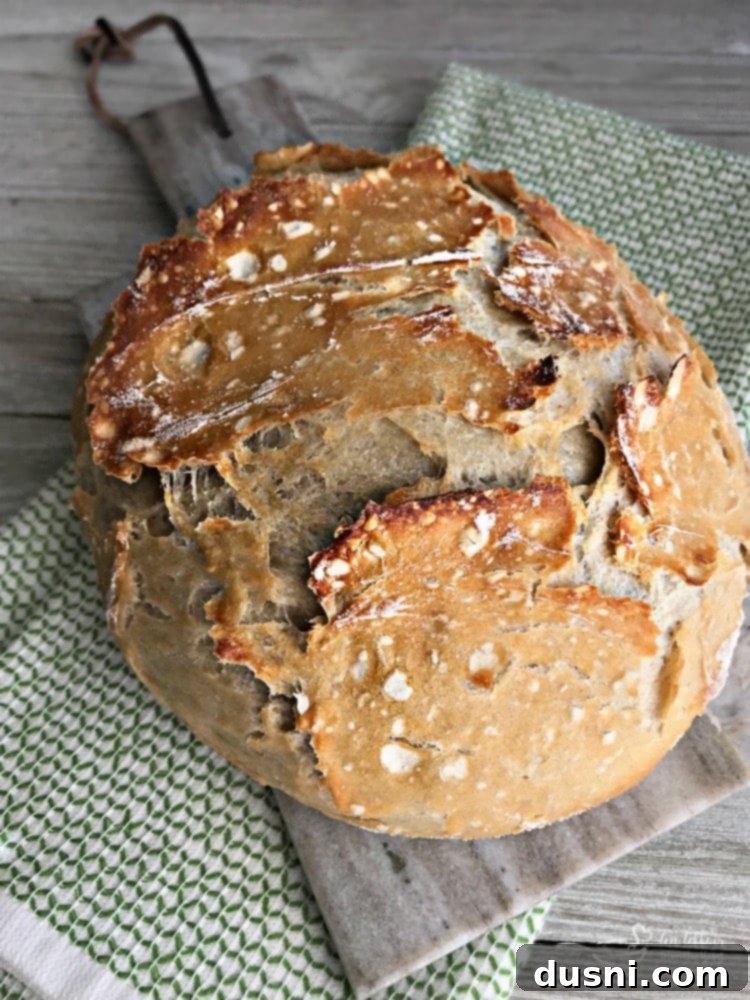
Isn’t it GORGEOUS?
5. Cooling and Serving
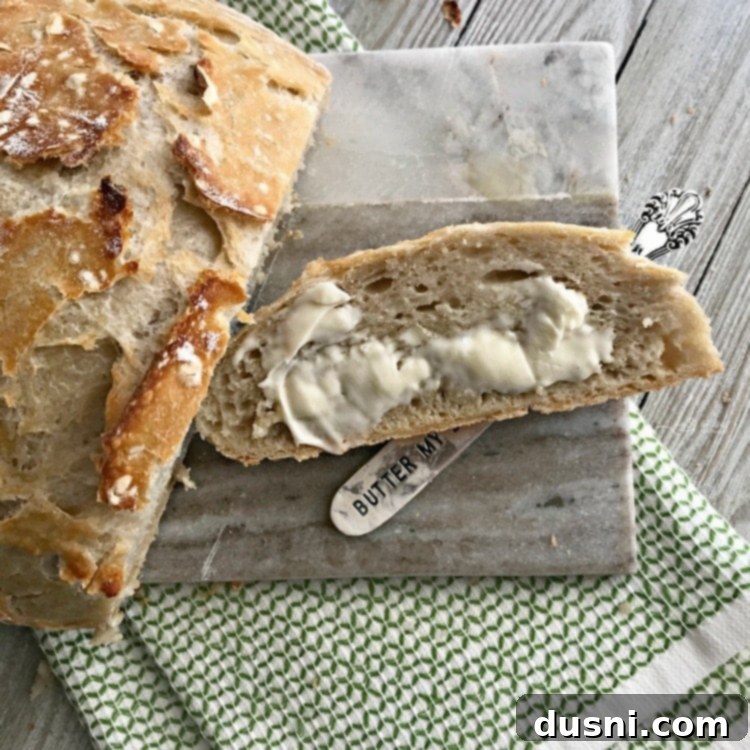
Once baked, carefully remove the bread from the Dutch oven and transfer it to a wire rack to cool slightly. Allowing it to cool is crucial, as it allows the internal structure of the bread to set and prevents a gummy texture. Slice and serve warm with a generous smear of butter, or alongside your favorite meal.
Tips for Success with Your No-Knead Bread
- Don’t Rush the Rise: The 12-18 hour fermentation is non-negotiable for flavor and texture development. Plan ahead!
- Room Temperature Matters: Ensure your water is at room temperature to encourage yeast activity.
- Embrace Stickiness: The dough is meant to be very sticky. Resist the urge to add too much extra flour during the initial mix or shaping, as this can make the bread dense.
- Hot Dutch Oven: Preheating the Dutch oven is critical for a great crust and rise. Don’t put cold dough into a cold pot.
- Listen to Your Bread: A fully baked loaf will have a deep golden-brown crust and will sound hollow when tapped on the bottom.
- Store Properly: Once cooled, store your bread in a breathable bread bag or wrapped in a clean kitchen towel at room temperature for 2-3 days. Avoid airtight containers too soon, as they can soften the crust.
Serving Suggestions Beyond Butter
While this bread is undeniably delicious with just a pat of butter, its versatile nature makes it perfect for countless pairings:
- Soup & Stew Companion: Its crusty exterior and soft interior make it ideal for soaking up hearty soups and stews. Perfect for soup season!
- Dipping: Serve with good quality olive oil, balsamic vinegar, and a sprinkle of herbs.
- Sandwiches & Toast: Make incredible sandwiches, or do as we do, and gobble up any leftovers as sensational toast the next morning. It takes toast to a whole new level!
- Bruschetta Base: Slice it, toast it lightly, and top with fresh tomatoes, basil, and mozzarella for an easy appetizer.
- Garlic Bread: Transform it into a fragrant garlic bread to accompany pasta dishes.
Looking for some other great recipes to try your hand at baking with yeast?
If this no-knead bread sparks your interest in yeast baking, here are a few more delicious recipes to explore:
- Peasant Bread
- No-Knead English Muffin Bread
- Cloverleaf Rolls
- Perfect Dinner Rolls
This Dutch oven bread truly is as easy as it seems, I promise. The simplicity of ingredients combined with the magic of time and a hot pot yields results that will impress everyone, especially yourself. Just remember, you have to plan ahead. If you decide to have this bread for dinner tonight, it won’t be happening – you need to allow for that crucial 12-18 hour rise. Trust me, though, it’s 100% worth the wait! The reward of a warm, fragrant, crusty loaf is unparalleled.
Who’s ready to get to that recipe? As always, let me know what you think of it if you try it! Happy baking!

LIKE THIS RECIPE?
Don’t forget to give it a ⭐️⭐️⭐️⭐️⭐️ star rating and
leave a comment below the recipe!

Print Recipe
No-Knead Crusty Dutch Oven Bread
This Crusty Dutch Oven Bread requires no kneading and only 4 ingredients!
Keyword: No Knead Crusty Dutch Oven Bread
Calories: 114 kcal
Author: Michaela Kenkel
Ingredients
- 3 cups all-purpose flour
- 1¾ teaspoon salt
- ½ teaspoon active dry yeast
- 1½ cups water at room temperature
Instructions
- In a large bowl, mix together flour, salt, and yeast. Add water to the bowl and using a rubber spatula, mix it until it is all incorporated. Cover the bowl with plastic wrap and let it sit on your counter for 12 to 18 hours.
- When ready to bake, preheat oven and your cast iron Dutch oven (with its lid) to 450°F (232°C).
- Generously flour your work surface and your hands. With your floured hands, gently remove the dough from the bowl and shape it into a ball.
- Carefully remove the hot pot from the oven, and remove the lid.
- Take the ball of dough and gently drop it into the hot pot. Cover the pot with the lid and place it back in the oven.
- Bake for 30 minutes with the lid on, then remove the lid and bake for another 15 to 20 minutes or until golden brown.
- Remove from the oven and let cool completely on a wire rack.
- Slice and enjoy!
Notes
Recipe adapted from Jo Cooks.
Nutrition
Calories: 114kcal |
Carbohydrates: 24g |
Protein: 3g |
Sodium: 310mg |
Fiber: 1g
