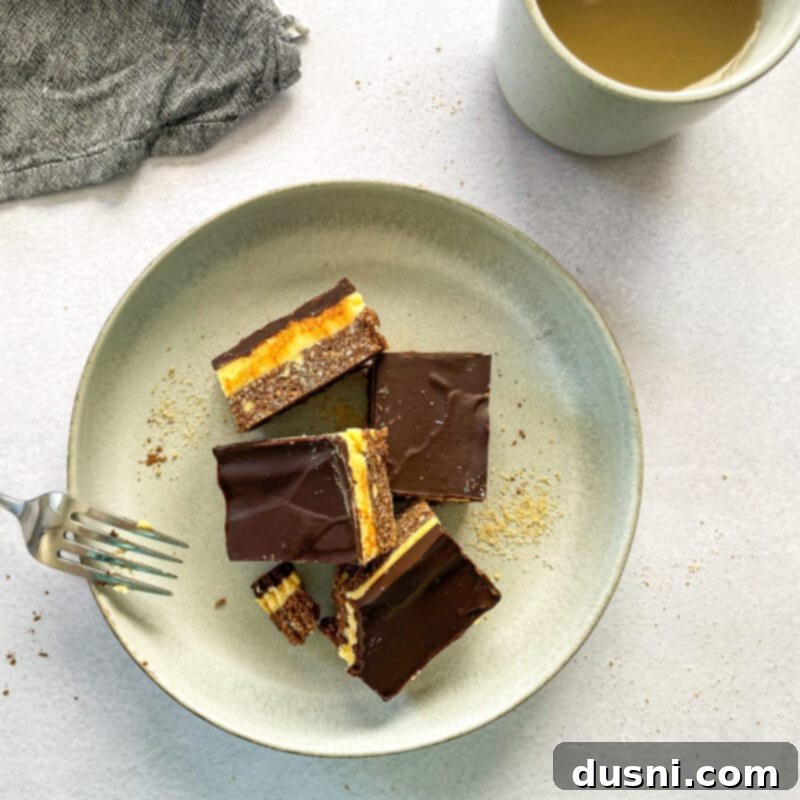
The Ultimate No-Bake Nanaimo Bar Recipe: A Decadent Canadian Dessert Classic
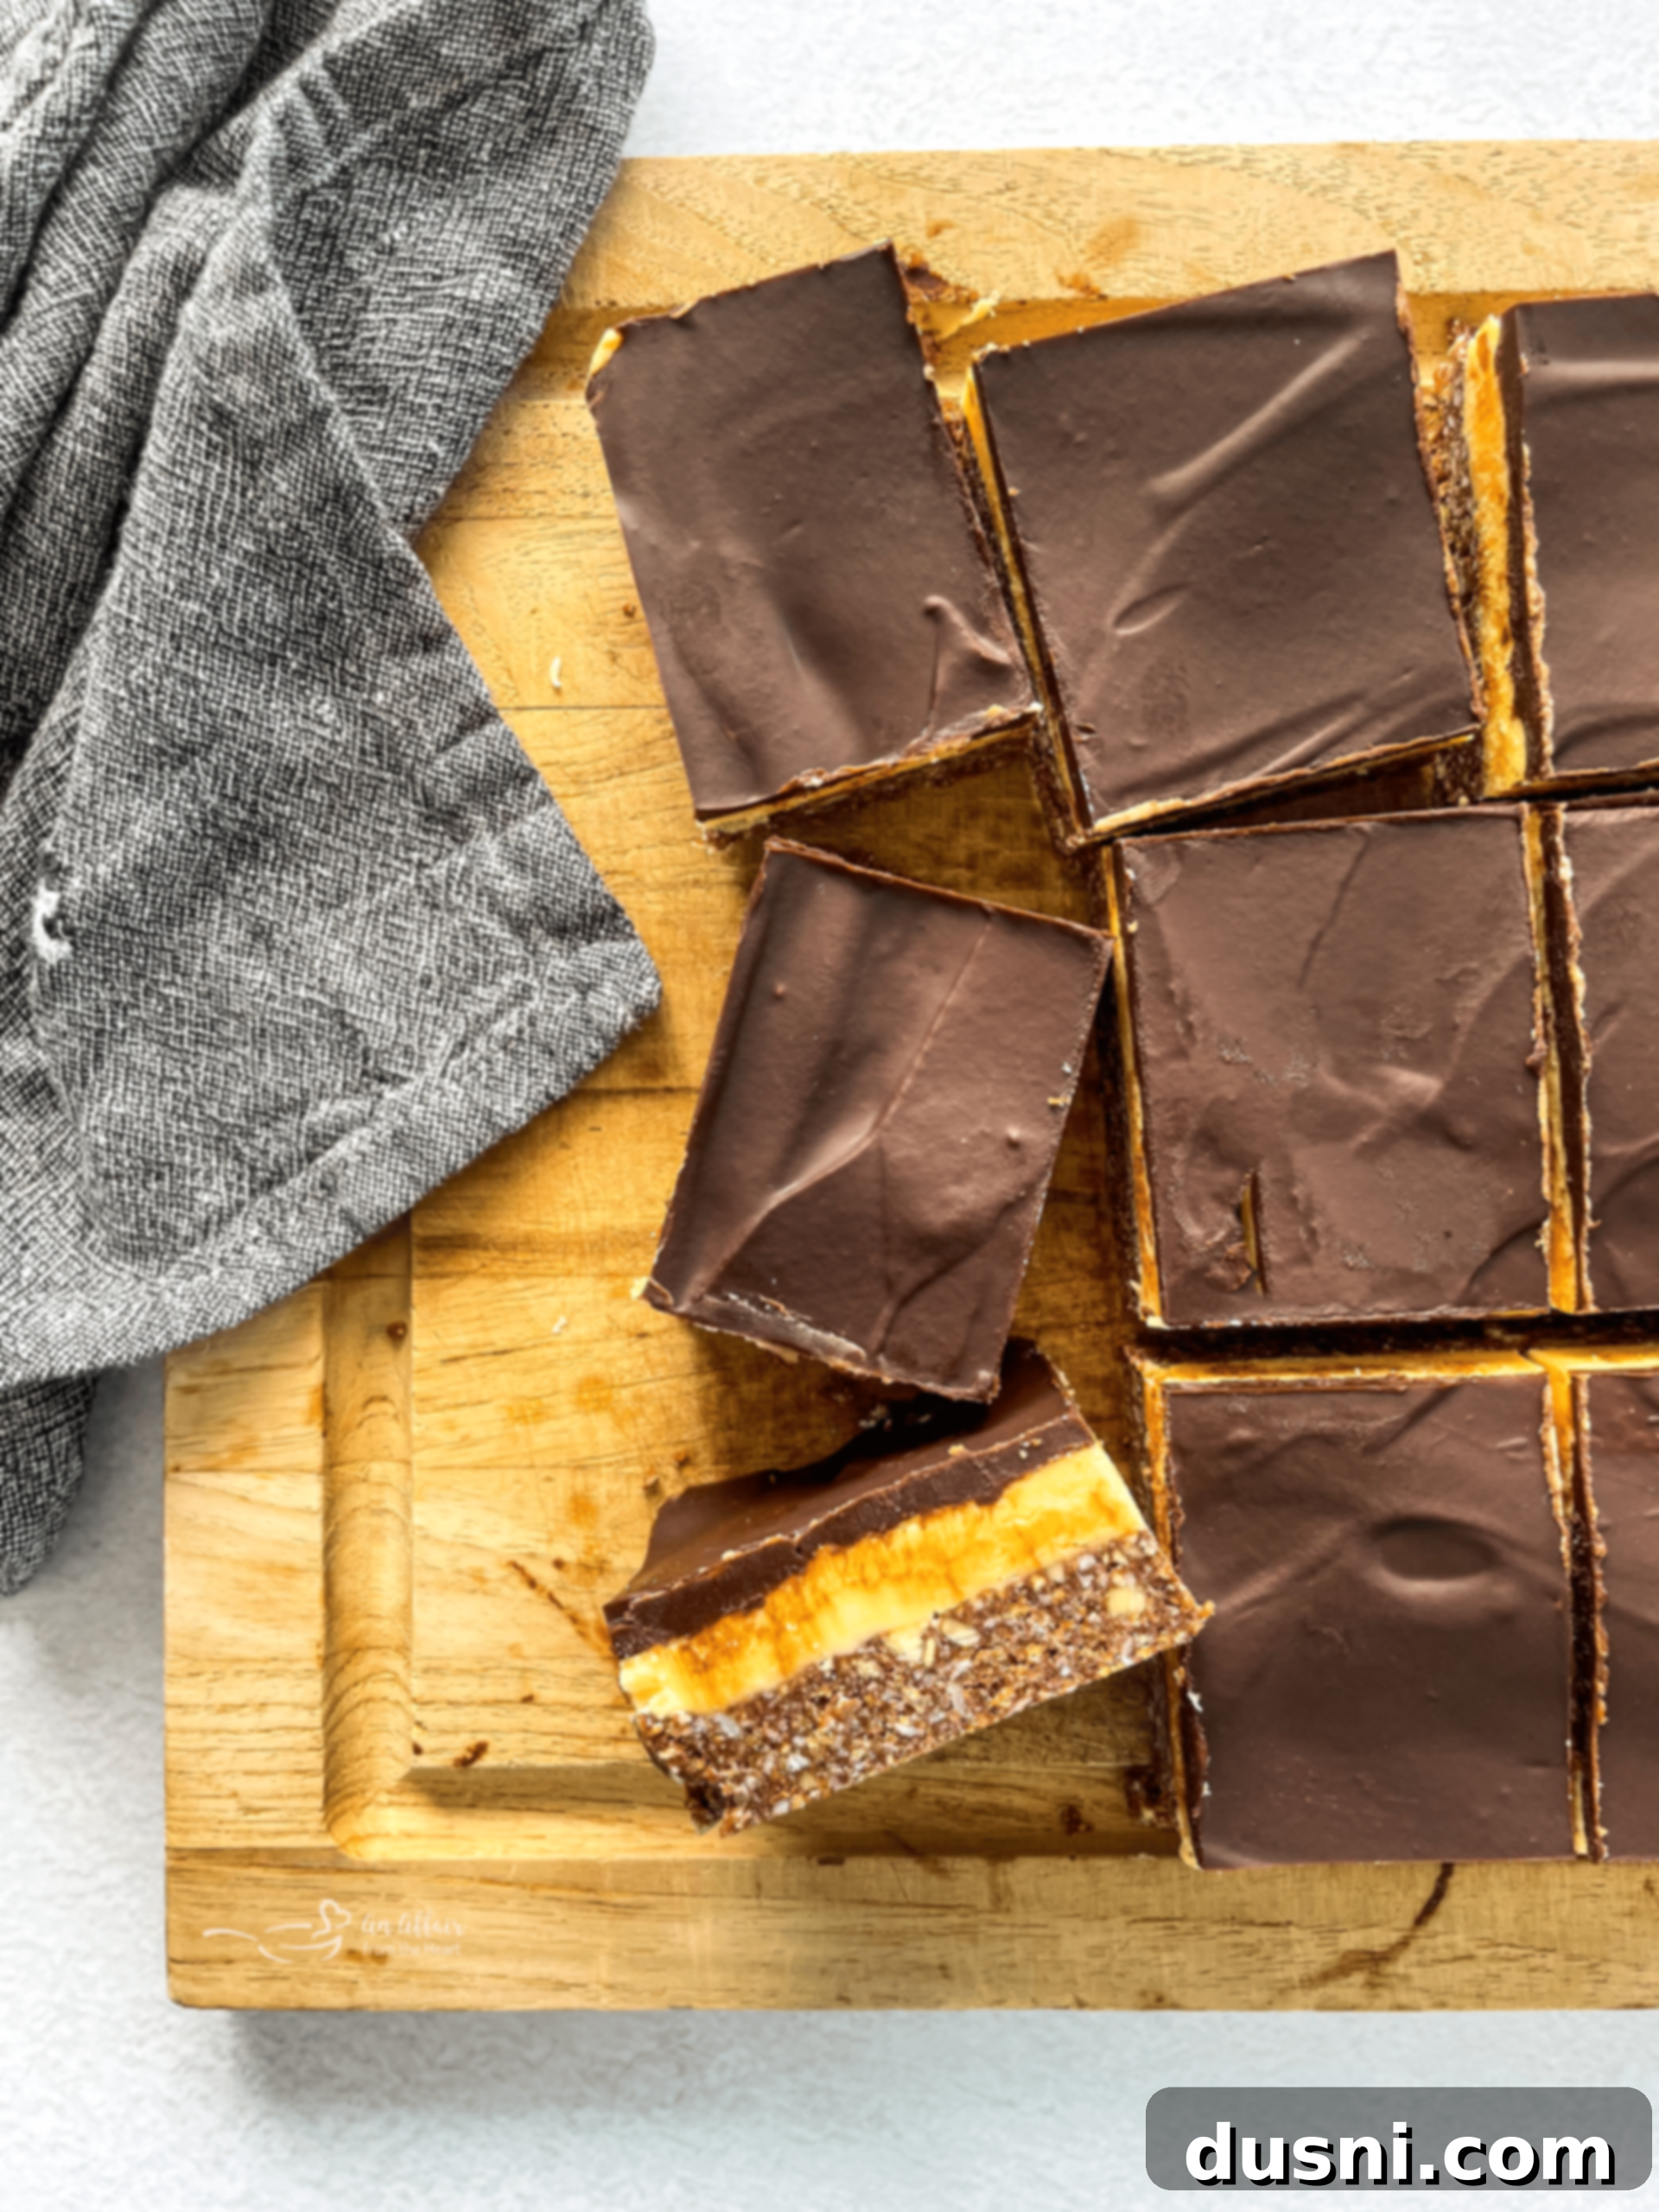
Picture this: a rich, crunchy chocolate crust forming the perfect foundation, topped with a smooth, velvety custard filling that melts in your mouth, and finally crowned with a glistening, decadent chocolate ganache. Are you already craving a bite? We thought so! This Nanaimo Bar recipe is not just a dessert; it’s a symphony of textures and flavors, a truly drool-worthy addition to your baking repertoire, whether for special occasions or simply to treat yourself.
Touted as a quintessential Canadian dessert bar, deriving its famous name from the picturesque city of Nanaimo on Vancouver Island, British Columbia, this classic square truly knows no borders when it comes to its universal appeal. It’s a treat cherished across Canada and increasingly loved worldwide. This particular recipe for Nanaimo Bars is, in our humble opinion, one of the very best you’ll find—simple to follow, authentically classic in taste, and undeniably decadent. What’s not to adore about a no-bake dessert that combines rich chocolate with creamy custard, all without ever turning on your oven? We are definitely with you on this one!
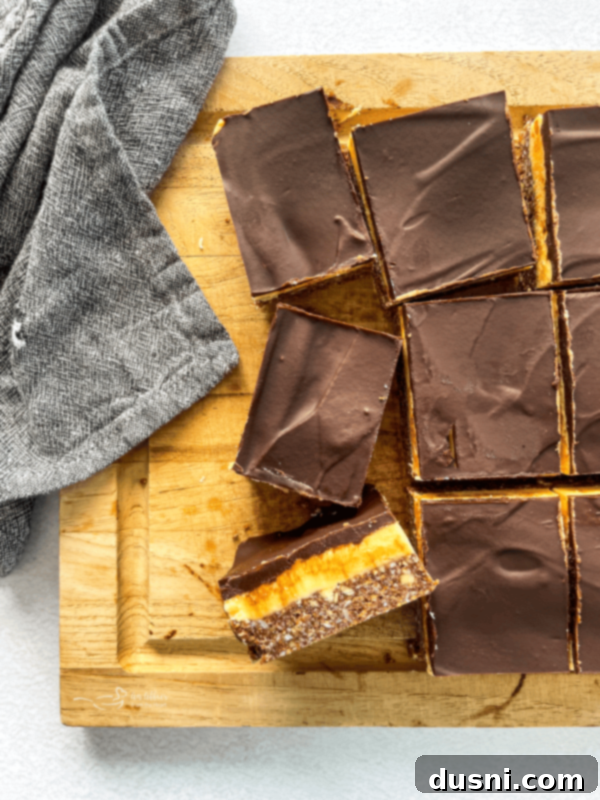
You might recall a while back when we shared a recipe for Classic Canadian Poutine, graciously shared by our friend, Haley. Well, she has once again delighted us by sharing one of her most beloved sweet recipes, and now, we are excited to pay it forward and share this incredible creation with you! So, the next time you find yourself yearning for something exquisitely decadent and wonderfully sweet, do yourself a favor and give this delicious, layered treat a try. You won’t regret it.
Why You’ll Love These Nanaimo Bars
You are absolutely going to fall in love with these delightful Nanaimo Bars, named after the charming City of Nanaimo nestled on Vancouver Island in British Columbia, Canada. Beyond their iconic status, there are countless reasons why this particular recipe will become a cherished favorite.
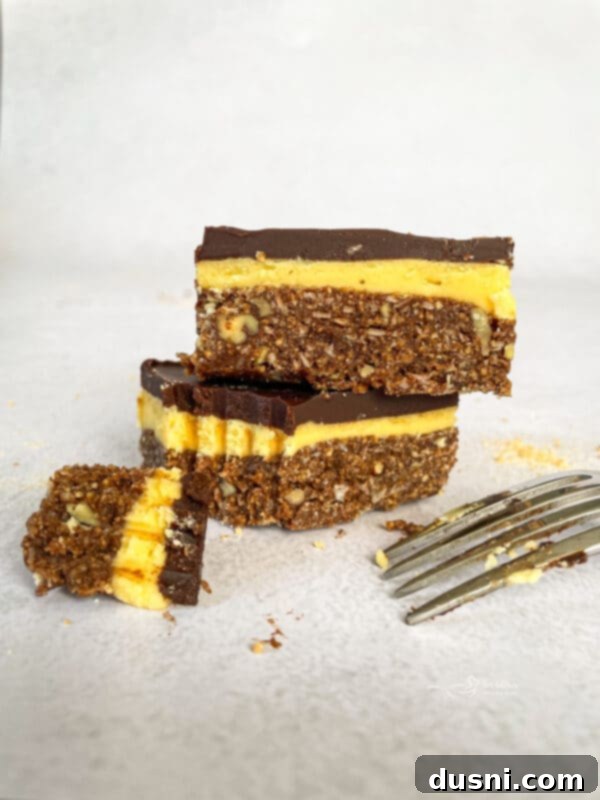
First and foremost, this Nanaimo Bar recipe comes together with remarkable ease. There’s no special equipment required, making it accessible for even novice bakers. The magic unfolds in three distinct yet harmonious layers: a robust graham wafer and coconut base, a lusciously smooth and creamy custard filling, and finally, a rich, glossy chocolate ganache topping. Each bite offers a true melody of flavors and an exciting interplay of textures—the satisfying crunch of the base, the silken indulgence of the custard, and the firm snap of the chocolate. This combination creates an unforgettable dessert experience that appeals to nearly everyone. Plus, the convenience of a no-bake recipe means less time in the kitchen and more time enjoying your delicious creation, especially on warm days when turning on the oven is less than ideal. They are perfect for potlucks, parties, or simply as an indulgent weekend treat.
All About Nanaimo Bars: History & Cultural Significance
No-bake desserts have enjoyed a long and fascinating history, with their popularity truly beginning to soar after the Second World War. During this period, staple ingredients like butter, sugar, and chocolate became more readily available, inspiring home cooks to create delicious treats without the need for an oven. This era set the stage for many beloved desserts, including the iconic Nanaimo Bar.
While there are conflicting theories regarding the exact time and place these particular no-bake Nanaimo Bars were first created, culinary research strongly suggests that these delectable bars truly gained widespread notoriety and cemented their place in Canadian hearts after Expo 86 in Vancouver. This monumental event introduced countless visitors to this uniquely Canadian confection, propelling it into the national spotlight.
In a testament to its enduring popularity and beloved status, the Nanaimo Bar was officially voted Canada’s favorite confection by the National Post newspaper in 2006. Since then, the popularity of these layered bars has only continued to grow, making them a staple in Canadian bakeries, cafes, and homes. Beyond their culinary appeal, Nanaimo Bars have become a symbol of Canadian comfort food, a sweet reminder of home and tradition. Their simple elegance and rich flavor profile ensure they remain a timeless classic that continues to charm dessert lovers both within Canada and around the globe. Many variations exist, but the core three-layer structure remains consistently irresistible.
Nanaimo Bar Ingredients: Building Layers of Deliciousness
The magic of Nanaimo Bars lies in their distinct, yet perfectly harmonious, layers of deliciousness. From the chocolatey, crumbly base layer to the smooth, creamy custard buttercream filling, and finally, the luscious, decadent chocolate ganache on top – you will be hard-pressed to pick a favorite layer! Each component plays a crucial role in creating the overall exquisite experience.
For precise measurements and detailed step-by-step instructions, please scroll down to the printable recipe card at the bottom of this article.
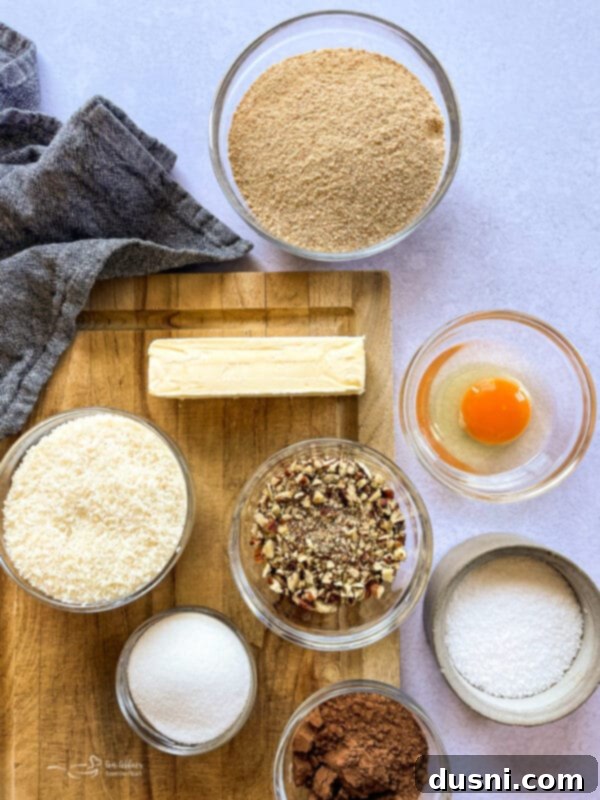
FOR THE BASE (Bottom Layer)
- Unsalted butter: Butter is essential for adding a wonderful richness and acting as a binder for the base in this recipe. We recommend unsalted butter as it gives you complete control over the salt content in your dessert. If you only have salted butter, you can use it, but you might want to slightly reduce any added salt in the recipe. For those looking to make this recipe vegan, a high-quality vegan butter substitute, such as Earth Balance, works beautifully to achieve a similar texture and richness.
- Granulated sugar: A fundamental pantry staple, granulated sugar provides the necessary sweetness to balance the cocoa and other ingredients in the base, contributing to its overall delightful flavor.
- Cocoa powder: For a deep, authentic chocolate flavor, we prefer using unsweetened cocoa powder, like Hershey’s. This allows the natural bitterness of the chocolate to shine through and complements the sweetness of the sugar. You can use either natural or Dutch-processed cocoa; Dutch-processed will give a darker color and milder chocolate flavor.
- Salt: A small amount of salt is crucial. It doesn’t just make things taste salty; it actually enhances and balances the sweetness of the sugar and the richness of the chocolate, bringing all the flavors into harmony. Standard table salt is perfectly fine for this recipe.
- Large egg: A large egg acts as a binder and helps create the signature fudgy consistency of the base when gently cooked. Ensure your egg is at room temperature before use for easier incorporation into the mixture. Any type of large chicken egg will work.
- Graham cracker crumbs: These form the quintessential crunchy, crumbly foundation of a Nanaimo Bar. You can often find ready-made graham cracker crumbs in the baking aisle of most grocery stores, which saves time. If pre-made crumbs aren’t available, simply purchase whole graham crackers and process them finely in a food processor until they resemble fine crumbs. If graham crackers are hard to find in your region, a good substitute that offers a similar texture and mild sweetness is digestive biscuits.
- Pecans: Finely chopped pecans add a lovely nutty flavor and a satisfying textural crunch to the base. If pecans aren’t readily available or you prefer a different nut, feel free to substitute with finely chopped walnuts or almonds. For those with nut allergies or who prefer to avoid nuts, you can easily omit them entirely or use sunflower seeds or pumpkin seeds for a similar textural element.
- Unsweetened shredded coconut: This ingredient is key to the distinct texture and subtle tropical hint of the Nanaimo Bar base. Unsweetened shredded coconut provides a chewy contrast to the crunchy graham crackers. If you only have larger coconut flakes, you can quickly pulse them in a food processor to achieve a shredded consistency.
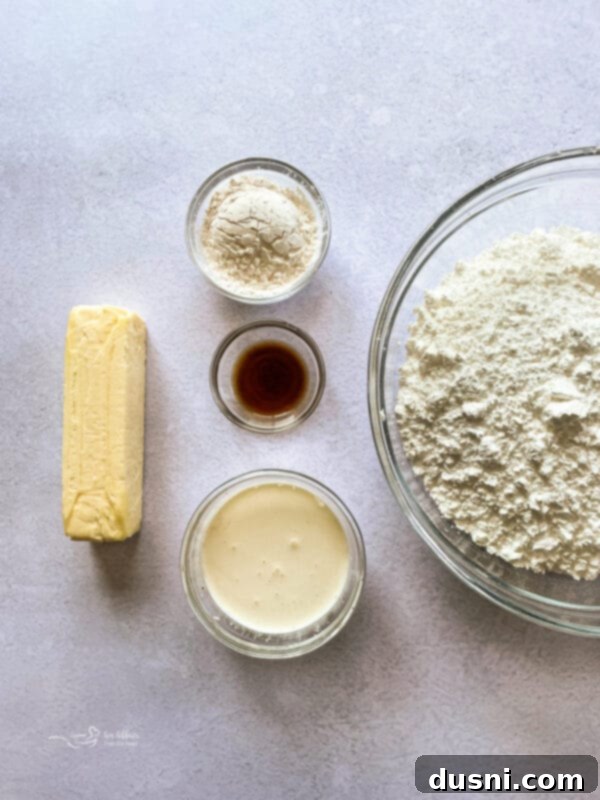
FOR THE FILLING (Middle Layer)
- Unsalted butter: For the filling, it’s crucial that your unsalted butter is softened at room temperature. This ensures it creams beautifully with the other ingredients, resulting in a smooth, lump-free custard.
- Custard powder: This is the star ingredient for the distinctive yellow, vanilla-flavored custard layer. Custard powder is typically found in the baking aisle of the grocery store and is a pre-made mix (often cornstarch-based with flavorings) used to make quick custard. A popular brand is Bird’s custard powder. If you are unable to locate custard powder, an instant vanilla pudding mix makes an excellent substitute, providing a similar creamy texture and flavor profile. For a fun twist, consider adding a teaspoon of ground espresso powder for a coffee-flavored custard, or a few drops of mint extract for a refreshing mint chocolate bar. You could even use chocolate pudding mix for a triple chocolate bar!
- Vanilla extract: Pure vanilla extract offers the best flavor, enhancing the creamy custard. However, artificial vanilla extract also works well and is a more budget-friendly option. For those who prefer, vanilla powder can also be used.
- Powdered sugar: Also universally known as icing sugar or confectioners’ sugar, powdered sugar is non-negotiable for this layer. Its fine, powdery consistency is essential for creating an incredibly smooth and silky custard filling without any granular texture. There are no direct substitutions for powdered sugar in this context.
- Heavy cream: Heavy cream is what gives the custard filling its luxurious richness and incredibly smooth mouthfeel. While heavy cream yields the best results, you can also use reduced-fat cream or even milk in a pinch; however, be aware that the filling may be slightly less rich and firm.
FOR THE TOP LAYER (Chocolate Ganache)
- Semi-sweet chocolate: This forms the delectable, snappy chocolate ganache topping. We recommend using good quality semi-sweet chocolate, either chopped from a bar or in chip form. Semi-sweet chocolate chips are a convenient substitute if you don’t have a chocolate bar. For a deeper, more intense chocolate experience, dark chocolate works wonderfully. Alternatively, for a completely different flavor and visual appeal, try using white chocolate (though you may need to adjust the cream slightly as white chocolate can be thicker).
- Heavy cream: Just as in the filling, heavy cream is crucial here to create a rich, smooth, and pourable chocolate ganache. It emulsifies with the melted chocolate to form a luxurious topping. As with the filling, reduced-fat cream or milk can be used, but the ganache might be slightly thinner and less decadent.
How To Make Nanaimo Bars: A Step-by-Step Guide
Making Nanaimo Bars is a delightful and straightforward process, requiring no baking and resulting in an impressive, multi-layered dessert. Follow these steps carefully to achieve perfect results every time.
1. Prepare your pan: Begin by lining a 9 x 9-inch baking dish with either tin foil or parchment paper. Make sure to leave an overhang on the sides; this will create “handles” that make lifting the set bars out of the pan incredibly easy. A slight grease on the foil or parchment can further ensure non-stick removal.
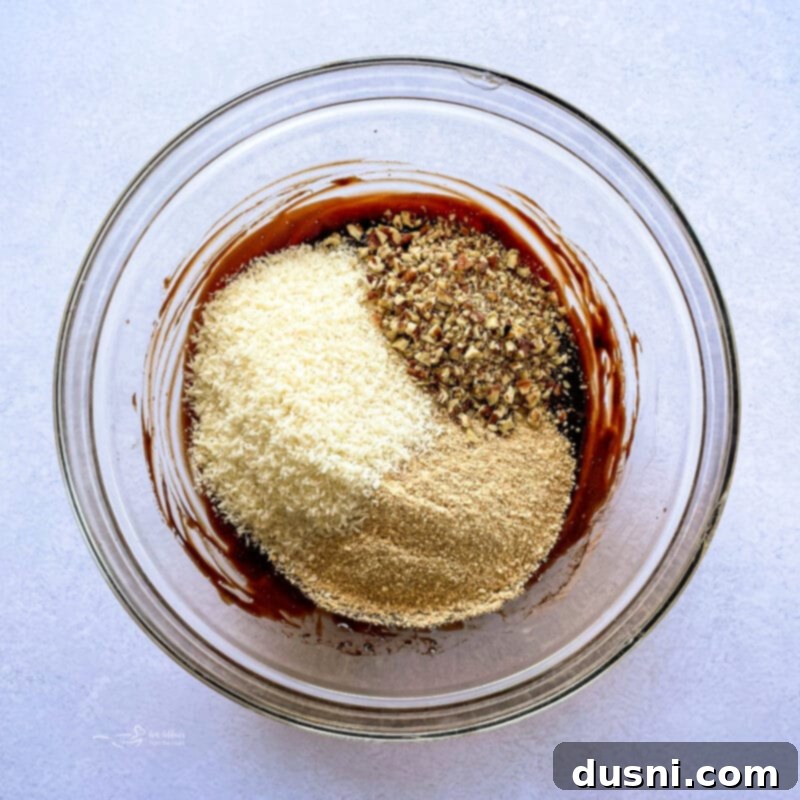
2. Create the base layer: In a double boiler set over low heat (or a heatproof bowl placed over a saucepan of simmering water, ensuring the bowl doesn’t touch the water), melt the unsalted butter. Once melted, stir in the granulated sugar, cocoa powder, and salt until all ingredients are thoroughly combined and smooth. The double boiler method is key here as it provides gentle, indirect heat, preventing the chocolate mixture from scorching.
3. Incorporate the egg: Slowly add the beaten large egg to the chocolate mixture, whisking constantly and vigorously. This continuous whisking is vital to temper the egg and prevent it from scrambling or cooking unevenly. Return the mixture to the double boiler and continue to cook for an additional minute or two, still whisking, until it slightly thickens. When ready, your mixture should have a rich, glossy, fudge-like consistency that coats the back of a spoon. This gentle cooking of the egg is what gives the base its unique texture and stability.
4. Add dry ingredients to the base: Remove the chocolate mixture from the heat. Stir in the graham cracker crumbs, unsweetened shredded coconut, and finely chopped pecans. Mix thoroughly until all the dry ingredients are fully hydrated and evenly distributed throughout the fudgy mixture. Ensure there are no dry patches.
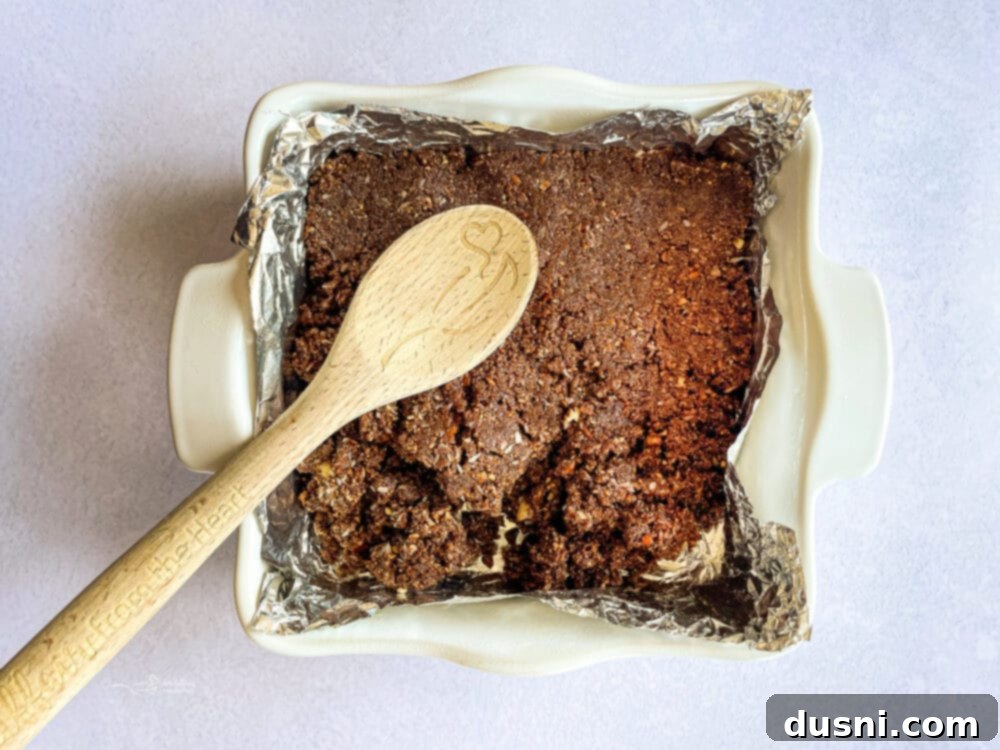
5. Press and chill the base: Pour the prepared base mixture into your lined baking dish. Using the back of a spoon, a spatula, or your clean hands, firmly and evenly press the mixture into the bottom of the pan to form a compact layer. It’s crucial for this layer to be dense and uniform. Once pressed, transfer the dish to the refrigerator and chill for at least 30 minutes, or until the base is completely firm and set. This firming-up step is essential before adding the next layer.
6. Prepare the custard filling: In the bowl of a stand mixer fitted with a paddle attachment (or using a hand mixer), combine the softened unsalted butter, custard powder, vanilla extract, powdered sugar, and heavy cream. Beat on medium-high speed until the mixture becomes light, fluffy, and smooth, resembling a creamy buttercream. If the mixture appears too thick to spread easily, add a very small amount of additional heavy cream (half a teaspoon at a time) and continue mixing until a perfectly spreadable consistency has been reached. Avoid adding too much liquid, as this could make the filling too runny.
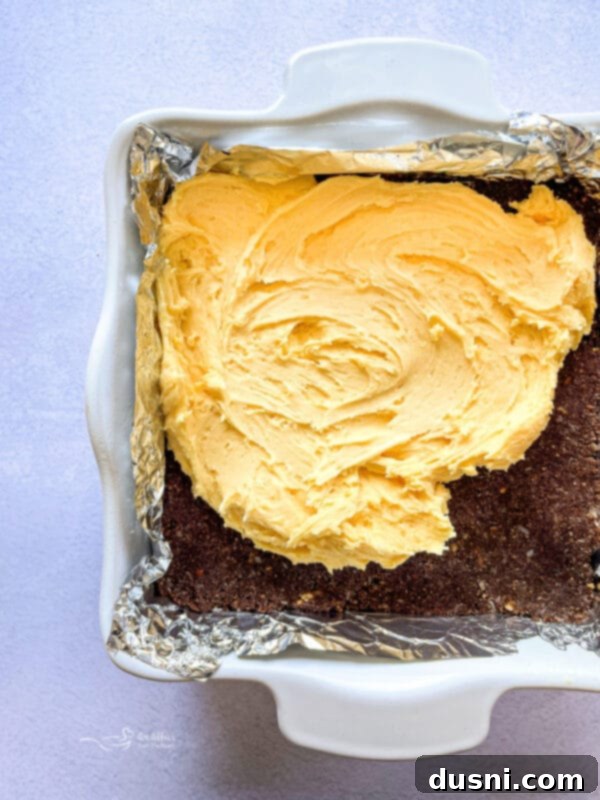
7. Apply and freeze the filling: Retrieve the chilled base from the refrigerator. Carefully and evenly spread the prepared custard filling over the firm chocolate base. Use an offset spatula or the back of a spoon to ensure an even layer, reaching all the way to the edges. Once the filling is spread, place the pan into the freezer. This rapid chilling will help the custard set quickly and prevent it from melting or blending into the chocolate ganache that will be applied next. Keep it in the freezer while you prepare the topping.
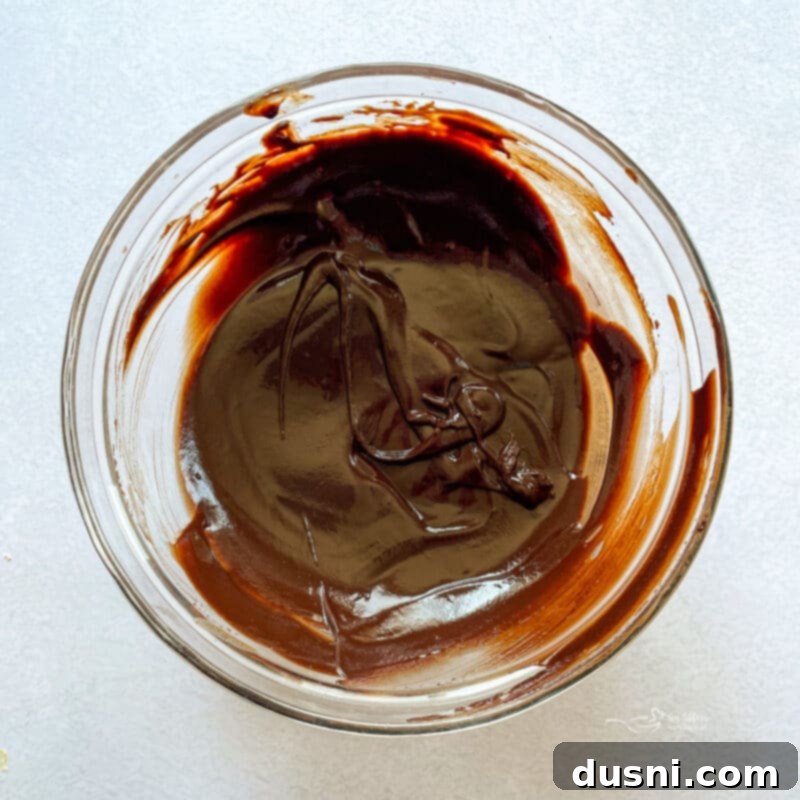
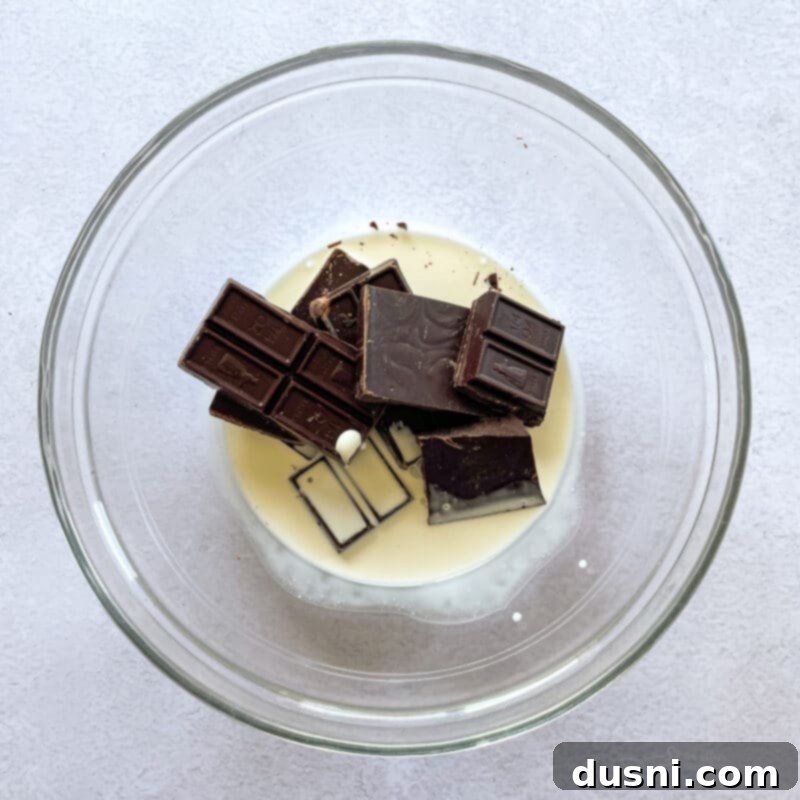
8. Make the chocolate ganache topping: In a separate heatproof bowl, combine the chopped semi-sweet chocolate and heavy cream. Place this bowl over a double boiler (or microwave in short bursts, stirring frequently) and gently melt the chocolate and cream together. Stir continuously until the mixture is completely smooth, glossy, and free of any lumps.
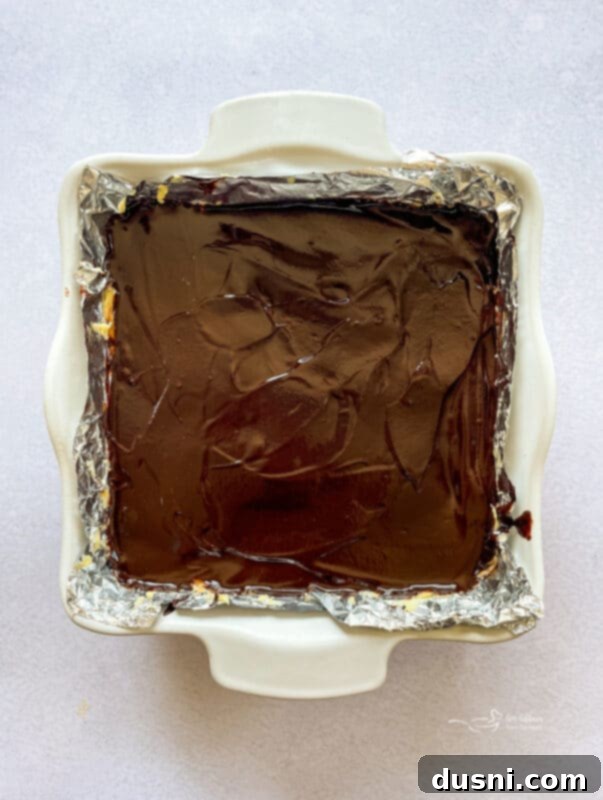
9. Pour and spread the ganache: Once your ganache is smooth, immediately remove the pan with the chilled base and filling from the freezer. Pour the warm, melted chocolate ganache evenly over the custard layer. Work quickly but carefully to spread the ganache from edge to edge with an offset spatula, creating a smooth, even top layer before it begins to set.
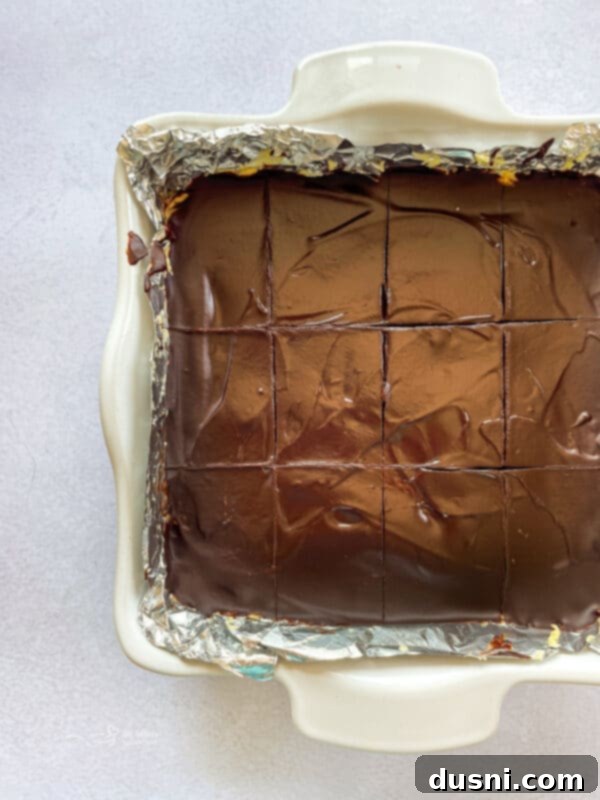
10. Chill and score: Return the pan to the refrigerator for about 15 minutes. This brief chilling period allows the chocolate ganache to firm up slightly but not completely harden. At this point, remove the pan and use a sharp knife to gently score the chocolate topping into the desired square or bar sizes. Scoring now, while the chocolate is still pliable, prevents it from cracking when you make the final cuts.
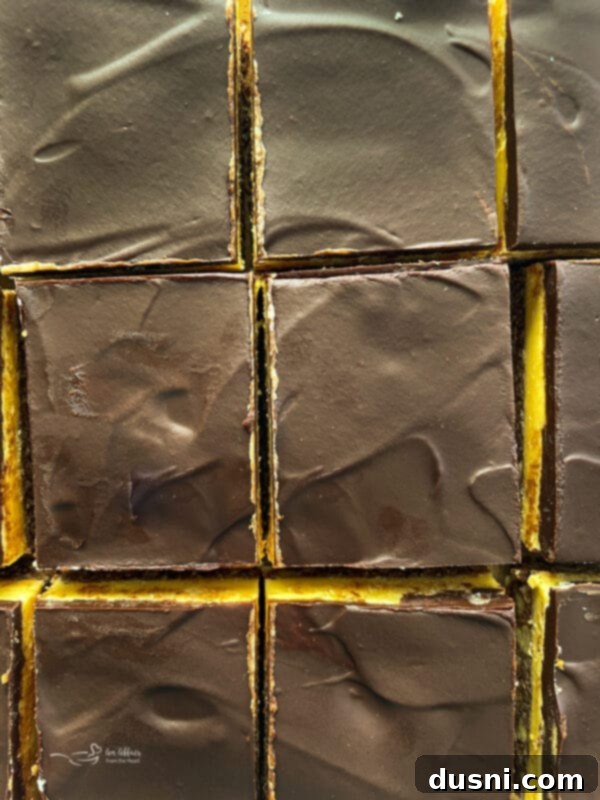
11. Final set and cut: Return the pan to the fridge to set further, ideally for at least another hour, or until the chocolate has completely hardened. Once fully set, lift the bars out of the pan using the foil or parchment overhang. Place the slab on a cutting board and carefully cut along your scored lines to create individual Nanaimo Bars. For the cleanest cuts, use a sharp knife that has been run under hot water and wiped dry between each cut.
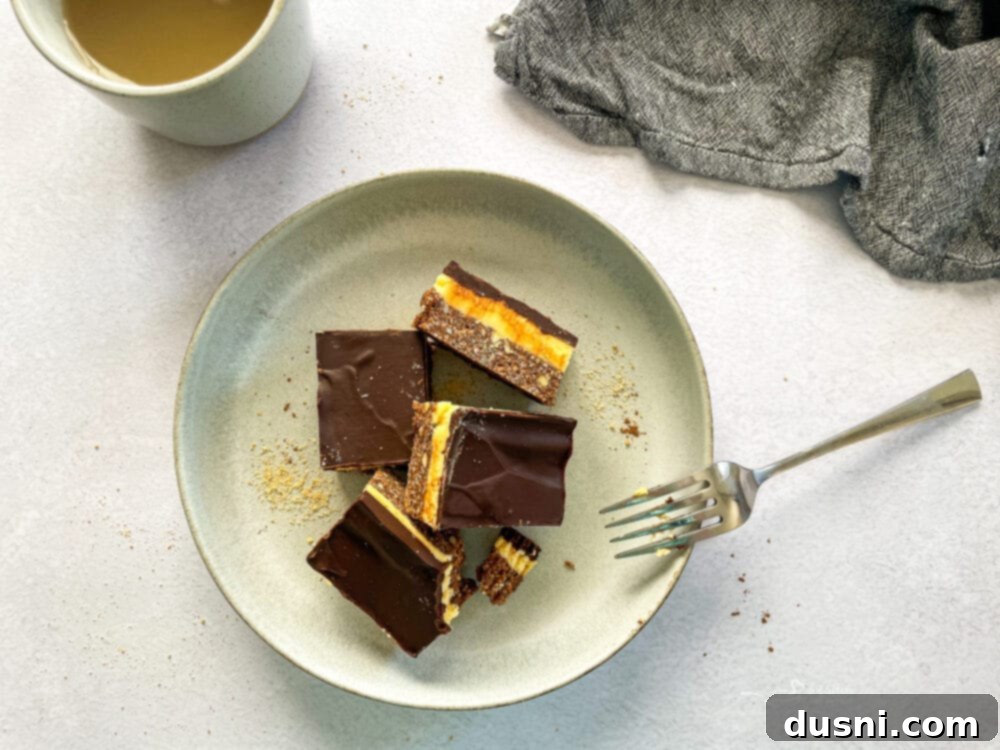
12. Serve and enjoy! Arrange your perfectly crafted Nanaimo Bars on a serving platter and present this classic Canadian treat to your eager guests. They are best enjoyed slightly chilled.
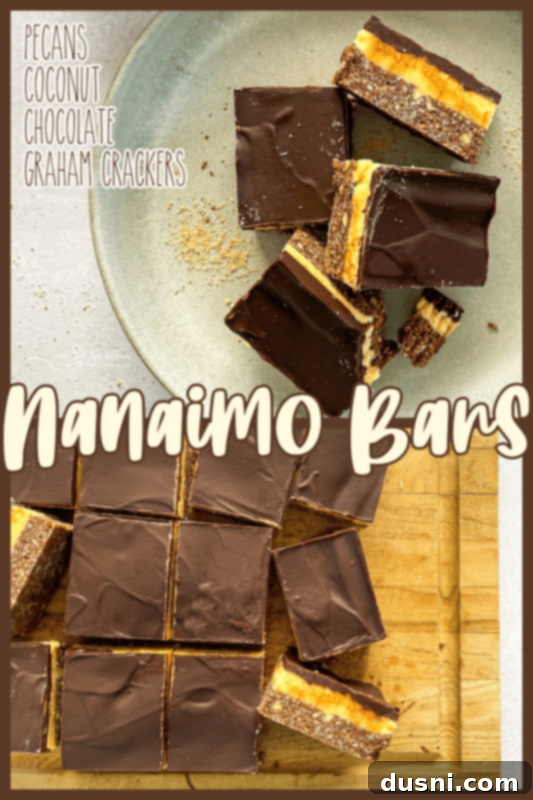
Love them? Pin them for later!
Tips & Tricks for Perfect Nanaimo Bars
Achieving flawless Nanaimo Bars is simple with a few insider tips:
- Room Temperature Ingredients: Always remember to take your butter and the egg out of the fridge at least 30-60 minutes before you begin preparation. Room temperature ingredients emulsify better, resulting in a smoother, more uniform texture for both the base and the filling.
- Easy Spreading Ganache: To make the chocolate topping layer even easier to spread and to give it a beautiful glossy finish, consider adding a tiny touch (about half a teaspoon) of neutral oil, such as coconut oil or vegetable oil, to the melted chocolate and cream mixture. This can also help prevent cracking once it sets.
- Chill Each Layer Thoroughly: This is perhaps the most crucial tip! Ensure you thoroughly chill each layer before adding the next one. A firm base provides a stable foundation for the custard, and a well-set custard layer prevents it from melting into the warm ganache. This dedication to chilling results in perfectly distinct, clean layers.
- For Clean Cuts: Once the chocolate ganache is completely set, use a very sharp knife to cut the bars. For the neatest slices, run your knife under hot water for a few seconds, wipe it completely dry, and then make a cut. Repeat this process for each cut, wiping the blade clean to avoid dragging chocolate through the other layers.
- Quality Ingredients Matter: While the recipe is simple, using good quality chocolate, fresh butter, and fragrant vanilla extract will elevate the taste of your Nanaimo Bars significantly.
- Scaling the Recipe: If you need to make a larger batch for a crowd, this recipe doubles easily. Simply use a 9×13-inch pan and double all the ingredient quantities.
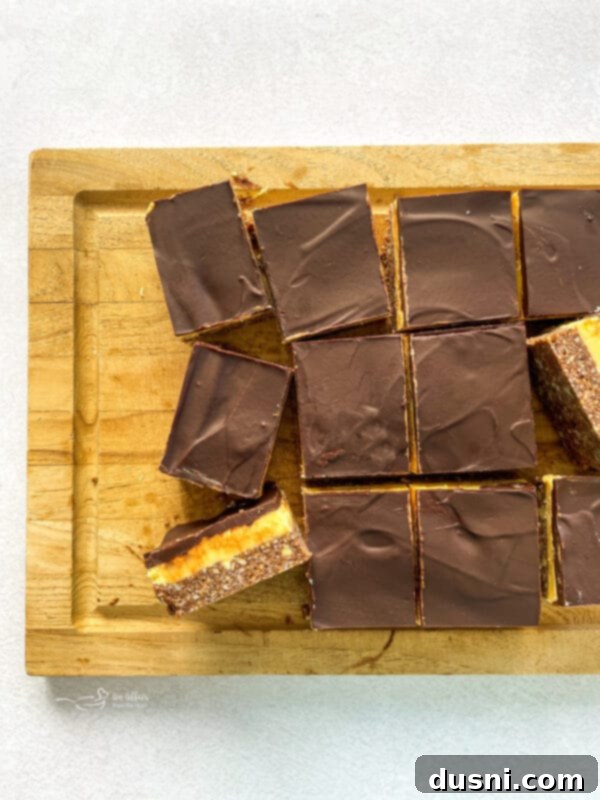
How to Store Nanaimo Bars
Proper storage is key to keeping your Nanaimo Bars fresh and delicious. These bars will generally last for several days at room temperature when stored in an airtight container. However, if you reside in a particularly warm or humid climate, it is highly recommended to store them in the refrigerator. Chilling will keep the layers firm and prevent the chocolate from softening too much. For longer storage, Nanaimo Bars freeze exceptionally well. Wrap individual bars or the entire slab tightly in plastic wrap, then place them in an airtight freezer-safe container or bag. They can be frozen for up to 2-3 months. Thaw them in the refrigerator or at room temperature before serving.
FAQs About Nanaimo Bars
What exactly is custard powder? Custard powder is a convenient pre-made powdered mix primarily used to easily prepare a classic custard. It offers a quick alternative to making custard from scratch, typically consisting of cornstarch, along with flavorings (often vanilla), colorings (like annatto for that signature yellow hue), and a touch of salt. It is traditionally combined with milk to create a smooth, creamy custard. However, if you’re exploring non-dairy options, any non-dairy beverage like almond milk or oat milk will also work effectively. Bird’s Custard Powder is a widely recognized and popular brand. If you cannot find custard powder in your local grocery store, an instant vanilla pudding mix will serve as an excellent substitute, providing a similar taste and creamy texture.
What are Nanaimo bars called in the USA? While they’re most famous as Nanaimo Bars, this classic confection can actually go by a variety of different names, particularly in the United States. In some parts of the US Midwest, for instance, they are affectionately known as “Prayer Bars.” Other names you might encounter include “New York Slice,” “London Fog Bar” (though less common for the classic recipe), or simply “Chocolate Squares.” These different names highlight the bar’s widespread appeal and how similar recipes have evolved in various regions, even if the “Nanaimo” name is now globally recognized.
Can you easily buy Nanaimo bars in the US? Yes, absolutely! Thanks to their growing international fame, Nanaimo bars are becoming increasingly available in the United States. You can often find them in specialty bakeries, Canadian-themed shops, some larger grocery stores with international sections, and certainly through online retailers specializing in Canadian foods. However, making them from scratch ensures the freshest taste and allows for customization.
Are Nanaimo bars exclusively a Canadian creation? While Nanaimo bars were certainly popularized and gained significant national recognition in Canada, particularly after Expo 86 in Vancouver, the concept of a multi-layered, no-bake bar with similar ingredients isn’t entirely unique to Canada. Recipes featuring a crumb base, a creamy filling, and a chocolate topping have been discovered under different names and with slight variations across various regions of the United States and Europe. What makes the Nanaimo Bar distinctively Canadian is its specific combination of graham cracker-coconut base, custard filling, and chocolate ganache, and its deep cultural association with the city of Nanaimo.
Why is it called a Nanaimo Bar? These iconic dessert bars are named directly after the beautiful city of Nanaimo, located on Vancouver Island in British Columbia, Canada. It is believed that the bars gained significant popularity and widespread recognition in this city after the Second World War, eventually becoming synonymous with the region and adopting its name as a proud symbol of Canadian confectionery.
How can I make a Nanaimo bar vegan? Crafting a vegan version of Nanaimo Bars is entirely possible with a few thoughtful substitutions, ensuring everyone can enjoy this classic treat:
- For the Base: Replace the traditional egg with a “flax egg.” To do this, mix 1 tablespoon of ground flaxseed meal with 3 tablespoons of water. Let this mixture sit for about 5-10 minutes until it thickens to a gel-like consistency, then use it in place of the egg. For the butter, use a good quality vegan butter alternative.
- For the Filling: Use vegan butter that is softened at room temperature. Instead of heavy cream, opt for a full-fat non-dairy creamer (like coconut cream from a can, chilled and only using the solid part) or a rich plant-based milk (like oat milk or cashew milk), adjusting the quantity slightly to achieve the desired thick consistency. Ensure your custard powder or pudding mix is also vegan-friendly (check labels for dairy).
- For the Top Layer: Choose a high-quality vegan semi-sweet or dark chocolate. For the cream in the ganache, use a non-dairy creamer or full-fat coconut cream, similar to the filling.
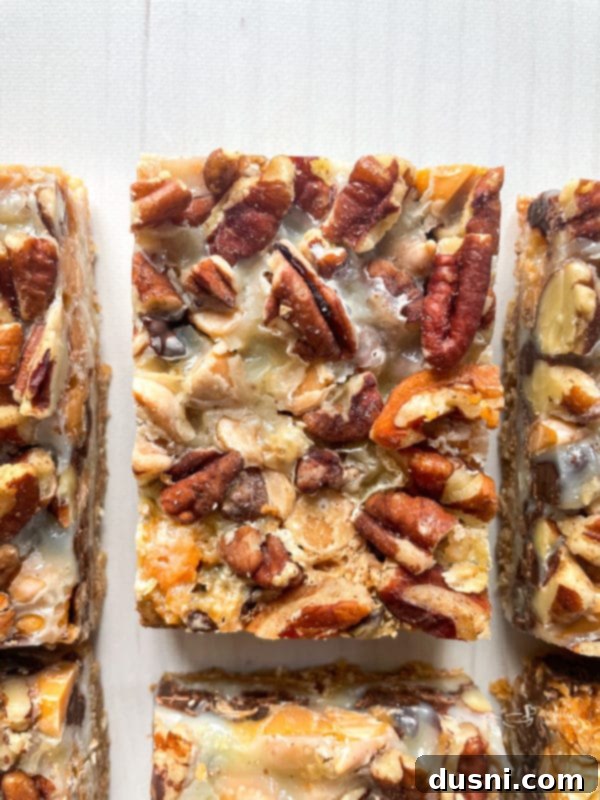
Other Decadent Recipes to Love
- Seven Layer Cookies (Magic Bars) pictured above
- Sugar Cookie Bars with Cream Cheese Frosting
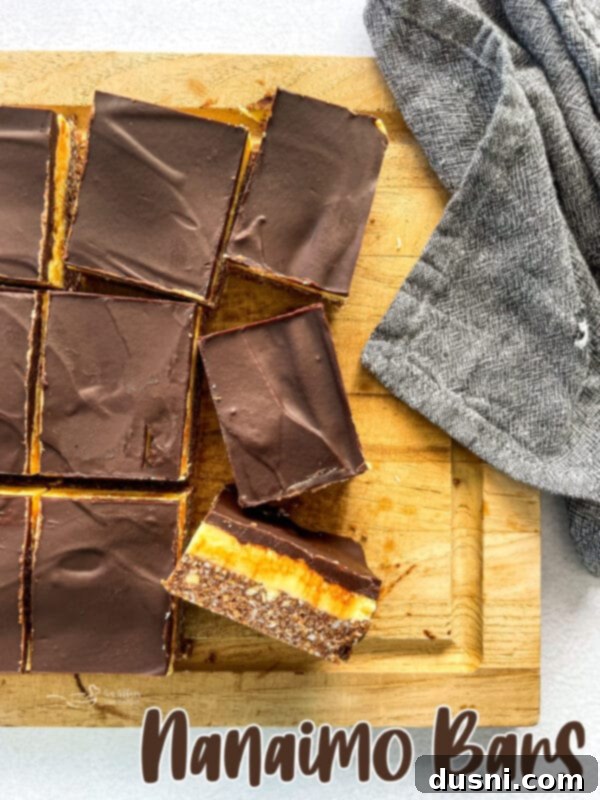
Now that you’re equipped with all the knowledge and tips, it’s time to bake up this classic Canadian treat and experience the joy of making (and devouring) this ultimate Nanaimo bar recipe! Happy baking! 
LIKE THIS RECIPE?
Don’t forget to give it a ⭐️⭐️⭐️⭐️⭐️ star rating and
leave a comment below the recipe!
Print Recipe
Nanaimo Bars
Ingredients
- FOR THE BOTTOM LAYER:
- 1 stick 1/2 cup unsalted butter
- 1/4 cup granulated sugar
- 1/4 cup cocoa powder
- 1/4 teaspoon salt
- 1 large egg beaten
- 1 1/2 cups graham cracker crumbs
- 3 Tablespoons pecans finely chopped
- 1 cup unsweetened shredded coconut
- FOR THE FILLING Middle Layer:
- 1 stick 1/2 cup unsalted butter, softened
- 3 Tablespoons custard powder
- 1/2 teaspoon vanilla extract
- 3 cups powdered sugar
- 3 1/2 Tablespoons heavy cream
- FOR THE TOP LAYER:
- 6 ounces semi-sweet chocolate chopped in small pieces
- 4 Tablespoons heavy cream
Instructions
-
Line a 9×9” baking dish with tin foil or parchment paper.
-
For the base layer, melt butter in a double boiler over low heat. Mix in sugar, cocoa powder, and salt and mix until combined.
-
Slowly add in the beaten egg to the mixture, whisking constantly to prevent the egg from cooking. Return to double boiler and cook for an additional minute or two for slight thickening. Your mixture should resemble a fudge-like consistency when ready.
-
Add graham cracker crumbs, shredded coconut, and pecans. Mix until hydrated.
-
Add to the prepared baking dish and spread in an even layer. Store in the fridge until ready for the second layer.
-
Add butter, custard powder, vanilla, powdered sugar, and heavy cream to the mixer with a paddle attachment. Mix until light and fluffy. If too thick, add a small amount of cream until a spreadable consistency has been reached.
-
Spread mixture on top of the first layer. Store in the freezer while chocolate ganache is made.
-
Add semi-sweet chocolate and cream to a heatproof bowl and melt over a double boiler. Once smooth, remove the pan from the freezer and pour melted chocolate over top, spread quickly and evenly.
-
Return the pan to the refrigerator for 15 minutes. Remove and score chocolate with a sharp knife.
-
Return to fridge to set further. When the chocolate has completely set, remove from fridge, and cut squares.
-
Serve.
