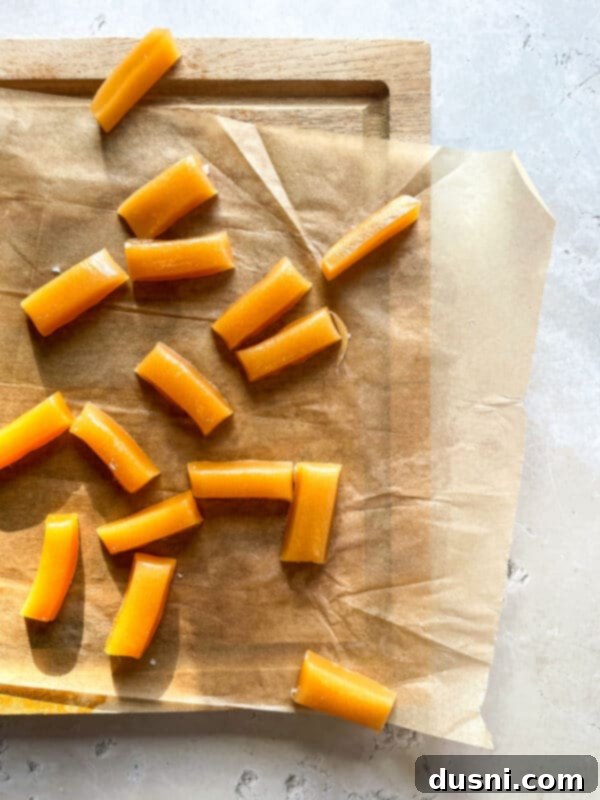
Deliciously Soft & Chewy Homemade Caramels: Your Ultimate Guide to Melt-in-Your-Mouth Treats
The crisp air of the holiday season often brings with it a delightful craving for homemade sweets, and nothing captures that nostalgic charm quite like a batch of **homemade caramels**. Forget store-bought options; these soft and chewy morsels are surprisingly easy to create right in your own kitchen, using just a few simple ingredients. Once you experience their rich, buttery flavor and smooth, melt-in-your-mouth texture, you’ll wonder why you ever bought them pre-made. Get ready to embark on a sweet adventure that promises an indulgent reward!
There’s a special joy in crafting confections from scratch, especially during the festive months. The aroma of simmering sugar and cream filling your home is an experience in itself, promising deliciousness to come. As a self-proclaimed candy enthusiast, I find immense satisfaction in creating these treats, and knowing they’re made with love and simple, wholesome ingredients makes them even more delightful. Homemade caramels are not just candy; they’re tiny packages of comfort, perfect for sharing, gifting, or simply savoring.
Homemade Caramel Recipe: A Sweet Tradition Made Simple
Making **caramel candy** at home often sounds daunting, but this recipe proves it doesn’t have to be complicated. With a handful of readily available ingredients and a touch of patience, you can whip up these decadent caramels with remarkable ease. The magic lies in the harmonious blend of heavy cream, butter, and corn syrup, which combine to create an unbelievably rich, chewy, and utterly indulgent treat that will become a cherished part of your culinary repertoire.
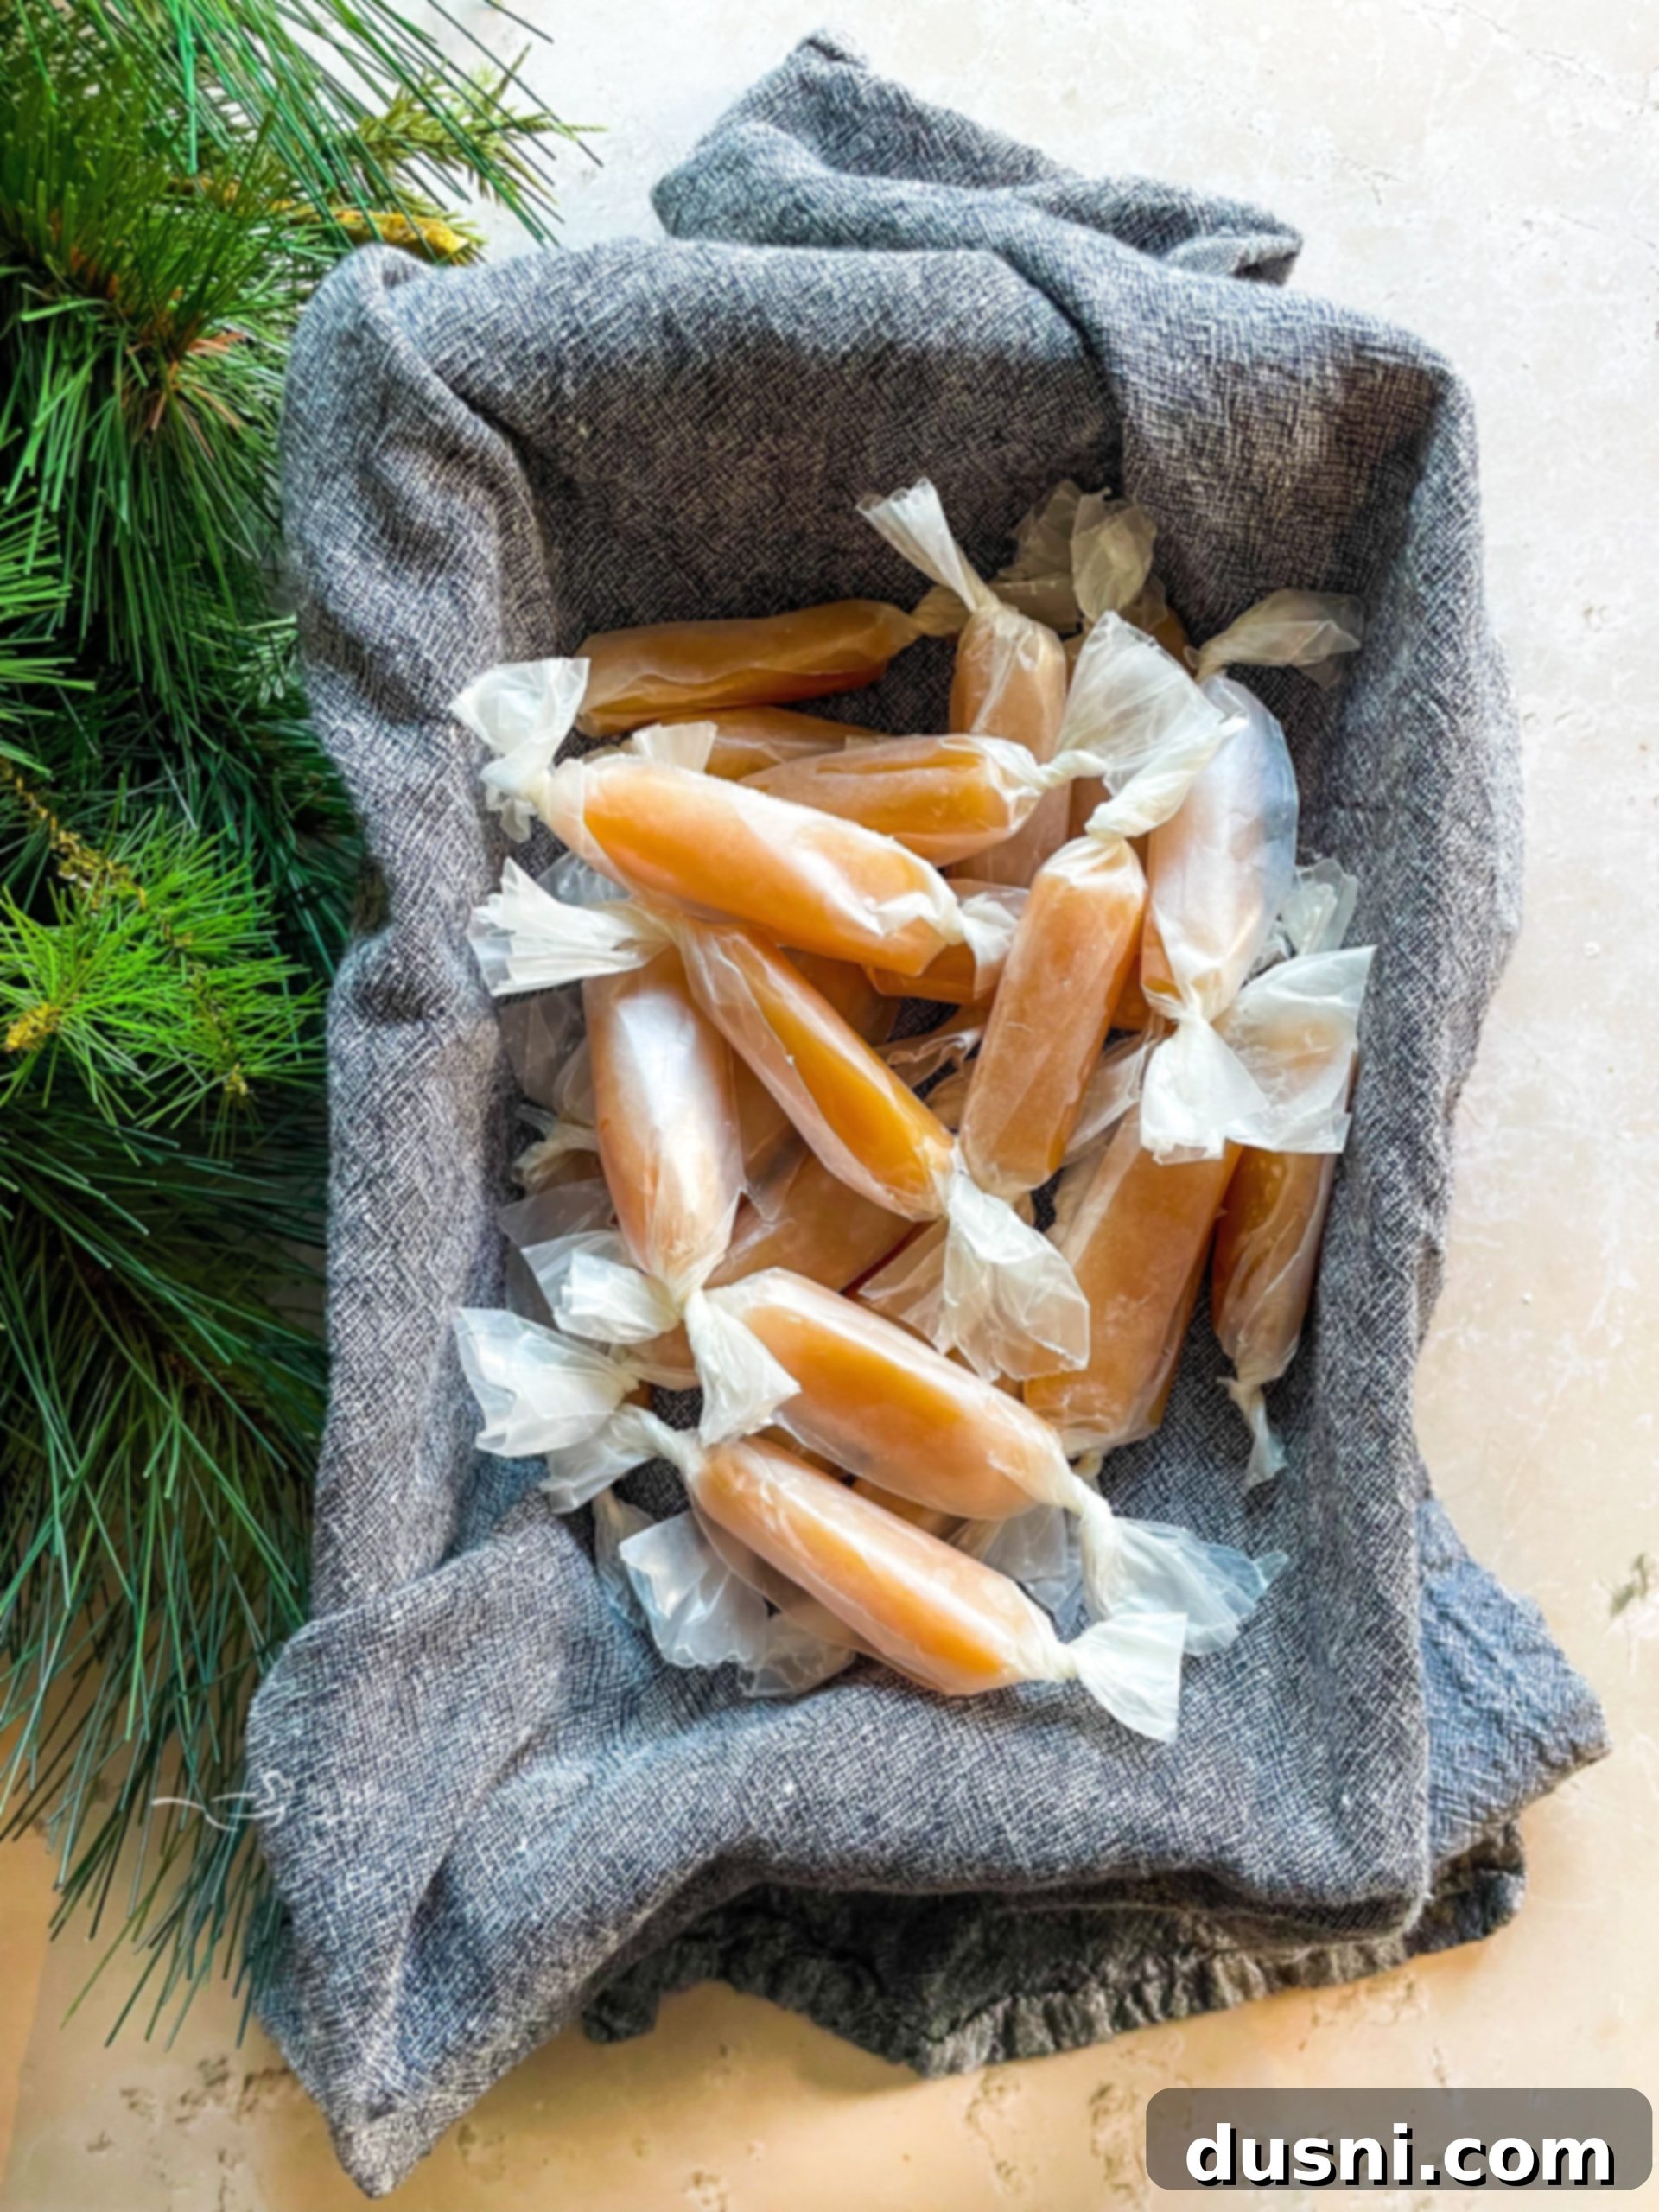
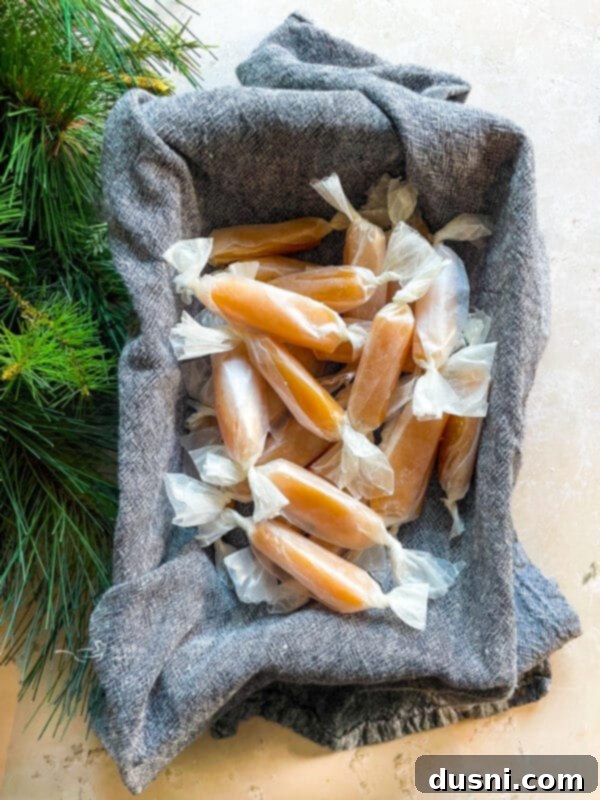
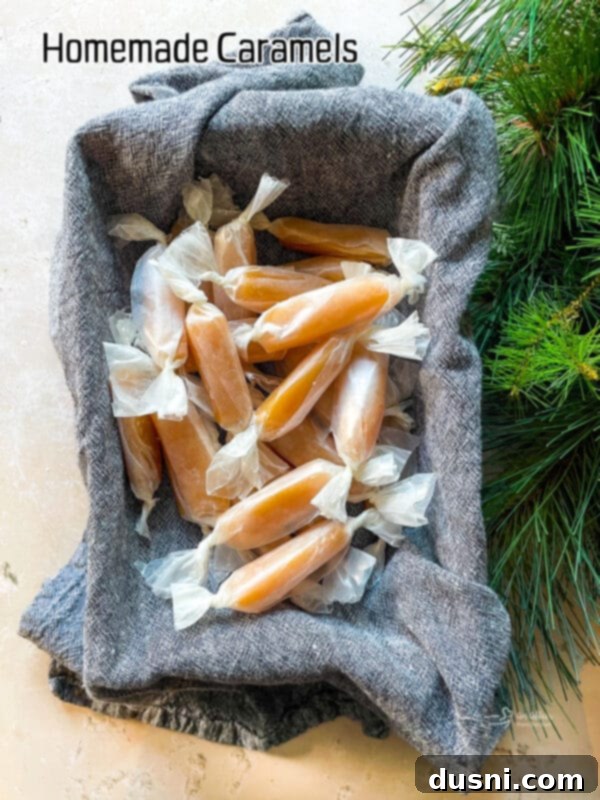
These delightful goodies are more than just a sweet snack; they make exquisite holiday gifts for hostesses, thoughtful tokens for teachers, or charming additions to any festive gathering. Their impressive shelf life means you can make them ahead of time, reducing stress during busy periods. Imagine wrapping each perfectly cut caramel individually in wax paper, tying them with a beautiful bow or ribbon, and presenting them as a charming little candy to place on everyone’s plate after a special dinner. It’s a personal touch that leaves a lasting impression.
If your sweet tooth yearns for more homemade delights like mine, I highly recommend exploring these other fantastic recipes: Candy Corn Salted Nut Rolls, a crunchy and sweet classic; Cinnamon Rock Candy, for a touch of spicy sweetness; or Candy Bar Fudge, a truly decadent creation. Each offers its own unique charm, perfect for expanding your candy-making skills.
Essential Ingredients for Soft and Chewy Homemade Caramels
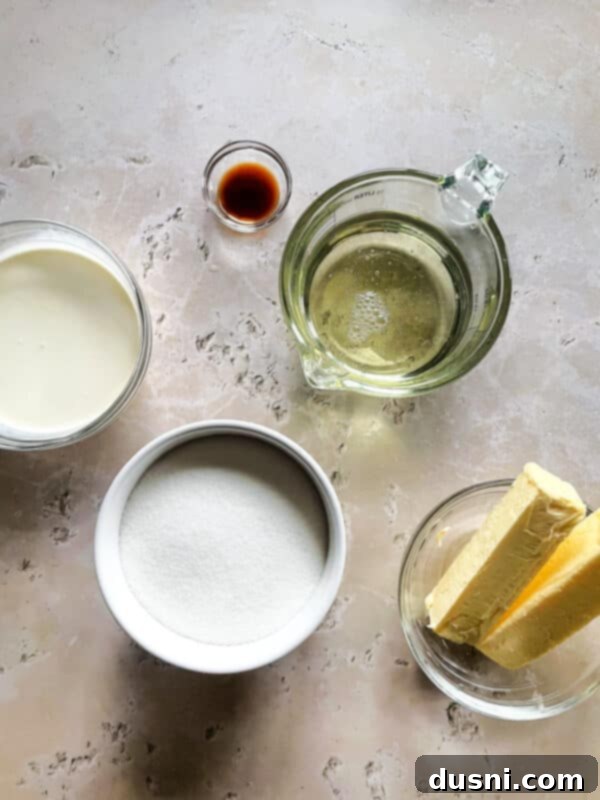
Crafting the perfect **soft caramel candy** begins with understanding the role each ingredient plays. You’ll find the complete measurements and detailed instructions in the printable recipe card located at the very bottom of this post, but let’s dive into why these components are key to your success:
- Sugar – Granulated white sugar is the foundation of our caramels, providing the essential sweetness and structure. When cooked correctly, it transforms into that beautiful golden, rich caramel flavor we all adore.
- Heavy Cream – This is where the magic of creamy texture truly comes from. Heavy cream is vital for giving these caramels their signature smooth, rich mouthfeel and incredible chewiness. Don’t substitute it with lighter creams, as the fat content is crucial for the final consistency.
- Butter – Butter adds unparalleled richness and helps achieve that luxurious, melt-in-your-mouth quality. While unsalted butter allows you more control over the overall saltiness, salted butter can also be used, potentially adding a subtle depth of flavor. Just be mindful of other added salt if using salted butter.
- Corn Syrup – A true unsung hero in candy making! Light corn syrup is used in this recipe primarily as an “interfering agent.” It plays a critical role in preventing the sugar from crystallizing, ensuring your caramels remain wonderfully smooth and not grainy. Dark corn syrup can also be used, imparting a slightly deeper, molasses-like flavor to your caramels.
- Vanilla Extract – Pure vanilla extract elevates the flavor profile of the caramels, adding a warm, aromatic note that complements the rich caramel beautifully. While real vanilla extract offers the best taste, imitation vanilla will also work in a pinch. Add it at the end to preserve its delicate flavor.
- Flaked Sea Salt (optional) – For those who adore the sweet and savory balance, a sprinkle of flaky sea salt on top of your cooled caramels transforms them into irresistible **salted caramels**. It enhances the sweetness and adds a delightful textural contrast.
How to Make Deliciously Soft Caramel Candy
Creating these **easy homemade caramels** is a process that rewards patience and attention to detail. Follow these steps carefully to ensure a perfect batch of **soft caramel candy** every time:
First: Prepare Your Pan. Begin by thoroughly buttering a baking dish. This crucial step prevents the sticky caramel from adhering to the pan. Pro tip: While buttering the dish directly works, I’ve found that lining the baking dish with parchment paper and then buttering the parchment paper makes the caramels incredibly easy to lift out for cutting. This saves a lot of hassle later on! Set your prepared pan aside.
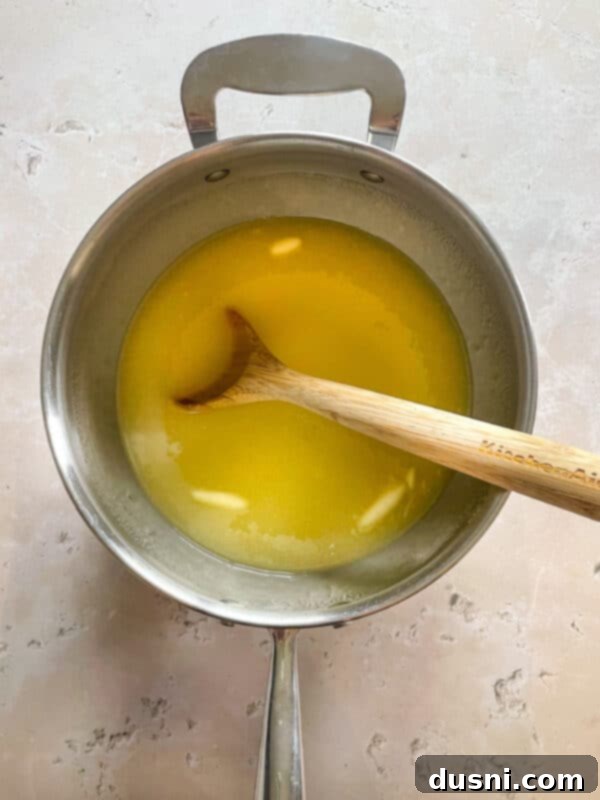
Second: Combine Ingredients. In a heavy-bottomed saucepan, combine all your ingredients—sugar, heavy cream, butter, and corn syrup. It’s important to use a heavy pan as it distributes heat more evenly, preventing scorching and ensuring a consistent cook.
Third: Dissolve the Sugar. Place the pan over medium heat. Begin stirring the mixture constantly. The goal here is to gently cook until all the sugar crystals have completely dissolved. Keep stirring diligently, making sure to scrape the bottom and sides of the pan well. This continuous motion prevents the sugar from burning or crystallizing prematurely.
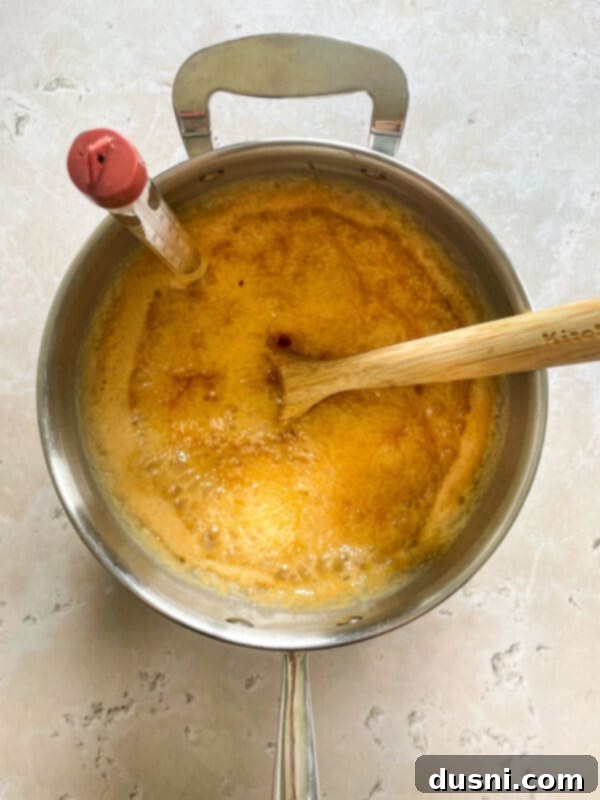
Fourth: Reach the Firm Ball Stage. Once the sugar is dissolved, reduce the heat to low. Continue cooking, stirring constantly, until the mixture reaches the “firm ball stage.” This is where a candy thermometer becomes your best friend. Insert it carefully and monitor the temperature until it reaches between 245-250 degrees F (118-121°C). This process requires patience, often taking around 45 minutes to an hour, but it’s critical for achieving the perfect soft yet firm texture. Do not let the temperature exceed 250°F, as this can lead to hard caramels.
Fifth: Add Vanilla. Immediately remove the pan from the heat once the desired temperature is reached. Stir in the vanilla extract. Adding it off the heat preserves its delicate flavor, which can evaporate if exposed to high temperatures for too long.
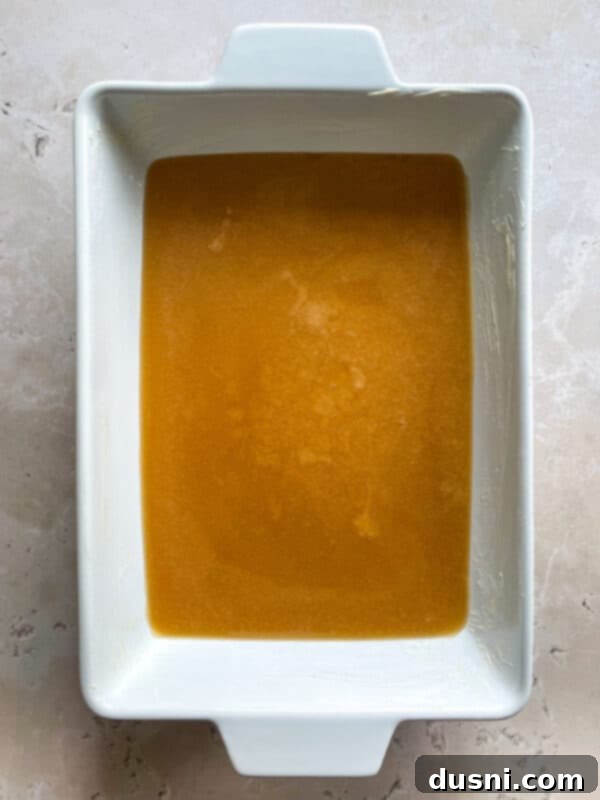
Sixth: Pour and Cool. Carefully pour the hot caramel mixture into your prepared baking dish. Use an offset spatula or the back of a spoon to spread it evenly across the pan. Allow the caramel to cool completely to room temperature. This cooling process is crucial for the caramels to set properly. As it cools, the texture will firm up beautifully.
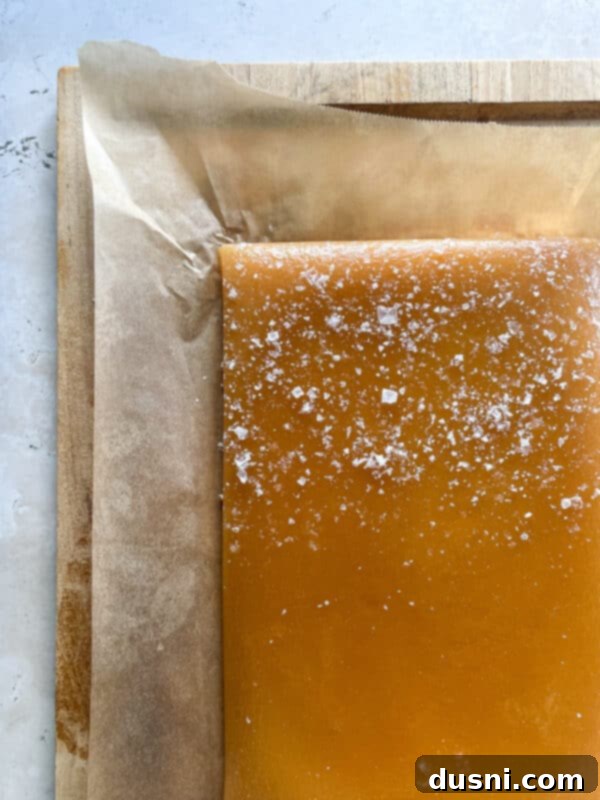
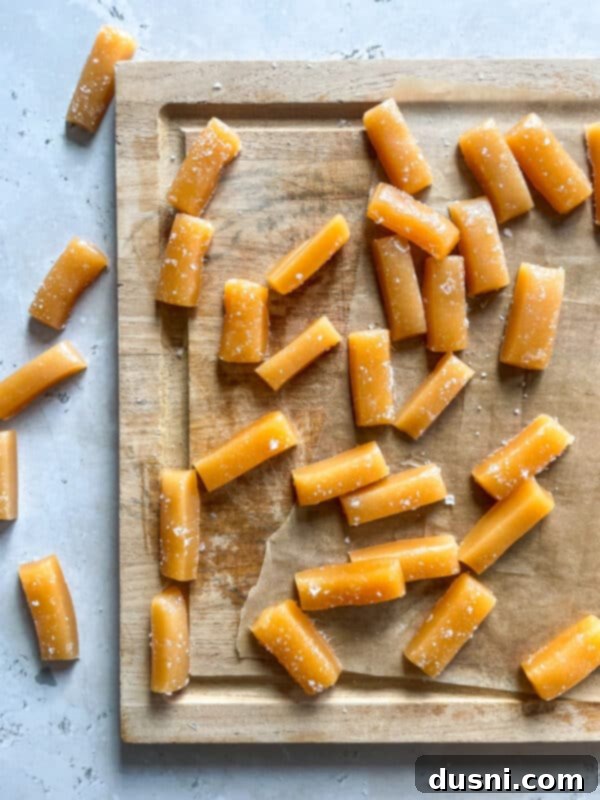
The Joy of Salted Caramels: Love the sophisticated flavor of **salted caramels**? Here’s when to make them! After pouring and spreading the caramel mixture into the baking dish, and while it’s still warm but not scorching hot, sprinkle some flaky sea salt evenly over the top. The salt crystals will adhere as the caramel cools, creating a perfect balance of sweet and savory that is absolutely divine!
Once fully cooled, gently lift the entire slab of caramel out of the baking dish using the parchment paper. Place it on a cutting board.
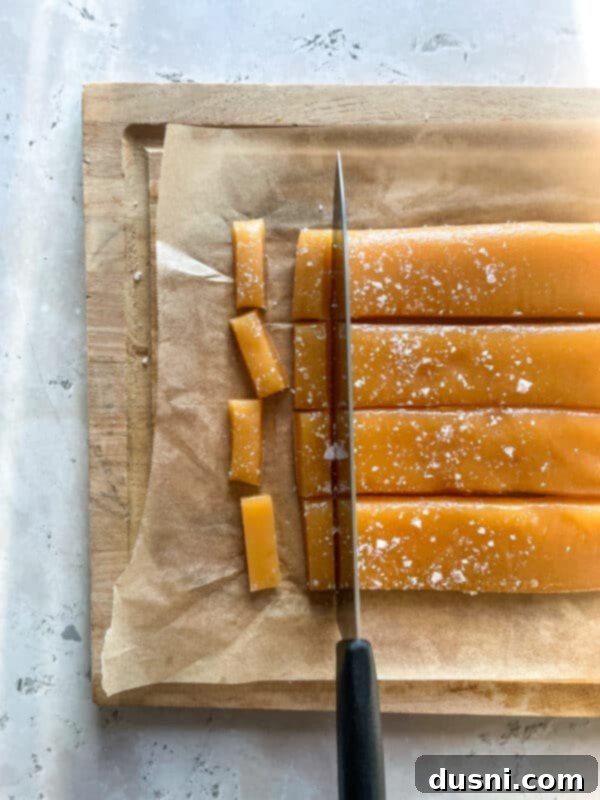
Seventh: Cut and Wrap. With a sharp, buttered knife or a pizza cutter, slice the cooled caramel into bite-sized pieces. The buttered knife helps prevent sticking. These perfectly sized pieces are now ready for wrapping. Individual wrapping not only keeps them fresh but also makes them look professional and appealing.
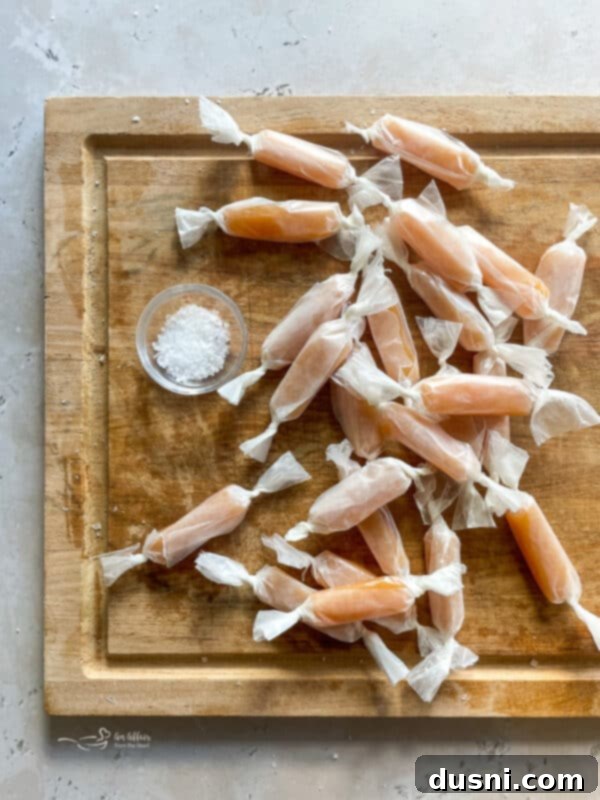
Eighth: Wrap for Freshness. Cut squares of wax paper (about 4×4 inches) and wrap each caramel piece individually. Twist the ends of the wax paper to seal. This simple step keeps your **chewy homemade caramels** from sticking together and preserves their freshness and soft texture for an extended period.

Love it? Pin it!
If you adore this **easy caramel recipe** and plan to make these delightful **chewy homemade caramels**, don’t let it get lost! Make sure to pin this recipe to your favorite Pinterest recipe board before you go, so you can easily find it whenever a sweet craving strikes!
Common Questions About Making Caramel Candy (FAQ)
Making **homemade caramel candy** is rewarding, but sometimes challenges arise. Here are answers to some frequently asked questions to help you troubleshoot and perfect your technique:
Why did my homemade caramels turn out hard? If you find your **caramel candy** is hard and brittle, it’s most likely due to overcooking. This happens when the sugar mixture reaches too high a temperature, pushing past the firm ball stage into the hard ball or even crack stage. Ensure you are using a reliable candy thermometer and remove the mixture from the heat promptly once it reaches 245-250°F (118-121°C).
How long do caramels stay fresh? One of the great advantages of making **creamy caramels** at home is their impressive shelf life. When properly stored in an airtight container, away from direct light or heat, these delicious treats can last for up to 6 months. This makes them perfect for holiday preparations or thoughtful gifts.
Why are my homemade caramels too soft or runny? Conversely, if your caramels turn out too soft or don’t set properly, it’s usually because they weren’t cooked to a high enough temperature. The sugar mixture needs to reach the firm ball stage (245-250°F) to achieve that signature chewy texture. If this happens, don’t despair! You can often remedy it by placing the caramel mixture back into the saucepan and reheating it slowly, stirring constantly, until it reaches the correct temperature range.
In lieu of a candy thermometer, you can perform a cold water test. To do this, drop a teaspoon full of the hot sugar-syrup mixture into a cup of very cold water. Quickly shape the mixture into a ball while it’s submerged. If it holds its shape underwater but becomes soft and pliable when removed, it has reached the correct soft-ball stage. For firm ball, it should hold its shape even better and be quite firm when removed.
Why do caramels need corn syrup? Corn syrup is a crucial ingredient in many candy recipes, including caramels, because it acts as an ‘interfering agent.’ Its primary role is to disrupt the natural tendency of sugar molecules to crystallize. Without corn syrup, your caramels would likely become grainy and brittle rather than smooth and chewy. It ensures a silky, consistent texture.
How do you make perfectly soft and chewy caramels? The secret to achieving consistently **soft and chewy caramels** lies predominantly in two factors: maintaining the right amount of heat throughout the cooking process and ensuring the mixture reaches the precise temperature for the firm ball stage (245-250°F). Constant stirring, a heavy-bottomed pan, and a reliable candy thermometer are your best tools for success.
Customizing Your Caramel: Substitutions and Flavor Variations
While this **homemade caramel recipe** is perfect as is, you can always experiment with minor adjustments to suit your preference or available ingredients:
- You can substitute brown sugar for granulated white sugar, which will lend a deeper, more molasses-like flavor and potentially a slightly darker color to your caramels. The texture might also be subtly different.
- Dark corn syrup will work just as well as light corn syrup. As mentioned before, it will impart a richer, more robust flavor to your caramels.
- Flavor Variations: Consider adding a pinch of espresso powder for a coffee-caramel twist, a dash of cinnamon or nutmeg for a spiced caramel, or even a tablespoon of orange zest for a citrusy note. You can also press toasted pecans or walnuts into the bottom of the prepared pan before pouring the caramel for delicious nutty caramels. For a truly decadent treat, dip cooled caramels in melted chocolate!
Expert Tips for Perfect Homemade Caramels Every Time
Achieving flawless **soft caramel candy** is simpler with these tried-and-true tips:
- Make sure to grease your baking pan exceptionally well or, as recommended, line it with parchment paper and then butter the parchment. This guarantees that your **easy caramel recipe** won’t stick, making removal and cutting a breeze.
- Investing in a good quality candy thermometer is non-negotiable for accuracy. It’s the single most important tool to ensure the caramel reaches the precise temperature needed for the perfect consistency – not too hard, not too soft.
- Stirring the sugar mixture constantly throughout the cooking process is vital. Do not leave it unattended, even for a moment, or you risk scorching the sugar at the bottom, leading to a bitter taste and a big sticky mess to clean up!
- Patience is key, especially during the cooking phase and cooling phase. Rushing either can compromise the final texture of your **homemade caramels**.
- Once the caramel is completely cooled and firm, cut it efficiently with a sharp, buttered knife. Store the cut pieces in an airtight container, ideally individually wrapped, to maintain their freshness and prevent them from sticking together.
- Always be mindful of safety when working with hot sugar. Caramel can cause severe burns, so exercise extreme caution.
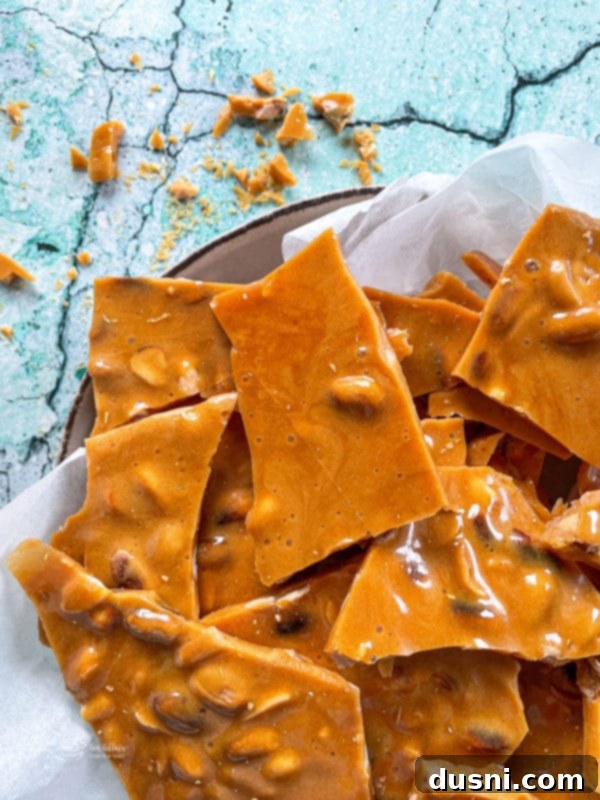
More Irresistible Candy Recipes to Love
If you’ve enjoyed making these **homemade caramels**, expand your confectionery repertoire with these other fantastic candy recipes from our collection:
- Peanut Brittle (pictured above) – A crunchy, classic favorite that’s always a crowd-pleaser.
- Never Fail Fudge – A wonderfully reliable recipe for rich, creamy chocolate fudge.
- Turtle Fudge – Indulgent fudge packed with pecans and caramel.
- White & Dark Chocolate Peppermint Bark – A refreshing and festive treat, perfect for the holidays.
- See ALL of my Candy Recipes – Explore our full collection for more sweet inspiration!
**Homemade caramels** are truly a delightful little treat to have on hand, whether it’s for the festive holiday season or any time of year you desire a touch of sweetness. With this **best caramel recipe**, you can easily whip up a batch today and savor a little taste of heaven whenever the craving strikes. Happy candy making!

LIKE THIS RECIPE?
Don’t forget to give it a ⭐️⭐️⭐️⭐️⭐️ star rating and
leave a comment below the recipe!

Print Recipe
Homemade Caramels
Equipment
-
Zyliss Comfort Utility Knife
-
OXO 3- Piece Wooden Spoon Set
-
Cuisinart Chef’s Classic Nonstick 1-Quart Saucepan with Lid
-
9×13 Pyrex Baking Dish with a Lid
Ingredients
- 2 cups sugar
- 1 cup heavy cream
- 1 cup butter
- 1 ½ cups light corn syrup
- 1 teaspoon pure vanilla extract
- flaky sea salt optional, for salted caramels
Instructions
-
Line a 9×13 baking dish with parchment paper and butter it thoroughly. Set aside.
-
Combine all ingredients (except the vanilla extract and flaky sea salt) in a heavy-bottomed pan.
-
Stir continuously over medium heat until the sugar completely dissolves. Ensure you keep stirring, scraping the bottom and sides of the pan to prevent scorching.
-
Reduce the heat to low and continue to cook, stirring constantly, until the mixture reaches the firm ball stage (245-250 degrees F / 118-121°C) on a candy thermometer. Do not let the temperature exceed 250 degrees F. Be patient, as this will typically take about 45-60 minutes.
-
Remove the pan from the heat, and immediately stir in the vanilla extract.
-
Pour the caramel mixture into the prepared baking dish. Spread evenly. If making salted caramels, sprinkle flaky sea salt over the top at this stage.
-
Allow the caramel to cool completely to room temperature, which helps it set properly.
-
Once cooled and firm, lift the caramel out of the dish using the parchment paper. Cut into bite-sized pieces with a sharp, buttered knife. Wrap each piece individually in wax paper (about 4×4 inches) to prevent sticking and maintain freshness.
