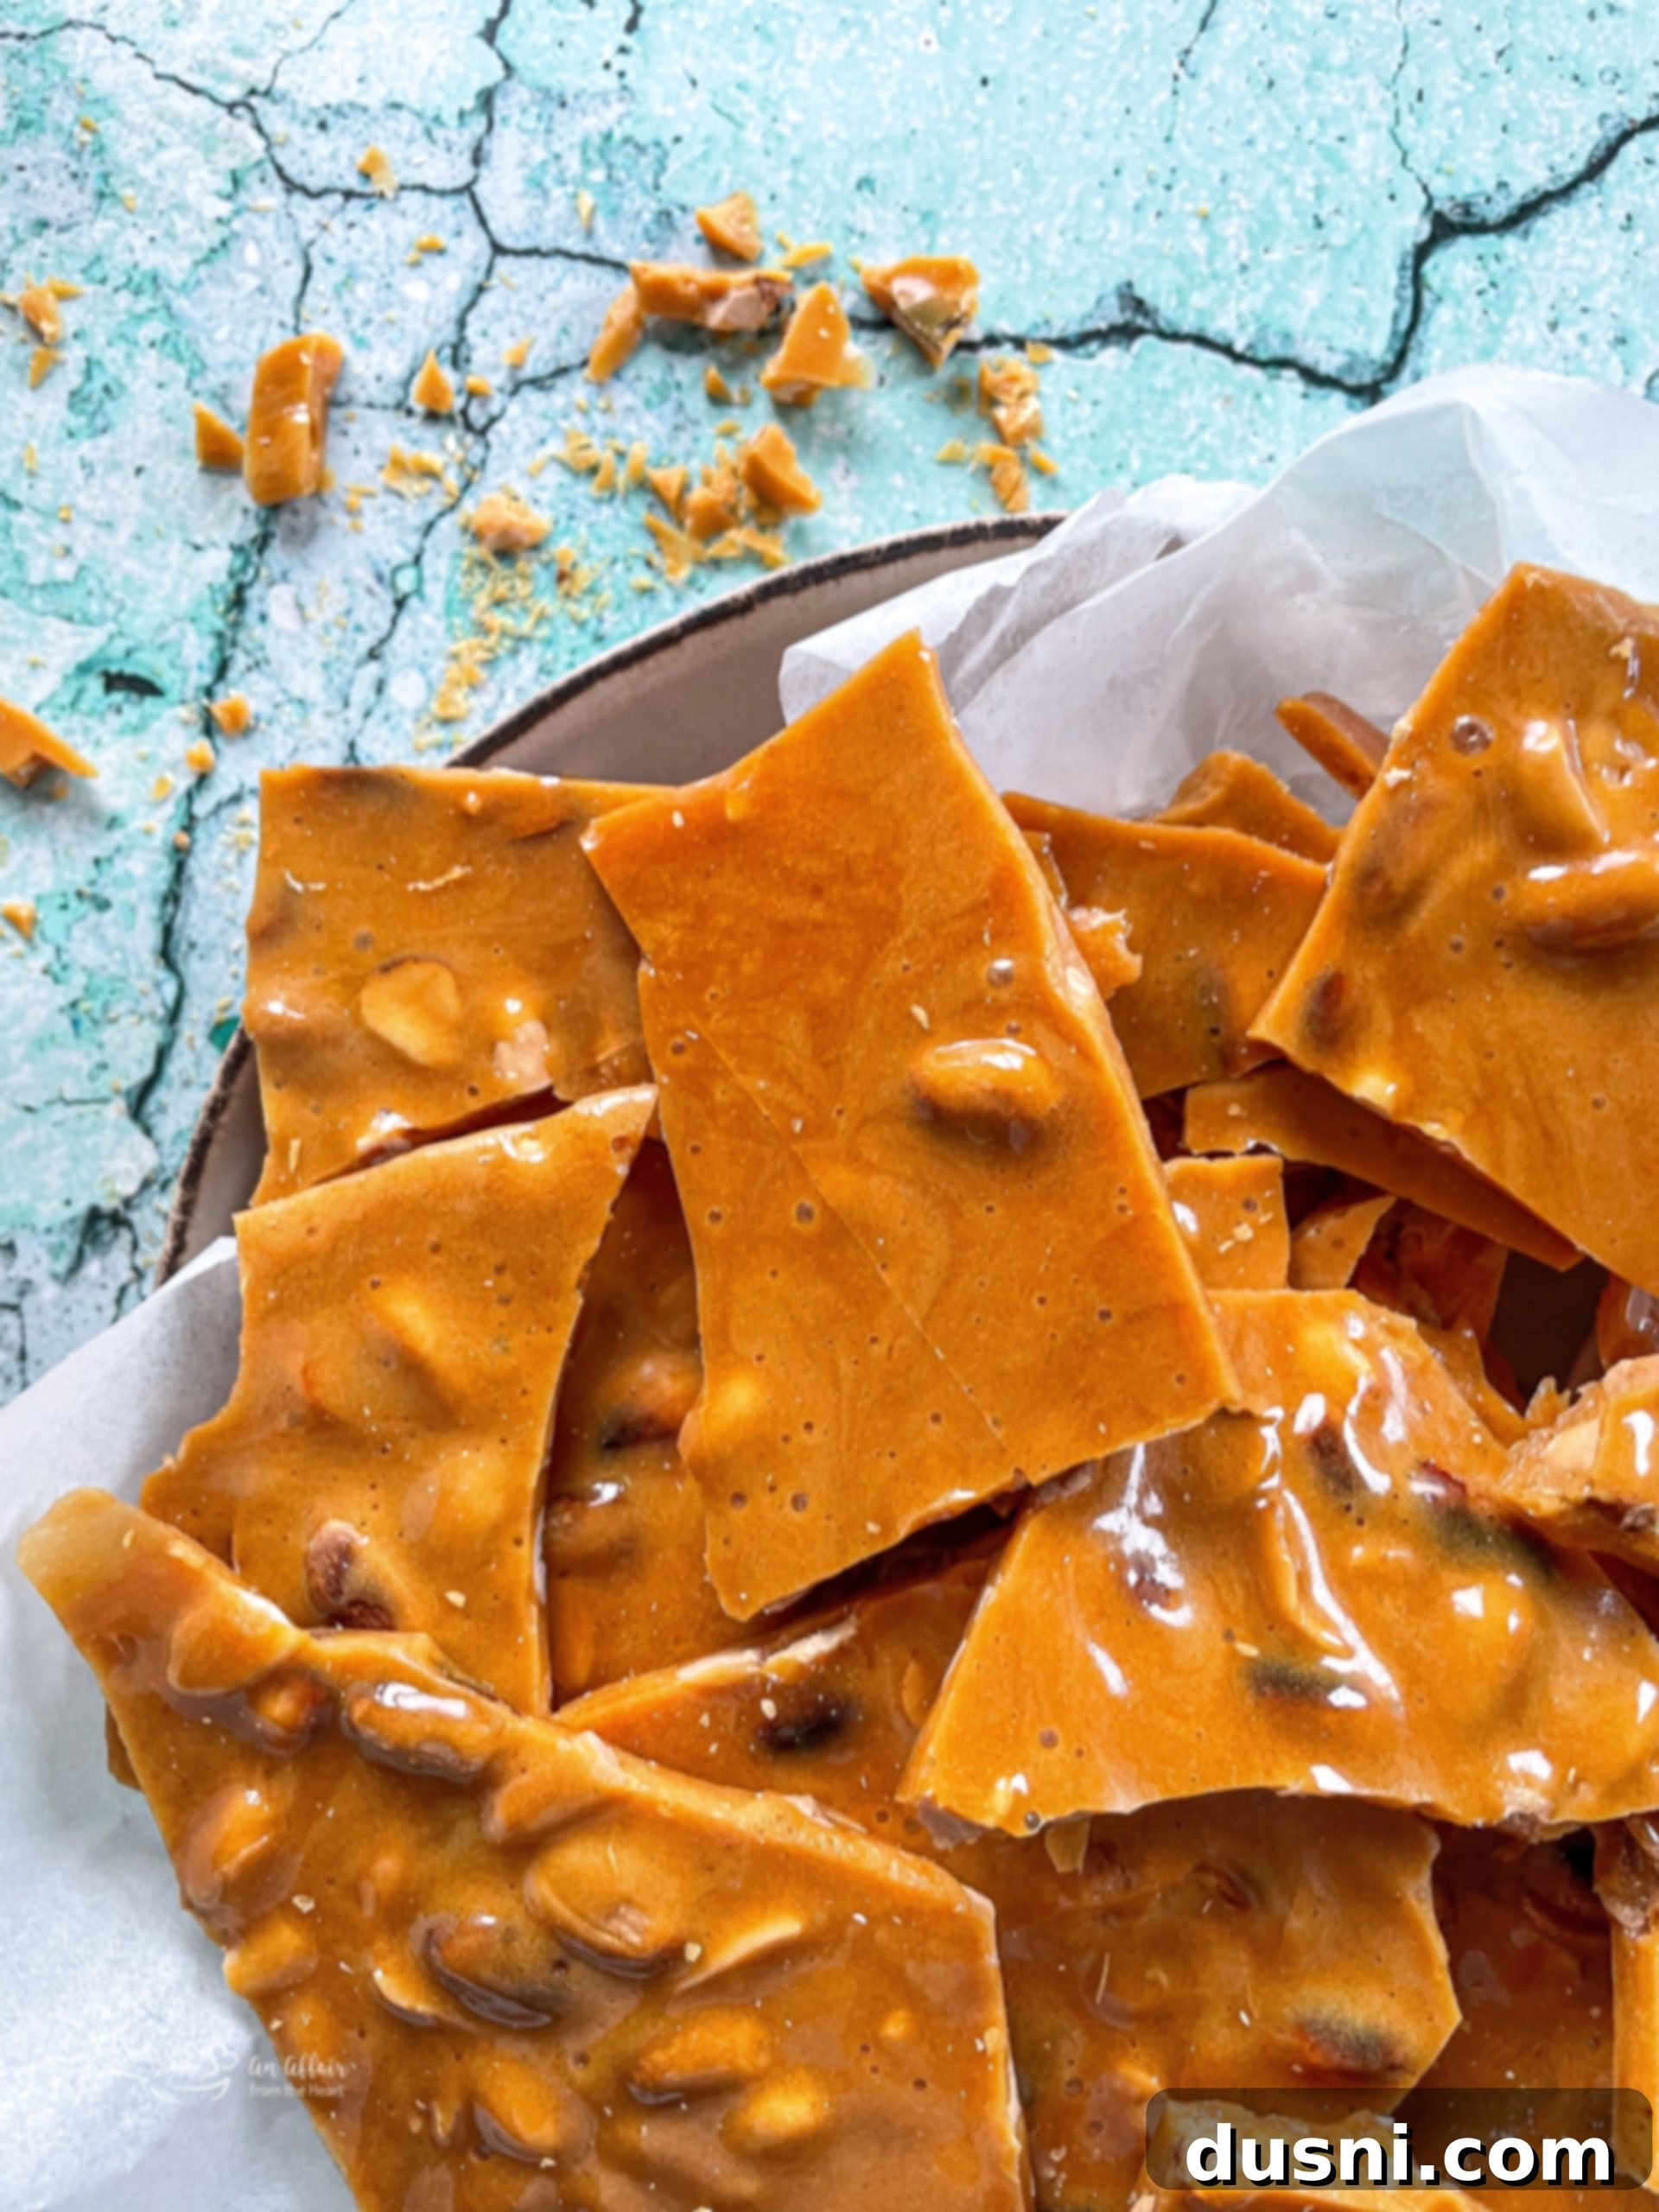
Ultimate Homemade Peanut Brittle Recipe: Crunchy, Classic, and Easy!
There’s something truly magical about the snap and crunch of perfectly made peanut brittle. This classic hard candy, cherished in countless cultures worldwide, is a delightful confection that combines the rich, savory taste of peanuts with a caramelized, shatteringly crisp sugar base. While often perceived as a daunting task, making homemade peanut brittle is surprisingly straightforward, especially with the right guidance and a key kitchen tool. And for those with peanut allergies, fear not – this recipe is easily adaptable with other delicious nuts!
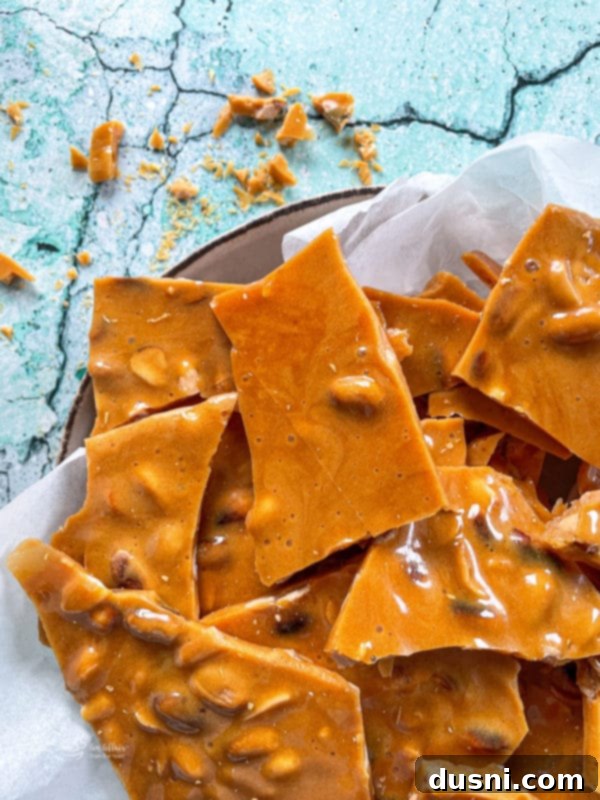
For years, the thought of making peanut brittle at home seemed like an impossibly difficult culinary feat. I had heard countless stories of failed attempts, sticky messes, and burnt sugar, which honestly made me a little “chicken” (pun absolutely intended!) to even try. But I’m here to tell you that the secret to unlocking perfect, crackling peanut brittle isn’t some arcane magic or advanced chef skills. It boils down to one essential tool: a reliable candy thermometer.
Armed with a good thermometer and a clear understanding of the process, you’ll find that making this beloved treat is not only manageable but incredibly rewarding. Imagine the aroma of caramelizing sugar filling your kitchen, followed by the satisfying crunch of brittle you made yourself. It’s an experience worth savoring!
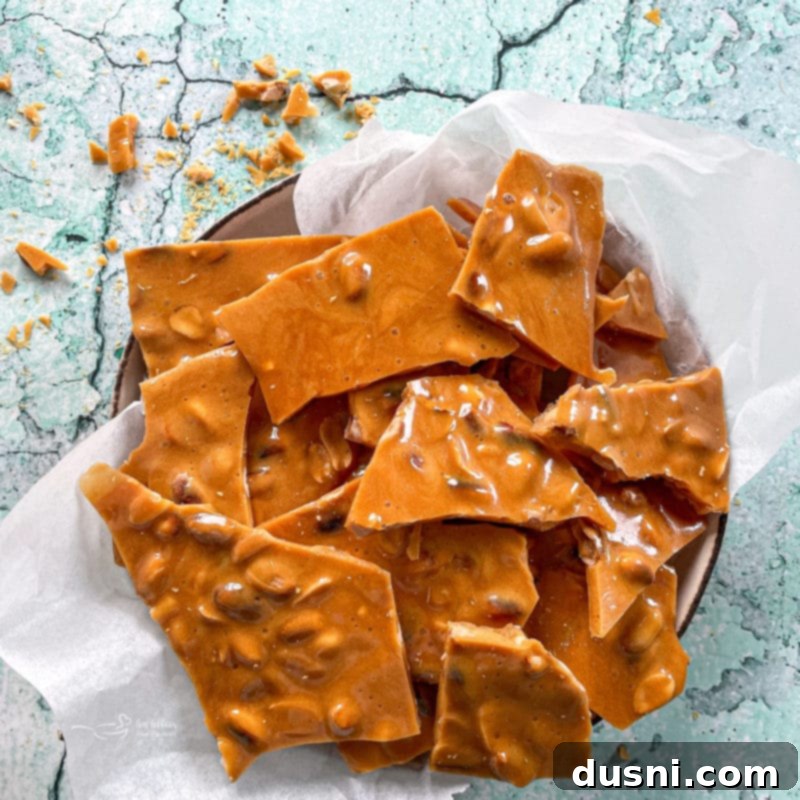
What Exactly Is Peanut Brittle? Understanding This Classic Hard Candy
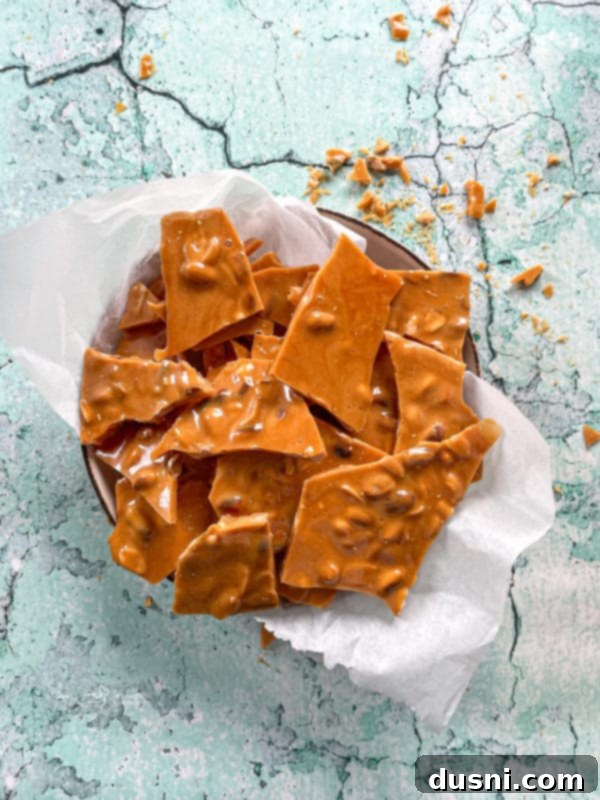
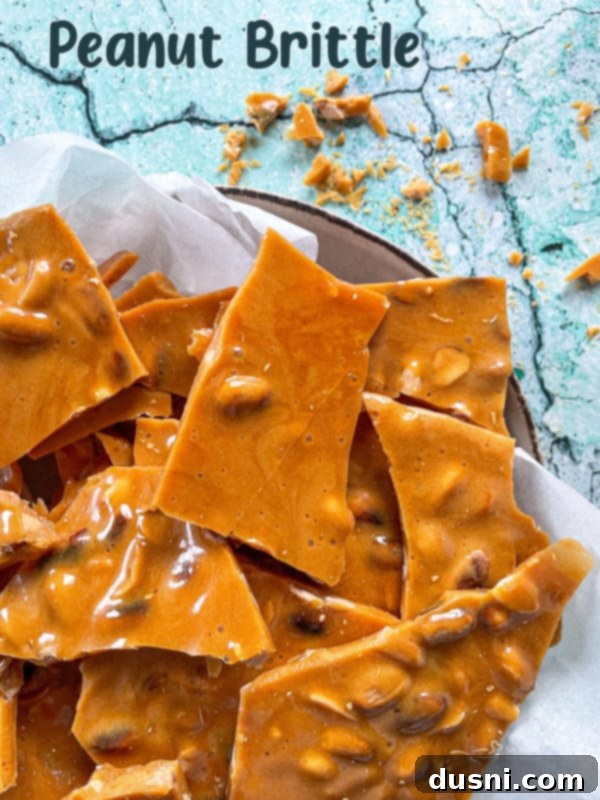
At its heart, peanut brittle is a simple yet exquisite confection made primarily from sugar and nuts, cooked to a high temperature until the sugar caramelizes and becomes incredibly hard and translucent. The quintessential ingredients typically include peanuts, sugar (often a mix of granulated sugar and corn syrup), water, baking soda, and a touch of vanilla extract for flavor. My particular recipe incorporates both dark and light corn syrup, which I find makes it significantly easier to achieve that coveted shattering crunch, while also adding wonderful depth to the caramel flavor profile.
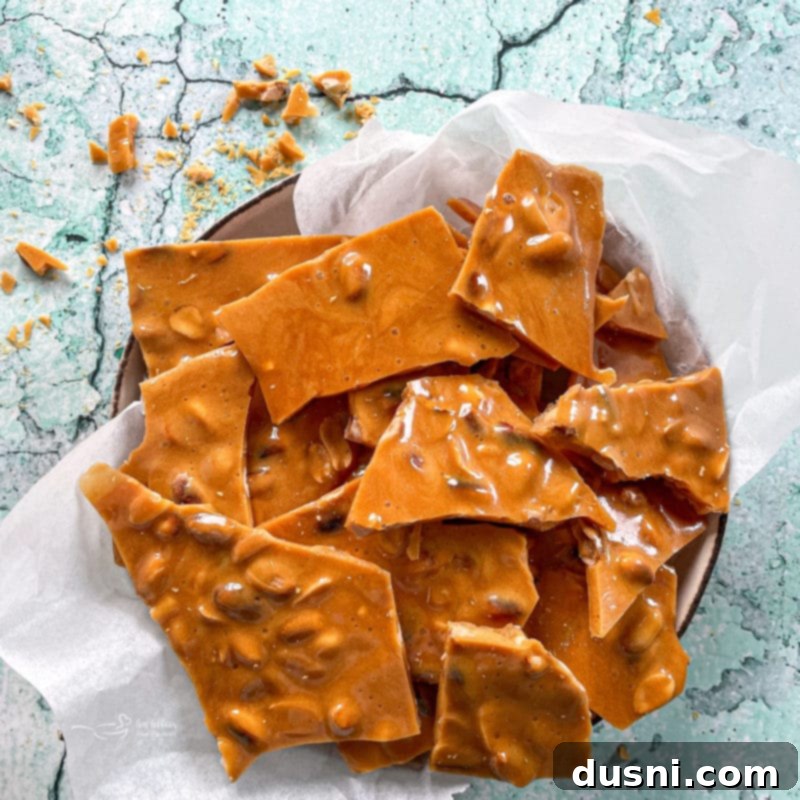
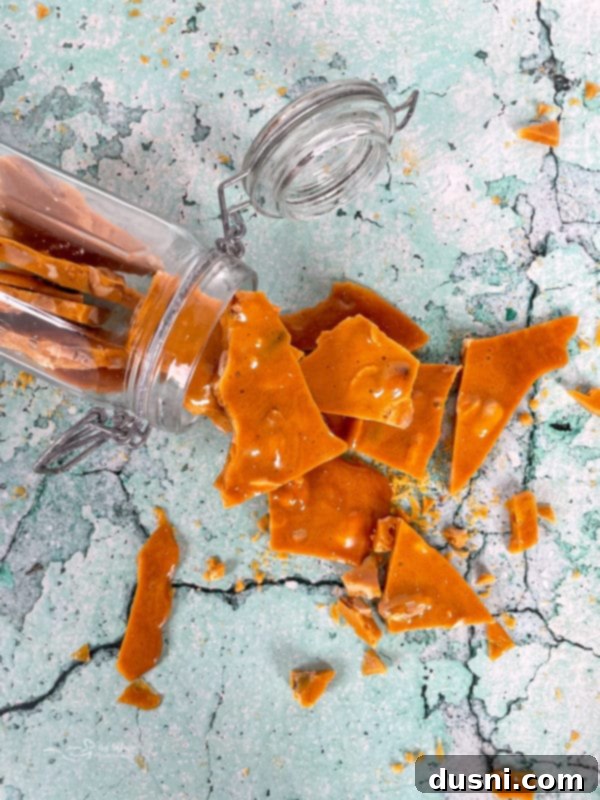
The defining characteristic of good peanut brittle is its texture: it should literally shatter into crisp, delicate pieces once completely cooled. If it bends or chews, it’s not truly brittle! This signature “brittle” quality comes from the precise cooking of sugar to its ‘hard crack’ stage and the magical addition of baking soda, which creates tiny air bubbles, making the candy lighter and more delicate.
Essential Ingredients for Perfect Peanut Brittle
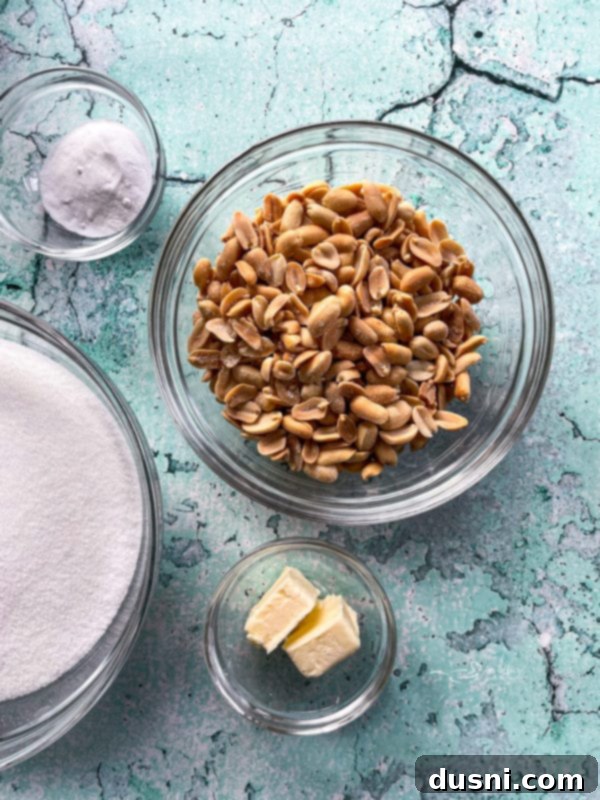
Creating this delightful hard candy requires just a handful of common pantry staples. Each ingredient plays a crucial role in achieving that perfect, crunchy texture and rich flavor:
- Granulated Sugar: The foundation of our brittle, providing the primary sweetness and structure.
- Water: Helps dissolve the sugar initially and allows it to reach the necessary high temperatures without burning too quickly.
- Light Corn Syrup: Acts as an invert sugar, preventing the granulated sugar from crystallizing too quickly and resulting in a smoother, less grainy brittle. It also adds a delicate sweetness.
- Dark Corn Syrup: Similar to light corn syrup in its anti-crystallization properties, but it introduces a deeper, richer molasses-like flavor, enhancing the caramel notes of the brittle.
- Peanuts: The star of the show! Salted Spanish peanuts are traditional and highly recommended for their robust flavor and appealing texture, though other nuts can be substituted.
- Butter: Adds a lovely richness, a hint of creamy flavor, and contributes to the smooth texture of the candy.
- Baking Soda: This is the secret ingredient that transforms the hard candy into “brittle”! When added, it reacts with the hot sugar mixture to create tiny carbon dioxide bubbles, making the candy airy, porous, and easy to break. Without it, your candy would be more like a hard toffee.
- Vanilla Extract: Provides a warm, aromatic finish, complementing the nutty and caramel flavors.
You’ll find the precise measurements for each ingredient in the detailed, printable recipe card further down this page.
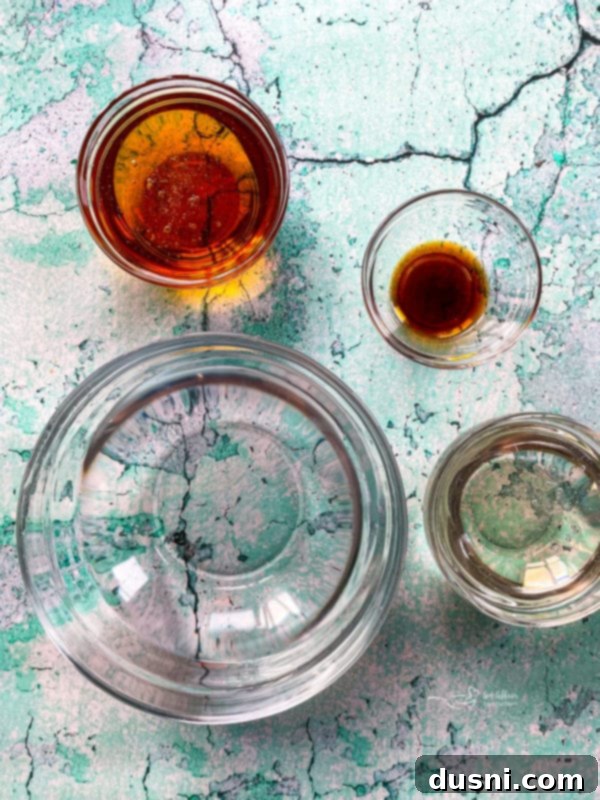
Step-by-Step Guide to Crafting Perfect Homemade Peanut Brittle
Making peanut brittle is a rapid process once the sugar starts cooking, so having all your ingredients and equipment ready (“mise en place”) is absolutely crucial for success. Don’t underestimate this step!
1. Prepare Your Workspace and Tools:
Before you even turn on the stove, ensure your workspace is ready. Line at least two, preferably three, large baking sheets (13×18 half-sheet pans work well) with parchment paper. Do NOT use wax paper, as it will stick. Having these ready means you can pour the hot candy immediately without frantic scrambling. You’ll also want to have your peanuts, butter, baking soda, and vanilla pre-measured and within arm’s reach.
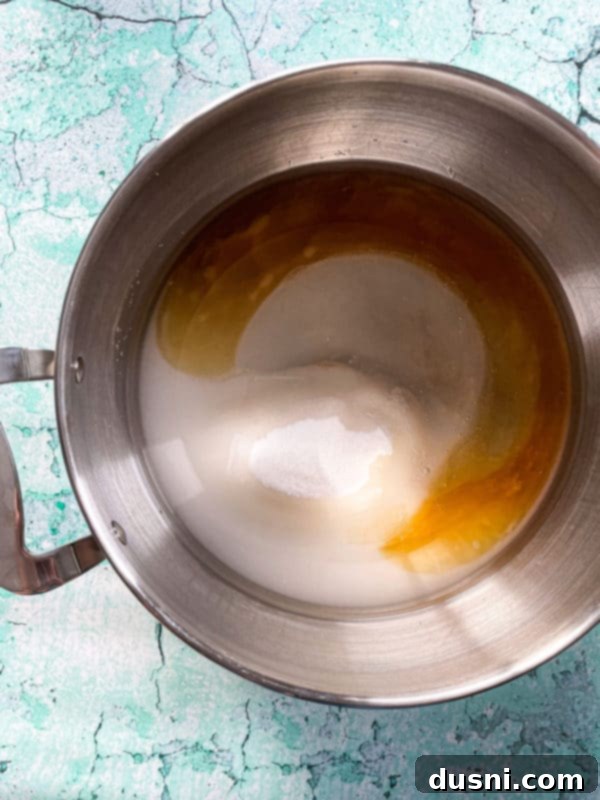
2. Begin the Sugar Syrup:
In a large, heavy-bottomed saucepan (a 3 or 4-quart pot is ideal to prevent boil-overs), combine your granulated sugar, water, light corn syrup, and dark corn syrup. Place the pan over medium heat. Stir the mixture occasionally as it heats to help dissolve the sugar crystals. Continue stirring until the sugar is fully dissolved and the mixture comes to a full, rolling boil. At this point, stop stirring.
Pro Tip: Once boiling, avoid stirring. If sugar crystals cling to the sides of the pan, dip a pastry brush in water and gently brush down the sides to prevent crystallization, which can make your brittle grainy.
3. Reach the Hard Ball Stage:
Insert your candy thermometer into the mixture, ensuring the tip doesn’t touch the bottom of the pan. Continue boiling without stirring over medium heat until your candy thermometer precisely registers 260°F (127°C). This is known as the “hard ball stage” in candy making. The syrup will be bubbling vigorously and will have thickened slightly.
4. Incorporate Peanuts and Butter:
Once 260°F is reached, carefully stir in the peanuts and butter. Continue stirring frequently to ensure even cooking and to prevent the nuts from scorching on the bottom of the pan. The butter will melt and integrate into the syrup.
5. Aim for the Hard Crack Stage:
Keep cooking and stirring this mixture until the candy thermometer hits a crucial 300°F (149°C). This is the “hard crack stage,” essential for brittle’s signature snap. The syrup will turn a beautiful amber or golden-brown color, indicating caramelization. Watch it closely at this stage, as temperatures can rise quickly, and burning can happen in a flash.
6. The Magic of Baking Soda and Vanilla:
Immediately remove the pan from the heat. Quickly stir in the baking soda and vanilla extract. You’ll notice a dramatic change: the mixture will become foamy and lighter in color. This is the baking soda reacting, creating those tiny air bubbles that are key to the brittle texture.
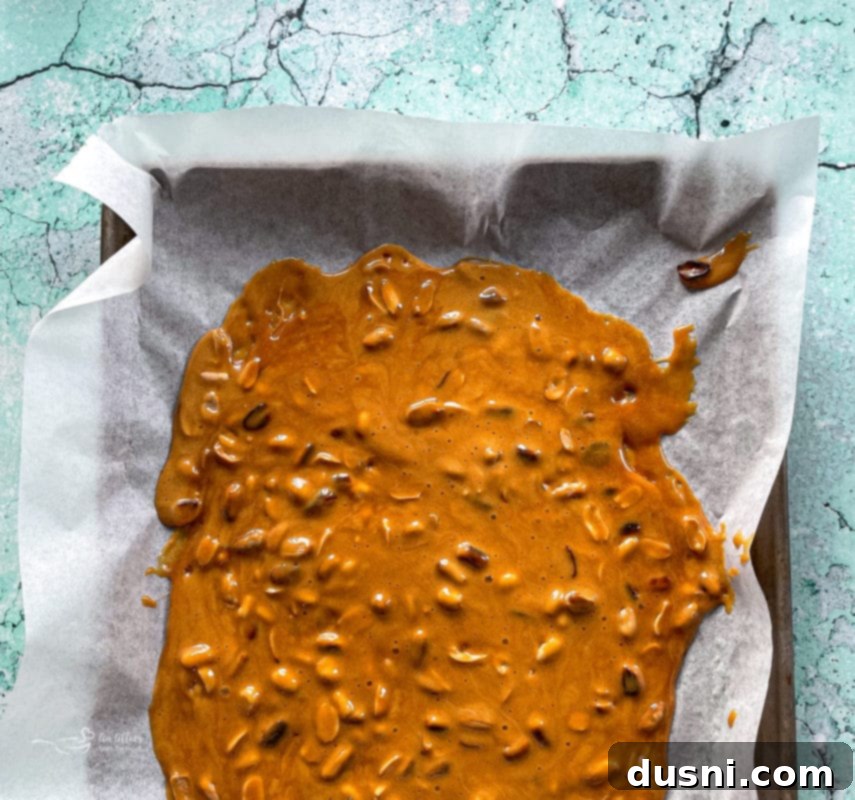
7. Pour and Spread Thinly:
Working quickly and carefully (remember, this is extremely hot!), pour the foamy mixture evenly onto your prepared baking sheets. Using an oiled spatula or the back of a spoon, spread the brittle out as thin as possible. The thinner it is, the crisper and more delicate your brittle will be. Don’t worry about perfect edges; rustic charm is part of homemade brittle’s appeal.
8. Cool and Break:
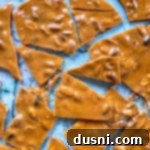
Allow the peanut brittle to cool completely and harden on the baking sheets. This can take anywhere from 30 minutes to an hour or more, depending on your environment. Once firm and cool to the touch, it’s time to break it into pieces! Simply lift the parchment paper and gently crack the brittle by hand, or use the handle of a knife or a pestle to break it into varied, irregular pieces. The uneven sizes are completely normal and part of its charm.
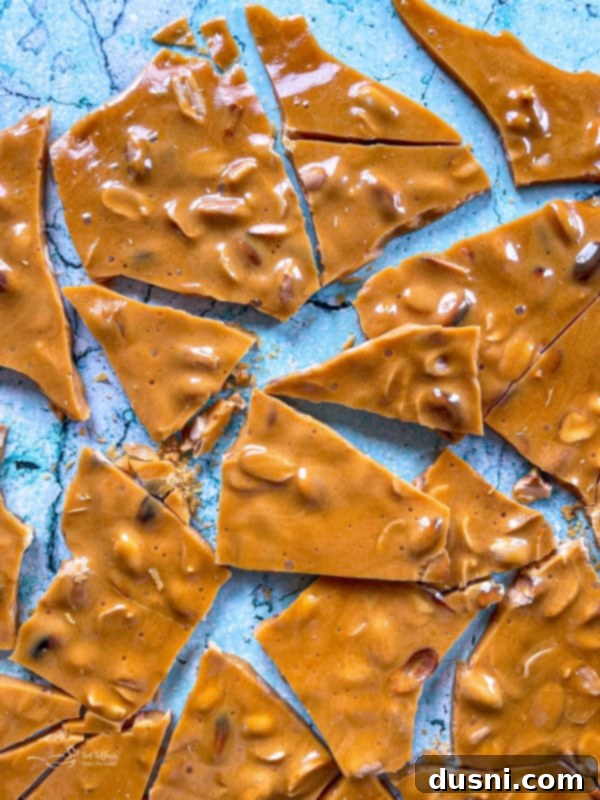
Don’t worry about getting perfectly uniform pieces – the beauty of homemade brittle lies in its rustic, irregular shapes and sizes. It adds to its authentic charm!
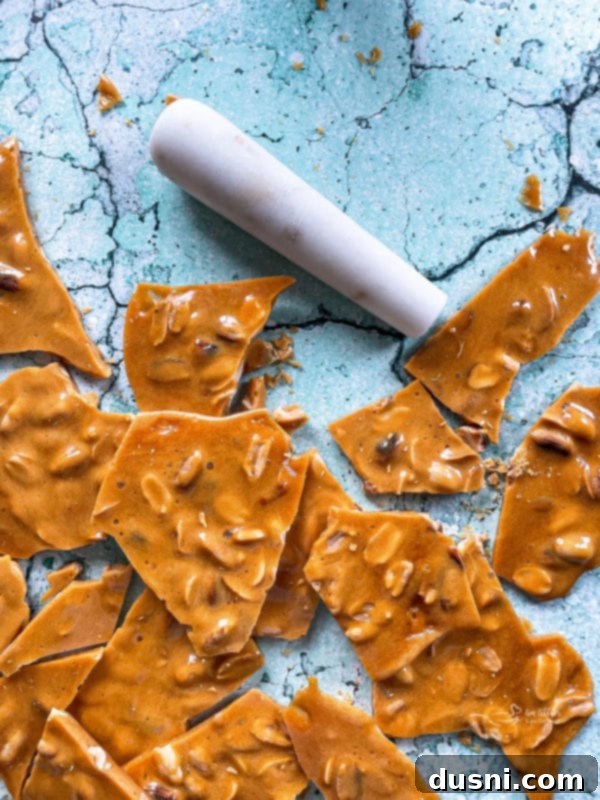
For stubborn pieces, the back of a heavy kitchen utensil or a meat tenderizer can help. Just ensure you’re working on a stable, protected surface.
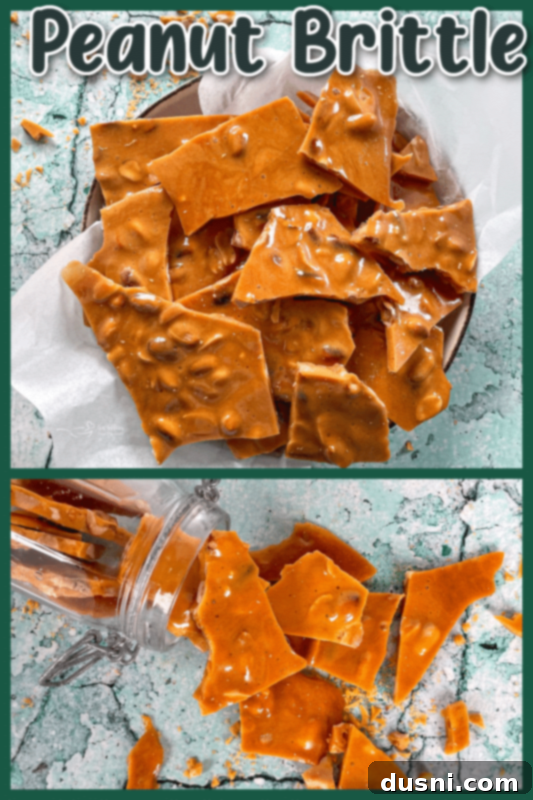
Love This Recipe? Pin It for Later!
If you’re eager to try your hand at this incredible old-fashioned peanut brittle, make sure you can easily find this recipe when you’re ready! Pin it to your favorite Pinterest recipe board now, so it’s always just a click away.
Important Safety Tips: Handling Hot Candy Brittle
Working with molten sugar is no joke; it reaches extremely high temperatures and can cause severe burns if not handled with care. Always prioritize safety in your kitchen:
- Use Caution: Treat the hot candy mixture with extreme respect. Never taste or touch it while it’s hot.
- Stable Surface: Ensure your baking sheets are placed on a stable, heat-proof surface where they won’t be accidentally knocked over.
- Protective Gear: Consider wearing oven mitts, especially when pouring and spreading, to protect your hands from splashes or radiant heat.
- Clear Area: Keep children and pets away from the cooking area and cooling brittle.
- Even Spreading: When pouring onto the parchment paper, try to spread it as evenly as possible to ensure uniform cooling and prevent some parts from staying hot longer than others.
- Full Cooling: Wait until the brittle is completely cool and hard before attempting to break or handle it extensively. Patience here prevents sticky situations and potential burns.
The Role of Dark and Light Corn Syrups in Peanut Brittle
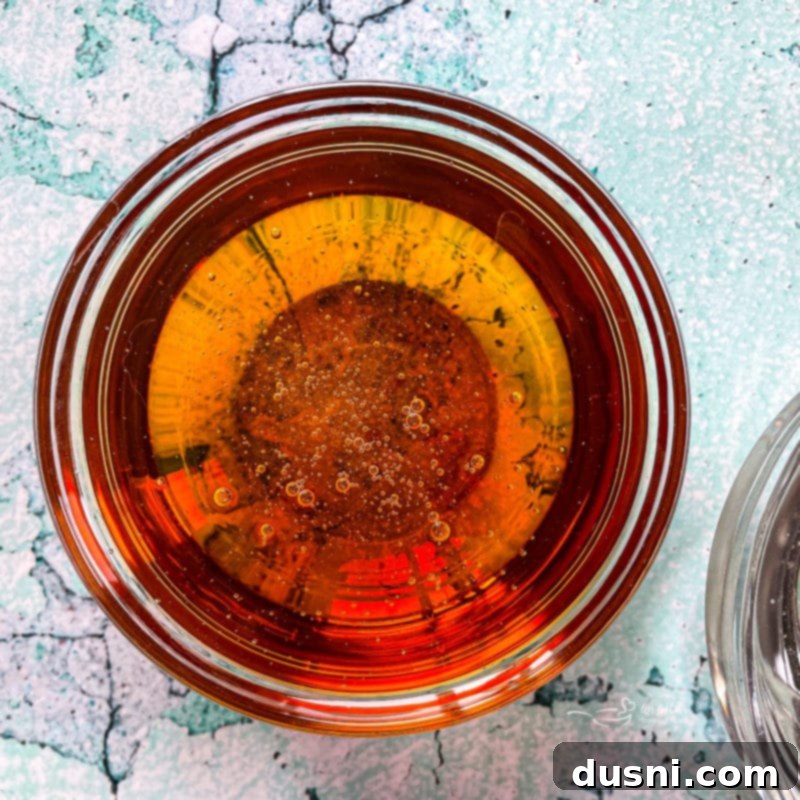
While some traditional brittle recipes rely solely on granulated sugar and water, the inclusion of both dark and light corn syrups is a game-changer, making the process more forgiving and the results consistently superior. Using corn syrup from the start simplifies things immensely, as it helps achieve the desired crunchy texture more reliably and quickly.
But what’s the difference, and why use both? Light corn syrup, often referred to by brand names like Karo syrup, offers a mild sweetness and, more importantly, contains glucose that helps prevent sugar crystallization. This means your brittle will be smooth, not grainy. Dark corn syrup, on the other hand, is derived from refiners syrup, similar to molasses. This gives it a richer, deeper, and slightly more robust flavor profile that beautifully complements the caramelized sugar and peanuts, adding a wonderful complexity to your homemade brittle. Together, they create a perfect balance of texture and taste.
Troubleshooting: Why Isn’t My Peanut Brittle Brittle?
It can be disappointing when your homemade candy doesn’t turn out as expected. Here are the most common reasons your peanut brittle might not be perfectly brittle, and how to avoid them:
- Chewy or Sticky Texture: This is almost always a sign of undercooked sugar. If the candy mixture doesn’t reach the full 300°F (hard crack stage), it won’t have the necessary rigidity to shatter. A reliable candy thermometer is your best defense against this common issue.
- Grainy Texture: This usually indicates sugar crystallization. It can happen if you stir the syrup too much after it begins to boil, if sugar crystals cling to the sides of the pan and fall back into the syrup, or if there isn’t enough corn syrup to inhibit crystallization. Remember to brush down the sides of the pan with a wet pastry brush if you see crystals forming.
- Too Dark or Burnt: Overcooking the sugar past 300°F will lead to a bitter, burnt taste and a very dark color. Sugar caramelizes rapidly at high temperatures, so constant vigilance and a quick hand are required once you get close to the target temperature.
- Not Foamy Enough: If your brittle doesn’t foam up when baking soda is added, it might be old or inactive. Ensure your baking soda is fresh. The foaming action is critical for creating the airy, delicate structure of brittle.
- Nuts Sinking: If the mixture isn’t thick enough before adding the nuts, or if you don’t spread it quickly enough after adding them, the nuts might sink to the bottom.
Your candy thermometer is truly your best friend in this process. Trust in its readings, but also pay attention to visual cues. When the sugar starts to turn a beautiful golden-amber color, you’re getting very close to the hard crack stage. Precision is key!
Can I Really Make Peanut Brittle Without a Candy Thermometer?
While it’s technically possible to make peanut brittle without a candy thermometer, I strongly advise against it, especially for beginners. The margin for error is incredibly small, and achieving the precise temperatures needed for the “hard crack” stage without one is largely a guessing game, leading to inconsistent results or even ruined batches.
However, if you find yourself in a bind and absolutely must try without a thermometer, the traditional “cold water test” is your alternative. Keep a small bowl of ice-cold water handy. Once your sugar syrup starts to brown into a caramel color, carefully drip a tiny amount of the hot candy mixture into the cold water. Observe its behavior:
- Soft Ball Stage (235-245°F / 118-124°C): The syrup forms a soft, pliable ball.
- Firm Ball Stage (245-250°F / 124-127°C): The syrup forms a firm but still pliable ball.
- Hard Ball Stage (250-265°F / 127-130°C): The syrup forms a hard ball that holds its shape but is still malleable.
- Hard Crack Stage (300-310°F / 149-154°C): The syrup immediately hardens into brittle threads that snap cleanly when removed from the water. This is what you’re looking for for brittle!
If your drip hardens into a crunchy piece of candy that snaps, then quickly remove the rest of the mixture from the heat and proceed with adding the baking soda and vanilla. Just remember, this method relies heavily on experience and keen observation. You’re taking a significant risk by “winging” it, and it’s easy to overcook or undercook your candy, leading to waste. For consistent, reliable, and stress-free results, investing in an affordable candy thermometer is truly invaluable.
Homemade Peanut Brittle: The Perfect Gift Idea
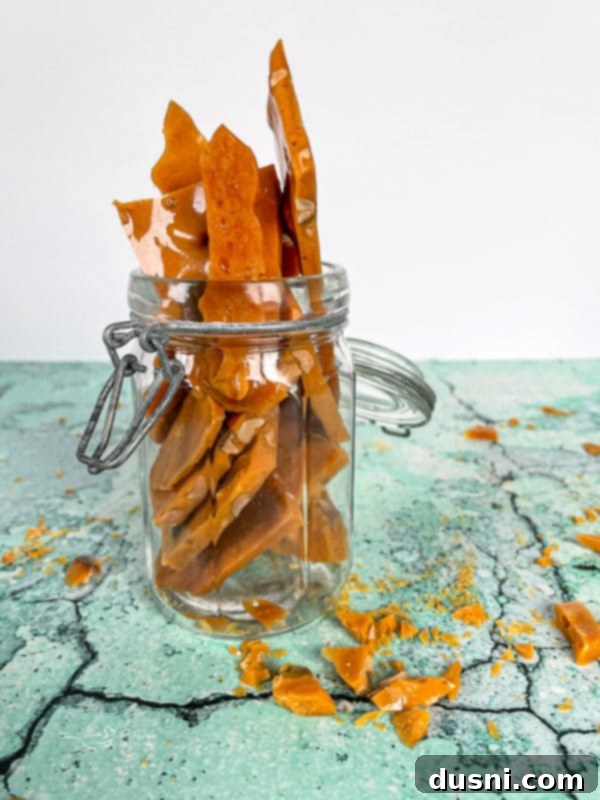
Beyond being a delicious treat for yourself, homemade peanut brittle makes an absolutely wonderful, thoughtful gift. Its rustic charm and irresistible crunch are sure to impress! Package some of your freshly made brittle into attractive glass jars, sealable cellophane bags, or cute cookie tins. Tie a festive ribbon around it, add a personalized tag, and you have a beautiful, edible gift ready for any occasion.
It’s a fantastic idea for holiday gift baskets, a sincere thank-you for teachers, a delightful surprise for co-workers, or a charming hostess gift. Who wouldn’t appreciate a handmade treat packed with love and flavor? Proper storage in an airtight container at room temperature will keep your brittle fresh and crunchy for several weeks, making it ideal for preparing in advance for gifting.
Explore More Delectable Candy Recipes
If you’ve enjoyed the process of making this homemade peanut brittle, you might be inspired to try other delightful candy creations. Here are some more irresistible recipes to satisfy your sweet tooth and expand your candy-making repertoire:
- Graham Cracker Toffee
- Candy Cane Puppy Chow
- Cinnamon Rock Candy
- Salted Nut Roll With Candy Corns
- 30+ Holiday Candy Recipes (pictured above)
- White Chocolate Cream Cheese Fudge
Now that you’re equipped with all the knowledge and tips, let’s get ready to make some truly unforgettable peanut brittle! 
LIKE THIS RECIPE?
Don’t forget to give it a ⭐️⭐️⭐️⭐️⭐️ star rating and
leave a comment below the recipe!
Print Recipe
Peanut Brittle
Equipment
-
Reynolds Kitchens Non-Stick Parchment Paper
-
13×18 Half Sheet Pan
-
Cuisinart Chef’s Classic Nonstick 1-Quart Saucepan with Lid
Ingredients
- 3 cups sugar
- 2 cups water
- 3/4 cup light corn syrup
- 3/4 cup dark corn syrup
- 2 cups salted Spanish peanuts
- 2 Tablespoons butter
- 1 Tablespoon baking soda
- 1 teaspoon vanilla extract
Instructions
-
Line 3 large baking sheets with parchment paper.
-
In a large heavy-duty pan, combine sugar, water, and corn syrups. Bring to a boil stirring occasionally to dissolve sugar. When mixture reaches a full boil, continue boiling without stirring over medium heat until the candy thermometer reaches 260 degrees or the “hardball stage.” Stir in the peanuts and the butter, stirring frequently until the mixture reaches the “hard crack stage” or 300 degrees.
-
Remove from heat, stir in the baking soda and the vanilla, the mixture will become foamy. Pour onto lined baking sheets and spread out as thin as possible.
-
Cool completely and break into pieces.
-
Store in an airtight container.
Notes
Nutrition
This timeless recipe was originally shared on December 17, 2012. It has since been thoroughly updated with enhanced instructions, additional tips, and improved user experience on December 14, 2021.
Original recipe adapted from Taste of Home.
