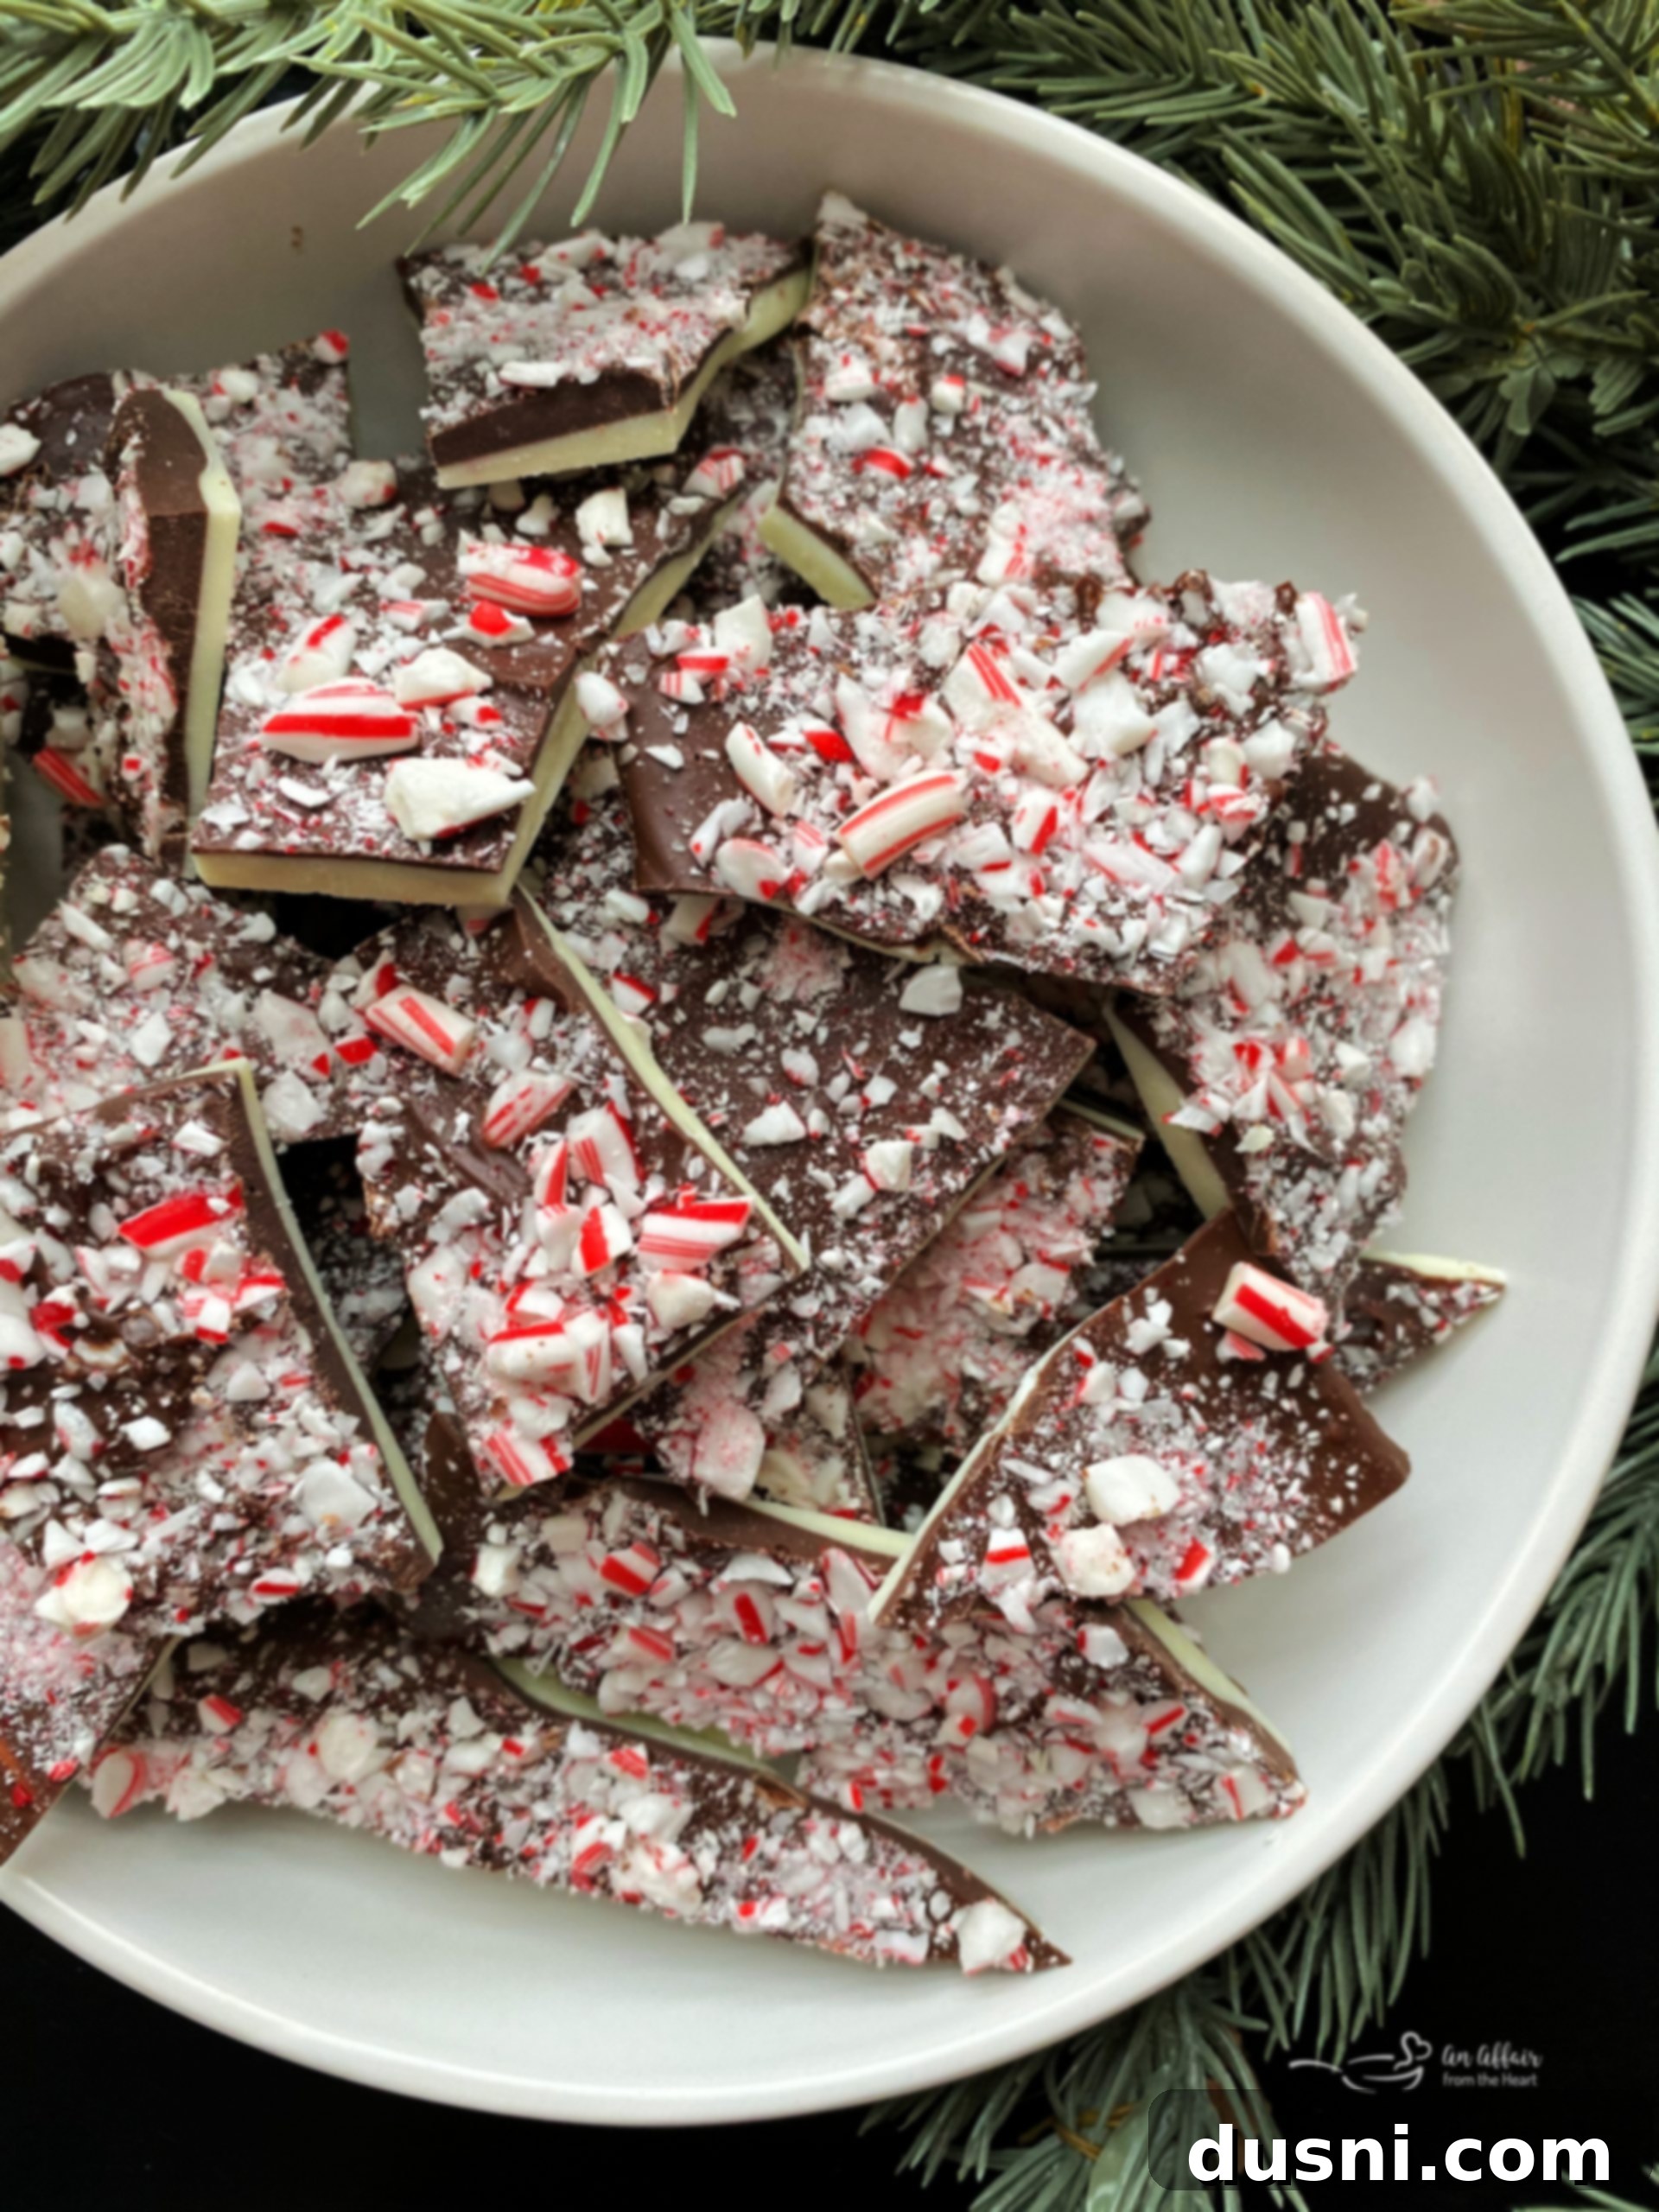
Easy White and Dark Chocolate Peppermint Bark Recipe: The Ultimate Festive Holiday Treat
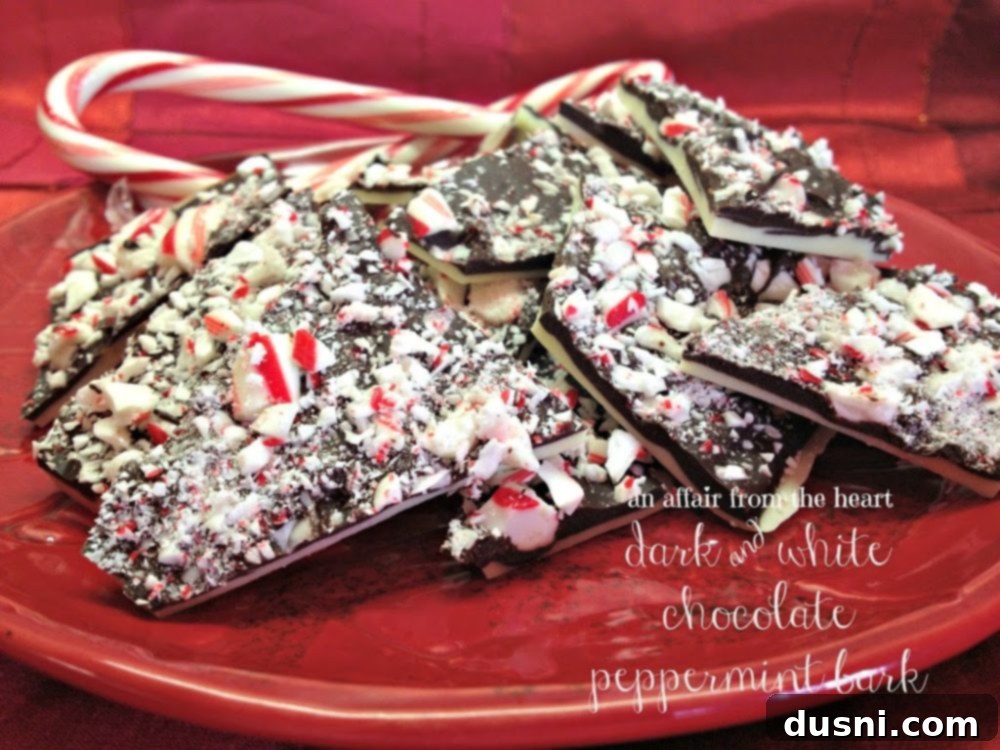
There’s truly nothing quite like the holiday season to bring out the baker in all of us, and few treats capture the festive spirit as beautifully as homemade peppermint bark. This delightful confection, featuring striking layers of rich dark chocolate and creamy white chocolate, generously adorned with vibrant crushed peppermint candies, is not just a dessert—it’s a work of edible art that brings immediate cheer. It’s a staple on holiday cookie platters, a coveted hostess gift, and a perfect present for colleagues and friends. Beyond its stunning appearance, this white and dark chocolate peppermint bark is incredibly simple to prepare, making it an ideal recipe for busy holiday schedules.
Imagine the joyful burst of cool peppermint mingling with the deep richness of dark chocolate and the sweet, velvety embrace of white chocolate. This easy-to-make chocolate peppermint bark offers a delightful crunch and a refreshing taste that instantly evokes memories of cozy Christmases. If you’re searching for an elegant, eye-catching candy recipe that doesn’t demand hours in the kitchen, then you’ve found your perfect holiday match. This recipe for homemade peppermint bark is designed for simplicity, allowing you to create impressive treats with minimal effort, leaving you more time to enjoy the magic of the season.
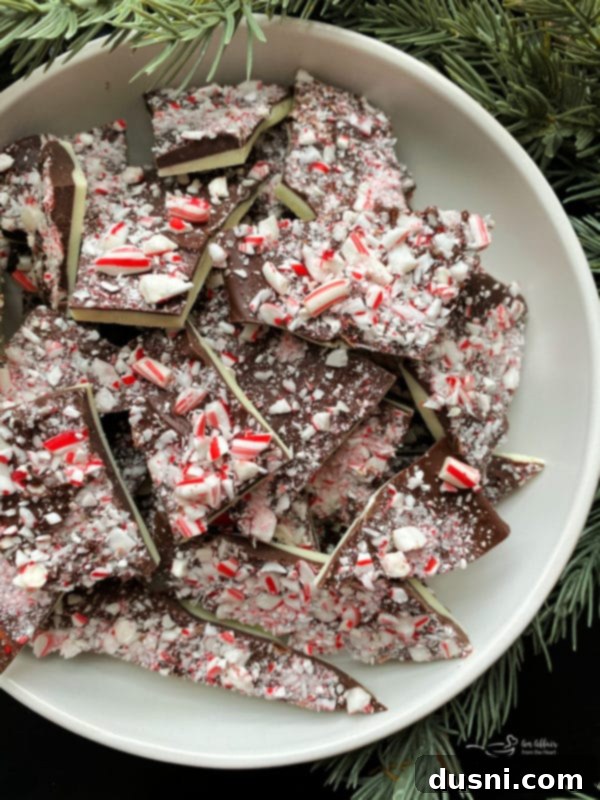
What Is White and Dark Chocolate Peppermint Bark?
At its heart, peppermint bark is a simple yet sophisticated confection made from melted chocolate, infused with peppermint, and topped with crushed peppermint candies. What elevates this particular recipe is the exquisite combination of both white and dark chocolate, creating a visually stunning and flavor-rich treat. It’s the best of both worlds, where the robust intensity of dark chocolate beautifully contrasts with the milky sweetness of white chocolate, all brought to life by the exhilarating crunch and refreshing flavor of peppermint candy canes. This layered approach ensures that every bite is a delightful experience, balancing textures and tastes perfectly. It’s a Christmas candy classic that never disappoints, providing both an elegant aesthetic and an irresistible taste.
This delightful holiday treat is renowned for its ease of preparation and impressive presentation. Whether you’re a seasoned candy maker or a beginner, making peppermint bark is a rewarding experience. The process involves melting chocolate, spreading it into thin layers, chilling it, and then topping it with crushed peppermints. The result is a crisp, snap-able candy that breaks into irregular, tempting pieces, perfect for sharing. I first crafted this specific chocolate peppermint bark recipe in 2012, and it has since become an indispensable part of my annual holiday baking tradition, gracing every cookie platter with its festive colors and unmistakable taste. It’s a true testament to how simple ingredients can come together to create something truly magical for the holidays.

White Chocolate Peppermint Bark vs. Dark Chocolate Peppermint Bark: Why Combine Them?
While you can certainly make a delicious single-layer bark using either white chocolate peppermint bark or dark chocolate peppermint bark on its own, this recipe celebrates the harmonious blend of both. Individually, each type of chocolate offers a unique experience. White chocolate bark tends to be sweeter and creamier, providing a smooth backdrop for the peppermint’s zing. Dark chocolate bark, on the other hand, delivers a more intense, slightly bitter counterpoint, which some prefer for its depth of flavor. However, by combining them, you achieve a complex flavor profile and a visually captivating treat that stands out.
The beauty of this layered double chocolate peppermint bark lies in its contrast. The rich, slightly bitter notes of the dark chocolate are perfectly complemented by the sweet, milky taste of the white chocolate, creating a balanced and incredibly satisfying flavor. Furthermore, the distinct red and white layers, highlighted by the red and white crushed candy canes, make this bark exceptionally festive and appealing. If you wish to simplify, you can definitely make a plain white or dark chocolate version by simply doubling the quantity of your chosen chocolate and skipping the layering step. But, I personally adore the elegant look of the layered chocolate and the vibrant crushed peppermint on top – it truly elevates this simple Christmas candy into something special, don’t you agree?

Choosing the Best Ingredients for Your Peppermint Bark
The secret to truly outstanding homemade peppermint bark lies in the quality of your ingredients. While it’s a simple recipe, using high-quality chocolate and genuine peppermint flavor makes all the difference in achieving that perfectly smooth texture and intense flavor that everyone loves. For the dark chocolate layer, I highly recommend using a good quality semi-sweet chocolate, such as Baker’s Chocolate. Semi-sweet chocolate provides a balanced sweetness that pairs beautifully with the peppermint, without being overly bitter. Of course, if you have a preference for a darker, more intense chocolate flavor, feel free to use a darker variety like bittersweet chocolate. However, for a widely appealing treat, semi-sweet chips or bars work wonderfully, melting smoothly and creating a luscious base.
When it comes to the white chocolate, the choice of product is even more crucial. Many white chocolate chips found in grocery stores are designed to hold their shape during baking and may contain less cocoa butter, resulting in a waxy texture when melted. For a smooth, luxurious, and melt-in-your-mouth white chocolate layer, opt for a very high cocoa butter white chocolate. Baker’s premier white chocolate is an excellent choice. (Yes, white chocolate is indeed made with cocoa butter, which is the fat extracted from the cocoa bean, giving it that characteristic rich texture). This type of white chocolate will melt into a beautifully smooth, less sweet, and more refined layer, providing a perfect counterpoint to the dark chocolate and the sweetness of the candy canes. Don’t worry about the overall sweetness level; the dark chocolate layer and the crushed candy canes ensure that the entire bark is perfectly balanced and utterly delicious!
Ingredients You’ll Need for This Easy Peppermint Bark Recipe
This recipe for a festive and delicious peppermint bark is surprisingly simple, requiring only four core ingredients. The key is to select quality components to ensure the best flavor and texture for your holiday treat. Here’s what you’ll need:
- Semi-sweet chocolate: Approximately 8 ounces. As mentioned, high-quality brands like Baker’s Chocolate or other premium baking chocolates will yield the best results for a smooth, rich dark chocolate layer that complements the peppermint perfectly.
- White chocolate: You’ll need about 8 ounces of premiere white chocolate. Steer clear of standard white chocolate chips if possible, as their composition can lead to a waxy texture. Look for white chocolate bars or blocks specifically labeled for baking, which have a higher cocoa butter content for superior melt and smoothness.
- Candy canes or peppermint candies: About 10 standard-sized candy canes, or an equivalent amount of other hard peppermint candies, finely crushed. These provide the iconic crunch and intense peppermint flavor, as well as the beautiful festive red and white speckles that make the bark so visually appealing.
- Peppermint extract: Just a half teaspoon, divided between the two chocolate layers, is enough. This vital ingredient boosts the peppermint flavor significantly, ensuring that every bite delivers a refreshing burst. Make sure you use pure peppermint extract for the most authentic and potent flavor.
With these few ingredients, you’re well on your way to creating an incredible holiday candy that will impress everyone!

Step-by-Step: How to Make Homemade White and Dark Chocolate Peppermint Bark Candy
Creating this stunning white and dark chocolate peppermint bark is a straightforward process that yields incredibly impressive results. Follow these simple steps for a perfect batch:
- STEP ONE: Melt the White Chocolate. Begin by gently melting your high-quality white chocolate. You can do this using a double boiler on the stovetop over low heat, stirring continuously until completely smooth. Alternatively, follow the microwave melting instructions below. Once melted, remove from heat and stir in 1/4 teaspoon of peppermint extract. This infusion ensures a consistent peppermint flavor throughout the white chocolate layer. Promptly spread the melted white chocolate evenly onto a cookie sheet that has been lined with waxed paper or parchment paper. The paper is crucial for easy removal later. Place the cookie sheet in the freezer for approximately 10 minutes, or until the white chocolate layer is firm to the touch and fully hardened. This quick chill sets the base and prevents the layers from mixing.
- STEP TWO: Melt the Dark Chocolate. While the white chocolate is chilling, melt your semi-sweet dark chocolate. Again, use a double boiler over low heat on the stovetop, stirring constantly until smooth and glossy, or opt for the microwave method. As with the white chocolate, remove the dark chocolate from the heat and stir in the remaining 1/4 teaspoon of peppermint extract. This ensures both layers carry that delightful peppermint kick.
- STEP THREE: Layer and Top with Peppermint. Retrieve your cookie sheet with the hardened white chocolate from the freezer. Carefully pour the melted dark chocolate over the top of the white chocolate layer, spreading it quickly and evenly to create a smooth second layer. Work swiftly here, as the cold white chocolate will cause the dark chocolate to begin setting immediately. Immediately after spreading the dark chocolate, generously sprinkle the crushed peppermint candies over the entire surface, gently pressing them into the warm chocolate to ensure they adhere well. The warmth of the dark chocolate will help the peppermints stick as it cools.
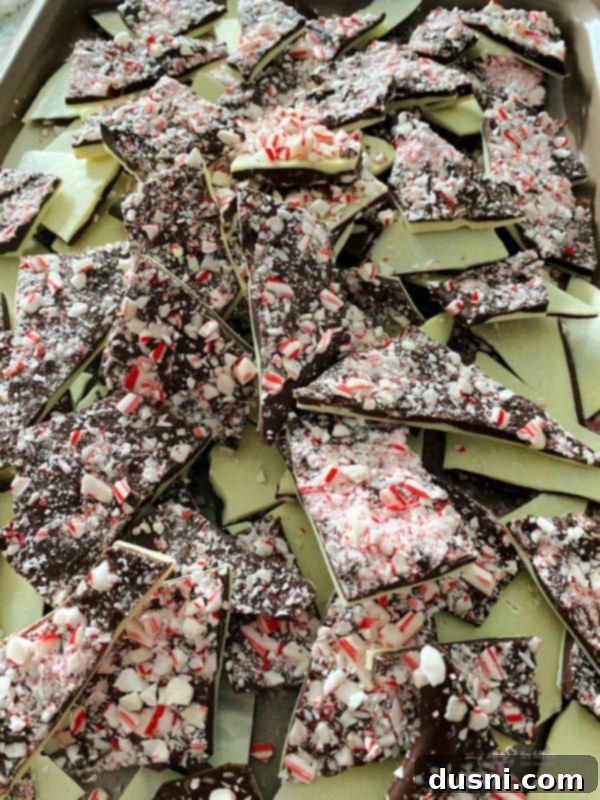
- STEP FOUR: Chill and Break. Return the cookie sheet, now layered and topped, to the freezer. Allow it to chill for at least 15-20 minutes, or until both chocolate layers are completely hardened and firm. Once fully set and cold from the freezer, it’s time to break your bark! Instead of trying to cut it with a knife (which can be difficult with the crunchy topping), simply press the tip of a sturdy knife into the center of the bark to initiate a break. Continue this process, breaking the bark into irregular, rustic pieces of your desired size. The random shapes are part of the charm of homemade bark! Store your finished peppermint bark candy in an airtight container to maintain freshness. For best results and extended shelf life, I prefer to keep mine in the fridge or freezer.
Making Peppermint Bark in the Microwave: A Quick Alternative
If you prefer a faster method for melting your chocolate, a microwave oven can be a convenient alternative to the stovetop. However, melting chocolate in the microwave requires a bit more vigilance, especially with white chocolate, which has a slightly lower melting point than dark chocolate and can seize or burn quickly if overheated. Using premium quality white chocolate helps, but careful technique is still key.
The easiest and safest way to melt both your white and dark chocolates in a microwave? Use a medium-low power setting (around 50-60%) and melt in short bursts. Place your chocolate (either white or dark) in a microwave-safe bowl. Heat for 30 seconds, then remove and stir thoroughly, even if it doesn’t look fully melted. Return to the microwave for another 15-20 seconds, stir again, and continue with shorter intervals (10-15 seconds) until the chocolate is mostly melted. At this point, remove it from the microwave and continue stirring until it becomes completely smooth from the residual heat. This prevents scorching and ensures a beautifully fluid, pourable consistency. Once it’s melted enough to pour smoothly, you’re all set to proceed with the layering steps for your delicious chocolate peppermint bark!
Pro Tips for Perfect Peppermint Bark Every Time
Achieving perfectly smooth and stable peppermint bark is easy with a few simple tips:
- Avoid Water at All Costs: When melting chocolate, even a tiny drop of water can cause it to “seize” – turning it into a thick, gritty paste. Ensure your bowls and utensils are completely dry, and if using a double boiler, make sure the bottom of the bowl does not touch the simmering water. Steam is also an enemy!
- Use Quality Chocolate: As highlighted, the quality of your chocolate profoundly impacts the final texture and taste. Investing in good baking chocolate (like Baker’s or another premium brand) is worth it for a superior homemade peppermint bark.
- Chill Layers Thoroughly: It’s crucial for each chocolate layer to be fully hardened before adding the next. This prevents the colors from swirling and ensures distinct, beautiful layers. The freezer is your friend for quick setting!
- Work Quickly with Top Layer: Once the dark chocolate is poured over the cold white chocolate, it will start to set almost immediately. Spread it evenly and sprinkle the crushed peppermint quickly to ensure they adhere before the chocolate hardens completely.
- Crush Peppermint Evenly: For the best texture and distribution, try to crush your candy canes into varying sizes—some finer dust, some slightly larger pieces. A food processor or placing them in a Ziploc bag and smashing with a rolling pin works well.
Love it? Pin it!
Don’t forget where you found the best recipe for this delicious double chocolate peppermint bark! Make sure to Pin it to your favorite Pinterest recipe board before you go, so you can easily find it year after year when the holiday cravings strike and you’re ready to make this festive holiday treat!
Discover More Holiday Candy Recipes to LOVE!!
How Do You Cut Peppermint Bark?
One of the most charming aspects of homemade chocolate peppermint bark is its rustic, irregular pieces. While you might be tempted to try and cut it into neat squares, I actually find that breaking the bark into random pieces is much more fun and significantly easier than attempting a precise cut through the crunchy layer of crushed candy canes. Attempting to slice through a firm, brittle candy topped with hard pieces of peppermint can be challenging and often results in crumbling rather than clean cuts.
Embrace the imperfect! The random sizes and organic shapes of broken bark not only make it incredibly easy to serve on a platter but also add a delightful homemade touch. These varied pieces fit beautifully into glass jars, decorative candy boxes, or cellophane bags when preparing them as gifts. Plus, there’s something undeniably satisfying about simply breaking it up into big, satisfying chunks. After all, making peppermint bark candy, especially during the festive season, should always be about joy and fun, not precision and stress!
How Long Does White and Dark Chocolate Bark Keep?
Properly stored, your delicious white and dark chocolate peppermint bark can keep for an impressively long time, even up to a few months! This makes it an excellent make-ahead treat for the busy holiday season. However, there’s one important caveat to consider: the powerful flavor of peppermint. Peppermint is highly aromatic and its scent and taste can easily permeate other foods. Therefore, if you plan to store your bark with other treats that aren’t also peppermint-infused, be very careful.
To preserve its fresh taste and prevent it from imparting a peppermint flavor to everything around it, I highly recommend storing your homemade peppermint bark in an airtight, lidded container. This barrier will protect both the bark and any other goodies you might have in your pantry or fridge. Stored correctly, you can enjoy this festive candy for weeks, extending the holiday cheer.
Does Peppermint Bark Need to be Refrigerated?
While you can get away with storing chocolate peppermint bark at cool room temperature for a shorter period, I generally recommend keeping it in the fridge or even the freezer if you intend to store it for more than a few days, especially if you’ve used high-quality white chocolate. White chocolate, due to its higher fat content (cocoa butter), tends to soften more easily and doesn’t keep quite as well at room temperature as pure dark chocolate. The refrigeration helps to maintain its crisp, snap-able texture and extends its shelf life significantly.
Think of it like butter: just as butter keeps for weeks to months when refrigerated, your white and dark chocolate peppermint bark will remain fresh and firm for weeks to months when properly stored in an airtight container in the fridge. If you want it to last even longer, or if you live in a warmer climate, the freezer is an excellent option. Simply thaw it briefly at room temperature before serving for the best experience. Chilling also makes the bark easier to break into those perfect irregular pieces!

Leftover Candy Canes? Try These Other Peppermint Recipes!
It’s a common delightful dilemma during the festive season: you’ve made your amazing homemade peppermint bark, but now you have a bunch of leftover candy canes! Never fear, these festive striped treats keep surprisingly well. Simply store them in a ziplock bag in your pantry, and you’ll have them ready for these other fantastic peppermint-infused recipes throughout the rest of the holiday season or even into the new year. Don’t let those crunchy, minty delights go to waste!
- Peppermint Dipped Chocolate Chip Cookies (pictured above) – A simple yet elegant twist on a classic!
- Peppermint Bark Popcorn – The perfect sweet and salty snack for movie nights.
- White Chocolate Peppermint Fudge – Another creamy, dreamy peppermint delight.
- Double Chocolate Peppermint Puppy Chow – A fun, crunchy, and addictive treat.
- Chocolate Mint Candy Cookies – Soft, chewy, and bursting with minty chocolate flavor.
- Chocolate Peppermint Stirring Spoons – Perfect for hot cocoa!
- Candy Cane Muddy Buddies – An irresistible snack mix.

More Bark Recipes To Love
If you’ve fallen in love with how easy and satisfying it is to make homemade bark, then you’re in for a treat! Bark recipes are celebrated for how quickly they come together and their undeniable elegance, always looking stunning on holiday trays, for parties, or as thoughtful gifts. The versatility of bark allows for endless creative combinations of chocolate, toppings, and flavors. Here are some more fantastic bark recipes to inspire your next culinary creation:
- Graham Cracker Toffee Bark (pictured above) – A buttery, crunchy, and irresistible twist.
- Turtle Bark – A decadent combination of caramel, pecans, and chocolate.
- Brownie Bark With Pistachios – Thin, crisp, and chewy, with a nutty crunch.
- Oreo Bark for Easter – A fun, customizable bark perfect for spring celebrations.
Now that you have all the tips, tricks, and inspiration, let’s make some amazing peppermint bark! Happy baking! 
LIKE THIS RECIPE?
Don’t forget to give it a ⭐️⭐️⭐️⭐️⭐️ star rating and
leave a comment below the recipe!

Print Recipe
White and Dark Chocolate Peppermint Bark
Equipment
-
KitchenAid Gourmet Rolling Pin, One Size, Red (useful for crushing candy canes!)
-
Reynolds Kitchens Non-Stick Parchment Paper (essential for easy removal)
-
Sharp Knife Set (for initiating breaks in the bark)
-
Zyliss Comfort Utility Knife (another option for breaking bark)
-
13×18 Half Sheet Pan (your canvas for making the bark)
-
Microwave-safe bowls or Double Boiler (for melting chocolate)
Ingredients
- 8 ounces high-quality semi-sweet chocolate (such as Baker’s)
- 8 ounces premiere white chocolate (do not use white chocolate chips)
- 10 candy canes crushed into varying sizes
- 1/2 teaspoon pure peppermint extract divided (1/4 tsp per chocolate layer)
Instructions
-
Prepare White Chocolate Layer: In a double boiler over low heat or in a microwave-safe bowl (using 30-second bursts, stirring in between), melt the white chocolate until completely smooth. Remove from heat and stir in 1/4 teaspoon peppermint extract until well combined.
-
Chill White Chocolate Base: Spread the melted white chocolate evenly onto a cookie sheet lined with waxed or parchment paper. Ensure it’s a thin, even layer. Place the cookie sheet in the freezer for about 10 minutes, or until the white chocolate layer is fully hardened and firm to the touch.
-
Prepare Dark Chocolate Layer: While the white chocolate is chilling, melt the semi-sweet dark chocolate using the same method (double boiler or microwave). Once smooth, remove from heat and stir in the remaining 1/4 teaspoon peppermint extract.
-
Layer Dark Chocolate: Retrieve the chilled white chocolate layer from the freezer. Quickly and carefully spread the melted dark chocolate over the top of the hardened white chocolate, ensuring an even layer.
-
Add Peppermint Topping: Immediately and generously top the warm dark chocolate with the crushed peppermint candies. Gently press the peppermint pieces into the chocolate to ensure they adhere well as it cools and sets.
-
Final Chill: Return the cookie sheet to the freezer for another 15-20 minutes, or until both chocolate layers are completely hardened and the bark is firm.
-
Break into Pieces: Once fully chilled and hardened, remove the bark from the freezer. Place it on a sturdy surface. Press the tip of a sharp knife into the cooled peppermint bark to initiate a break. Continue this process, breaking the bark into irregular, rustic pieces of your desired size.
-
Store: Store your finished White and Dark Chocolate Peppermint Bark in an airtight container. It freezes exceptionally well for longer storage, keeping its fresh taste and crisp texture.
Nutrition
I first published this recipe for white and dark chocolate peppermint bark on November 26, 2012. It has since been thoroughly updated and expanded to improve user experience, enhance clarity, add valuable tips, and provide more comprehensive information about this beloved holiday treat. This updated version was proudly re-shared on December 17, 2021.
I first published this recipe for white and dark chocolate peppermint bark on November 26, 2012. It has since been thoroughly updated and expanded to improve user experience, enhance clarity, add valuable tips, and provide more comprehensive information about this beloved holiday treat. This updated version was proudly re-shared on December 17, 2021.

