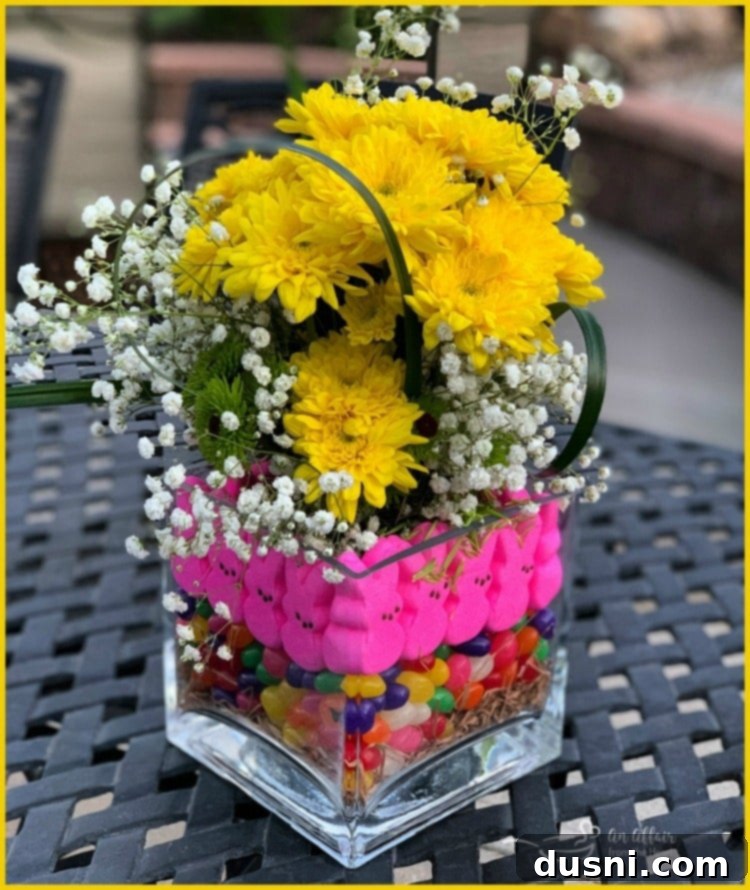
DIY Easter Peep Centerpiece: Charming & Easy Table Decor with Jelly Beans & Flowers
Transform your Easter table into a vibrant celebration of spring with this delightful and easy-to-make Peep Centerpiece. For years, this charming arrangement of marshmallow Peep bunnies, colorful jelly beans, and fresh flowers has been a beloved tradition in my home. Each time I craft one, it takes on a unique personality, always sparking conversation and smiles around the table. It’s more than just a decoration; it’s a festive focal point that embodies the joy and renewal of the Easter season, promising a sweet touch to your holiday gathering.
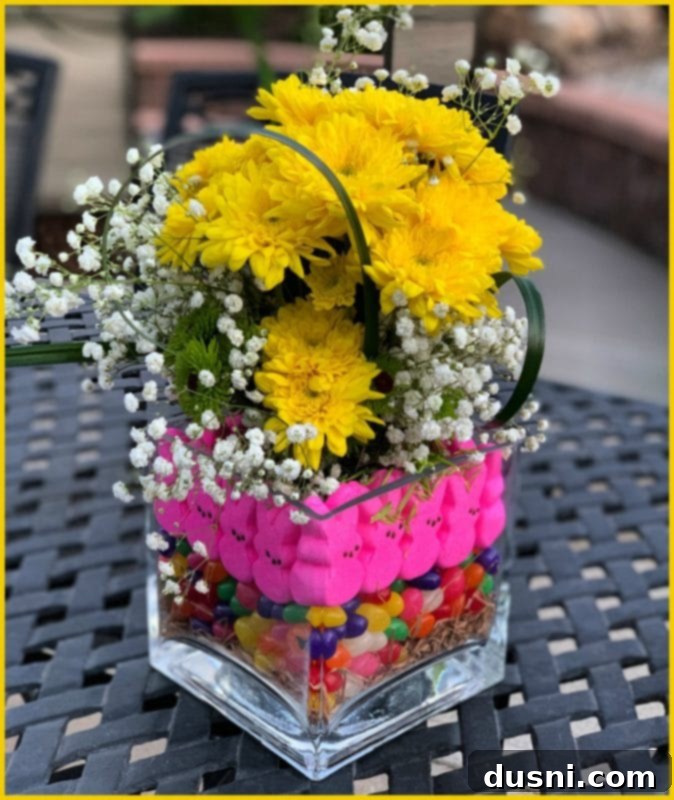
The inspiration for this charming Easter centerpiece first bloomed back in 2011. I combined the playful nostalgia of marshmallow Peep bunnies with the vibrant sweetness of jelly beans, creating a truly unique and eye-catching display. The response was immediate and overwhelming! So many friends and family members inquired about how I brought this festive creation to life, prompting me to document the process. That’s when I decided to create a detailed “how-to” guide, ensuring everyone could easily replicate this cheerful decoration for their own Easter festivities.
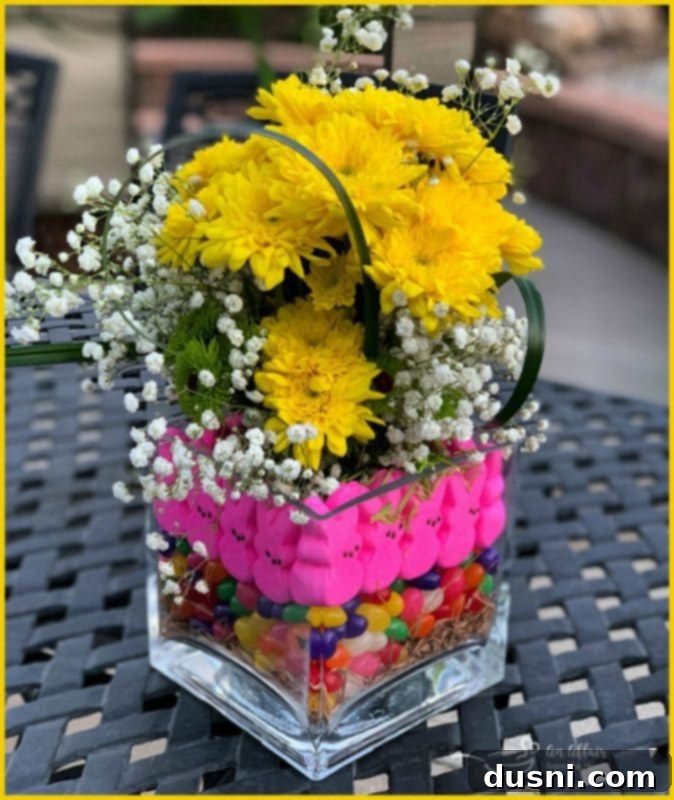
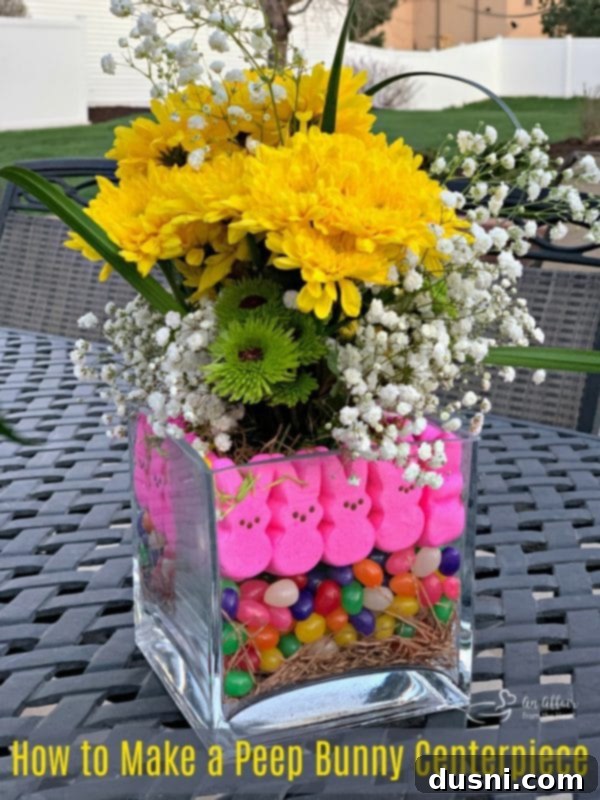
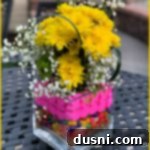
These images showcase some of the very first versions I crafted. As you can see, even back then, the concept was a hit, and the joy they brought was undeniable. Just last year, I found myself creating them again, capturing new photos to share with you all. It’s been quite a busy year, but finally, I’ve had the chance to edit and present these updated visuals, proving that this DIY project remains a timeless favorite. The beauty of this centerpiece lies in its adaptability; while the core elements remain, you can always introduce new colors and flower arrangements to make each creation truly special for your Easter celebration.
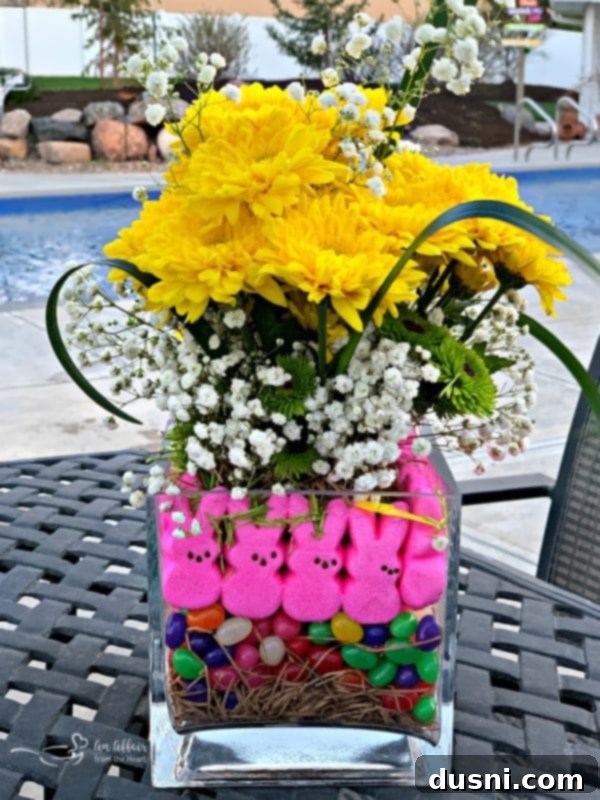
Essential Materials for Your Peep Centerpiece
Gathering your materials is the first exciting step in bringing your Easter Peep Centerpiece to life. Most of these items are readily available at grocery stores, craft shops, or even around your home. Remember, creativity is key, so feel free to adapt and personalize your choices!
- A Sturdy Vase or Container: You’ll need a vase large enough to comfortably hold a pint-sized mason jar in its center, with enough space around it for jelly beans and Peep bunnies. My preferred size is a 6″x 6″ square vase, which offers a great balance of stability and display area. However, cylinder vases or even larger fishbowl-style containers can work beautifully too. The crucial aspect is ensuring there’s enough room for all your decorative elements to shine.
- Assorted Jelly Beans: A generous package of colorful jelly beans is essential. These not only provide a vibrant base but also help to anchor the Peeps and add a sweet, festive touch. Choose a mix of bright spring colors to enhance the Easter theme, or select a single color palette for a more sophisticated look.
- Marshmallow Peep Bunnies: One package typically contains 16 bunnies, which is usually sufficient for a standard centerpiece. Peeps come in an array of colors—yellow, pink, blue, purple—allowing you to match your centerpiece to your existing Easter decor or create a striking contrast. Consider buying a couple of packages if you want to experiment with different color arrangements or have extras for snacking!
- One Pint-Sized Mason Jar: This humble jar is the secret to keeping your flowers fresh and your jelly beans clean. It acts as a hidden water reservoir, allowing you to easily change the water without disturbing the other elements. A pint size is ideal for most vases, but adjust the size if your outer container is particularly large or small.
- Easter Grass (Optional but Recommended): A small amount of Easter grass can add an extra layer of texture and color to the base of your centerpiece. It’s particularly useful for filling any small gaps or adding a soft bed for your jelly beans and bunnies. You can choose traditional green, or experiment with pastel-colored shredded paper for a unique look.
- A Beautiful Bouquet of Flowers: The flowers are the crowning glory of your centerpiece. A mixed bouquet of spring blooms works wonderfully, offering a variety of colors and forms. Think tulips, daffodils, hyacinths, or even small roses. The key is to select flowers that complement your Peep and jelly bean colors and will fit elegantly within the mason jar once trimmed.
Don’t feel limited to specific items. Use what you have on hand and let your creativity guide you. I’ve seen some incredibly cute centerpieces made in cylinder vases or even repurposed glass jars, proving that with a little imagination, anything can be transformed into a festive display.
Crafting Your Adorable Peep Centerpiece: A Step-by-Step Guide
Step 1: Preparing Your Vase and Mason Jar
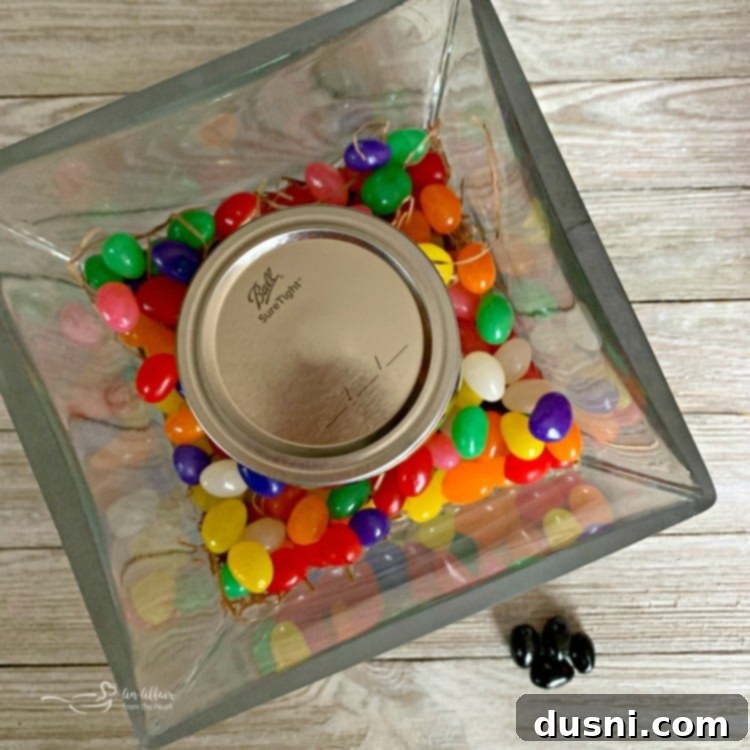
Begin by placing the pint-sized mason jar precisely in the center of your chosen outer container. Before setting it down, fill the mason jar with water, approximately two-thirds of the way full. This ensures there’s ample water for your flowers without overfilling and risking spills. A handy trick is to loosely secure the lid onto the mason jar. This helps to keep the jelly beans from falling into the water and stabilizes the jar while you arrange the other elements. If you wish, you can place a small layer of Easter grass at the very bottom of the larger vase before inserting the mason jar to add an extra pop of color or to provide a soft cushioning base, though this step is entirely optional.
Step 2: Adding the Jelly Beans
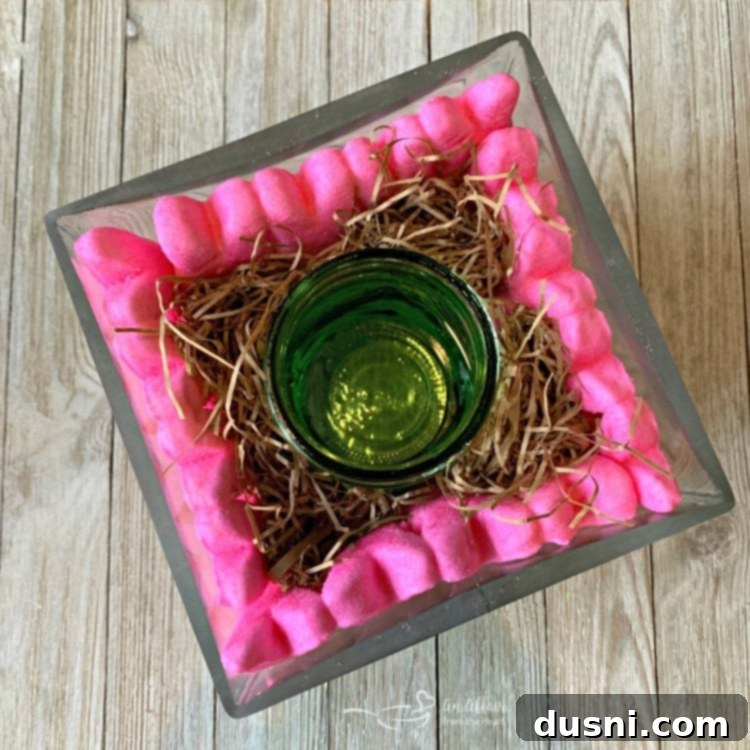
Next, carefully pour your vibrant jelly beans into the larger vase, surrounding the mason jar. Aim for about 2 to 3 inches of jelly beans at the bottom of the container, or enough to create a substantial base. The amount will depend on the size of your vase. As you add them, gently shake the vase to help the jelly beans settle evenly. The goal here is to create a colorful bed that will partially conceal the bottom of the Peep bunnies and elevate them slightly. Pay attention to the height – you want to ensure that when the bunnies are placed, their iconic ears won’t peek out too far above the rim of the main container, maintaining a cohesive and aesthetically pleasing look.
Step 3: Arranging Your Peep Bunnies
Now comes the fun part – placing your marshmallow Peep bunnies! Carefully arrange the Peeps around the outside edge of the mason jar, on top of the layer of jelly beans. You can position them facing outwards for a welcoming look, or alternate directions for a more dynamic display. Try to space them evenly to create a continuous, colorful border. In one of my previous creations, I used a little artificial grass to further secure the mason jar and add an extra touch of spring greenery, which also helped to elevate the bunnies slightly for better visibility. The bright colors of the Peeps will immediately bring a festive and playful energy to your centerpiece.
Step 4: Adding the Flowers
With your bunnies and jelly beans in place, it’s time to add the fresh flowers. Take your bouquet of mixed blooms and trim the stems to fit perfectly inside the mason jar. It’s often beneficial to cut some stems shorter than others; this not only helps to conceal the inner jar more effectively but also creates a fuller, more dynamic appearance for your floral arrangement. Don’t be shy about using a substantial bundle of flowers; what might seem like “a lot” will actually create a lush, abundant look that really fills out the center of your centerpiece, complementing the vibrant candy elements. Arrange them carefully to ensure even distribution and a visually appealing shape.
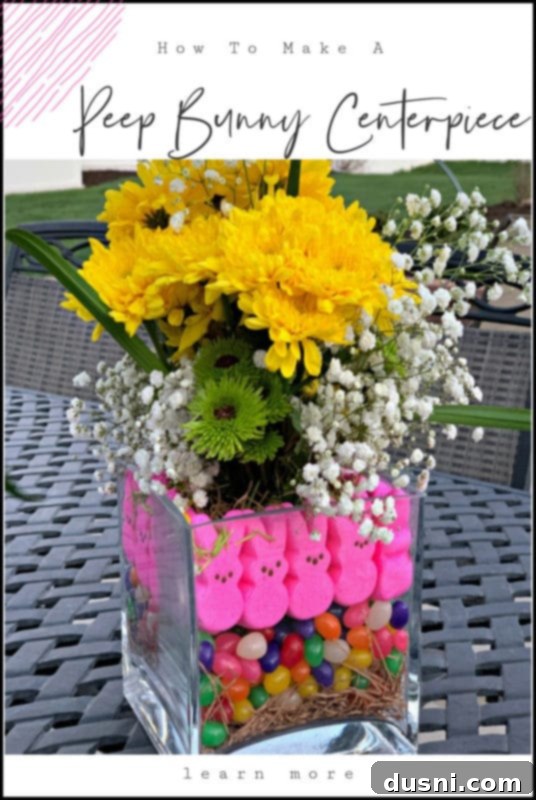
^ Love it? Pin it! ^
Making Centerpieces to Theme Your Tables
One of my greatest joys is hosting themed parties and gatherings. For me, a significant part of the fun and creativity comes from decorating the tables. A well-designed centerpiece sets the mood and can truly elevate the entire dining experience. Over the years, I’ve had the pleasure of crafting some truly unique and memorable centerpieces and themed party decor. If you’re looking for more inspiration to personalize your next event, you might enjoy exploring some of these other creative projects:
More Centerpieces and Themed Party Ideas from An Affair from the Heart
- Country Chic Graduation Party: Discover how to create a rustic yet elegant theme for a special milestone celebration.
- Making an Easy Cranberry Centerpiece for the Holidays: A simple, festive idea perfect for autumn and winter gatherings.
- How to Make a Conversation Heart Centerpiece: A sweet and charming idea for Valentine’s Day or any occasion celebrating love.
- The 80s Themed Party: Step back in time with decor ideas that will transport your guests straight to the fabulous eighties.
- Peanuts & Gang Themed Party: Celebrate with Charlie Brown and Snoopy – perfect for birthdays or nostalgic get-togethers.
- Confirmation Brunch: Elegant and thoughtful decor ideas for a meaningful family event.

LIKE THIS RECIPE?
Don’t forget to give it a ⭐️⭐️⭐️⭐️⭐️ star rating and
leave a comment below the recipe!
Print
How To: Make a Peep Centerpiece for your Easter Table
Equipment
-
Scissors or Floral Shears (for cutting flower stems)
Materials
- 1 – 6 ” x 6″ square vase or similar decorative container
- 16 Marshmallow Peep Bunnies (1 package)
- 1 package of assorted jelly beans
- 1 – large mixed bouquet of fresh spring flowers
- 1 – pint sized mason jar
- Easter grass (optional, for added flair)
Instructions
-
Place the pint-sized mason jar in the center of your larger decorative container. Fill the mason jar with water about 2/3 of the way, and loosely secure its lid to prevent jelly beans from entering the water.
-
If desired, add a layer of Easter grass at the bottom of the outer container before or after placing the mason jar, for extra color and texture.
-
Carefully pour jelly beans around the mason jar, filling the bottom 2-3 inches of your container. Ensure the jelly beans provide a stable base for the Peeps, keeping their ears below the top edge of the container.
-
Arrange the 16 marshmallow Peep bunnies around the outside edge of the mason jar, resting them on top of the jelly beans. You can secure the jar further with a bit of artificial grass if needed.
-
Trim your bouquet of mixed blooms to varying lengths, allowing them to fit nicely inside the mason jar. Shorter stems help to conceal the jar and create a fuller, more lush appearance for your floral arrangement.
-
Arrange the flowers aesthetically, noting that a generous bundle of flowers is often needed to achieve a truly full and impressive display.
