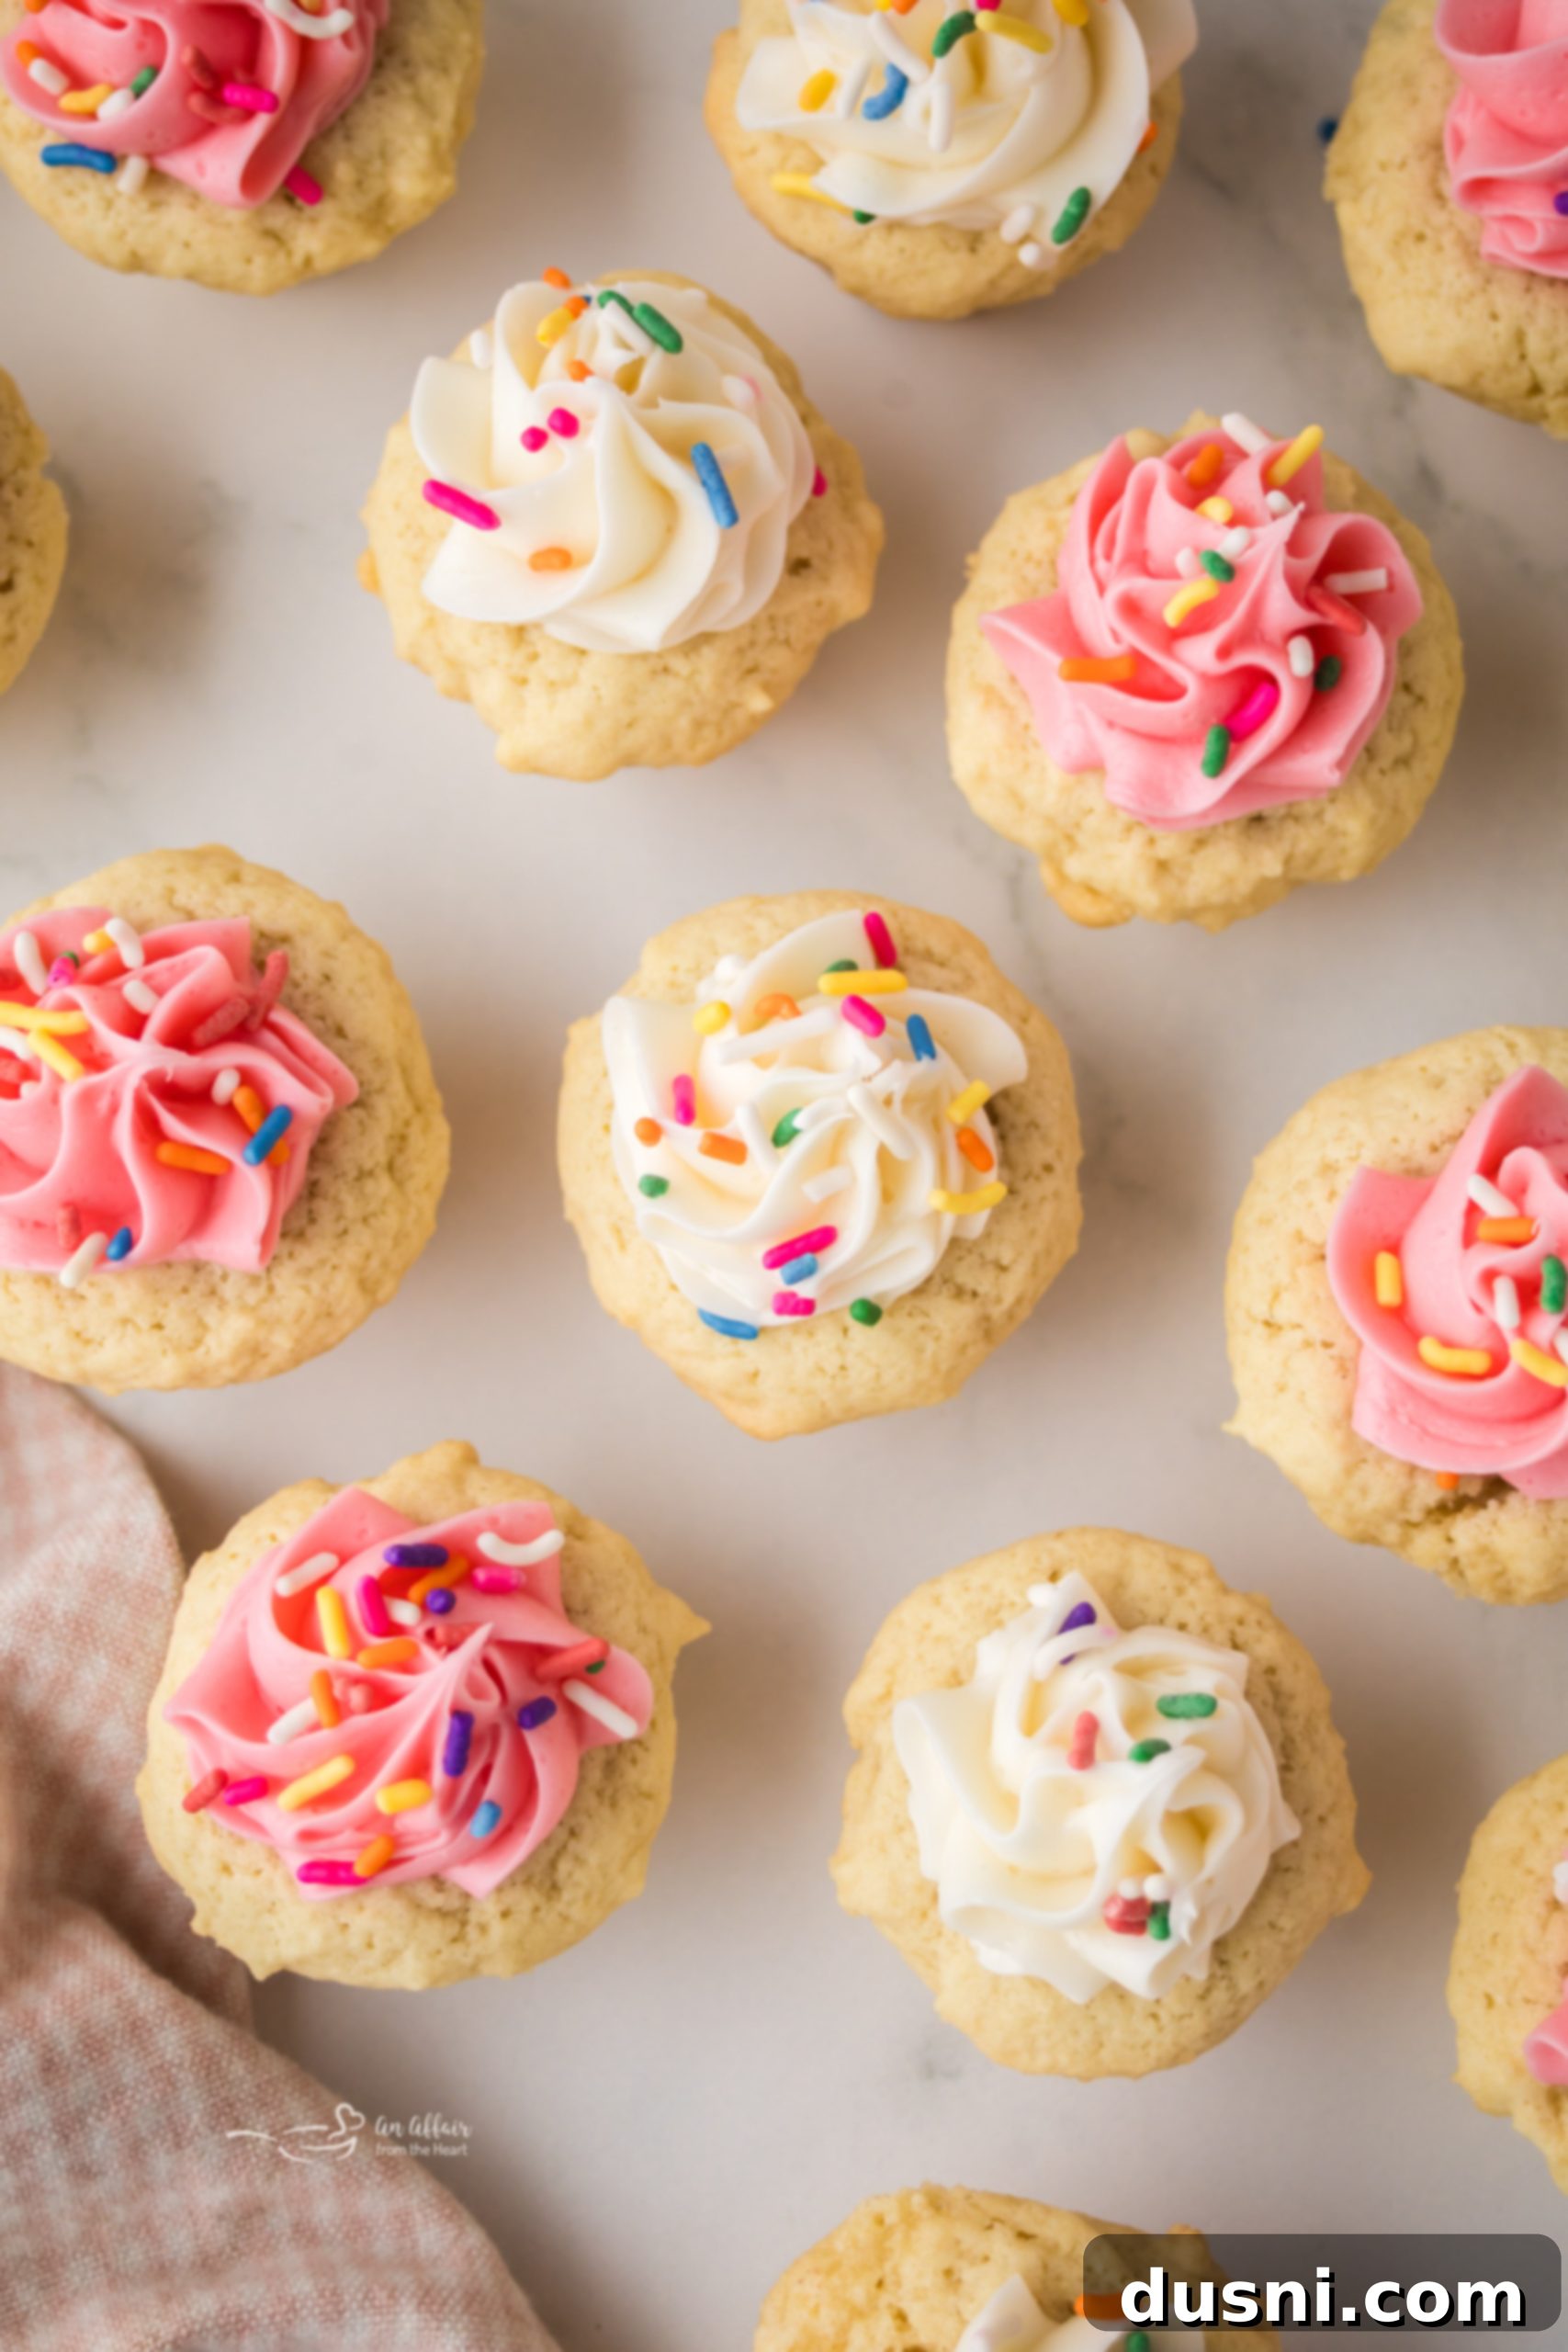
Delightful & Easy Frosted Sugar Cookie Cups: Your Perfect Mini Treat!
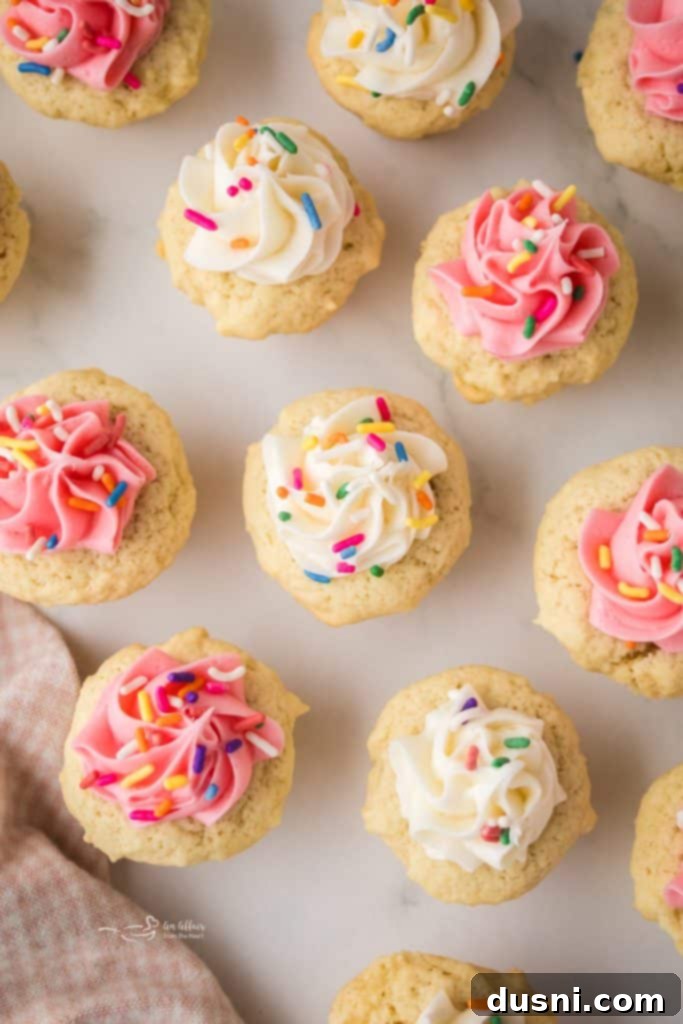
If you adore the classic charm of sugar cookies but crave a more exciting and festive presentation, these **Sugar Cookie Cups** are the ultimate delightful twist. Baked to perfection in a mini muffin tin, each little cup is generously filled with a whimsical swirl of creamy frosting and a showering of colorful sprinkles. They are not only irresistibly cute but also incredibly delicious, making them a standout treat for any occasion. This straightforward recipe transforms simple pantry ingredients into a crowd-pleasing dessert, ideal for holiday gatherings, birthday parties, baby showers, or simply as a special everyday indulgence.
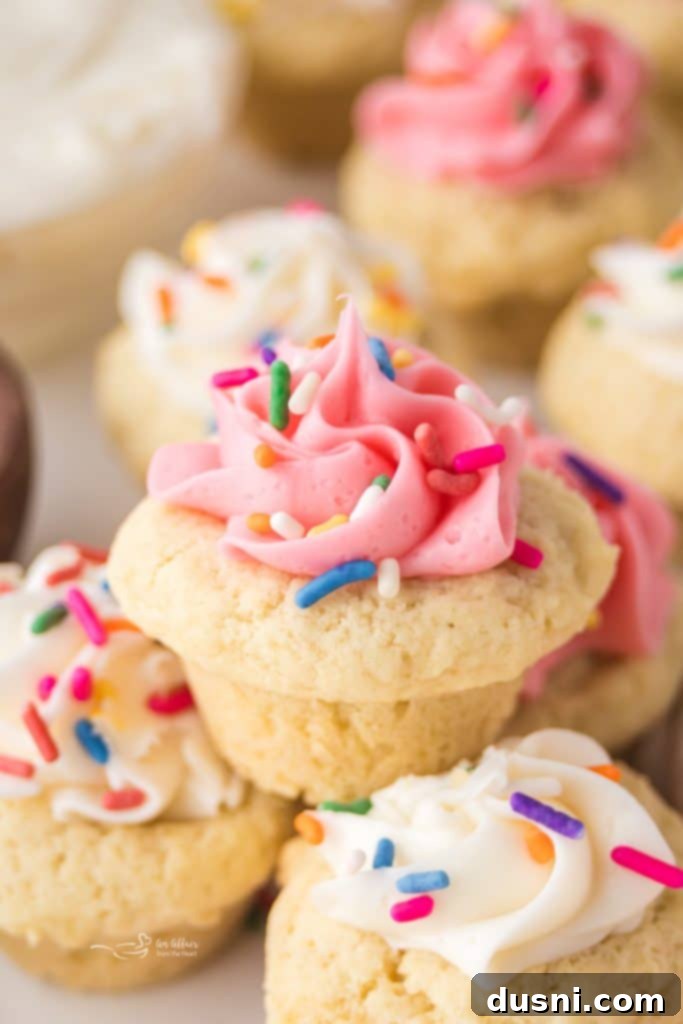
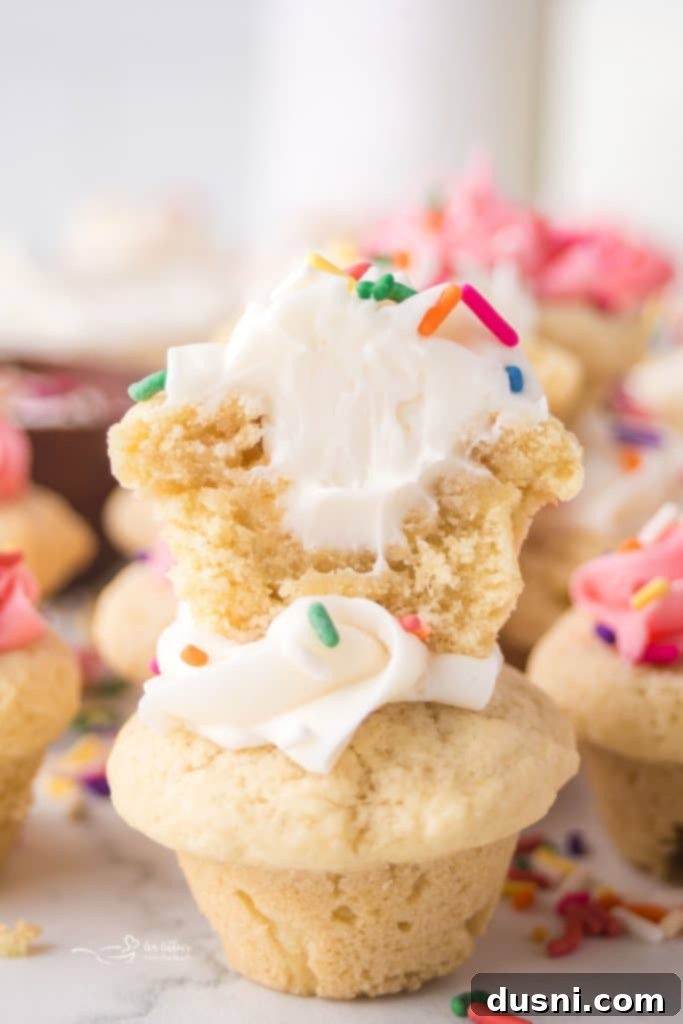
Who can resist a soft, perfectly frosted sugar cookie? I certainly can’t! These charming mini sugar cookie cups offer everything you love about traditional sugar cookies – a wonderfully soft center, delicately golden-brown edges, and a delightful chewiness. Their perfect cup shape is thanks to the mini muffin pan, which creates an ideal little vessel for your favorite frosting. These treats strike a wonderful balance, looking sophisticated enough for a bakery display yet coming together quickly and effortlessly with everyday ingredients you likely already have on hand. They offer a delightful bite-sized experience that’s less messy than traditional cookies and perfect for entertaining.
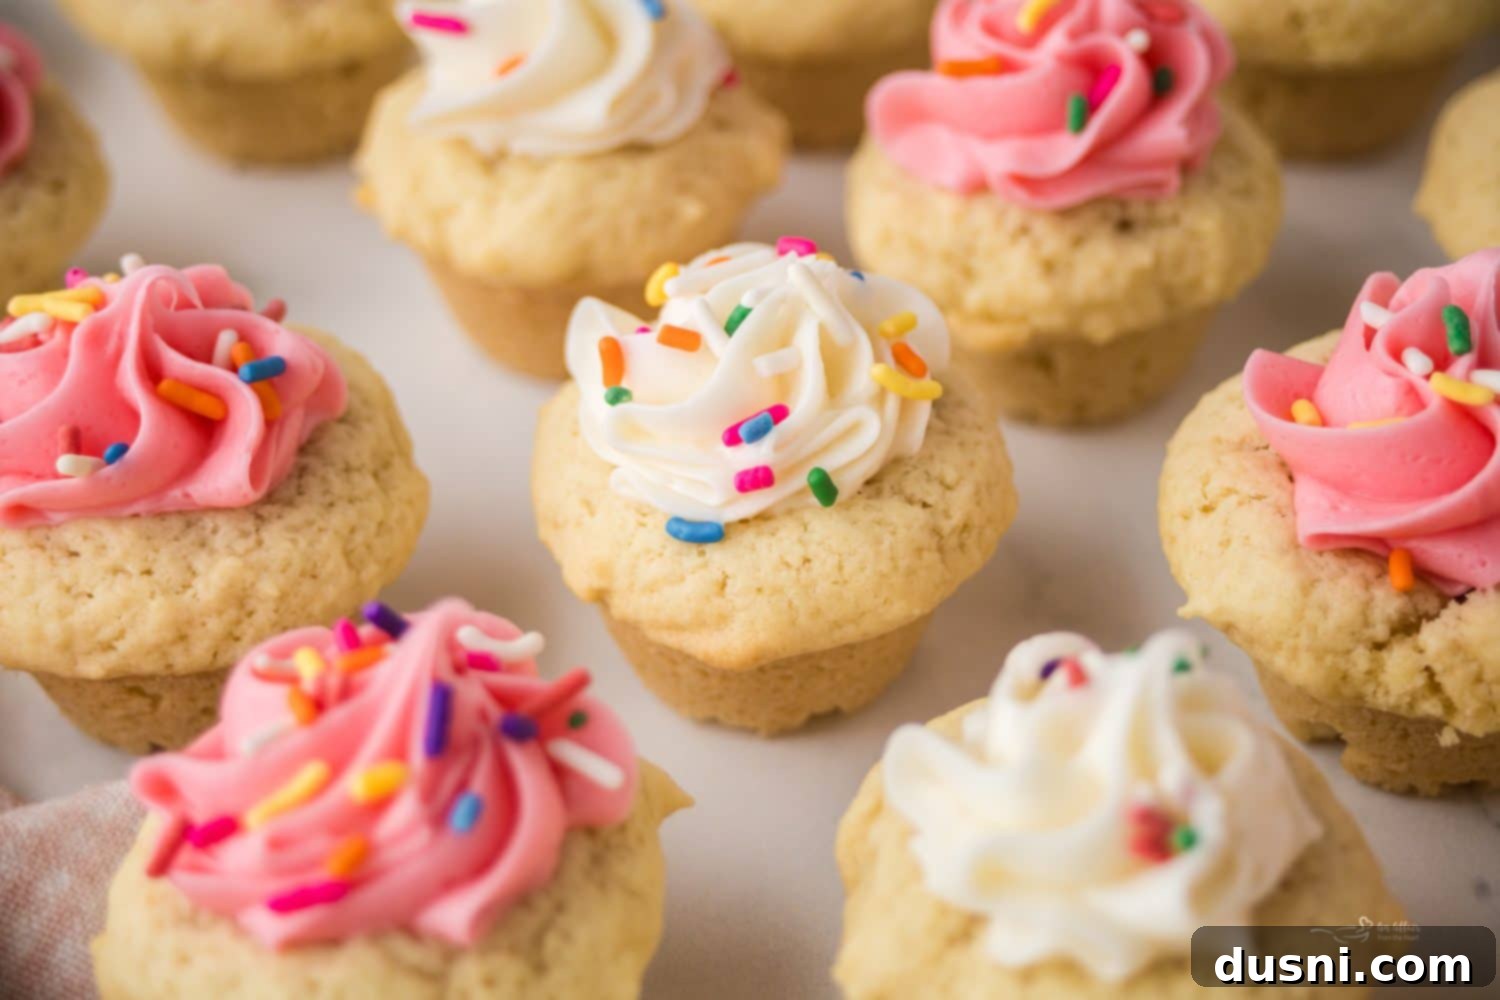
Mastering the Art of Sugar Cookie Cups
This incredibly easy dessert recipe focuses on simplicity in every step: from gathering common ingredients and quick preparation to effortless entertaining. The foundation of these delectable treats is a classic sugar cookie dough, which bakes up into perfectly soft, golden cups. The magic happens right out of the oven: a gentle press with the back of a teaspoon creates the ideal indentation, ready to be filled. Once these mini delights have cooled completely, you have the creative freedom to decorate them. Whether you prefer the precision of a piping bag for elegant swirls or the straightforward approach of a butter knife for a rustic spread, your frosting style will make these cookie cups uniquely yours.
One of the best advantages of these frosted sugar cookie cups is their convenience. They are incredibly easy to make ahead of time, allowing you to prepare them days in advance. Simply store them in an airtight container, and they’ll maintain their freshness and delightful flavor. This makes them perfectly portable for any event – from school parties and potlucks to family gatherings and picnics. Furthermore, their customizable nature is truly remarkable. You can effortlessly adapt the colors of your frosting and sprinkles to match any season, holiday, or party theme. Think vibrant pastels for spring and Easter, classic red and green for Christmas, or school colors for a graduation celebration. And for busy bakers, using high-quality store-bought frosting is a fantastic time-saver, though preparing a homemade vanilla buttercream frosting or even a cream cheese frosting will elevate them to an even more gourmet level.
Essential Ingredients for Perfect Sugar Cookie Cups
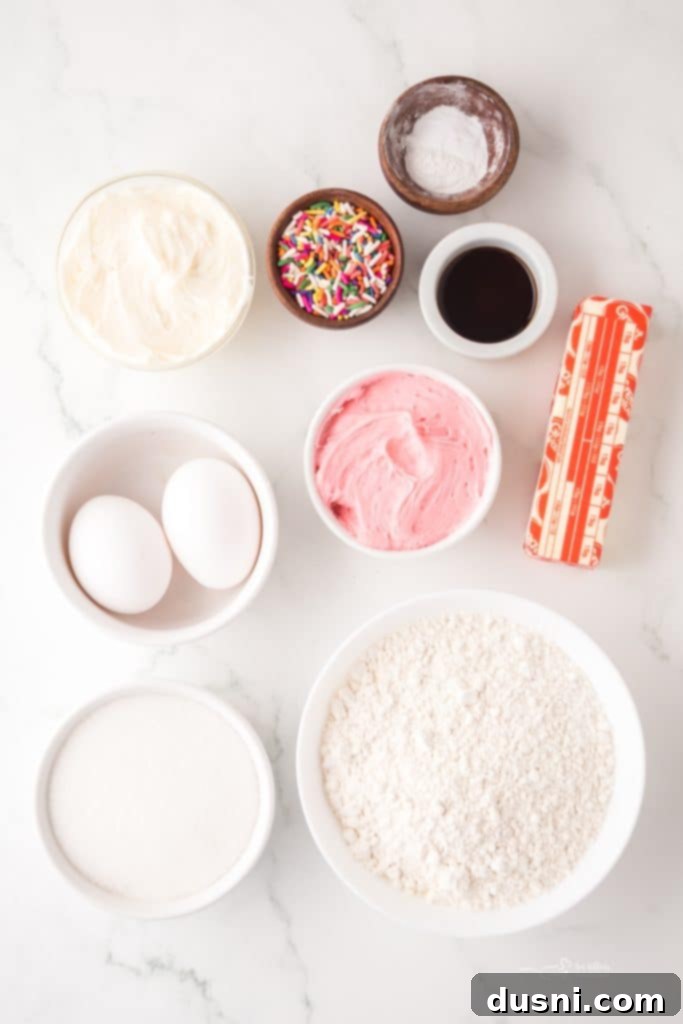
Crafting these delectable sugar cookie cups requires a handful of common baking staples, each playing a crucial role in achieving that signature soft, chewy texture. You’ll find the precise measurements and detailed instructions for this recipe conveniently located at the bottom of this post in the printable recipe card. Here’s a closer look at the key ingredients:
- Salted Butter (melted): Using melted butter is key here. It contributes to a wonderfully chewy texture and ensures that the butter mixes in smoothly and evenly with the sugar, creating a consistent base for our cookies. If you only have unsalted butter, simply add a pinch of salt (about ¼ teaspoon per stick of butter) to your dry ingredients.
- White Granulated Sugar: Beyond providing essential sweetness, granulated sugar plays a vital role in the structure and texture of the sugar cookie base. It helps create those desirable light, crisp edges while keeping the center tender.
- Eggs (room temperature): Eggs are the binding agents in this recipe, adding crucial moisture and helping to hold all the ingredients together. Using room temperature eggs is important as they emulsify more easily and evenly with the other ingredients, leading to a smoother batter and a better cookie texture.
- Vanilla Extract: This is the heart of that classic, comforting sugar cookie flavor. A good quality vanilla extract will truly make your cookie cups shine. For a delightful variation, consider substituting or adding a touch of almond extract for a slightly different aromatic profile.
- Baking Powder and Baking Soda: This dynamic duo provides the perfect lift and spread for the cookie dough, allowing it to rise beautifully while maintaining a soft, tender crumb. They are instrumental in ensuring that when you create the indentation, the cookie holds its shape without cracking excessively.
- All-Purpose Flour: Flour provides the necessary structure for these cookie cups. To prevent dense or tough cookies, it’s crucial to measure your flour correctly. Always spoon the flour into your measuring cup and then level it off with a straight edge, rather than scooping directly from the bag.
- Pink and White Frosting: For ultimate convenience and those picture-perfect clean swirls, we opted for store-bought frosting, readily available in piping bags. However, don’t hesitate to use your favorite homemade recipe! A rich homemade vanilla buttercream frosting or a tangy cream cheese frosting would be absolutely divine. You can easily color white frosting using gel food coloring.
- Rainbow Sprinkles: A simple yet incredibly effective topping that instantly adds festive flair and a pop of color. The beauty of sprinkles is their versatility; you can customize them for any occasion! Use pastel colored sprinkles for a baby shower, red and green for Christmas cookies, or even mini chocolate eggs for an Easter theme. The possibilities are endless for making them fit your celebration.
How to Create Irresistible Frosted Sugar Cookie Cups
You’ll be delighted by how quickly and easily these delicious cookie cups come together! In just a short time, you’ll be savoring these charming treats.
First things first, preheat your oven to a steady 350°F (175°C). While the oven heats, take a mini muffin pan and lightly coat each cup with a good quality nonstick cooking spray. This crucial step ensures your beautiful cookie cups will release effortlessly once baked and cooled.
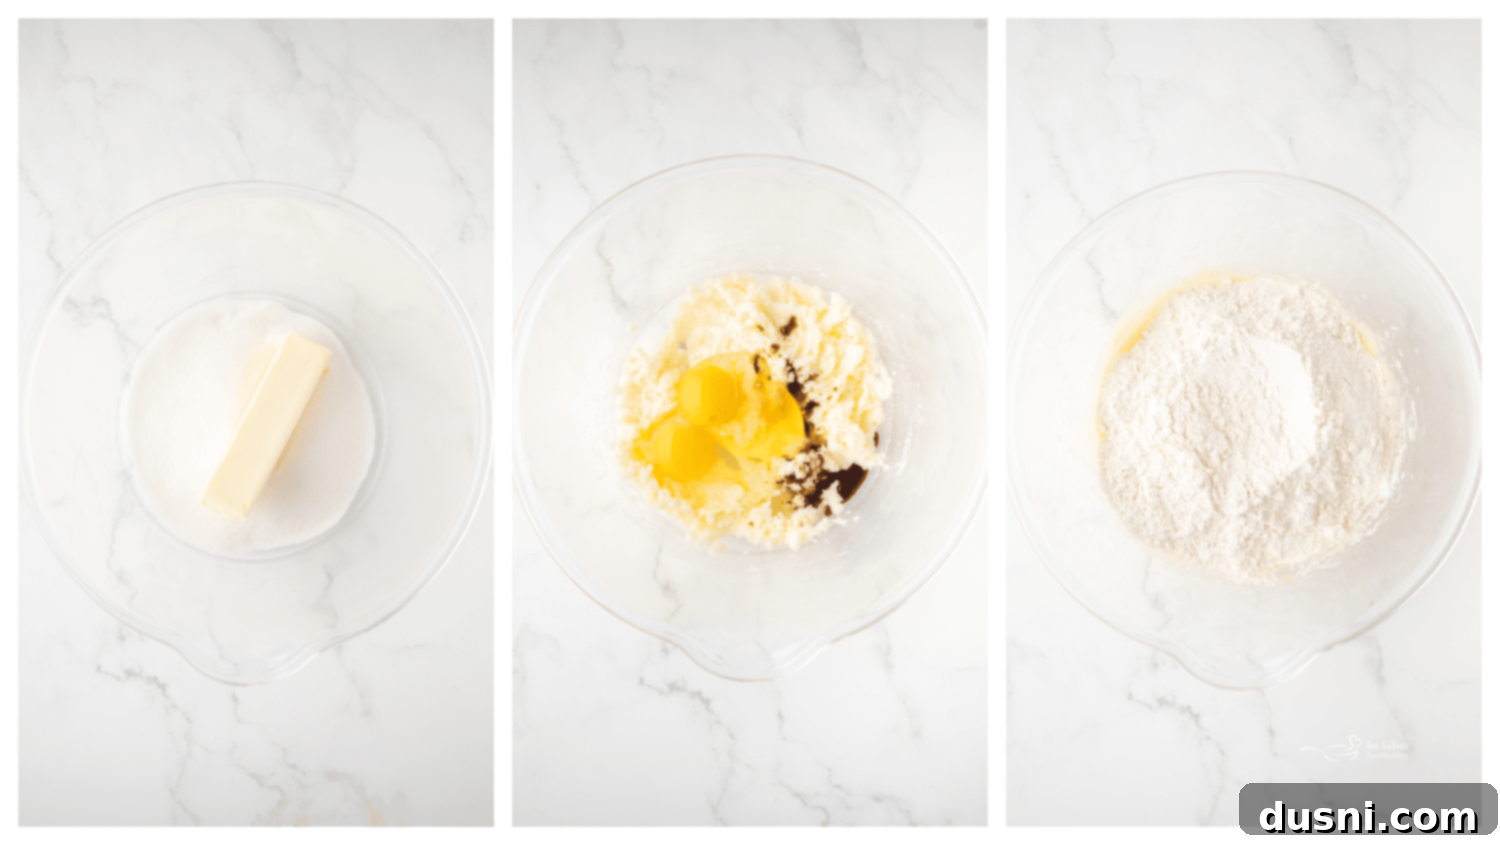
In a spacious mixing bowl, combine the melted salted butter and the white granulated sugar. Using an electric mixer on medium speed, beat these ingredients together until the mixture becomes wonderfully smooth, creamy, and light in color, which usually takes about 1-2 minutes. Next, add the room temperature eggs one at a time, mixing well after each addition, then stir in the vanilla extract until everything is just combined. Avoid overmixing at this stage to keep the cookies tender.
In a separate, smaller bowl, whisk together your dry ingredients: the all-purpose flour, baking powder, and baking soda. Whisking them separately ensures they are evenly distributed throughout the flour. Gradually add this dry mixture into your butter and sugar mixture, stirring on low speed or by hand until a soft, pliable dough forms. Be careful not to overmix the dough; stop as soon as there are no dry streaks of flour visible. Overmixing can lead to tough cookies.
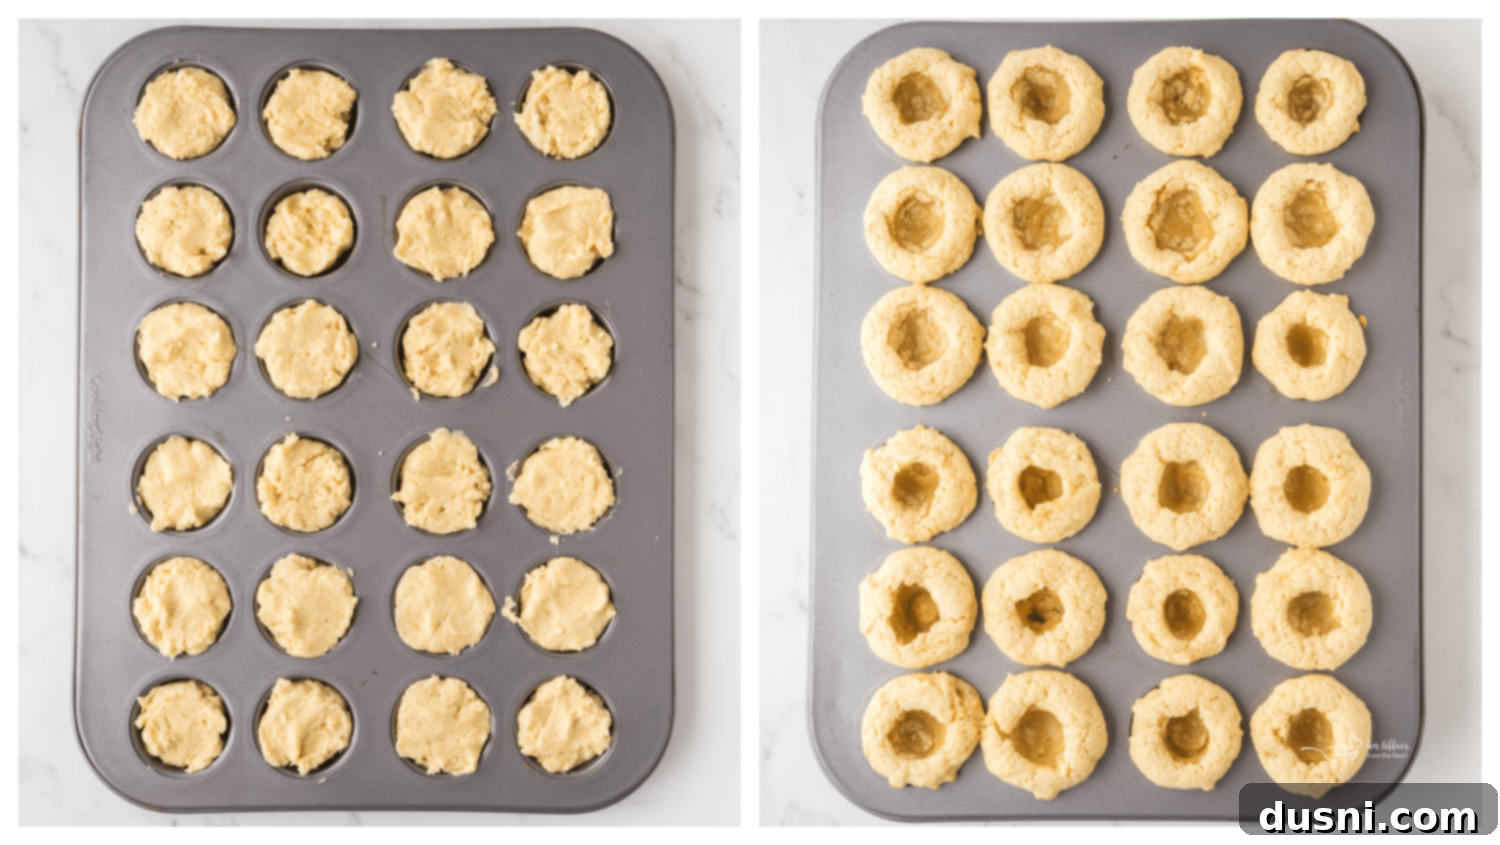
Now, it’s time to shape your cookie cups! Scoop the cookie dough into the prepared mini muffin cups, making sure to fill each one almost all the way to the top. This generous filling ensures you’ll get a nice, substantial cookie cup. Bake for approximately 11 minutes, or until the edges of the cookies are a delicate golden brown and the tops appear just set, though they may still look soft in the very center. The moment they emerge from the oven, and while they are still wonderfully warm and pliable, immediately use the back of a Tablespoon or teaspoon to gently press down the center of each cookie cup. This crucial step creates that perfect, deep indentation, forming a cozy nest for your beautiful frosting.
Allow the cookie cups to cool completely in the muffin pan for about 10-15 minutes, then carefully transfer them to a wire cooling rack to finish cooling entirely. Patience is key here; ensure they are fully cooled before proceeding to the frosting stage.
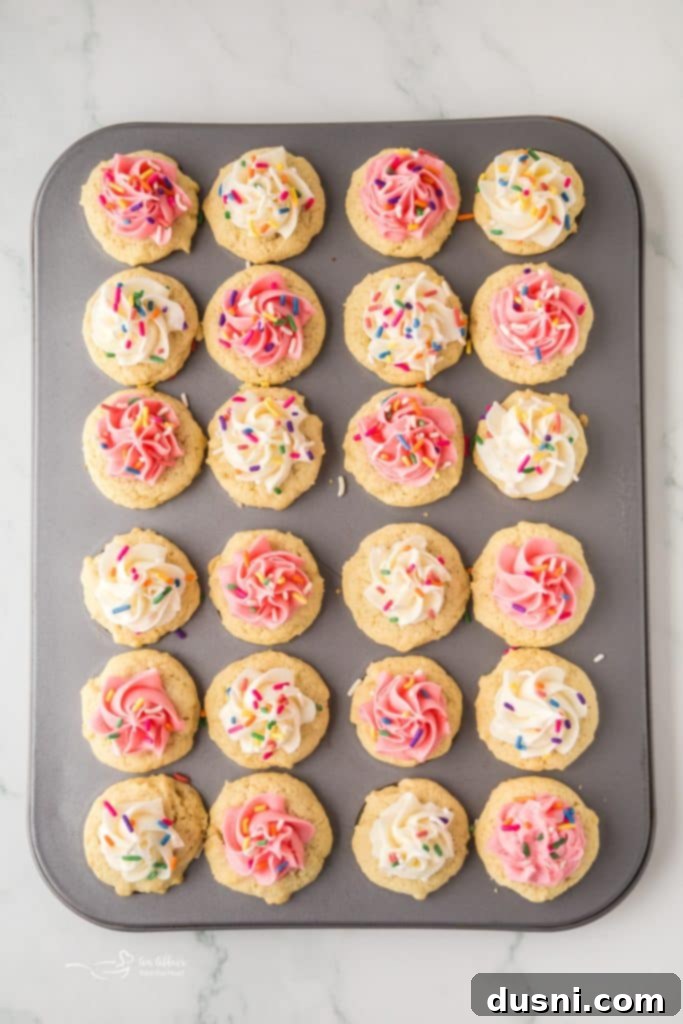
Once your cookie cups are completely cool to the touch, it’s time for the fun part: decorating! Using a piping bag fitted with your favorite tip (a star tip works wonders for a classic swirl) or a simple butter knife, adorn each cookie cup with a generous swirl or dollop of your chosen frosting. For an extra pop of joy and color, finish them off with a scattering of festive rainbow sprinkles. These mini sugar cookie delights are now ready to be enjoyed!

Love This Recipe? Pin It for Later!
If you’re already envisioning making these charming Sugar Cookie Cups for your next celebration or just a sweet craving, don’t let this fantastic recipe get lost! Make sure you can easily find it whenever inspiration strikes. Simply pin this recipe to your favorite Pinterest recipe board before you move on! It’s the perfect way to save delicious ideas for future baking adventures.
Expert Tips, Creative Tricks & Smart Substitutions
Achieving perfect Sugar Cookie Cups every time is easy with a few insider tips and clever variations:
- Timing is Everything for Indentations: Always make your cookie indentations while the cookies are still warm and fresh out of the oven. This is when the cookies are most pliable, allowing them to hold their cup shape beautifully without cracking. If you wait until they cool, they will be too firm.
- Patience with Frosting: Ensure your cookie cups are completely cooled before you even think about adding frosting. Applying frosting to warm cookies will cause it to melt, slide, and ruin your beautiful decoration, especially if you’re using a delicate buttercream.
- Frosting in the Tin vs. Cooling Rack: Frosting the cookie cups directly in the mini muffin tin can indeed help keep things tidy, preventing them from wobbling. However, some bakers find it simpler to gently remove them onto a cooling rack or flat surface before frosting, offering more space and flexibility. Experiment to see what works best for you!
- Optimal Storage: To keep your sugar cookie cups fresh and delicious, store them in a single layer (or with parchment paper between layers if necessary to protect frosting) in an airtight container. Covered with plastic wrap or a tight lid, they will remain wonderfully soft and flavorful for up to 5 days at room temperature. For longer storage, you can freeze unfrosted cookie cups for up to 3 months.
- Mini Muffin Tin is Key: This recipe is specifically developed for a mini muffin tin. Using a regular-sized muffin tin would require a significantly larger amount of dough per cup and a longer baking time, altering the texture and overall outcome. Stick to the mini size for the best results!
- Beyond Frosting: Creative Fillings: Don’t limit yourself to just frosting! For an exciting flavor twist, consider spooning a small amount of an alternative filling into the indentation before frosting. Think bright lemon curd, sweet cherry pie filling, rich dulce de leche, a dollop of Nutella, or even a mini candy bar. Then, pipe your frosting on top for a delightful surprise.
- Time-Saving Shortcut: Store-Bought Dough: In a pinch or when time is short, you can absolutely use store-bought refrigerated sugar cookie dough. Simply press portions of the dough into the mini muffin tin cups and follow the baking and indenting instructions. This will dramatically speed up your prep time without sacrificing too much on flavor.
- Go Fully Homemade: If you love the satisfaction of baking from scratch, consider pairing these cookie cups with a homemade cream cheese frosting, a classic vanilla buttercream, or even a delicate royal icing. These homemade touches truly elevate the overall flavor and experience.
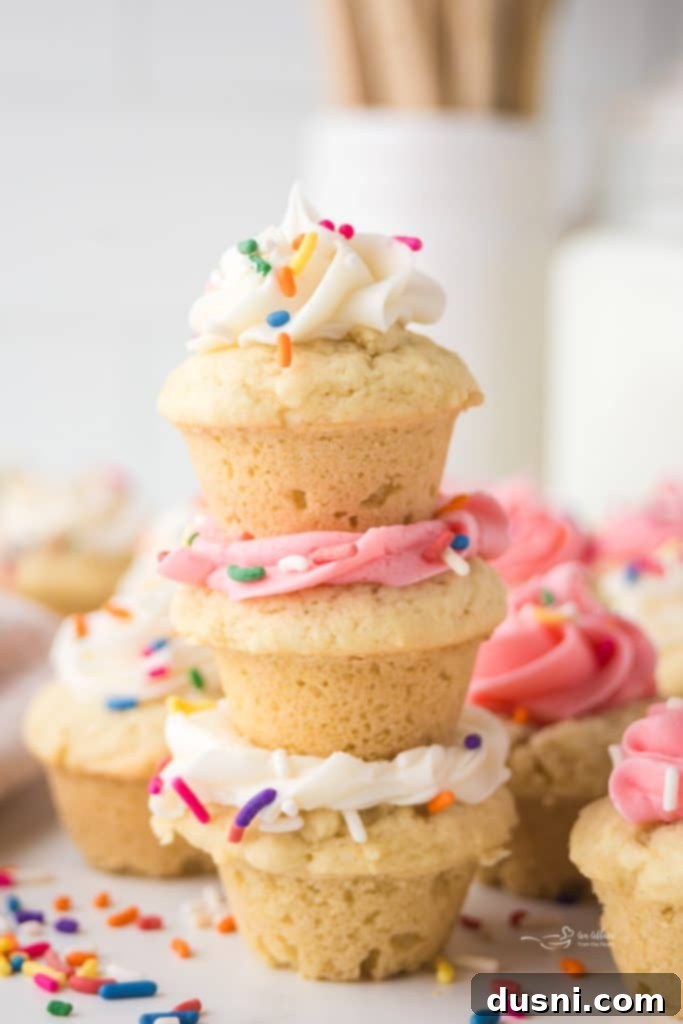
If you’re a devoted fan of sugar cookies, you’ll love exploring some of my other cherished recipes. Be sure to check out my beloved Aunt Vern’s Sugar Cookie recipe, a timeless classic. You might also enjoy these wonderfully soft frosted sugar cookies, a family tradition we make every year. For more delicious variations, explore these: Frosted Sugar Cookie Bars, adorable Chocolate Kiss Sugar Cookies, festive Funfetti Sugar Cookies, the unique flavor of Sour Cream Sugar Cookies, rich Brown Sugar Cookies, delightful Chocolate Chip Sugar Cookies, and these wonderfully aromatic Iced Maple Sugar Cookies! After all these amazing cookies, I’m thinking a Sugar Cookie in a Mug might be next on my list!
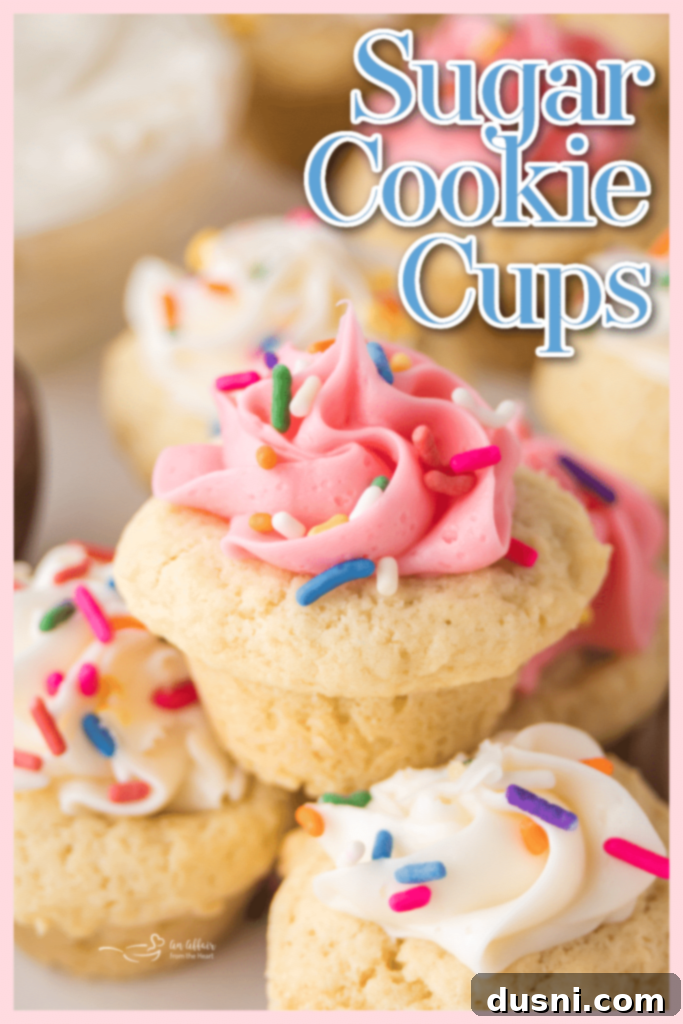
These versatile sugar cookie cups are truly the perfect size for a sweet little treat, offering all the joy of a traditional sugar cookie in a convenient, charming package. They’re incredibly easy to make, endlessly customizable to fit any celebration or preference, and just plain fun to bake and share. Whether you’re a seasoned baker or a novice, you’ll find immense satisfaction in creating these mini delights. If you give them a try, I’d absolutely love to see your creations! Be sure to snap a photo and tag me on social media – it brings me so much joy to see your unique takes on my recipes and how you make them your own!

LIKE THIS RECIPE?
Don’t forget to give it a ⭐️⭐️⭐️⭐️⭐️ star rating and
leave a comment below the recipe!

Print Recipe
Frosted Sugar Cookie Cups
Equipment
-
Fox Run Mini Heart Muffin Pan
-
Piping Bags and Tips set
Ingredients
- ½ cup salted butter melted
- 1 cup white granulated sugar
- 2 large eggs
- 1 teaspoon vanilla extract
- 1 teaspoon baking powder
- ½ teaspoon baking soda
- 2 cups all-purpose flour
- ¾ cup pink frosting
- ¾ cup white frosting
- 2 Tablespoons rainbow sprinkles
Instructions
-
Preheat your oven to 350°.
-
Combine the butter and white granulated sugar in a large mixing bowl. Use an electric hand mixer to cream the ingredients together for about 2 minutes, or until smooth. Once the mixture is smooth and creamy, whisk in the eggs and vanilla.
-
Add the baking powder, baking soda, and flour. Gently whisk the dry ingredients into the wet ingredients until no dry pockets remain in the cookie dough.
-
Fill a mini muffin tin with your cookie dough, making sure that each mold is filled all the way with cookie dough. Bake your cookies for 11 minutes.
-
As soon as your cookies come out of the oven, use the handle of a spoon to create an indent in the center of each cookie. Let the cookies cool on the counter for 30 minutes.
-
Use the piping tip of your choice: the frost half the cookie cups with pink frosting and half with white frosting. Top the cookies with the sprinkles. Enjoy!
Notes
- You can store these cookies in an airtight container on the counter for up to 5 days. Try to avoid stacking the cookies on top of each other so the frosting doesn’t get messed up.
- You can use store bought frosting or your favorite homemade recipe. We just used store bought frosting for the photos.
- Make sure you indent your cookies right after they come out of the oven. You want your cookies to be soft when you do it so that they don’t get torn up too much.
- It is important to let your cookies cool before frosting them. You don’t want your frosting to melt, especially if you are using a homemade buttercream frosting.
- Your cookies should pop out of the tin easily after they have cooled.
- You can frost your cookie cups in the muffin tin, or remove them and frost them on a wire cooling rack.
