Irresistibly Easy Homemade Peanut Butter Fudge: Your Ultimate No-Bake Recipe
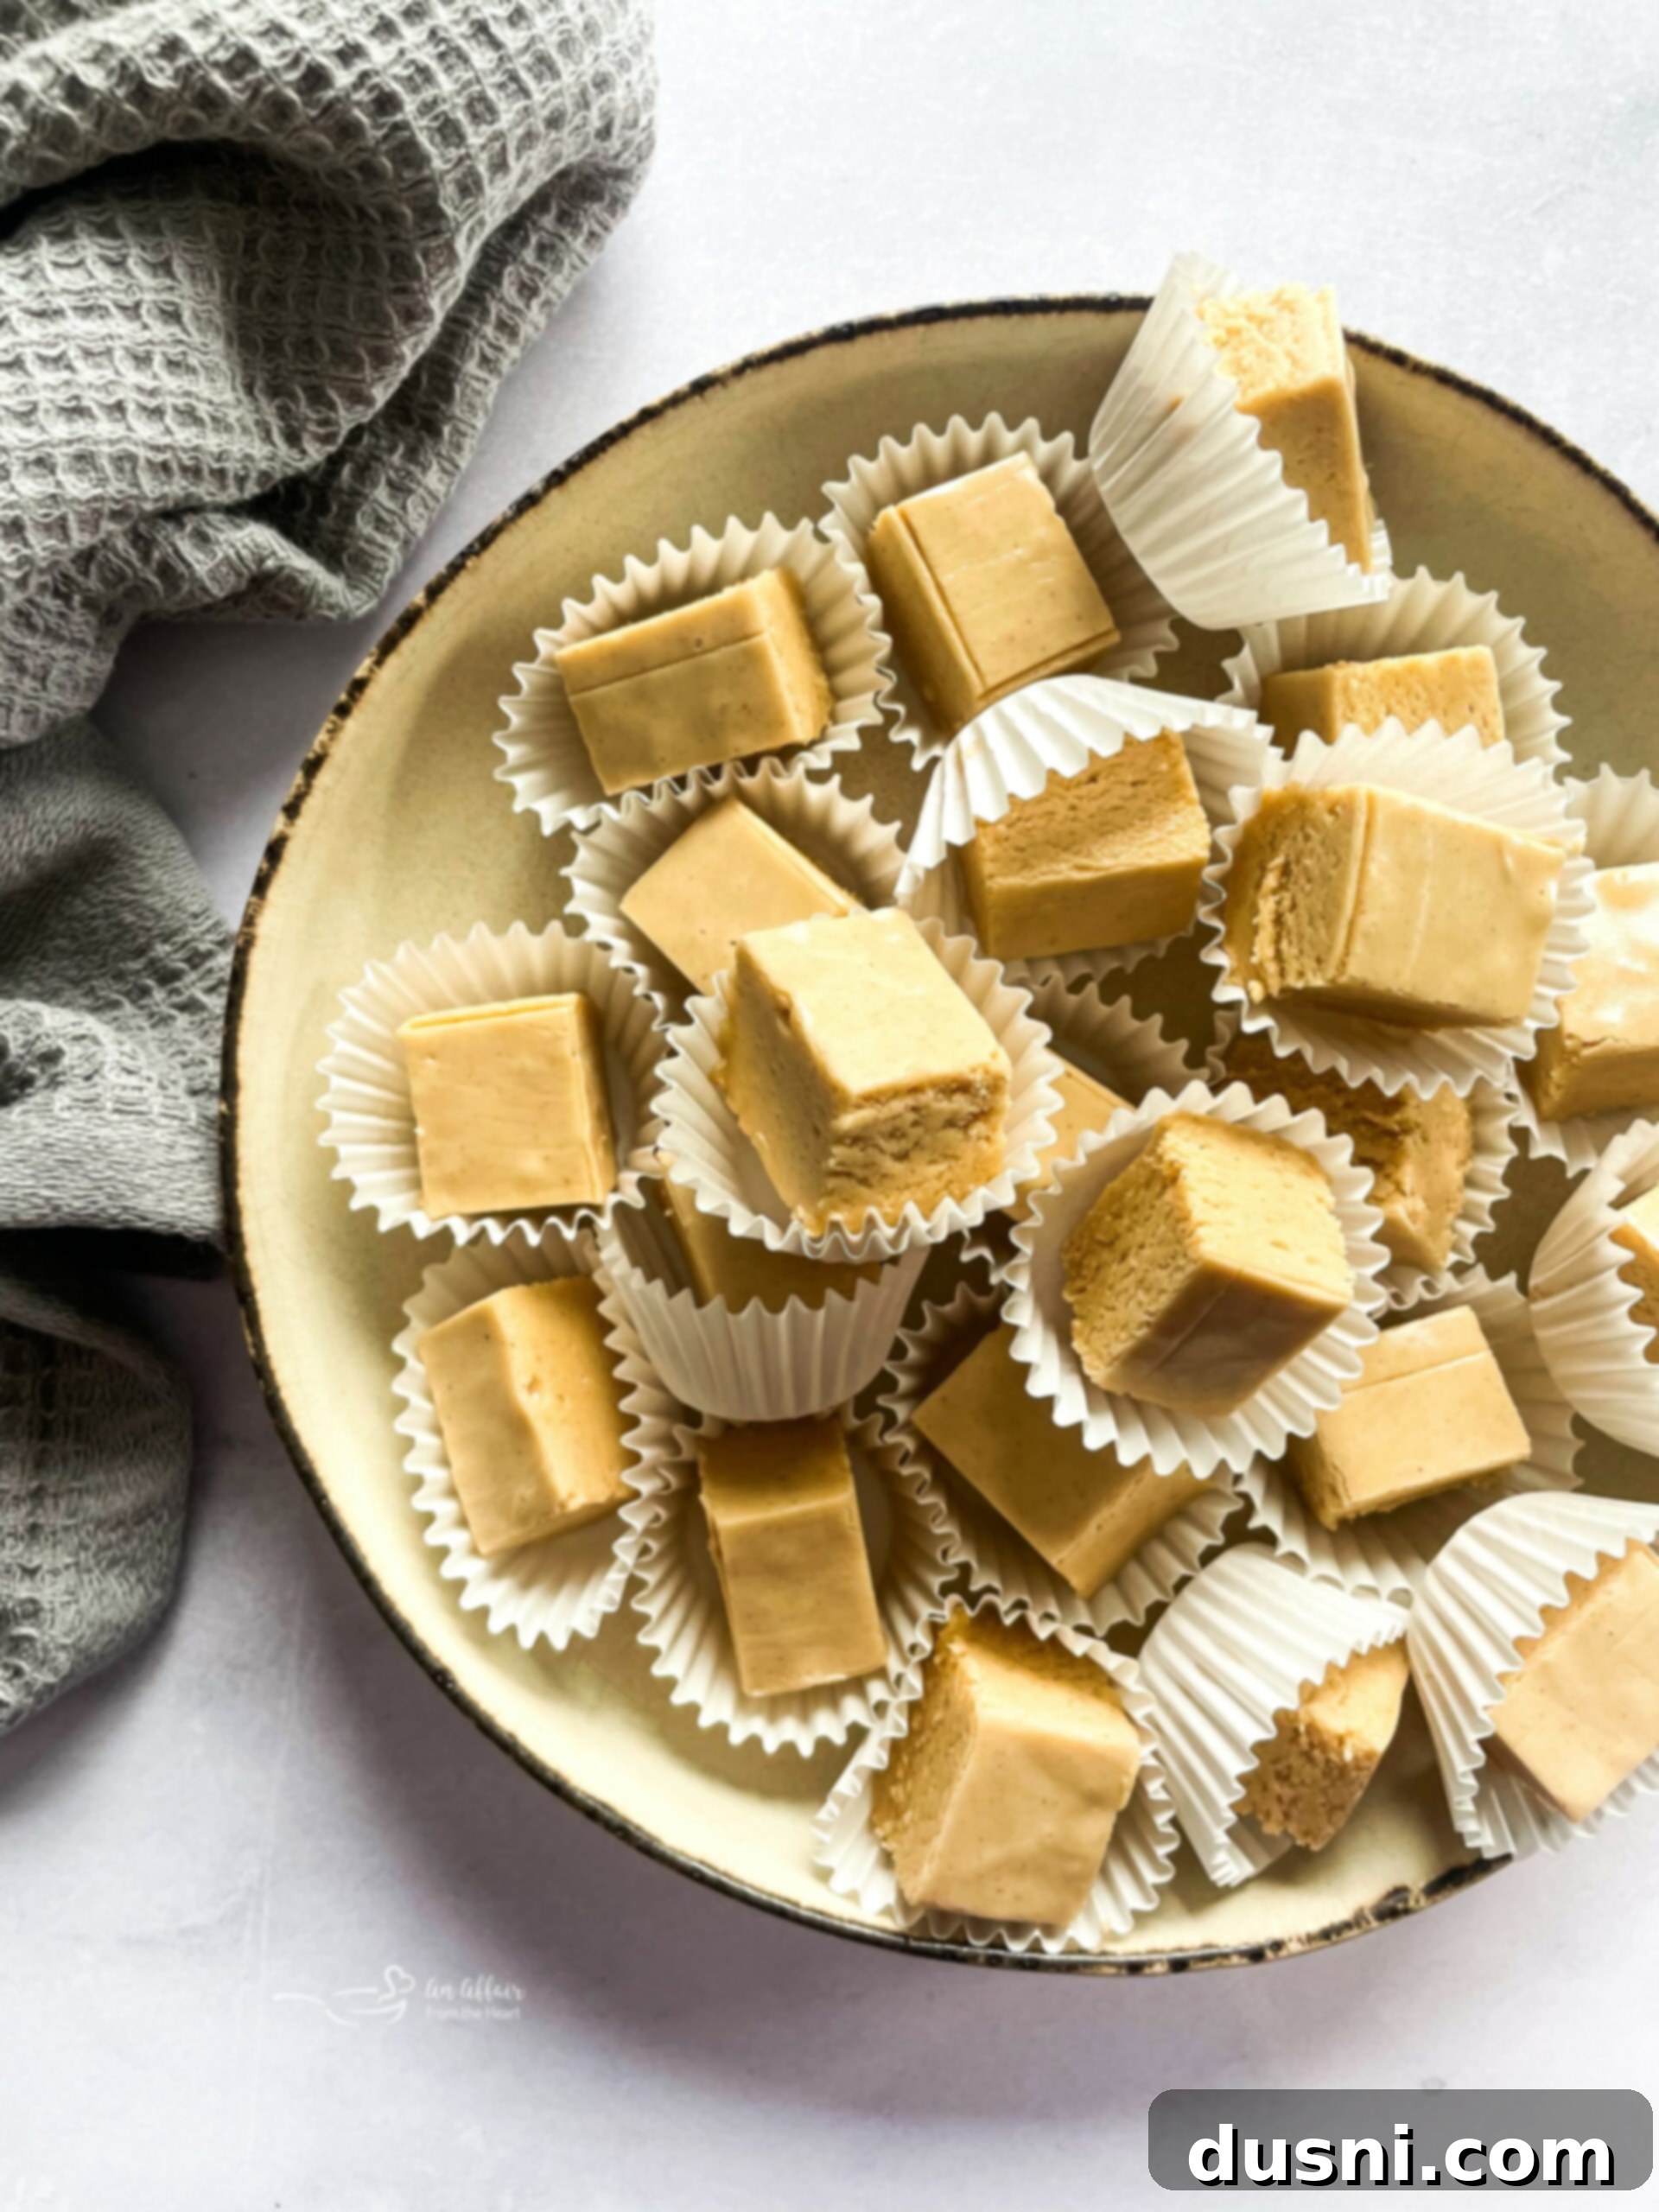
The holiday season, or any season really, just isn’t complete without a batch of creamy, melt-in-your-mouth fudge! While classic chocolate fudge holds a special place in many hearts, this delightful Peanut Butter Fudge offers a fantastic, rich, and nutty twist on the traditional confection. If you’re a devout peanut butter enthusiast or simply searching for an incredible chocolate-free fudge option, this effortlessly delicious recipe is an absolute must-make. Prepare to be amazed by its simplicity and deeply satisfying flavor!
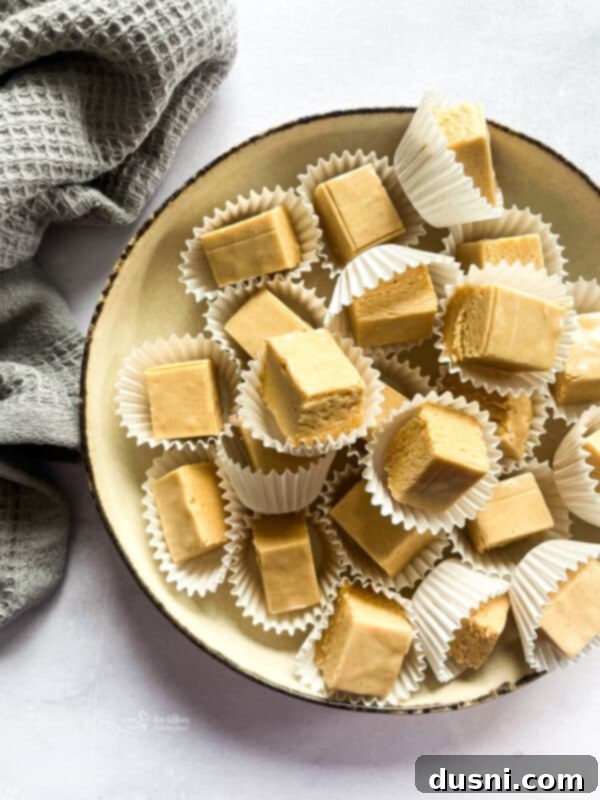
’Tis the season, and every season is perfect, for tantalizing your sweet tooth, and there is absolutely no quicker or more delightful way to do so than with an easy-to-follow fudge recipe! This luscious dessert is a guaranteed crowd-pleaser and an excellent addition to your holiday trays, potluck contributions, or simply as a sweet treat for your family and friends throughout the year. Its rich flavor and smooth texture make it an instant favorite.
Why You’ll Absolutely Adore This Easy Peanut Butter Fudge
Imagine creating a dessert so decadent, so rich, and so satisfying, all with just 5 simple ingredients and absolutely no baking required! This incredible peanut butter fudge can be whipped up in a matter of minutes, making it ideal for busy schedules or last-minute cravings. The best part? There’s no need for a fussy candy thermometer or complex techniques. The longest part of this entire process is patiently waiting for it to set up perfectly in the fridge – a small price to pay for such a magnificent treat!
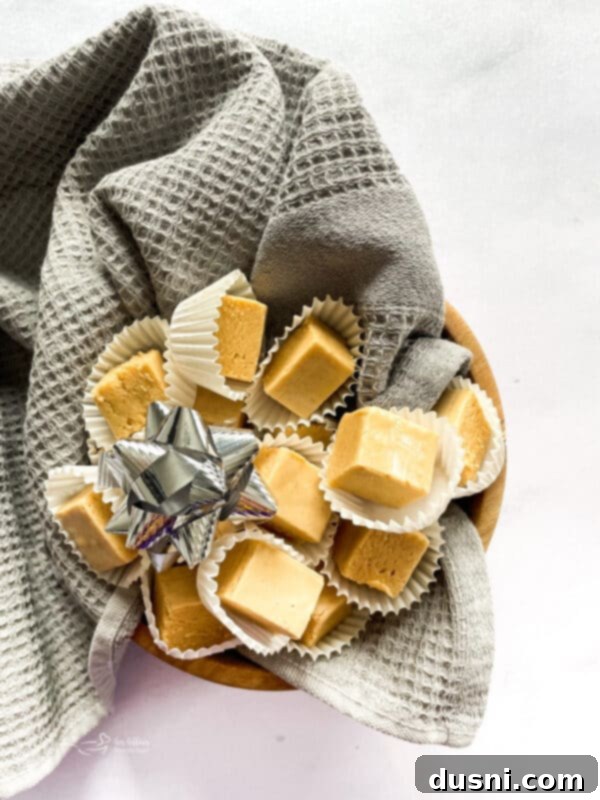
This smooth, creamy, and undeniably delicious fudge is the ultimate dessert for virtually any occasion. Planning your next party? Attending a potluck? Participating in a holiday cookie or treat exchange? This peanut butter fudge will steal the show. It also makes an incredibly thoughtful and well-received gift. Wrap it up in a pretty box or a festive bag, and you’ll have a charming present for neighbors, beloved teachers, or your generous party hostess. Its homemade touch speaks volumes.
For those who prefer their fudge free from milk or dark chocolate, this recipe is a true gem. And if you’re looking to expand your repertoire of chocolate-free delights, you’ll definitely want to explore these other fantastic recipes, perfect for festive seasons like Christmas and beyond: Grinch Fudge, White Chocolate Peppermint Fudge, and Eggnog Fudge. Each offers a unique flavor profile that promises to delight.
Essential Ingredients for This Simple Peanut Butter Fudge Recipe
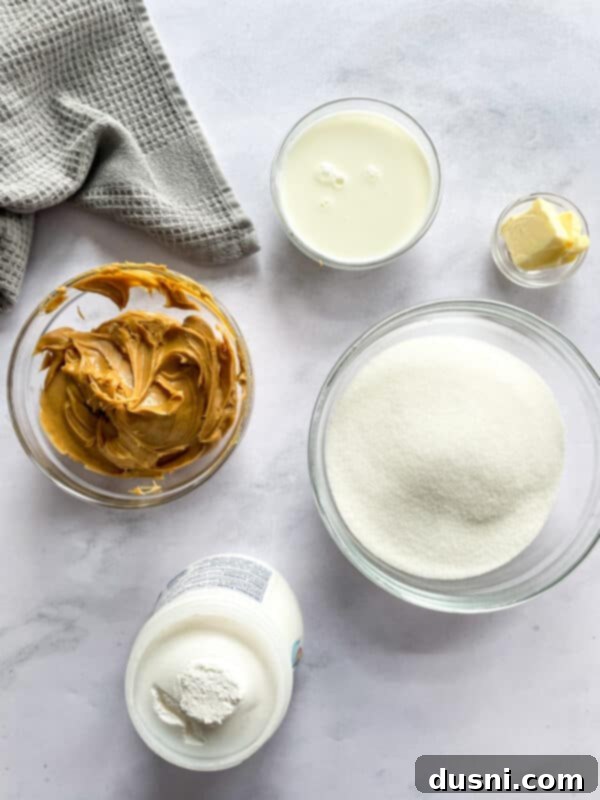
Creating this divine peanut butter fudge requires only a handful of everyday ingredients. The magic happens when these simple components combine to form a rich, creamy, and irresistible confection. Here’s what you’ll need to gather:
- Butter: Opt for softened unsalted butter. Using unsalted butter gives you control over the overall saltiness of the fudge, allowing the peanut butter’s natural flavor to shine. Softened butter will melt more evenly and integrate seamlessly into the mixture.
- Sugar: Granulated white refined sugar is the ideal choice for this recipe. It dissolves beautifully, contributing to the smooth texture and providing the perfect level of sweetness without adding extra flavors.
- Milk: For the creamiest, most luxurious fudge, whole milk is highly recommended. Its higher fat content contributes significantly to the fudge’s rich mouthfeel. However, other milk types can be used in a pinch (see substitutions section).
- Peanut Butter: The star of the show! Smooth, creamy peanut butter is generally preferred for a consistently silky fudge texture. If you’re a fan of a little crunch and a more pronounced nutty bite, chunky peanut butter can be a delightful alternative, adding another layer of texture. Just ensure it’s a standard, shelf-stable peanut butter, not natural peanut butter that separates, as this can affect the fudge’s consistency.
- Marshmallow Fluff (or Marshmallow Cream): This is the secret ingredient that helps give the fudge its characteristic soft, chewy, yet firm texture, and contributes to its overall sweetness and ease of preparation. You’ll need a full 7-ounce jar for this recipe to achieve the desired consistency and flavor.
Simple Steps to Crafting Perfect Peanut Butter Fudge
Making this delightful peanut butter fudge is surprisingly straightforward, even for novice confectioners. Follow these simple steps to create a batch of creamy, dreamy fudge that everyone will rave about:
Step 1: Prepare Your Pan. Begin by lining an 8×8-inch square pan with aluminum foil, ensuring the foil extends over the sides to create “handles.” This will make it incredibly easy to lift the finished fudge out of the pan later. Lightly grease the foil with butter or a non-stick cooking spray. This crucial step prevents sticking and ensures a clean release.
Step 2: Create the Sugar Base. In a sturdy medium saucepan, combine the granulated sugar and whole milk. Place the saucepan over medium heat. Bring this mixture to a rolling boil, stirring constantly. Consistent stirring is key to ensure the sugar dissolves completely and doesn’t scorch at the bottom of the pan. Once it reaches a full boil, continue to stir for about 1 minute. Immediately remove the sugar mixture from the heat to prevent it from overcooking.
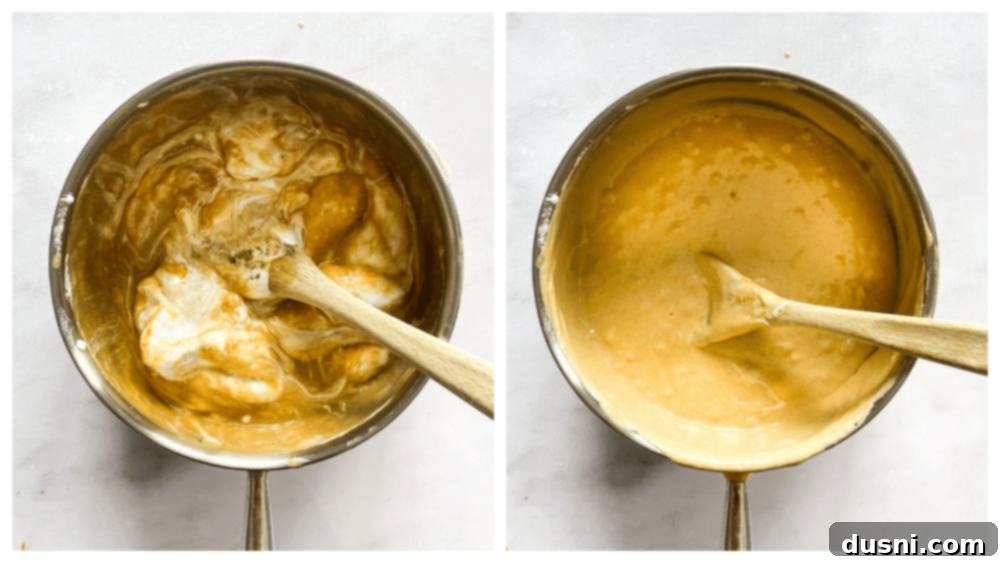
Step 3: Incorporate the Key Flavors. Without delay, add the peanut butter and the entire jar of marshmallow fluff (or marshmallow cream) to the hot sugar-milk mixture. Stir vigorously and continuously until all ingredients are thoroughly combined and you achieve a beautifully smooth, creamy, and uniform texture. There should be no lumps of peanut butter or marshmallow fluff remaining.
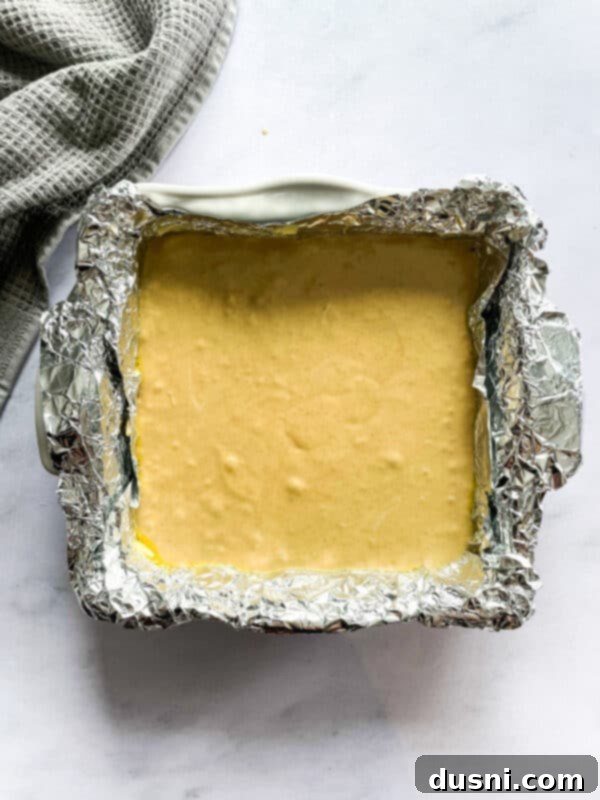
Step 4: Set the Fudge. Carefully pour the hot peanut butter mixture into your prepared 8×8-inch pan. Use a spatula to spread it evenly into all corners, creating a smooth top surface. Allow the fudge to cool slightly at room temperature for about 15-20 minutes. This initial cooling helps it begin to set before chilling.
Step 5: Chill to Perfection. Once slightly cooled, transfer the pan of fudge to the refrigerator. Allow it to chill for at least 1 hour, or until it has completely firmed up and is set through. This chilling process is essential for achieving that classic fudge consistency that can be cleanly cut into squares.
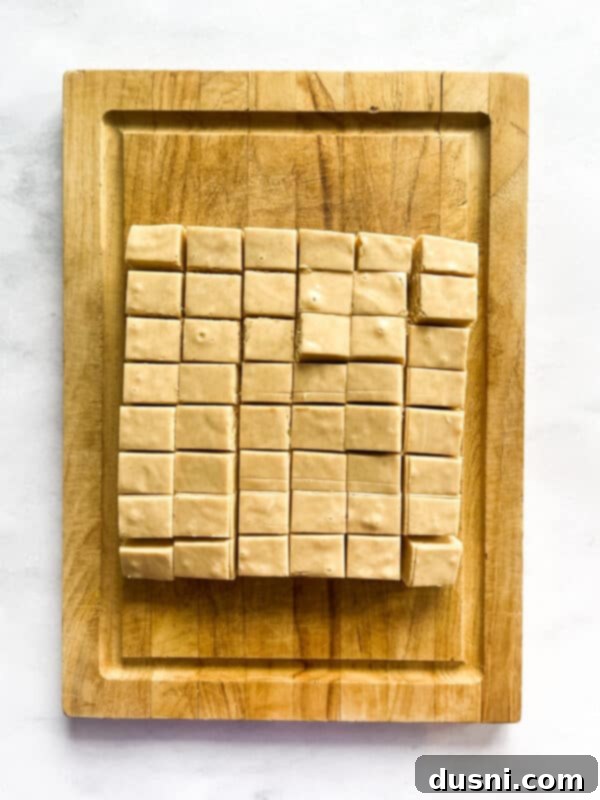
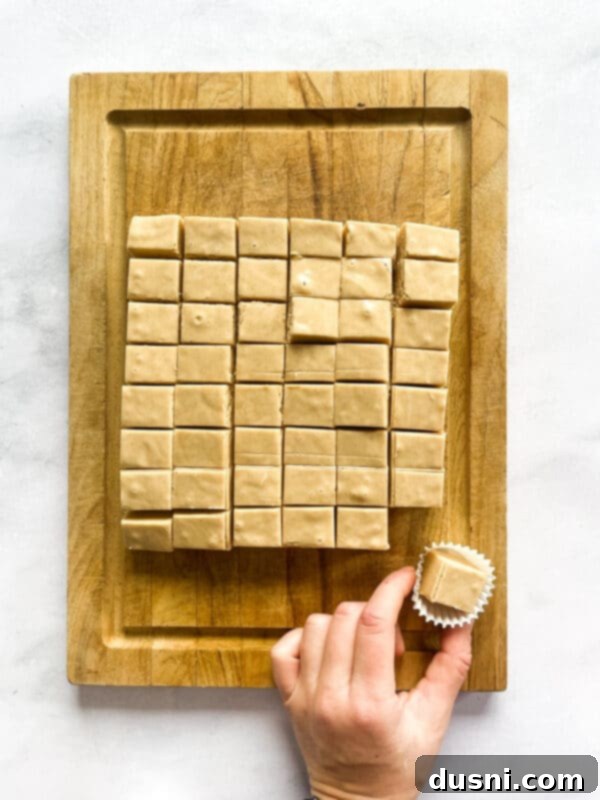
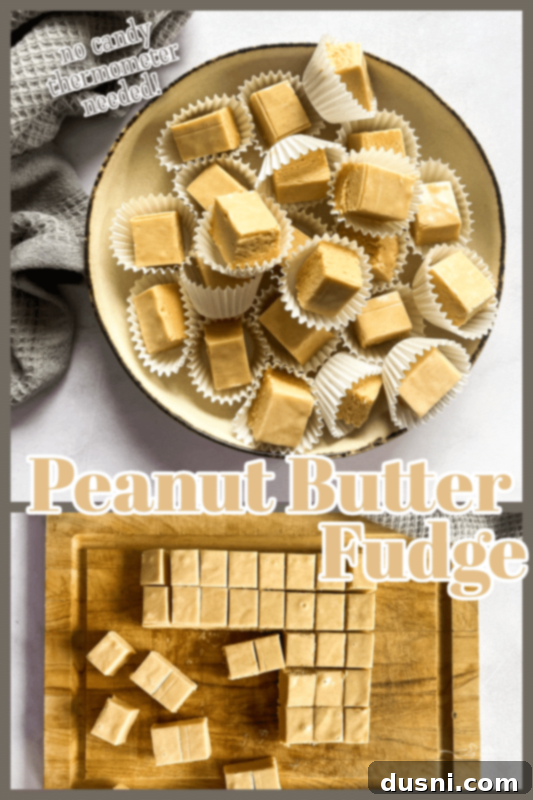
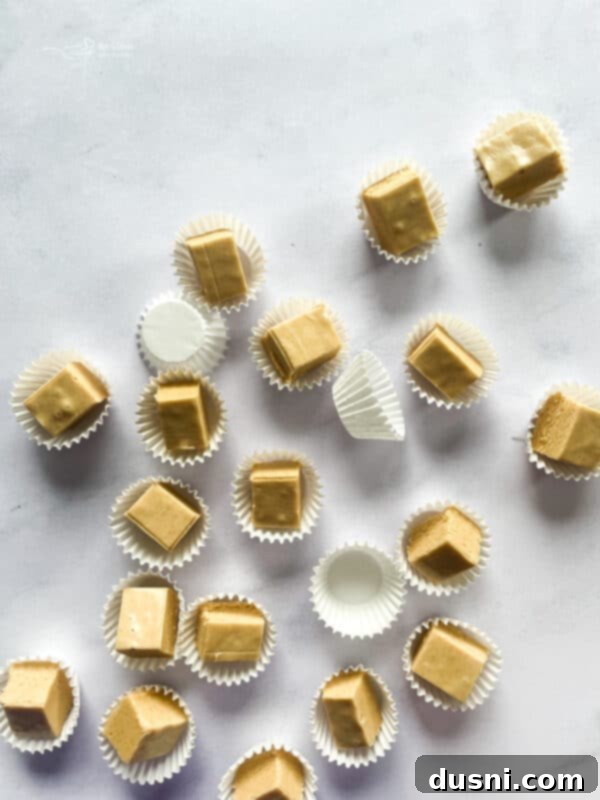
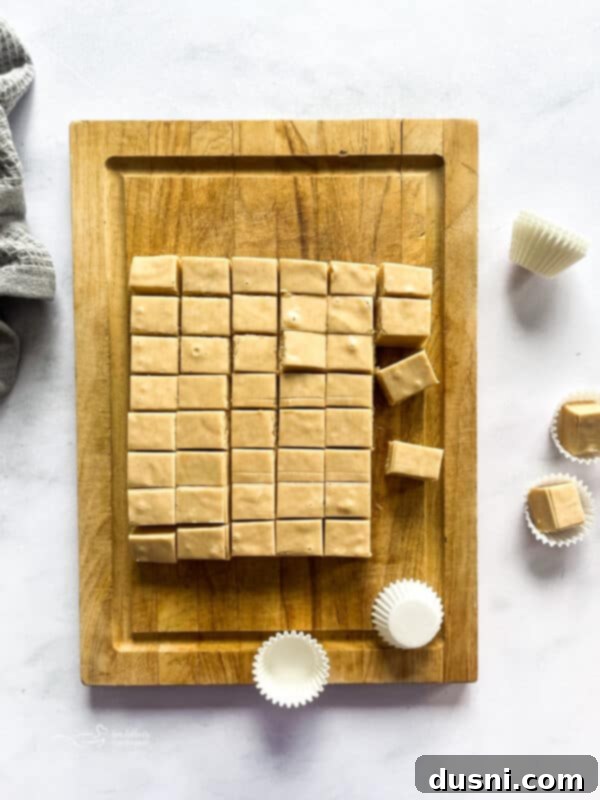
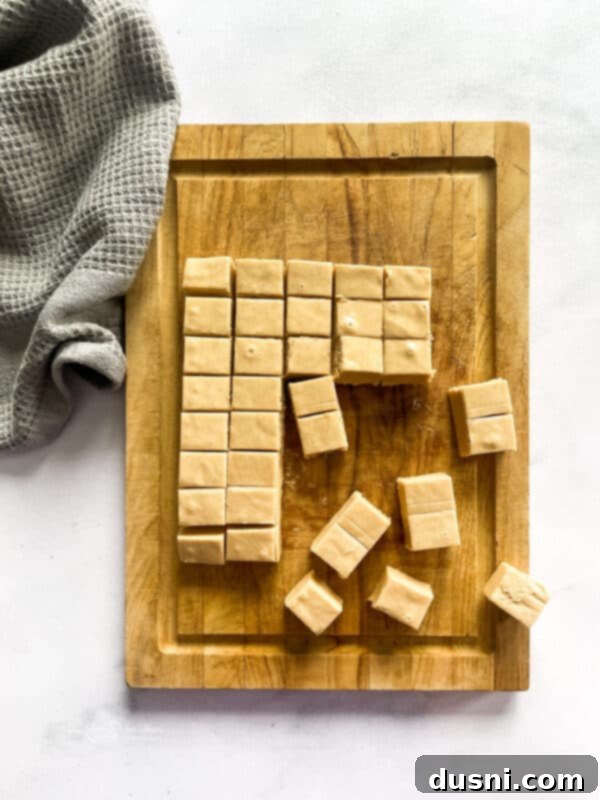
Step 6: Cut and Serve. Once the fudge is firm, use the foil “handles” to gently lift the entire block of fudge from the pan. Carefully peel away the aluminum foil. Place the fudge on a cutting board and, using a sharp knife, cut it into desired pieces, typically 1-inch squares. Now, it’s ready to be devoured! Enjoy this homemade, utterly delicious peanut butter fudge!
Love It? Pin It for Later!
Are you already dreaming of making this incredibly creamy, rich, and easy peanut butter fudge recipe? Don’t let this fantastic dessert slip away! Make sure to pin it to your favorite Pinterest recipe board right now before you go. This way, you can easily find this perfect no-bake treat whenever a peanut butter craving strikes or you need a quick, impressive dessert for guests. Sharing is caring, and pinning helps others discover this delightful recipe too!
Frequently Asked Questions (FAQs) About Peanut Butter Fudge
Whether you’re a seasoned fudge maker or trying it for the first time, you might have some questions. Here are answers to some common queries about making and enjoying peanut butter fudge:
Where was fudge invented? Fudge, a beloved confection, is an American creation. It is widely believed to have originated in 1886. The story goes that a candy maker in Baltimore, Maryland, accidentally “botched” a batch of caramels, leading to the sugar recrystallizing in a new, softer texture. This happy accident resulted in the creation of fudge, and some even playfully suggest this might be the origin of the common exclamation, “Oh fudge!”
Can I make peanut butter fudge in the microwave? Absolutely! For an even quicker preparation method, you can definitely make this peanut butter fudge in the microwave. Instead of using a saucepan to boil the milk and sugar mixture on the stovetop, combine them in a large microwave-safe bowl. Microwave on high for 2 minutes until it reaches a boil. Carefully remove it, then whip with a whisk or electric mixer for 1 minute. Return it to the microwave for another 30 seconds on high. After this, proceed with the rest of the recipe as directed, stirring in the peanut butter and marshmallow fluff until creamy. The microwave method is fantastic for busy days!
How should I store homemade peanut butter fudge? To keep your fudge fresh and delicious, store it in an airtight container at room temperature for up to 1-2 weeks. For extended freshness, you can store it in the refrigerator, where it will last for 2-3 weeks. Be sure to place pieces of wax paper or parchment paper between layers of fudge to prevent them from sticking together.
Can I freeze peanut butter fudge? Yes, peanut butter fudge freezes beautifully! To freeze, wrap individual pieces tightly in plastic wrap, then place them in an airtight freezer-safe container or freezer bag. It can be stored in the freezer for up to 3 months. When you’re ready to enjoy, simply thaw the fudge at room temperature or in the refrigerator.
What if my fudge doesn’t set? If your fudge doesn’t set properly, it might be due to not boiling the sugar and milk mixture long enough, or not achieving the correct temperature. While this recipe doesn’t require a candy thermometer, ensuring a good, rolling boil for the specified time is important. If it’s too soft, you can sometimes gently reheat the mixture with a bit more sugar and milk, bring it to a boil again, and then re-add the peanut butter and marshmallow fluff before re-chilling. However, for this specific recipe, thorough boiling and sufficient chilling usually do the trick.
Can I use natural peanut butter? It is generally not recommended to use natural peanut butter (the kind that separates) for this recipe. The oil separation in natural peanut butter can lead to a greasy, crumbly, or inconsistently textured fudge. For best results and a smooth, creamy finish, stick with conventional, shelf-stable smooth or chunky peanut butter.

Smart Substitutions for Your Fudge Recipe:
While this recipe is perfect as written, sometimes you need to make adjustments based on what you have on hand or dietary preferences. Here are some reliable substitutions:
- Butter for Greasing the Pan: If you don’t have butter for greasing the foil, you can easily use margarine or a non-stick cooking spray. Both will work effectively to prevent the fudge from sticking.
- Sugar Alternatives: White refined sugar is indeed best for the classic taste and texture of this fudge. However, if you prefer a slightly deeper, more caramel-like flavor, you can substitute a portion or all of the white sugar with light brown sugar. This will slightly alter the color and add a subtle molasses note.
- Milk Varieties: While whole milk provides the richest outcome, you can successfully use other forms of milk. Evaporated milk will create an even richer, denser fudge. Half and half is another excellent option for a creamy consistency. Skim milk or 2% milk can be used, but the fudge may be slightly less rich and creamy.
- Marshmallow Fluff Alternatives: While marshmallow fluff is ideal, if you can’t find it, you can sometimes substitute it with an equal weight of mini marshmallows (about 4 cups for a 7oz jar). They will melt into the hot mixture similarly, though the texture might vary slightly.
Expert Tips and Clever Tricks for Perfect Fudge Every Time
Mastering fudge-making is easy with a few insider tips and tricks. Here’s how to ensure your peanut butter fudge is always a resounding success:
- Optimal Storage for Freshness: To maintain its perfect texture and flavor, store your homemade fudge in an airtight container. For best results and to prevent sticking, layer the fudge pieces with wax paper or parchment paper in between. At room temperature, your fudge will remain fresh and delicious for 1 to 2 weeks. If you prefer to extend its shelf life, store it in the refrigerator, where it can last even longer, typically for 2-3 weeks.
- Creative Flavor and Texture Variations: This peanut butter fudge recipe is wonderfully versatile, allowing you to easily customize it to your taste.
- Add Vanilla Extract: A teaspoon of good quality vanilla extract stirred in with the peanut butter and marshmallow fluff can significantly enhance the overall richness and depth of flavor.
- Introduce Crunch and Chunks: If you enjoy a fudge with a bit more texture, consider folding in a variety of delicious additions right before spreading the mixture into the pan. Options include chopped roasted peanuts for an extra nutty crunch, semi-sweet chocolate chips, peanut butter chips for an intensified peanut butter experience, or creamy white chocolate chips for a complementary sweetness.
- Swirls and Toppings: For a visually appealing and extra decadent touch, you could drizzle melted chocolate (milk, dark, or white) over the top of the fudge before it sets and swirl it gently with a toothpick. A sprinkle of flaky sea salt can also beautifully contrast the sweetness.
- Achieving Clean Cuts: For perfectly neat squares, use a large, sharp knife. You can warm the knife blade slightly under hot water and wipe it dry between cuts. This helps create clean edges and prevents the fudge from dragging or crumbling.
- Don’t Rush the Chill: The most critical step for proper setting is allowing ample time in the refrigerator. Resist the temptation to cut into it too soon! A fully chilled fudge will be firm, easy to slice, and hold its shape beautifully.
- Consider the Pan Size: An 8×8-inch pan will yield a thicker fudge. If you prefer thinner pieces or want to make a larger batch, you can use a 9×13-inch pan, but be aware that the fudge will be thinner and may set more quickly.
Explore More Incredible Fudge Recipes
I absolutely adore homemade fudge! The holiday season, especially, is the perfect time of year to whip up a few different batches to adorn your festive treat trays and share with loved ones. If you’re looking for another classic or a unique old-fashioned fudge recipe to add to your collection, I have a few more fantastic suggestions to share. Each offers its own delightful flavor profile and is sure to become a cherished part of your dessert repertoire:
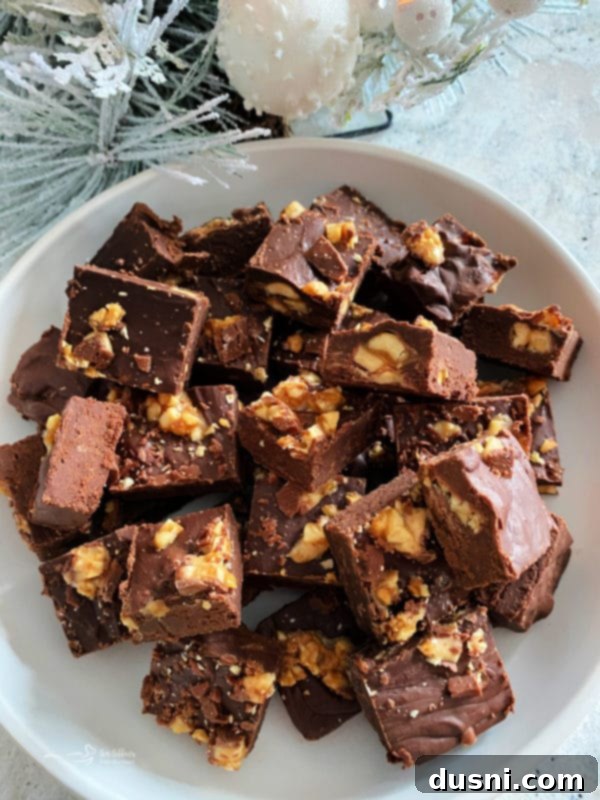
- Candy Bar Fudge(pictured above) – A fun, rich fudge inspired by your favorite chocolate bars.
- Mint Fudge – Refreshing and decadent, perfect for a cool burst of flavor.
- Chocolate Orange Fudge – A sophisticated blend of rich chocolate and bright citrus.
- Never Fail Chocolate Fudge – A classic, foolproof chocolate fudge recipe that always delivers.
- White Chocolate Cream Cheese Fudge – Creamy, tangy, and subtly sweet, a unique twist on traditional fudge.
- Maple Fudge – Captures the warm, rich essence of maple syrup in a smooth confection.
- Peanut Butter Chocolate Fudge – The best of both worlds, combining two beloved flavors.
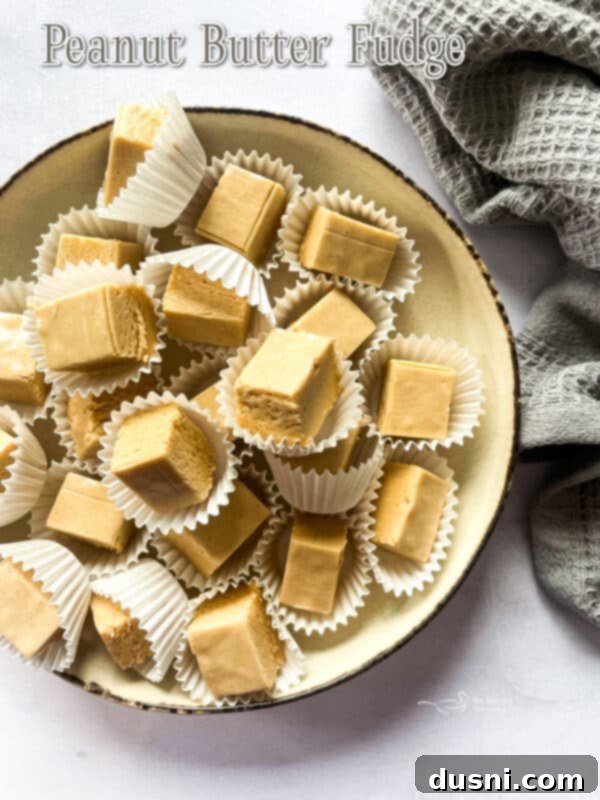
Are you craving a little delicious fudge in your life? Of course, you are! Don’t hesitate – make this homemade peanut butter fudge today and prepare to watch this sweet, irresistible treat disappear in record time. I promise it will be a monumental hit with every single peanut butter lover, garnering smiles and requests for the recipe. Enjoy the simple joy of homemade sweets!

LIKE THIS RECIPE?
Don’t forget to give it a ⭐️⭐️⭐️⭐️⭐️ star rating and
leave a comment below the recipe!
Print Recipe
Peanut Butter Fudge
Ingredients
- 2 teaspoons butter softened, for greasing the pan
- 2 cups granulated sugar
- ½ cup whole milk
- 1 ⅓ cup smooth peanut butter
- 1 7 ounce jar marshmallow fluff (marshmallow cream)
- 1 teaspoon vanilla extract (optional)
Instructions
-
Prepare Your Pan: Line an 8×8-inch square pan with aluminum foil, ensuring it overhangs the sides. Grease the foil thoroughly with softened butter or non-stick cooking spray.
-
Create the Sugar Base: In a heavy saucepan over medium heat, combine the granulated sugar and whole milk. Bring the mixture to a rolling boil, stirring constantly to prevent scorching and ensure the sugar dissolves completely. Boil for 1 minute, then remove from heat.
-
Incorporate Flavors: Immediately stir in the peanut butter, marshmallow fluff, and optional vanilla extract (if using) into the hot sugar mixture. Stir vigorously until all ingredients are well blended and the mixture is smooth and creamy.
-
Set the Fudge: Spread the hot peanut butter mixture evenly into the prepared pan. Allow it to cool slightly at room temperature for about 15-20 minutes.
-
Chill to Perfection: Place the pan in the refrigerator and chill for at least 1 hour, or until the fudge is completely firm and set.
-
Cut and Serve: Use the foil overhang to lift the fudge from the pan. Carefully peel off the foil. Place the fudge on a cutting board and cut it into 1-inch squares with a sharp knife. Enjoy your delicious homemade peanut butter fudge!
Notes
Microwave Method: To make this peanut butter fudge recipe in the microwave, combine milk and sugar in a large microwave-safe bowl. Microwave on high for 2 minutes until boiling. Whip with a whisk or mixer for 1 minute, then microwave again for 30 seconds. Complete the rest of the recipe (stirring in peanut butter and marshmallow fluff) as directed.
Variations: Add 1 teaspoon vanilla extract for extra richness. For a chunkier fudge, fold in chopped peanuts, chocolate chips, peanut butter chips, or white chocolate chips after stirring in the marshmallow fluff, before spreading into the pan.
Nutrition
