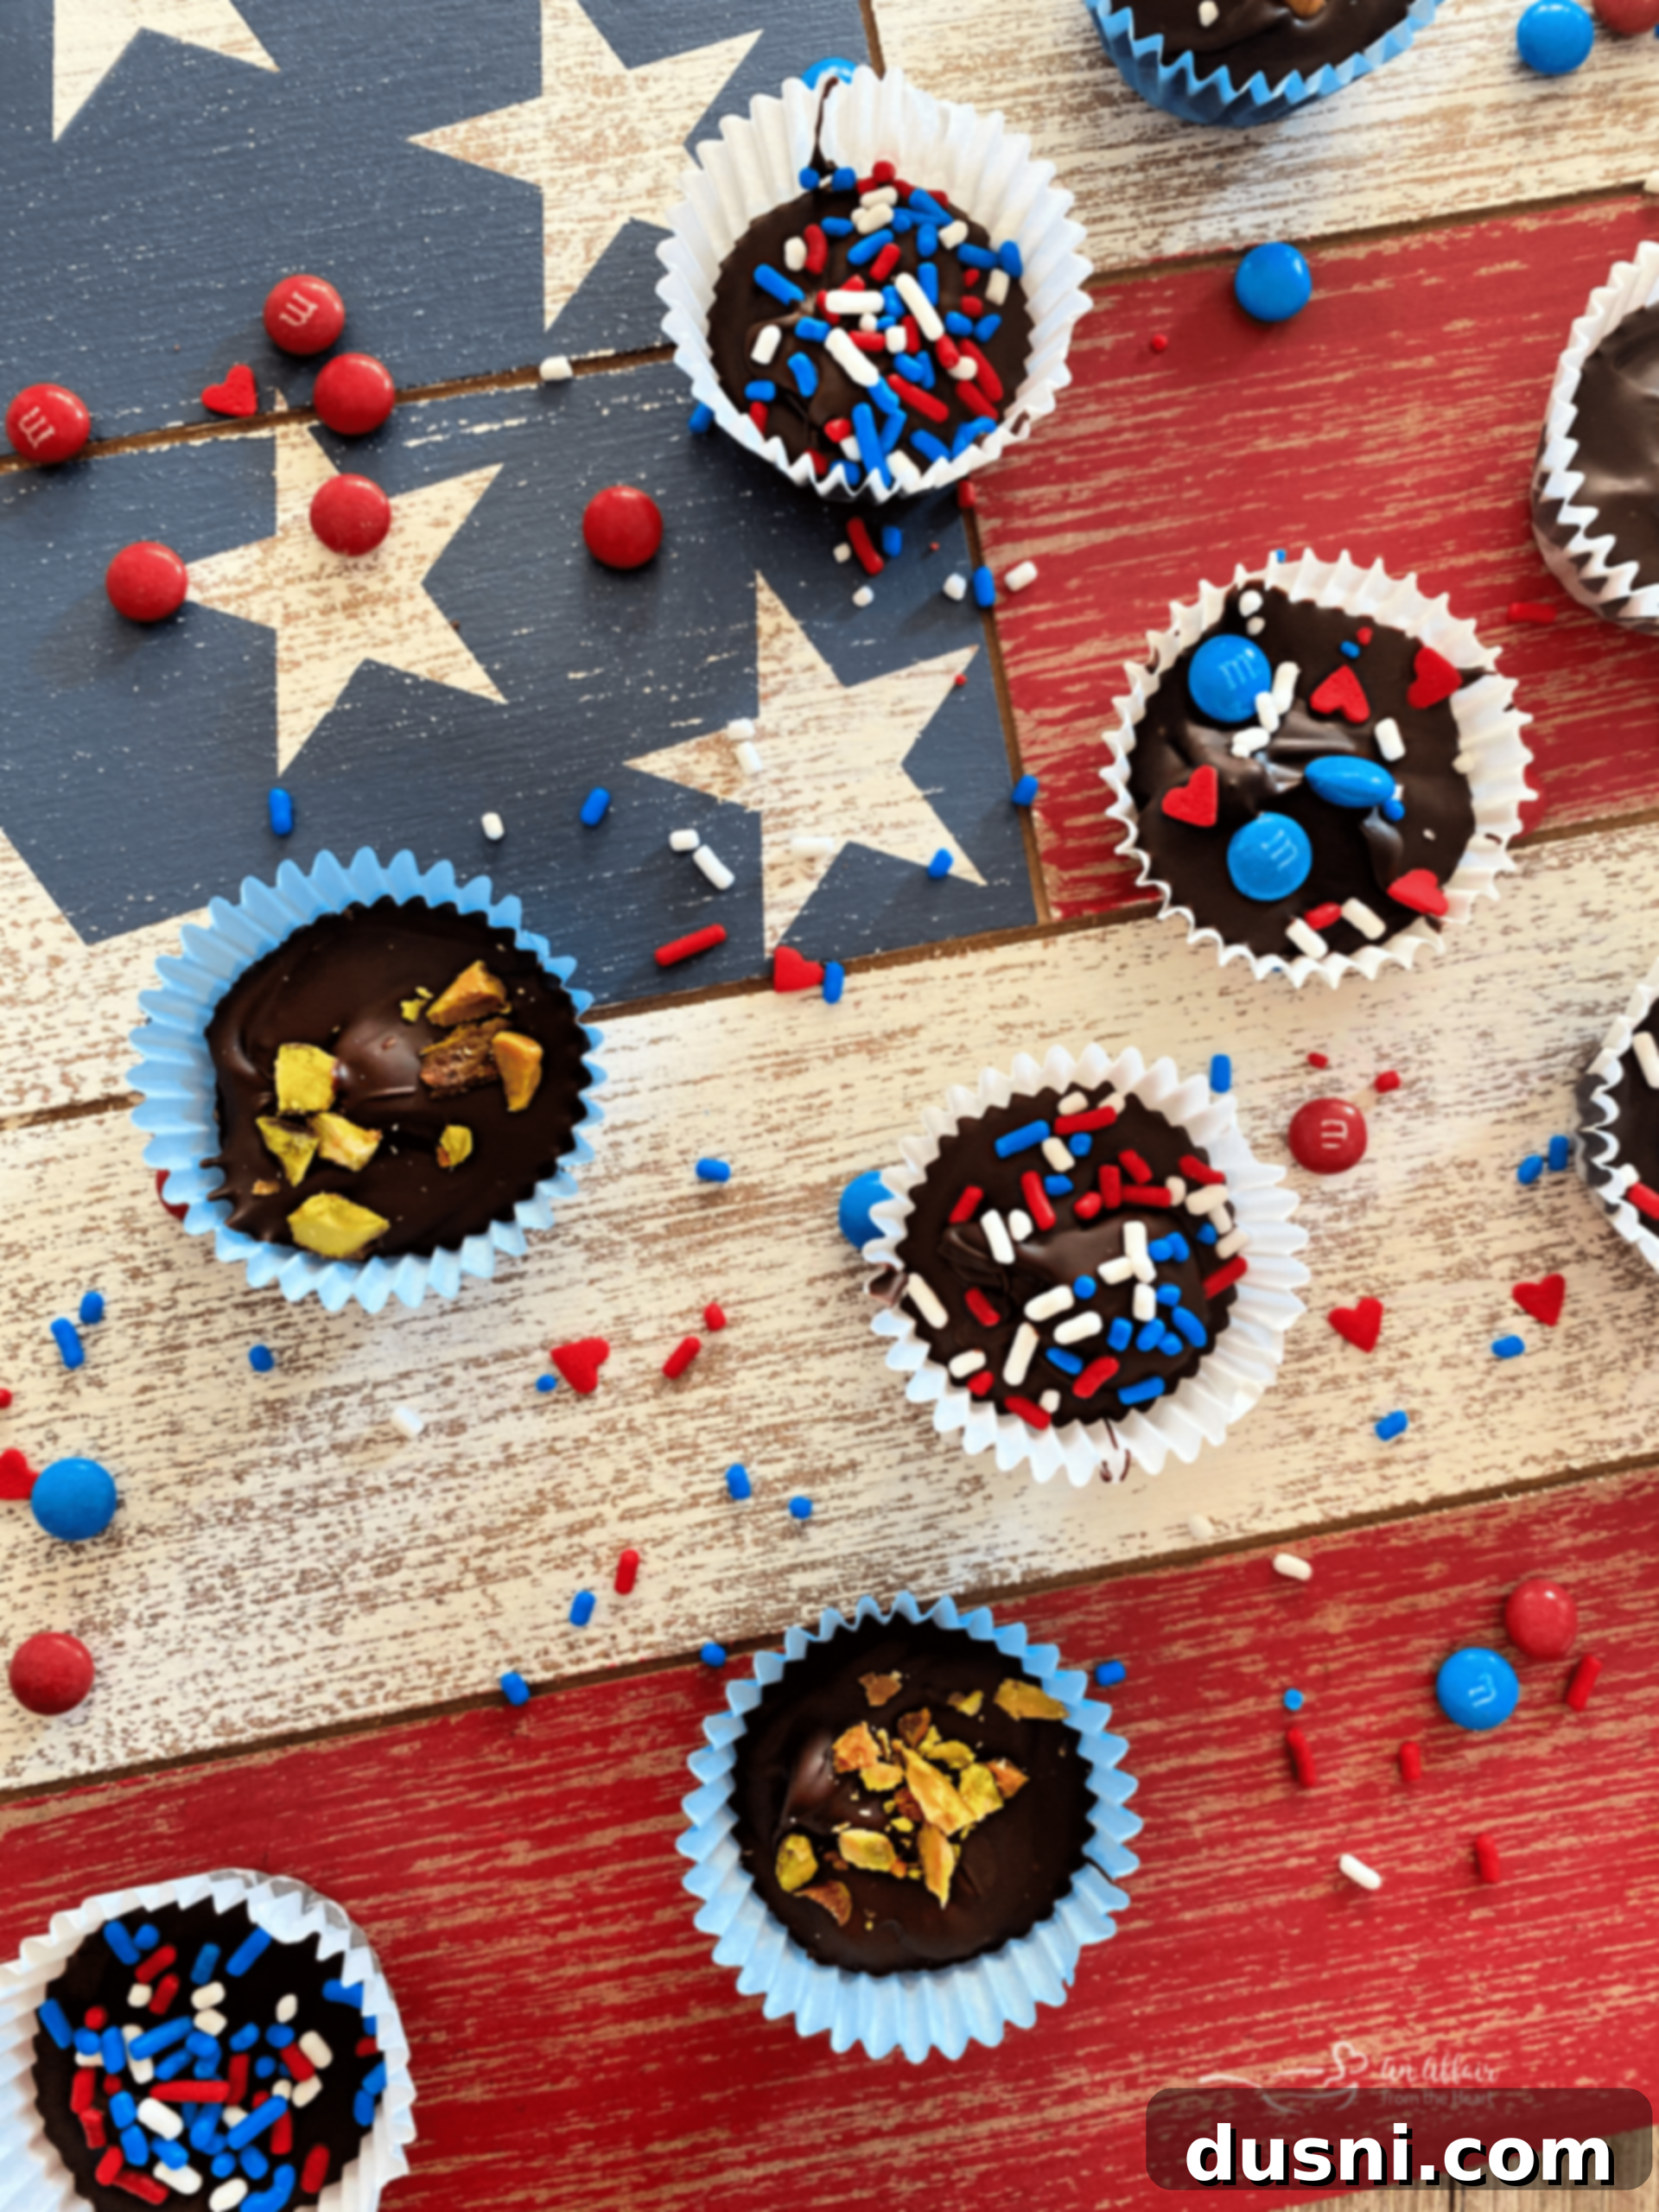
Easy Homemade Chocolate Candy Cups: Customizable Treats for Every Occasion
Discover the delightful simplicity of crafting your own Homemade Chocolate Candy Cups. These exquisite treats are incredibly easy to prepare and remarkably versatile, allowing you to customize them with a vast array of fillings and toppings to satisfy every palate. Whether you’re a dark chocolate connoisseur, a milk chocolate lover, or experimenting with white chocolate, the possibilities are endless. My personal preference leans towards rich dark chocolate, so many of my creations feature a premium dark variety. Some cups are elegantly simple, adorned with just a sprinkle of sea salt or colorful nonpareils, while others burst with flavor from inclusions like crunchy nuts, chewy dried fruits, salty pretzels, tropical coconut flakes, or even additional layers of decadent chocolate. This guide will walk you through creating these adaptable confections, perfect for gifting, holiday celebrations, or simply indulging your sweet tooth.
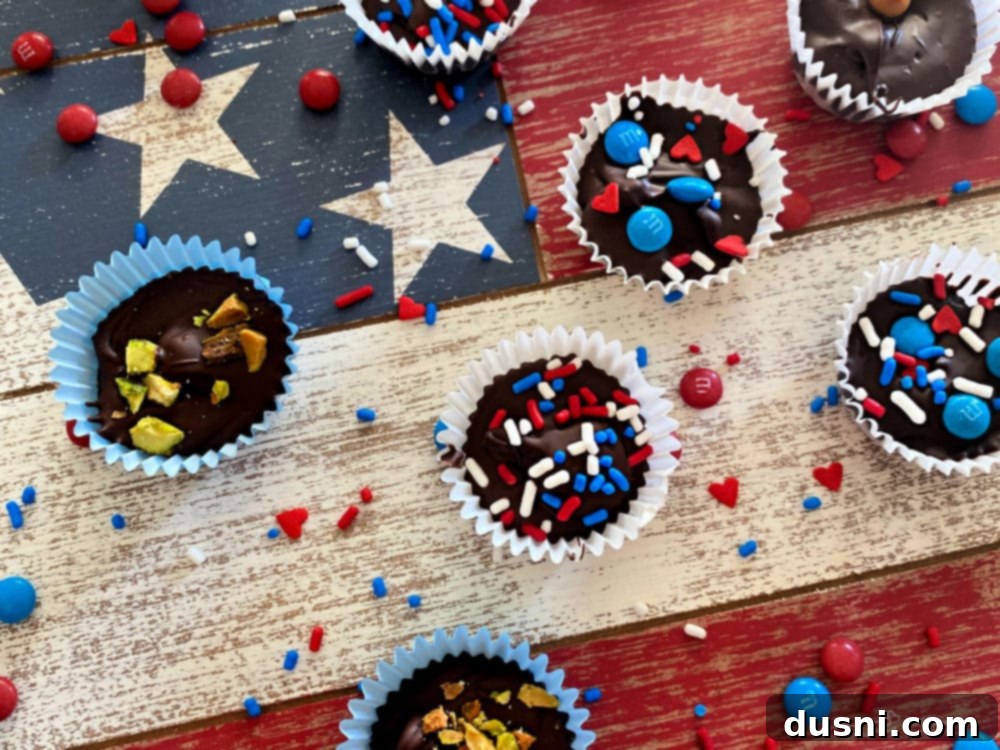
Celebrating Our Heroes: Homemade Chocolates for Veteran’s Day
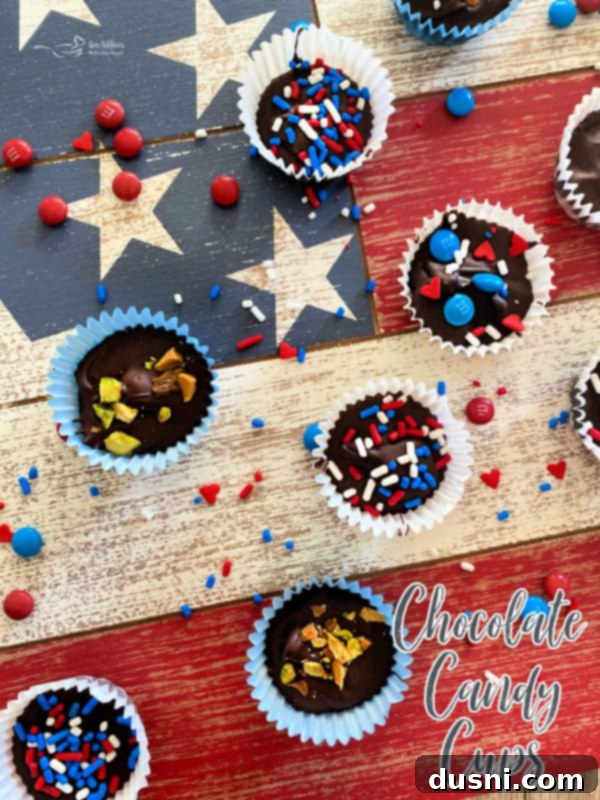
While these homemade chocolate candy cups shine brightest when adorned in patriotic red, white, and blue, making them a perfect tribute for Veteran’s Day, their incredible versatility means this simple recipe deserves a permanent spot in your culinary repertoire for every holiday and special occasion throughout the year. The act of creating something with your own hands, especially a delicious treat, is a profoundly personal way to show appreciation.
Today, my primary intention is to extend a heartfelt thank you to all the Veterans across the nation and around the world. Your unwavering service, dedication, and profound sacrifices to protect our freedoms and way of life are truly invaluable. It is with immense gratitude that I share this simple guide, hoping it inspires you to create a sweet gesture of thanks for the veterans in your life.
Understanding Veteran’s Day: A Day of Honor and Gratitude
Creating homemade treats, especially luxurious chocolates, offers a deeply personal and tangible way to express gratitude. These confections become even more meaningful when crafted with high-quality ingredients and presented as a thoughtful token of appreciation for a veteran on Veteran’s Day. The simplicity of this recipe ensures that anyone can partake in this gesture of thanks, making a profound impact with a personalized gift.
It’s important to clarify the distinction between Veteran’s Day and Memorial Day, as they are sometimes confused. Memorial Day is dedicated to honoring those who made the ultimate sacrifice in service to our country, giving their lives for our freedoms. Veteran’s Day, however, is a celebration and recognition of all individuals who have honorably served in the United States Armed Forces, whether in wartime or peacetime, whether they are still serving or have retired. It’s a day to acknowledge their commitment, resilience, and contributions.
Historically known as Armistice Day, Veteran’s Day marks the end of World War I, observed on November 11th each year. This date signifies the armistice signed between the Allies and Germany on the eleventh hour of the eleventh day of the eleventh month of 1918. In 1954, the holiday was officially renamed Veteran’s Day in the United States, expanding its scope to honor all American veterans. Taking the time to acknowledge and thank our veterans, even with a simple box of homemade chocolates, is a small but significant gesture to convey our respect and appreciation for their invaluable service.
Mastering Homemade Chocolate Candy Cups: A Step-by-Step Guide
Crafting your own chocolate candy cups from scratch is a surprisingly straightforward process, yielding incredibly satisfying results. The secret to truly exceptional homemade chocolates lies in the quality of your ingredients. While any chocolate will work, opting for a high-quality brand will elevate the flavor and texture significantly. Brands like Ghirardelli, readily available in most grocery stores, offer excellent milk and dark chocolate chips that melt beautifully and provide a rich, luxurious base for your creations. Investing in good chocolate is a small step that makes a world of difference in the final product.
Choosing Your Chocolate: Quality Makes All the Difference
Beyond Ghirardelli, explore other premium chocolate brands. Dark chocolate with a cacao percentage of 60% or higher offers a complex, less sweet profile, which I personally adore. However, feel free to choose milk chocolate for a creamier, sweeter treat, or even white chocolate for a different flavor palette. The type of chocolate you select will significantly influence the overall taste of your candy cups. Regardless of your choice, ensuring it’s of good quality will ensure a smoother melt and a more enjoyable eating experience.
Endless Customization: Unleash Your Creativity with Fillings and Toppings
As the beloved line from “Forrest Gump” wisely states, “Life is like a box of chocolates; you never know what you’re gonna get.” With homemade chocolate candy cups, you get to be the master of surprises – or delightful certainties! This is where the fun truly begins. Let your imagination run wild and infuse your chocolates with vibrant flavors and exciting textures. Consider adding:
- Crunchy Delights: A variety of nuts like pecans, walnuts, almonds, cashews, and pistachios. Crushed pretzels add a wonderful salty crunch, while crispy rice cereal can create a satisfying lightness.
- Chewy & Sweet: Dried fruits such as raisins, dried cranberries, chopped apricots, or even glace cherries. Sweetened coconut flakes bring a tropical touch.
- Decadent Swirls & Chips: Soft, gooey caramel bits, creamy peanut butter chips, or even mini chocolate chips for an extra chocolatey punch.
- Holiday & Seasonal Flavors: Crushed peppermint candies for a festive touch, or a sprinkle of sea salt to enhance the chocolate’s depth. M&M candies or other small colorful candies can add both flavor and visual appeal, especially for themed holidays.
The beauty of this recipe lies in its adaptability. Don’t feel confined to a strict list; use what you have on hand, what you love, and what inspires you. Each ingredient you choose will transform your candy cups into a unique edible masterpiece.
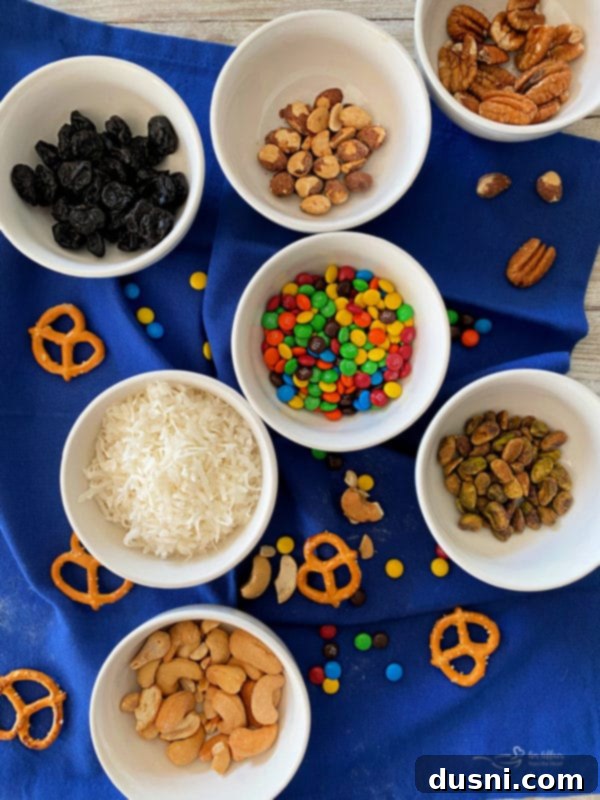
Essential Ingredients and Tools for Your Candy Creation
Your journey to homemade chocolate bliss begins with a simple act: gathering your ingredients. As emphasized, the caliber of your chocolate is paramount. For this particular batch, I opted for a robust 60% cacao dark chocolate, readily available in my pantry. While you might prefer a higher percentage for intense bitterness or a sweeter milk chocolate, the key is to use a product you enjoy and trust for its quality. The beauty of this recipe truly shines in its adaptability, often allowing you to utilize items already residing in your pantry – a feature I personally adore in any recipe!
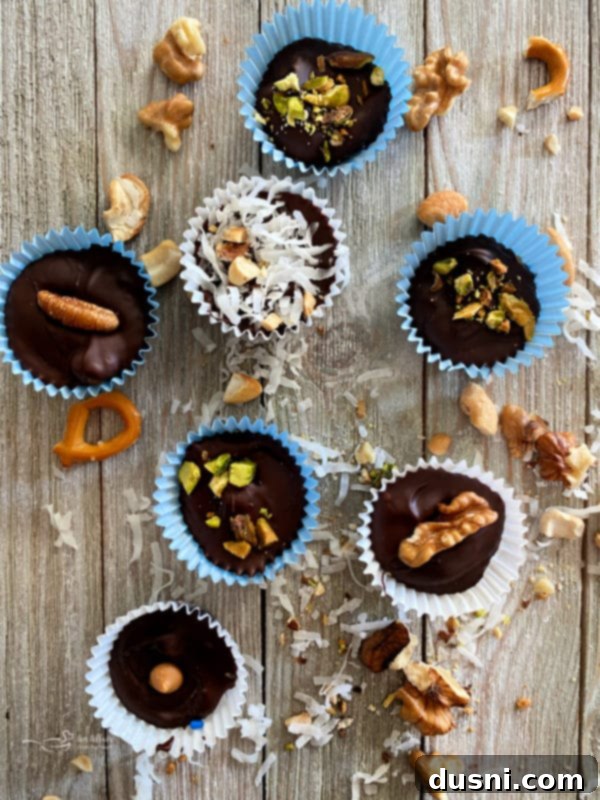
For my fillings, I embraced variety, incorporating a medley of nuts including crunchy cashews, vibrant pistachios, hearty pecans, classic walnuts, and delicate almonds. To add intriguing textures and flavors, I also included savory pretzels, sweet peanut butter chips, colorful M&M candies, chewy caramel bits, and tart dried cherries. Remember, this list is merely a suggestion; your creativity is the only limit. Feel free to substitute any of these with your favorite mix-ins. The core process remains consistent, ensuring successful results no matter your chosen additions.
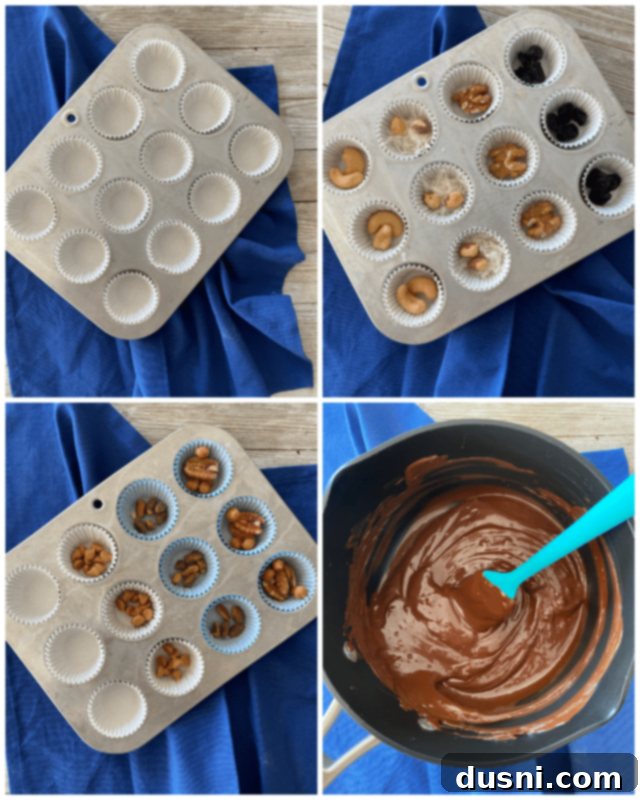
Assembling Your Candy Cups: Lining, Filling, and Pouring
Once your ingredients are prepped, the assembly process is quick and enjoyable. Start by lining mini muffin tins with paper liners. This recipe is designed to yield approximately two dozen delightful mini chocolate candy cups, making it perfect for sharing or enjoying over time.
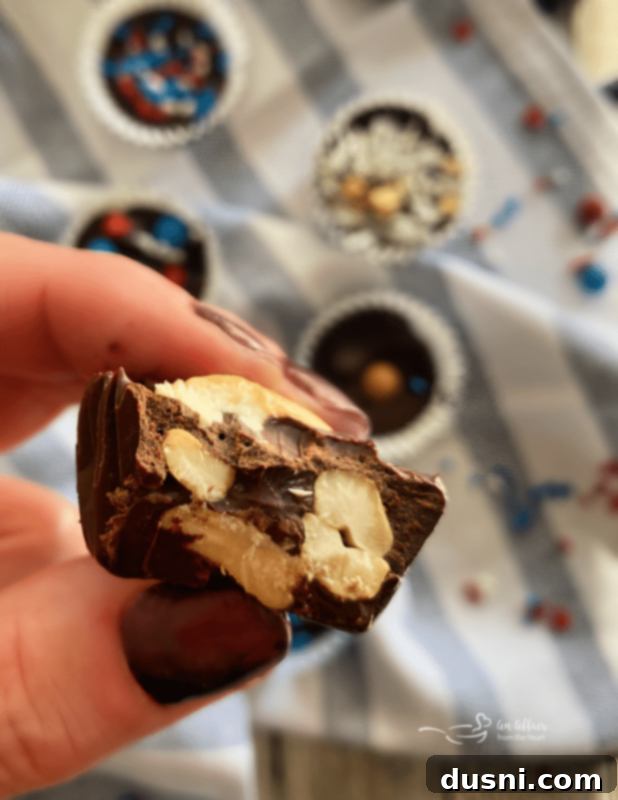
Next, strategically place your chosen fillings into each liner. Remember, the goal isn’t to overfill, but rather to create a balanced combination of filling and chocolate. Leave ample space for the melted chocolate to envelop your chosen additions. For instance, a single large walnut might suffice for one cup due to its size, while smaller items like peanut butter chips could be added in generous handfuls (around 10 chips, as demonstrated in the image above). This careful balance ensures each bite is perfectly proportioned.
The Art of Melting Chocolate: Achieving Silky Smooth Perfection
The melting process is crucial for smooth, glossy chocolate cups. While there are several methods, a saucepan on low heat is a reliable approach. Place your chopped quality chocolate into a heavy-bottomed saucepan. Heat it over the lowest possible setting, stirring constantly to prevent scorching. Chocolate can be delicate, so gentle, consistent stirring is key to achieving a smooth, uniform consistency. Alternatively, you can use a double boiler method (a heatproof bowl set over a simmering pot of water, ensuring the bowl doesn’t touch the water) or even a microwave, heating in short 15-30 second bursts and stirring well between each interval until completely melted and smooth. Avoid overheating, as this can cause the chocolate to seize or become grainy.
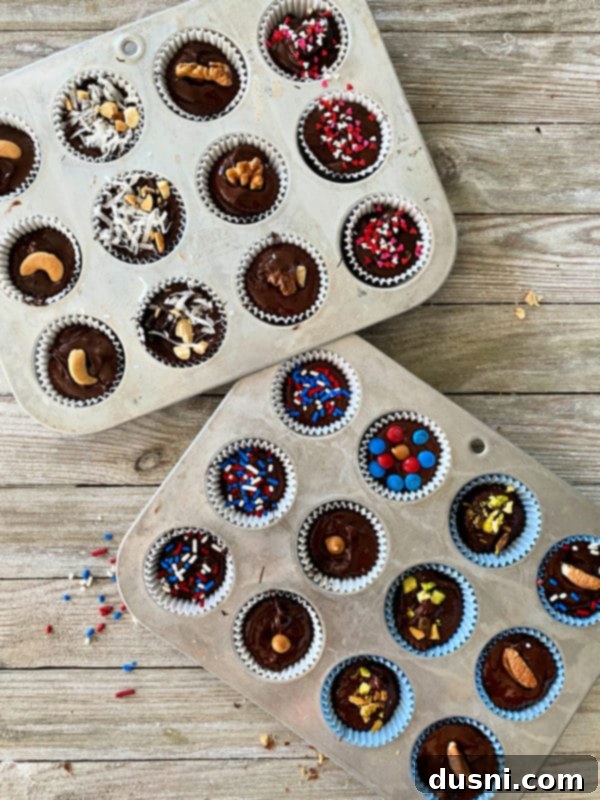
The Final Touch: Even Distribution and Smart Topping
Once your chocolate is perfectly melted, carefully spoon it into each lined mini muffin cup, ensuring it generously covers your chosen fillings. For cups with substantial fillings, a gentle stir with a toothpick is highly recommended. This simple action helps the chocolate seep into all crevices, ensuring it fully coats the additions and adheres properly to the bottom of the liner, preventing any empty pockets. This also helps create a smooth, even top surface.
The Importance of Labeling: Avoiding Sweet Surprises and Allergies
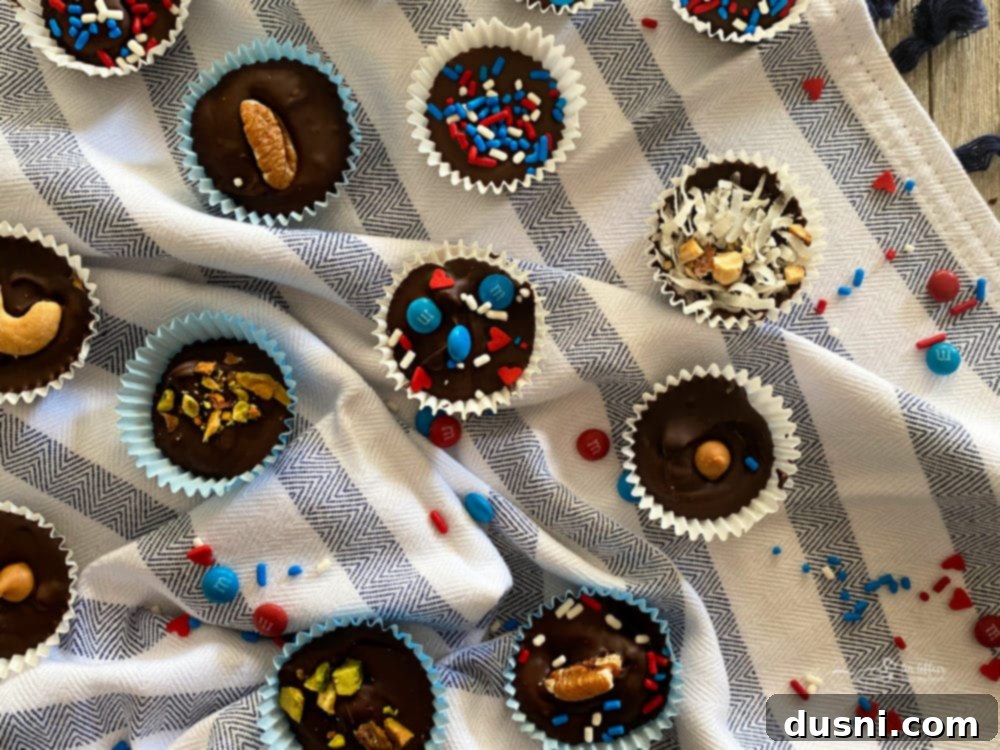
A crucial step often overlooked, especially when making assorted chocolates, is clearly indicating the contents. I always make it a point to top each chocolate candy cup with a small representation of what’s inside. For example, if a cup is filled with pecans, I’ll place a small pecan piece on top. This practice is not just about personal preference – I, for one, dislike unexpected surprises in my chocolates – but it’s also a vital consideration for dietary restrictions and allergies. Imagine the discomfort of biting into a chocolate only to discover a filling you dislike, or worse, one that triggers an allergic reaction, especially nuts. This simple visual cue ensures that everyone can enjoy your homemade treats safely and with confidence.
And for a full disclosure: I confess to being one of those individuals who, when presented with a box of assorted chocolates without a guide, will unashamedly poke a tiny hole in each one to identify its filling. Better to know what delightful (or undesired) surprise awaits! 😉 With your homemade cups, you can prevent such clandestine investigations by thoughtfully topping them.
Gifting and Storage: Making Your Chocolate Cups Shine
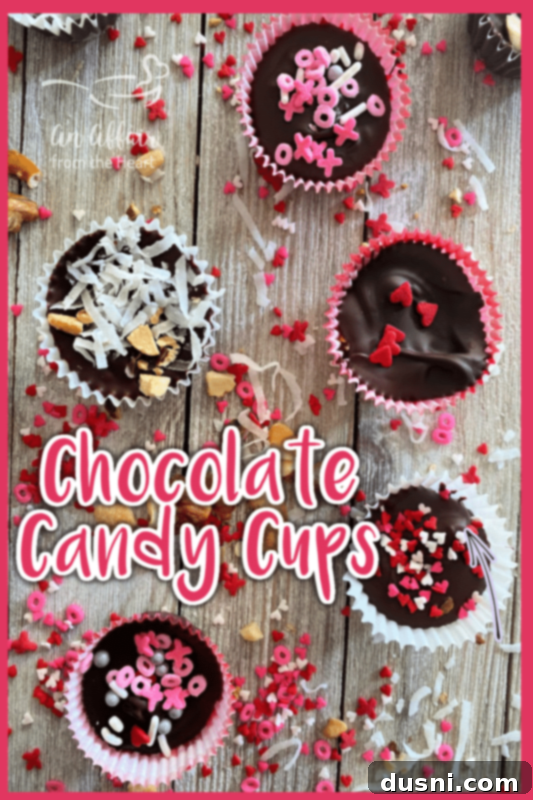
These homemade chocolate candy cups are not just a treat for yourself; they are also fantastic for gifting! Before you dive further into exploring delicious recipes, don’t forget to Pin this recipe to your favorite Pinterest board. You’ll thank yourself later when you’re looking for that perfect, easy homemade chocolate recipe again!
Perfect for Every Occasion: Beyond Veteran’s Day
While we started by honoring our veterans, the utility of these chocolate candy cups extends far beyond one specific holiday. Their inherent charm and customizable nature make them ideal for a multitude of celebrations throughout the year.
Holiday Cookie Platters and Festive Gatherings
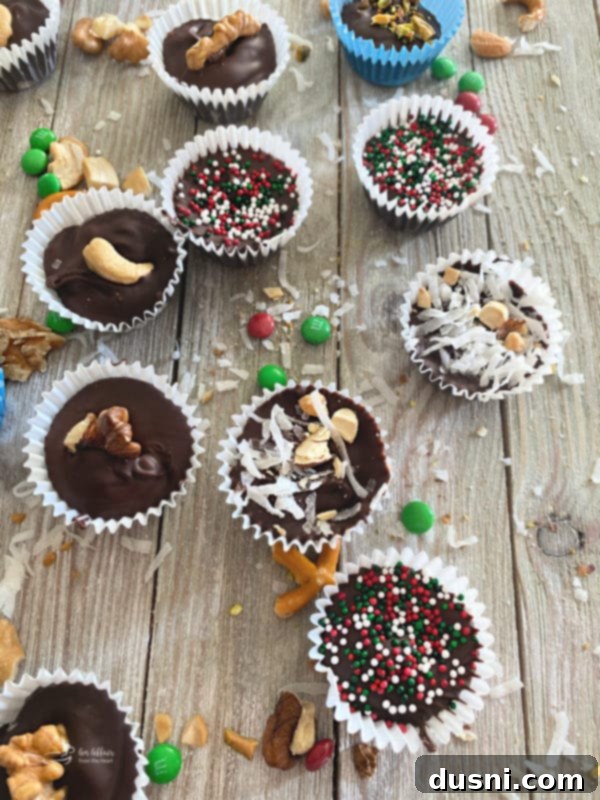
Homemade chocolates are a magnificent addition to any holiday cookie platter. Their elegant appearance and diverse fillings can complement traditional baked goods, adding a touch of gourmet sophistication to your festive spreads. Imagine a platter sparkling with different chocolate cups, each a miniature surprise.
Thoughtful Hostess Gifts and Party Favors
Need a quick yet thoughtful hostess gift? A beautifully packaged box of homemade chocolate candy cups is always appreciated. They demonstrate care and effort, making them far more special than a store-bought item. Similarly, these mini treats make excellent party favors, leaving your guests with a sweet memory of your event.
Valentine’s Day and Other Romantic Gestures
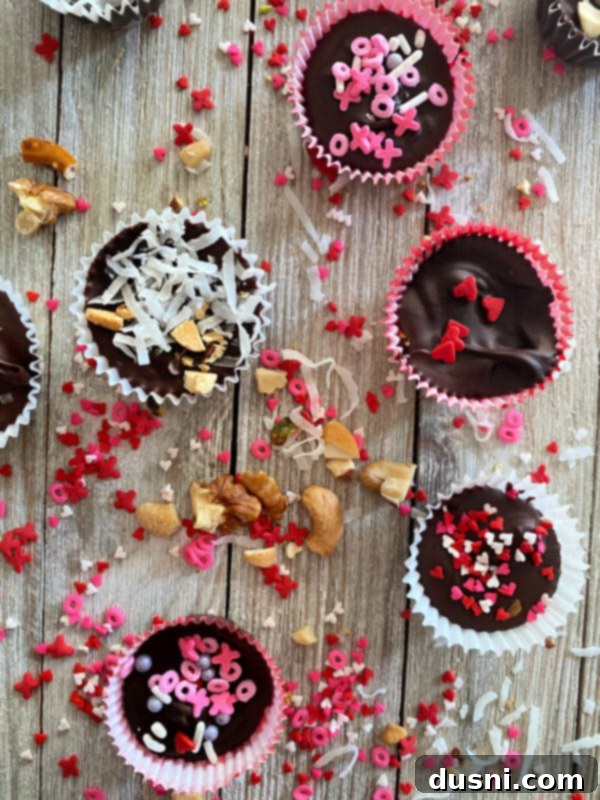
It goes without saying that homemade chocolate candy cups are an absolute must for Valentine’s Day. Chocolates and Valentine’s Day are an iconic pairing, a language of love universally understood. Personalizing these cups with your significant other’s favorite fillings adds an extra layer of romance and thoughtfulness to your gift.
Creative Packaging and Storage Tips
To enhance the gifting experience, consider the presentation. Mini-muffin wrappers come in a delightful array of colors and patterns, easily found in the baking aisle of any supermarket or craft store. Choosing decorative liners can instantly elevate the look of your homemade chocolates. For packaging, small, elegant gift boxes are perfect. You can further personalize them with ribbons, tags, or even a handwritten note detailing the flavors within. This attention to detail transforms a simple treat into a memorable gift.
For storage, simply allow your chocolate candy cups to set completely at room temperature. Once firm, they can be stored in an airtight container in a cool, dry place. There’s generally no need to refrigerate them, as refrigeration can sometimes cause chocolate to “bloom” (a white film appearing on the surface due to sugar or fat crystallization) and dull its shine. Stored correctly, these delicious treats will remain fresh and enjoyable for several weeks.
More Delightful Dessert Recipes to Explore
While these chocolate candy cups are undoubtedly a crowd-pleaser and a wonderful way to express gratitude, there’s a world of other easy and delicious treats you might enjoy making. Whether you’re looking to thank a veteran, prepare for a holiday, or simply expand your baking repertoire, these additional recipes offer diverse flavors and textures. Of course, chocolate remains a timeless favorite, but this collection also features other delightful goodies that are equally satisfying.
Here are a few more ideas to inspire your next baking adventure:
- Never Fail Fudge (As pictured above, this recipe lives up to its name, delivering perfectly creamy fudge every time. Ideal for gifting!)
- Patriotic M&M Pudding Cookies (Soft, chewy cookies bursting with festive red, white, and blue M&M’s, perfect for national holidays.)
- Peanut Clusters (A classic, simple combination of roasted peanuts and melted chocolate, creating an irresistible crunchy-sweet treat.)
- Peanut Butter Chocolate Chip Cookie Dough Truffles (Indulgent, no-bake truffles that capture the nostalgic flavor of cookie dough with a rich peanut butter twist.)
- PB&J Oatmeal Cookie Bars (A comforting and hearty bar cookie that reimagines the classic peanut butter and jelly sandwich in dessert form.)
- Salted Caramel Chocolate Pretzel Bars (A perfect balance of sweet and salty, these bars combine crunchy pretzels, gooey caramel, and rich chocolate.)
- Graham Cracker Toffee (An incredibly addictive and easy-to-make treat with a buttery toffee layer over graham crackers, often topped with chocolate.)
- Homemade Twix Bars (Recreate your favorite candy bar at home with a shortbread base, a chewy caramel layer, and a luscious chocolate coating.)

A Final Thank You: Honoring Our Veterans
Many of the most cherished individuals in my life are veterans, people who have given so much of themselves for the greater good. To them, and to every single man and woman who has worn a uniform and served our country, I extend my deepest and most sincere gratitude. Your courage, commitment, and sacrifices resonate profoundly, and we owe you an immeasurable debt of thanks. These homemade chocolate candy cups, crafted with care and appreciation, are a small symbol of that immense gratitude – they are for YOU.
Embrace the joy of creating these customizable chocolate treats. They are a simple yet powerful way to bring smiles, show love, and express heartfelt appreciation, whether for a national hero, a beloved family member, or a cherished friend. The satisfaction of making something so delicious and personalized is truly unmatched.
Now that you’re inspired and ready to create your own batch of delightful chocolate candy cups, let’s dive into the detailed recipe!

LIKE THIS RECIPE?
Don’t forget to give it a ⭐️⭐️⭐️⭐️⭐️ star rating and
leave a comment below the recipe!

Print Recipe
Chocolate Candy Cups
Ingredients
- 2 cups good quality dark chocolate chopped
- mini muffin liners
- nuts dried fruits, coconut, pretzels, sprinkles, peanut butter chips, caramel bits
Instructions
-
Gather your ingredients. Anything you’d like to fill the cups with, or you can simply make them just plain chocolate.
-
Line muffin tins with mini muffin liners.
-
Place what you’d like to have in the chocolates inside the liners.
-
Over low heat in a saucepan, melt the chocolate, stirring constantly. When it’s smooth, remove it from the heat and pour it into each cup. The ones that have quite a bit in them, it’s a good idea to give them a little stir with a toothpick to get the chocolate to the bottom.
-
Let set at room temperature. Store in a cool dry place. No need to refrigerate.
Nutrition
