Ultimate No-Bake Cherry Delight: An Effortless & Creamy Dessert Recipe
Discover the magic of a dessert that requires no oven, no fuss, and delivers pure, unadulterated joy with every spoon. This **Cherry Dessert** is the epitome of a perfect no-bake recipe, designed for those moments when you crave something sumptuously creamy and decadent, but the thought of heating up your kitchen is simply unbearable. Especially during scorching summer days, this cooling treat becomes an instant favorite. Yet, its vibrant appearance and rich flavor make it an equally stunning and versatile choice for any holiday or special occasion throughout the year. It’s truly a dessert for all seasons, bringing a burst of flavor and a refreshing experience to any gathering.
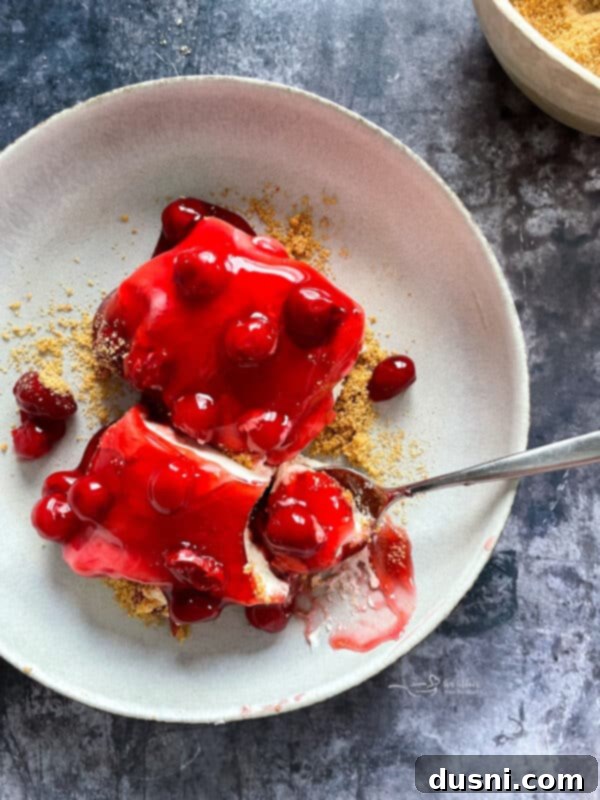
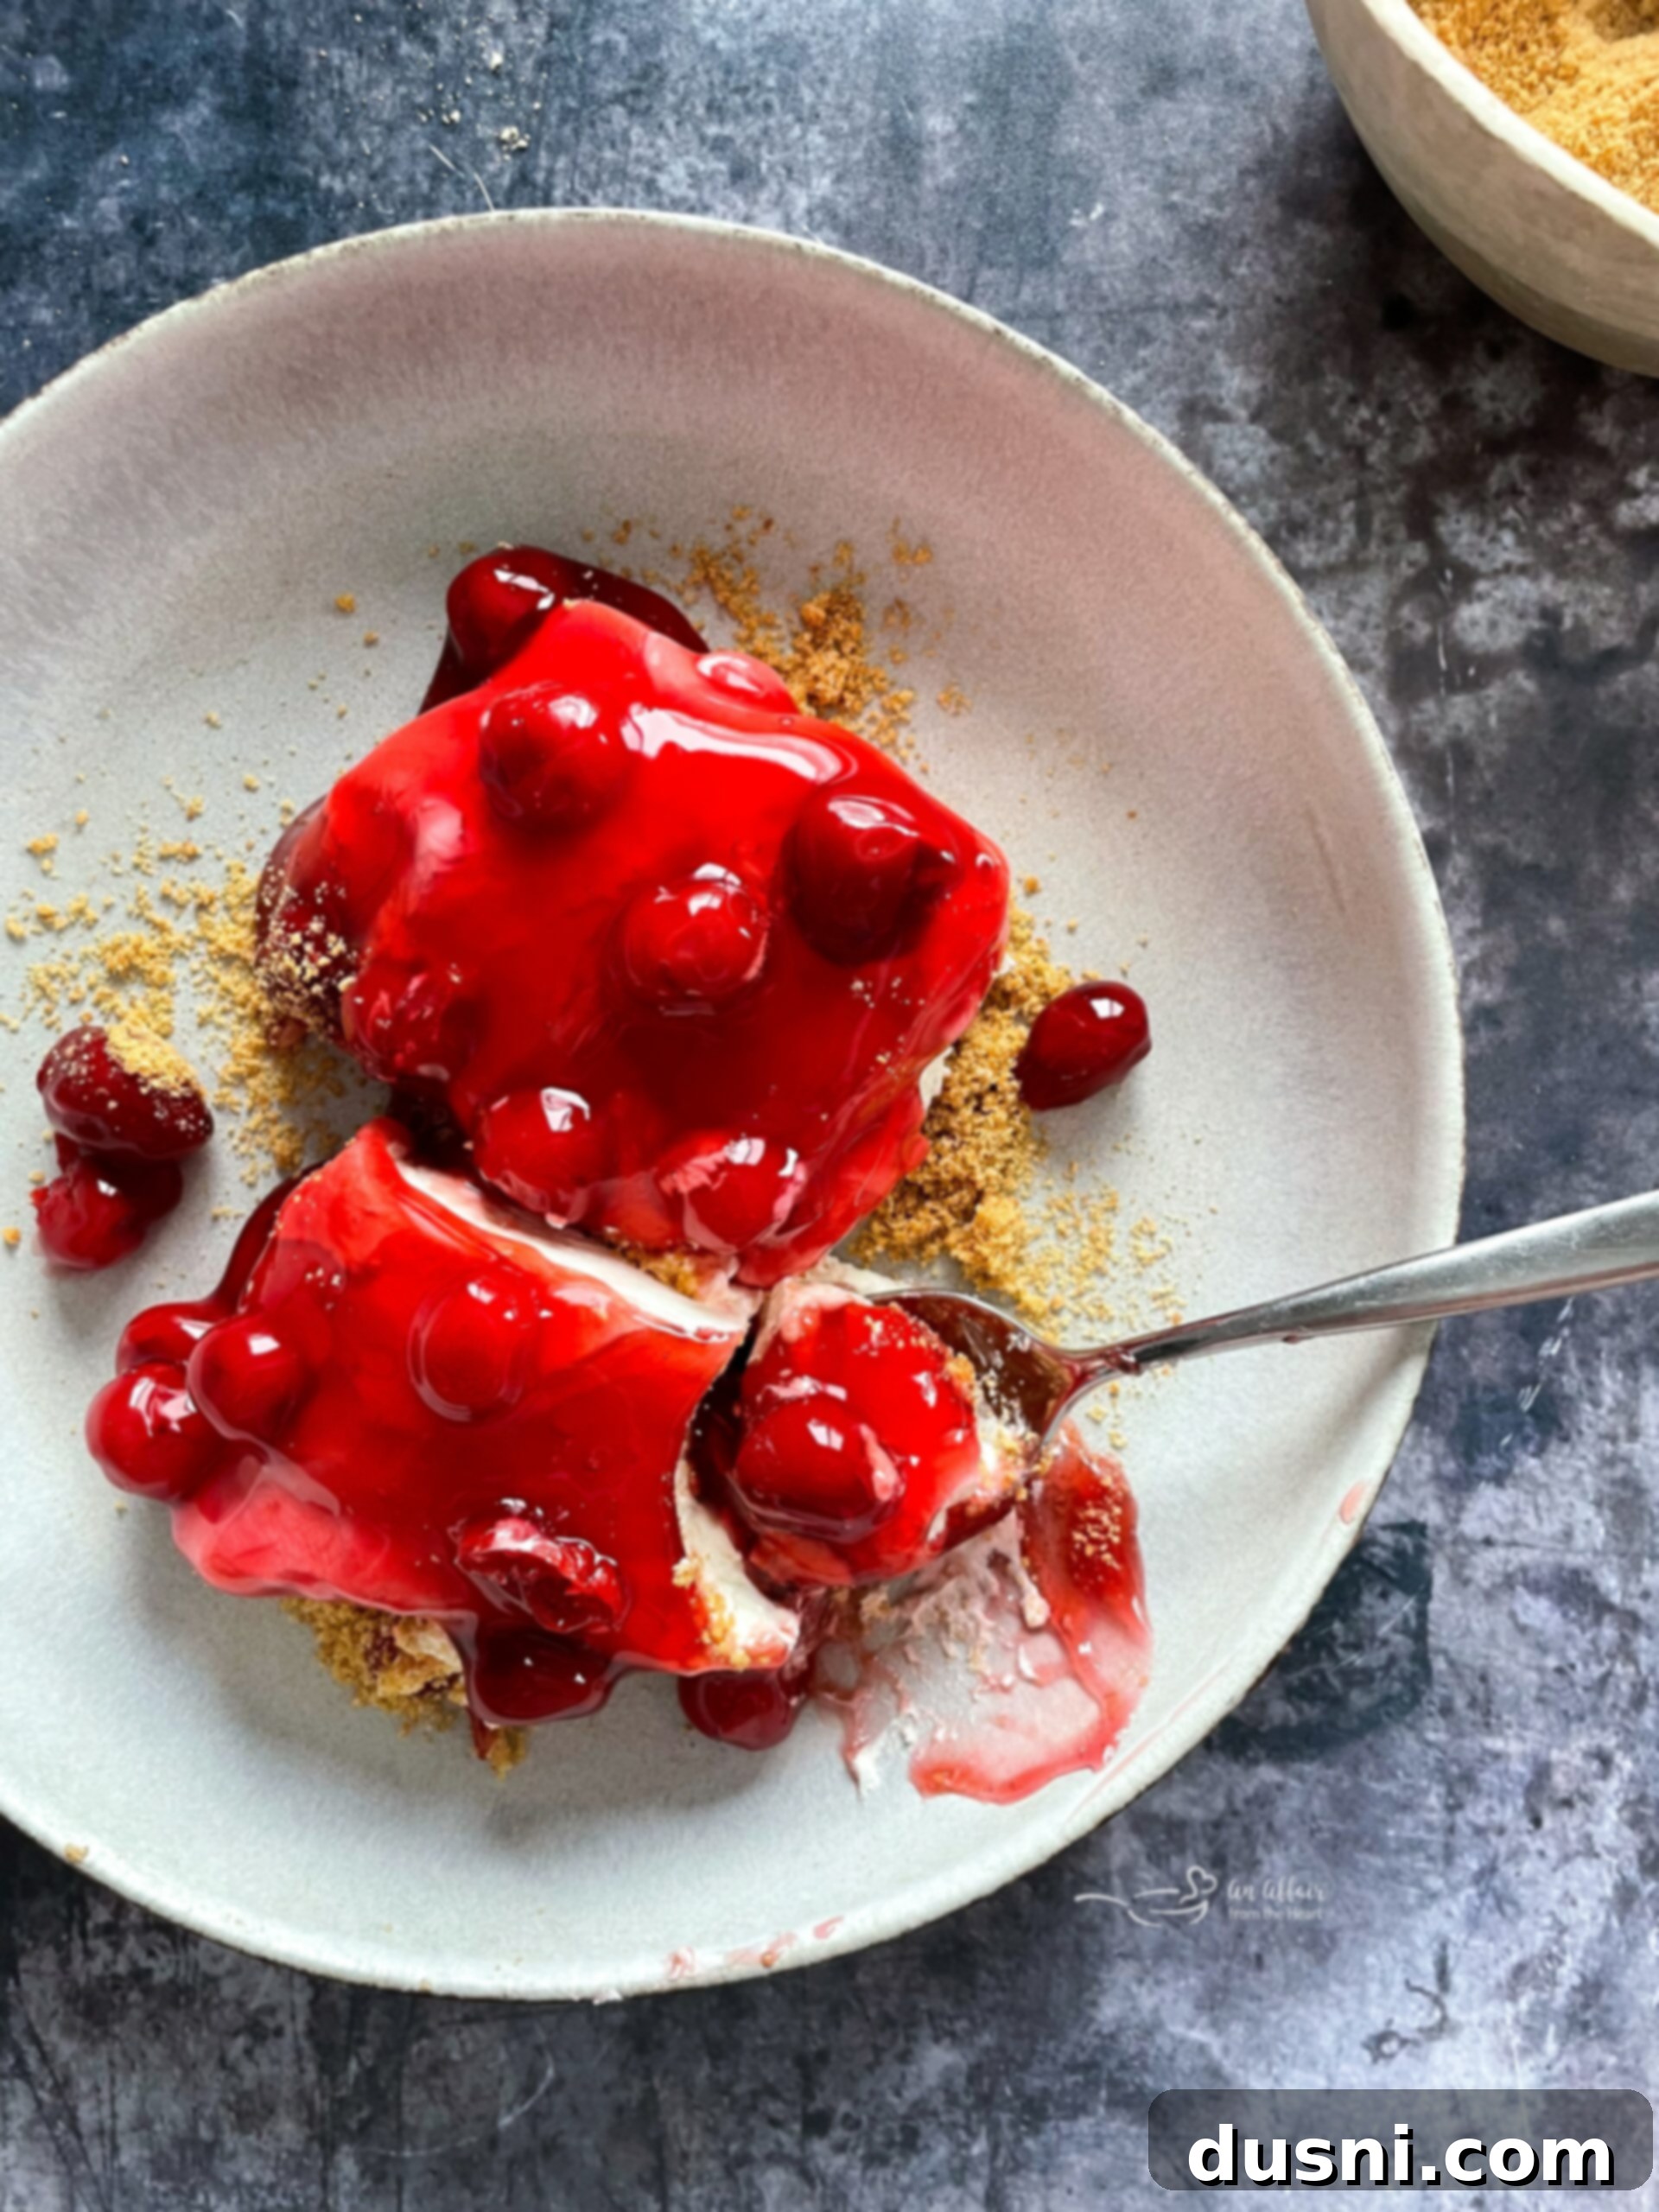
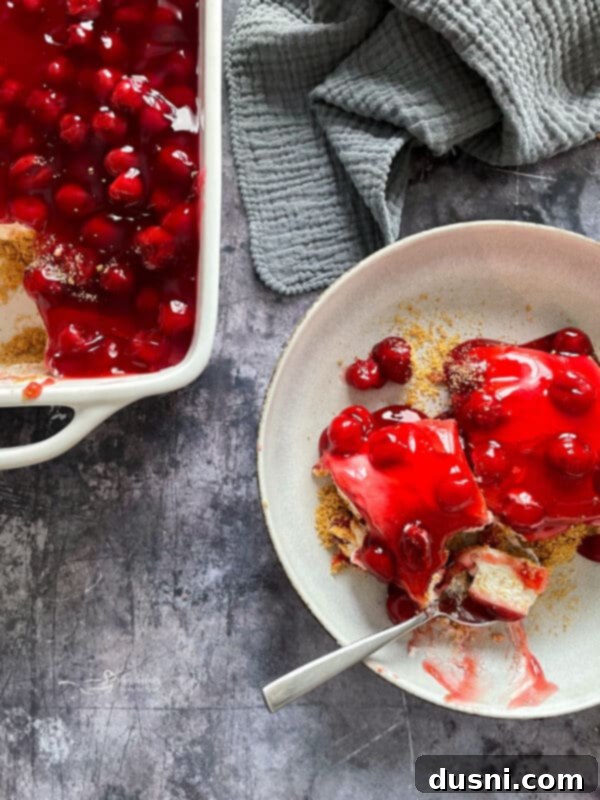
Imagine a delightful ensemble of textures and flavors: a sturdy, buttery graham cracker crust forms the perfect foundation for a luscious, smooth, and airy creamy center. This dreamy filling is crafted from a clever combination of Cool Whip topping and sweetened condensed milk, resulting in a texture that melts in your mouth. Crowned with a generous layer of glistening, tart cherry pie filling, each bite offers a symphony of sweet and tangy notes. Are your taste buds tingling with anticipation yet? This cherry dessert is not only incredibly easy to assemble but also promises a truly scrumptious and impressive treat that everyone will adore.
What makes this cherry dessert truly stand out is its rich, cheesecake-like taste, achieved entirely without the use of cream cheese. It masterfully mimics the beloved tang and creaminess of a classic cheesecake, but with a lighter, fluffier consistency that makes it undeniably perfect for summer. Its cooling nature provides a wonderful respite from the heat, making it an ideal choice for outdoor picnics, barbecues, and lazy afternoon indulgences. Beyond summer, its festive red hue makes it a fantastic holiday dessert, a welcome addition to family dinners, and an absolute potluck superstar. Consider it for Valentine’s Day or Christmas for a beautifully themed dessert; for an extra touch of romance, a tiny drop of pink food coloring could be swirled into the creamy center, enhancing its visual appeal for any special occasion. It truly stands as one of the best and most adaptable cherry dessert recipes you’ll ever encounter.
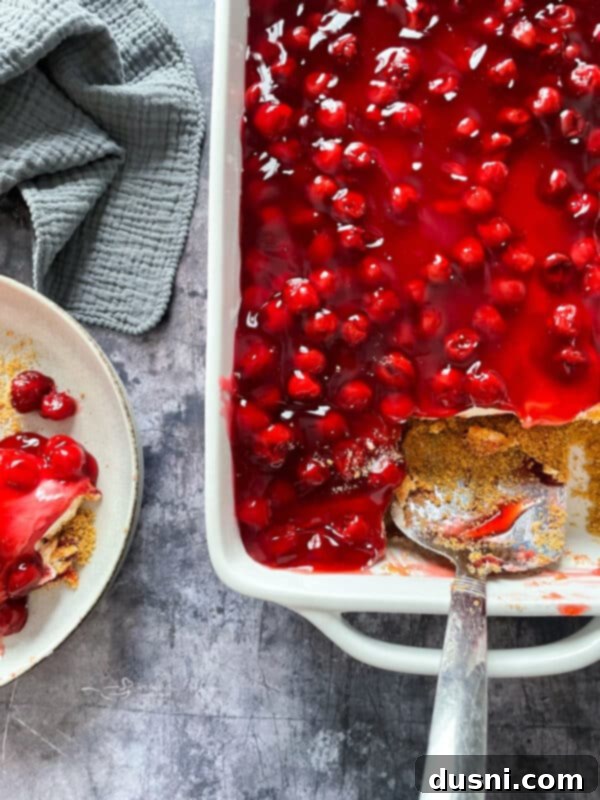
When prepared in a rectangular baking dish, this magnificent dessert transforms into convenient cherry pie bars. This format is absolutely perfect for serving a large crowd, making it an excellent choice for parties, family reunions, or any event where individual slices are easier to manage and distribute. The bar form retains all the delicious layers and flavors, just in a more portable and shareable package, ensuring everyone gets to enjoy a piece of this delightful creation.
One of the most appealing aspects of this delicious dessert is its excellent make-ahead potential. You can easily prepare it a day or two in advance, allowing the flavors to meld beautifully and the layers to set perfectly, which is ideal for busy hosts. It stores wonderfully in the refrigerator for up to one week, maintaining its freshness and delightful texture. Should you find yourself with any leftovers, or if you simply wish to prepare a larger batch for future enjoyment, this dessert can be frozen for up to three months. Simply wrap it tightly before freezing and thaw in the refrigerator before serving for a perfectly preserved treat.
If your love affair with cherries extends beyond this incredible no-bake dessert, you’re in for a treat! We have an array of other fantastic cherry-infused recipes that are sure to satisfy your cravings. Why not explore our Cherry Wink Cookies, bursting with almond flavor and maraschino cherries? Or perhaps indulge in the sweet and comforting Cherry Filled Coffee Cake, perfect for breakfast or brunch. And for a truly decadent experience, these White Chocolate Cherry Cookies offer a delightful combination of fruity and creamy sweetness. Each recipe celebrates the versatility and irresistible charm of cherries, guaranteeing another delicious adventure in your kitchen.
Essential Ingredients for Your No-Bake Cherry Dessert
Crafting this delightful no-bake cherry dessert requires just a handful of readily available ingredients, making it an accessible recipe for any home cook. Each component plays a crucial role in creating the perfect balance of flavors and textures, from the crunchy base to the creamy center and the vibrant fruit topping. Here’s a detailed look at what you’ll need to bring this easy recipe to life:
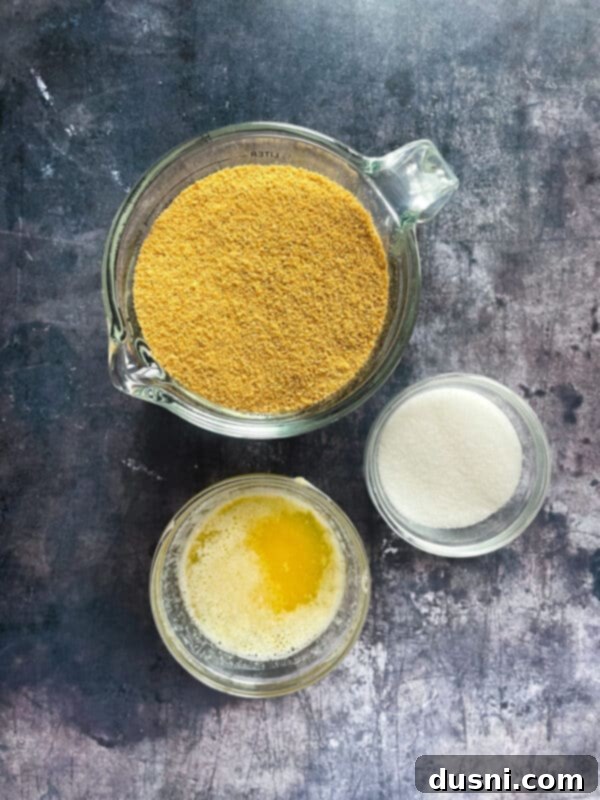
For the Crispy Graham Cracker Crust:
- Graham cracker crumbs – You’ll need precisely 2 cups of graham cracker crumbs to form the perfect base. For ultimate convenience, you can purchase pre-crushed crumbs. Alternatively, for a fresher taste and customizable texture, simply place whole graham crackers in a food processor and pulse until finely ground. If you don’t have a food processor, a zip-top bag and a rolling pin work just as well! The finer the crumbs, the more compact your crust will be.
- Unsalted Butter – Half a stick, or ¼ cup, of melted unsalted butter is essential. The melted butter acts as a binder, holding the graham cracker crumbs together to create a firm, sliceable crust that doesn’t crumble apart when served. Unsalted butter is preferred to control the overall saltiness of the dessert.
- Granulated Sugar – A touch of white granulated sugar enhances the sweetness of the crust and helps caramelize it slightly as it chills, contributing to a richer flavor profile. It also aids in the binding process with the butter.
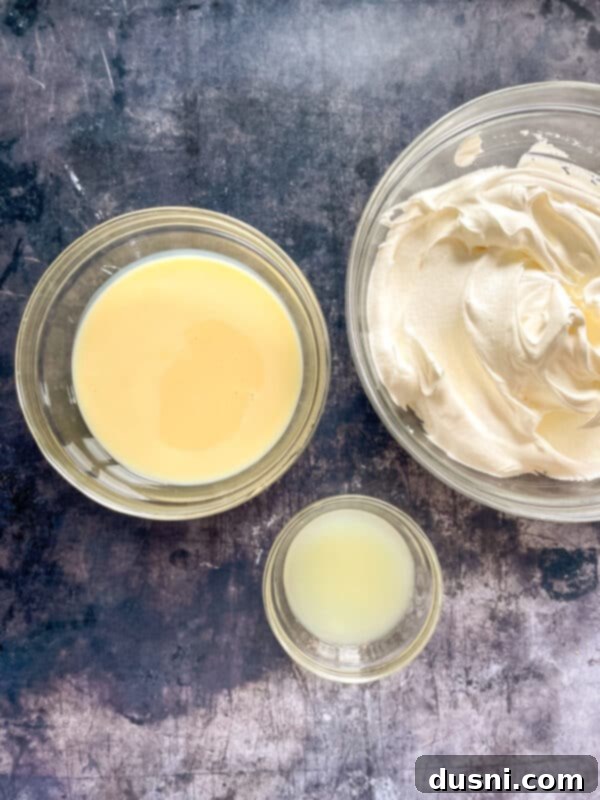
For the Irresistibly Creamy Center:
- Sweetened Condensed Milk – One 14-ounce can of sweetened condensed milk is the star of our creamy layer. This ingredient is fundamental to many no-bake desserts, as its thick, syrupy consistency and high sugar content provide both sweetness and structure without the need for baking. It gives the filling its signature velvety texture.
- Fresh Lemon Juice – A ¼ cup of freshly squeezed lemon juice is crucial. The acidity of the lemon juice reacts with the proteins in the sweetened condensed milk, causing it to thicken and achieve a consistency remarkably similar to cheesecake filling, adding a delightful tang that balances the sweetness. Freshly squeezed juice offers the best flavor!
- Cool Whip – You’ll need an 8-ounce container of Cool Whip (thawed). This light, airy whipped topping is folded into the condensed milk mixture, creating an incredibly fluffy, cloud-like texture for the creamy center. It contributes to the dessert’s overall lightness and ease of preparation. Low-fat Cool Whip works just as well if you’re looking to reduce fat content. For a richer, homemade alternative, you can substitute with freshly whipped heavy cream.
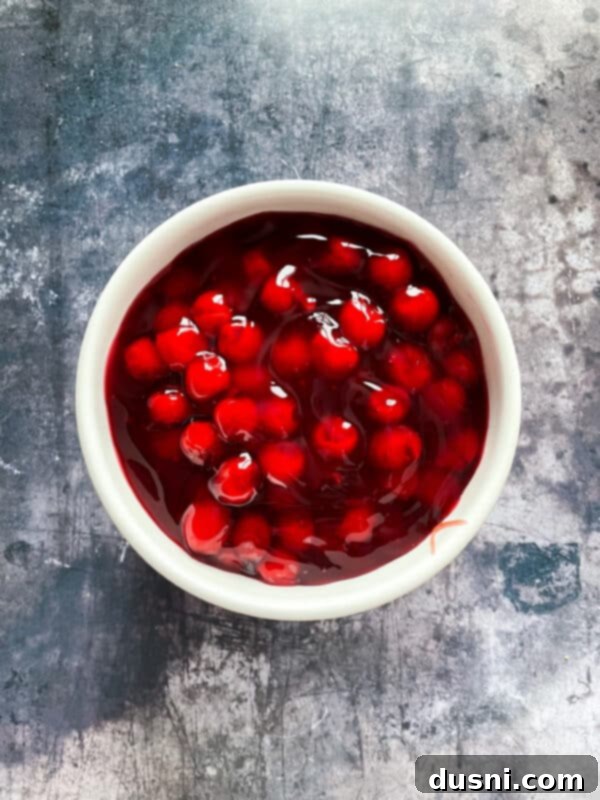
For the Vibrant Cherry Topping:
- Cherry Pie Filling – Two 20-ounce cans of store-bought cherry pie filling are required for a generous, beautiful topping. This pre-made filling provides incredible convenience and consistent flavor, making the assembly process incredibly quick. While you certainly *can* use fresh cherries or even frozen cherries to make a homemade cherry topping, opting for canned filling significantly streamlines the recipe, allowing you to enjoy this dessert with minimal effort. Look for quality brands to ensure a rich, flavorful experience.
Having these simple ingredients on hand means you’re just a few steps away from creating a truly unforgettable no-bake cherry dessert that will impress without the stress!
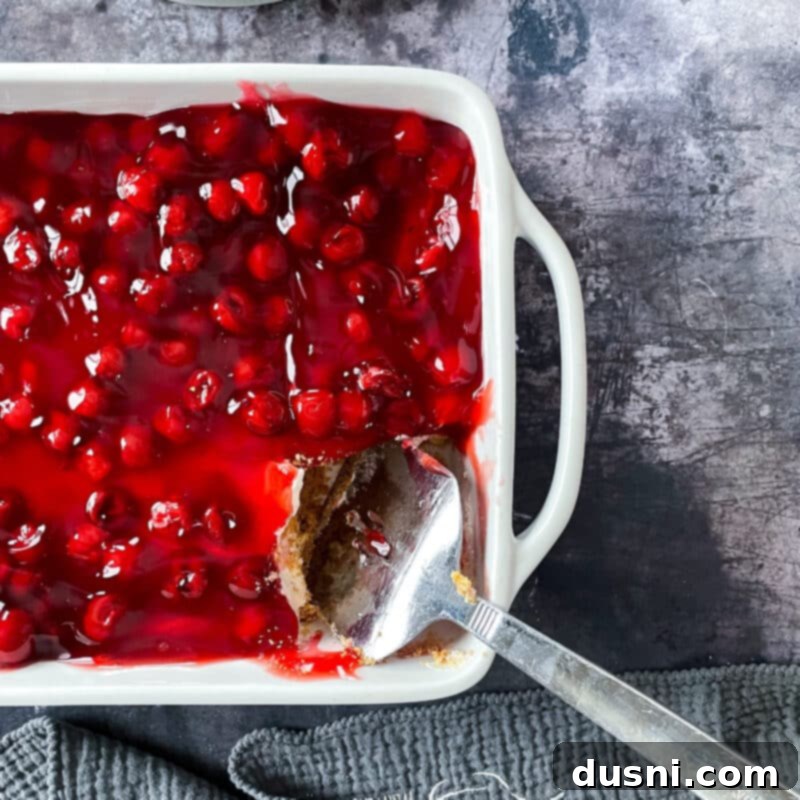
Crafting Your Cherry Delight Dessert: A Simple Step-by-Step Guide
Creating this impressive no-bake cherry dessert is surprisingly straightforward, requiring minimal effort for maximum deliciousness. Follow these easy steps to assemble your very own cherry delight that’s perfect for any occasion. The key to its success lies in careful mixing and sufficient chilling, so let’s get started!
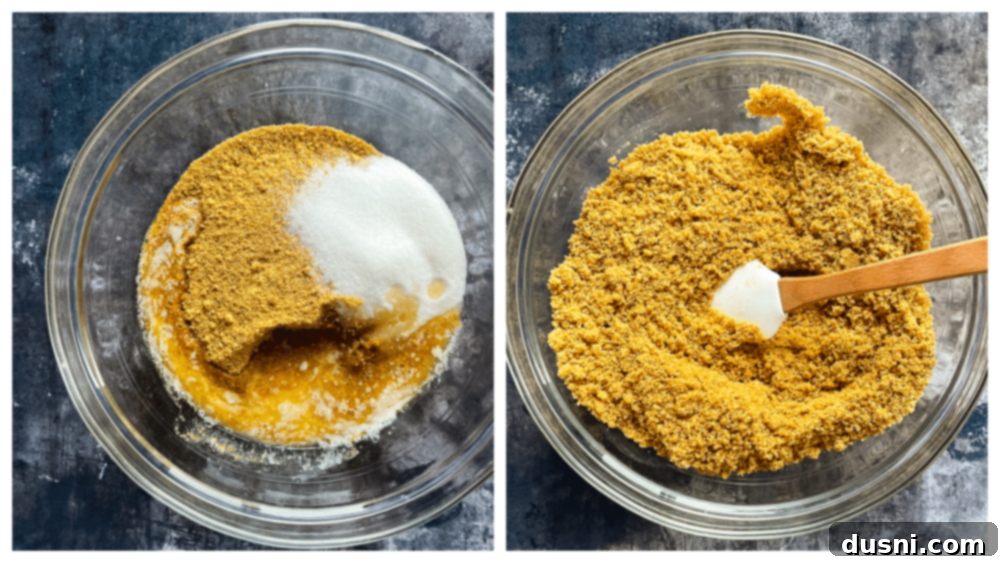
Step One: Prepare the Graham Cracker Crust. In a large mixing bowl, combine your graham cracker crumbs, melted butter, and granulated sugar. Stir them together thoroughly until all of the crumbs are evenly moistened and have the consistency of wet sand. This ensures a cohesive crust. Once mixed, press this mixture firmly and evenly into the bottom of a 9×13-inch baking dish. Use the back of a spoon or your knuckles to create a compact and smooth layer. A well-pressed crust is crucial for the dessert to hold its shape when sliced.
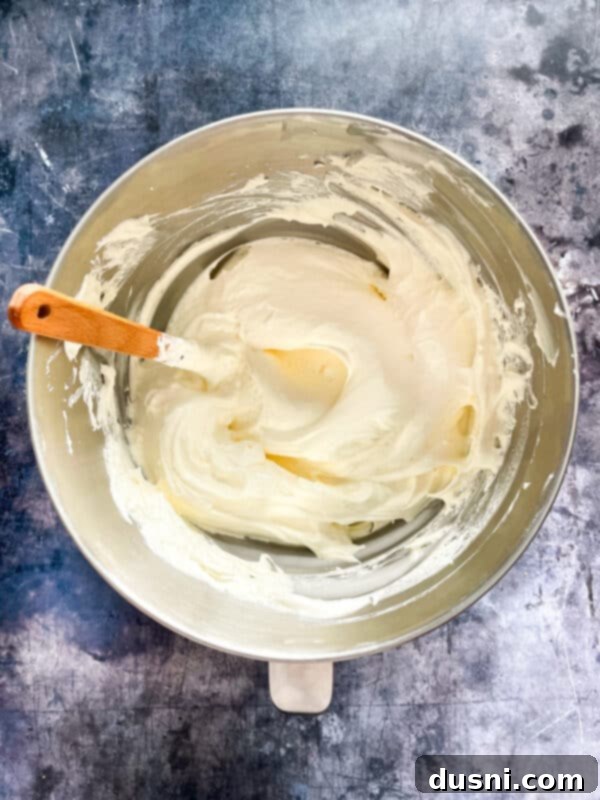
Step Two: Create the Creamy Filling Base. In a separate bowl, combine the sweetened condensed milk and the freshly squeezed lemon juice. Using an electric mixer (either a stand mixer with a whisk attachment or a hand mixer), beat the mixture on medium speed for about 1 minute. You’ll notice the mixture beginning to thicken almost immediately due to the chemical reaction between the lemon’s acidity and the milk’s proteins. This thickening is key to achieving that delightful cheesecake-like texture.
Step Three: Fold in the Cool Whip. Gently, but thoroughly, fold the thawed Cool Whip into your thickened condensed milk and lemon juice mixture. Use a spatula for this step, employing an upward motion to incorporate the Cool Whip without deflating its airiness. The goal is to maintain the light, fluffy texture that Cool Whip provides, creating a truly irresistible and ethereal creamy center. Be careful not to overmix, as this can break down the structure of the Cool Whip.
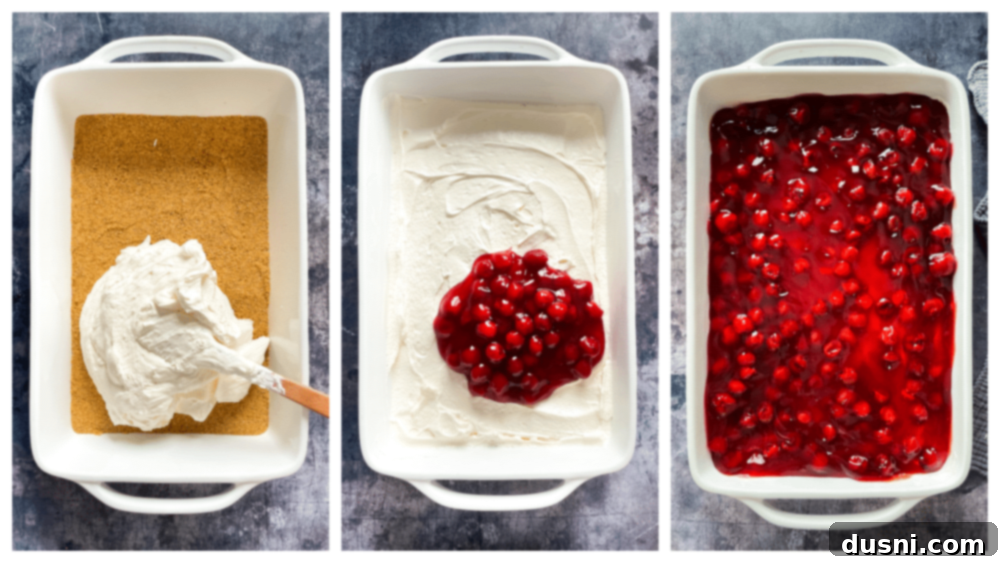
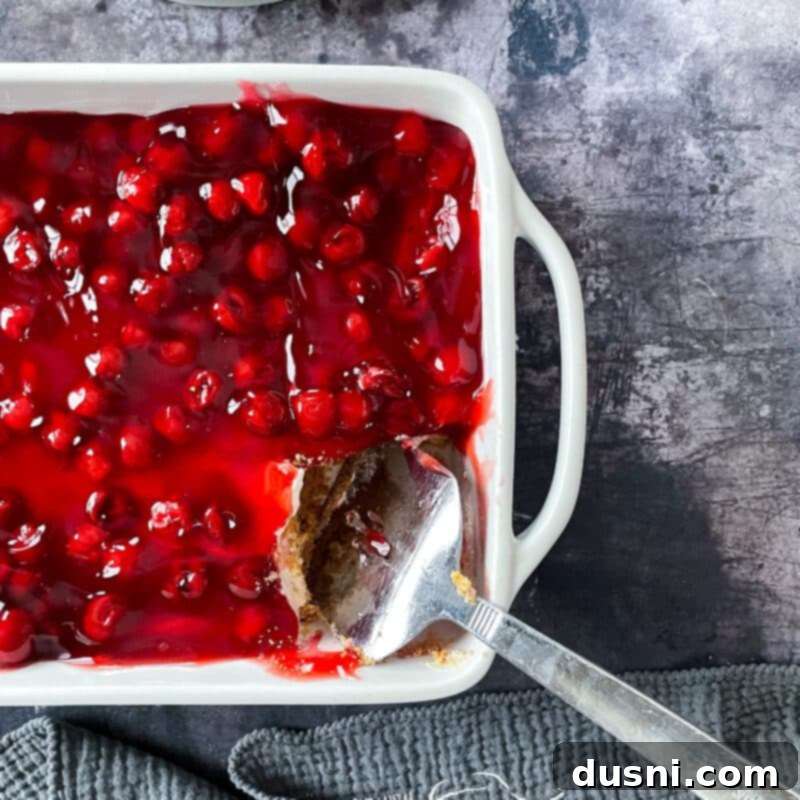
Step Four: Assemble and Chill. Once your creamy filling is perfectly blended, spread it evenly over the prepared graham cracker crust in the baking dish. Use your spatula to create a smooth, consistent layer. Next, spoon the cherry pie filling generously over the creamy layer, spreading it gently to cover the entire surface. For the best presentation, you can swirl it slightly or create an even topping. Finally, cover the baking dish tightly with plastic wrap and refrigerate for at least one hour before slicing and serving. This chilling time is arguably the hardest part, as it requires patience, but it is absolutely crucial for the dessert to set properly and allow the flavors to meld beautifully. Skipping this step will result in a less firm and more difficult-to-serve dessert. *For optimal setting and flavor development, I highly recommend making this the night before you plan to serve it. An overnight chill ensures it has ample time to set up perfectly, making for effortless slicing and a truly delicious experience.
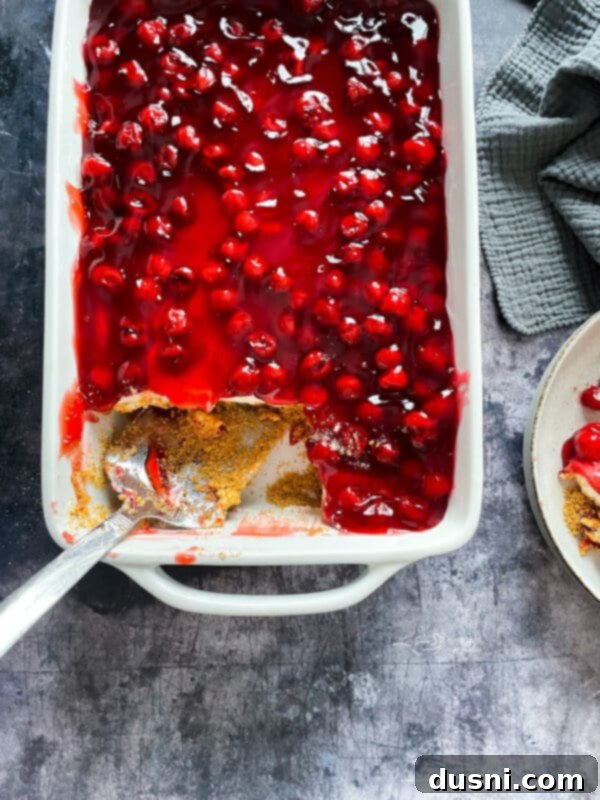
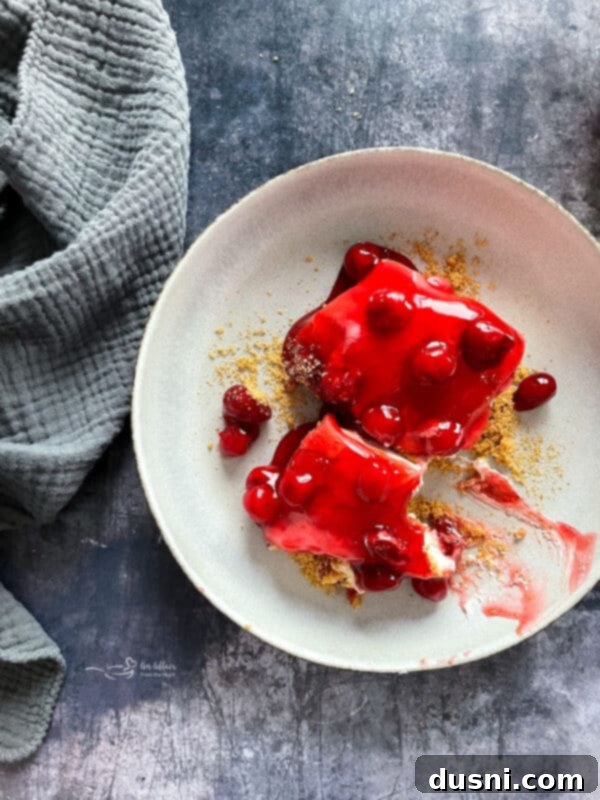
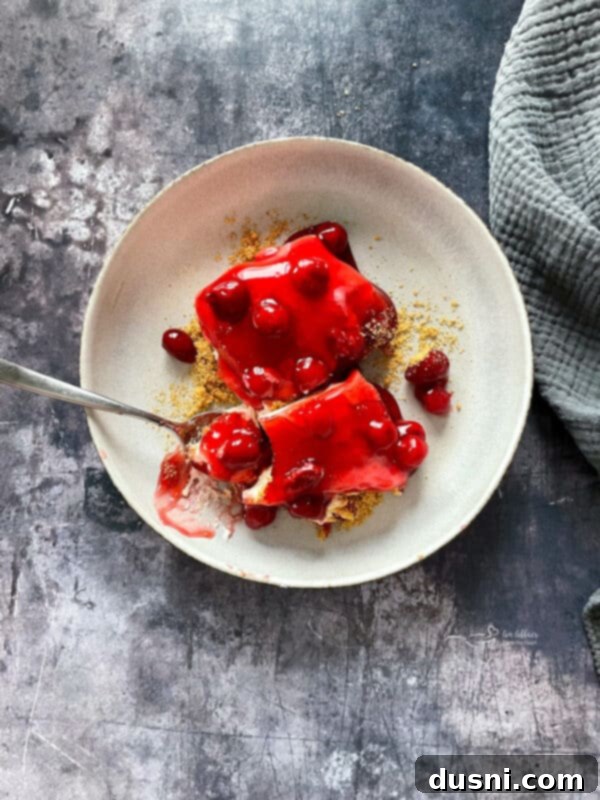
Once thoroughly chilled, your cherry delight is ready to be served! You can enjoy it straight from the fridge for a wonderfully cool and firm treat, or allow it to come to room temperature for a slightly softer, more yielding consistency that highlights its creamy texture. Both ways are absolutely delicious, so choose based on your preference! Note: This recipe is highly adaptable. Feel free to use low-fat or fat-free Cool Whip, and fat-free sweetened condensed milk works beautifully too, allowing you to enjoy this decadent dessert with lighter options.

Love This Recipe? Pin It for Later!
If you’ve fallen in love with this classic no-bake cherry delight recipe and want to ensure you can whip it up whenever the craving strikes, don’t let it get lost in the depths of your browser tabs! Pin it to your favorite Pinterest recipe board right now before you navigate away. This way, it will always be just a click away for your next dessert inspiration!
Frequently Asked Questions About Cherry Desserts
Got questions about making the perfect cherry dessert? We’ve got answers! Here are some common queries to help you master this delicious treat and confidently explore the world of cherry-infused delights.
What types of cherries are best for desserts, and how do they differ? It can indeed be confusing to choose the right cherry for your best cherry desserts, given the many varieties available: tart cherries, sour cherries, maraschino cherries, Bing cherries, Rainier cherries, and more. How do you decide which one will best complement your recipe? Generally, for a classic “cherry pie” flavor, tart (or sour) cherries like Montmorency are preferred for their bright, intense flavor that stands up well to sweetness. Sweet cherries, such as Bing or Rainier, are delicious fresh and can be used in desserts where you want a less acidic, more naturally sugary profile. For this no-bake recipe, canned cherry pie filling typically uses tart cherries, which provides that desirable sweet-tart balance. While research often points to Bing cherries as the most popular for fresh eating due to their widespread availability at local grocery stores, for baking and fillings, tart varieties truly shine. My suggestion to you, whether you’re making cherry clafoutis, mini cherry cheesecakes, cherry bars, or chocolate cherry cookies, is to experiment with different varieties (fresh, frozen, or canned) and see which one you like best for a truly personalized touch. The best cherry is ultimately the one you enjoy most!
How long can this cherry dessert be stored, and what are the best storage practices? This no-bake cherry dessert is fantastic for making ahead! Once assembled, it can be stored in an airtight container or covered tightly with plastic wrap in the refrigerator for up to 5-7 days. For longer storage, it freezes exceptionally well. Wrap individual slices or the entire dish securely in plastic wrap, then an extra layer of aluminum foil, and freeze for up to 3 months. Thaw frozen portions in the refrigerator overnight before serving to maintain texture and flavor.
Can I make this dessert gluten-free or dairy-free? Absolutely! To make it gluten-free, simply substitute regular graham cracker crumbs with gluten-free graham cracker crumbs, which are widely available in most grocery stores. For a dairy-free version, you’ll need to find dairy-free sweetened condensed milk (often made with coconut milk) and a dairy-free whipped topping alternative, such as a coconut-based or almond-based whipped topping. These substitutions will allow you to enjoy this delightful dessert regardless of dietary restrictions.
Delicious Substitutions and Variations
One of the best things about this no-bake cherry delight is its incredible flexibility! Feel free to get creative with substitutions and variations to tailor it to your taste preferences or what you have on hand. Here are some fantastic ideas to inspire you:
- Alternative Fruit Toppings: Instead of using a can of cherry pie filling, you can easily top this delicious dessert with other fruit pie fillings like blueberry, apple, peach, or strawberry for a completely different flavor profile. If you’re feeling ambitious and it’s cherry season, head to your local farmers market and pick up some fresh sweet cherries. You can pit them and simmer them with a little sugar and cornstarch to create a fresh, homemade topping. Similarly, other fresh stone fruits or berries can be prepared into a simple fruit compote to crown your dessert.
- Creamy Filling Variations: While Cool Whip provides a wonderfully light and airy texture, you can achieve a richer, denser filling by making a few swaps. For a truly decadent, more traditional cheesecake-like center, substitute the Cool Whip with two blocks (16 ounces) of softened cream cheese, whipped with the sweetened condensed milk and lemon juice until smooth. You could also try mascarpone cheese for an even creamier, less tangy version. For a hint of tartness, Greek yogurt can be folded in alongside or in place of a portion of the Cool Whip.
- Crust Alternatives: Beyond graham crackers, consider other crumb bases! Crushed vanilla wafers, shortbread cookies, or even Oreo crumbs (for a chocolate-cherry twist!) can make excellent crusts. Adjust the amount of butter slightly to achieve the right consistency for your chosen crumb.
- Flavor Enhancements: A teaspoon of almond extract in the cherry filling or a touch of vanilla bean paste in the creamy layer can deepen the flavors significantly.
Expert Tips and Tricks for Perfection
Elevate your no-bake cherry dessert from simply delicious to absolutely unforgettable with these expert tips and clever tricks:
- Flavor Boosters for the Creamy Center: To add an extra layer of gourmet flavor to your creamy filling, consider stirring in a touch of vanilla extract, almond extract, or even a hint of cherry extract. A pinch of fresh lemon zest can also brighten the taste, making it even more refreshing.
- Decadent Topping Ideas: For an even richer and more luxurious dessert, don’t stop at just the cherry pie filling! Garnish slices with a generous dollop of freshly whipped cream, a scoop of premium vanilla ice cream, or a sprinkle of finely grated dark chocolate. A few fresh mint leaves can also add a beautiful pop of color and freshness.
- Individual Servings for Parties: Transform this great dessert into charming mini treats perfect for parties or portion control. Instead of a large baking dish, prepare it in a muffin tray lined with paper cups or small ramekins. This makes for elegant individual servings that are easy for guests to enjoy. You can even use small dessert glasses for a parfait-style presentation.
- Crust Compression is Key: When pressing the graham cracker crust into the dish, ensure it’s packed down very firmly. This prevents it from crumbling when you cut into the dessert and gives you a stable base.
- Chill for Success: We can’t stress this enough – allow ample chilling time! At least 1-2 hours is a minimum, but an overnight chill in the refrigerator truly makes a difference. It allows the creamy filling to set completely and the flavors to fully meld, resulting in a cleaner slice and a more cohesive dessert.
- Serving Temperature: While delicious straight from the fridge, letting the dessert sit at room temperature for about 10-15 minutes before serving can soften the creamy layer slightly, enhancing its melt-in-your-mouth texture.
More Irresistible Cherry Recipes to Love
If you’ve enjoyed the delightful flavors of this no-bake cherry dessert, you’ll be thrilled to explore more ways to incorporate the sweet-tart goodness of cherries into your baking. Here are a few more cherry-inspired recipes from our collection that we think you’ll adore:
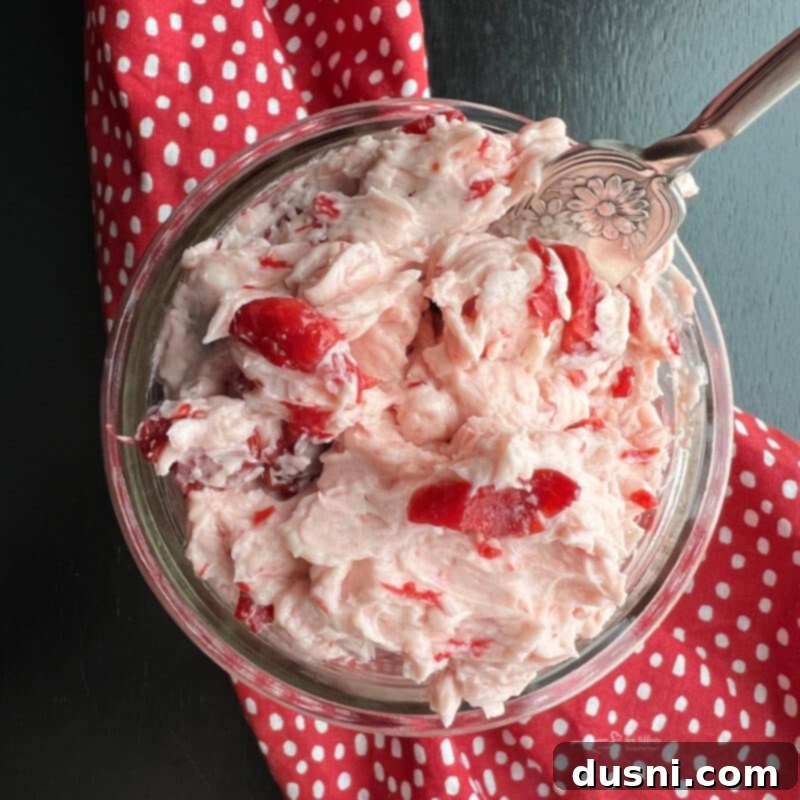
- Cherry Butter (pictured above) – A smooth, sweet, and incredibly versatile spread.
- Cherry Limeade Sweet Rolls – A vibrant and zesty twist on classic sweet rolls.
- Chocolate Cherry Brownies – Rich, fudgy brownies studded with juicy cherries.
- Cherry Cheese Bread – A comforting, sweet, and savory loaf perfect for breakfast or dessert.
- Cherry Pie Jell-O Salad – A retro classic that’s light, fruity, and always a crowd-pleaser.
- Cherry Fluff Recipe – A delightful, airy, and fruity salad perfect for any gathering.
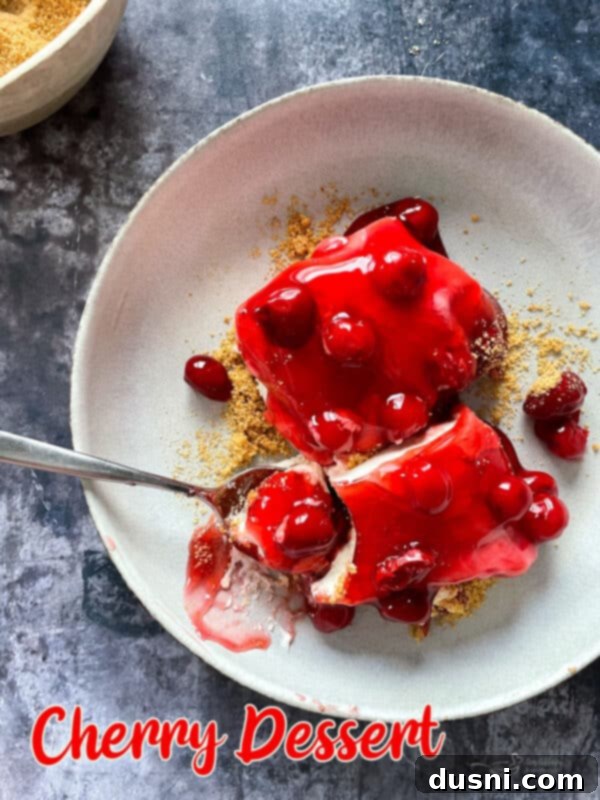
This Cherry Dessert is truly a cherished family recipe, originating from my beloved Grandma Czaplewski. I am certain it found its way into our family via a church cookbook at some point in time; I only wish she were still here so I could ask her directly! Grandma was an incredibly dynamic woman, and I fondly remember talking to her on the phone almost every day. Though she passed away in 1994, I still miss her warmth and spirit every single day.
The tradition lives on, with my mom, her twin sister, and myself continuing to make this delightful dessert today. It’s more than just a recipe; it’s a connection to our family’s history and a testament to enduring love. So, I encourage you to whip one up for your family. Who knows, perhaps your grandkids will be making this very same recipe 40 years from now, creating their own sweet memories and passing on a beloved tradition!

LIKE THIS RECIPE?
Don’t forget to give it a ⭐️⭐️⭐️⭐️⭐️ star rating and
leave a comment below the recipe!

Print Recipe
No-Bake Cherry Dessert Delight
Equipment
-
Rubber Spatulas
-
Kitchenaid Stand Mixer
-
KitchenAid Hand Mixer
-
9×13 Pyrex Baking Dish with a Lid
Ingredients
- For the Crust:
- 2 cups graham cracker crumbs
- 1/2 stick of butter 1/4 cup, melted
- 1/4 cup sugar
- For the Creamy Center:
- 1 14 ounce sweetened condensed milk
- 1/4 cup lemon juice
- 8 ounces Cool Whip
- Cherry Topping:
- 2 20 ounce cans Cherry pie filling
Instructions
-
Combine crust ingredients until all of the crackers are moistened. Press into the bottom of a 9×13 baking dish.
-
Combine sweetened condensed milk and lemon juice with your mixer for about 1 minute. It will thicken up a little bit.
-
Fold in Cool Whip.
-
Spread the creamy filling evenly over the top of the crust.
-
Top with cherry pie filling and refrigerate for at least one hour before slicing and serving.
Notes
Nutrition
This recipe was originally posted on May 30, 2014. It has been thoroughly updated and expanded to improve user experience, enhance SEO, and provide even more helpful tips and variations, and was reshared on January 27, 2023.
