Copycat Rocky Mountain Chocolate Factory Caramel Apples: Your Ultimate Guide to Homemade Perfection
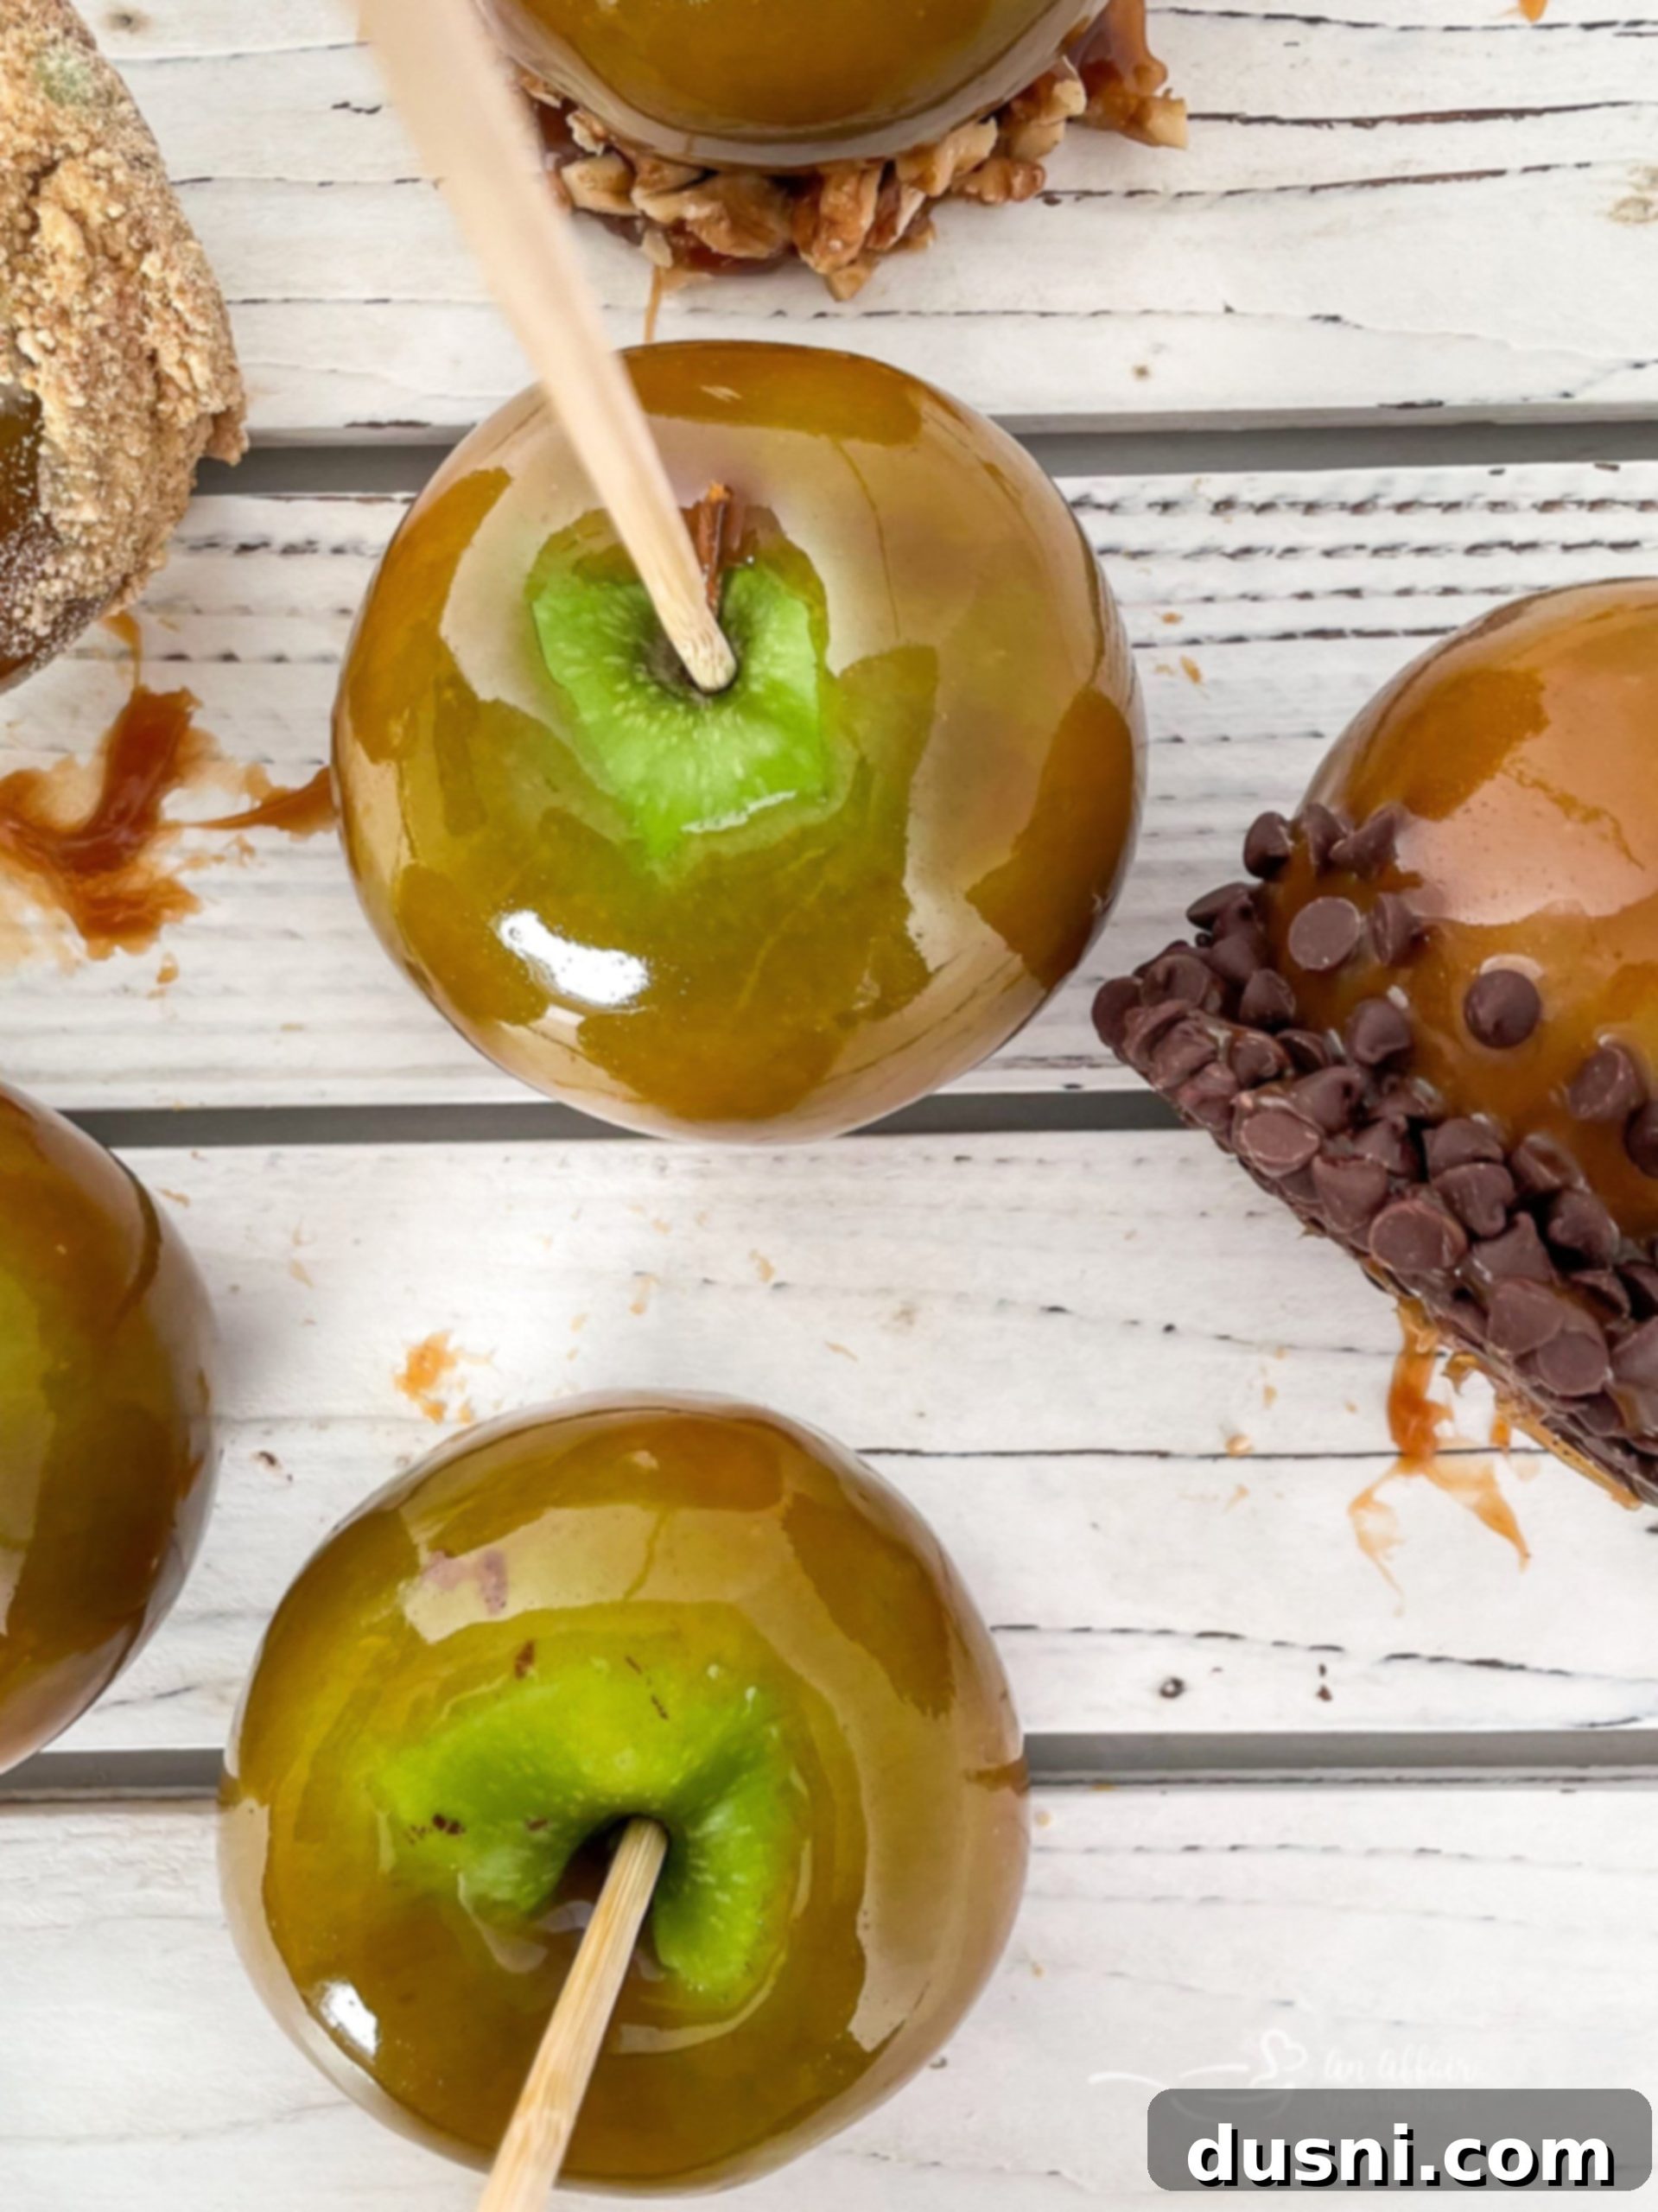
Take a delightful trip down memory lane with every bite of these incredible Rocky Mountain Chocolate Factory Caramel Apples! Recreate the magic of those cherished mall visits right in your own kitchen with our perfected homemade caramel-dipped Granny Smith Apples on a stick. Whether you prefer them simply coated in rich, chewy caramel, rolled in a medley of your favorite candies and nuts, or given an extra decadent dip in melted chocolate, these gourmet caramel apples are guaranteed to transport you to sweet, nostalgic bliss.

Crafting your own gourmet caramel apples at home might seem like a daunting task, but it’s surprisingly simple with a few insider tricks. You’ll need just a handful of basic ingredients like luscious heavy cream, rich evaporated milk, light corn syrup, and granulated sugar to achieve that iconic, irresistible caramel coating. Get ready to transform crisp Granny Smith apples into extraordinary treats!
Caramel apples are undeniably one of the most anticipated treats when fall arrives, and I’ve always dreamed of sharing a foolproof recipe. Today, that dream comes true! This comprehensive guide will walk you through every step to ensure your homemade caramel apples rival those from the renowned Rocky Mountain Chocolate Factory.
Recreating the Magic of Rocky Mountain Chocolate Factory Caramel Apples
My younger years were largely spent exploring the bustling halls of the local mall, where I even worked at a Berman’s Leather store during high school. Yet, a Rocky Mountain Chocolate Factory was never a part of that landscape. The true discovery came much later, as a parent, when I’d often take my own children to the mall – a convenient escape from the house and a source of entertainment for my little ones in their stroller. It was during one of these outings that I finally encountered the newly opened Rocky Mountain Chocolate Factory and indulged in my very first caramel apple from their exquisite selection.
That initial taste was nothing short of heavenly. If my memory serves me correctly, it was a Snickers-themed caramel apple – a brilliant combination of rich, gooey caramel, a crisp apple, and my absolute favorite candy bar. The idea of merging such delightful elements into one glorious treat instantly captivated me. This experience sparked my passion for recreating such gourmet delights at home, leading to countless experiments in pursuit of the perfect copycat recipe for Rocky Mountain Chocolate Factory Caramel Apples.
The allure of copycat recipes is undeniable! It’s incredibly satisfying to replicate beloved restaurant and store-bought treats in your own kitchen. Beyond these sensational caramel apples, I love diving into other famous recipes. Here are two more restaurant copycat treats that are equally enjoyable to make and savor: the irresistible Copycat Crumbl Chocolate Chip Cookie Recipe and the iconic Dairy Queen’s Buster Bars. Each offers a unique challenge and a delicious reward, but the Rocky Mountain Chocolate Factory Caramel Apple holds a special place in my heart as a truly gourmet homemade experience.
Essential Prep: Removing Wax from Apples for Flawless Caramel Adhesion
Have you ever wondered why that beautiful, glossy finish on fresh apples seems to repel anything you try to coat them with? The secret lies in the natural or commercial wax applied to apples to preserve their freshness and appearance during transport and storage. While harmless to eat, this waxy layer is the nemesis of smooth, perfectly adhered caramel. If you’ve ever attempted to make caramel apples and found the caramel stubbornly sliding off, the culprit was likely unremoved wax.
So, how do you effectively remove this wax to ensure your homemade caramel apples are a success? The process is surprisingly simple and crucial for a professional-looking finish. Begin by preparing a large pot of boiling water. Carefully dip each apple into the boiling water for just a few seconds – no more than 10-15 seconds per apple. This brief dip is enough to melt and loosen the wax without cooking the apple itself. Immediately after dipping, thoroughly dry each apple with a clean paper towel. You’ll visibly see the waxy film being wiped away, leaving a duller, more porous surface that’s ready to embrace the caramel.
An important, often overlooked tip for achieving a successful, drip-free caramel coating is to ensure the apples are completely cool before dipping. After removing the wax and drying them, allow the apples to cool down to room temperature. Better yet, give them a quick chill in the refrigerator for 15-30 minutes. Chilling them in the fridge helps the hot caramel set almost instantly upon contact, preventing unsightly drips and ensuring a smooth, even layer that stays firmly in place. This small step makes a significant difference in the final presentation and texture of your gourmet caramel apples.
The Heart of the Treat: Key Ingredients for Homemade Caramel Apples
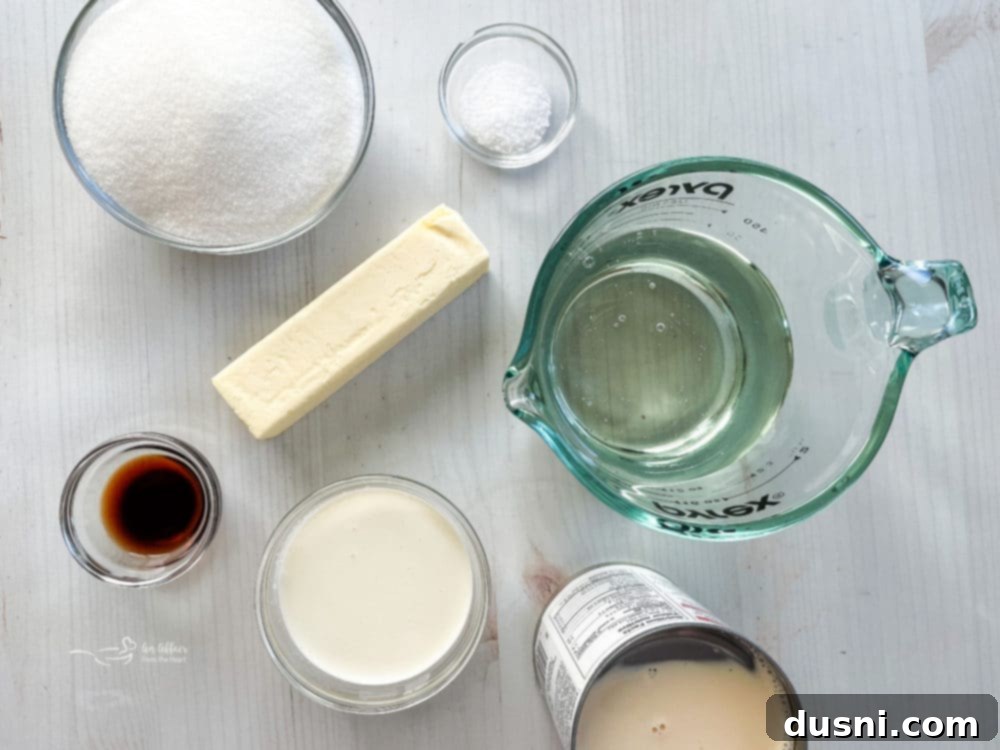
As I’ve emphasized, crafting delicious, old-fashioned caramel apples from scratch isn’t overly complicated. It requires a bit of dedicated time and careful attention, but the effort, I promise, is immensely rewarding. The quality of your ingredients directly impacts the richness, texture, and overall flavor of your homemade caramel. Here’s a closer look at the essential components that bring these Rocky Mountain Chocolate Factory Caramel Apples to life:
- Large Granny Smith Apples: These are undoubtedly the gold standard for caramel apples. Their distinct tartness provides a perfect counterpoint to the sweet caramel, preventing the treat from becoming overwhelmingly sugary. Furthermore, their firm texture holds up beautifully under the warm caramel and resists becoming mushy. While you *can* use red apples, opt for varieties known for their crispness and tart flavor, such as Honeycrisp or Fuji, to achieve the best balance.
- Evaporated Milk: This ingredient is a caramel game-changer. Unlike regular milk, evaporated milk is concentrated, meaning it contains less water. This results in a thicker, creamier, and more stable caramel with a wonderfully rich flavor. It’s crucial for achieving that characteristic chewy consistency.
- Heavy Whipping Cream: Adding heavy cream further contributes to the caramel’s luxurious smoothness and richness. Its high fat content helps create a velvety texture and prevents the caramel from becoming grainy.
- Butter: Good quality butter (preferably unsalted, to control the overall saltiness) is essential for flavor, richness, and shine. It adds a beautiful, buttery depth that makes the caramel truly irresistible.
- Corn Syrup (Light or Dark): Don’t skip the corn syrup! This unsung hero is vital for preventing sugar crystallization, which can make your caramel grainy and brittle. It acts as an interfering agent, ensuring your caramel stays smooth, glossy, and perfectly chewy. Light corn syrup is generally preferred for a cleaner flavor, but dark can add a deeper molasses note if desired.
- Brown Sugar (or Granulated Sugar): Brown sugar contributes to a richer, more complex caramel flavor with subtle molasses notes, as well as a softer, chewier texture. Granulated sugar can also be used, but brown sugar truly elevates the taste profile, making your homemade caramel apples taste even more gourmet.
- Salt: A touch of salt is crucial for balancing the sweetness of the caramel. It enhances all the other flavors, creating a more sophisticated and less cloying taste experience. Don’t underestimate its power!
- Pure Vanilla Extract: This is where quality truly shines. If you’re not already using pure vanilla extract, I wholeheartedly encourage you to make the switch. The depth of flavor it imparts to the caramel is unparalleled and makes a huge difference compared to artificial vanilla. Add it at the end to preserve its delicate aroma.
Detailed measurements and step-by-step instructions can be found in the printable recipe card located at the bottom of this post.
Unleash Your Creativity: Decadent Caramel Apple Toppings
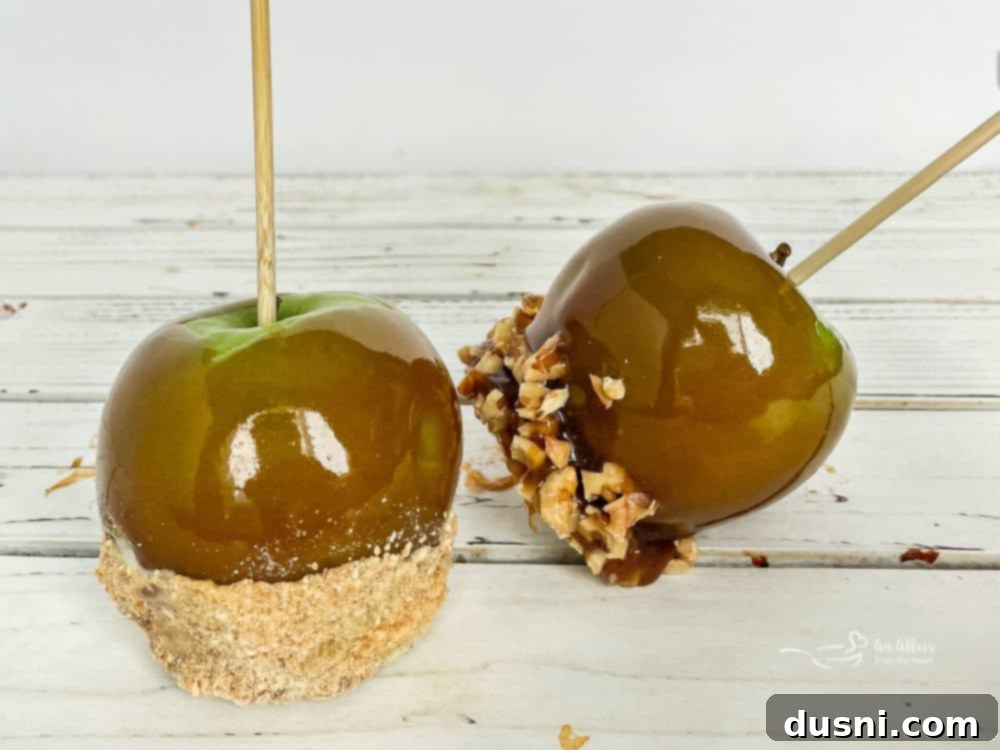
Once your crisp Granny Smith apples are beautifully coated in homemade caramel, the fun truly begins! This is where you can personalize each caramel apple to perfection, transforming them into individual works of art that rival any gourmet shop. The possibilities for additional toppings are virtually endless, allowing for endless customization and flavor combinations. Some popular and exciting ideas for elevating your caramel apples include:
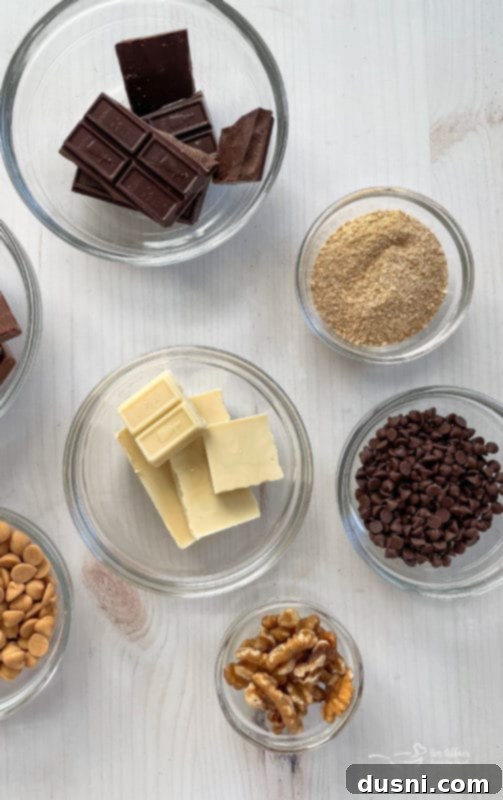
- Chocolates: Drizzle with melted dark chocolate, white chocolate, or milk chocolate for a classic pairing. You can also use chocolate chips, butterscotch chips, or peanut butter chips for a varied texture and flavor.
- Candies & Sweets: Crush up your favorite candy bars (like Snickers, Reese’s, Heath Bar, or Oreos), M&M’s, mini marshmallows, or colorful sprinkles for a playful touch.
- Nuts: Chopped peanuts, pecans, walnuts, almonds, or even pistachios add a wonderful crunch and earthy flavor that complements the sweet caramel beautifully. Lightly toast them for extra aroma.
- Coconut: Toasted or untoasted shredded coconut offers a delightful texture and tropical hint.
- Cookie & Cracker Crumbs: Crushed graham crackers, shortbread cookies, or even vanilla wafers add an interesting dimension.
- Flavored Salts: A sprinkle of flaky sea salt after the caramel sets can truly enhance the flavor, creating that irresistible sweet and salty combination.
Expert Tip: Timing is key when applying toppings! If you plan to roll your caramel apples through nuts or smaller candies, do so immediately after dipping them in the warm caramel, while the caramel is still soft and sticky. This ensures the toppings adhere perfectly. However, if you intend to dip your apples in melted chocolate, allow the caramel layer to set completely first. This prevents the warm chocolate from melting or softening the caramel, which could cause both layers to slide off. A brief chill in the refrigerator can help the caramel set more quickly before its chocolate bath.
Mastering the Art: How to Make the Perfect Homemade Caramel Apples
Creating these gourmet Rocky Mountain Chocolate Factory-style caramel apples involves a few critical steps that, when followed carefully, guarantee a spectacular result. Patience and precision are your best friends in the kitchen, especially when dealing with hot caramel. Let’s break down the process to ensure every apple you make is a masterpiece.
Step 1: Prepare Your Apples for Success
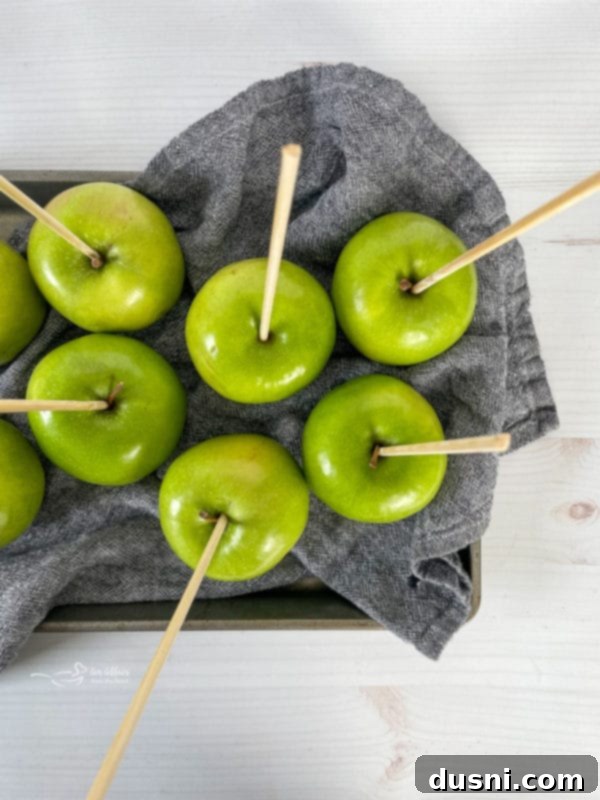
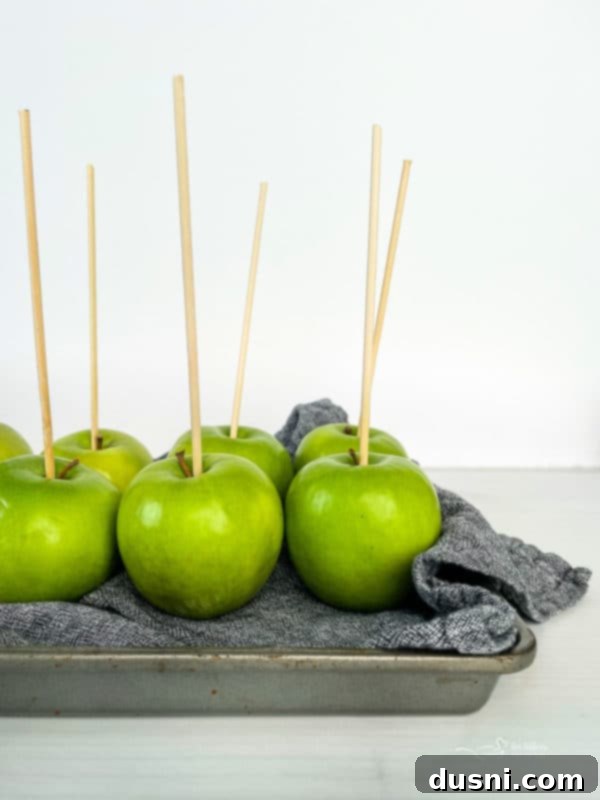
As discussed, the first and arguably most important step is preparing your apples. You’ll need to remove that pesky waxy coating to ensure your rich, homemade caramel adheres flawlessly. Start by bringing a large pot of water to a rolling boil. Carefully, using a slotted spoon or tongs, dip each apple into the boiling water for no more than 10-15 seconds. This brief exposure softens the wax. Immediately remove the apple and dry it thoroughly with sturdy paper towels. You’ll often see the wax residue come off on the towel. This process creates a slightly rougher surface that provides excellent grip for the caramel. Once cleaned, insert a sturdy wooden stick firmly into the core of each apple, extending about halfway through for a secure handle. Set all prepared apples aside on a baking sheet lined with parchment paper until they are *completely cool* – ideally chilled in the fridge for 15-30 minutes for optimal caramel setting.
Choosing the Best Sticks for Your Caramel Apples: The right stick is essential for both ease of eating and a secure hold. You have several great options. You can purchase dedicated Caramel Apple Sticks, which are typically robust and flat-ended for good stability. Alternatively, sturdy craft sticks (like those used for popsicles) work well, or you can even cut off bamboo skewers to your desired height. The key is to select a stick that is strong enough to support the weight of the apple and caramel without bending or breaking, and long enough to provide a comfortable grip.
Line a baking sheet with parchment paper. This non-stick surface is essential for placing your dipped apples, allowing them to set without sticking and making for easy removal.
Step 2: Crafting the Perfect Homemade Caramel
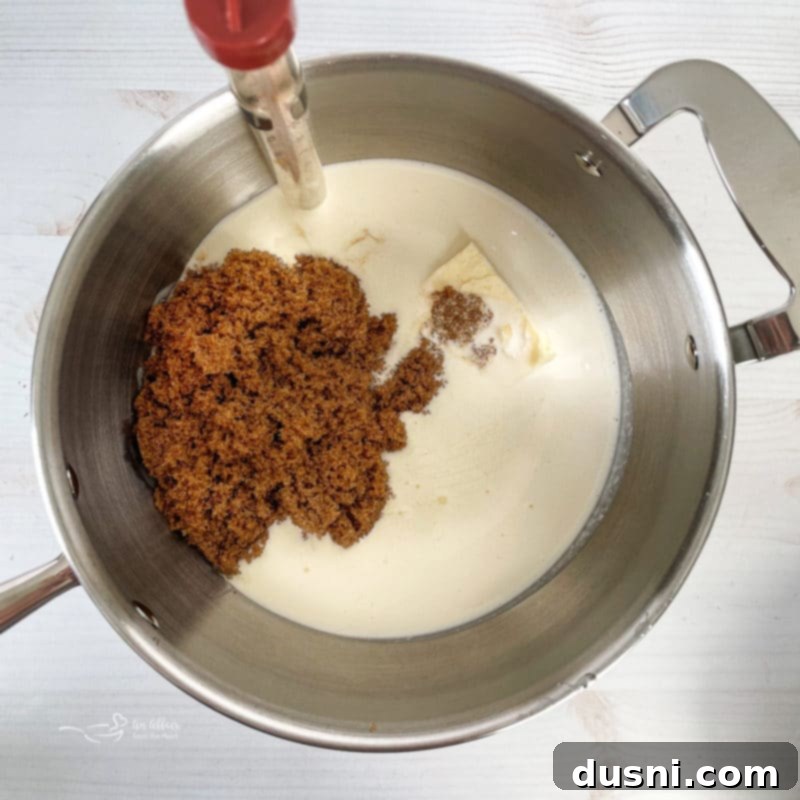
Now for the star of the show: the rich, buttery caramel. In a large, heavy-bottomed saucepan (this is important to prevent scorching), combine your evaporated milk, heavy whipping cream, butter, corn syrup, brown sugar, and salt. Stir these ingredients together well over medium-high heat until everything is combined and the butter has melted. Bring the mixture to a gentle boil, ensuring you stir constantly to prevent any sugar from sticking to the bottom of the pan and burning. Once boiling, reduce the heat to medium-low, maintaining a steady simmer.
The secret to flawless caramel texture lies in temperature control. Continue to cook the caramel, stirring *constantly* (this cannot be stressed enough to avoid burning!), until a candy thermometer accurately reads 248 degrees F (120 degrees C). This temperature is crucial for achieving the perfect chewy “firm ball” stage. This cooking process is not quick – it will typically take at least 25 to 30 minutes, and sometimes even longer, so patience is paramount. Don’t rush it; the consistent stirring and precise temperature are key to a smooth, delicious caramel.
Quick Tip for Caramel Readiness: If you don’t have a candy thermometer or want a secondary check, perform the “cold water test.” Drop a small teaspoon of the hot caramel syrup into a glass of very cold water. If it has reached the correct temperature, it should immediately form a firm, yet still pliable, ball that you can pick up. If it’s too soft, continue cooking and retest.
Once your caramel reaches 248 degrees F, immediately remove it from the heat. Stir in the pure vanilla extract. The vanilla adds a beautiful aromatic finish that truly rounds out the caramel’s flavor. Keep the caramel warm enough to be dippable but remove it from direct heat to prevent further cooking.
Step 3: Dipping and Decorating Your Gourmet Caramel Apples
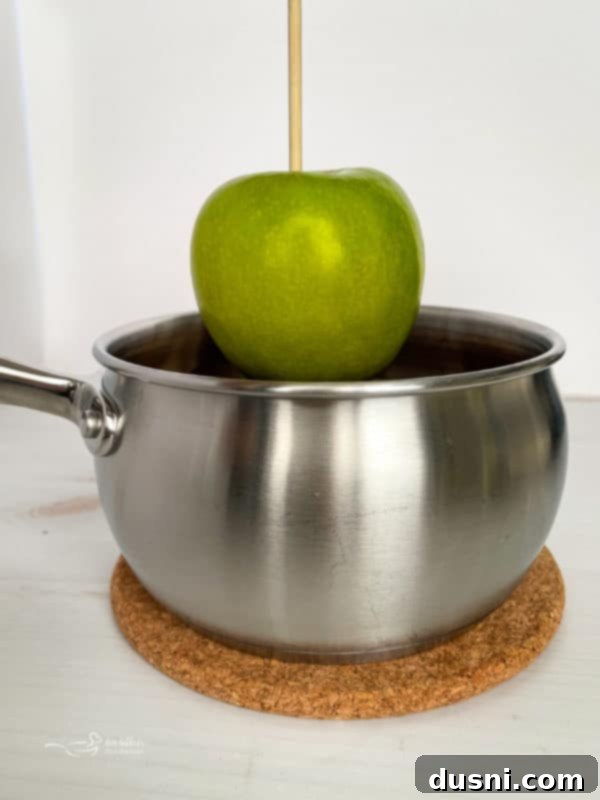
Now comes the most exciting part! Working quickly, yet carefully, grasp an apple by its stick. Dip each apple into the warm, luscious caramel, rotating it to ensure it’s completely coated. You’ll want to cover the entire apple and about 1/2 inch of the wooden handle for a clean finish. As you pull the apple out, allow any excess caramel to drip back into the saucepan by gently swirling and tapping the stick against the edge of the pot. This creates a smooth, even coating without thick, unwieldy drips.
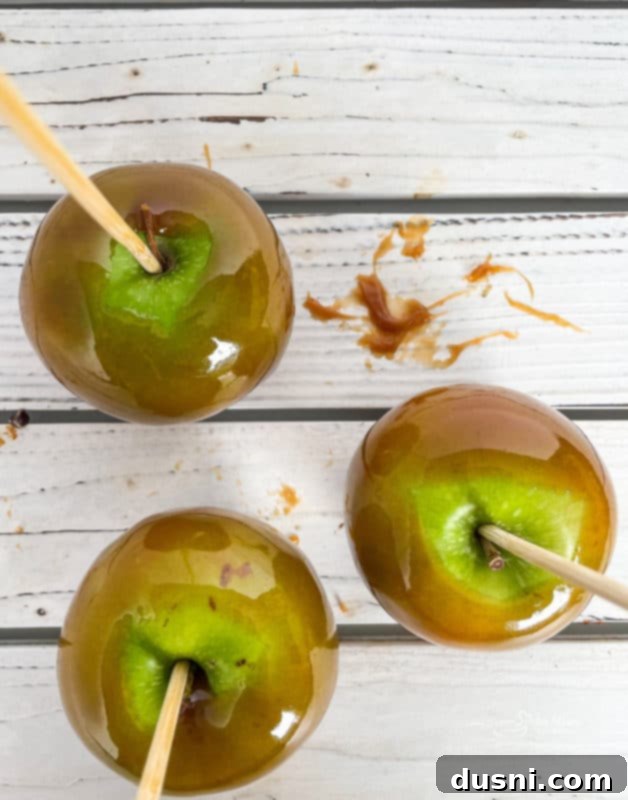
Once dipped, immediately transfer the caramel apple to your parchment-lined baking sheet to set. If you plan to roll them in nuts, crushed candy, or sprinkles, do so *immediately* after dipping, while the caramel is still warm and sticky. Gently press the apple into your chosen toppings, rotating to coat evenly. Place the decorated apple back on the parchment paper to finish setting.

For those extra decadent caramel apples you wish to dip in melted chocolate, it’s crucial to let the caramel coating set up *completely* first. This might take 30-60 minutes at room temperature, or you can speed it up with a brief chill in the refrigerator. Once the caramel is firm, melt your chocolate of choice (dark, milk, or white) gently. Allow the melted chocolate to cool slightly before dipping. If the chocolate is too hot, it will warm the caramel, causing it to soften and potentially slide right off the apple. A slightly cooled, still-liquid chocolate will adhere beautifully to the set caramel layer, creating that perfect gourmet finish.
Storing Your Homemade Caramel Apples
To keep your delicious homemade caramel apples fresh and at their best, store them individually wrapped in wax paper or cellophane in the refrigerator. They will remain fresh for up to a week. For optimal enjoyment, allow them to come to room temperature for about 15-20 minutes before serving, as this softens the caramel slightly and enhances the flavors.
Troubleshooting Common Caramel Apple Issues
- Caramel Sliding Off: This is almost always due to not thoroughly cleaning the wax off the apples or not chilling the apples sufficiently before dipping. Ensure wax removal and cold apples.
- Caramel Too Hard: The caramel was likely cooked to too high a temperature. A candy thermometer is crucial for accuracy. If it’s too hard, try cooking to 245°F (118°C) next time.
- Caramel Too Soft/Runny: The caramel didn’t reach the required 248°F (120°C). Return it to the heat and continue cooking, stirring constantly, until it hits the target temperature.
- Grainy Caramel: This happens when sugar crystals form. Ensure you’re stirring constantly, avoiding splashing sugar crystals onto the sides of the pan, and using corn syrup to prevent this.

Love It? Pin It!
Don’t let this amazing Copycat Rocky Mountain Chocolate Factory Caramel Apple recipe get lost! Pin it to your favorite recipe board so you can easily find it for your next fall treat baking session.

For the LOVE of Apples! More Delightful Apple Recipes
If, like us, you have an endless appreciation for the versatility of apples, you’re always on the lookout for new and exciting apple-based recipes. Apples are not just for sweet treats; they can shine in savory dishes and refreshing drinks too! Here are some of our absolute favorites that showcase the incredible range of this beloved fruit:
- Copy Cat Dairy Queen Apple Pie Blizzard: Experience the nostalgic flavors of a classic apple pie blended into a creamy, dreamy frozen treat, just like your favorite ice cream shop (pictured above).
- Apple Chicken Salad: A refreshing and light meal, this salad combines tender chicken with crisp apple pieces, crunchy celery, and a creamy dressing for a perfect lunch or light dinner.
- Apple Upside Down Cake: A beautiful and delicious dessert where caramelized apples form a stunning topping, making every slice a work of art and flavor.
- Halloween Apple “Donut” Monsters: Fun, healthy, and incredibly creative, these apple slices decorated to look like friendly monsters are perfect for Halloween parties or a playful snack.
- Apple Pie Oatmeal Cookies: All the comforting flavors of a warm apple pie baked into a soft, chewy oatmeal cookie, complete with hints of cinnamon and tender apple bits.
- The BEST Apple Crisp Recipe: A timeless dessert featuring tender, spiced apples baked under a buttery, crunchy oat topping – pure comfort in every spoonful.
- Apple Cider Mimosa: A sophisticated and bubbly cocktail, perfect for brunch or any festive occasion, blending crisp apple cider with sparkling wine.
- Caramel Apple Mini Cheesecakes: Individual cheesecakes topped with luscious caramel and tender apple pieces, offering a delightful bite-sized gourmet dessert.
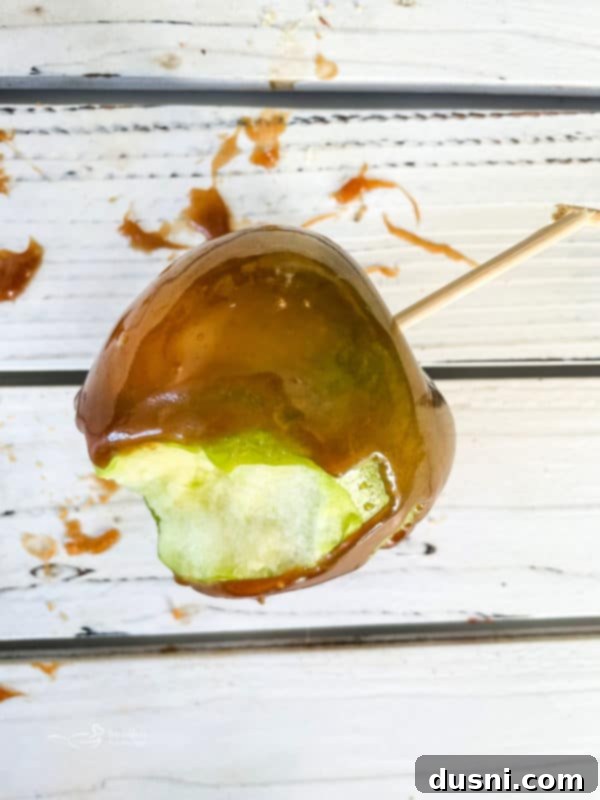
Get ready to impress your family and friends with these delectable old-fashioned caramel apples, brought to life with this incredible Copycat Rocky Mountain Chocolate Factory recipe! Enjoy the process, savor the flavors, and revel in the sweet success of your homemade gourmet treats. 
LIKE THIS RECIPE?
Don’t forget to give it a ⭐️⭐️⭐️⭐️⭐️ star rating and
leave a comment below the recipe!

Print Recipe
Copy Cat Rocky Mountain Chocolate Factory Apples
Ingredients
- 8 large Granny Smith apples
- 1 can of evaporated milk
- ¼ cup whipping cream
- ¼ pound butter 1 stick
- 1 ¼ cups corn syrup light or dark
- 1 ¼ cups brown sugar
- 1 teaspoon salt
- 1 teaspoon pure vanilla extract
- Ideas for Toppings: dark and white chocolate chocolate chips, M&M’s, crushed candy bars, nuts, sprinkles, coconut
Instructions
-
Clean the apples thoroughly by bringing a large pan of water to a boil. Using a slotted spoon, dip apples in boiling water for a few seconds, then dry with paper towels to remove any wax from the peel.
-
Set apples aside until completely cool. Insert a wooden stick firmly into the bottom of each apple for a handle.
-
Line a baking sheet with parchment paper.
-
In a large saucepan, combine milk, whipping cream, butter, corn syrup, sugar, and salt, stirring over medium-high heat. Bring the mixture to a boil, stirring constantly, then reduce heat to medium.
-
Cook until a candy thermometer reads 248 degrees F (120 degrees C), this will take about 25 to 30 minutes; stir constantly to prevent burning. To test: drop a teaspoon of the syrup, into a glass of cold water, it should form a firm ball when it’s ready.
-
Remove caramel from heat and stir in vanilla extract.
-
Working quickly, dip each apple into the hot caramel to completely coat the apple and about 1/2 inch of the wooden handle.
-
Sprinkle apples with any desired toppings while still hot. Or dip them into melted chocolates.
Notes
Nutrition
