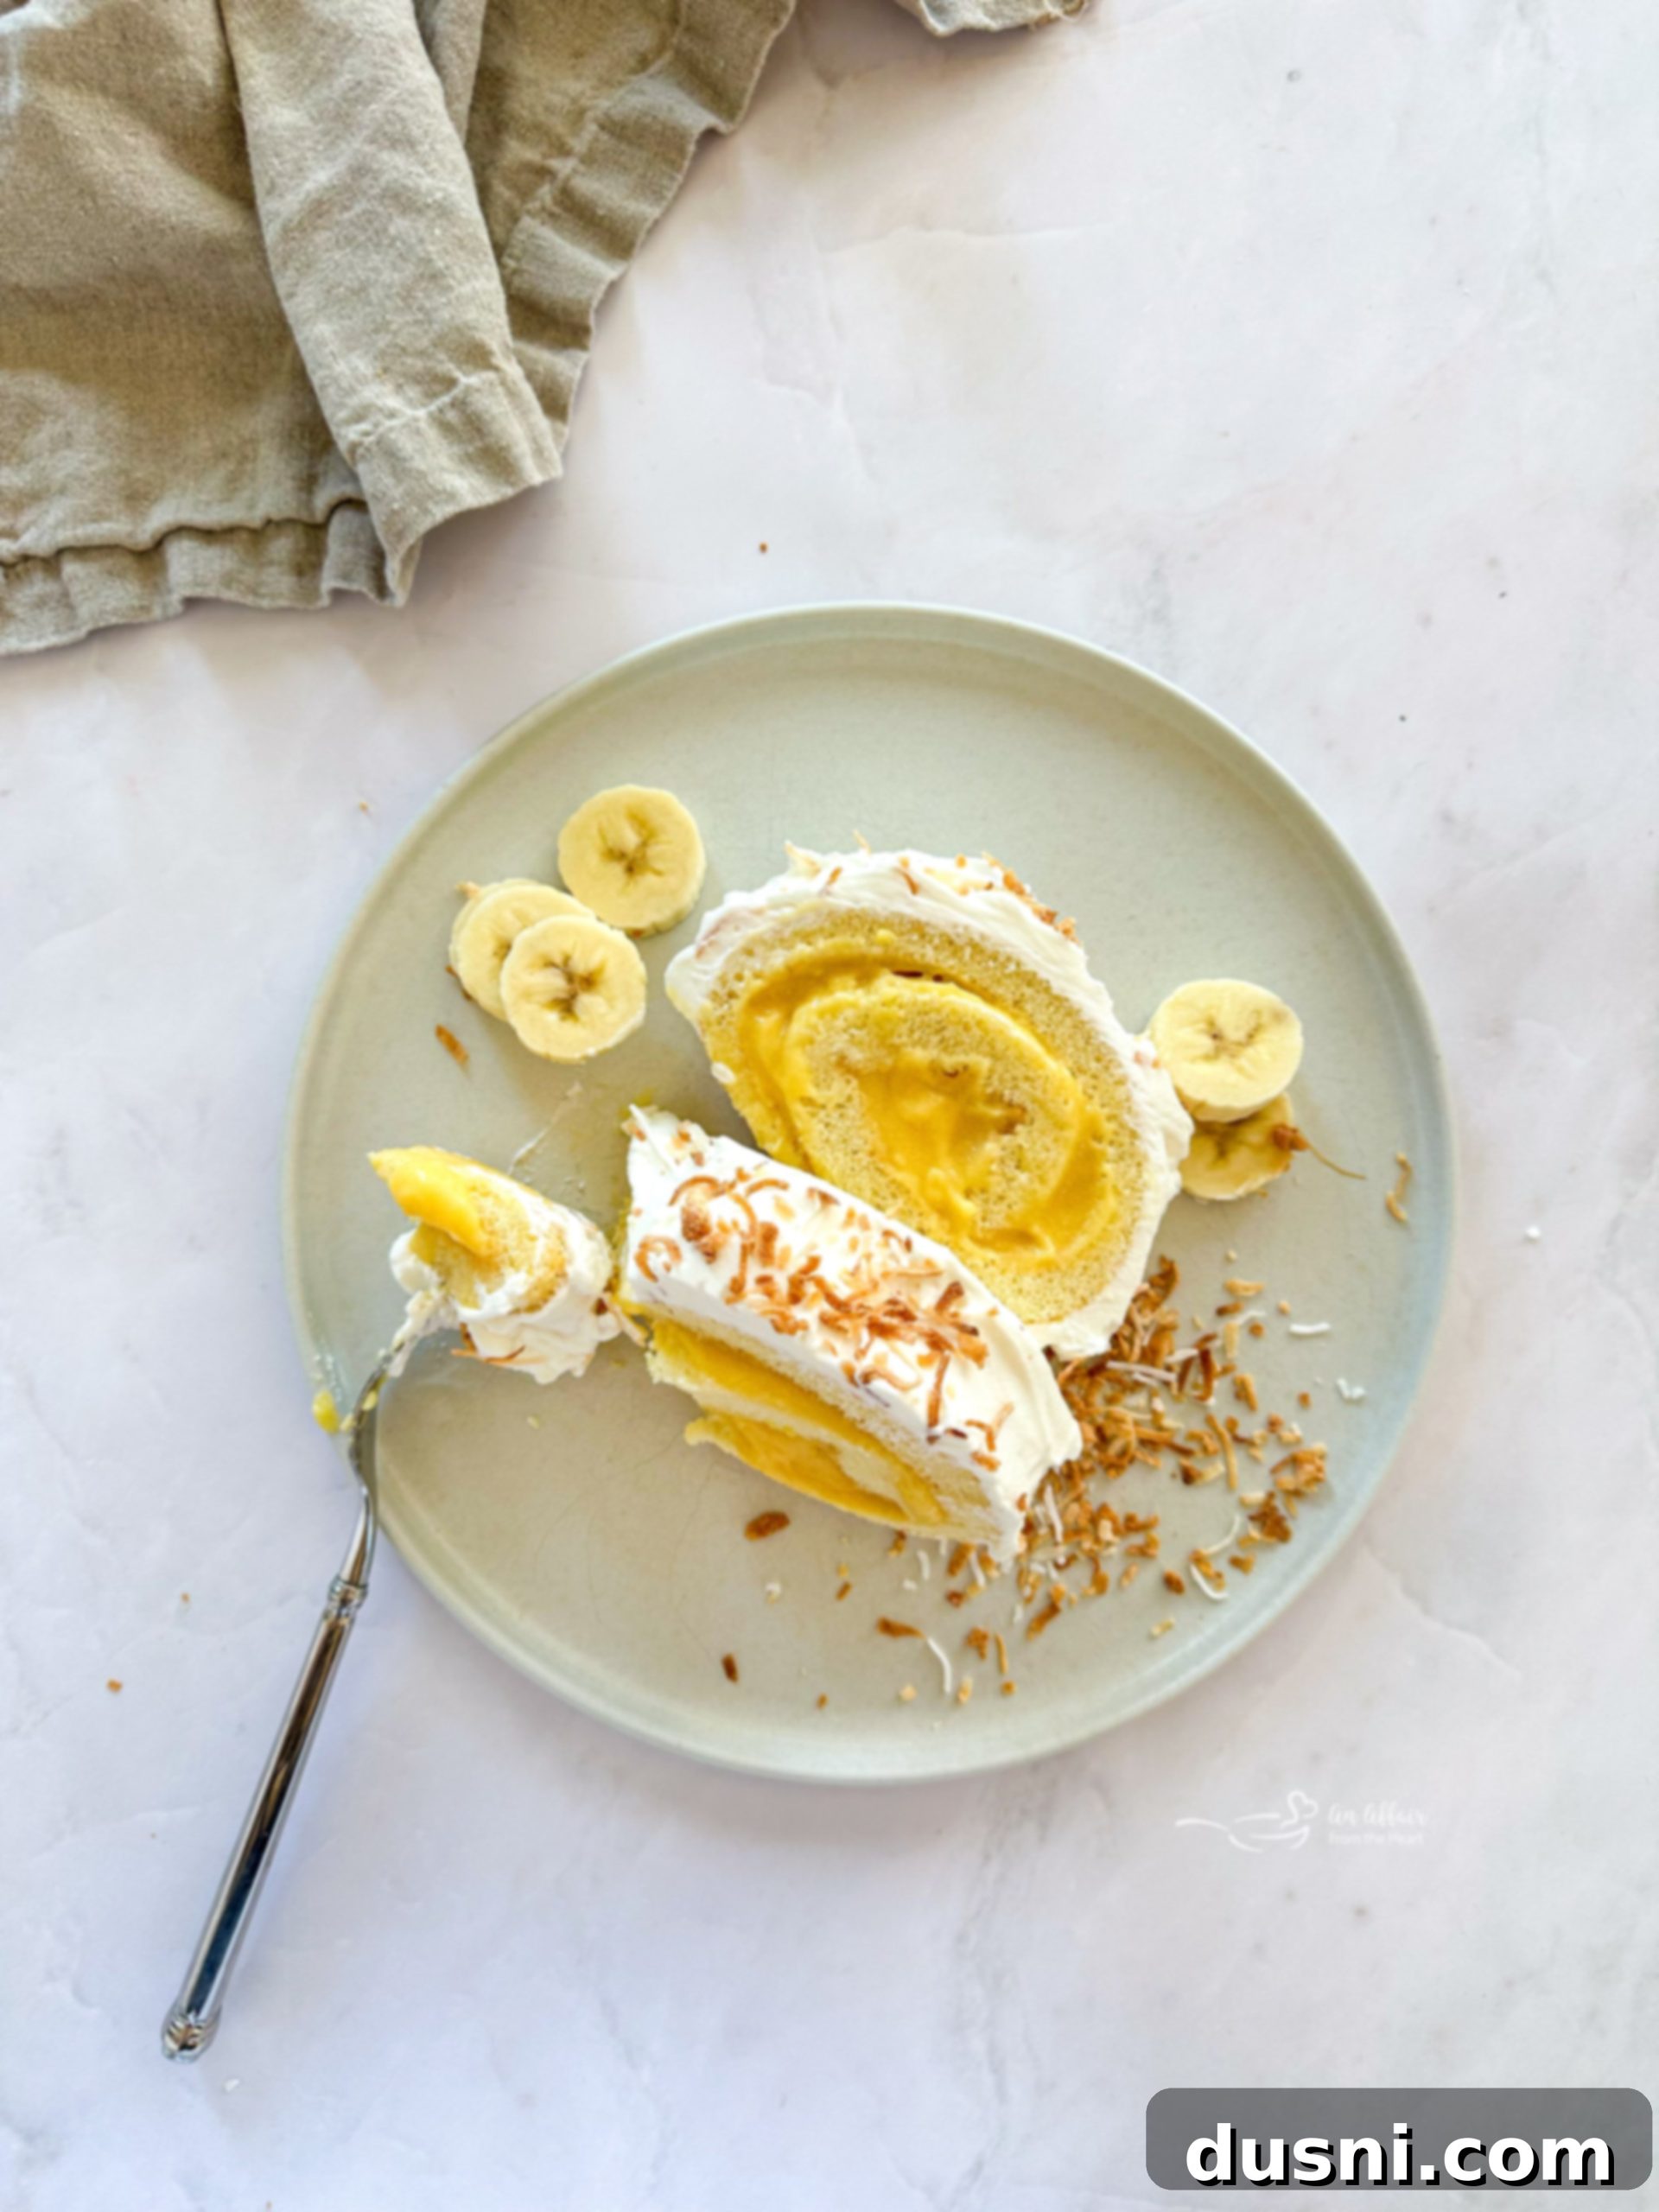
Delicious & Easy Banana Cream Jelly Roll Cake: A Timeless Family Recipe
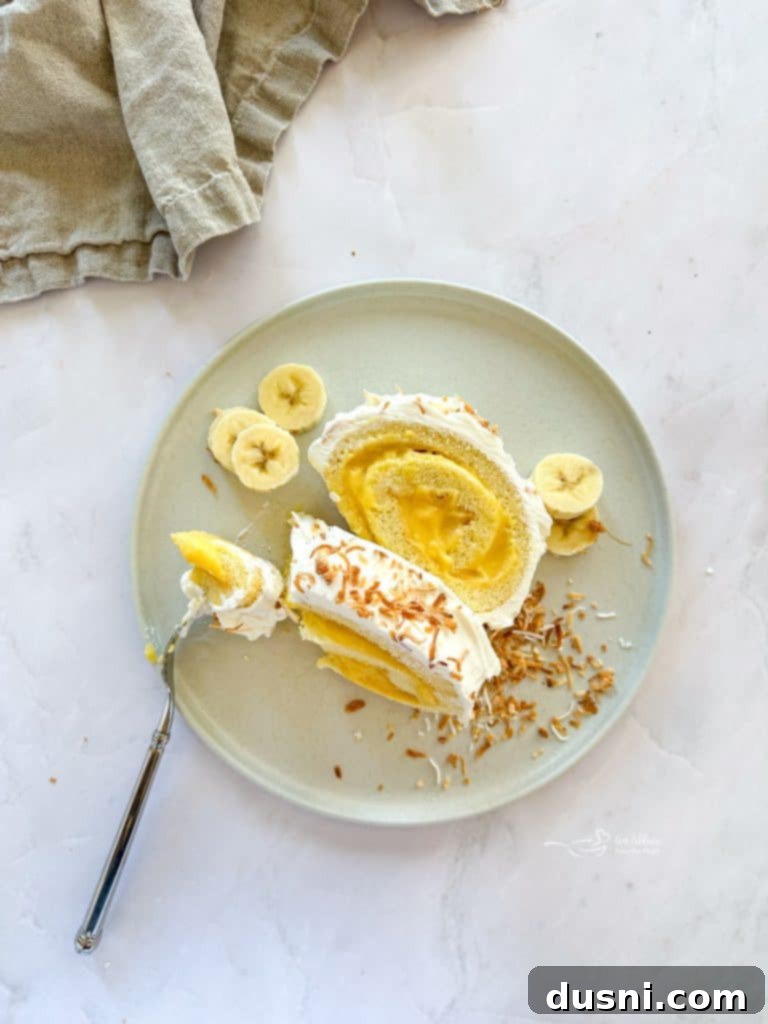
Indulge in a truly delightful dessert experience with this exquisite Banana Cream Jelly Roll Cake. It features a wonderfully delicate, light sponge cake, expertly rolled around a rich and creamy banana pudding filling. To complete this masterpiece, it’s generously enveloped in a fluffy Dream Whip topping and garnished with a scattering of perfectly toasted coconut. This irresistible treat is not just a dessert; it’s a nostalgic journey to comfort and joy, guaranteed to be a hit at any gathering.
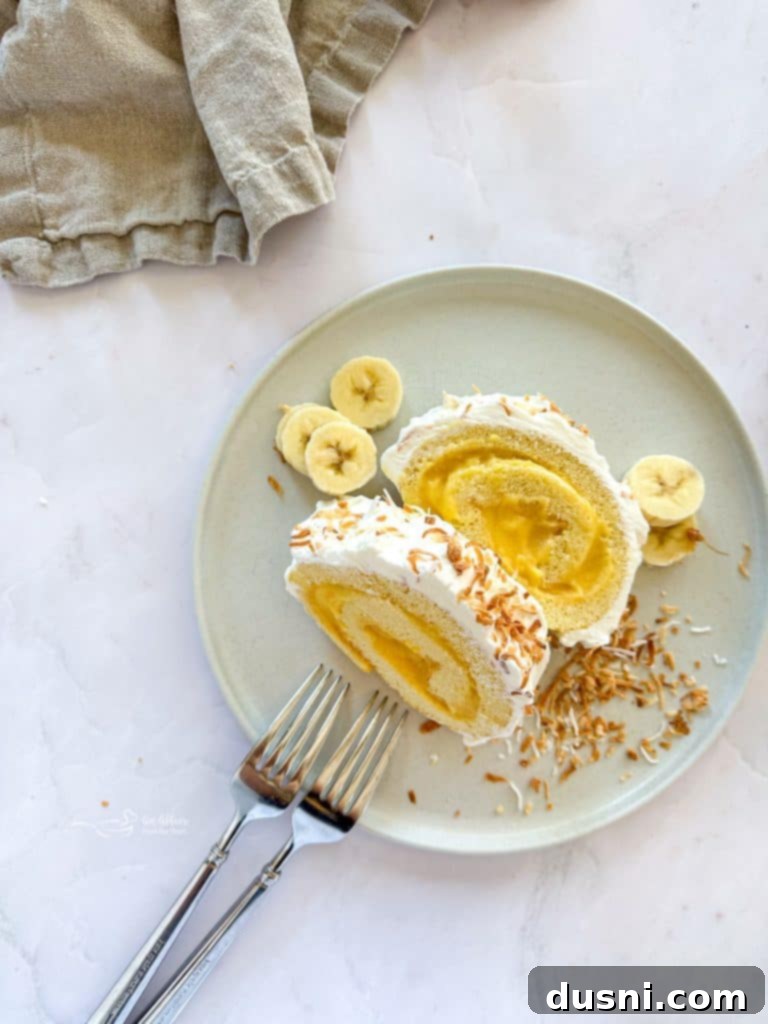
I first shared this cherished recipe back in 2014, when I was invited to write a post dedicated to my amazing mother and one of her beloved recipes. I eagerly embraced the opportunity, as any chance to celebrate her and sing her praises is one I’ll gladly take!
My mother was just shy of her 19th birthday when she had me, and looking back, it’s clear she truly embodied the role of the “fun mom” on our street. She was the one doing cartwheels in the front yard with us, never saying no to a game, and always welcoming our friends into our home. This isn’t to say she was a pushover; she knew when to set boundaries and guide us, understanding the delicate balance between being a mother and a best friend. It’s a fine line, but one she walked with grace and wisdom.

She was always there when I needed a comforting shoulder to cry on, yet she possessed the remarkable foresight to step back, allowing me to learn from my own experiences – especially during those teenage years when I felt my girlfriends and I “knew everything.” Invariably, she was right there to pick me up when those options didn’t turn out so well. This perfect blend of supportive friend and guiding mother is precisely why, as I grew up, the only thing I ever wanted to be was a mom.
Through all of life’s challenges, my brother and I were blissfully unaware of any struggles. There was always enough: enough delicious food on the table, enough clothes to wear, and an endless abundance of laughter and love whenever Mom was around. Our home was consistently immaculate, dinner was always ready on time, and she was always there to tuck us into bed, sharing prayers each night. Her unwavering presence and dedication created a warm, secure, and loving environment that shaped my entire childhood.
Mom’s Culinary Comforts and Family Recipes
While my mom wasn’t a gourmet chef or a pastry artist, she excelled at crafting comforting, soul-satisfying food. Her Homemade Chicken Noodle Soup and her savory Pork Chops with Mushroom Gravy remain my absolute favorite dinners to this day, the meals I instinctively crave when I need a true taste of home and comfort.
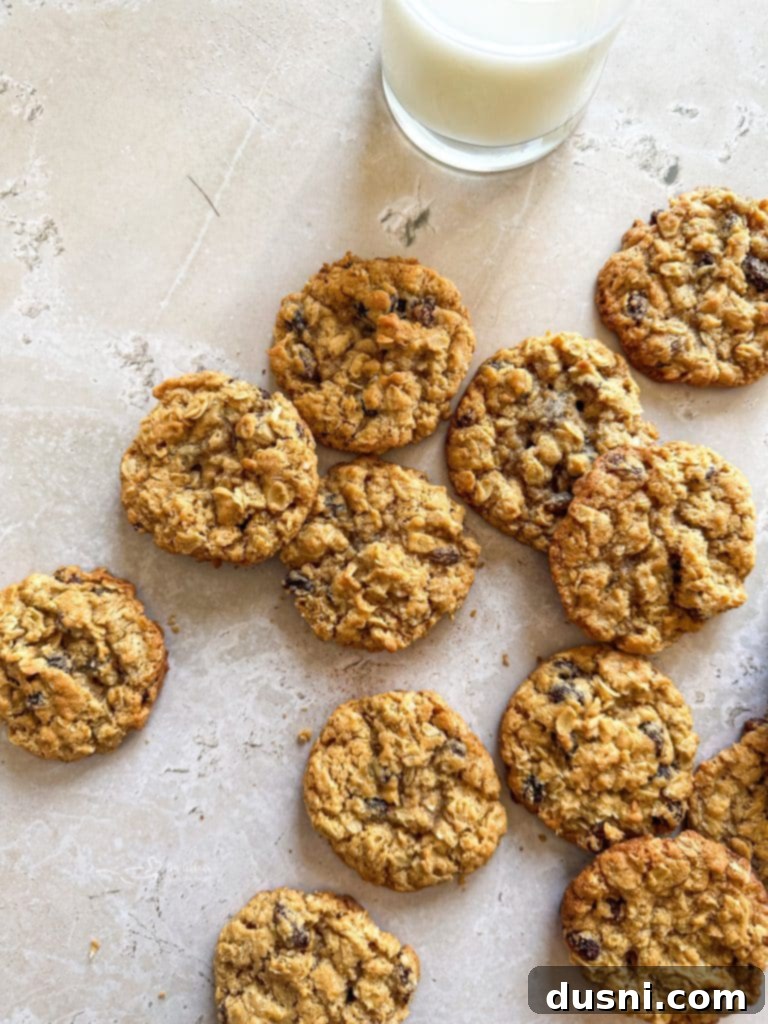
I have fond memories of returning home from school to the delightful aroma of freshly baked cookies, an occasional and always welcome surprise. Her Peanut Butter Cookies are still my number one, with her Oatmeal Raisin Cookies a very close second. So many of the beloved recipes I share on my website are directly inspired by my childhood and the incredible culinary influence of my mother. When it came time to select a “new” recipe to feature for that initial post about her, I asked her what forgotten gem I should make. She immediately suggested this delightful Banana Cream Jelly Roll Cake, and I knew instantly it was the perfect recipe to share.
The Irresistible Banana Cream Jelly Roll Cake
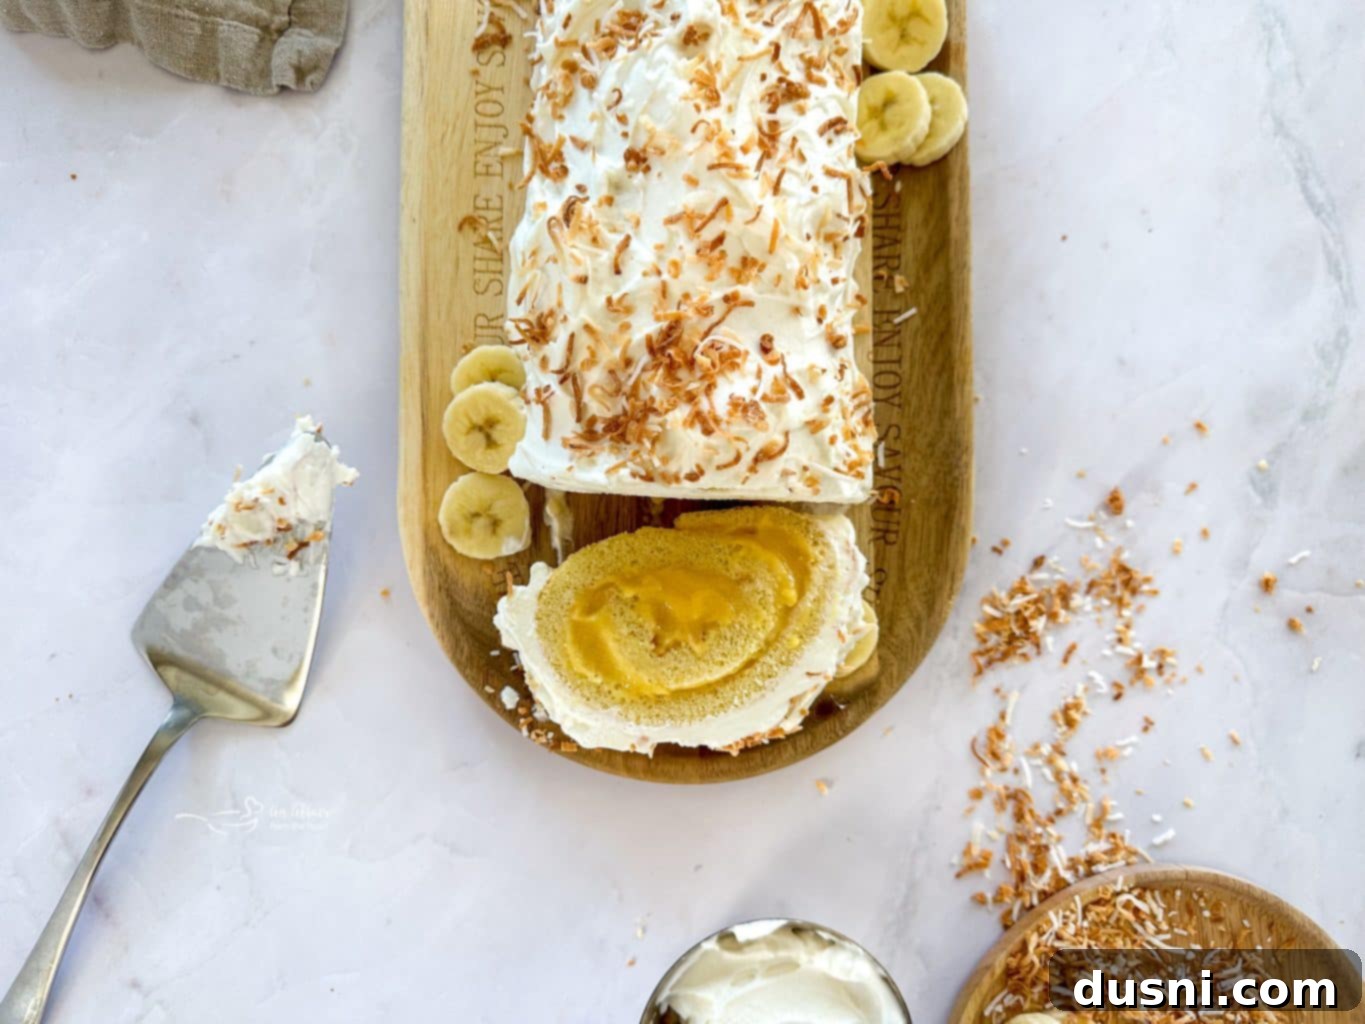
This particular Banana Cream Jelly Roll Cake recipe actually originates from my paternal Grandma, who was an unbelievably talented baker. This jelly roll cake was one of her specialties, and for good reason! Imagine luscious layers of creamy, sweet banana pudding embraced by a tender, airy sponge cake, all rolled into an elegant log. Then, it’s generously smothered with a fluffy Dream Whip topping and often finished with a sprinkle of toasted coconut. This is the kind of dessert that makes you want to call everyone you know and tell them about it. While it might appear to be a fancy, bakery-quality treat, I promise to show you just how surprisingly simple it is to create this perfect dessert right in your own kitchen.
What Exactly is a Jelly Roll?
If you’re new to the world of jelly rolls, let me introduce you to this classic dessert, also affectionately known as a Swiss roll in various parts of the world. At its heart, a jelly roll is a type of delicate, rolled sponge cake. It’s characterized by a thin, flexible cake layer that is baked, then spread with a delicious filling—such as jam, jelly, cream, or other sweet concoctions—and finally, carefully rolled into a cylindrical shape.
We absolutely adore jelly rolls for their delightful light texture and the harmonious balance they strike between the soft cake and the flavorful filling. Beyond their taste, they also offer an impressive visual appeal, making them look incredibly elegant when sliced. They are versatile desserts, perfect for enjoying as an everyday sweet treat or for serving as a sophisticated centerpiece for special occasions.
If you find yourself captivated by this Banana Cream Jelly Roll Cake, you’re sure to fall in love with these other fantastic roll cake creations: the playful Banana Split Jelly Roll Cake and the refreshing Blueberry Orange Angel Food Cake Roll.
Mastering the Jelly Roll Cake Technique
While the concept of rolling a cake might sound intimidating or complicated, the technique for making a jelly roll is surprisingly straightforward and achievable for home bakers. The process begins with baking your delicate sponge cake in a standard 10 x 15-inch jelly roll pan. Once the cake has slightly cooled, you carefully spread your chosen filling evenly across the surface, and then, with a gentle touch, roll it into a neat log. This simple method ensures a beautiful spiral every time.
For this particular recipe, I’ve opted for a delicious banana pudding filling, which provides a rich and creamy texture along with that irresistible banana flavor. However, the beauty of a jelly roll cake lies in its versatility. You can easily experiment with a wide array of fillings, from any flavor of instant pudding to your favorite jams, jellies, or fruit preserves. What’s more, this specific sponge cake recipe simplifies the baking process as it doesn’t require the separation of egg whites from egg yolks, making it a bit easier to prepare for even novice bakers.

Essential Ingredients for Your Banana Cream Jelly Roll Cake
Gathering the right ingredients is the first step to creating this delectable banana cream jelly roll. For a comprehensive list of quantities and detailed instructions, please refer to the full printable recipe card at the bottom of this post.
- Eggs: These are crucial for creating the light and airy texture of the sponge cake. Standard large eggs work perfectly.
- Sugar: White granulated sugar sweetens the cake batter, balancing the flavors beautifully.
- Flour: All-purpose flour provides the structural base for our tender jelly roll cake.
- Baking powder: A touch of baking powder acts as a leavening agent, ensuring your sponge cake rises perfectly and maintains its delicate crumb.
- Salt: A small pinch of salt enhances all the other flavors in the cake, making the sweetness more pronounced and delicious.
- Vanilla extract: Pure vanilla extract adds a warm, aromatic depth that complements the sweetness and richness of the banana flavor.
- Banana pudding: This is the star of our filling, providing the distinct, creamy banana flavor and luscious texture that defines this jelly roll.
- Dream Whip: Used to create a wonderfully light and stable whipped topping, giving the cake a beautiful, ethereal finish.
- Toasted Coconut: Adds a fantastic tropical note and a satisfying crunch, elevating both the flavor and texture of the finished dessert.
Don’t stop here! Keep reading to discover valuable tips, clever substitutions, and answers to common questions you might have about mastering this delightful jelly roll recipe.
Step-by-Step Guide: How to Make This Irresistible Jelly Roll Cake
Creating this banana cream jelly roll is a truly enjoyable and straightforward baking project. Gather your electric mixer and all your ingredients, and let’s get started!
Begin by preheating your oven to 350 degrees Fahrenheit (175 degrees Celsius).
Prepare a 10×15-inch jelly roll pan by lining it with a sheet of parchment paper. Ensure the parchment extends slightly over the edges for easy handling later. Lightly grease the parchment paper with Crisco or a non-stick cooking spray.
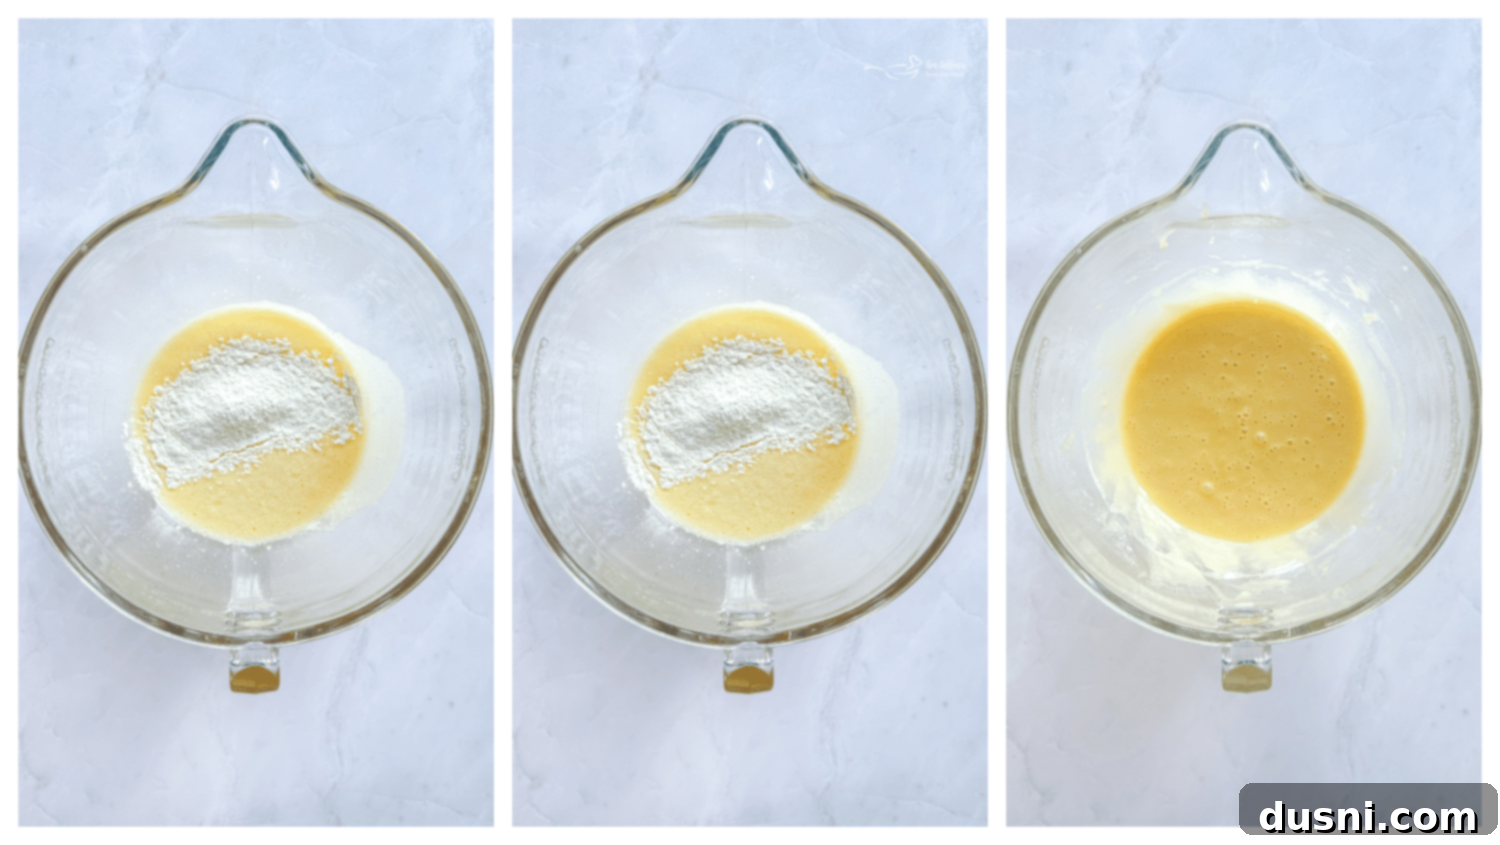
In the bowl of your electric mixer, beat the eggs on medium speed for approximately 5 minutes. Continue beating until they become very thick, pale, and lemon-colored. This step is crucial for creating the light, airy texture of the sponge cake.
Gradually add the granulated sugar to the beaten eggs, mixing until fully incorporated and the mixture is smooth and glossy. Follow this by beating in the vanilla extract, ensuring it’s evenly distributed throughout the batter.
Next, slowly incorporate the dry ingredients – the all-purpose flour, baking powder, and salt – into the egg mixture. Mix on a low speed just until the batter is smooth and no lumps of flour remain. Be careful not to overmix.
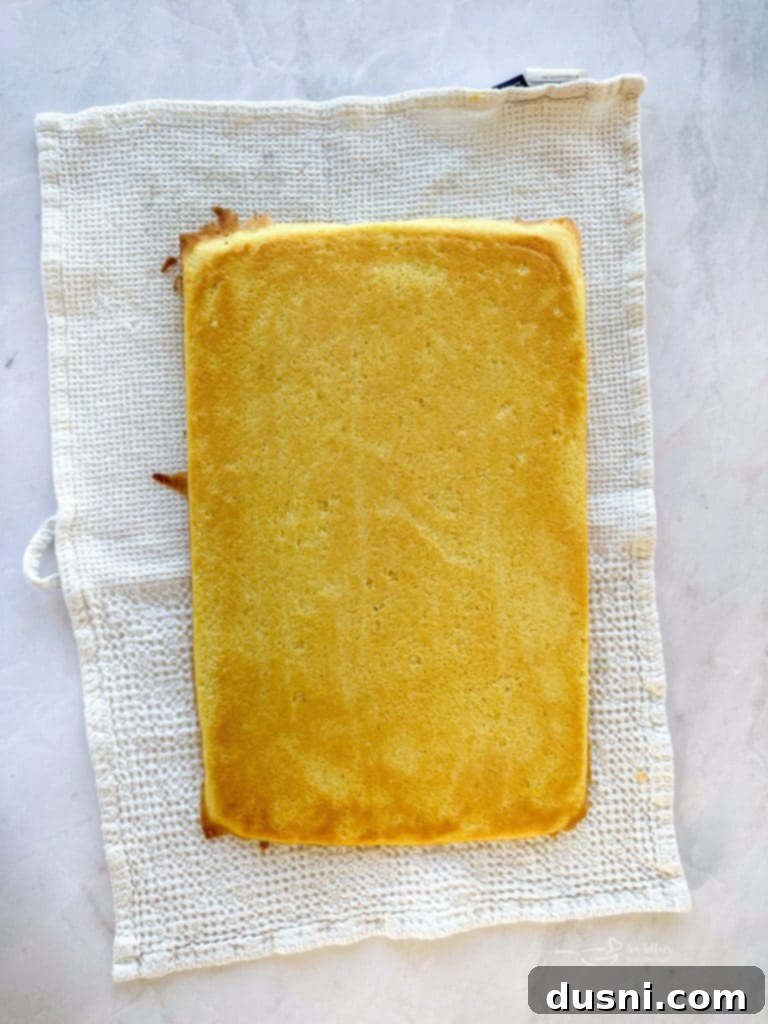
Carefully pour the prepared batter into your lined and greased jelly roll pan. Use an offset spatula or the back of a spoon to gently spread the batter evenly into all four corners of the pan, ensuring a consistent thickness. Bake in your preheated oven for approximately 20 minutes, or until a toothpick inserted into the center of the cake comes out clean, indicating it’s fully baked.
Immediately after removing the cake from the oven, loosen its edges from the pan with a thin knife or spatula. While the cake is still hot and pliable, invert it onto a clean kitchen towel or tea towel that has been lightly dusted with powdered sugar (this prevents sticking and adds a bit of flavor). Starting from the short side, gently but firmly roll the cake, along with the towel, into a tight jelly roll style. Allow the rolled cake to cool completely to room temperature on a wire rack. Rolling it while hot helps prevent cracks.

While your cake is cooling, it’s the perfect time to toast the coconut. This simple step adds a wonderful depth of flavor and a lovely golden color to your garnish.

Next, prepare both the banana pudding and the Dream Whip according to the package directions. For optimal setting and chill, place both in the refrigerator until you are ready to assemble the cake.

Once the cake is completely cool, carefully unroll it. Gently remove the kitchen towel from the cake. Then, spread the prepared banana pudding evenly over the entire surface of the unrolled cake, ensuring a generous and consistent layer.

Carefully roll the cake back up, starting from the same narrow side you began with. Once rolled, gently transfer the cake to a serving plate, ensuring the seam side is placed face down for a neat presentation.

Finally, generously frost the entire rolled cake with the prepared Dream Whip, creating a smooth and appealing outer layer. Garnish the top with your delicious toasted coconut. Store this beautiful dessert in the refrigerator until you are ready to slice and serve. Each slice will reveal the delightful spiral of cake and creamy filling.
Any leftovers of this delicious cake should be stored in an airtight container or tightly wrapped in plastic wrap. Kept in the refrigerator, it will stay fresh for 3-4 days. Alternatively, you can freeze it for up to 3 months. When ready to enjoy, thaw the frozen cake in the refrigerator until it’s soft enough to easily slice and serve.
Love it? Pin it!
If this delightful banana cream jelly roll cake has captured your heart, make sure you don’t lose track of this fantastic recipe! Pin it to your favorite Pinterest recipe board now so you can easily find it whenever a craving for this amazing dessert strikes!

Creative Substitutions for Your Jelly Roll Cake
When it comes to baking, don’t hesitate to embrace your creativity! Feel free to experiment with substitutions to tailor recipes to your personal taste preferences and any dietary needs. Make this jelly roll cake truly your own with these ideas:
- Pudding Flavor: Instead of banana, explore other delicious pudding flavors! Vanilla, chocolate, pistachio, or any fruit-flavored pudding would be a fantastic choice. You could even use a homemade pastry cream for an extra gourmet touch.
- Whipped Topping: If Dream Whip isn’t available or preferred, you can easily substitute it with fresh homemade whipped cream for a richer flavor, or use store-bought Cool Whip for convenience. For a decadent twist, consider a rich cream cheese frosting, especially if you love a tangier finish.
- Sauce Drizzle: To add another layer of flavor and visual appeal, drizzle the frosted jelly roll with a vibrant fruit sauce. A tangy raspberry sauce or a sweet strawberry sauce would be exquisite, either instead of frosting or as an extra flourish on top.
- Nut Topping: Not a fan of coconut? No problem! Swap the toasted coconut for finely chopped and toasted pecans, walnuts, or almonds for a different nutty flavor and crunch.
- Chocolate Twist: For chocolate lovers, consider folding mini chocolate chips into the banana pudding before spreading, or drizzling the finished cake with melted chocolate.
Frequently Asked Questions (FAQs) About Banana Cream Jelly Roll Cake
Got questions about making, storing, or understanding jelly roll cakes? Here are some common inquiries and their answers to help you bake with confidence:
- What is the difference between a jelly roll and a Swiss roll? Essentially, a jelly roll and a Swiss roll refer to the same type of delightful dessert: a thin sponge cake wrapped around a sweet filling. The primary difference is regional nomenclature; “Swiss roll” is more commonly used in England and other parts of Europe, while “jelly roll” is the preferred term in the United States. Both promise a delicious rolled cake experience!
- Does a jelly roll need to be refrigerated? Yes, it is highly recommended to store your jelly roll cake in the refrigerator. Because this recipe, and most jelly rolls, contain dairy-based products (like banana pudding and whipped topping), refrigeration is essential to maintain freshness, prevent spoilage, and keep the fillings firm.
- What is the difference between a jelly roll and a roulade? A jelly roll is indeed a specific type of roulade. A roulade is a broader culinary term referring to any dish that is rolled up. While jelly rolls almost exclusively feature sweet fillings (jams, creams, puddings), a roulade can also encompass savory dishes, such as meat rolled around vegetables or stuffing. So, all jelly rolls are roulades, but not all roulades are jelly rolls!
- How do you roll up a jelly roll cake? The secret to a perfectly rolled jelly roll cake starts with baking it in a proper jelly roll pan. Once baked, immediately loosen the edges with a knife. While still warm (this is key for flexibility!), invert the cake onto a clean, sugar-dusted dish towel. Starting from one of the shorter edges, gently but firmly roll the cake and the towel together. Let it cool completely in this rolled state on a wire rack. Once cooled, carefully unroll it, spread your filling evenly, and then gently re-roll the cake without the towel.
- How do you keep a jelly roll cake from cracking? Preventing cracks is crucial for a beautiful jelly roll. First, avoid overbaking the cake; a dry cake is much more prone to cracking. Baking for just the right amount of time keeps it moist and pliable. As the cake cools, you can place a slightly damp, clean towel over it to help retain moisture. Also, ensure you roll the cake while it’s still warm and flexible. When unrolling to fill, spread the filling evenly to distribute pressure. Always roll the cake from the *short edge*, not the long edge, as this makes for a tighter, more stable roll.
- Can I use a 9×13 pan instead of a jelly roll pan? While a 9×13-inch pan can be used in a pinch, it’s generally not ideal for a traditional jelly roll. A jelly roll pan (typically 10×15 inches or similar) is specifically designed to create a thin, flexible cake layer that rolls easily without cracking. If you use a 9×13 pan, your cake will be thicker, which can make rolling more challenging and increase the likelihood of cracks. You may also need to adjust the baking time and the amount of filling accordingly. Handle the thicker cake with extra care during rolling.

Pro Tips & Tricks for the Perfect Banana Cream Jelly Roll
Elevate your banana cream jelly roll game with these clever tips and tricks designed to make your dessert even more special and simplify the baking process:
- Boost Banana Flavor: For an even more intense banana flavor, consider mashing a ripe banana (or half of one, depending on size) and folding it into the prepared banana pudding mix before spreading it on the cake. This adds natural banana sweetness and a lovely texture.
- Caramel Indulgence: To truly fancy up this dessert and create a show-stopping caramel banana cake roll, drizzle the finished cake generously with a rich homemade salted caramel sauce. The combination of banana, cream, and caramel is absolutely divine!
- Speedy Topping Solution: If you’re short on time or prefer a quicker preparation process for the topping, simply pick up a container of store-bought Cool Whip instead of preparing Dream Whip from scratch. It’s a convenient and equally delicious alternative.
- Simple Elegance: For an understated yet elegant finish, forgo the whipped topping altogether. Instead, simply dust the cooled and filled banana roll cake with a delicate layer of powdered sugar (also known as confectioner’s sugar). This creates a beautiful, subtle sweetness and a classic presentation.
- Even Baking: Rotate your jelly roll pan halfway through baking to ensure even browning and consistent texture across the entire cake surface.
- Parchment Paper Trick: For easier cake removal and less chance of sticking, leave a slight overhang of parchment paper on the long sides of your jelly roll pan. This creates “handles” to lift the baked cake out effortlessly.

Explore More Delicious Banana Recipes to Love
If you’re a true banana enthusiast, you’re in luck! I have an array of scrumptious banana-inspired desserts that are sure to satisfy your cravings. For refreshing frozen treats, you might love these delightful Banana Cream Pie Shakes or my incredibly easy 4-Ingredient Peanut Butter Banana Ice Cream.
If baked goods are more your style, be sure to try these warm and comforting Banana Pecan Rolls, my classic Banana Cream Pie (pictured above), or these flavorful Pumpkin Spice Banana Muffins. And for a chocolatey twist, don’t miss these rich Chocolate Banana Bars. You can discover all of my fantastic Banana Recipes right here on the blog!
To my dear Mom, “I love you, a bushel and a peck and a hug around your neck.” My adoration for my mother knows no bounds; I truly believe God couldn’t have given me a more perfect person to be mine. My greatest hope is that I am fortunate enough to make my own children feel the same profound love and appreciation!
This exquisite banana cream jelly roll cake not only delivers on incredible taste but also impresses with its elegant presentation. If you’re searching for a banana-flavored dessert that’s guaranteed to be a showstopper, this recipe is absolutely perfect for you!

LIKE THIS RECIPE?
Don’t forget to give it a ⭐️⭐️⭐️⭐️⭐️ star rating and
leave a comment below the recipe!

Print Recipe
Banana Cream Jelly Roll Cake Recipe
Equipment
-
15 x 10 x 1-Inch Cookie/Jelly Roll Pan
-
Wilton Performance Pans Aluminum Jelly Roll and Cookie Pan, 10.5 x 15.5-Inch
-
OXO Good Grips Non-Stick Pro Jelly Roll, 9 x 13 Inch
-
KitchenAid Hand Mixer
-
Kitchenaid Stand Mixer
Ingredients
- 5 eggs
- 1 cup sugar
- 1 cup flour
- 2 teaspoons baking powder
- 1/4 teaspoon salt
- 1 teaspoon vanilla
- 1 – 3 ounce box banana pudding
- 2 envelopes Dream Whip
- 1/2 cup or more to taste Toasted Coconut
Instructions
-
Preheat oven to 350 degrees.
-
Line a jelly roll pan with parchment paper, greased with Crisco.
-
In a mixer bowl, beat eggs for about 5 minutes or until very thick and lemon colored.
-
Gradually beat sugar into eggs, followed by vanilla.
-
Slowly add flour, baking powder and salt and beat until batter is smooth.
-
Pour into pan and spread into the corners. Bake for approximately 20 minutes or until toothpick inserted in center comes out clean.
-
Loosen cake from the edges of the pan. While hot invert cake onto a towel, and roll from the narrow side, jellyroll style. Cool completely on a wire rack.
-
Prepare pudding and Dream Whip as directed on the packages. Place in the refrigerator until ready to use.
-
Carefully unroll cooled cake. Remove towel and spread pudding evenly over cake.
-
Roll back up and place seam side down on a plate.
-
“Frost” with Dream Whip and top with toasted coconut.
-
Store in the refrigerator. Slice to serve.
Notes
Nutrition
This recipe was originally posted on May 14, 2014. It has been updated to improve user experience and reshared on July 15, 2024.
