The Ultimate Guide to Crafting the Perfect Homemade Burger: Tips, Tricks, and a Recipe for Juiciness
There’s an undeniable joy that comes with biting into a truly magnificent burger. You know the kind – incredibly juicy, bursting with flavor, requiring multiple napkins, and eliciting satisfied murmurs around the table. It’s more than just a meal; it’s an experience. For years, I dedicated myself to perfecting the art of burger making, searching for that elusive combination of ingredients and techniques that would yield nothing short of perfection. Today, I’m thrilled to share with you all the secrets I’ve uncovered, along with my tried-and-true recipe, designed to help you create the most delicious, succulent burgers right in your own kitchen.
Forget dry, crumbly patties and bland flavors. This guide is your passport to mastering homemade burgers that rival (and often surpass) your favorite diner creations. From selecting the ideal ground beef to achieving that perfect char and choosing the right condiments, every detail plays a crucial role. Prepare to transform your weeknight dinners and backyard barbecues with these invaluable tips.
Making a truly great burger isn’t complicated, but it does require attention to a few key details. These aren’t just random suggestions; they are the culmination of countless cooking sessions, taste tests, and a genuine passion for creating the ultimate burger experience. Let’s dive into the essential tips and tricks that will elevate your homemade burgers from good to absolutely unforgettable.
Essential Tips & Tricks for the Perfect Burger
Choosing the Right Ground Beef for Maximum Flavor
The foundation of any truly exceptional burger starts with your choice of ground beef. While many might lean towards leaner options, for maximum flavor and juiciness, I strongly encourage opting for a fattier blend, specifically an 80/20 ratio (80% lean meat, 20% fat). This higher fat content is crucial because it renders during cooking, essentially basting the patty from within. This process prevents the burger from drying out and infuses it with unparalleled taste and moisture, resulting in that wonderfully succulent bite we all crave. Ground sirloin can also be a good choice for its robust beefy flavor, but if you want that truly rich, melt-in-your-mouth experience, 80/20 ground chuck is your best bet. Avoid anything leaner than 85/15 if you want a juicy burger.
Forming Perfect Patties: The “Well” Method
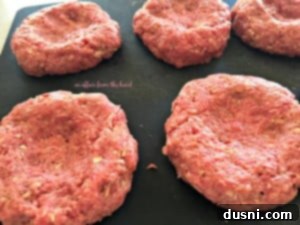
When you’re forming your burger patties, there’s one critical technique that will ensure even cooking and prevent your burgers from puffing up into a ball: create a “well” in the middle. Simply press your thumbs gently into the center of each patty, making a noticeable indentation. As the burger cooks, the edges tend to contract and thicken, causing the center to bulge. This simple thumbprint helps counteract that effect, allowing your meaty burgers to cook more consistently and evenly across the entire surface. No more big bubbles in the middle!
Achieving Uniformity with a Food Scale (or the Eyeball Method)
For consistent cooking and presentation, having all your burger patties be the same size is key. If you own a food scale, this is where it truly shines. Weigh out each portion of ground beef to ensure every burger cooks at the same rate, meaning they’ll all be ready for eating simultaneously. This is particularly helpful when cooking for a crowd or if you’re aiming for specific doneness levels.
No food scale? No problem! You can achieve remarkable consistency using the “eyeball method” with a little trick. First, press your entire portion of ground beef into an even, flat circle. Then, imagine cutting it into equal pie-shaped sections. For instance, if you have one pound of ground beef and want four quarter-pound burgers, simply divide the circle into four equal wedges. This ensures each patty starts with roughly the same amount of meat.
Handle with Care: Avoid Overworking the Meat
One of the most common mistakes in burger making is over-handling the meat. When you mix and press the ground beef too much, it compacts the proteins, leading to a dense, rubbery, and tough burger with an undesirable consistency. The goal is a tender, juicy patty. So, when combining ingredients or forming patties, be gentle and work quickly. Mix just enough until the ingredients are incorporated, then form your patties with minimal fuss.
Chill Out: Refrigerate Your Patties Before Cooking
Once you’ve formed your burger patties, it’s a great idea to place them in the refrigerator for at least 15-30 minutes, or until you’re ready to cook them. Chilling helps the patties hold their shape better during cooking, preventing them from falling apart, especially if you’re grilling. It also helps the fat firm up, which contributes to a juicier burger by slowing down how quickly it melts out.
Season Generously for Maximum Flavor
Don’t be shy with your seasoning! A well-seasoned burger is a flavorful burger. Beyond just salt and pepper, consider incorporating the spices and ingredients listed in our recipe below directly into the meat mixture. This ensures every bite is infused with deliciousness. For an added boost, a good sprinkle of kosher salt on the outside just before cooking will help create a beautiful, savory crust.
Pan-Fried vs. Grilled: A Delicious Debate
While grilling a burger offers that wonderful smoky flavor and classic char, I personally have a strong preference for pan-fried burgers, especially when using a cast iron skillet. I find that pan-frying helps seal in the juices more effectively, resulting in an incredibly moist and flavorful patty. The direct contact with the hot surface creates an amazing crust that’s hard to beat. That’s not to say I’d ever turn down a perfectly grilled burger – absolutely not! But for that ultimate juicy, rich flavor, pan-frying is my go-to method.
The Magic of Cast Iron
If you’re going the pan-fried route, a cast iron skillet is an absolute game-changer. Trust me on this one. Cast iron retains and distributes heat incredibly evenly, which is crucial for developing that gorgeous, flavorful crust on your burger. It also handles high temperatures beautifully, allowing you to get that perfect sear without burning. Plus, it just adds to the rustic, comforting charm of a homemade burger.
The Kosher Salt Crust
For an extra layer of flavor and texture, lightly sprinkle both sides of your burger patties with kosher salt just before placing them in the hot pan. This helps create a beautiful, savory crust through the Maillard reaction, locking in juices and adding a delightful textural contrast. Remember to adjust the amount of salt you use in the internal seasoning of the burger if you employ this method, to avoid over-salting.
Butter vs. Oil: The Cooking Fat Choice
You can certainly fry your burgers in a little vegetable oil, which has a high smoke point and is quite neutral in flavor. However, for a truly decadent and flavorful burger, we absolutely adore the taste that butter imparts. A pat of butter melting in that hot cast iron skillet creates an irresistible aroma and a richness that permeates the patty. You can even combine a little oil with butter to get the best of both worlds – the smoke point of oil and the flavor of butter.
The Great Flip Debate: Once or Multiple Times?
The question of how many times to flip a burger is a classic culinary debate. Many purists believe that flipping a burger only once is the best method for retaining juices. For a typical 6-ounce burger, flipped just once, you’re looking at about 6-8 minutes per side, depending on the thickness and your desired doneness. However, other chefs advocate for more frequent flipping (every minute or so) to achieve an even crust and faster cooking without significant moisture loss. Ultimately, you decide what works best for you. Both methods can yield excellent results.
Mastering Doneness with a Meat Thermometer
For food safety and to achieve your preferred level of doneness, a meat thermometer is your best friend. Ground beef is generally considered safely cooked when it reaches an internal temperature of 160 degrees F (71 degrees C). While it’s not recommended to eat rare ground beef, many individuals enjoy their burgers medium-rare. Here’s a quick guide to internal temperatures for beef burgers:
- Rare: 120-125 degrees F (49-52 degrees C)
- Medium-Rare: 130-135 degrees F (54-57 degrees C)
- Medium: 140-145 degrees F (60-63 degrees C)
- Medium-Well: 150-155 degrees F (66-68 degrees C)
- Well Done: 160 degrees F (71 degrees C) and above
Always insert the thermometer into the thickest part of the patty, avoiding any bone if present.
Resist the Squeeze!
This is a crucial tip: resist the urge to press down on your burger with a spatula while it’s cooking! This common mistake, often done to “speed up” cooking or flatten the burger, will actually squeeze out all the precious juices and fat, leaving you with a dry, flavorless patty. Let the burger cook undisturbed, allowing it to retain all its delicious moisture.
Choose Your Bun Wisely

A great burger needs a great bun. Don’t underestimate its importance! The bun should complement, not overpower, the patty. Consider whether you prefer a seeded bun (like sesame or poppy seed) for added texture and flavor, or a plain brioche for a richer, softer experience. The most important thing is to choose a bun that is proportionate to your burger – avoid buns that are significantly larger than your patty, as you’re looking for a perfect burger-to-bun ratio, not a bread sandwich. I always recommend seeking out fresh, soft bakery-style buns from your local grocery store bakery section; their freshness makes a huge difference.
The Game-Changing Toasted Bun
Before you even start frying your burgers, take a minute to lightly toast your buns in the same skillet you’ll use for the patties, ideally in a little butter. This simple step elevates the entire burger experience. Once your skillet is hot, drop in a pat of butter, let it melt, then place the buns (cut-side down) and toast for just a minute or two until golden brown. This creates a wonderfully soft exterior with a buttery, crisp interior that holds up beautifully to juicy patties and delicious toppings.
Condiments and Toppings: A Personal Affair
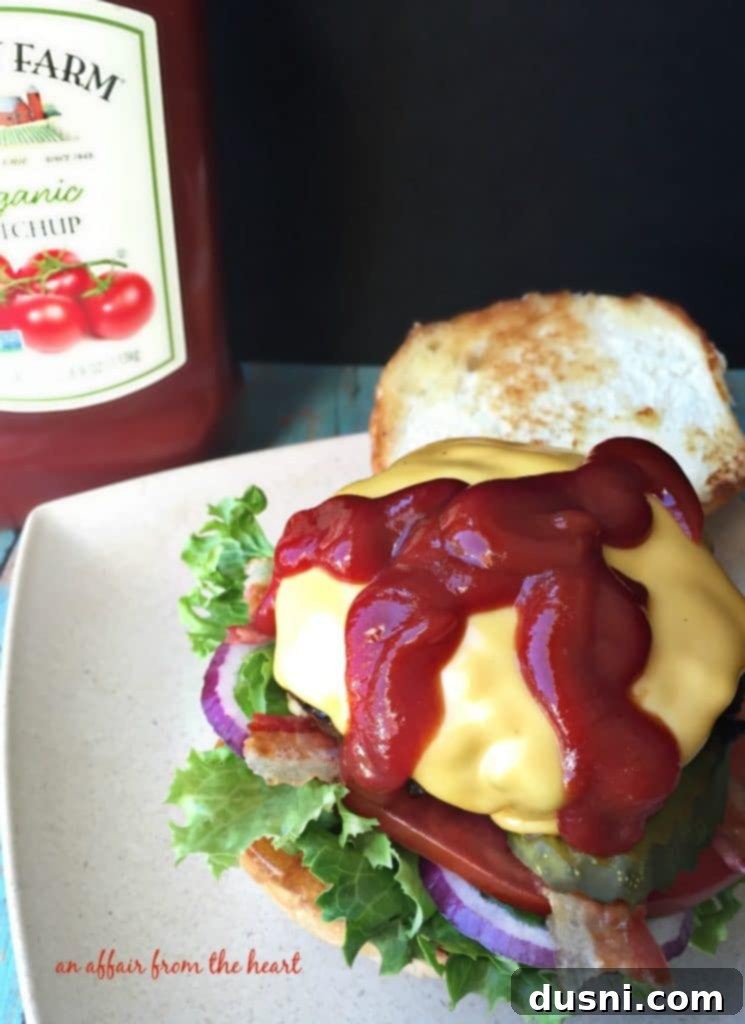
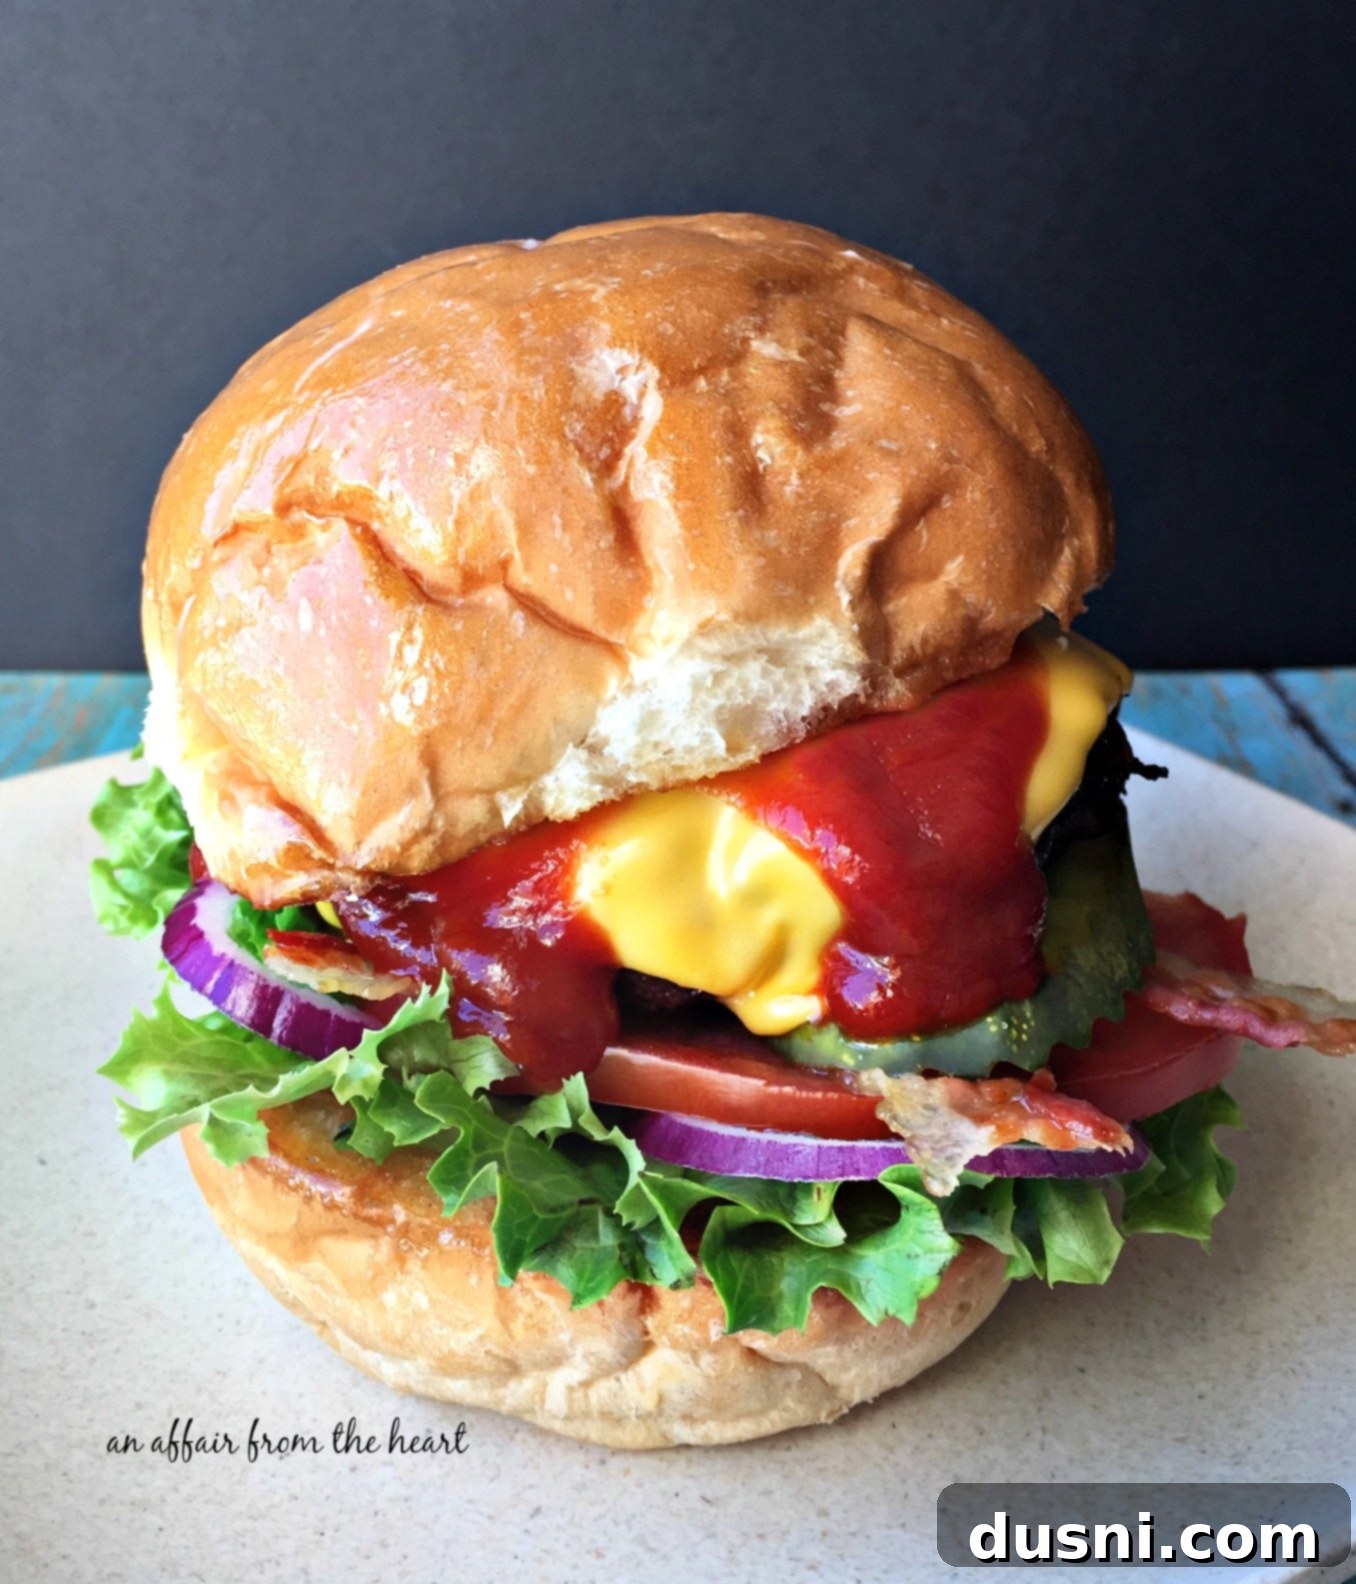
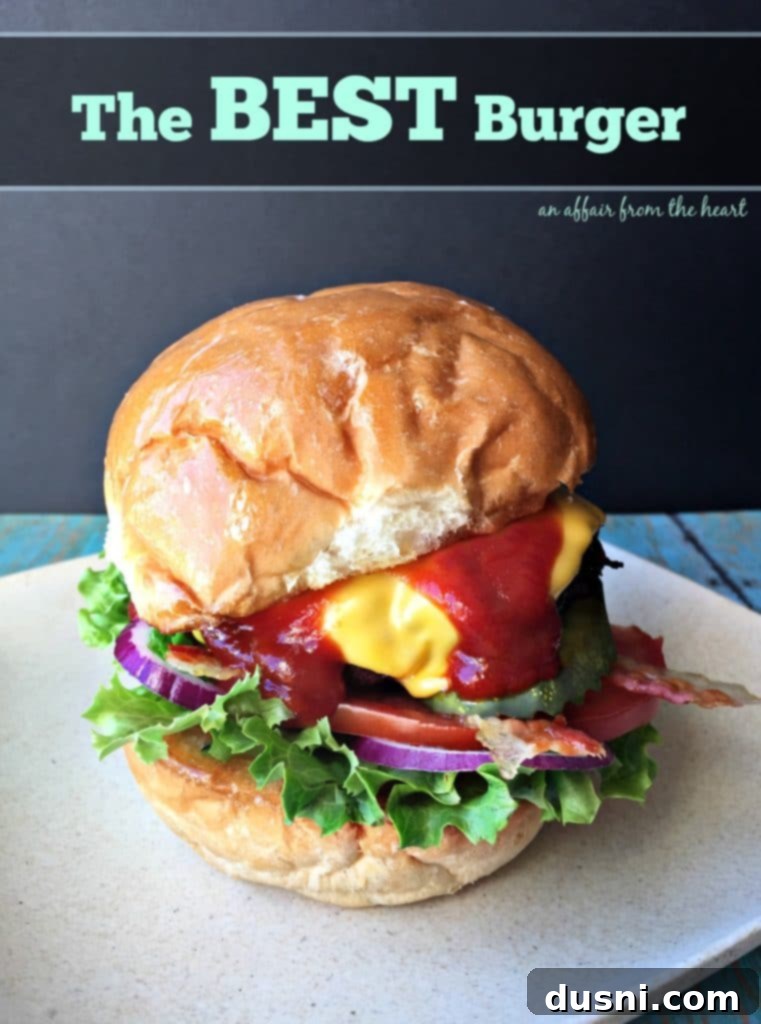
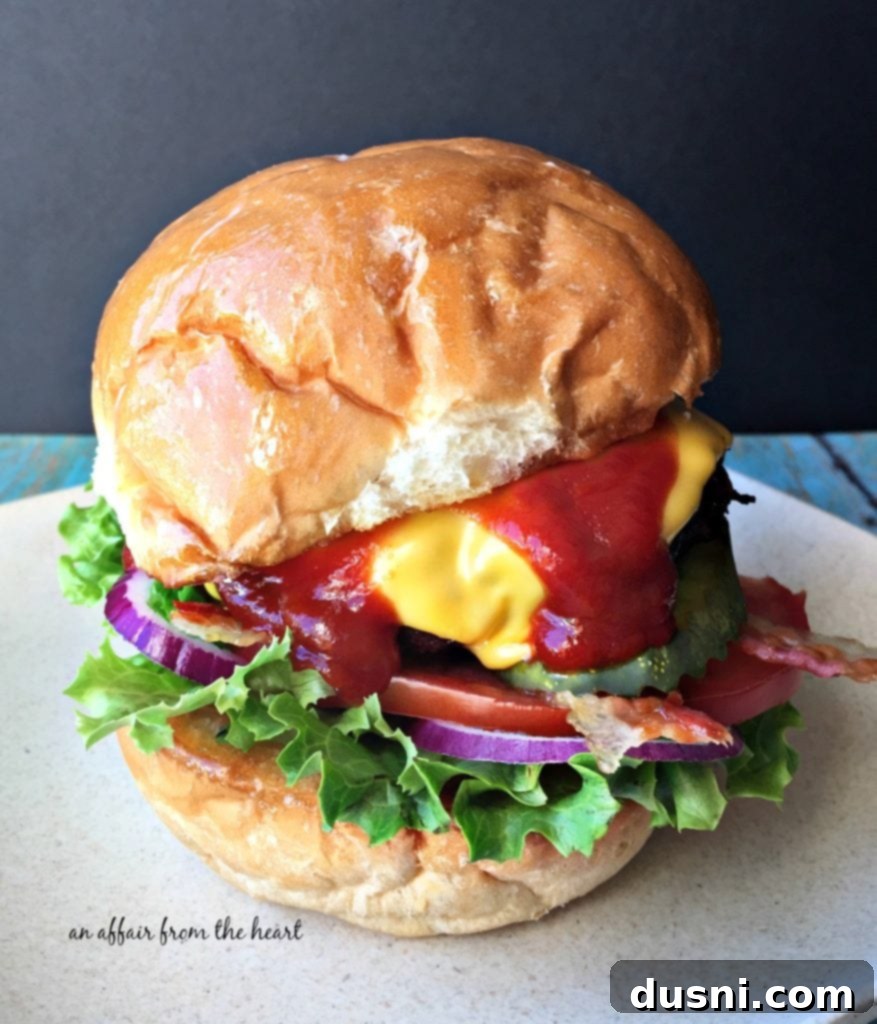
This is where personal preference truly shines! For me, I love layering my condiments on the bottom bun before placing the hot burger on top. My ideal burger is piled high with fresh, crisp lettuce, thinly sliced red onions, ripe tomatoes, and an abundance of tangy pickles. A good quality slice of American cheese, melted perfectly over the hot patty, is non-negotiable, and if you’re asking for my ultimate choice, crispy bacon is a must-add. Then, of course, there are the classic sauces: a generous smear of mustard, a dollop of creamy mayo, and, of course, plenty of ketchup.
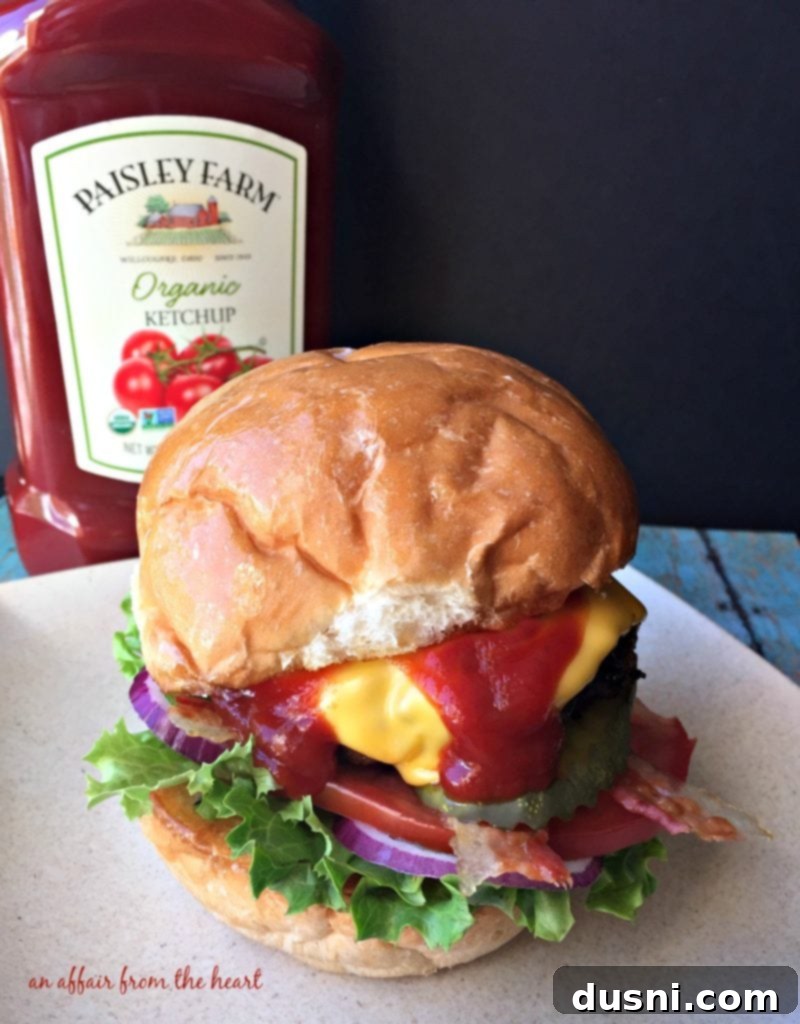
Discovering Paisley Farm Organic Ketchup
This post is sponsored by Paisley Farm Foods, but the opinions are entirely my own. I must admit, I used to be one of “those people” who only ever bought one specific brand of ketchup – the one I grew up with. Call me a ketchup snob, if you will, but I was fiercely loyal. So, when I was given the opportunity to sample a new organic ketchup from Paisley Farms, I approached it with a healthy dose of skepticism.
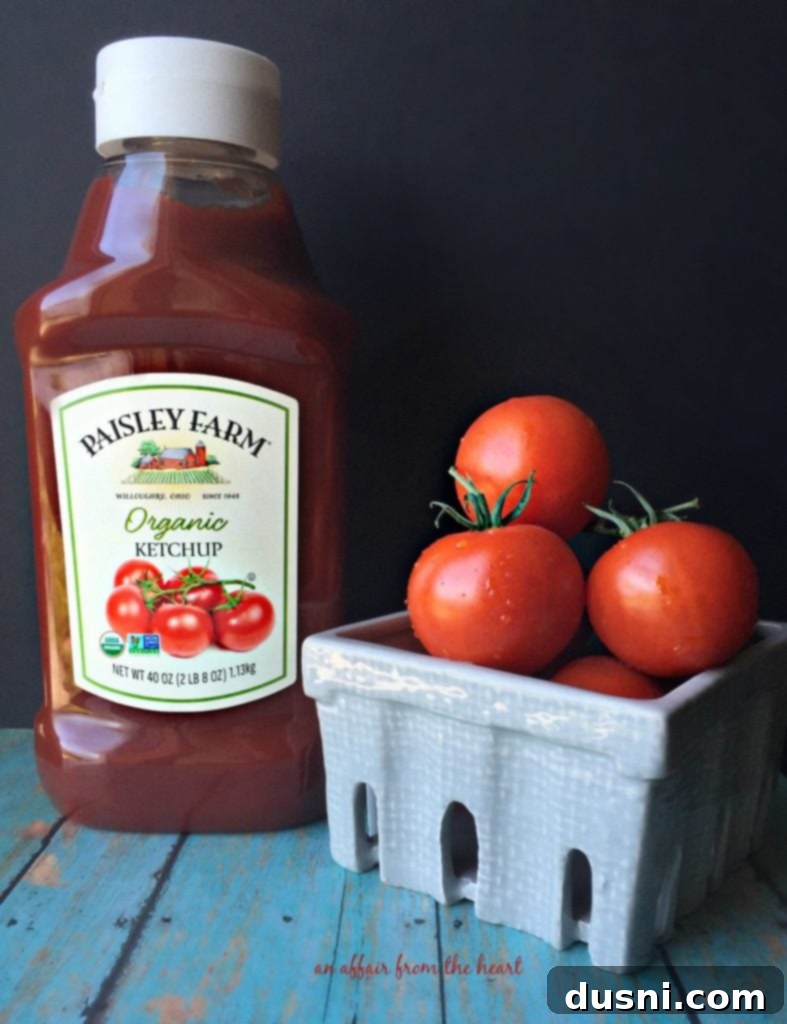
To my pleasant surprise, Paisley Farm Organic Ketchup completely won me over! This brand-new, great-tasting ketchup is non-GMO and gluten-free, making it a fantastic choice for those with dietary considerations or simply looking for a high-quality option. It was available at Costco locations in the NW USA (Alaska, Oregon, Washington, Montana, Idaho, Utah) at the time of this writing, with in-store samplings planned. If you’re a Costco member in a different state, don’t hesitate to use their suggestion boxes to let them know you want Paisley Farm Organic Ketchup!
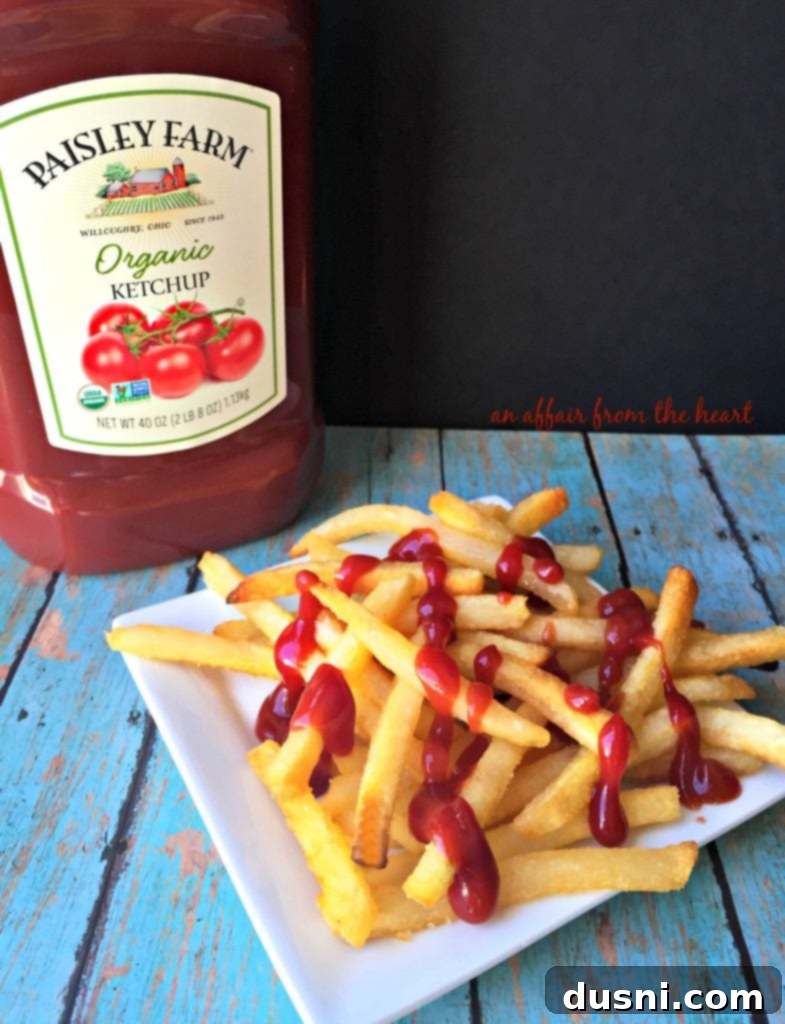
We absolutely loved this ketchup! The flavor profile is perfectly balanced – rich, tangy, and subtly sweet – and the consistency is ideal for burgers, hot dogs, and, of course, dipping crispy french fries. Paisley Farms truly changed my perspective on ketchup, proving that sometimes it’s worth stepping outside your comfort zone to discover new favorites!
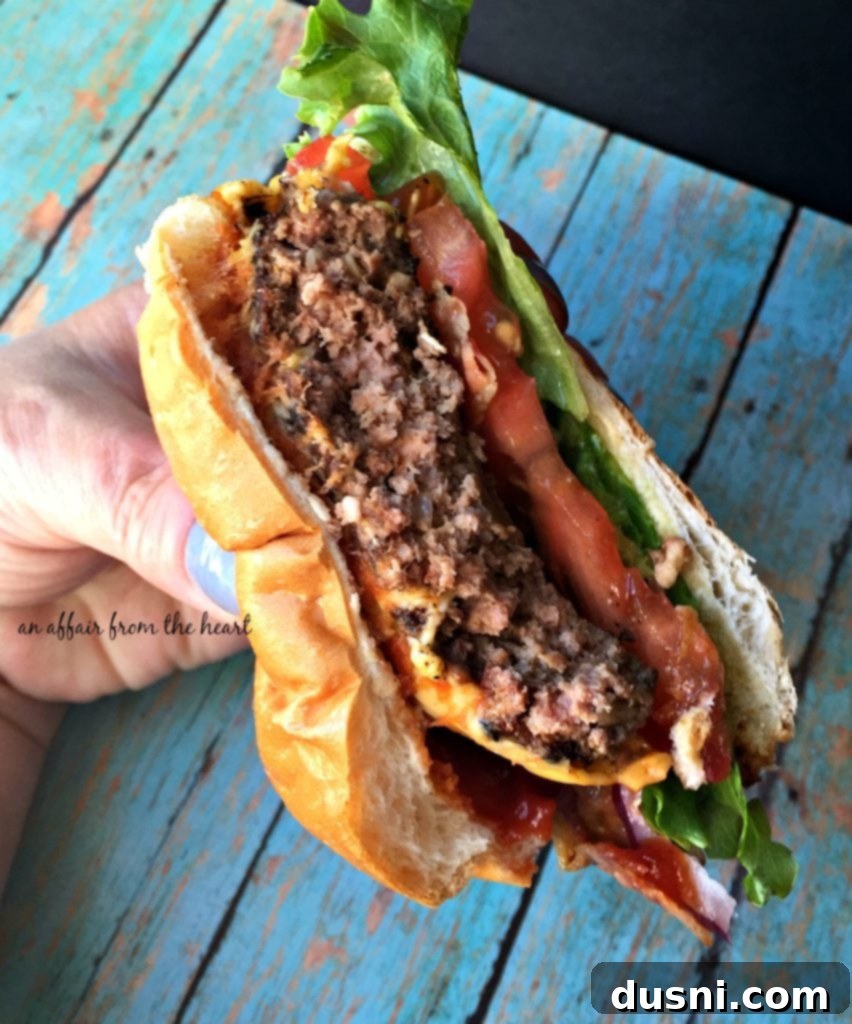
Oh, my, just look at that juicy goodness!
LIKE THIS RECIPE?
Don’t forget to give it a ⭐️⭐️⭐️⭐️⭐️ star rating and
leave a comment below the recipe!

Print Recipe
The BEST Burger
Ingredients
- 2 pounds ground beef 80/20 is best for juiciness and flavor
- 1 large egg lightly beaten
- 1 1/2 teaspoons dry mustard
- 1 teaspoon Worcestershire sauce add more to taste if desired
- 2 Tablespoons ketchup
- 2 Tablespoons sour cream plain Greek yogurt can be a good substitute
- 1/4 cup finely minced onion
- 2 cloves garlic minced or pressed
- 1/2 teaspoon salt
- 3/4 teaspoon black pepper
- Kosher Salt and Butter for pan-frying and bun toasting
- American cheese slices or your favorite cheese
- Soft bakery-style burger buns
- Optional Toppings: Crispy bacon, fresh lettuce, sliced red onion, ripe tomato, additional ketchup, mustard, and mayonnaise.
Instructions
-
In a medium mixing bowl, whisk the egg until it’s well beaten. Add all the spices (dry mustard, salt, pepper), Worcestershire sauce, ketchup, sour cream, minced onion, and minced garlic to the egg. Whisk everything together thoroughly until well combined. Gently crumble the ground beef into the bowl. Using your hands, carefully mix all the ingredients together with the beef. Remember, avoid over-handling the meat to keep the patties tender!
-
Form the mixture into 6-ounce patties. As you form each patty, don’t forget to create that crucial “well” or indentation in the middle by pressing your thumbs into the center. This helps the burgers cook evenly and prevents them from bulging. Keep in mind that burgers tend to shrink slightly when cooked, so make them a little larger than your bun initially.
-
Place the formed burger patties on a plate or baking sheet lined with parchment paper and refrigerate them until you are ready to cook. This helps them hold their shape better.
-
Heat your cast iron skillet over medium-high heat. Once hot, drop a pat of butter into the skillet and let it melt. Place your burger buns (cut-side down) into the melted butter and toast them for about 1-2 minutes until lightly golden and fragrant. Remove the toasted buns and set them aside.
-
Add a couple more pats of butter to your hot cast iron skillet. Sprinkle both sides of your chilled hamburger patties with kosher salt just before placing them in the hot pan. Cook for approximately 6-7 minutes on the first side to develop a beautiful crust, then carefully flip the burgers. Cook for another 6-7 minutes on the second side. Always check the internal temperature with a meat thermometer to ensure desired doneness.
-
Once the burgers are cooked to your liking, place a slice of American cheese (or your preferred cheese) on top of each patty during the last minute of cooking to allow it to melt perfectly.
-
Transfer the cheesy burger patties to your prepared, toasted buns. Add your favorite toppings and condiments. Grab plenty of napkins and ENJOY your perfectly crafted burger!
Notes
Nutrition
Conclusion: Your Journey to Burger Perfection Begins Now
Crafting the “best burger” at home is an incredibly rewarding culinary adventure. By following these tried-and-true tips and utilizing our detailed recipe, you’re now equipped with the knowledge and techniques to create truly exceptional, juicy, and flavorful burgers every single time. From the right blend of ground beef to the perfect cooking method and thoughtful condiment choices, each step contributes to that unforgettable burger experience.
Don’t be afraid to experiment with different toppings, cheeses, and even unique seasonings to truly make these burgers your own. Whether you’re hosting a backyard barbecue, enjoying a casual weeknight meal, or simply craving a taste of perfection, this guide will ensure your homemade burgers are the star of the show. So, fire up that skillet, gather your ingredients, and get ready to indulge in the best burger you’ve ever made!
For more delicious meal ideas and to explore their full range of organic products, be sure to pop over to the Paisley Farms website. Happy cooking!
