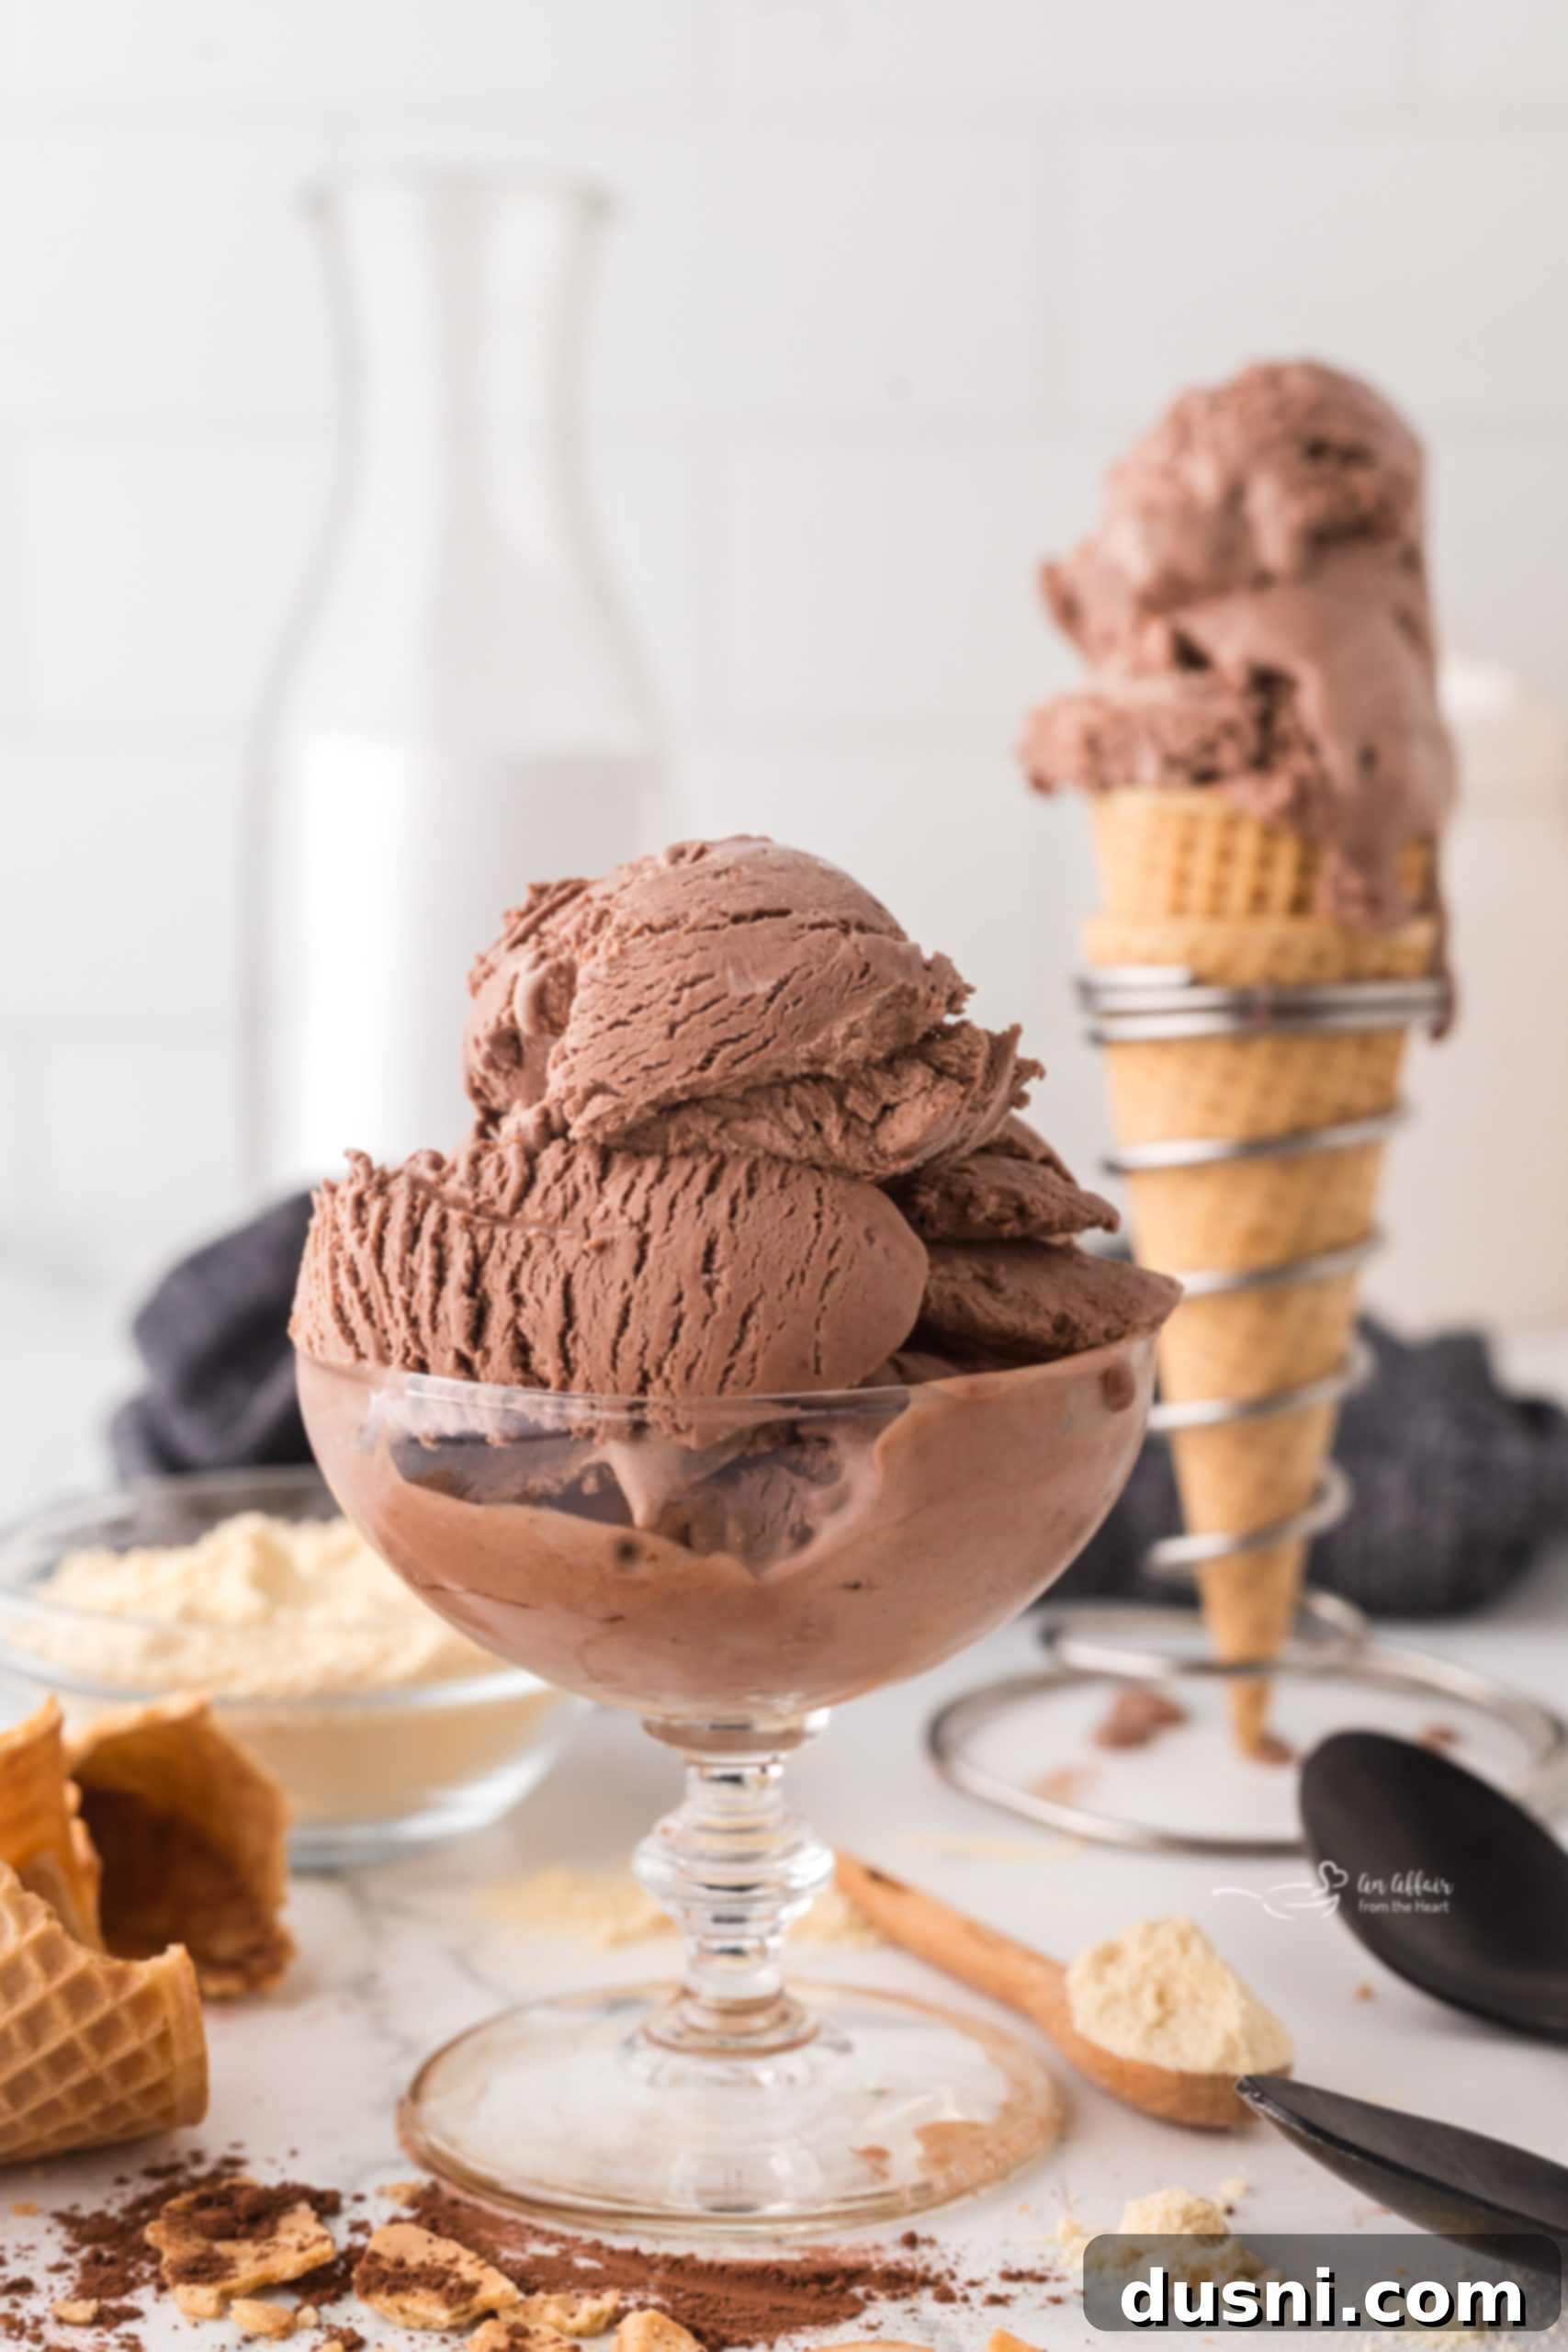
Indulge in Homemade Bliss: The Ultimate No-Churn Chocolate Malt Ice Cream Recipe
Craving that classic malt shop magic without the hassle of an ice cream maker? This no-churn Chocolate Malt Ice Cream is an absolute game-changer! Imagine velvety smooth chocolate, perfectly balanced with a nostalgic hint of malt, all coming together in one incredibly easy recipe. Forget the complicated churning process; this delightful treat delivers rich, creamy milkshake vibes straight from your freezer, making homemade ice cream more accessible than ever before. It’s a simple pleasure that will transport you back to simpler times with every delightful scoop.
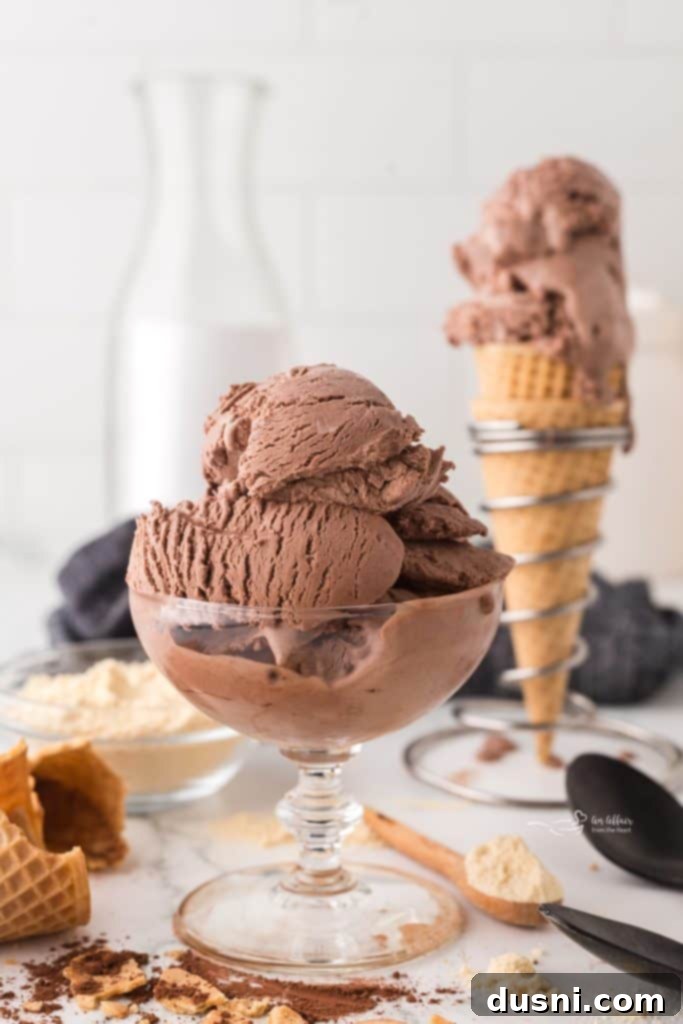
I have a dear friend who steadfastly claims her favorite time to enjoy ice cream is in the depths of winter. Her reasoning? She dislikes when it gets all melty and drippy from the relentless summer heat. This makes sharing a brand new, incredibly satisfying chocolate ice cream recipe in the middle of winter perfectly acceptable, don’t you agree? As for me, personally? I am always ready for ice cream, regardless of the season or the temperature outside. And I become especially excited when it’s chocolate ice cream, a timeless classic that never fails to bring a smile to my face. This chocolate malt variation takes that joy to an entirely new level!
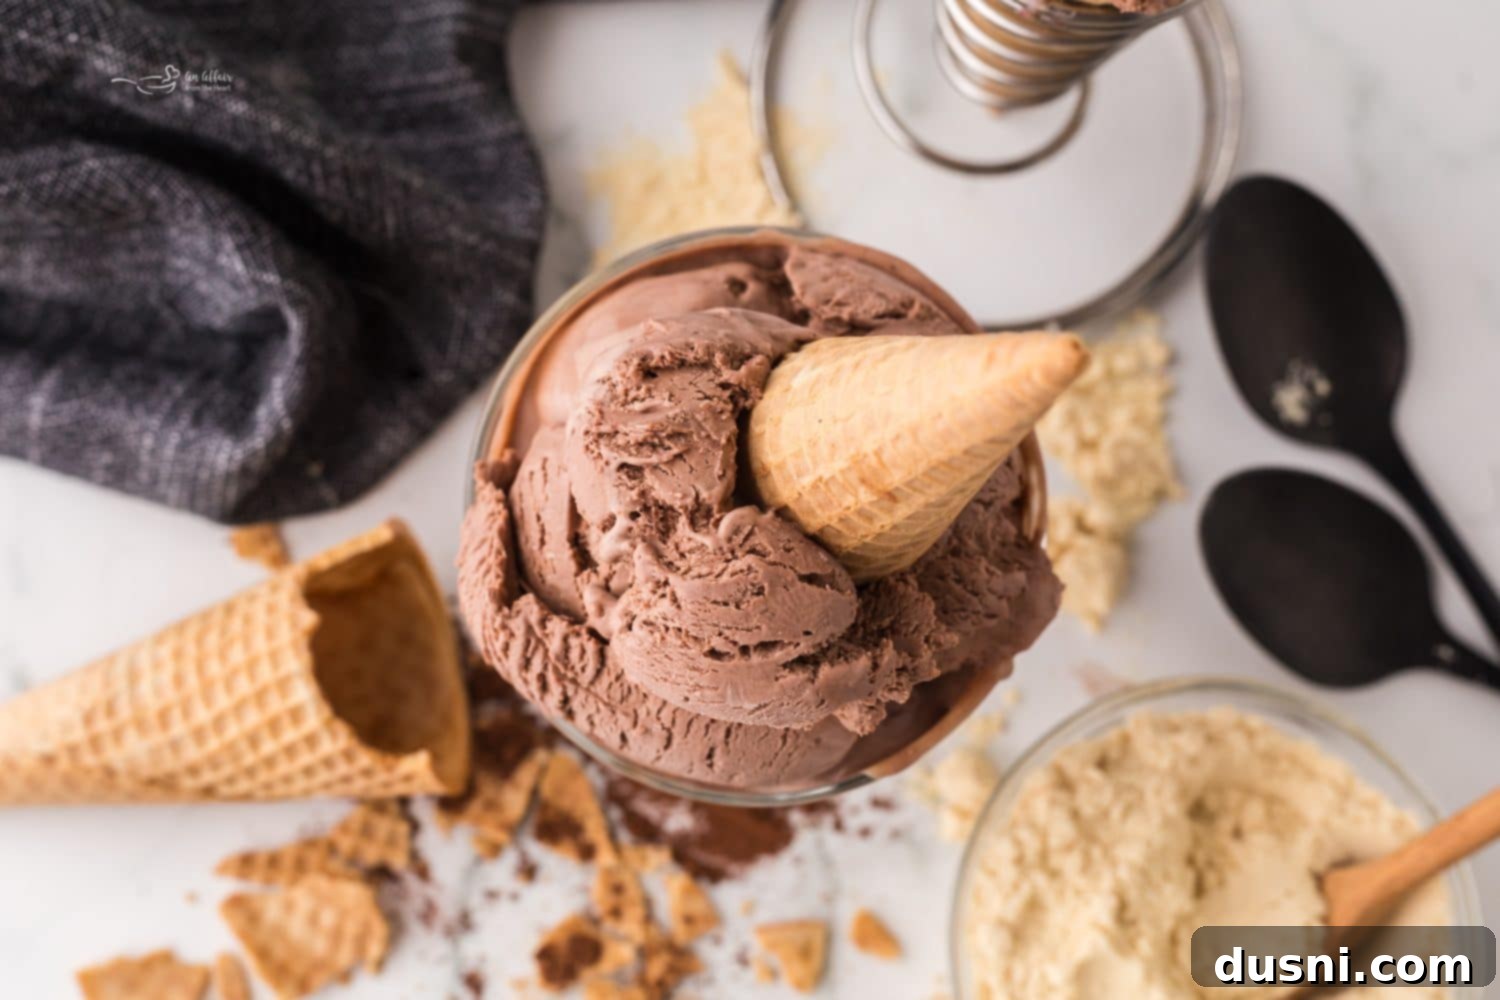
Why You’ll Love This No-Churn Chocolate Malt Ice Cream
Many people shy away from making ice cream at home, often assuming it’s a complicated endeavor. They might wonder if special equipment, like an expensive ice cream maker, is required, or how long it will take to freeze, or how it could possibly achieve the rich, creamy texture of their favorite store-bought brands. However, this no-churn chocolate malt ice cream recipe will completely change your perception. Once you discover just how incredibly easy and intensely flavorful this recipe is, you’ll be genuinely amazed. It uses simple, accessible ingredients, transformed into a truly decadent and smooth ice cream, free from the additives and preservatives often found in commercial varieties. You’ll quickly find yourself wondering why you ever relied on store-bought options!
If you’re already a fan of delicious, easy no-churn ice cream, then you’re sure to adore these other fantastic recipes. Dive into the comforting flavors of Homemade Cinnamon Vanilla Ice Cream, explore a unique twist with Grasshopper Pie Ice Cream, or try the classic texture of Grape Nut Ice Cream. And, keeping with the winter theme, my Snow Ice Cream is a whimsical delight that’s perfect for a snowy day!
Preparing Your No-Churn Chocolate Malt Ice Cream
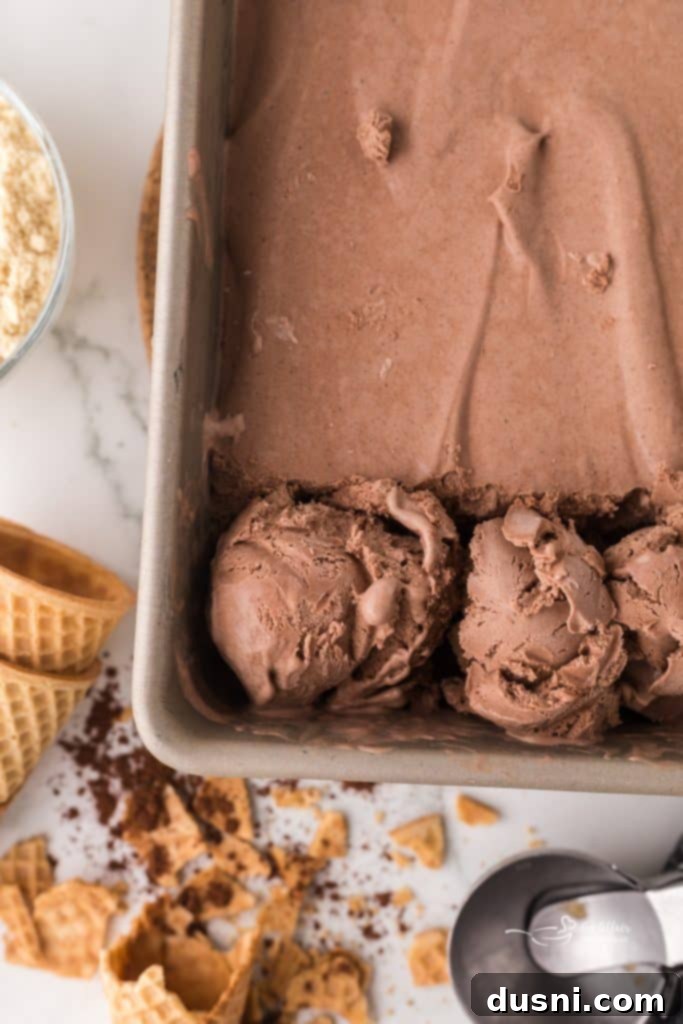
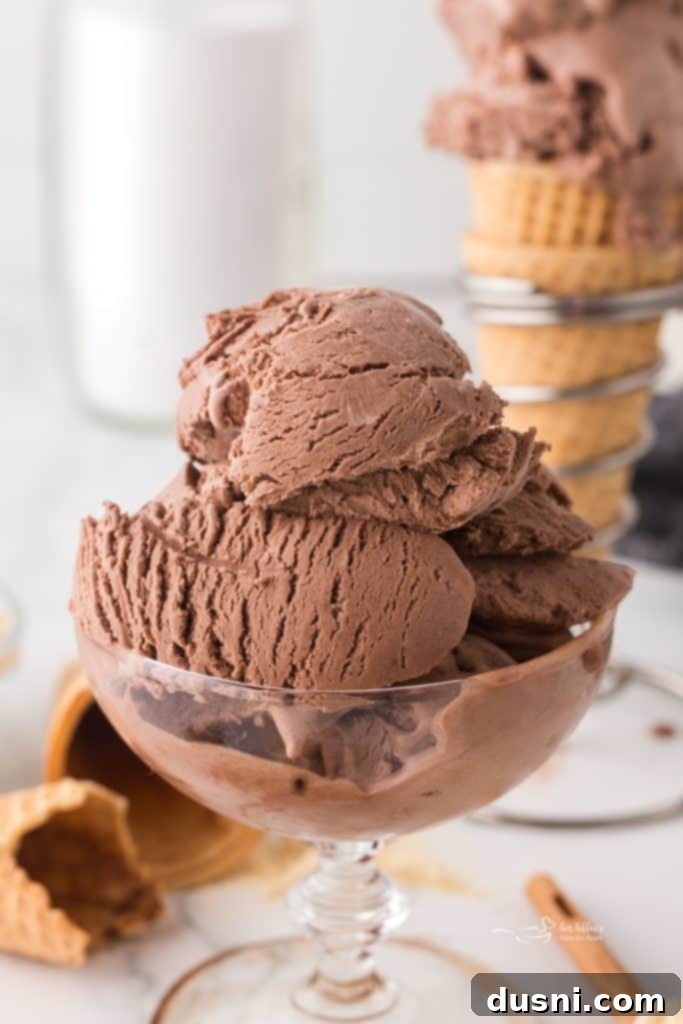
Just a quick heads-up when you’re preparing this delightful ice cream: you’ll need to factor in a few hours for it to properly chill and solidify in the freezer. But here’s the best part and one of the unique benefits of using malt powder: you won’t have to battle with rock-hard ice cream! The malt powder acts as a natural softener, ensuring that your homemade creation remains on the softer, more scoopable side. This means it will be wonderfully easy to scoop and enjoy as soon as you pull it out of the freezer, eliminating that frustrating wait for it to thaw slightly.
The Science Behind Creamy No-Churn Ice Cream
Have you ever paused to wonder why you can’t simply freeze any old creamy mixture to get ice cream, especially for recipes that explicitly call for an ice cream maker? The fascinating secret to achieving a smooth, scoopable texture in no-churn ice cream lies in the simple act of whipping cream. When you whip heavy cream, you’re essentially incorporating a significant amount of air into the mixture. This process dramatically increases the volume of the cream, creating a light, airy, and fluffy texture. This aeration is precisely what an ice cream maker does as it churns, constantly folding air into the base while it freezes. Without this crucial step of incorporating air, an ice cream mixture would freeze solid, leading to the formation of much larger, undesirable ice crystals. These larger crystals result in a dense, icy, and somewhat unpleasant texture, rather than the smooth, creamy consistency we all desire in a perfect scoop of ice cream. The trapped air prevents water molecules from clumping together into large crystals, thus ensuring a delightful mouthfeel.
Expert Tips to Prevent Ice Crystals in Your No-Churn Ice Cream
Achieving perfectly smooth and creamy homemade ice cream without an ice cream maker is entirely possible by following a few simple yet effective steps. These techniques are designed to minimize ice crystal formation and maximize lusciousness:
- Use Sweetened Condensed Milk: This ingredient is a true hero in no-churn recipes. Sweetened condensed milk is essentially milk from which water has been removed, and sugar has been added. Its thick, syrupy consistency and high sugar content significantly help prevent ice crystallization. By reducing the overall water content in your ice cream base and lowering its freezing point, it ensures a much smoother, more luxurious texture that stays soft even when deeply frozen.
- Whip the Cream Well: The importance of whipping heavy cream to stiff peaks cannot be overstated. This process is how you incorporate a substantial amount of air into your mixture. As discussed earlier, this trapped air is crucial for creating that light, airy, and creamy texture. The tiny air pockets physically separate water molecules, hindering them from forming large, gritty ice crystals. Aim for firm, stand-alone peaks that hold their shape when the whisk is lifted.
- Consider Alcohol or Corn Syrup: For an extra layer of protection against ice crystals, a small splash of alcohol, such as vodka or a complementary liqueur, or a modest amount of corn syrup, can be added. Alcohol lowers the freezing point of water, making it harder for ice crystals to form and grow. Corn syrup, like sweetened condensed milk, is a sugar inversion that acts as an anti-crystallization agent, helping to keep the texture smooth and pliable.
- Press Plastic Wrap Directly on the Surface: Before placing your ice cream in the freezer, a critical step is to press a piece of plastic wrap directly onto the surface of the mixture. This creates a barrier that minimizes air exposure, which is the primary cause of freezer burn and surface ice crystal formation. By preventing air from reaching the surface, you lock in moisture and maintain the pristine texture of your homemade treat.
- Freeze in an Airtight Container: Always freeze and store your no-churn ice cream in a shallow, airtight container. A shallow container allows the ice cream to freeze more quickly and evenly, which also helps inhibit the formation of large ice crystals. The airtight seal is essential for protecting the ice cream from freezer burn, preventing it from absorbing odors from other freezer contents, and blocking moisture loss or gain. I find it beneficial to lay a piece of plastic wrap directly over the top of the ice cream before securing the lid, creating a double layer of protection.
- Freeze Quickly: The speed at which your ice cream freezes plays a significant role in its final texture. Place your container in the coldest part of your freezer, ideally towards the back where temperatures are most consistent and coldest. Freezing the ice cream as quickly as possible helps to ensure that any ice crystals that do form remain tiny, resulting in a smoother, more desirable consistency.
- Avoid Frequent Thawing and Refreezing: This is a common culprit for icy ice cream. Each time ice cream softens and is then refrozen, existing ice crystals melt and then refreeze, often growing larger in the process. To maintain optimal texture, scoop out what you need quickly and return the remaining ice cream to the freezer promptly. Minimize the time it spends outside the freezer.
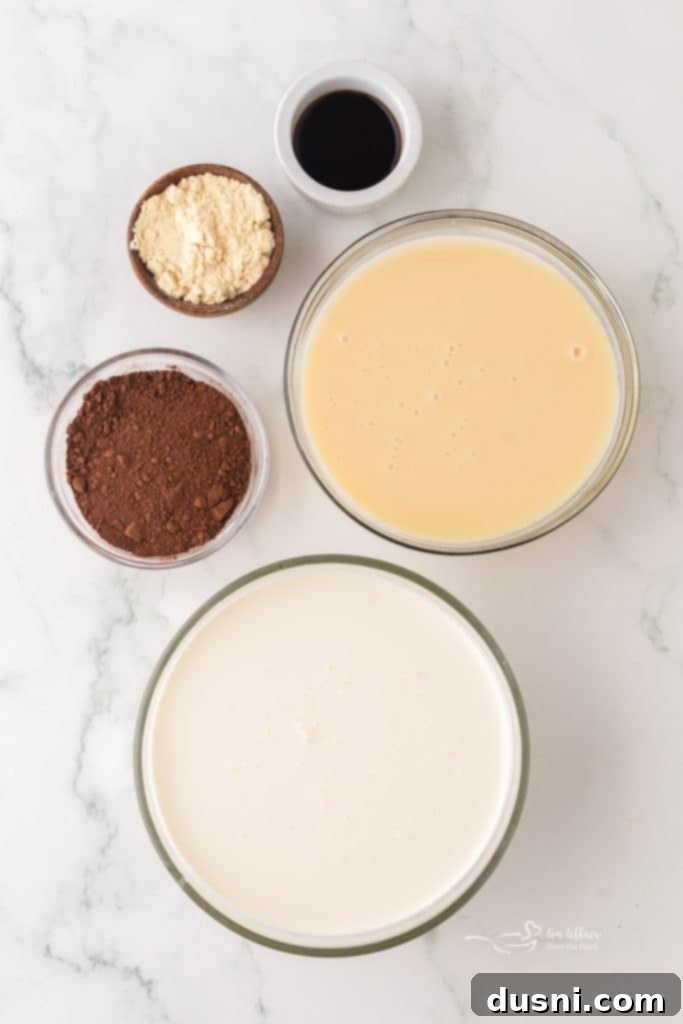
Essential Ingredients for Your Delicious Chocolate Malt Ice Cream
Crafting this incredible no-churn ice cream requires just a handful of quality ingredients. For a complete list of precise measurements and detailed instructions, please scroll to the end of this post for the full printable recipe card. Here’s a closer look at what you’ll need and why each component is vital:
- Heavy whipping cream: This is the absolute foundation for our luxurious malt ice cream recipe. Heavy cream, with its high-fat content (typically 36% or more), whips up beautifully to incorporate air, which is essential for that light, airy, and ultimately creamy no-churn texture. It’s what gives our ice cream its rich body and smooth consistency.
- Vanilla extract: A good quality vanilla extract (or even vanilla bean paste for visible flecks and intensified flavor) is a must. Vanilla, though often subtle, plays a crucial role in enhancing and rounding out the chocolate and malt flavors, adding depth and a touch of warmth to the overall profile of the ice cream.
- Dutch process cocoa powder: For this particular ice cream recipe, opting for Dutch process cocoa powder is highly recommended. Unlike natural cocoa, Dutch process cocoa has been treated with an alkali to neutralize its acidity. This results in a darker, richer, and mellower chocolate flavor that isn’t bitter. It adds an extra layer of deep, sophisticated chocolate intensity that you simply won’t achieve by using regular, natural cocoa powder.
- Sweetened condensed milk: This ingredient is pivotal for no-churn ice cream. It’s crucial to note that this is NOT the same as evaporated milk, so make sure to read the label carefully! Sweetened condensed milk is milk that has had most of its water removed and a large amount of sugar added, making it thick and syrupy. It contributes both essential sweetness and a wonderfully smooth, creamy texture to the ice cream, helping to prevent ice crystals from forming as it freezes.
- Malt powder: This is where the magic of “malt” comes from! You can use either regular malted milk powder or a chocolate malted milk powder for an intensified chocolate flavor. Malt powder is made from malted barley and wheat, lending a distinctive, slightly toasted, and nutty flavor that is characteristic of classic malted milkshakes. If you’re having trouble locating malt powder, a readily available alternative like a jar of Ovaltine (which is a malted milk drink mix) will work perfectly.
Be sure to continue reading for invaluable tips and tricks, potential substitutions to tailor this recipe to your preferences, and answers to common questions you may have about making this delicious no-churn chocolate malt ice cream recipe.
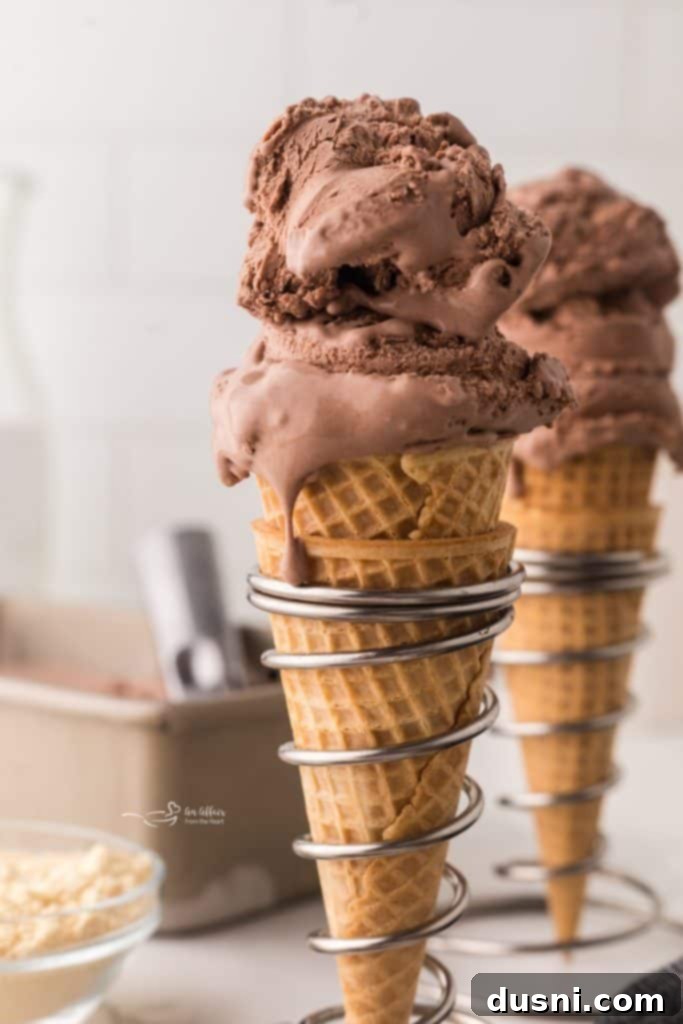
Step-by-Step Guide: How to Make No-Churn Chocolate Malt Ice Cream
Creating this delightful chocolate malt ice cream is surprisingly quick, requiring only a handful of ingredients and minimal active preparation time. The longest part of the process is the hands-off freezing time, so plan accordingly!
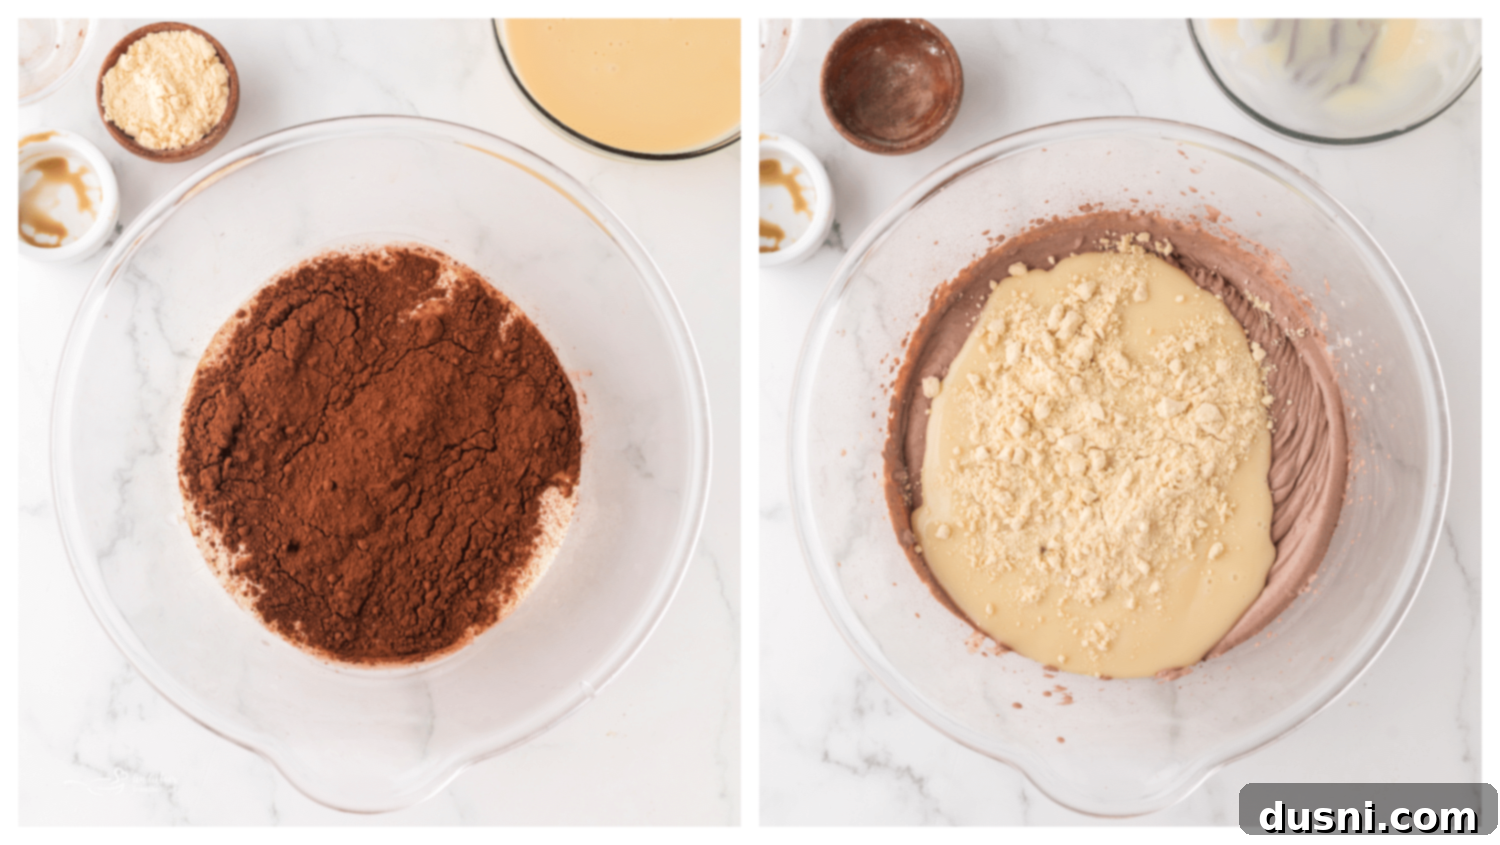
Step 1: Whip the Base. In the clean bowl of your stand mixer, fitted with the whisk attachment, or using a powerful handheld electric mixer, combine the very cold heavy whipping cream, fragrant vanilla extract, and rich Dutch process cocoa powder. Beat these ingredients on medium-high speed until they transform into beautiful, soft peaks. The mixture should be thick and airy but still slightly pliable. This process usually takes about 2-3 minutes, so keep an eye on it to avoid over-whipping.
Step 2: Fold in Sweetness and Malt. Once your cream mixture has achieved stiff, freestanding peaks that hold their shape perfectly when the whisk is lifted, it’s time to introduce the stars of the show: the sweetened condensed milk and the malt powder. Gently, yet thoroughly, fold these ingredients into the whipped cream base by hand using a spatula. The goal is to fully incorporate them without deflating all the precious air you just whipped into the cream. This gentle folding ensures your ice cream remains light and airy.
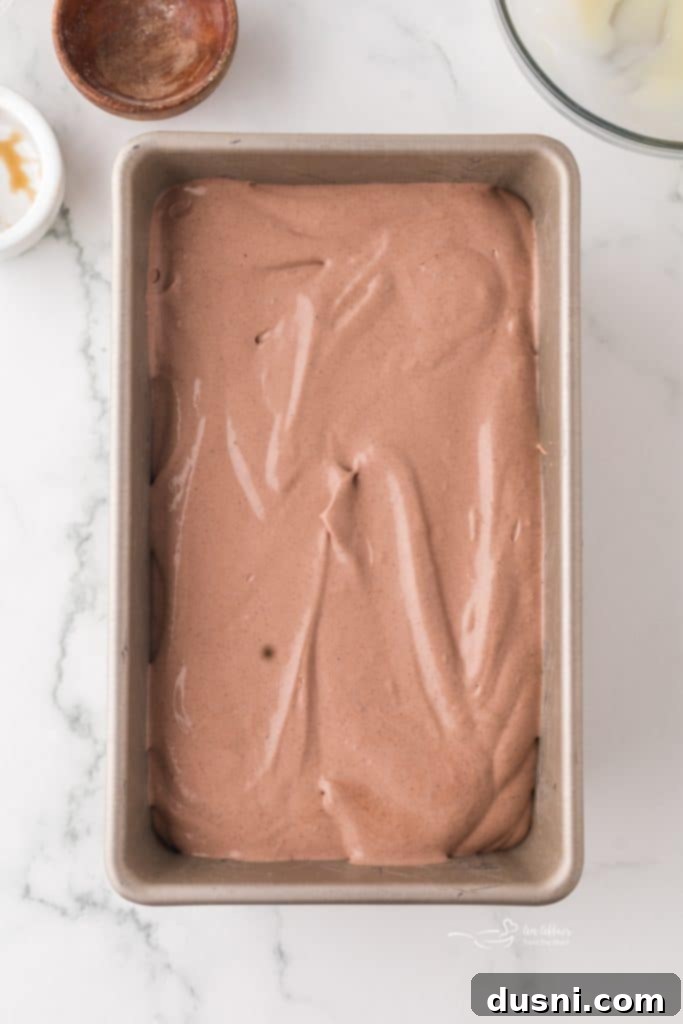
Step 3: Prepare for Freezing. Carefully pour the beautifully mixed ice cream base into your chosen freezing container. A 9×5 inch loaf pan is ideal for its surface area, promoting even freezing, or a large, airtight Rubbermaid container works perfectly. Ensure the container is freezer-safe and has a tight-fitting lid.
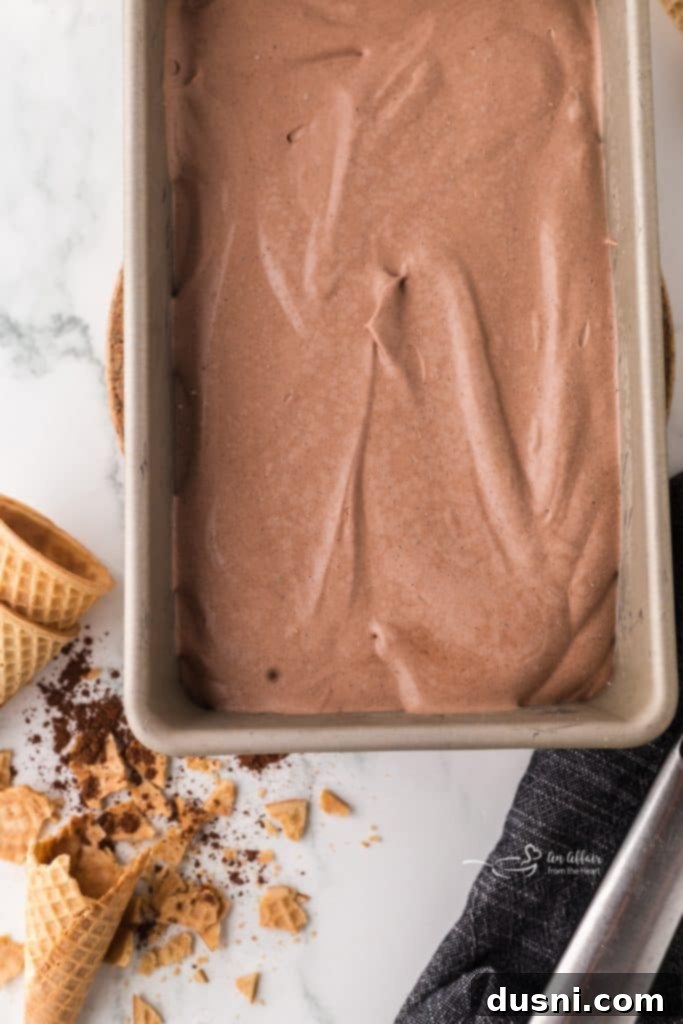
Step 4: Freeze to Perfection. Cover the ice cream container securely. As mentioned in our crystal-prevention tips, pressing a layer of plastic wrap directly onto the surface of the ice cream before placing the lid on is an excellent practice. Then, place it into the coldest part of your freezer and let it freeze for a minimum of 5 hours, or until the ice cream is firm and solid to the touch. The exact time may vary slightly depending on your freezer’s efficiency.
Step 5: Scoop and Savor! Once perfectly firm, remove your homemade no-churn chocolate malt ice cream from the freezer. Thanks to the malt powder, it should be delightfully easy to scoop right away. Serve immediately and enjoy the fruits of your simple labor!
When stored diligently in an airtight container, this decadent ice cream will maintain its superb quality and creamy texture for up to 2 months. Remember, making doubly sure the seal is airtight is paramount; otherwise, you risk unwanted ice crystals forming, which can compromise the delightful texture.
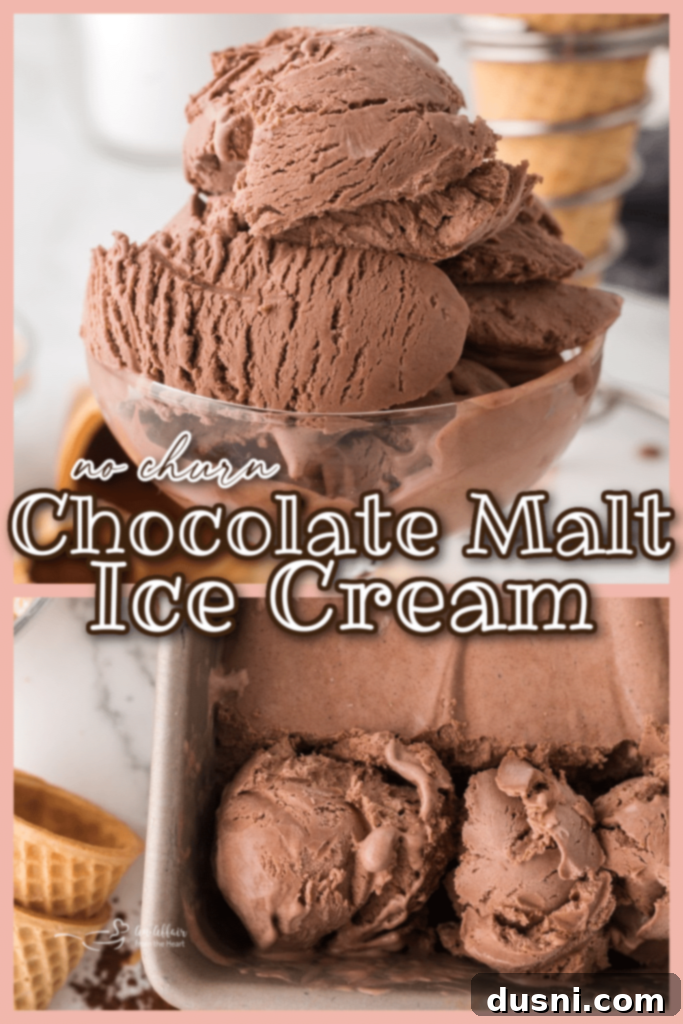
Love it? Pin it!
If you’re as smitten with this easy no-churn chocolate malt ice cream recipe as we are, don’t let it get lost in the depths of your browser history! Make sure to save it for later. Pin it to your favorite Pinterest recipe board now so you can easily find it whenever that chocolate malt craving strikes again!
Additional Tips & Tricks for Perfect No-Churn Ice Cream
- Chill Your Ingredients and Equipment: For the absolute best results when whipping cream, ensure that your heavy cream, your mixing bowl, and your whisk attachment (or beater blades) are all thoroughly chilled before you begin. A cold environment helps the fat globules in the cream emulsify more efficiently, leading to faster whipping and a more stable, voluminous result.
- Stick to the Recipe: While experimentation can be fun, for your first attempt, do your best to use the exact ingredients listed here. The ratios of fat, sugar, and liquid are carefully balanced to give you the optimum flavor and, crucially, the desired rich and creamy texture inherent to this no-churn method.
- Customize Your Chocolate Experience: If you are a true chocolate aficionado, don’t hesitate to elevate this recipe further! Feel free to fold in chocolate chips (mini or regular), chocolate chunks, or even a swirl of chocolate syrup after the base is mixed. For an ultimate malt shop experience, crushed chocolate malted milk balls or Oreo crumbs can add a fantastic textural contrast and even more chocolatey goodness.
- Enhance with Espresso: For a subtle yet impactful flavor boost, consider adding a tiny pinch (about half a teaspoon) of instant espresso powder or finely ground coffee to your chocolate mixture. Espresso is renowned for its ability to intensify and deepen the flavor of chocolate without making the dessert taste like coffee. It simply brings out the best in the cocoa!
More Delightful Ice Cream Recipes to Love
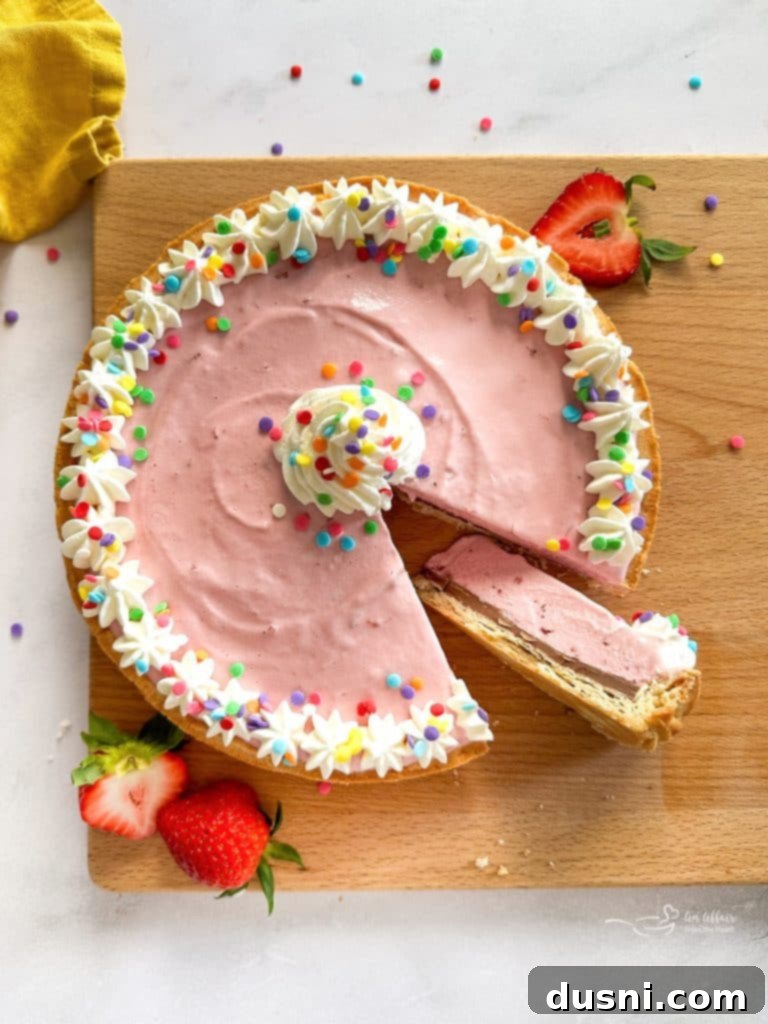
If your love for ice cream rivals my own, you’ll be thrilled to discover these other fantastic, ice-cream-based desserts that are perfect for any occasion. This elegant chocolate and vanilla-flavored Ice Cream Cake Roll looks incredibly fancy but is surprisingly easy to create, making it a showstopper for guests. Similarly, the Ice Cream Cookie Cake, beautifully pictured above, offers a delightful combination of crunchy cookie and creamy ice cream. One of my all-time favorite ice creams on the planet is Baskin Robbins Daiquiri Ice, and I’m ecstatic to share this incredibly accurate copycat recipe that is definitely a keeper!
For seasonal festivities, this eerie yet delicious Spider Web Ice Cream Pie is an absolute must-make for Halloween. For a unique family-friendly dessert, the kids (and adults!) will adore this creative Fried Ice Cream Pie, capturing the essence of the classic fried treat without the oil. And for those moments when only supreme indulgence will do, this Brownie Chocolate Chip Cookie Dough Ice Cream Cake is an undeniable showstopper, or for peanut butter lovers, this rich Reese’s Peanut Butter Cup Ice Cream Cake offers decadent layers of flavor that are impossible to resist.
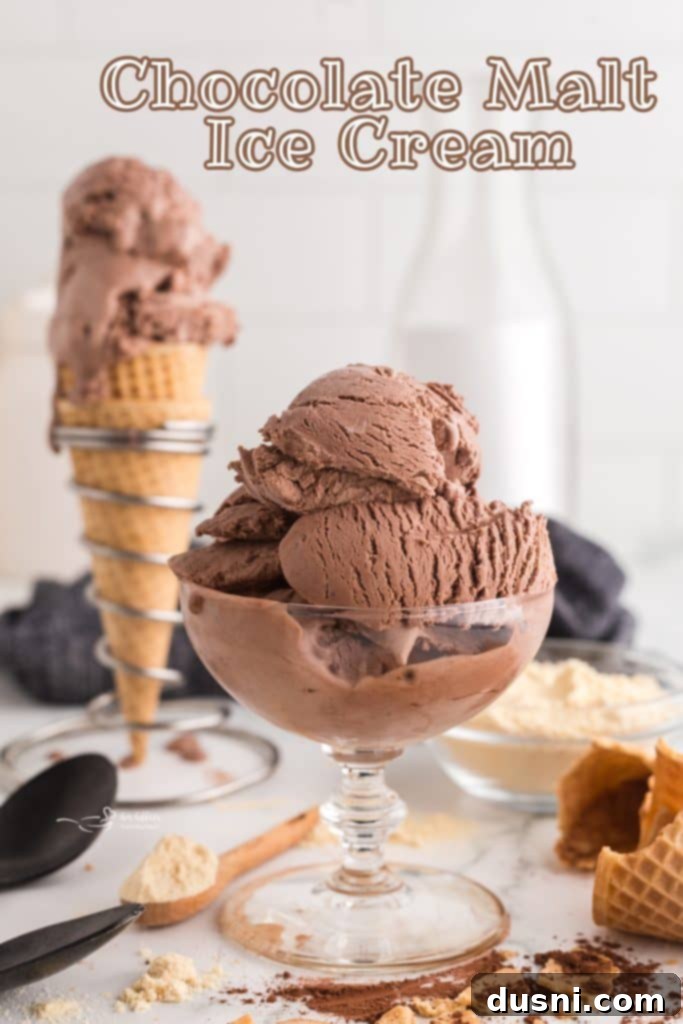
This chocolate ice cream recipe isn’t just easy to make; it creates a gorgeously creamy treat, distinguished by its deeply rich chocolate ice cream base perfectly infused with that distinctive and beloved malt flavor. It’s the ideal blend of classic comfort and homemade goodness, resulting in what I truly believe is the absolute yummiest batch of ice cream you’ll ever make!

LIKE THIS RECIPE?
Don’t forget to give it a ⭐️⭐️⭐️⭐️⭐️ star rating and
leave a comment below the recipe!

Print Recipe
Chocolate Malt Ice Cream (No Churn)
Ingredients
- 2 cups heavy whipping cream
- 2 teaspoons vanilla extract
- ¼ cup Dutch process cocoa powder
- 1 (14 ounce) can sweetened condensed milk
- ½ cup malt powder
Instructions
-
Use an electric mixer with a whisk attachment to beat the cream, vanilla, and Dutch process cocoa powder into stiff peaks. This will take 2-3 minutes or so.
-
Once your cream begins to form stiff, free-standing peaks, add the condensed milk and malt powder. Gently fold the mixture together by hand until the condensed milk and malt powder are fully incorporated.
-
Pour the ice cream into a 9×5 inch loaf pan or air tight container with a lid. Cover the ice cream and freeze it for 5 hours, or until your ice cream is firm to the touch.
-
Scoop, serve, and enjoy!
