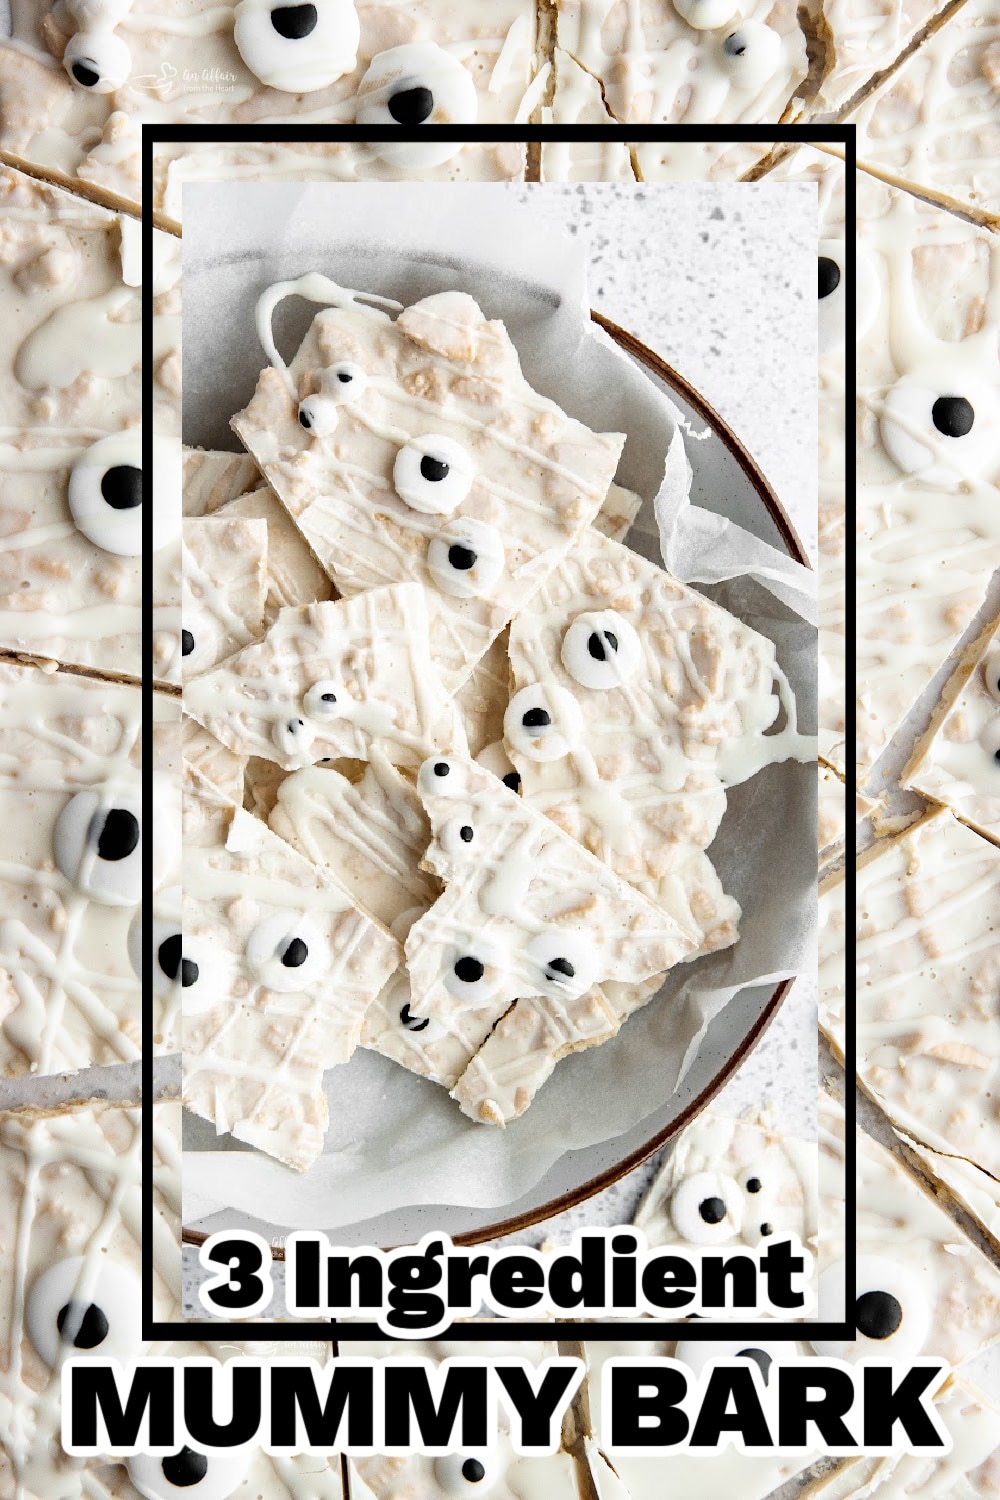
Spooktacularly Simple: The Ultimate No-Bake Halloween Mummy Oreo Bark Recipe
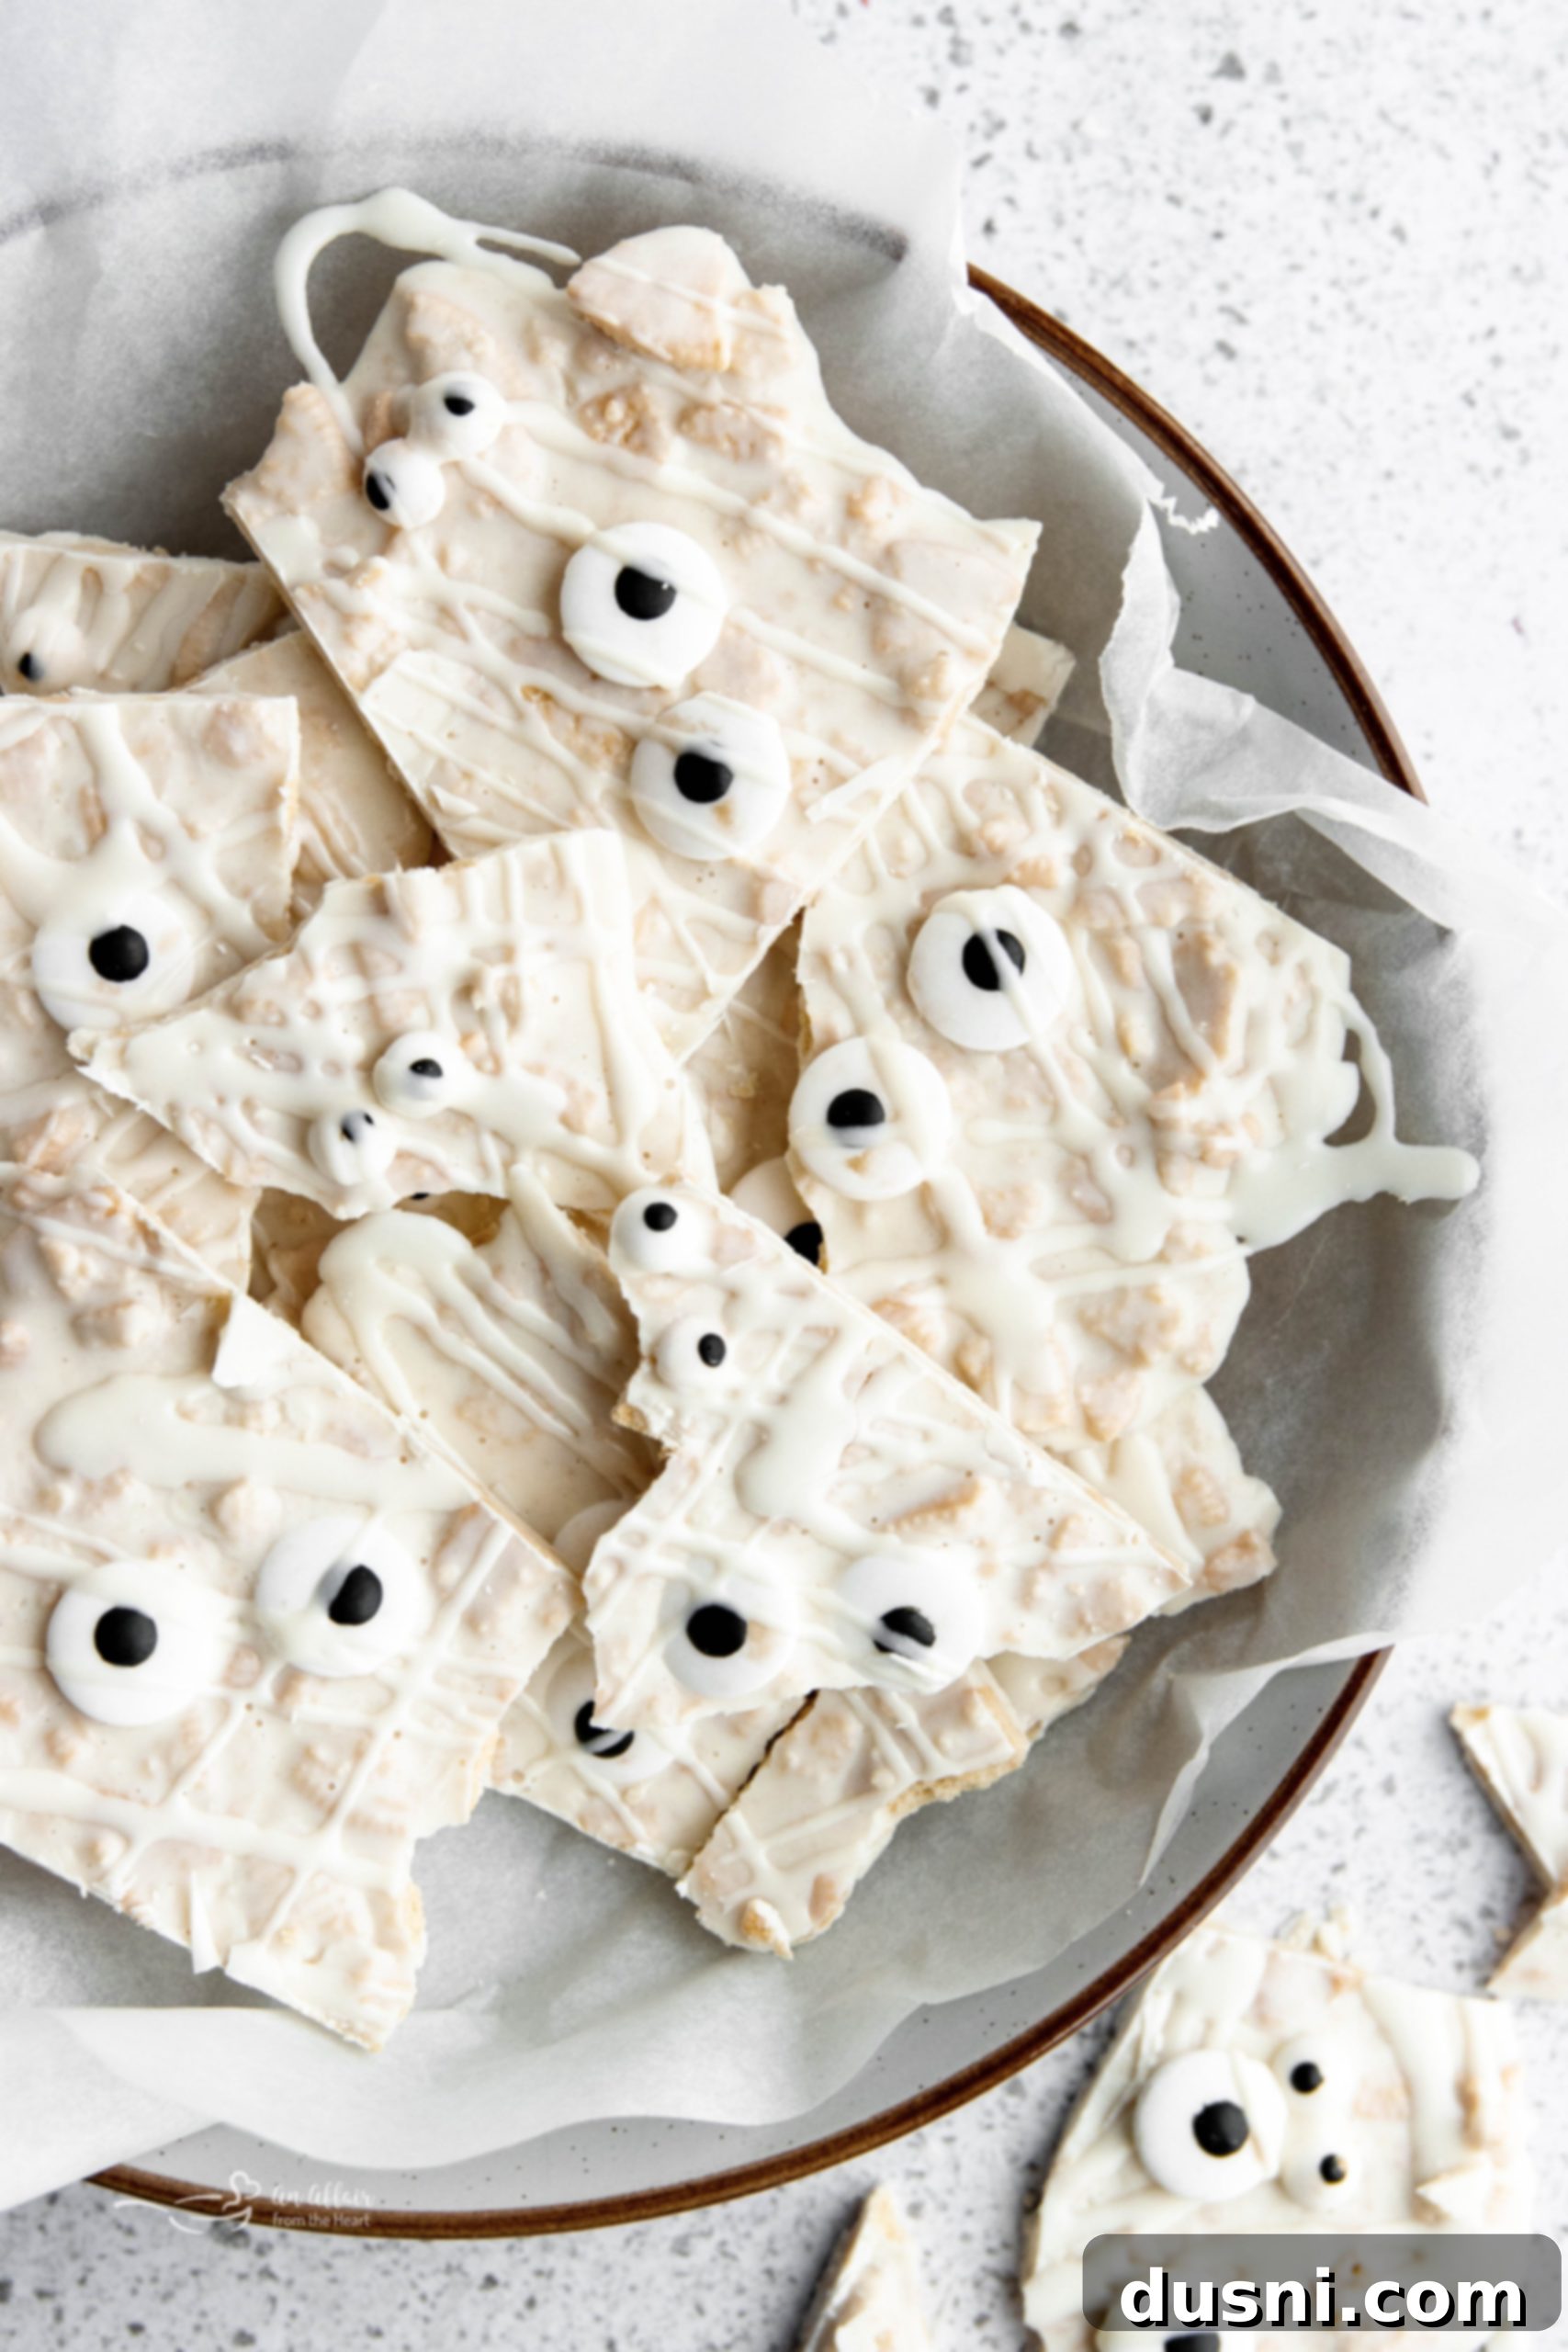
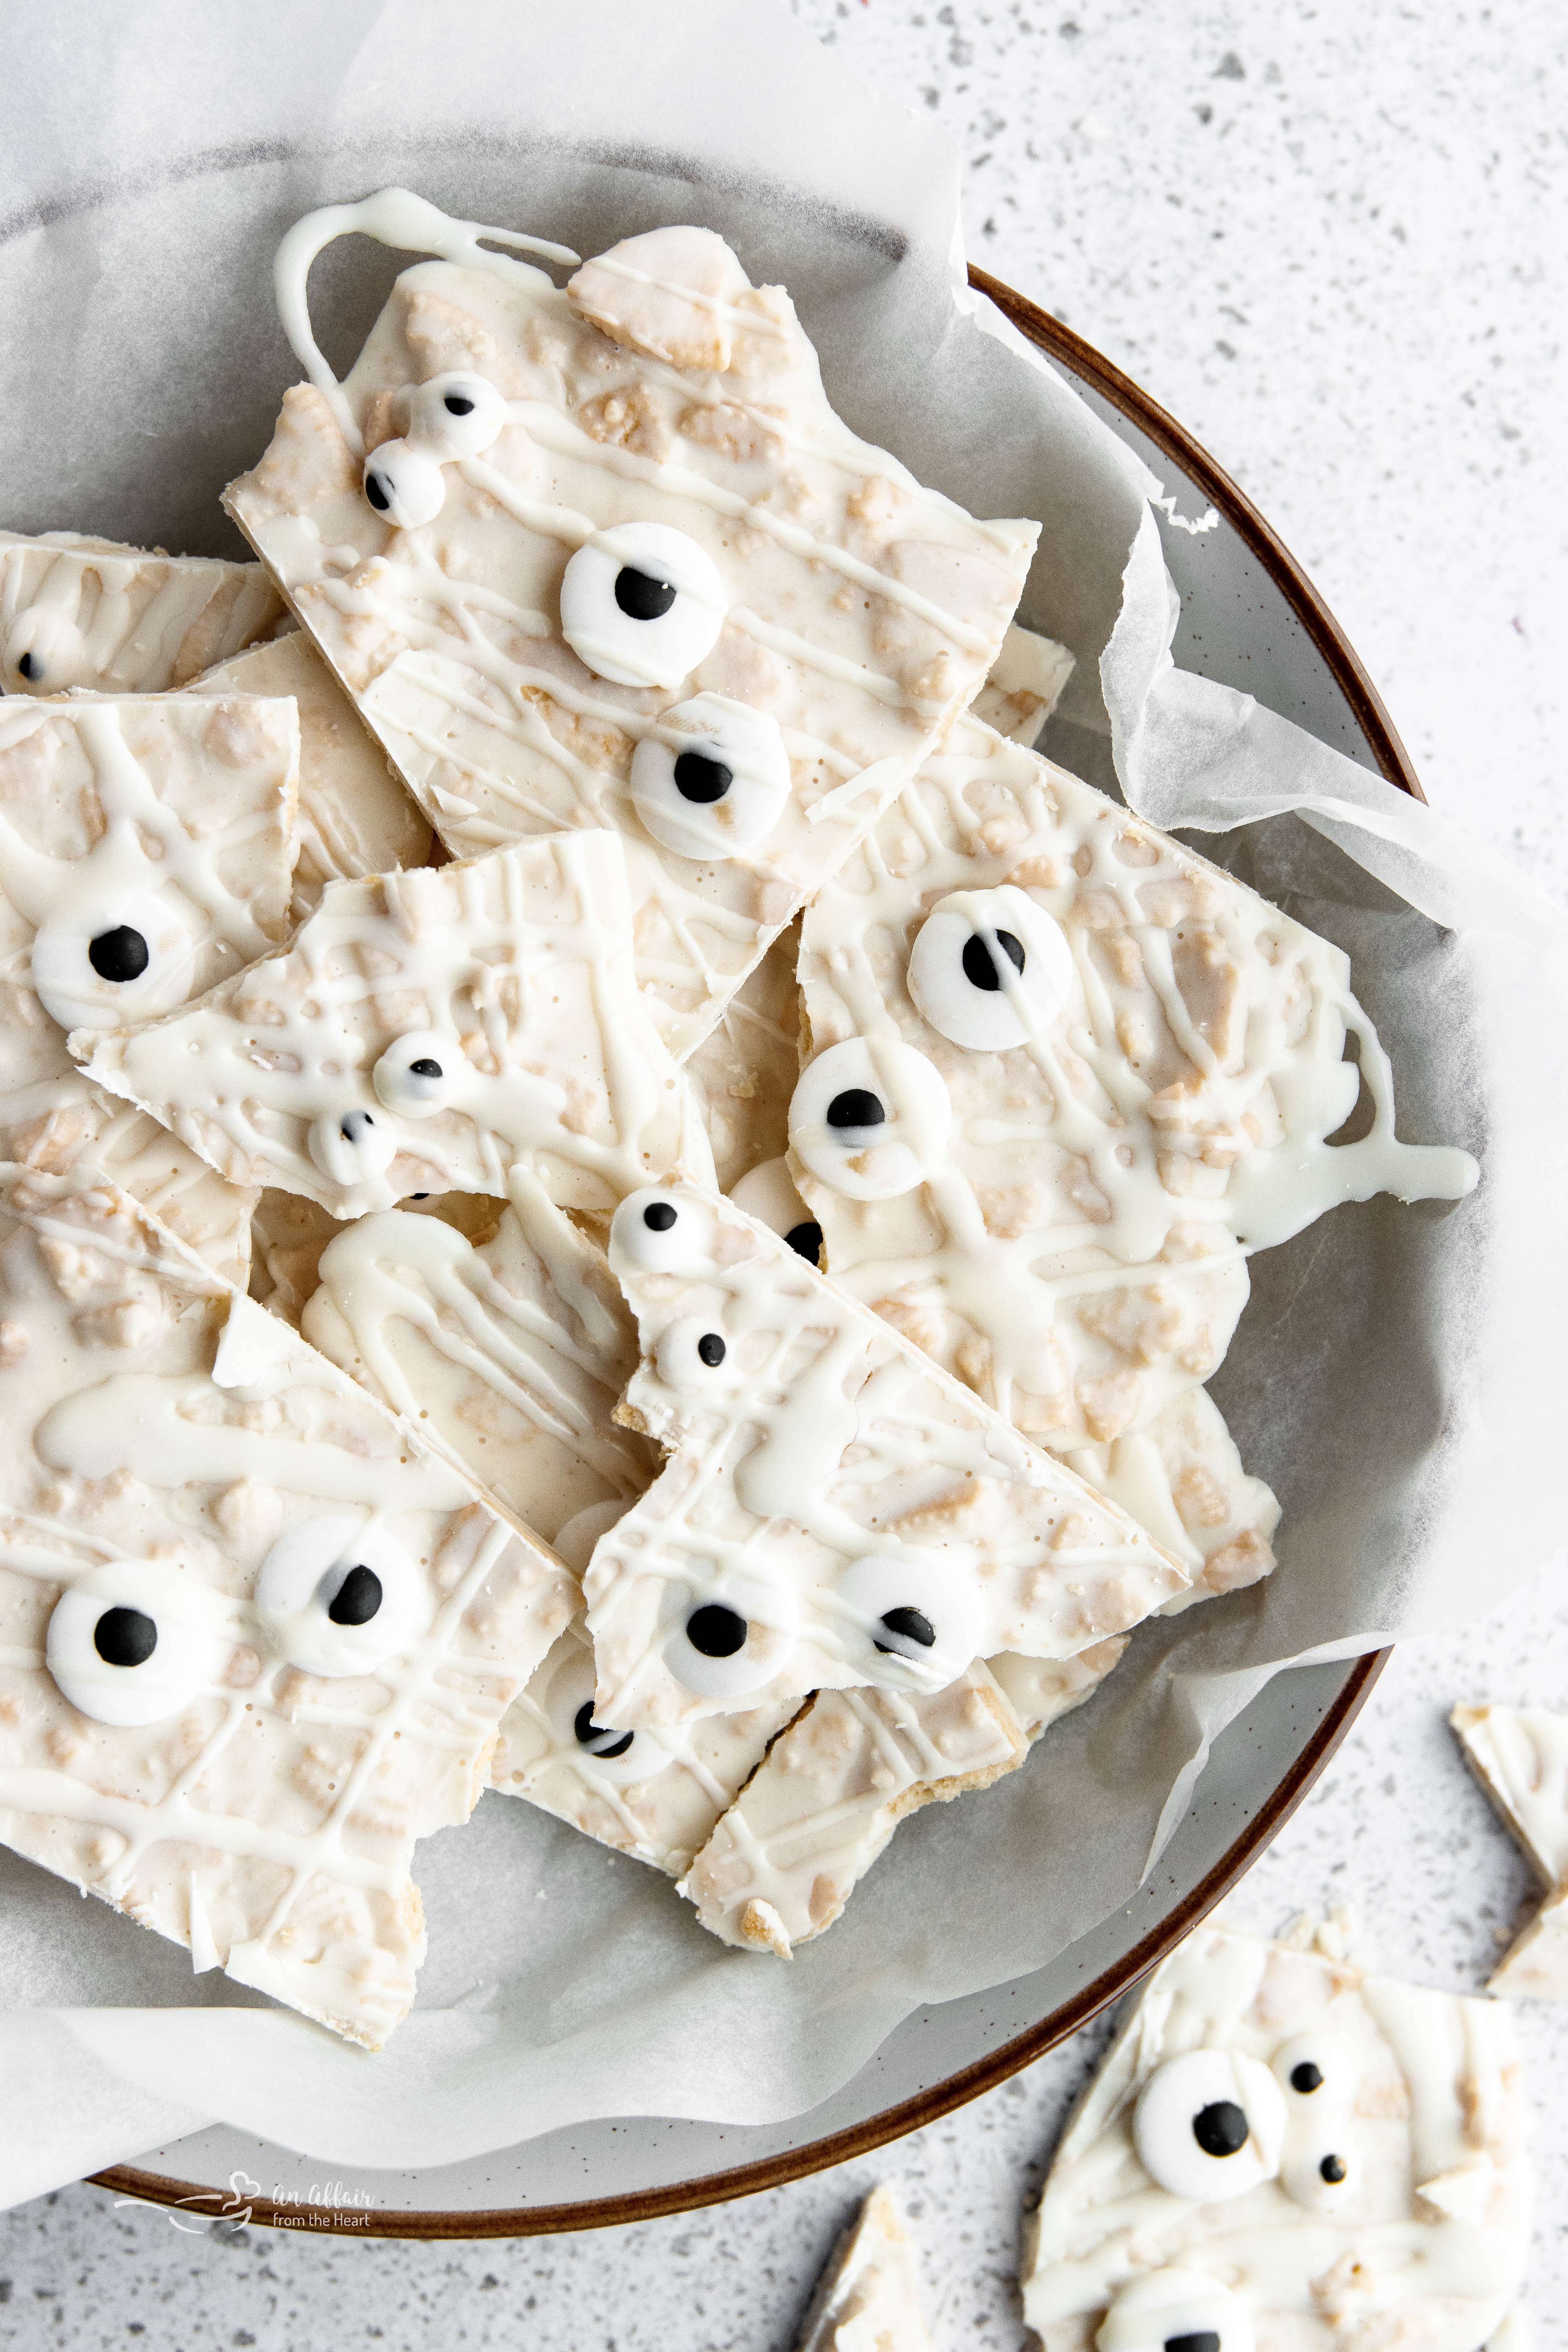
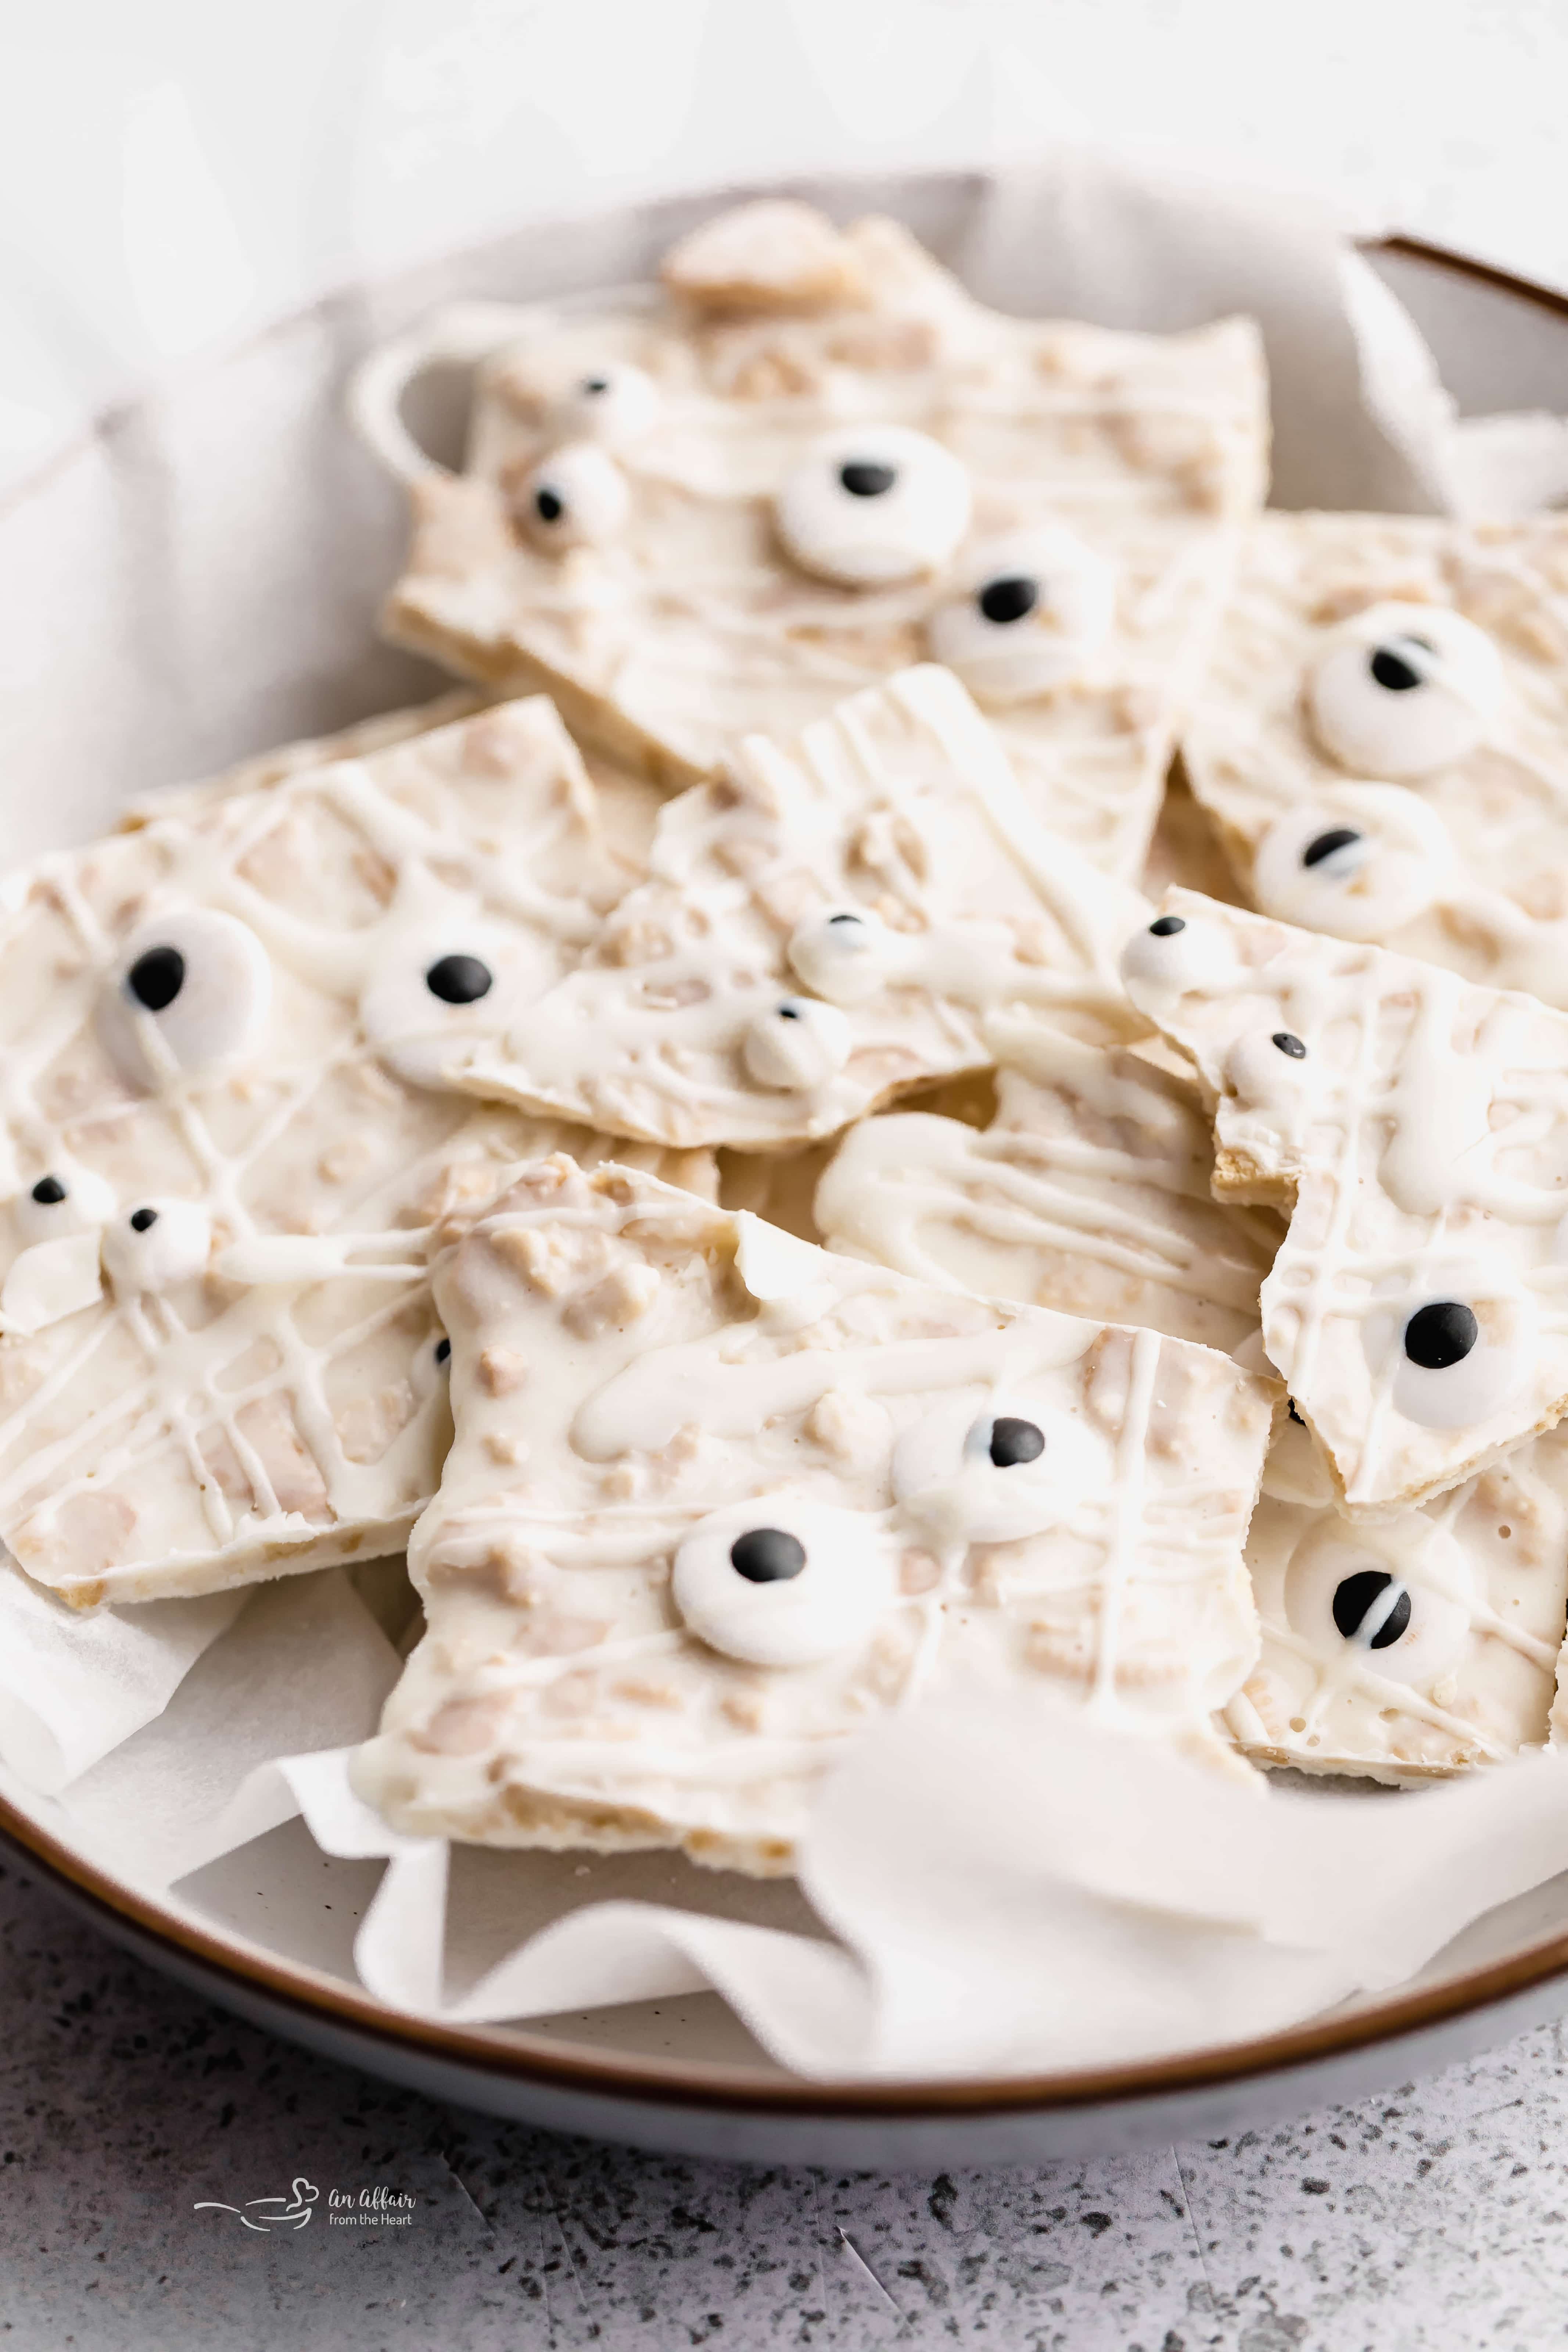
As the leaves turn and a chill fills the air, there’s no better time to embrace the spirit of Halloween with delightful treats. And when it comes to easy, festive, and utterly irresistible confections, our Halloween Mummy Oreo Bark stands out from the rest. Imagine rich, smooth white chocolate, lovingly draped over crunchy crumbled Golden Oreo cookies, then whimsically adorned with edible candy eyes. This isn’t just a dessert; it’s a no-bake masterpiece that brings smiles and a touch of spooky charm to any gathering. It’s one of the easiest Halloween treats you can conjure, making it perfect for busy parents, enthusiastic bakers, or anyone looking for a quick and impressive seasonal snack.
Every time I catch a glimpse of this delightful Mummy Bark, a smile automatically spreads across my face. Those quirky candy eyes have a magical way of capturing my imagination each autumn, making me eager to incorporate them into something fun and delicious. This particular no-bake recipe is incredibly simple, making it an ideal kitchen project for you and your little ones to enjoy together. Not only is it a blast to create, but it’s also wonderfully tasty and notoriously difficult to resist. Prepare to see it gracing my Halloween ‘Charcuterie’ Snack Boards this year – it’s a guaranteed crowd-pleaser!
The Allure of Halloween Mummy Bark
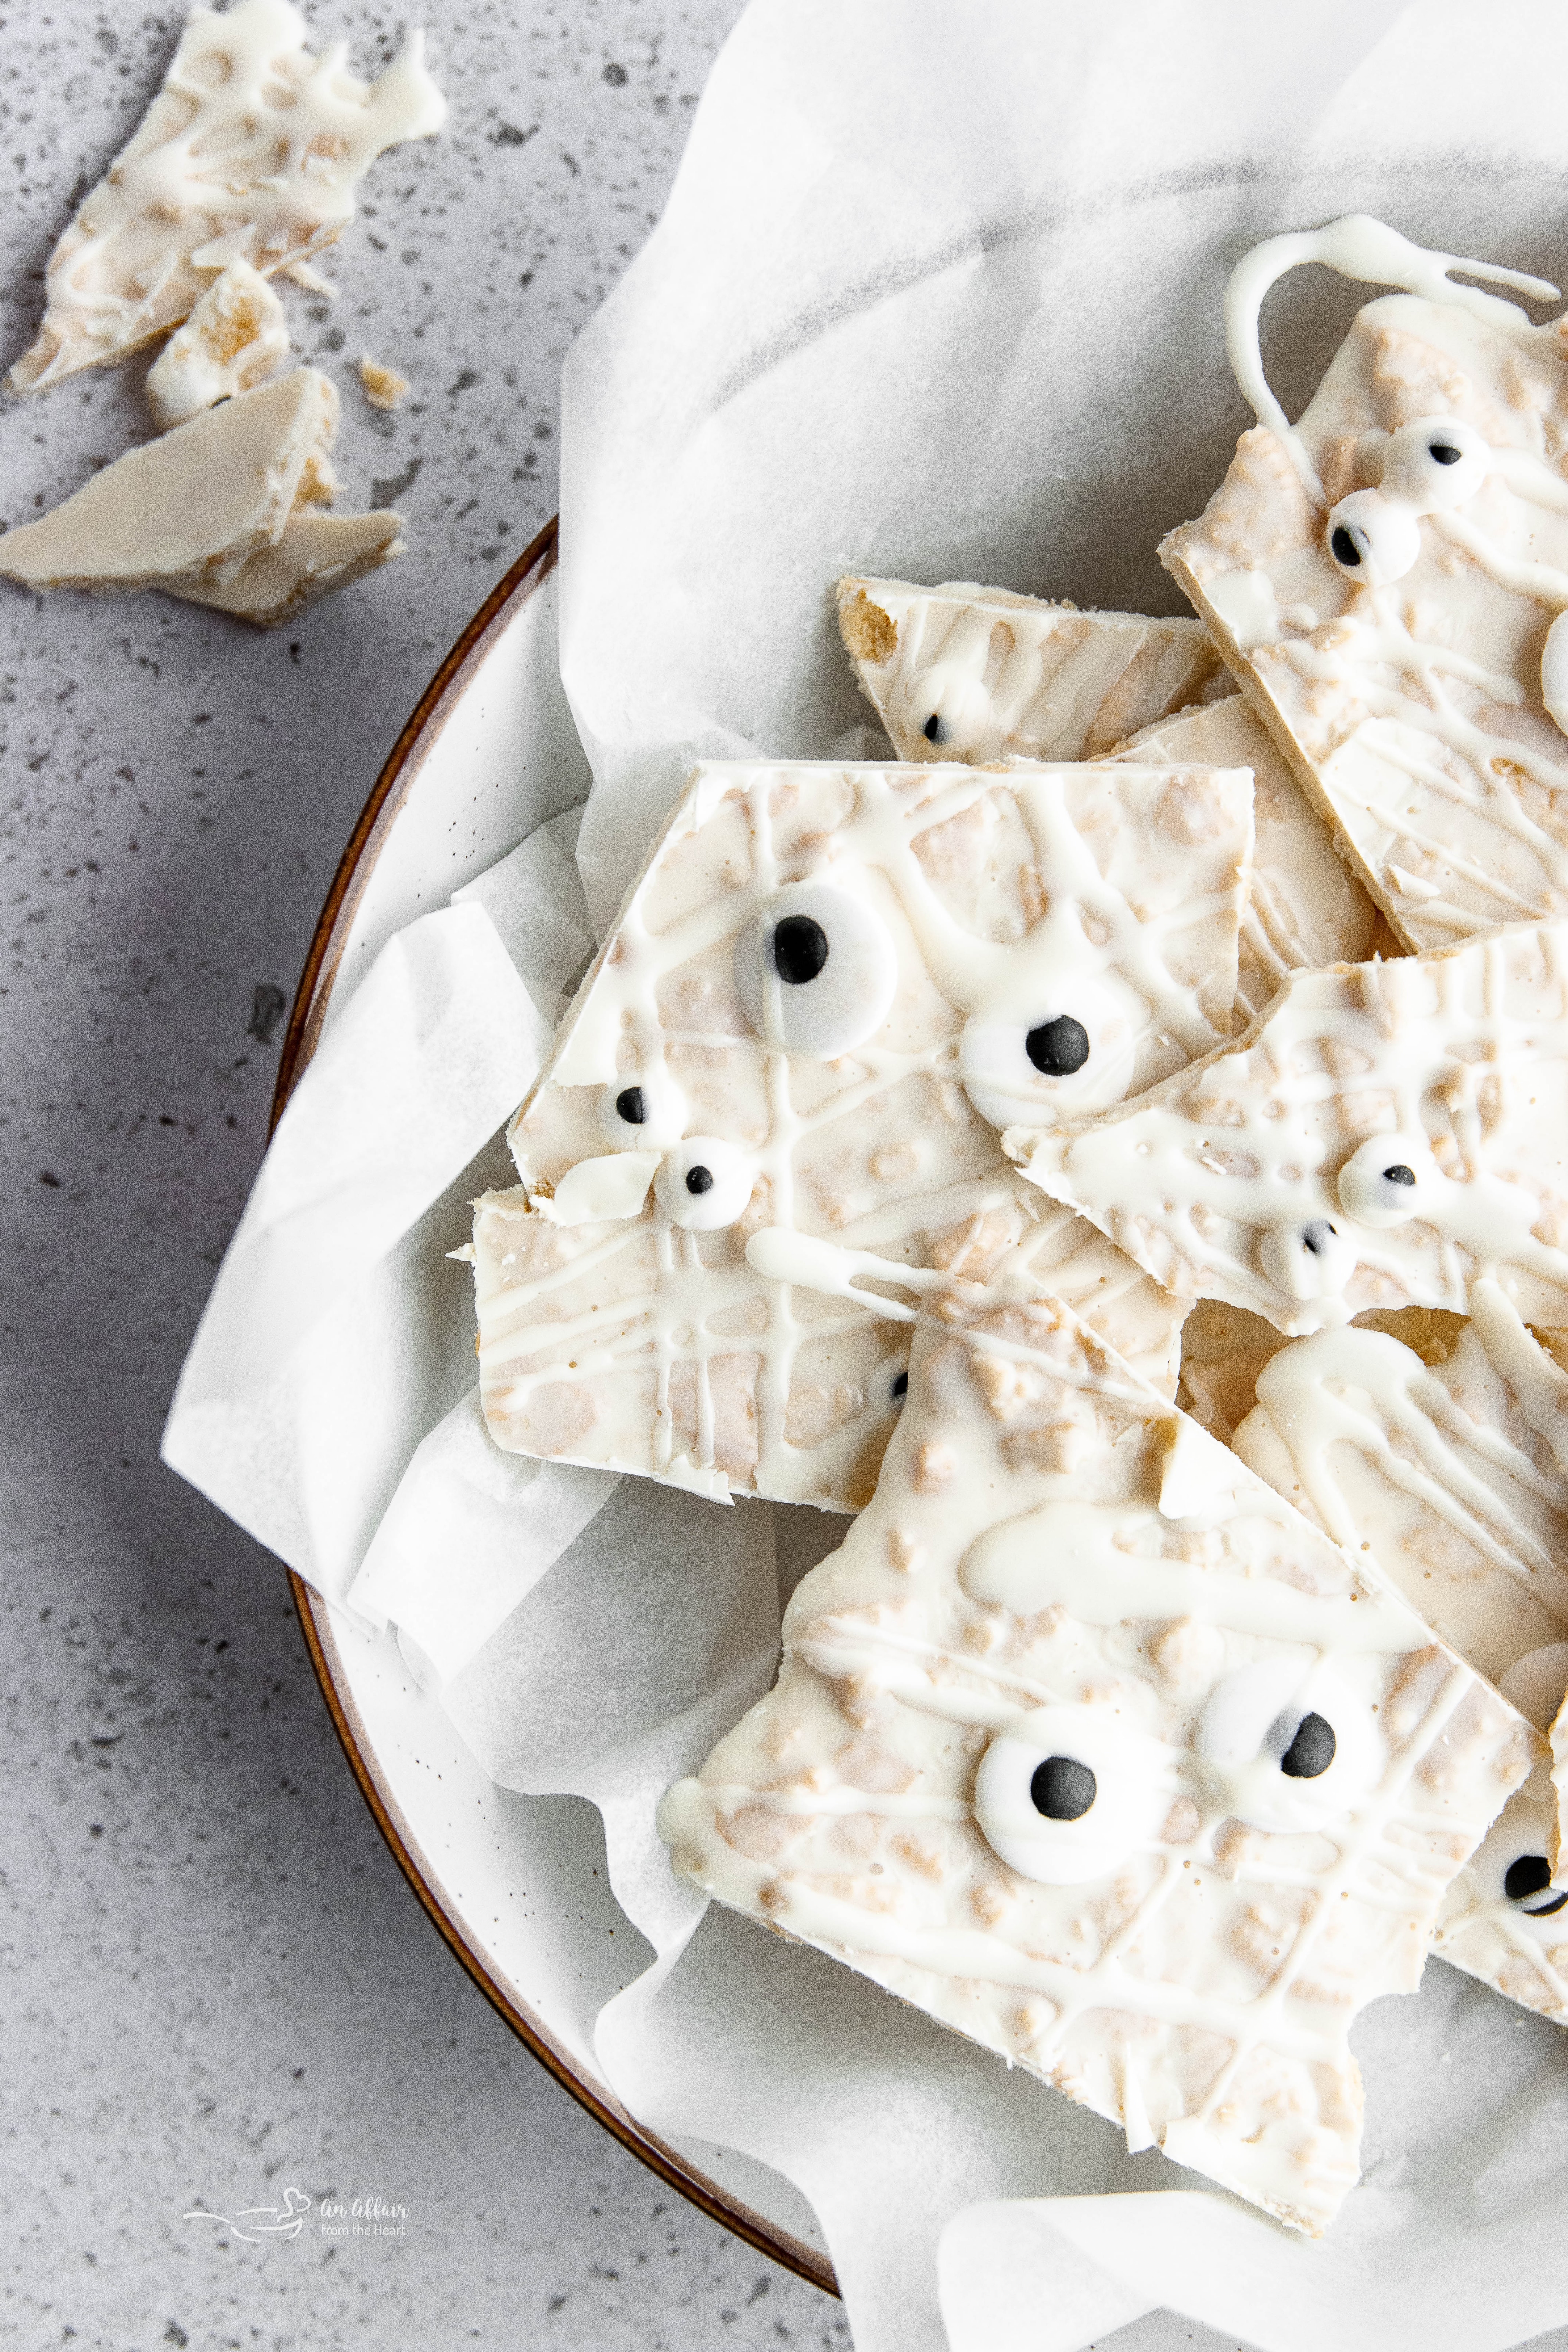
Our Halloween Mummy Bark features a glorious blend of white chocolate chips, melted to a silky-smooth perfection, combined with generous chunks of crumbled white or Golden Oreo cookies. This combination forms the ultimate base for our spooky treat, offering a delightful contrast in texture and a rich, sweet flavor. If your quest this spooky season is for fun, easy, and memorable Halloween treats, then this simple yet spectacular recipe is precisely what you need. It’s perfect for school parties, neighborhood gatherings, or just a fun family activity at home.
Your Go-To Mummy Bark Recipe
This fantastic recipe is not only perfect for your upcoming Halloween party but can also be conveniently prepared in advance. Imagine checking a delicious item off your party planning list early, leaving you more time to focus on other spooky preparations. For devoted Oreo enthusiasts, much like those who adore classic Oreo truffles, this versatile recipe offers year-round enjoyment. You can easily adapt it to make different flavors of chocolate bark or even use a cookie scoop to form truffles. The decision to add the playful candy eyeballs is entirely yours – they undeniably enhance the Halloween theme, but the bark is delicious with or without them. And for an even more creative twist, consider transforming individual portions into spooktacular mummy Oreo cookie balls by serving them on lollipop sticks!
Creative Uses for Edible Candy Eyeballs
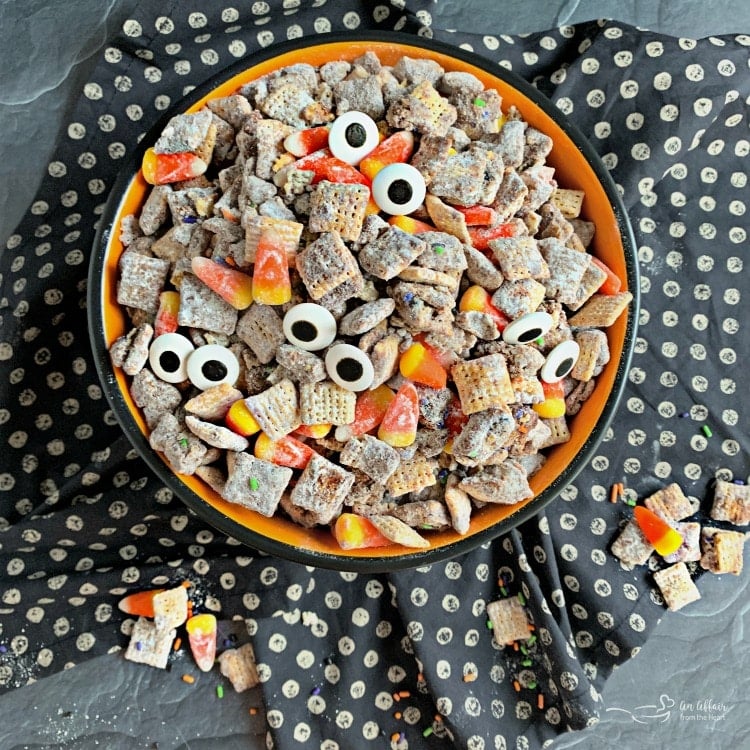
Over the years, edible candy eyeballs have become a beloved staple in my Halloween baking repertoire, adding a comical and spooky touch to countless treats. Pictured above, you can see them featured in my festive Peanut Butter Muddy Buddy recipe, where they bring a playful element to a classic snack. But their utility extends far beyond! I’ve also incorporated them into my fun Rolo Pretzel Eyeballs, the charming Eye Love Chocolate Sugar Cookies, the slightly creepy Spider Cookies, and many more innovative Halloween creations. These versatile candies are perfect for transforming any ordinary treat into a ghoulish delight, sparking joy and a bit of friendly fright in everyone who sees them.
Simple Ingredients, Spooktacular Results
With just a few simple, readily available ingredients, this no-bake recipe truly is a must-try for your Halloween celebrations. I highly recommend you bookmark it as one of those incredibly easy recipes you’ll want to revisit and enjoy year after year. Once prepared, storing your Halloween bark is flexible and convenient. You can keep it either in the fridge or simply on the kitchen counter at room temperature. However, for optimal freshness and to extend its shelf life, especially if you anticipate it lasting more than a few days, storing it in the refrigerator is probably your best bet. For longer storage, consider freezing the bark in individual portions. This way, you can easily grab a piece whenever a craving for a sweet, spooky treat strikes, ensuring you always have a delightful snack on hand.
Essential Ingredients for Halloween Oreo Bark
For the precise measurements and step-by-step instructions to create this delightful Halloween treat, please scroll to the bottom of this post where you’ll find the complete printable recipe card. You’ll be thrilled to discover that this recipe calls for only three core ingredients, making it incredibly straightforward and accessible:
-
White Chocolate: This is the creamy, dreamy foundation of our bark. When melted to a smooth consistency, white chocolate provides the perfect canvas and luscious flavor. You can use white chocolate chips, white chocolate bars, or even white candy melts or almond bark for convenience and easy melting.
-
White or Golden Oreos: Crumbled Oreos are instrumental in adding a fantastic texture and a beloved flavor to the bark. While Golden Oreos are recommended for their color contrast, any type of Oreo cookie will work beautifully. Feel free to experiment with different Oreo flavors or even other sandwich cookies to customize your bark.
-
Edible Candy Eyeballs: These whimsical little candies are the secret to transforming your bark into adorable mummies. They add that indispensable spooky yet fun look that Halloween treats are known for, making each piece unique and full of character.
Step-by-Step Guide: Crafting Your Chocolate Bark
Creating this Halloween bark recipe, with its mere three simple ingredients, couldn’t be any easier. Follow these straightforward steps to bring your mummy bark to life:
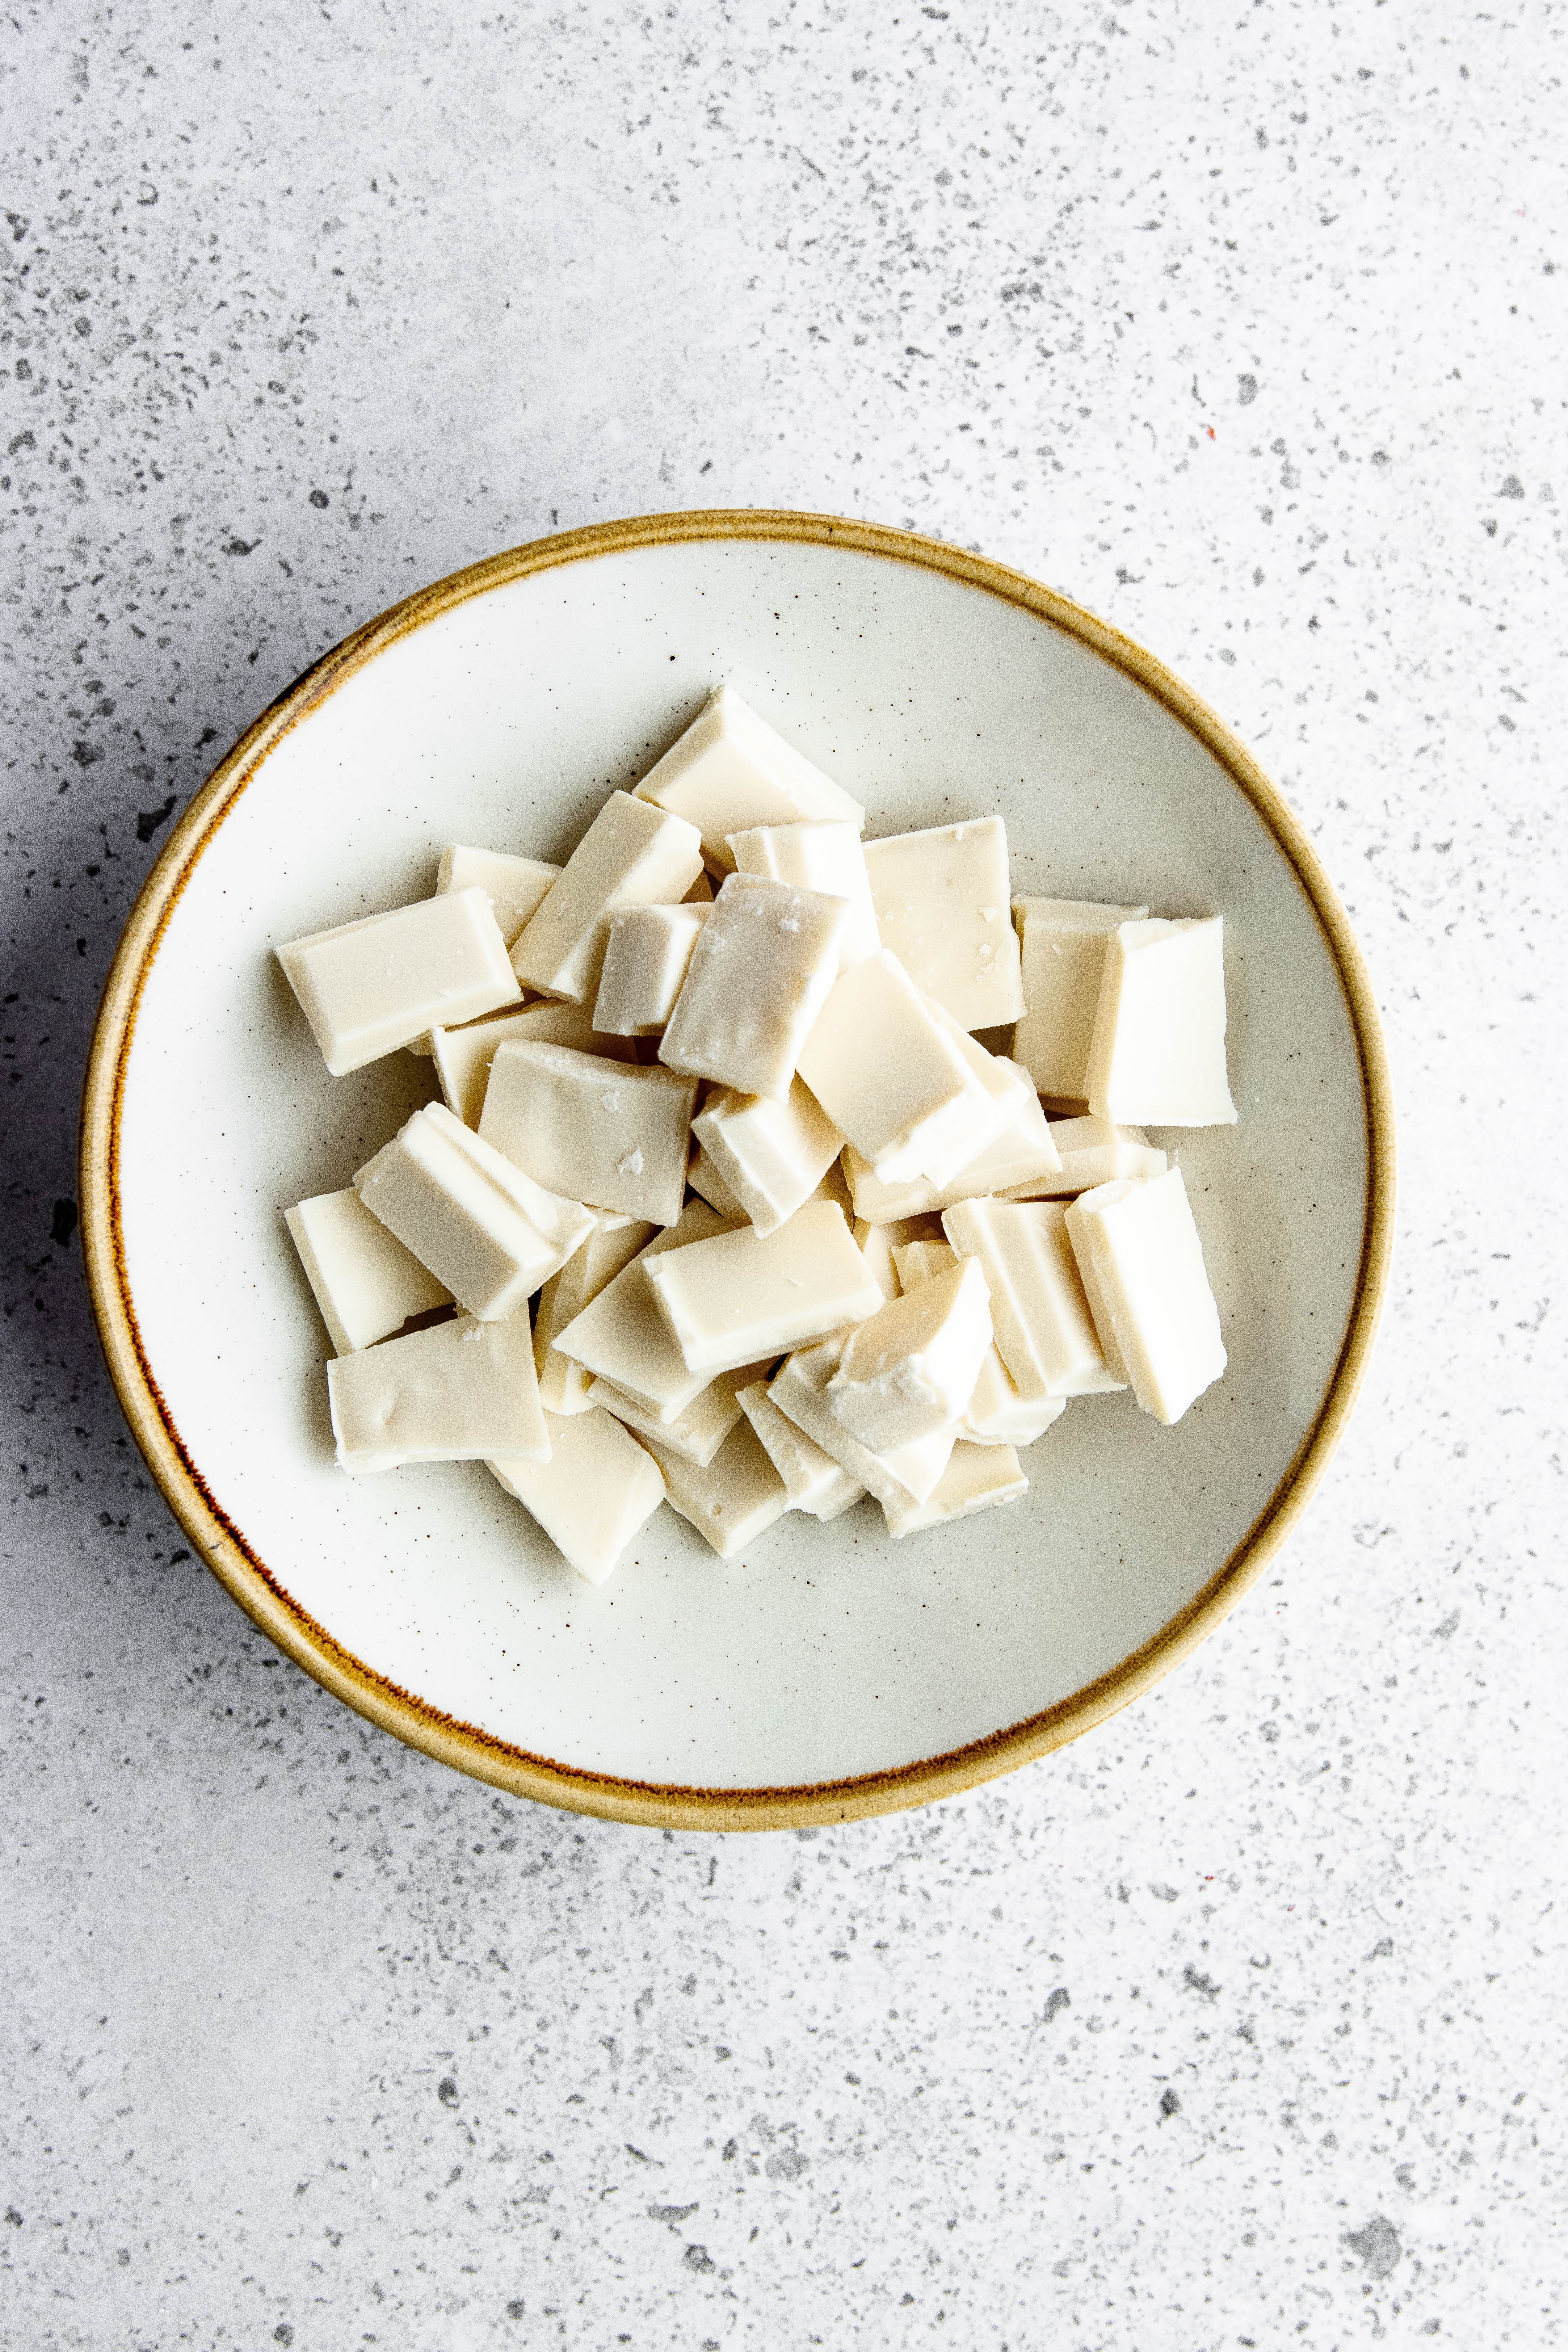
1. Melt The Chocolate
Begin by placing your chosen white chocolate (chips, bar, or melts) into a microwavable-safe bowl. Microwave the chocolate in short, 15-second increments, stirring thoroughly after each interval, until it achieves a perfectly smooth and creamy consistency. This gentle approach is key to preventing the chocolate from scorching.
Tip: When melting white chocolate in the microwave, patience is a virtue! Using short 15-second bursts and stirring diligently between each ensures that the chocolate melts evenly and smoothly, preventing it from overheating and seizing. This careful method will give you the best base for your bark.

Remember to set aside a small amount of the melted white chocolate. This reserved portion will be used later for drizzling, creating the iconic “bandages” on your mummy bark. This technique adds a professional finish and enhances the visual appeal of your spooky treat.
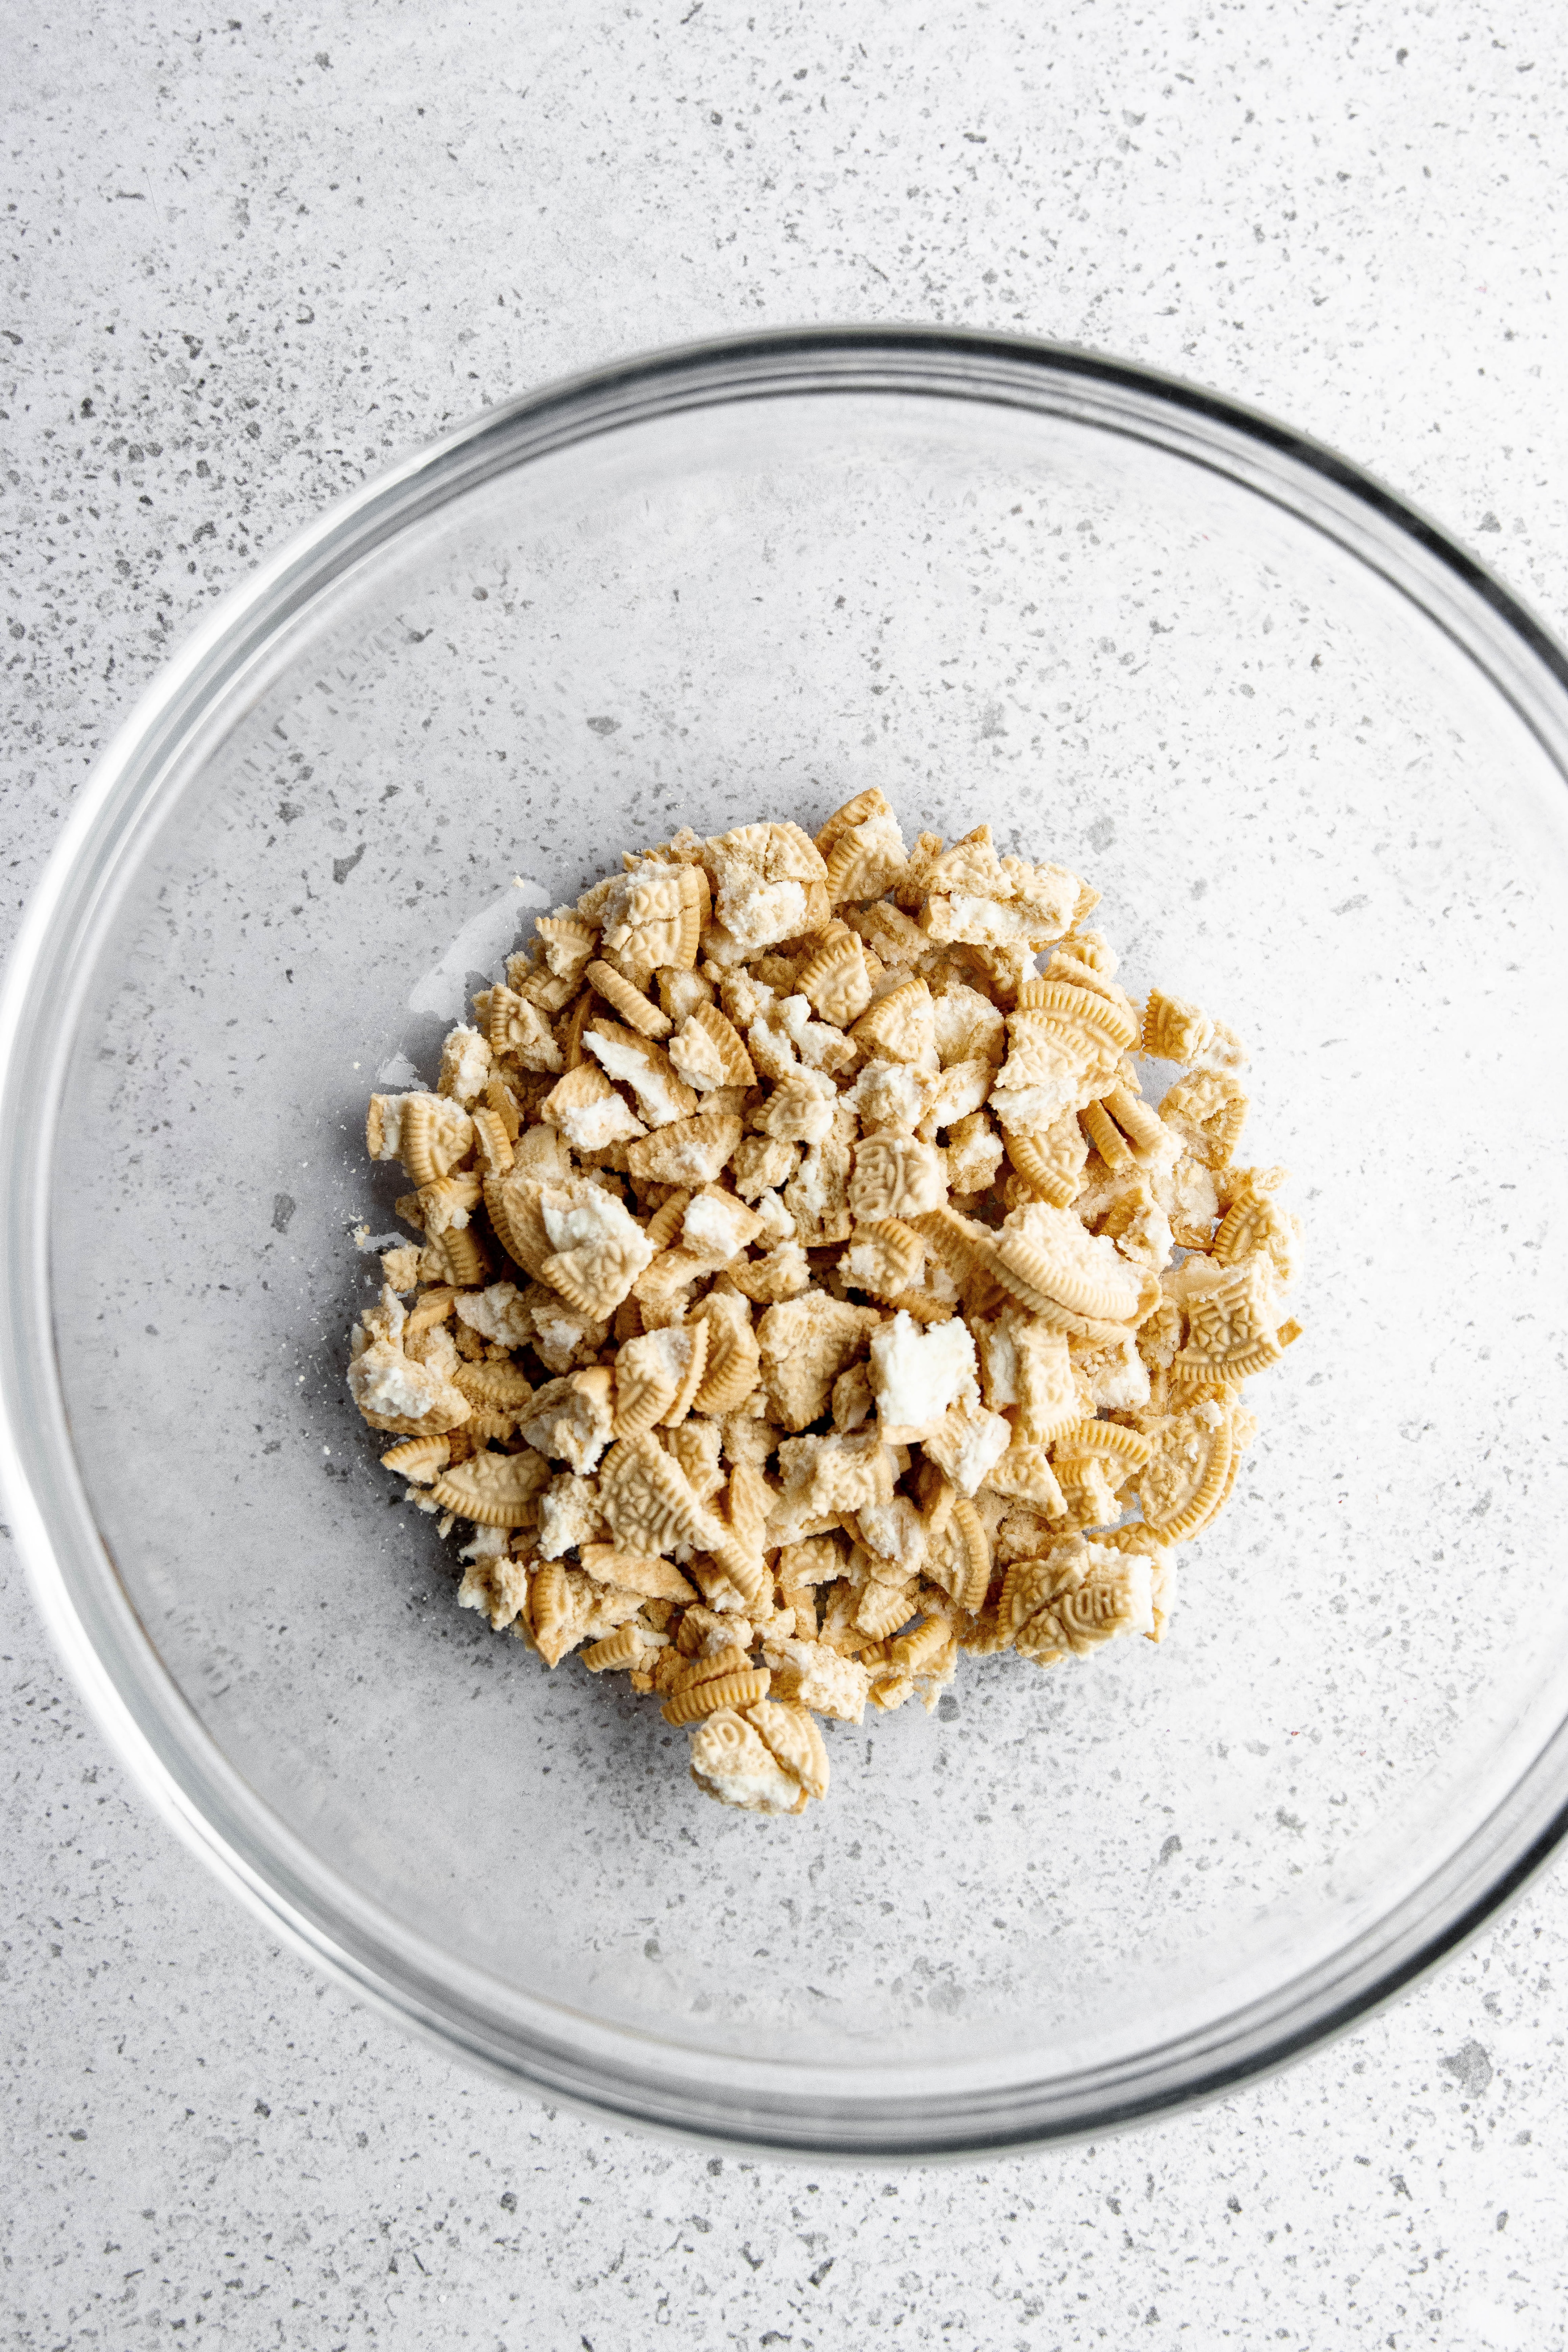
2. Crush The Oreos
Next, take your chosen Oreos and break them into small, bite-sized pieces. Place these crumbled cookies into a large mixing bowl, ready to be combined with the melted chocolate.
Tip: For breaking the Oreos into ideal small pieces, you have a couple of options. You can use your hands for a more rustic, varied texture, or for a more uniform crush, place them in a sturdy plastic zip-top bag and gently crush them with a rolling pin. The goal is to achieve distinct, bite-sized Oreo chunks – avoid turning them into a fine powder or leaving them in excessively large pieces.
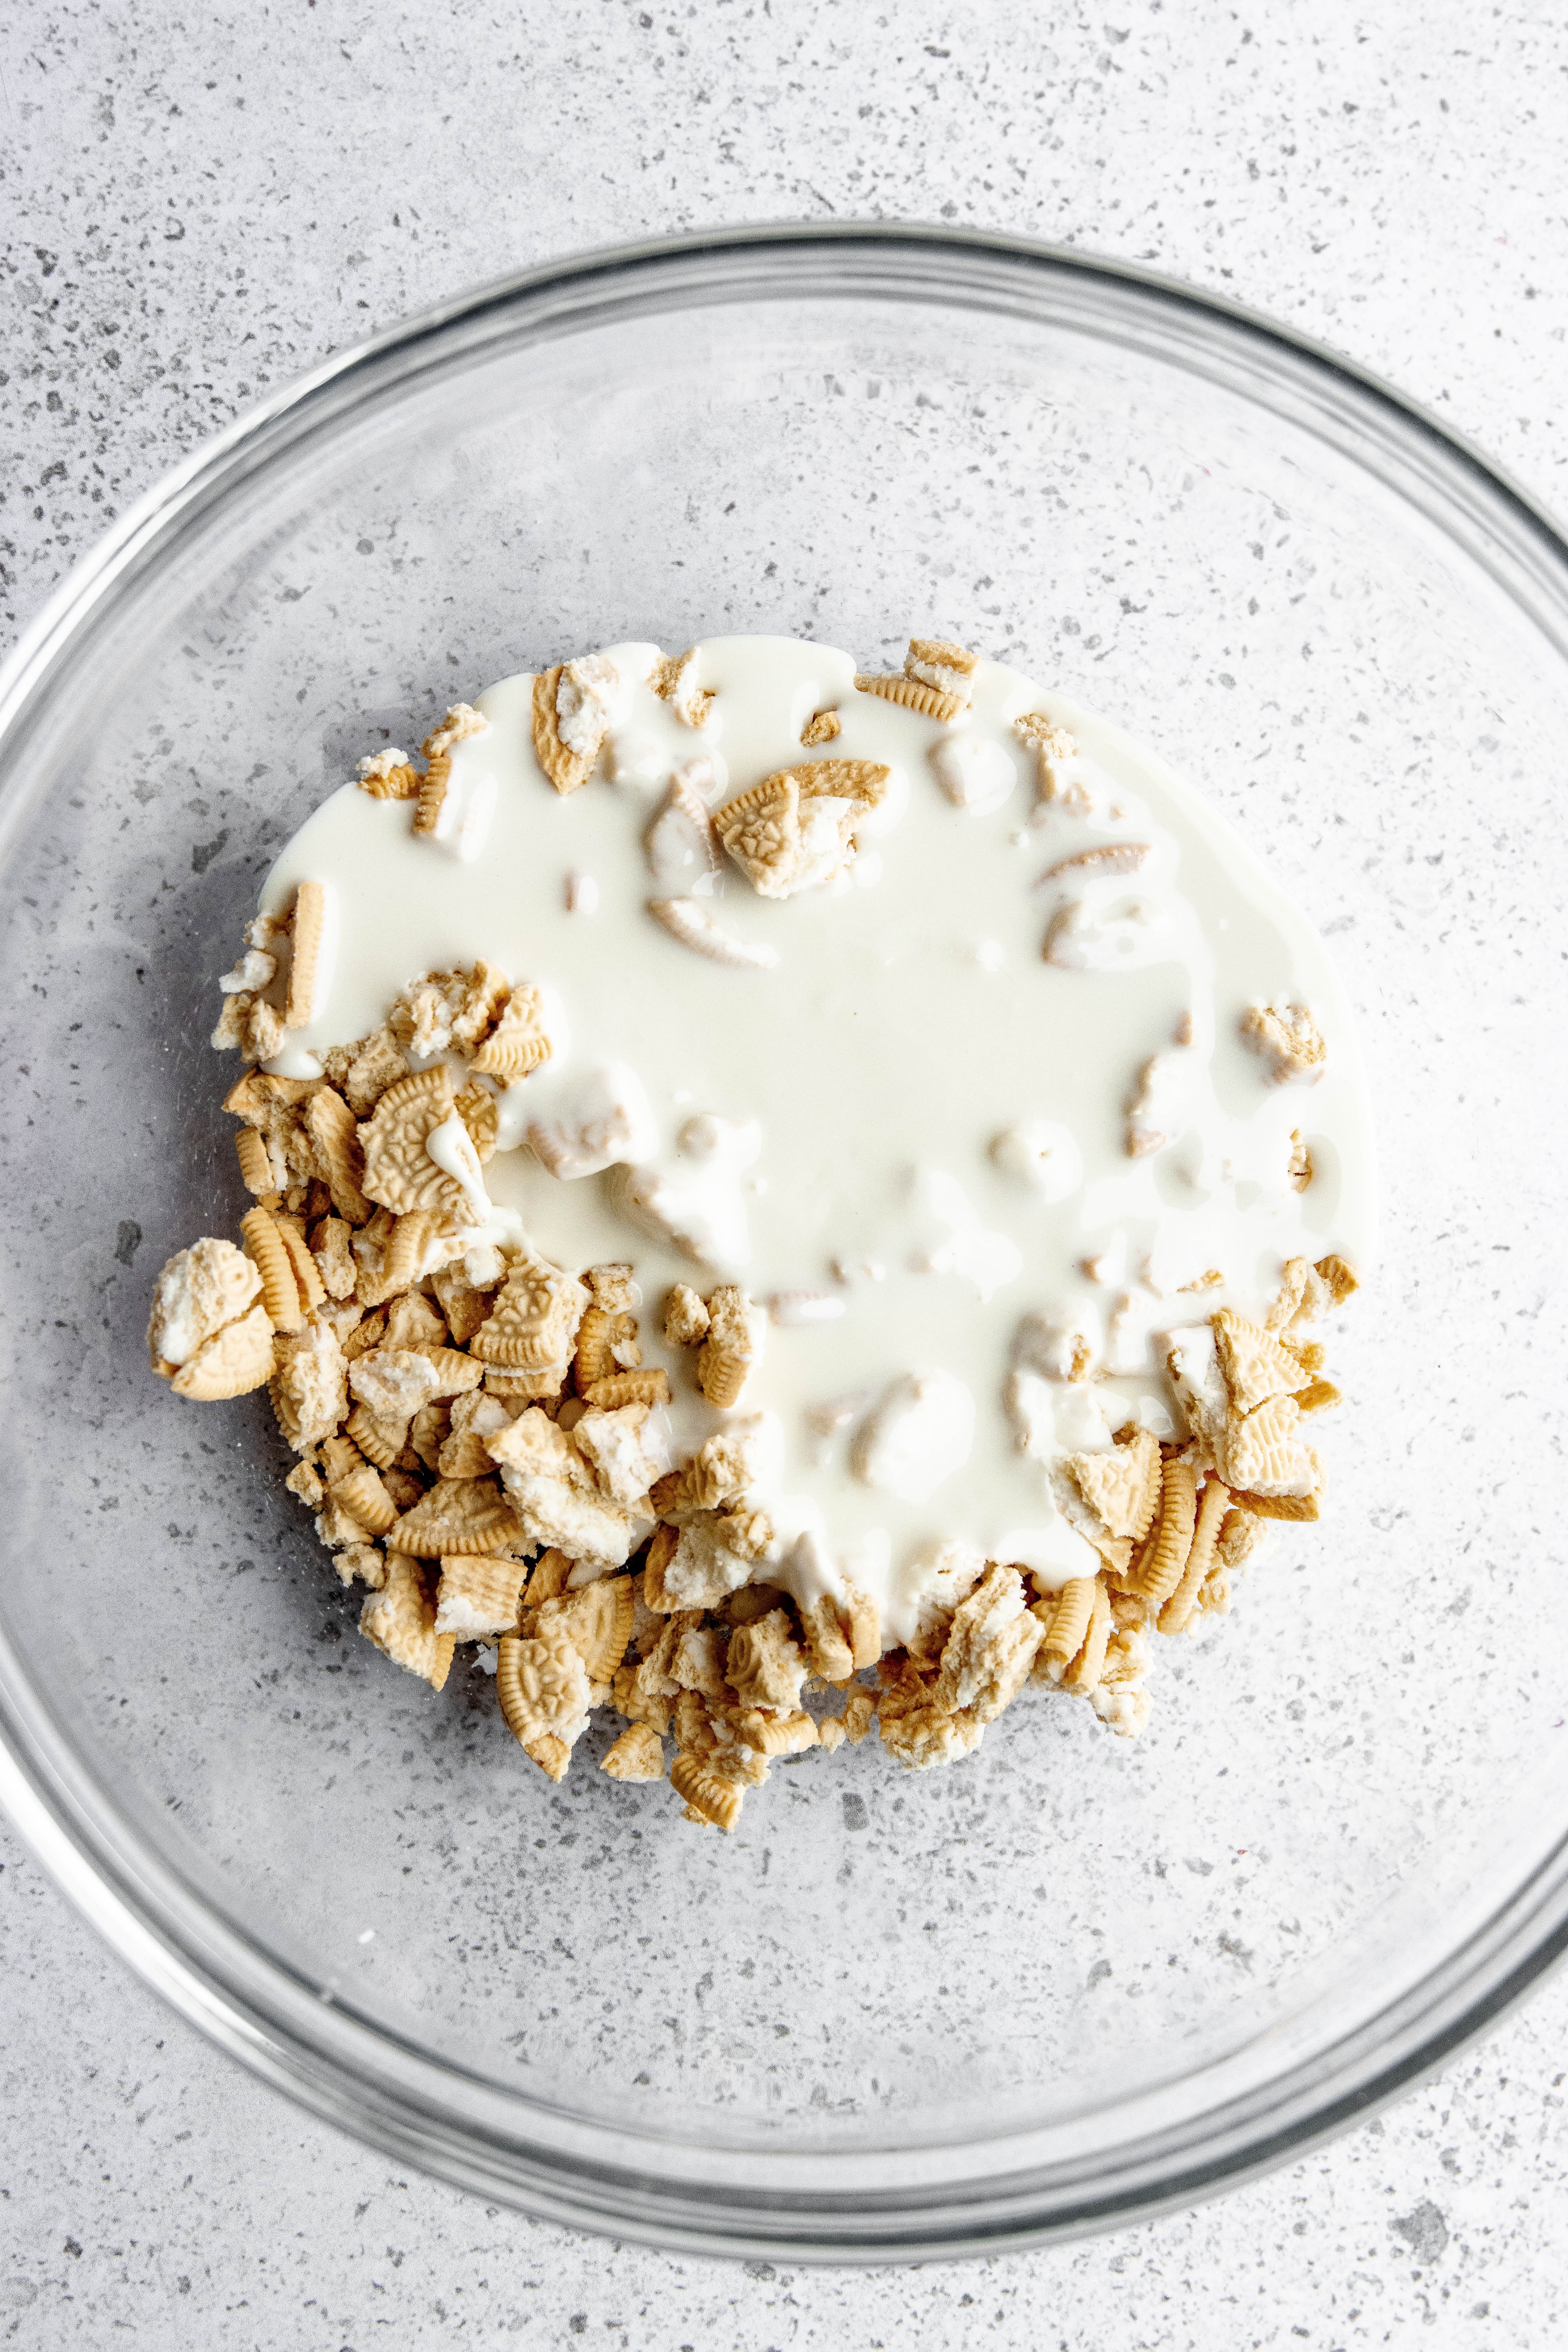
3. Form the Bark
Now, it’s time to bring it all together. Pour the glistening melted white chocolate directly over your bowl of crushed Oreos.
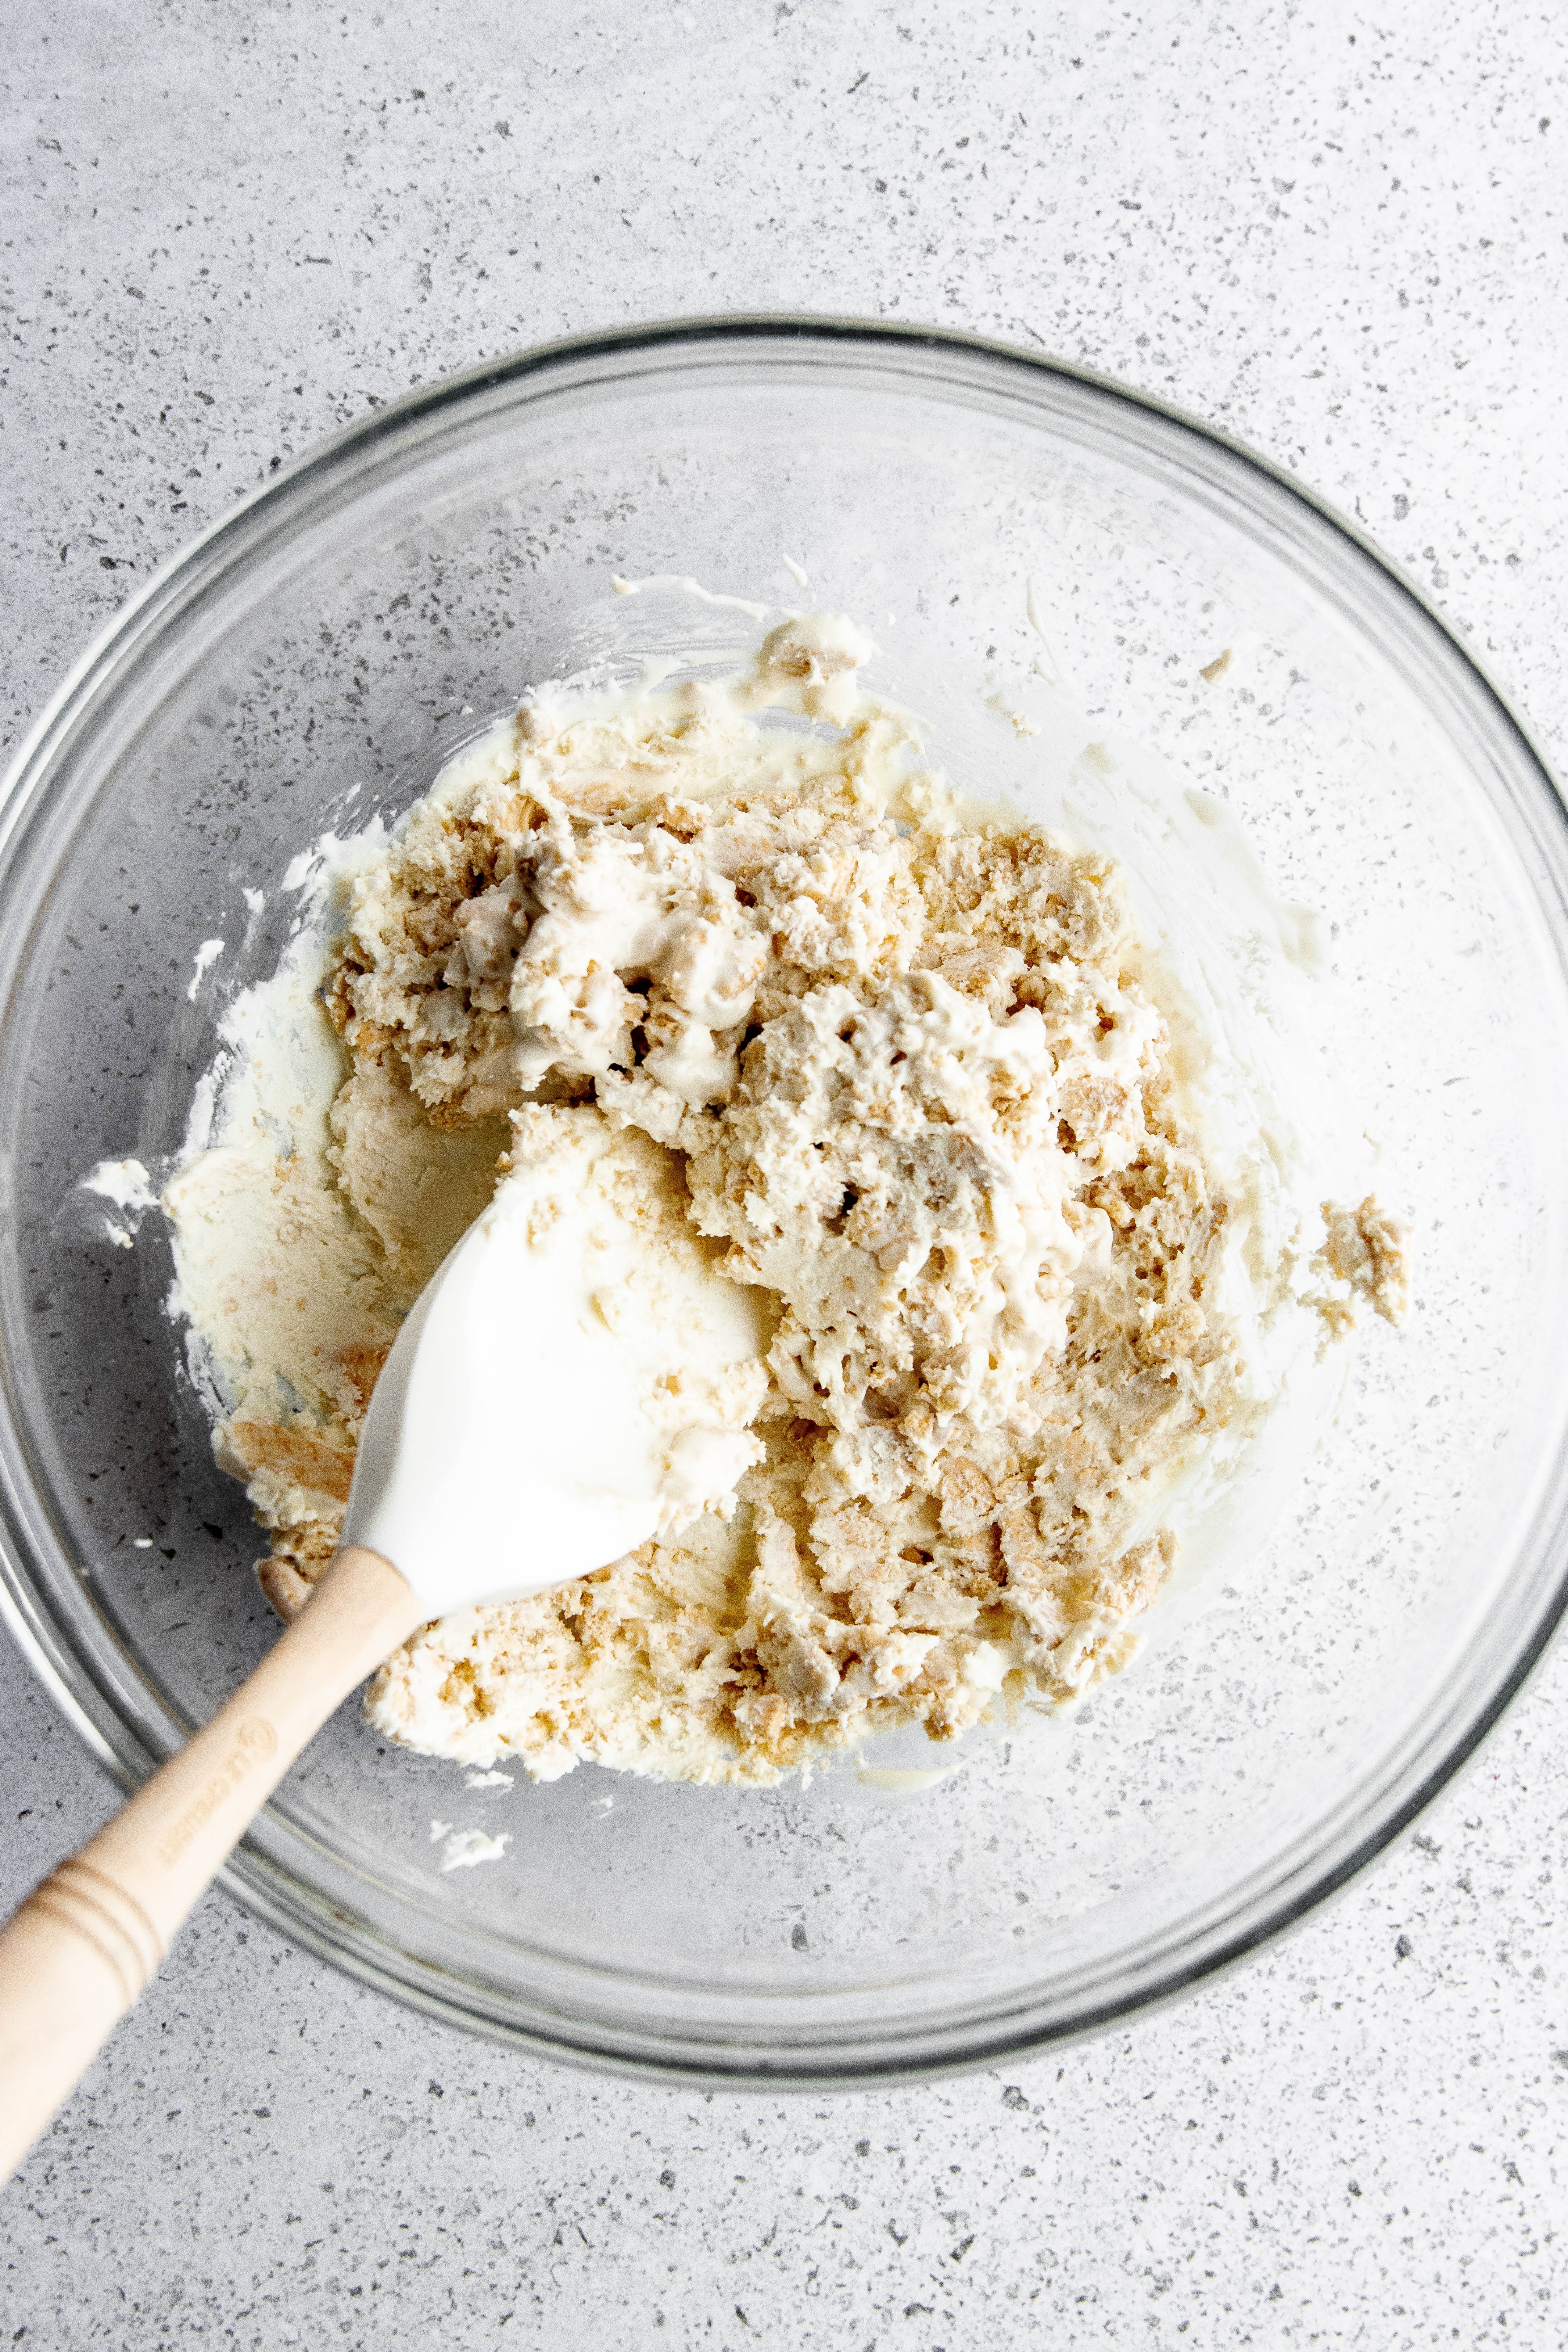
Using a spatula, gently stir the mixture until the Oreos are thoroughly coated in chocolate and everything is well combined. Ensure an even distribution of cookie pieces throughout the chocolate.
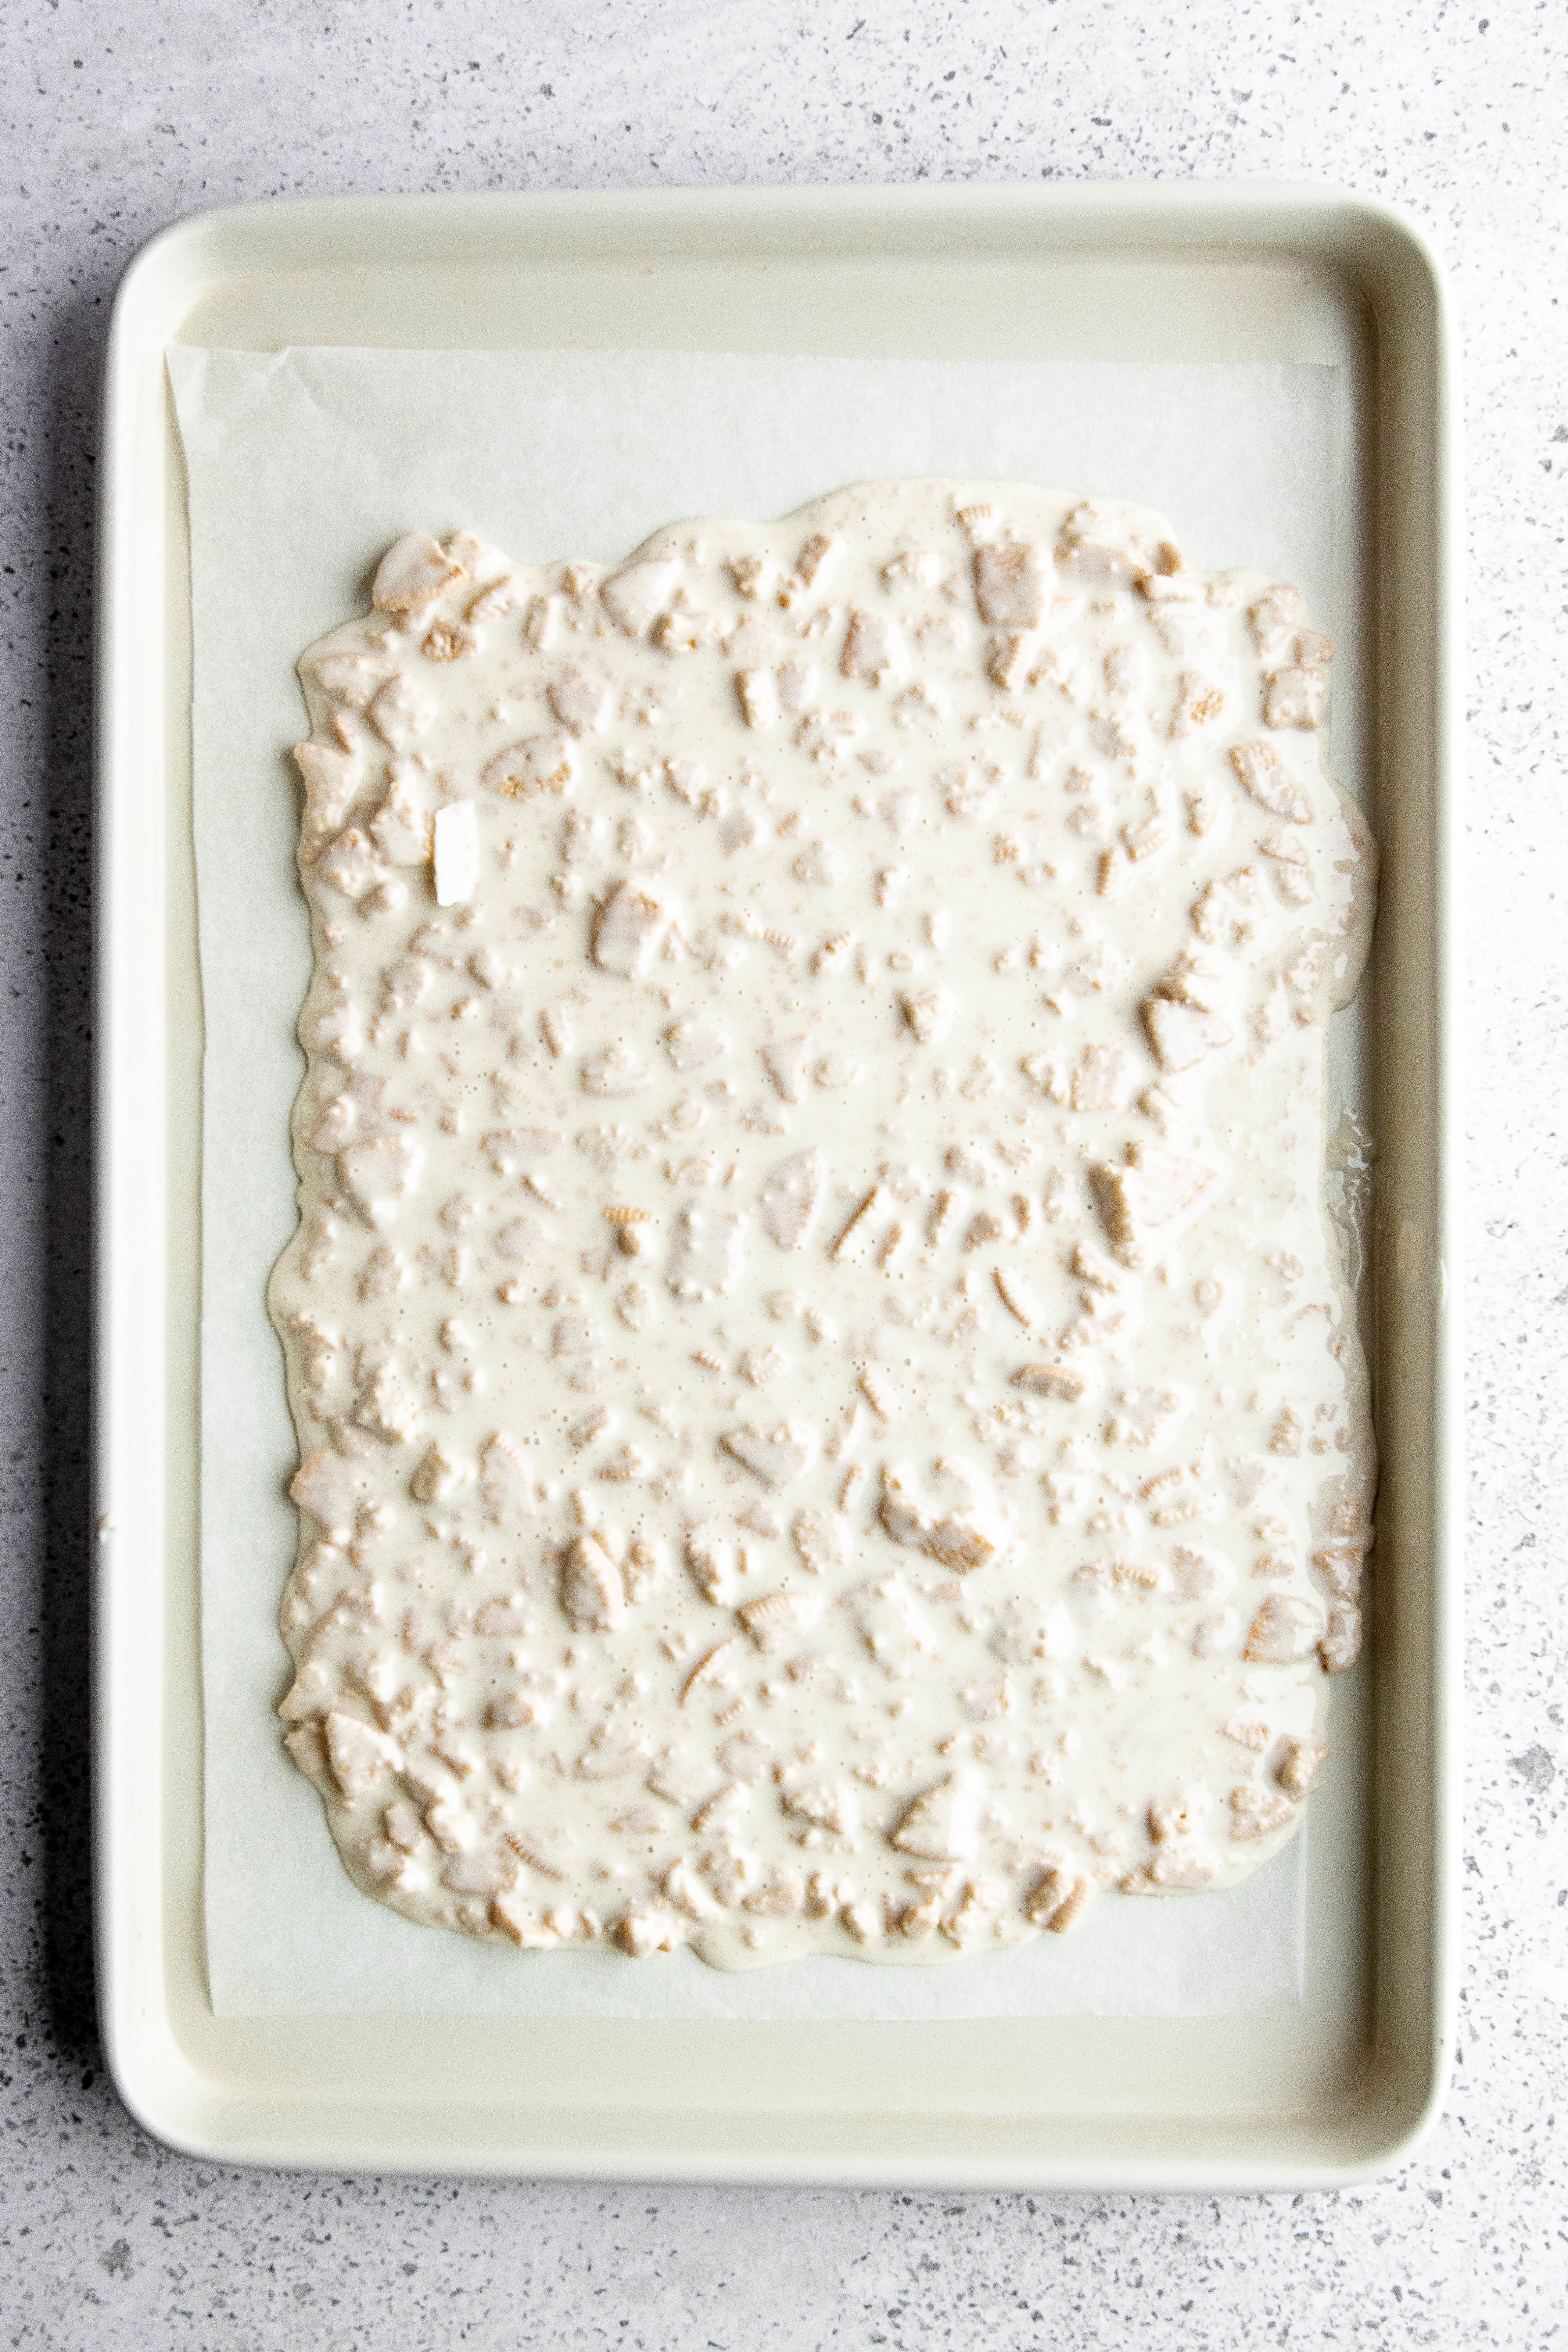
Prepare a baking sheet by lining it with parchment paper – this step is crucial for easy removal later. Spread the chocolate-Oreo mixture onto the prepared baking sheet, forming it into a single, relatively even layer. This allows the bark to set uniformly and makes for easier cutting.
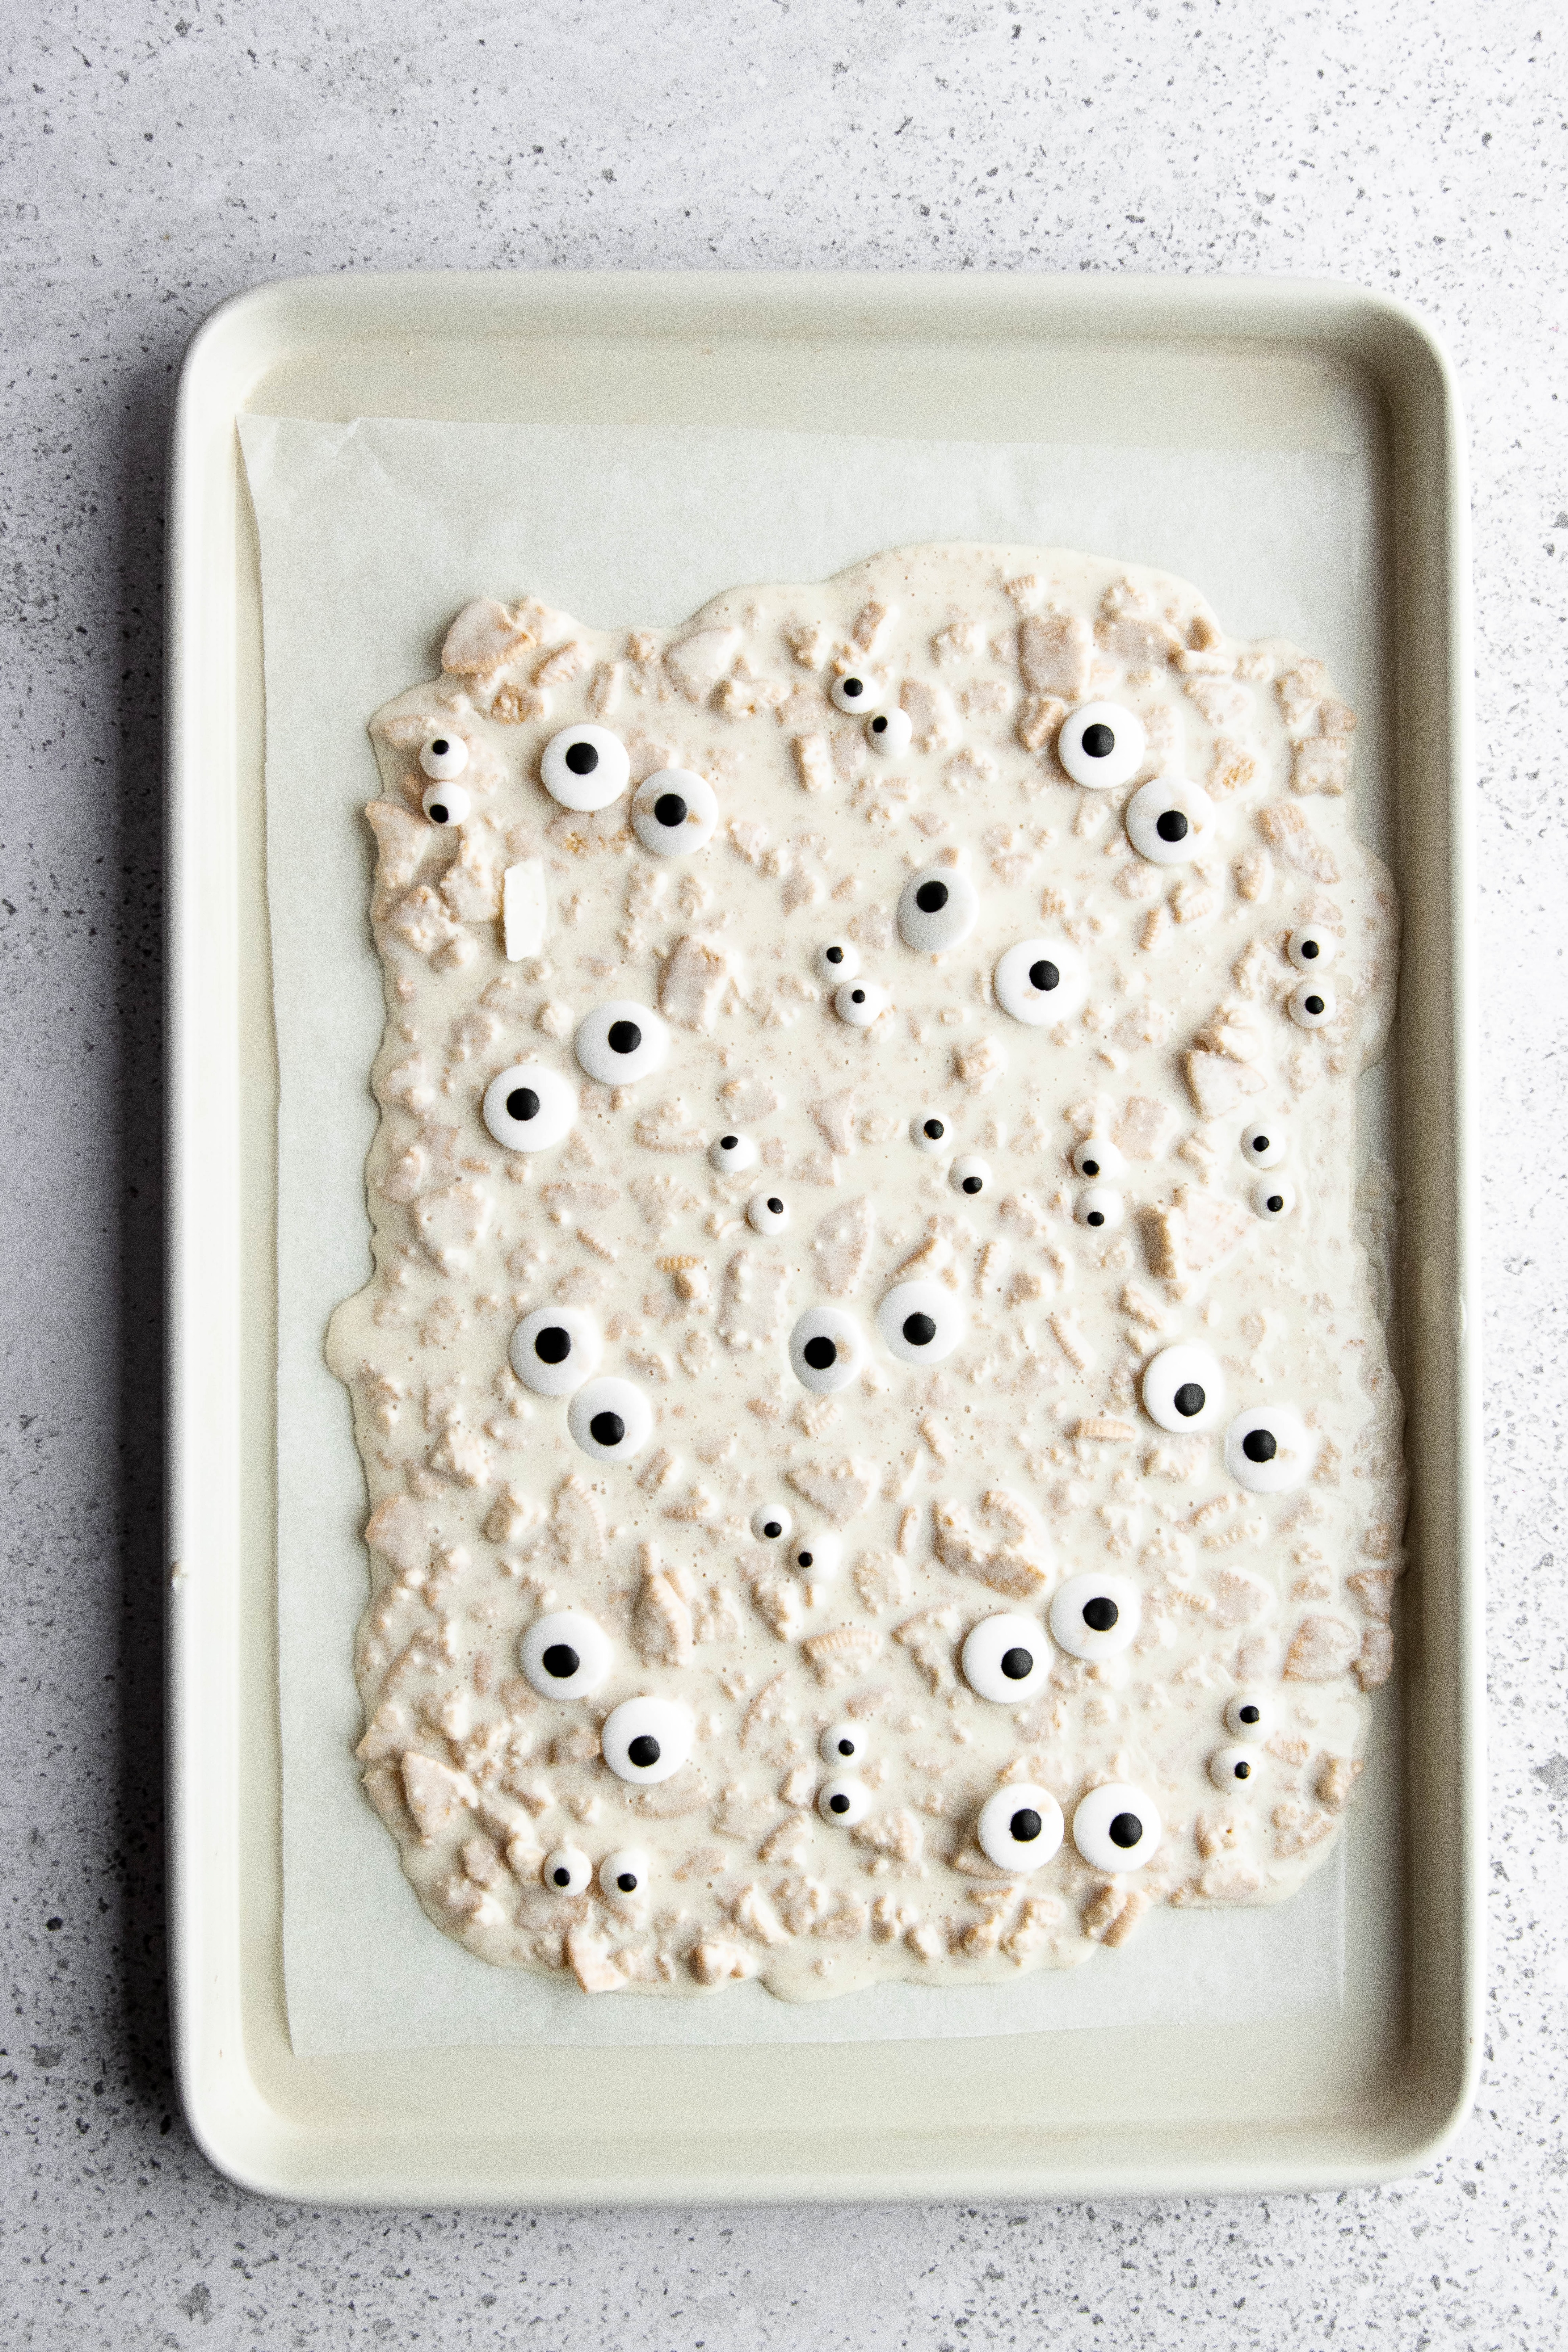
Now for the fun part! Gently place the edible candy eyes onto the bark, arranging them in pairs to resemble peering mummy eyes. Once the eyes are in place, allow the Halloween bark to cool completely and set.
Tip: Get creative when positioning the edible eyeball candies on your bark! You can strategically place them to mimic eyes peeking out from beneath the “bandages,” or space them randomly for a more playful, scattered look. This is your chance to give each mummy bark piece a unique, expressive personality and have some fun with the spooky design!
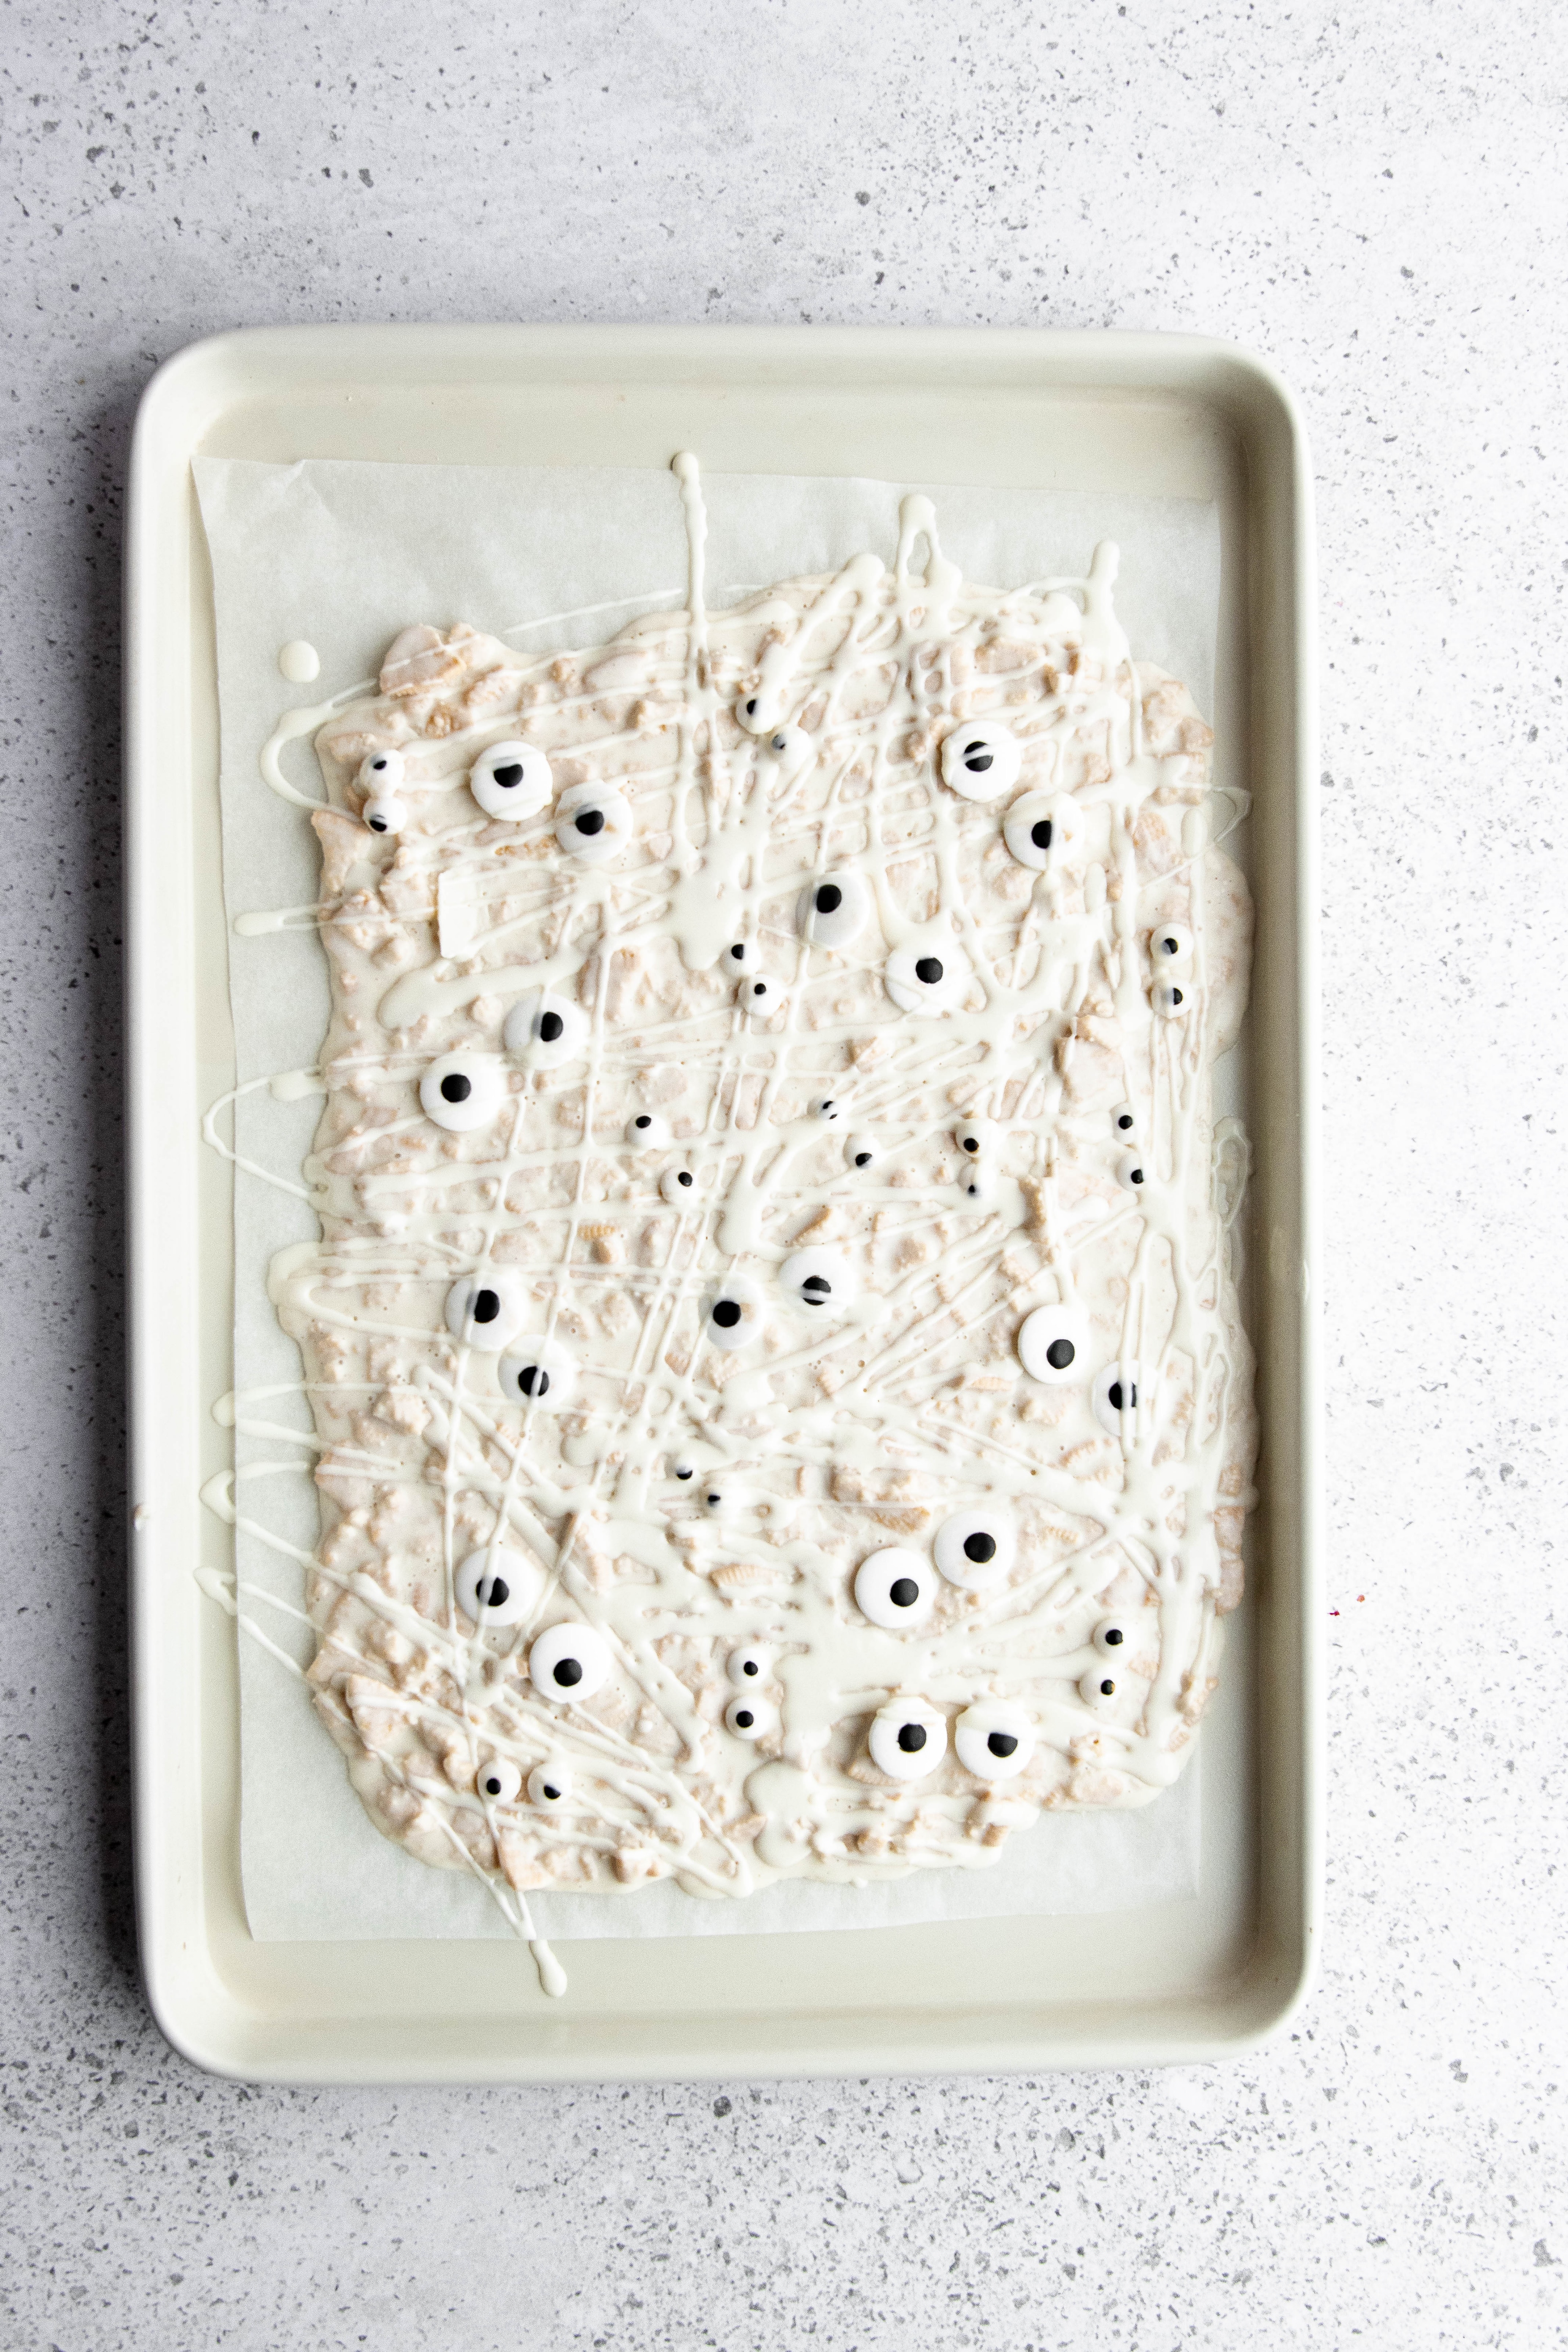
Once the bark has fully cooled and set, retrieve the small amount of melted white chocolate you set aside earlier. Drizzle this chocolate haphazardly over the cooled bark. This creates the illusion of mummy “bandages.” You can achieve this effect by using a spoon for thicker lines, filling a small zip-top bag, snipping a tiny hole in one corner, and squeezing the chocolate out, or by using a dedicated piping bag for more control. Allow the bark to cool and set once more, ensuring the drizzled chocolate is firm. You can expedite this process by placing it in the refrigerator, but it will also set perfectly at room temperature with a bit more time.
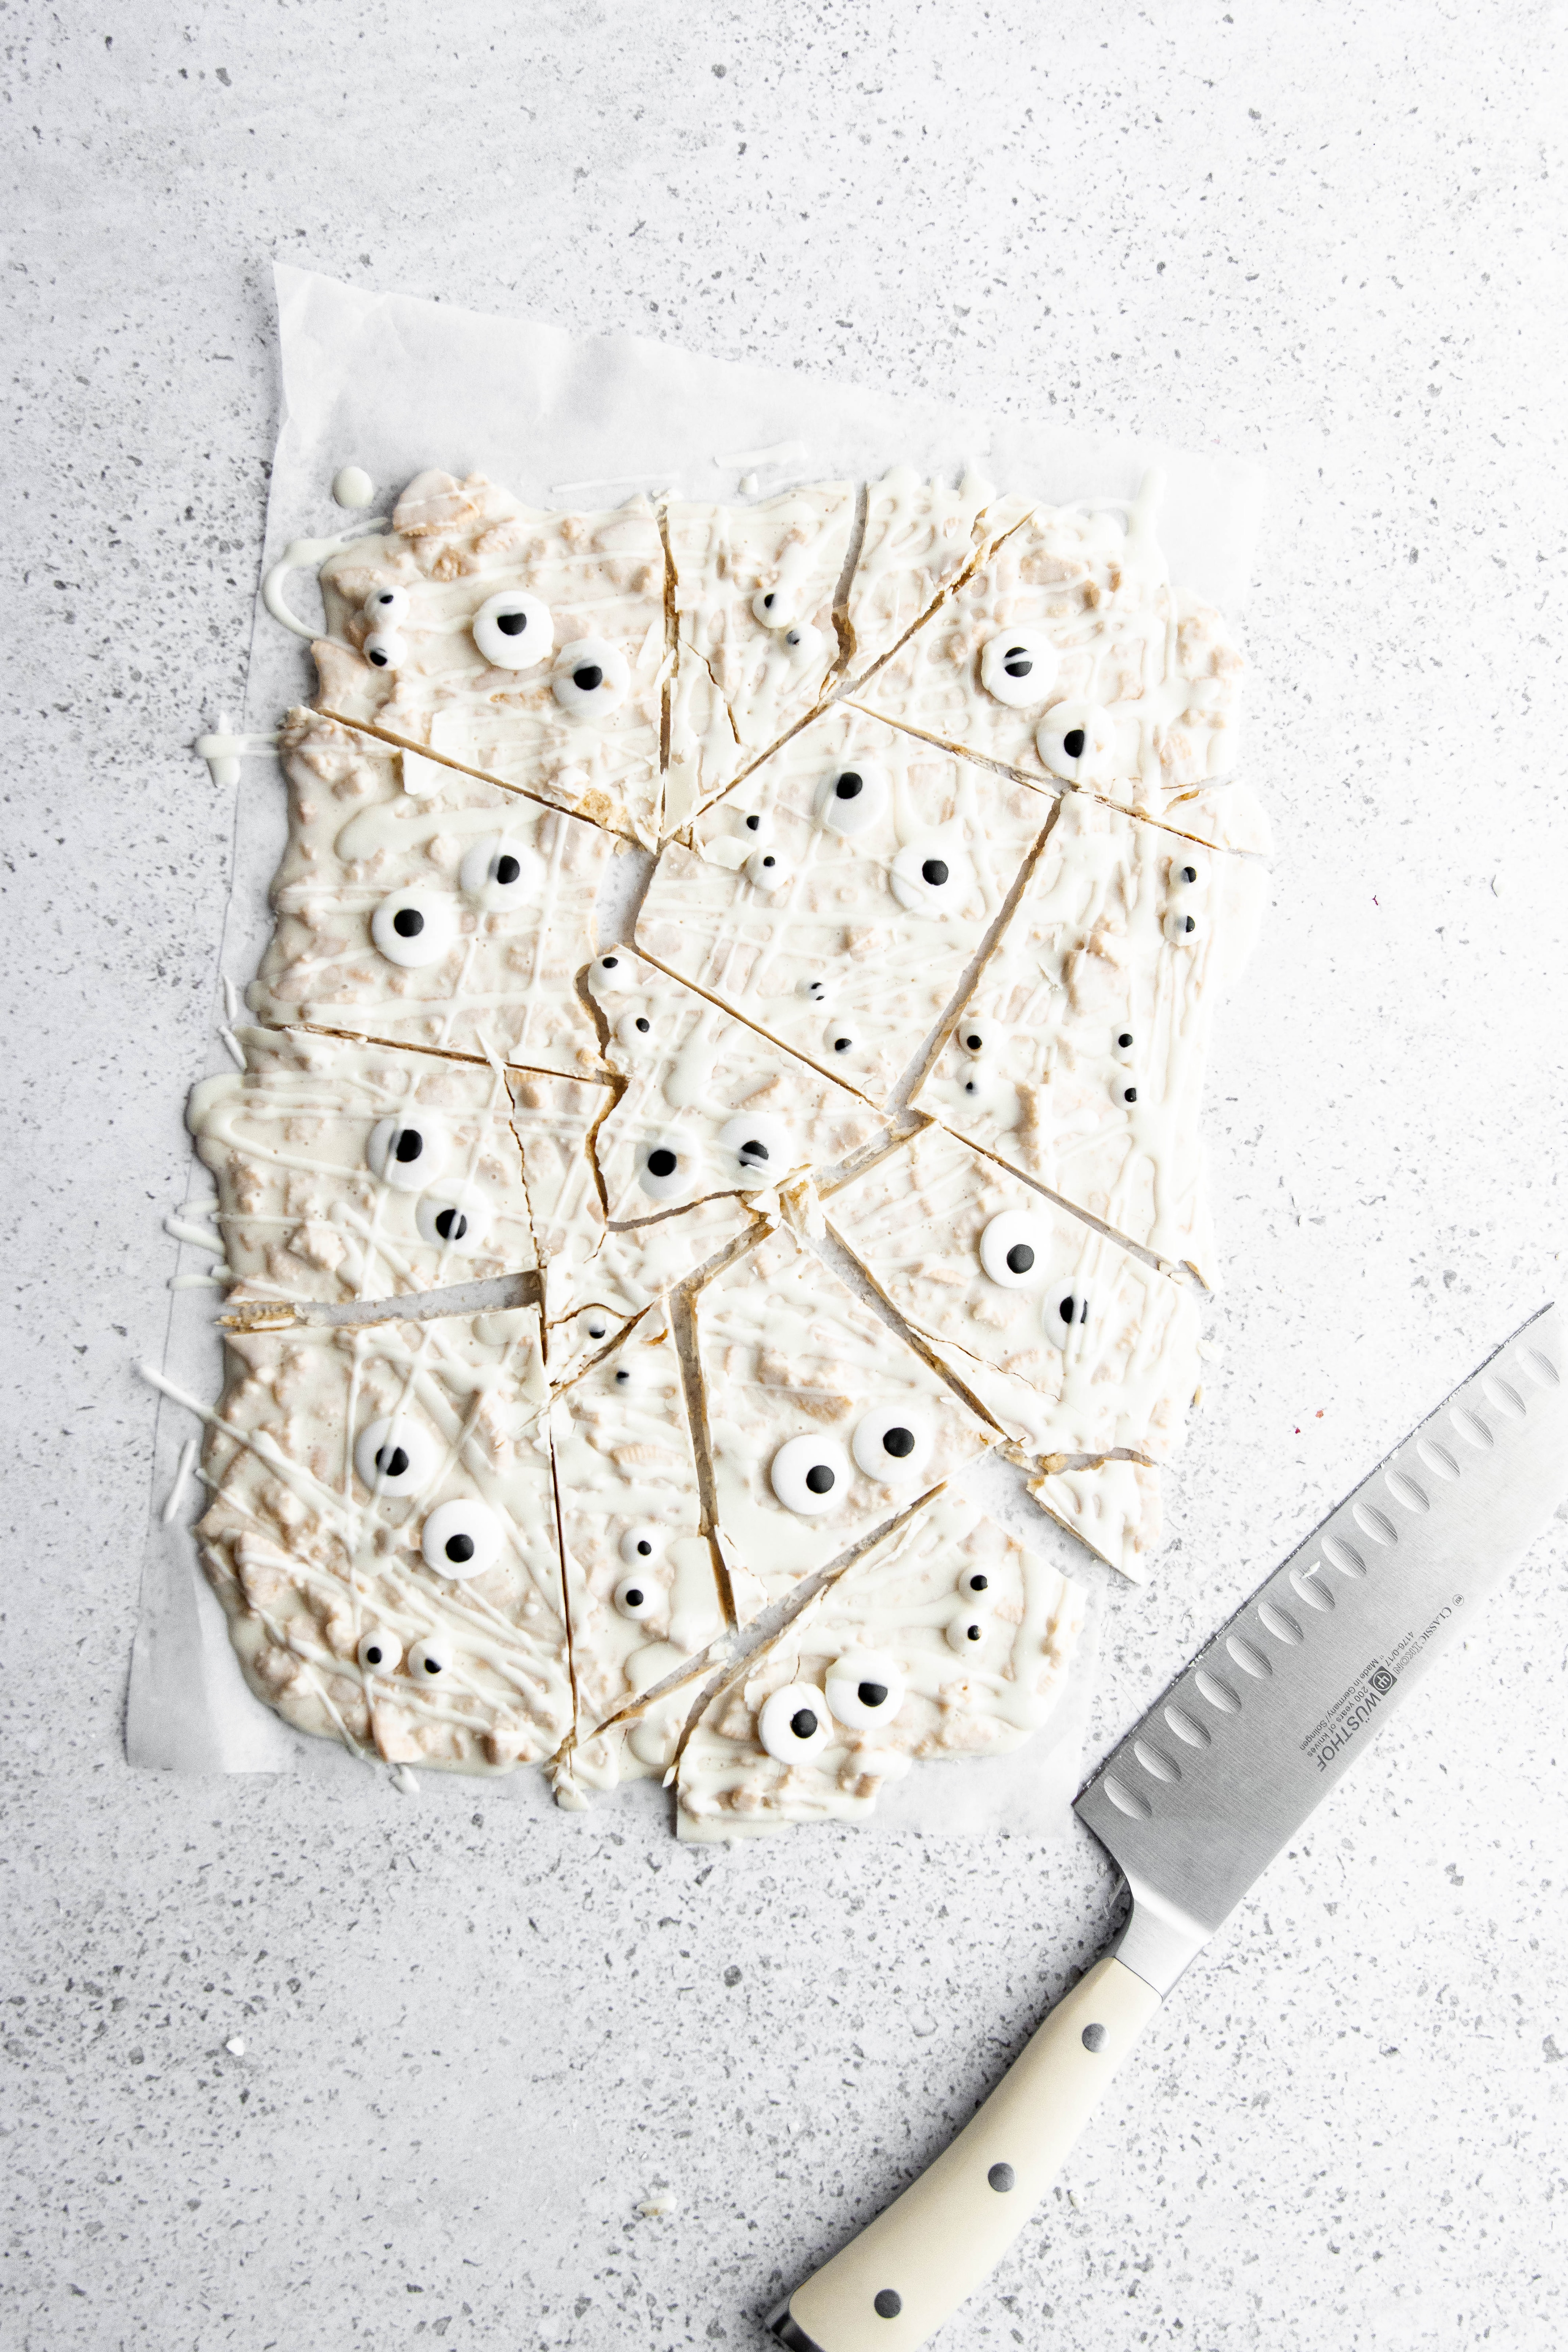
4. Cut the Bark and Serve
After the mummy bark has completely cooled and set firm, it’s time to cut it into individual pieces. For the cleanest edges, use a sharp knife. For an even cleaner cut, you can slightly warm the knife under hot water and wipe it dry between cuts. Don’t worry if some pieces crack unevenly; the rustic, freeform nature is part of bark’s charm. Arrange the delicious mummy bark pieces on a festive platter or in a decorative bowl, ready to delight your guests and family.
Love this Recipe? Don’t Forget to Pin It!
If you’re as enchanted by this incredibly easy and delicious Halloween Mummy Bark recipe as we are, make sure you don’t lose track of it! Before you navigate away, take a moment to Pin it to your favorite Pinterest recipe board. This way, you’ll always have this spooktacular treat at your fingertips for future Halloween celebrations, ensuring it remains a staple in your festive repertoire year after year.
Frequently Asked Questions About Halloween Mummy Bark
Curious about chocolate bark or need extra tips for your Mummy Bark? Here are some common questions and detailed answers:
- What is chocolate bark used for? Chocolate bark is a versatile sweet treat that typically uses a melted chocolate base, which is then combined with various mix-ins like nuts, seeds, dried fruit, or, in the case of our Mummy Bark, delightfully crumbled Oreo cookies. It’s perfect for snacking, gifting, or adding to dessert platters.
- How long will chocolate bark last? For optimal freshness and flavor, chocolate bark will typically last between 2-3 weeks. Be sure to store it in an airtight container to protect it from moisture and air.
- Does chocolate bark need to be refrigerated? While chocolate bark does not strictly require refrigeration, it is highly recommended. Storing it in the fridge will significantly extend its shelf life and help maintain its texture, keeping it fresher and firmer for longer, especially in warmer climates.
- How do you cut chocolate bark without cracking it? Cutting chocolate bark without it cracking can indeed be a bit tricky. The easiest method is to use a small, very sharp serrated knife and apply gentle, slow pressure. Score the surface first, then cut through. If it does crack, don’t fret! It’s still perfectly edible and the natural, freeform breaks simply add to the charmingly rustic nature of chocolate bark.
- Can I use a different type of chocolate to make these mummy bars? Absolutely! While white chocolate is specifically chosen for this recipe to achieve that perfect “mummy” aesthetic with its pale, bandage-like appearance, you can certainly experiment with other chocolate types. Milk chocolate, dark chocolate, or even a combination could be delicious, though the visual effect would be different.
- Can I add other toppings to this bark? Yes, creativity is encouraged! Feel free to customize your bark with other Halloween-themed toppings. Gummy worms, colorful Halloween sprinkles, candy corn, or even mini chocolate chips can be added alongside or in place of the edible eyeballs for extra flair and flavor.
- Do I need any special equipment to make this bark? Not at all! This Halloween Mummy Bark is wonderfully simple and requires no fancy kitchen gadgets. A microwave-safe bowl, a mixing bowl, a spatula, and a baking sheet lined with parchment paper are essentially all you need. This makes it a great last-minute treat option.
Customizable Substitutions for Your Bark
Remember, when it comes to making substitutions in any recipe, feel empowered to get creative! Don’t be afraid to experiment with ingredients that best suit your personal taste preferences or dietary needs. The goal is to make the recipe truly your own and enjoy the process!
-
Cookie Alternatives: If you don’t have Golden or White Oreos readily available, don’t let that stop you! You can easily substitute with Original Oreo cookies for a classic flavor, or any other type of crunchy cookie you enjoy. Simply crumble them accordingly to your desired texture.
-
Chocolate Varieties: For the white chocolate component, you have several excellent alternatives. Instead of standard white chocolate chips or bars, consider using white almond bark, which melts incredibly smoothly, or white candy melts, which are designed for easy melting and setting. These options can make the process even more foolproof.
Expert Tips & Tricks for Perfect Mummy Bark
Elevate your Halloween Mummy Bark with these simple yet effective tips:
-
Thinning White Chocolate: If you find your melted white chocolate is a bit too thick for easy drizzling or spreading, a small touch of coconut oil can work wonders. Add it in tiny increments (1/4 teaspoon at a time) and stir until you reach your desired consistency. This helps create smoother “bandages.”
-
Party Favors: This bark makes fantastic party favors! Once cut into pieces, individually wrap them in clear cellophane bags, tie with a festive ribbon, and perhaps add a small spooky tag. Your guests will adore taking home a delicious and personalized Halloween treat.
More Spooky and Sweet Candy Recipes to Love
If you enjoyed crafting this Mummy Bark and are looking for more delightful candy recipes, particularly for the festive season, explore these other fantastic creations:
-
Homemade Twix Bars: A beloved candy bar, perfectly replicated at home.
-
Peanut Butter Fudge: Creamy, rich, and melts in your mouth – a classic comfort treat.
-
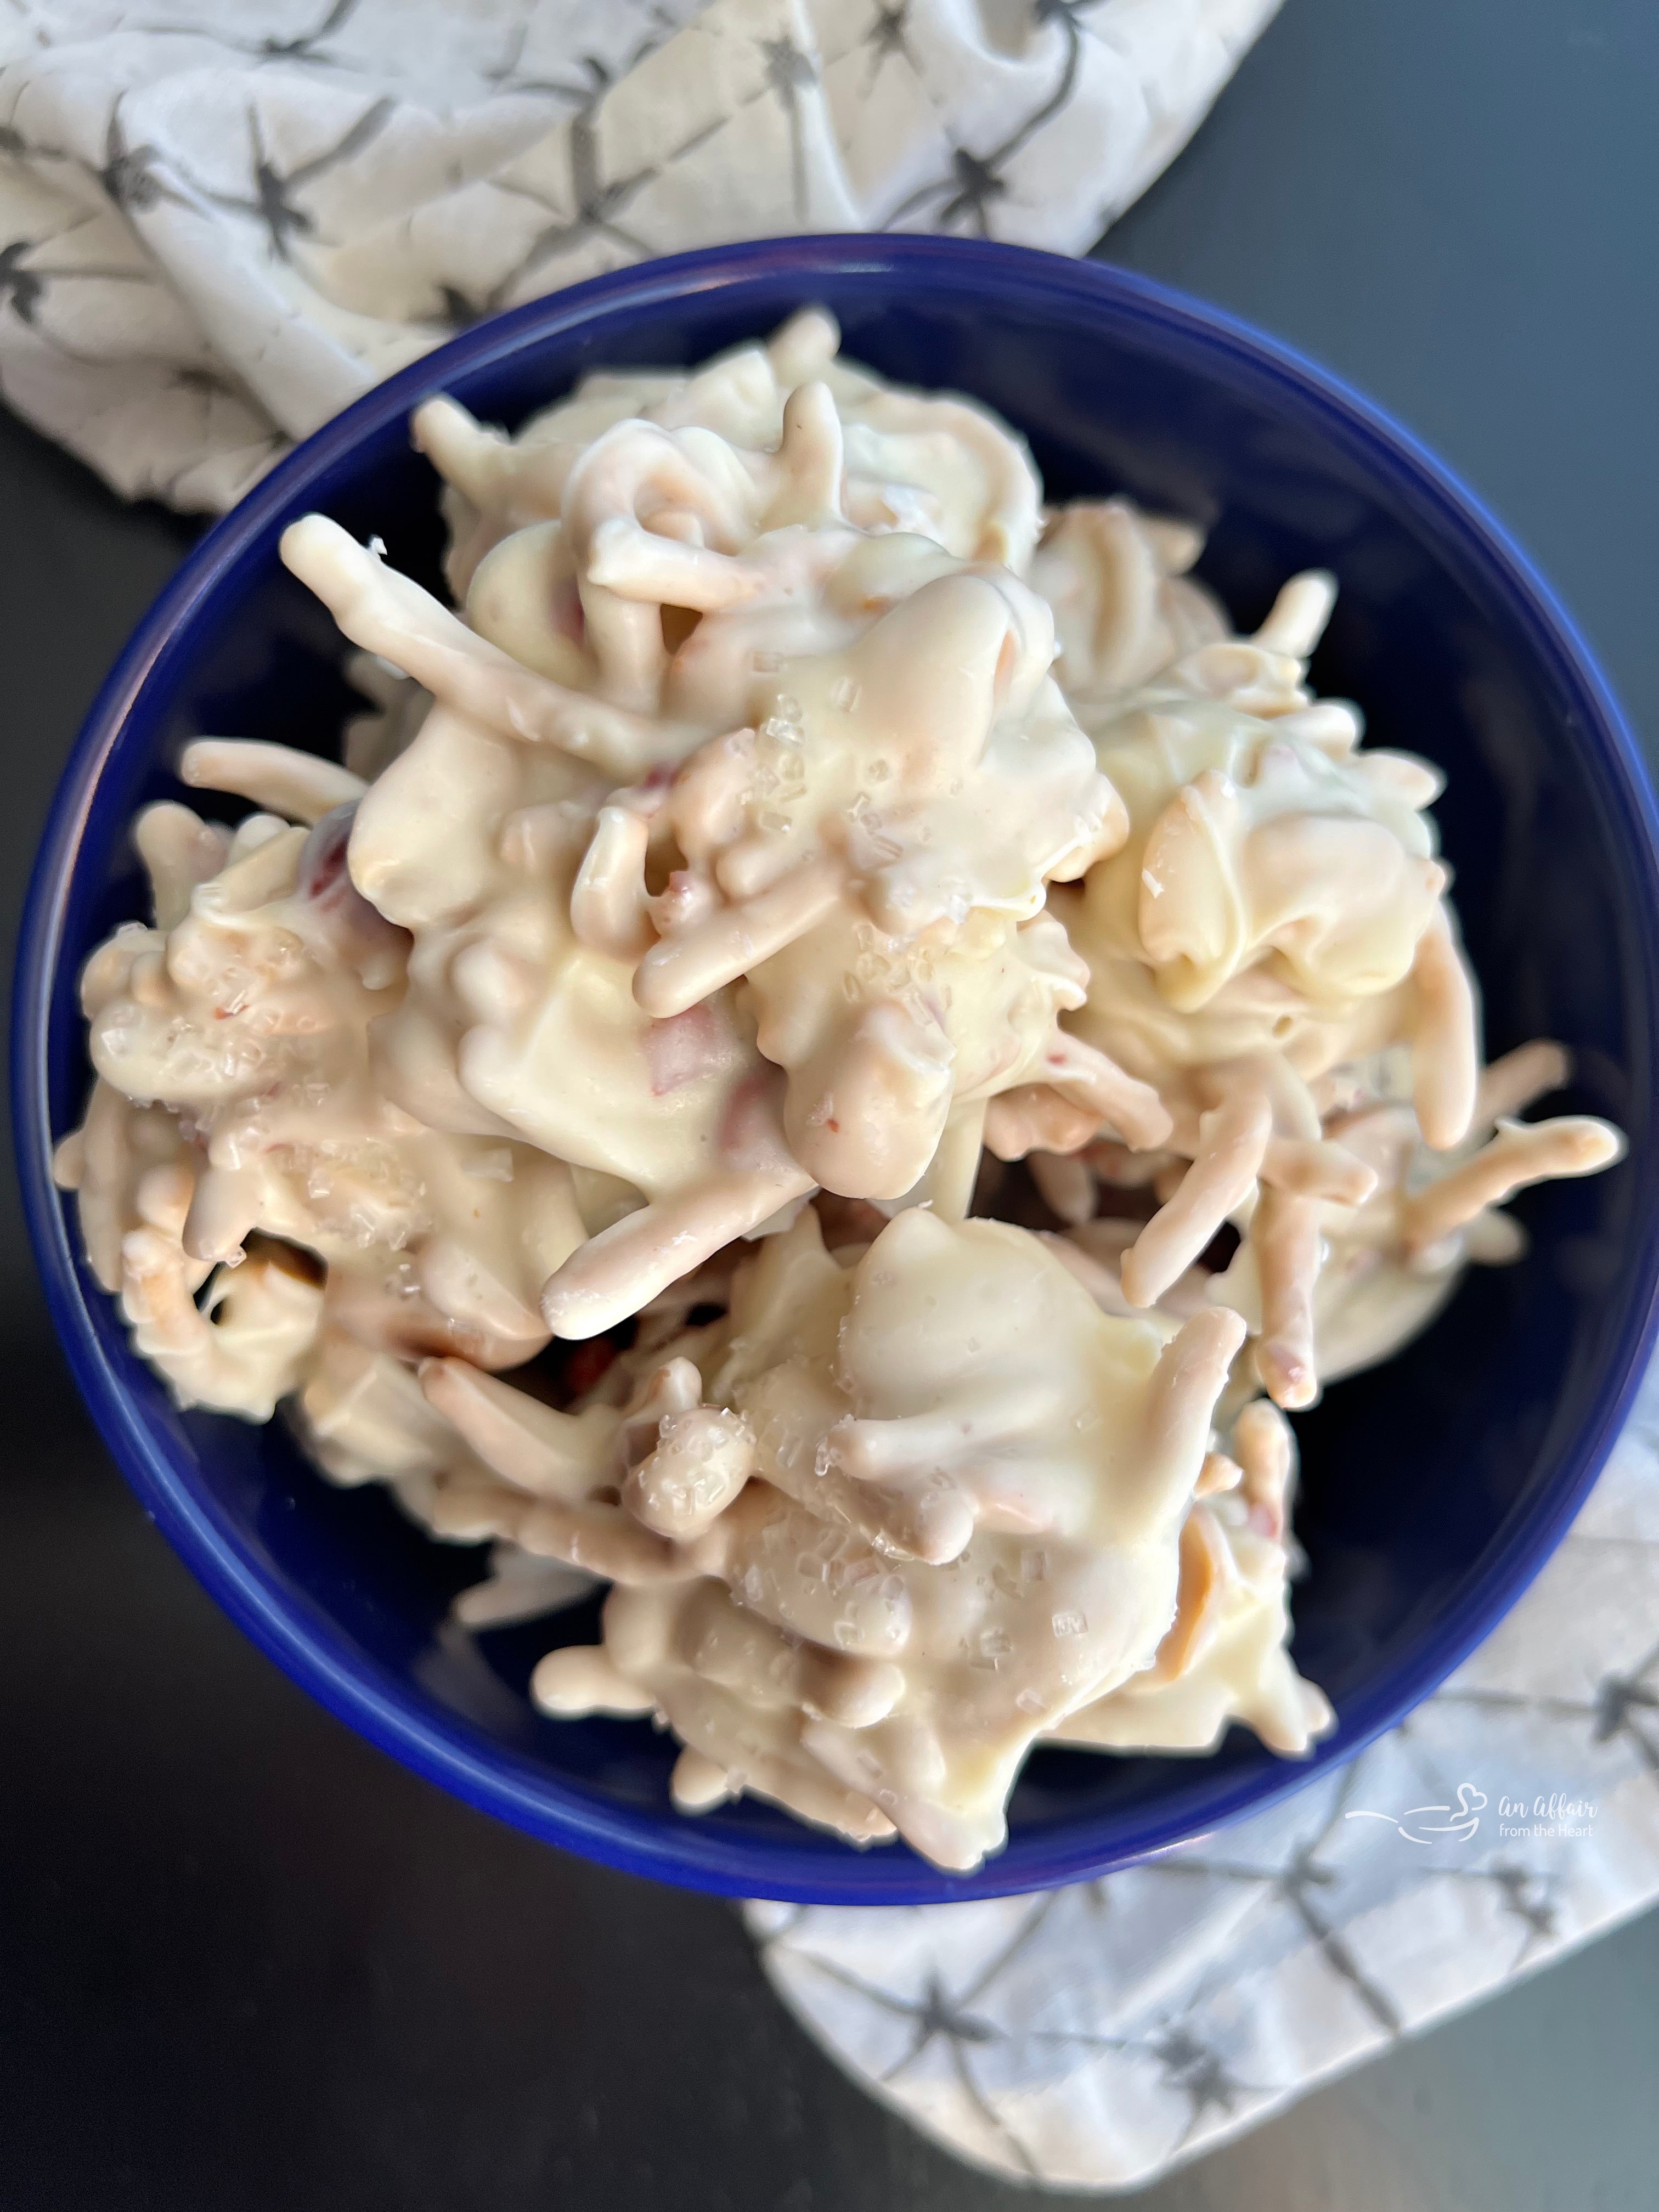
White Ting A Lings (pictured above): A delightfully crunchy and sweet confection, perfect for holiday platters.
-
Peppermint Meringues: Light, airy, and bursting with refreshing peppermint flavor.
-
Rolo Pretzels: A sweet and salty combination that’s incredibly addictive and easy to make.
- White and Dark Chocolate Peppermint Bark: A festive, classic bark perfect for winter holidays.
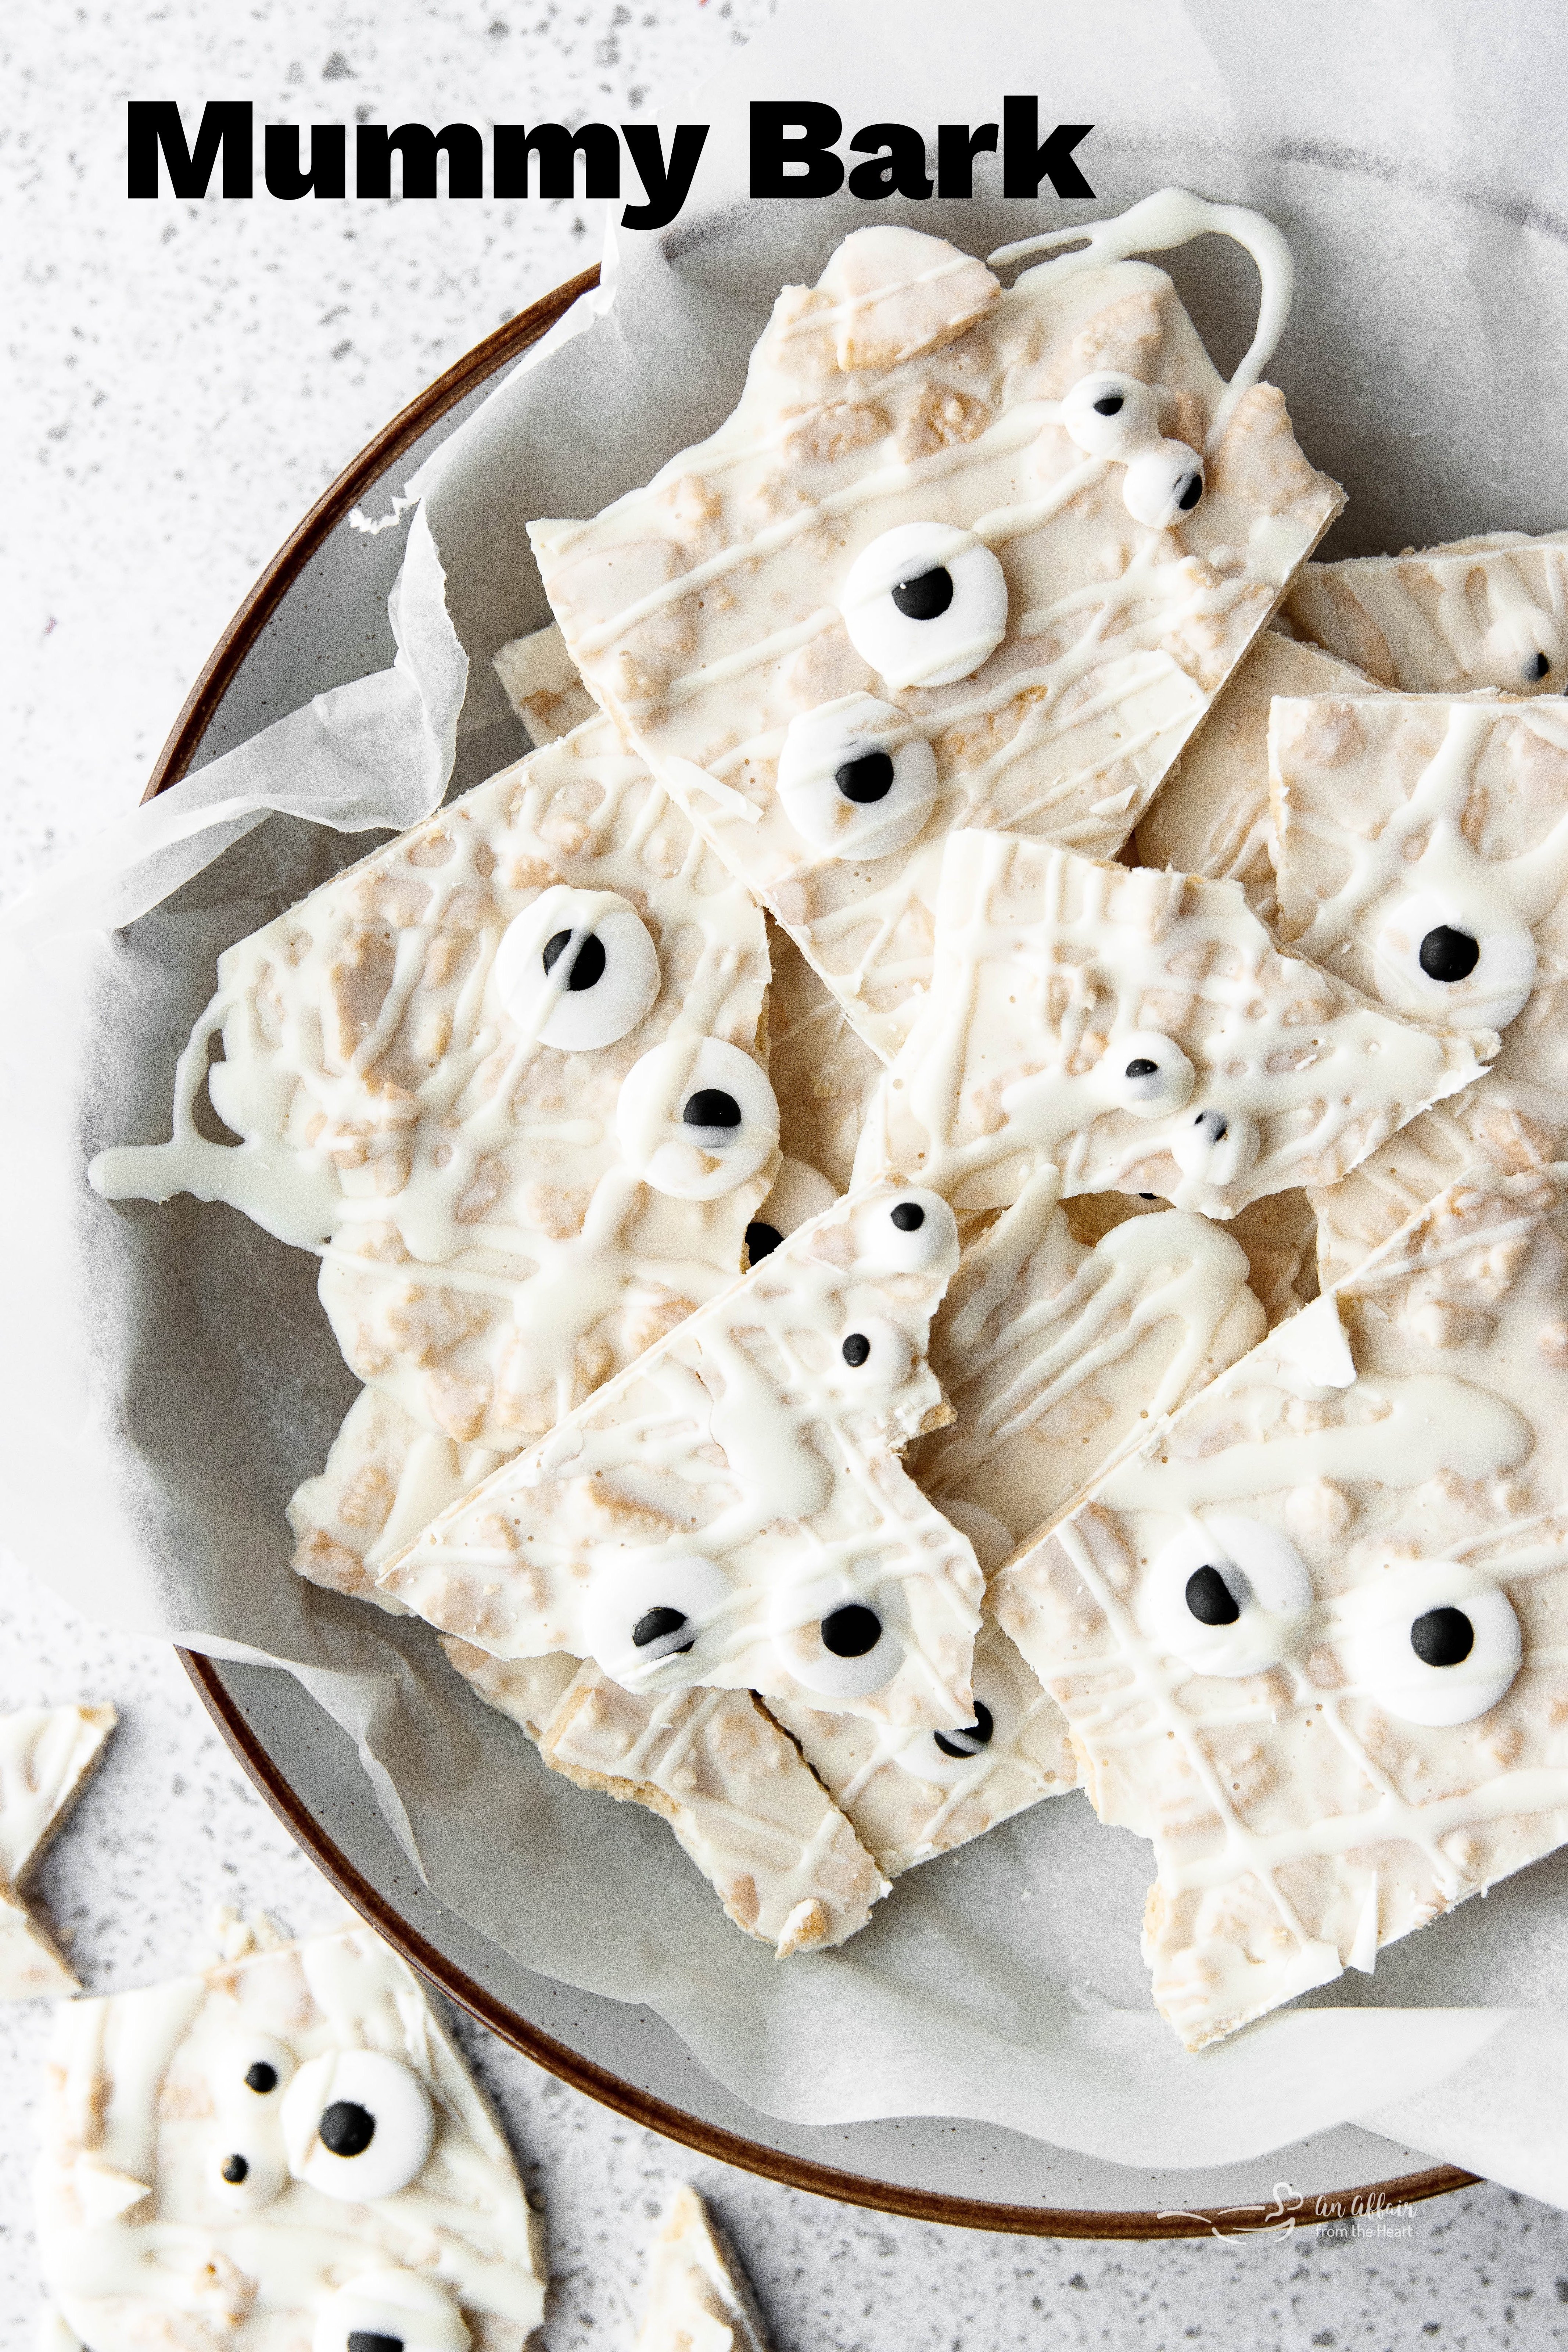
If your search for effortless yet utterly charming Halloween treat ideas has led you here, then your quest is officially over! Easy Halloween treats are always a favorite, and this recipe for Halloween Mummy Bark perfectly fits the bill. It’s not just simple to make; it’s a showstopper that guarantees to be a huge hit at any gathering, charming both kids and adults alike with its spooky-cute appeal and delicious flavors. Give it a try this Halloween – you won’t be disappointed!

LIKE THIS RECIPE?
Don’t forget to give it a ⭐️⭐️⭐️⭐️⭐️ star rating and
leave a comment below the recipe!
Print Recipe
Halloween Mummy Oreo Bark
Equipment
-
Rubber Spatulas
-
13×18 Half Sheet Pan
-
Reynolds Kitchens Non-Stick Parchment Paper
-
Assorted Candy Eyeballs Box
Ingredients
- 14 Golden Oreos
- 300 g White Chocolate about 11 ounces or 1 1/4 cup
- Edible Candy Eyeballs
Instructions
-
Place the chocolate in a microwavable bowl and microwave in 15-second increments until melted. Make sure to stir between each set. Set aside a small amount to drizzle at the end.
-
Use your hands to break the Oreos into small pieces and place them in a large mixing bowl.
-
Pour the melted chocolate over the Oreos.
-
Spread the Oreo mixture on a baking sheet lined with parchment paper and add the edible eyeballs.
-
Allow to cool.
-
Once cooled, drizzle a little extra melted white chocolate over the chocolate bark to create a mummy look.
-
Allow to cool once more.
-
Use a sharp knife to cut into pieces and serve.
Notes
- Chocolate bark will last 2-3 weeks if stored in an airtight container in the fridge. Bark does not need to be refrigerated but it will last longer and stay fresher if you keep it in the fridge.
Nutrition
HAPPY HALLOWEEN!!! Welcome to 2023’s #HalloweenTreatsWeek event!
If you’re new here, Welcome! If you’re a returning haunt, welcome back!
#HalloweenTreatsWeek is a yearly Halloween blogging event that is hosted by Angie from Big Bear’s Wife. You’ll find that this fun and spooky event is an online, week-long event that is filled with some frightfully fun Halloween treats and recipes from some fantastic Halloween-loving bloggers!
For this year’s 6th annual #HalloweenTreatsWeek event we have 18 hauntingly talented bloggers that are sharing their favorite Halloween recipes throughout the week! You can follow the hashtag #HalloweenTreatsWeek on social media to collect all of these frightful recipes to use at your own Halloween parties and events!
Make Sure to check out all of the fun Halloween recipes that we’re sharing this week!
Today’s Halloween Offerings:
- Jack Skellington Hot Chocolate Bombsfrom Big Bear’s Wife
- Spider Web Brownies from Semi-Homemade Recipes
- Butterbeer Moussefrom The Spiffy Cookie
- Halloween Witch Hats from Our Good Life
- Chocolate Bat Cereal Treatsfrom Sweet ReciPEAs
- Pumpkin S’mores Cupcakes from It’s Shanaka
- Oreo Mummy Bark from An Affair from the Heart
- Fruity Halloween Rice Cereal Treats from Palatable Pastime
- Pumpkin Snickerdoodle Cookies from Best Cookie Recipes
- Frostbite Fingers (Chocolate Tamales) from A Kitchen Hoor’s Adventures
- Cinnamon & Sugar Crescent Roll Witch Hats from Savory Moments
- Spooky Red Cider Sangria from The Redhead Baker
- Mini Candy Corn Cheesecakes from Best Dessert Recipes
- Ghost Brownies from Savory Experiments
- Witches Brew from Jen Around the World
- Severed Hand Piesfrom Hezzi-D’s Recipe Box
- Kiss From A Vampire Cookies from Jolene’s Recipe Journal
