Homemade Dairy Queen Buster Bars: The Ultimate Copycat Recipe for Iconic Ice Cream Treats
Savor the rich layers of chocolate fudge, crunchy peanuts, and creamy vanilla ice cream with these incredible Homemade Buster Bars!
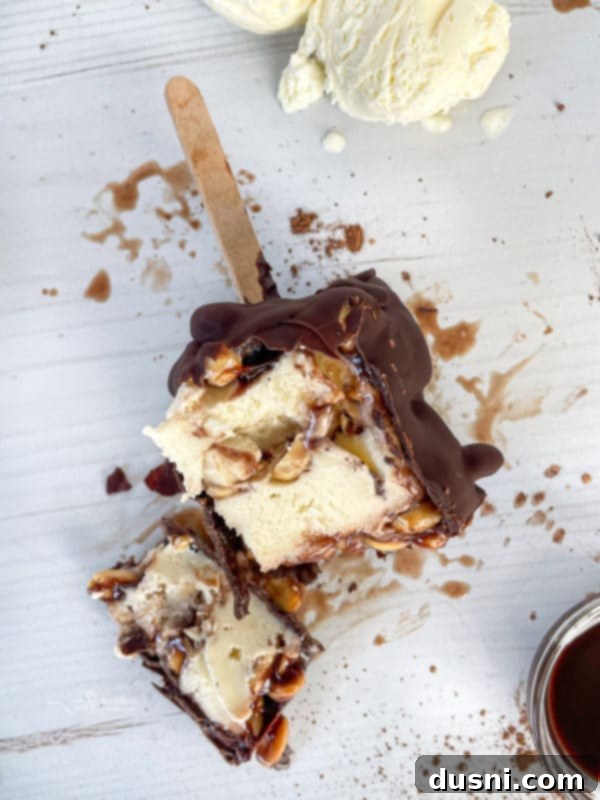
If you’re a devoted fan of sweet indulgence, then you understand the irresistible appeal of a perfect combination of chocolate and vanilla ice cream. Now, imagine elevating that experience with a generous sprinkle of salty, crunchy peanuts. That’s precisely what awaits you with these amazing Homemade Buster Bars! This delightful ice cream recipe is not only a fantastic project to enjoy with the kids on a weekend afternoon but also the ultimate frozen treat for any backyard gathering or summer celebration. Get ready to create a dessert that will truly impress everyone.
Just like the beloved classic from the Dairy Queen menu, this copycat Buster Bar recipe is destined to become a lifelong favorite. Each bite offers a harmonious blend of rich, gooey chocolate fudge, smooth and creamy vanilla ice cream, and the delightful crunch of roasted peanuts. These sweet and savory ice cream bars are the perfect way to beat the heat and satisfy even the most persistent sweet tooth. Forget the drive-thru; you can now recreate this iconic frozen dessert right in your own kitchen with ease.
What could be better than crafting your favorite frozen treats at home, exactly to your liking? If you’re in the mood for another Dairy Queen-inspired delight, you absolutely must try my Dairy Queen Apple Pie Blizzard copycat recipe. It’s another delicious way to enjoy DQ flavors from the comfort of your home.
Buster Bars: A Cherished Childhood Favorite
Recreating Buster Bars: A Delicious Family Project
Why You’ll Fall in Love with This Homemade Buster Bar Recipe
- Incredibly Fun & Surprisingly Easy: You’re going to adore how enjoyable this recipe is to make! It transforms into a wonderful family activity, creating precious memories while crafting a truly special frozen treat at home. The process is straightforward, making it accessible for cooks of all skill levels.
- Undeniably Delicious & Crowd-Pleasing: Experience the bright, delicate, yet rich flavors that perfectly mimic the classic DQ Buster Bar. This homemade version is exactly what you need for a hot, sunny day or whenever you crave something a little extra special and satisfying. Its delightful taste makes it an instant hit with everyone who tries it.
- Perfect for Any Gathering: Planning a party, BBQ, or family get-together and need an impressive yet easy dessert? Look no further! This simple recipe is a fantastic way to please a crowd, offering a festive and irresistibly sweet option that will have guests asking for more. It’s a guaranteed showstopper for any occasion.
Unpacking the Deliciousness: What’s in a Dairy Queen Buster Bar?
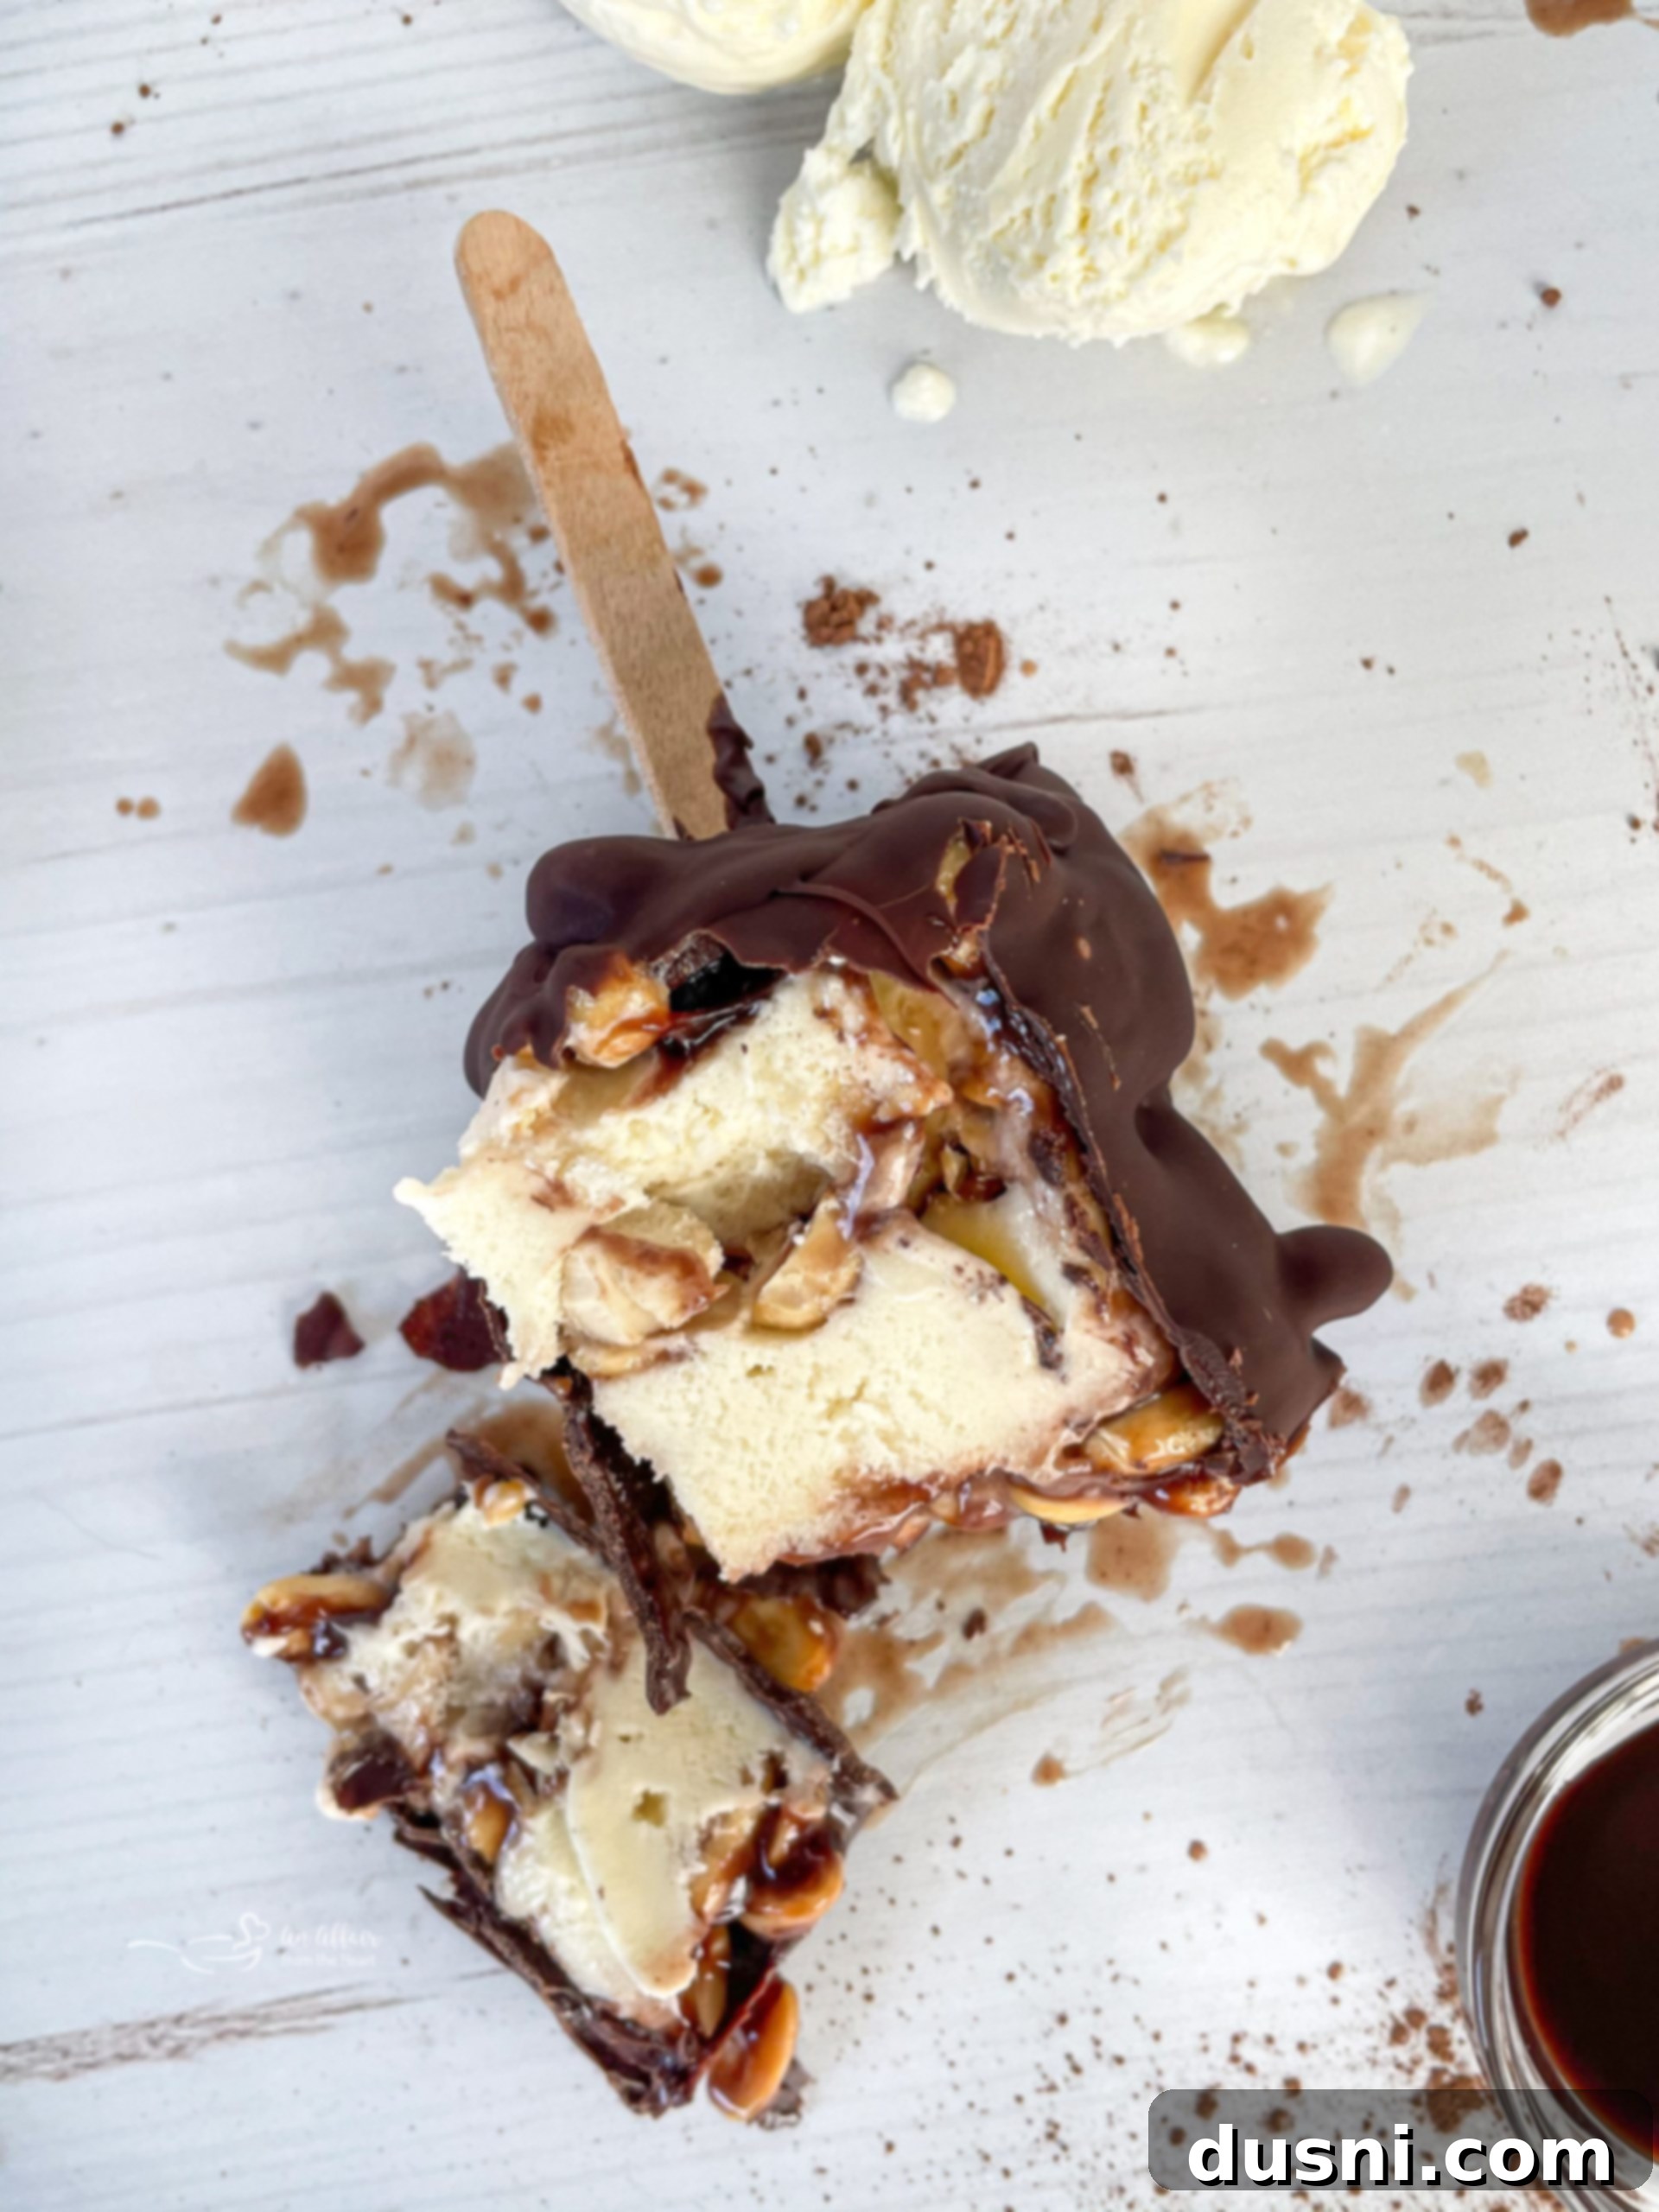
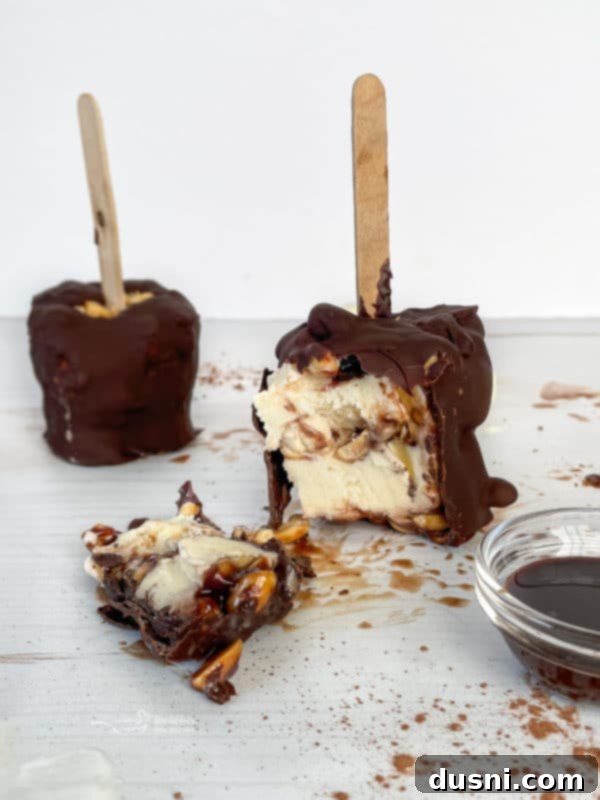
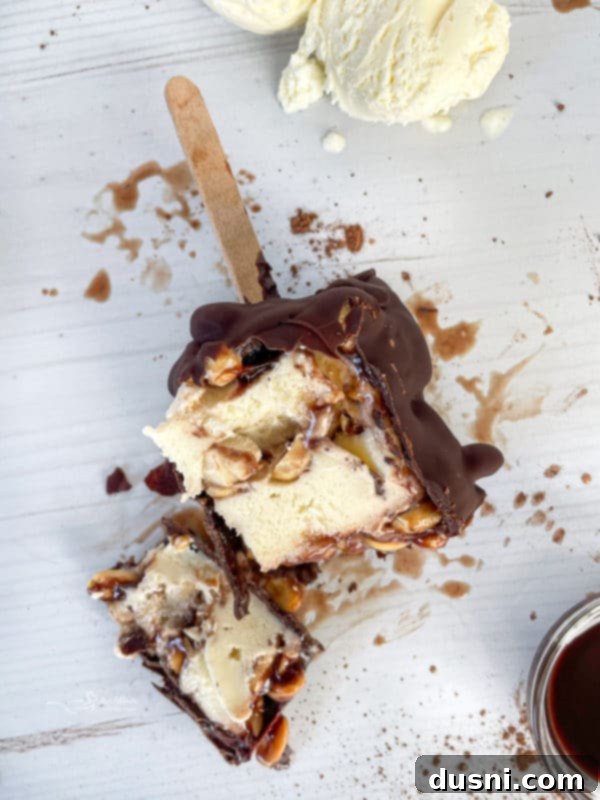
At its core, a traditional DQ Buster Bar is a masterpiece of textures and flavors. It’s expertly constructed with layers of smooth, creamy vanilla ice cream, generously drizzled with rich, warm hot fudge, and studded with plenty of crunchy peanuts. To complete this iconic treat, the entire bar is typically dipped in a luscious chocolate coating and often topped with even more nuts for an extra burst of flavor and satisfying crunch. This combination creates an out-of-this-world dessert experience.
Buster Bar vs. Dilly Bar: What’s the Difference?
While both are beloved Dairy Queen frozen treats, Buster Bars and Dilly Bars have distinct characteristics. The key difference lies in their delicious fillings: Buster Bars are famously filled with layers of crunchy peanuts and gooey hot fudge. Dilly Bars, on the other hand, are typically a disc of soft-serve ice cream coated in a chocolate shell. Both are undeniably yummy, but their flavor profiles and internal textures are wonderfully different, offering unique frozen dessert experiences!
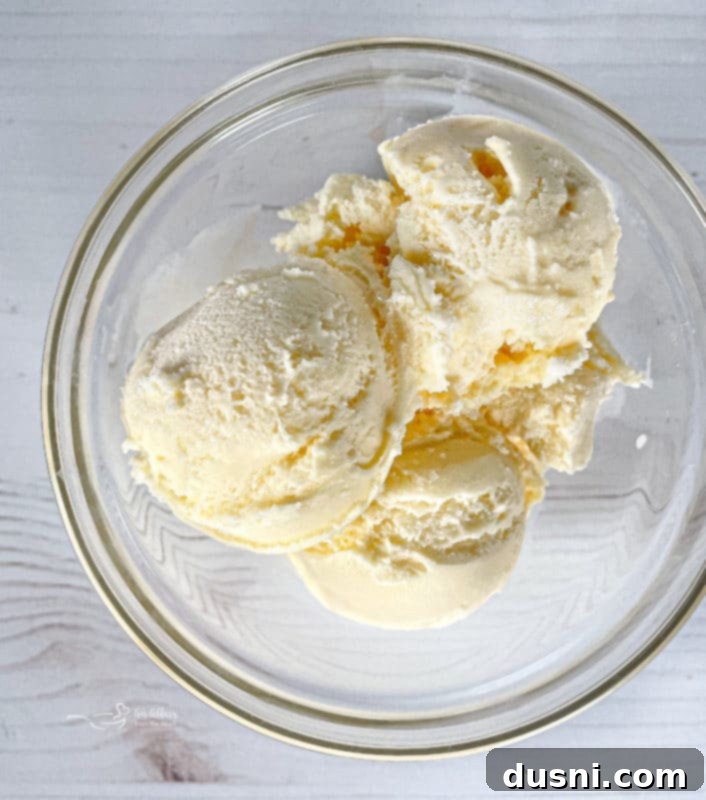
Essential Ingredients & Supplies for Homemade Buster Bars
Gathering the right components is key to creating perfect homemade Buster Bars. Here’s a detailed look at what you’ll need:
- Plastic Cups – The Perfect Molds: These are crucial for shaping your Buster Bars! I highly recommend using 9-ounce plastic cups; they provide an ideal size and are easy to work with when unmolding.
- Popsicle Sticks – For Easy Handling: Opt for wide popsicle sticks. Their wider surface area makes them significantly easier to handle and provides better stability for your ice cream bars once frozen.
- Peanuts – The Crunchy Heart: I prefer using Spanish peanuts for this recipe. Their slightly smaller size and robust flavor integrate beautifully into the layers, making the overall taste and texture truly exceptional. Feel free to use roasted and salted for an even better flavor contrast.
- Hot Fudge – The Rich, Gooey Center: You’ll need a good quality jar of hot fudge topping or a rich chocolate sauce. Look for a thick, decadent fudge from your local market to ensure that signature gooey texture.
- Vanilla Ice Cream – The Creamy Base: A tub of your favorite vanilla ice cream is essential. Whether you choose a premium store-bought brand or decide to make your own homemade vanilla ice cream, these Buster Bars will turn out absolutely amazing. The quality of the ice cream truly shines through.
- Chocolate Chips – For the Hard Shell: A bag of semi-sweet chocolate chips works wonderfully for the outer coating, providing a classic balance of sweetness. However, don’t hesitate to experiment with dark chocolate chips for a more intense chocolate flavor, or milk chocolate for a sweeter profile.
- Vegetable Oil – The Secret to a Smooth Dip: A small amount of vegetable oil is used when melting the chocolate chips. It helps create a smooth, dippable consistency and contributes to that satisfying hard shell texture once chilled.
Crafting Your Own Dairy Queen Buster Bars at Home: A Step-by-Step Guide
Creating these irresistible homemade Buster Bars is surprisingly simple, requiring just a handful of easy steps. For the most detailed instructions and precise measurements, please refer to the comprehensive recipe card below.
Step 1: Build the Irresistible Layers

Assemble Layers: Begin by lining up your plastic cups on a clean work surface. Into the bottom of each cup, spoon a generous layer of crunchy peanuts. Next, luxuriantly drizzle those peanuts with a decadent layer of hot fudge. Finally, gently place a substantial scoop of creamy vanilla ice cream directly over the nuts and fudge, pressing down firmly to ensure a compact and stable base.
Step 2: Add More Richness with Chocolate and Peanuts

Layer with More Chocolate and Peanuts: Once the first ice cream layer is in place, it’s time to amp up the flavor! Drizzle another generous amount of hot fudge over the ice cream, spreading it to cover the surface. Sprinkle with additional peanuts, making sure every bite will be extra nutty and delightfully chocolatey. Top this second fudge and peanut layer with another scoop of vanilla ice cream, pressing down firmly once again. If desired, you can add a final small sprinkle of peanuts on top before freezing.
Step 3: Insert Sticks and Freeze Solid

Insert Popsicle Stick & Freeze: Carefully insert a wide popsicle stick into the center of each layered ice cream cup. Ensure the stick goes deep enough to provide stability once frozen. Place the prepared cups into your freezer and allow them to freeze for a minimum of three to four hours, or ideally, overnight. Freezing them thoroughly is crucial for easy unmolding and a perfect chocolate dip. These can even be made several days in advance!
Step 4: Prepare the Chocolate Coating and Dip
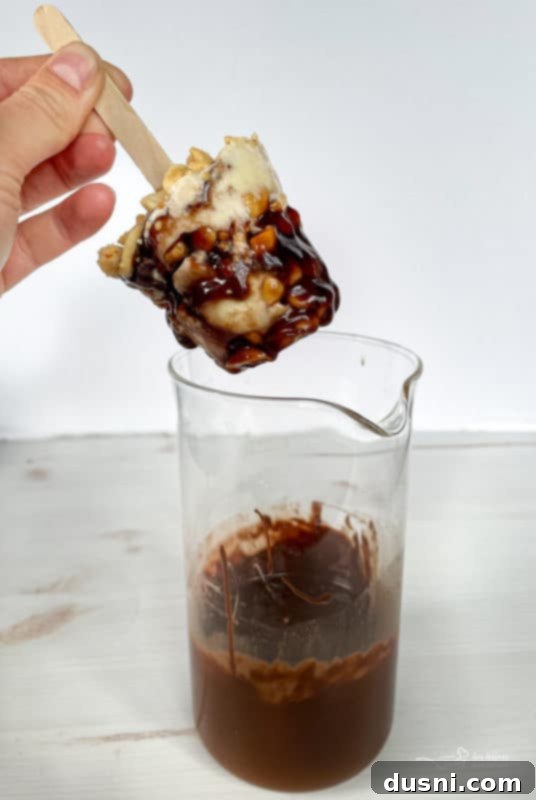
Melt Chocolate: In a microwave-safe bowl, combine your chocolate chips and vegetable oil. Microwave the mixture in short 30-second intervals, stirring well after each, until the chocolate is mostly melted and smooth. Continue stirring gently until any remaining chocolate pieces are fully softened and the mixture is glossy and uniform. Allow it to cool for just a minute or two so it’s not scalding hot, which could melt your ice cream too quickly.
Dip the Bars: Remove the deeply frozen Buster Bars from the freezer. To unmold, gently squeeze the plastic cup to loosen the ice cream. You might need to run a thin butter knife carefully around the rim and down the sides to help release the frozen treat from its mold. Holding the popsicle stick firmly, swiftly dunk the homemade Buster Bar into the melted chocolate coating. Gently swirl it around to ensure it’s fully coated with a luscious, even layer of chocolate. Let any excess chocolate drip off back into the bowl.
Step 5: Final Freeze and Enjoy!
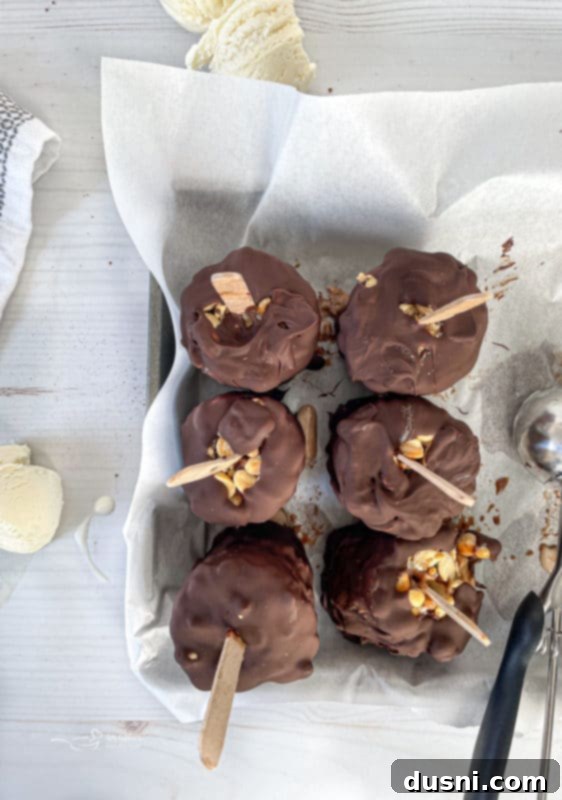
Place Back in Freezer: Once dipped, carefully place each chocolate-coated Buster Bar onto a cookie sheet that has been lined with waxed paper or parchment paper. This prevents sticking. Immediately return the tray to the freezer for at least another hour, or until the chocolate coating is completely hardened and crisp. Once fully set, remove these delightful homemade treats from the freezer and enjoy your perfectly crafted, refreshing Buster Bars!
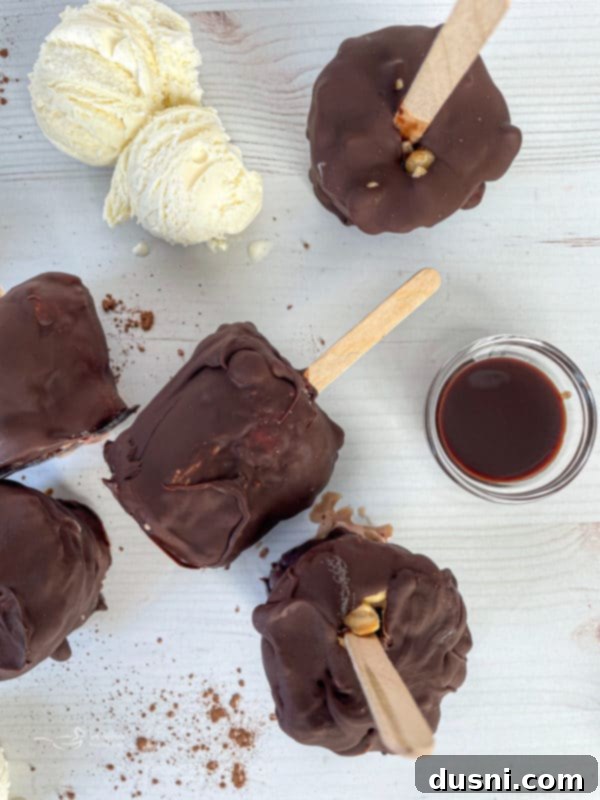
LOVE IT? PIN IT!
Don’t let this fantastic homemade Buster Bars recipe get lost! Make sure to save it to your favorite Pinterest recipe board now so you can easily find it whenever a craving for this classic frozen treat strikes!
Expert Tips for Perfect Homemade Buster Bars
- Ensure Firmly Packed Ice Cream: This is crucial for structural integrity! Make sure to firmly press down each layer of ice cream within the cup. If the ice cream isn’t packed tightly enough, your popsicle sticks might become loose during the dipping process, or the bar could fall apart.
- Experiment with Ice Cream Flavors: While vanilla is traditional, don’t hesitate to customize! You could easily twist things up by using chocolate ice cream for an extra rich treat, or even a swirl of chocolate and vanilla. Mint chocolate chip or strawberry ice cream could also create interesting flavor variations.
- Storage for Future Enjoyment: Once your Buster Bars are completely frozen and the chocolate coating is hard, store them individually wrapped in plastic wrap or in an airtight container in the freezer. They will maintain their delicious quality for up to three months, perfect for a quick, indulgent snack whenever you desire.
- Pre-chill Your Fudge: For cleaner layers, slightly chill your hot fudge topping before layering it into the cups. This will prevent it from melting the ice cream too much on contact and help it set more quickly.
- Quick-Setting Chocolate Shell: Ensure your chocolate coating is at the right temperature – warm enough to be smooth and dippable, but not so hot that it melts the ice cream. The super-cold ice cream will help the chocolate harden almost instantly, creating that perfect snappy shell.
More Irresistible Frozen Treats to Enjoy
If you’ve fallen in love with these homemade Buster Bars, you’ll be thrilled to explore my dedicated section on Ice Cream & Frozen Treats on the blog! Dive in and discover a world of delicious, frosty desserts. Here are a few favorites:
- Refreshing Grasshopper Pie Ice Cream
- Classic Homemade Drumsticks
- Sweet Blackberry Swirl Ice Cream
- Unique Grape Nut Ice Cream
- Decadent Vanilla Caramel Swirl Ice Cream Recipe
- Whimsical Snow Ice Cream
- Fun Shirley Temple Float
- Iconic Disney’s Pineapple Dole Whip (Copycat!)
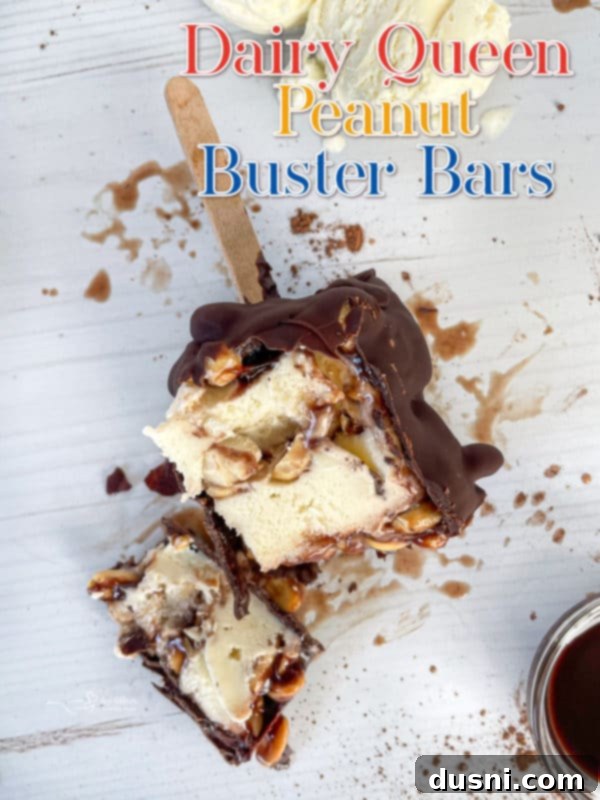
Now that you have all the insider tips and steps, let’s get started and make some truly unforgettable Peanut Buster Bars! Enjoy every delicious moment. 
LIKE THIS RECIPE?
Don’t forget to give it a ⭐️⭐️⭐️⭐️⭐️ star rating and
leave a comment below the recipe!
