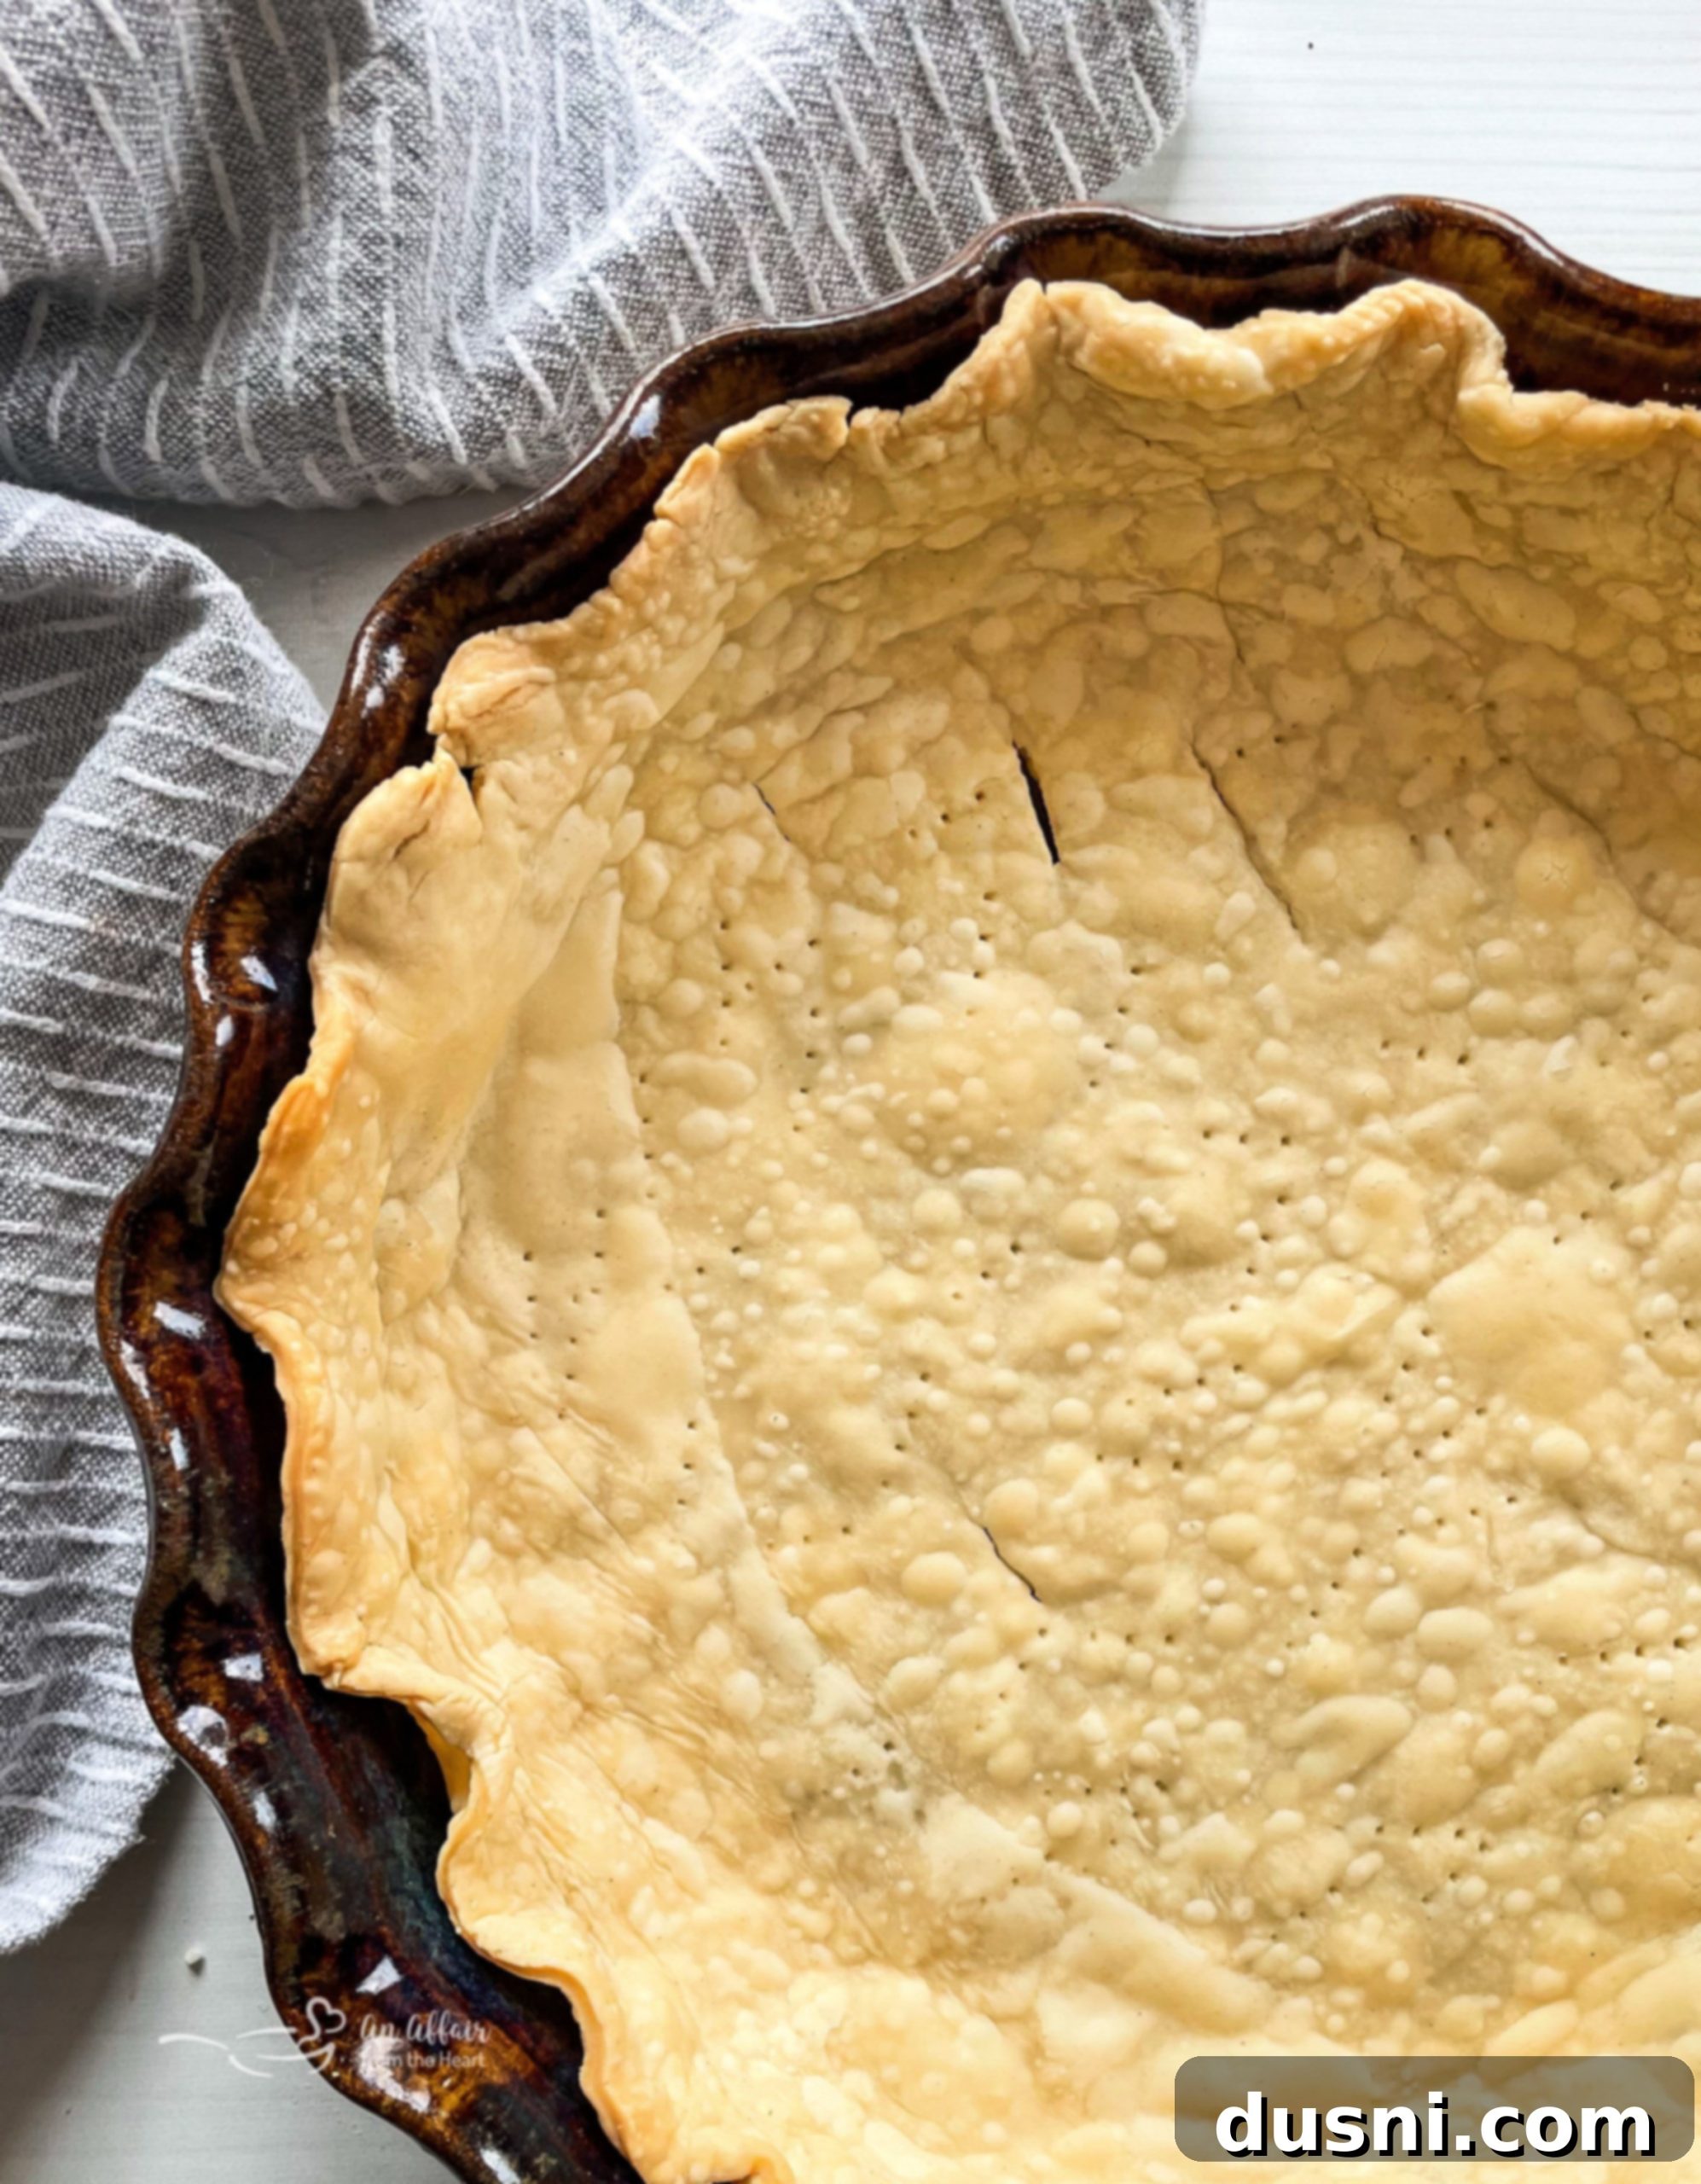
Flaky Homemade Pie Crust: Grandma’s Secret Recipe for Perfect Pies Every Time
There’s a reason why everyone raves about Grandma’s famous pies, and it almost always starts with her legendary homemade pie crust. That perfectly golden-brown, wonderfully flaky foundation holds any filling, sweet or savory, in absolute culinary bliss. The great news? This cherished family recipe, passed down through generations, is incredibly simple to master. With just a few basic pantry ingredients – flour, salt, shortening, and cold water – you can create a pie crust from scratch that will elevate all your baking endeavors. Forget store-bought; once you experience the superior taste and texture of this easy homemade pie dough, you’ll never look back!
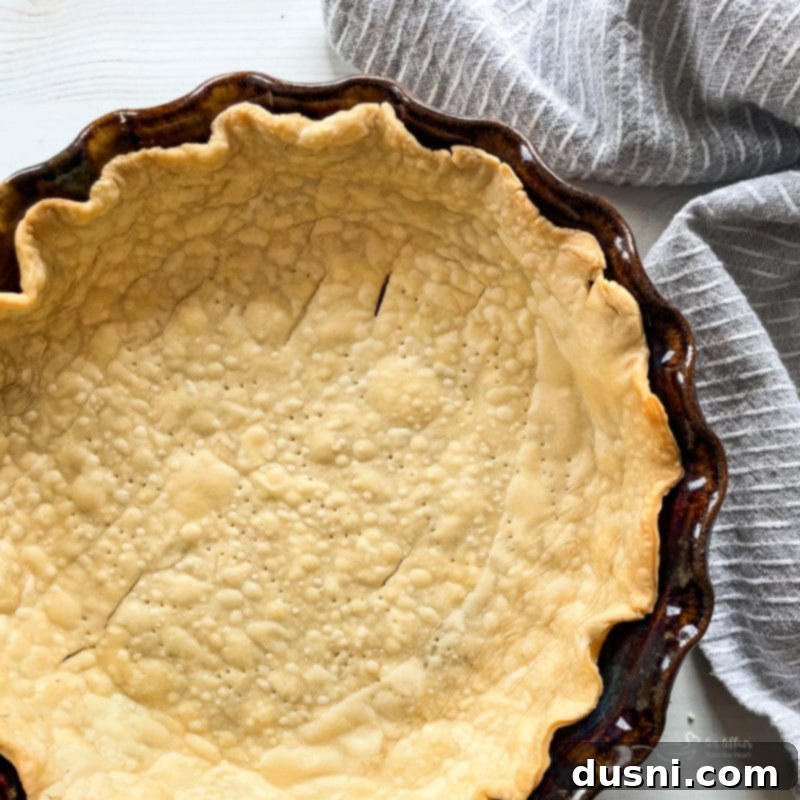
Truly, there’s nothing quite like a **homemade pie crust** to bring a pie to life. It’s the unsung hero that complements every filling, adding texture, richness, and that distinct homemade touch. I’ve been fortunate enough to inherit many incredible pie recipes from my grandmothers, each one a treasured family heirloom. But for any homemade pie to truly reach the elevated standards set by Grandma herself, having **homemade pie dough** is not just a preference, it’s an absolute necessity! This guide will walk you through the steps to achieve that perfect, flaky result every single time.
The Essential Ingredients for Your Homemade Pie Dough
One of the best aspects of this easy pie crust recipe is that it relies on staples you likely already have in your kitchen. Even if you’re missing an item or two, a quick trip to the grocery store is well worth the minimal effort for such a rewarding outcome. You’ll be amazed at how a few simple ingredients can transform into something so delicious.
For this foolproof, flaky pie crust, you only need four key ingredients, and one of them is practically free:
- **Sifted All-Purpose Flour:** The foundation of your crust, sifting ensures a lighter texture.
- **Salt:** Essential for enhancing flavor and balancing sweetness in your pie.
- **Crisco Shortening:** The secret to an incredibly flaky and tender crust.
- **Ice-Cold Water:** Critical for preventing gluten development and keeping the shortening solid.
Mastering Easy Homemade Pie Dough: Tips for a Flaky Crust
With only three primary ingredients plus water, you might assume this recipe couldn’t be simpler, and you’d be right! The process itself is straightforward. However, like many deceptively simple culinary tasks, the true mastery of homemade pie crust lies in paying attention to the tiny, yet crucial, details. Once you’ve perfected these nuances, you may find yourself saying goodbye to pre-made pie crusts forever, embracing the joy and superior quality of baking from scratch.
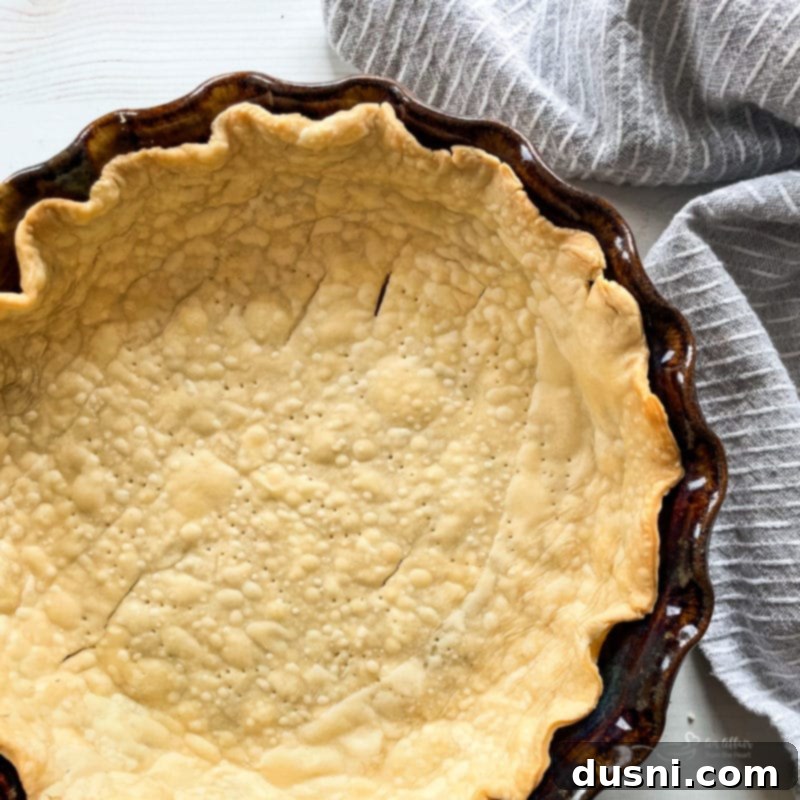
A perfectly baked, lightly golden pie crust serves as an exquisite edible canvas for an endless array of dishes. Imagine it cradling a delicious brunch-time quiche, a hearty and comforting chicken pot pie, or any kind of fruit filling your heart desires, from classic apple to vibrant berry. The versatility of a good homemade pie crust is truly unparalleled. In the sections that follow, I’ll share the specific techniques and invaluable tips that were lovingly passed down to me by my grandmother. As the timeless saying goes, some classics never grow old – and her pie crust recipe is certainly one of them!
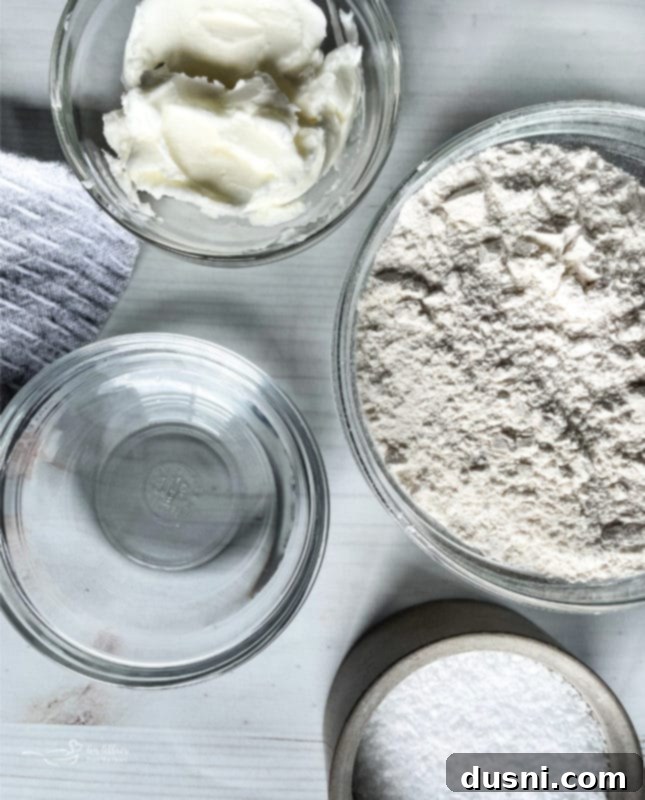
Begin with the Dry Ingredients for a Simple Pie Crust
The first step in creating your delicious, flaky pie crust involves combining the “dry ingredients”: flour, salt, and shortening. While shortening might seem like an exception to the “dry” rule due to its texture, for the purpose of pie crust making, we treat it as such because it’s cut into the flour before any liquid is introduced. The crucial takeaway here is to thoroughly mix these ingredients first, ensuring they are well-combined before you even think about adding any water. This foundational step sets the stage for the perfect texture.
The Importance of Sifted Flour for a Lighter Crust
Achieving a light, airy, and exceptionally flaky pie crust hinges significantly on the flour you use and how you prepare it. The finer the flour, the lighter and more delicate your crust will be. Flakiness and lightness are the undisputed hallmarks of any truly great pie crust. This desirable lightness is primarily a result of using well-sifted flour. Sifting not only aerates the flour but also removes any lumps, ensuring a uniform consistency that blends smoothly with other ingredients. If you don’t have a sifter readily available, don’t fret! You can achieve a similar effect by whisking your flour vigorously with a fork for a minute or two, or by using “pastry flour.” Pastry flour is essentially all-purpose flour that has been ground a bit finer, yielding a lower protein content that helps inhibit excessive gluten development, which can lead to a tough crust. You can measure pastry flour in the same way you would regular all-purpose flour.
It’s also a good practice to sift the salt along with the flour. This ensures the salt is evenly distributed and finely consistent, helping it blend more completely into the dough. Even distribution of salt is vital for a balanced flavor throughout your homemade pie crust.
Cutting in the Shortening to Your Pie Crust Dough
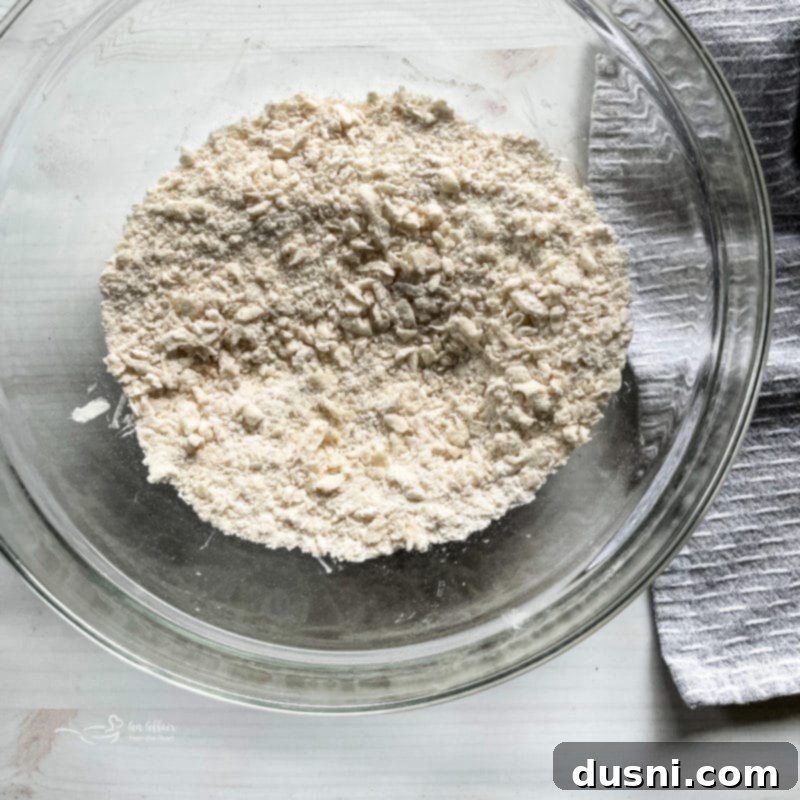
Once your flour and salt are thoroughly combined, the next critical step is to begin incorporating the shortening. This is where the magic of flakiness truly begins! The ideal technique involves cutting the shortening into the dry ingredients until it resembles pea-sized bits. You can achieve this using a pastry blender, two knives, or even your fingertips (though be mindful of keeping the shortening cold). The goal is not to fully blend the shortening into the flour but to create small pockets of fat. As the pie crust bakes, these pockets of shortening will melt, releasing steam and creating those wonderful, distinct layers that define a truly flaky crust.
It’s absolutely crucial not to overmix or overwork the flour and shortening during this stage. The more you blend, knead, or handle the dough, the more the gluten strands in the flour will develop. While gluten is desirable in bread for its chewiness, it’s the enemy of a tender pie crust, leading to a tough, chewy texture. Furthermore, you want the shortening to remain distinct bits, essentially coating the flour rather than melting into it. Remember, you are not making bread; the objective here is a delicate, crumbly texture that results in flakiness, not elasticity. Keep your shortening cold for the best results!
The Secret to Flakiness: Using Chilled Water to Form a Dough Ball
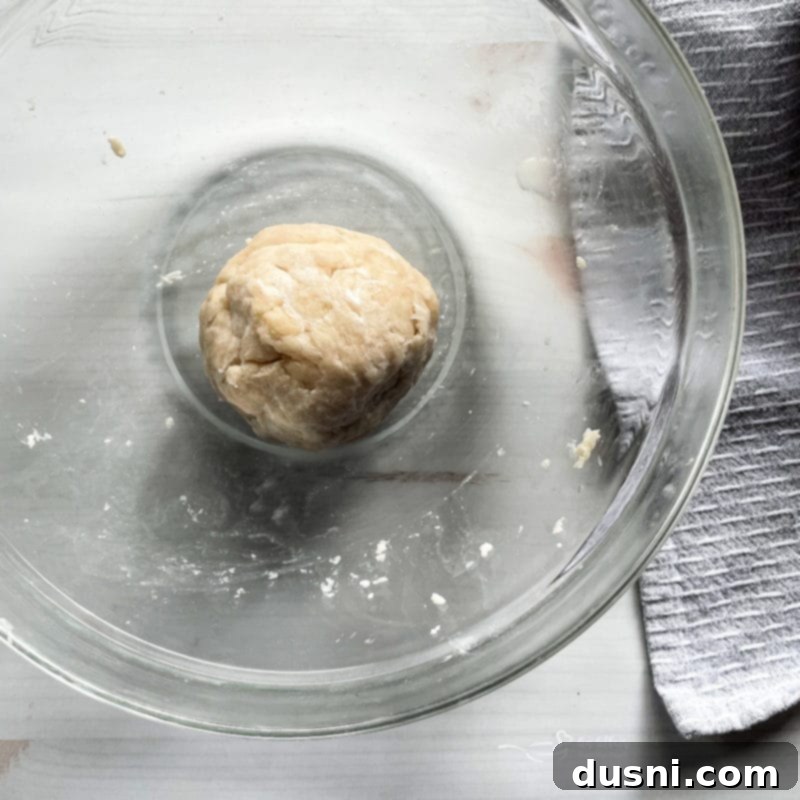
With the shortening successfully cut into the flour mixture, it’s time to introduce the last, yet arguably most critical, ingredient: water. Slowly, and incrementally, start adding ice-cold water. The water acts as the binding agent, helping all the ingredients clump together and allowing you to form a cohesive dough ball. You’ll need to work it just enough to bring everything together, but once again, the golden rule of pie crust applies: do not overwork the dough. Excessive handling will develop the gluten, making your crust tough instead of tender and flaky.
The temperature of the water is paramount – seriously, use ice water! The colder the water, the better. Using cold water is a non-negotiable step for achieving that signature flaky pie crust. This is because cold water prevents the shortening from melting completely into the dough. If the shortening melts too much before baking, it will be absorbed by the flour, leading to a more crumbly, mealy crust rather than a beautifully layered, flaky one. **Cold water is absolutely critical to making flaky pie crust!** It ensures those vital pockets of fat remain intact, ready to create steam and layers in the oven. Add just enough water until the dough comes together, forming a ball that isn’t too sticky or too dry.
Shaping Your Pie Crust and Creating Perfect Edges
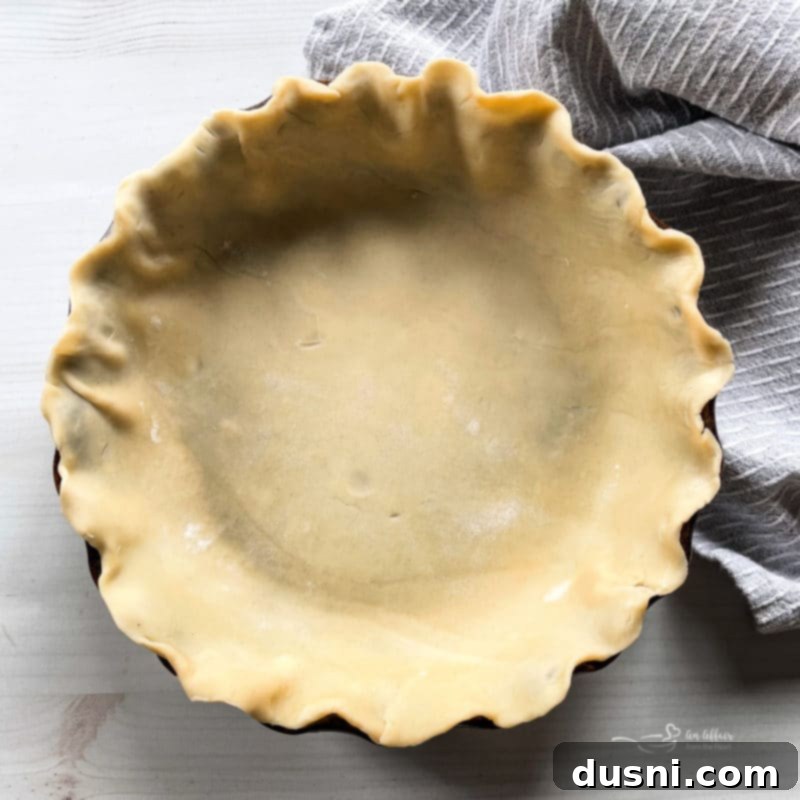
Now that you’ve masterfully crafted this wonderfully smooth ball of pie dough, it’s time to bring your creation to life in a pie tin or pan. On a lightly floured surface, gently roll out the dough into a circle. Aim for an even thickness throughout, typically a little less than a quarter inch (around 1/8 to 3/16 inch), to ensure it cooks uniformly. An even thickness is key to preventing some parts of the crust from being undercooked or overcooked, especially when filled. You want the crust sturdy enough to hold your delicious ingredients but not so thick that it becomes overly dense or fails to cook through properly alongside the filling.
When rolling, intentionally make the dough circle slightly larger than the actual pie tin. This generous overhang, usually about ½ to 1 inch beyond the rim, provides ample material for forming those beautiful, decorative edges. Whether you prefer a classic fluted edge, a charming crimped design created with a fork, or a more elaborate braided rim, this extra dough allows for personal expression and a polished, professional finish. Carefully transfer the rolled dough into your pie plate, gently pressing it into the contours without stretching it. Trim any excess, leaving your desired overlap, then proceed to shape your edges to perfection.
At this point, your homemade pie crust is ready for filling and baking according to your chosen recipe. However, in certain culinary situations, you may need to perform a technique called “blind baking” the dough before adding your filling. This crucial step prevents soggy bottoms and ensures a crisp crust for specific types of pies.
Understanding and Executing Blind Baking a Pie Crust
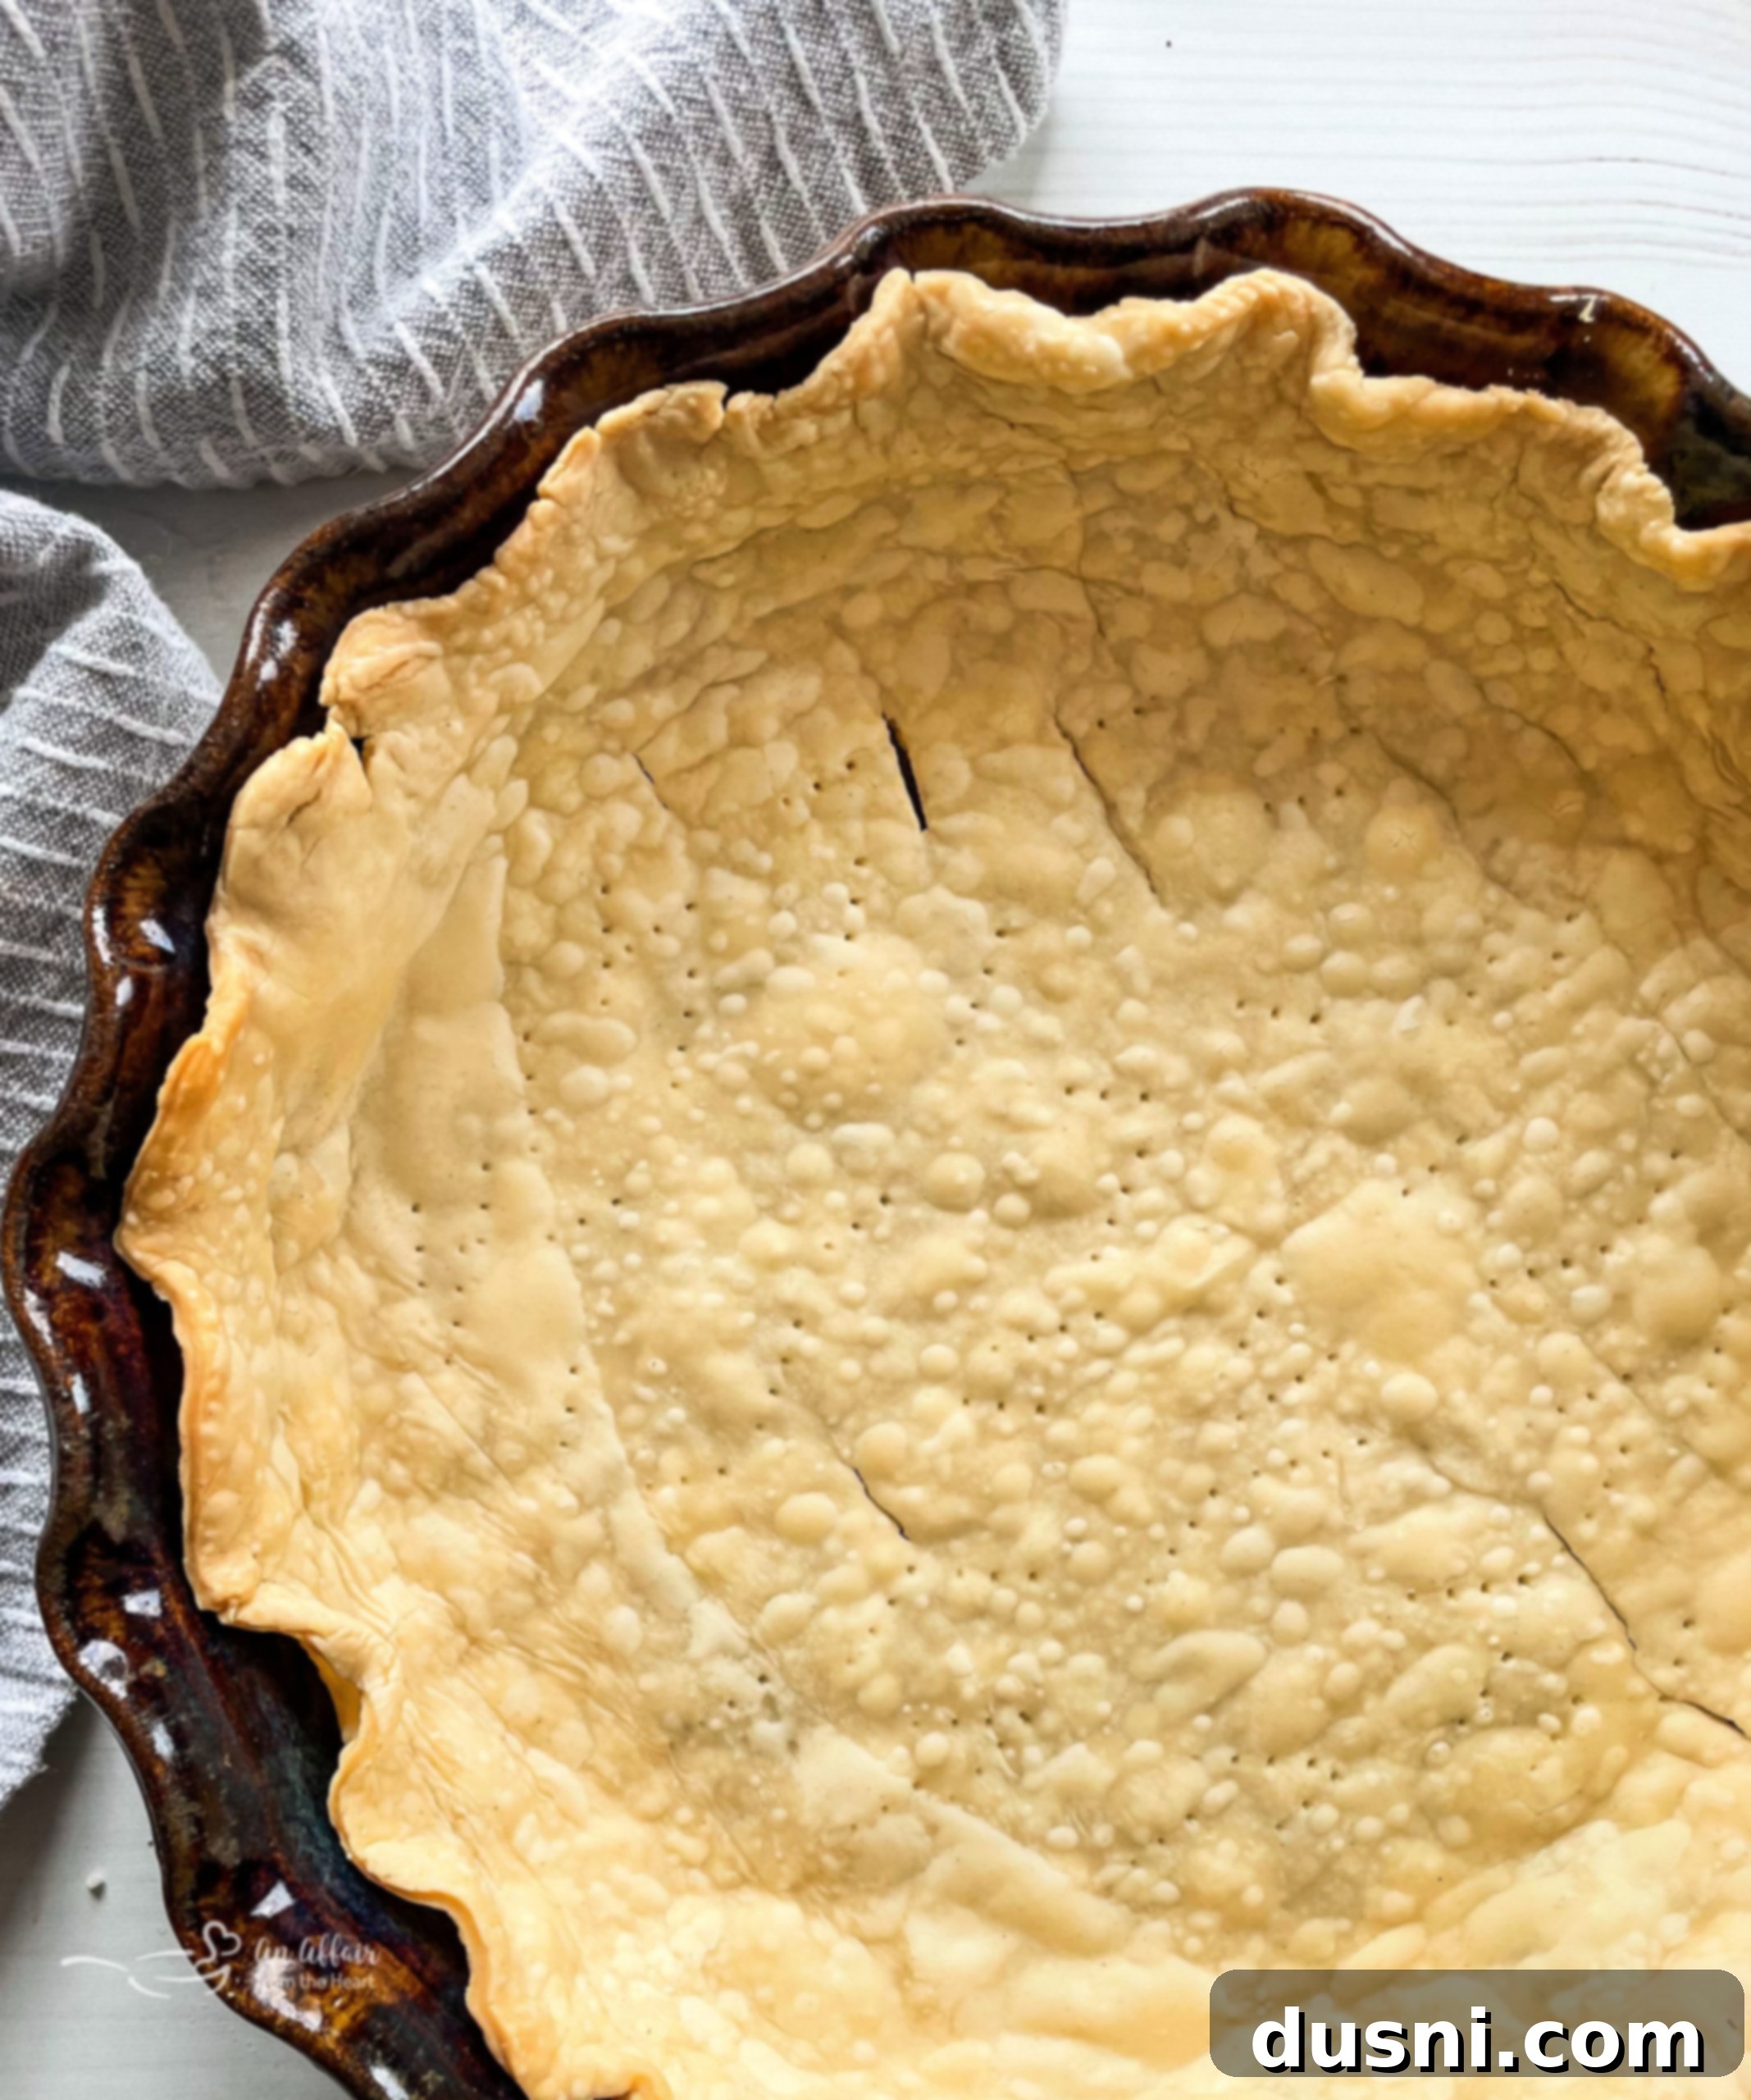
If your goal is to truly master the art of making homemade pie crusts just like Grandma did, then familiarizing yourself with the technique of “blind baking” (or pre-baking) your pie crust is an absolute must. Blind baking involves partially or fully baking the crust before you add the filling. This technique is especially important for recipes where the filling doesn’t require baking, such as my delectable French Silk Pie or my creamy Banana Cream Pie, or for fillings that are very wet and could otherwise make the bottom crust soggy. For a more comprehensive guide, I have a complete how-to article that delves into the details of blind baking.
When you understand a couple of simple tips and tricks, you’ll easily avoid common issues like the pie crust slumping down the sides of the tin or shrinking during the pre-baking process. Key strategies include chilling the dough thoroughly before baking, pricking the bottom of the crust with a fork to allow steam to escape, and using pie weights (or dried beans/rice) to hold the crust in place as it bakes. These methods ensure your blind-baked crust maintains its shape and achieves a beautifully crisp texture, ready to embrace any filling without compromise.
Can I Make Pie Crust Without Shortening? Exploring Alternatives
While shortening is Grandma’s traditional choice for its unparalleled flakiness, you might wonder if other fats can be used to make a pie crust. Absolutely! If you prefer, using butter, oil, margarine, or lard are all possible alternatives for your pie crust. Each option comes with its own set of advantages and disadvantages, impacting the final texture and flavor of your crust, but generally, the measurements for fat remain consistent. Understanding these differences can help you choose the best fat for your specific pie and dietary preferences.
- **Lard and Margarine:** These behave very similarly to shortening in a pie crust recipe. Lard, a traditional choice, is known for producing incredibly flaky and tender crusts. Margarine, often a dairy-free alternative, also contributes to flakiness. However, lard can sometimes impart a subtle pork flavor, which is generally not ideal for sweet fruit pies and is certainly not vegan-friendly.
- **Butter:** Butter is a popular choice for its rich, delicious flavor that shortening lacks. It can produce a wonderfully flaky crust, but it is a bit trickier to work with. Butter has a lower melting point than shortening, meaning it softens more quickly. It’s crucial to keep your butter as cold as possible (even frozen and grated) and work quickly to prevent it from melting into the flour, which can result in a tougher crust. The flavor, however, is often worth the extra effort for many bakers.
- **Oil:** While oil might seem like a convenient option, it is generally not ideal for pie crusts. Oil creates a more crumbly dough and a less flaky, more cookie-like texture because it coats the flour too completely, preventing gluten development in a way that doesn’t create layers. While quicker, it sacrifices the classic pie crust texture.
In my opinion, while alternatives exist, shortening remains the easiest fat to work with for consistently achieving a perfectly flaky and tender pie crust, especially for beginner bakers. Experimentation is key to finding your personal favorite!
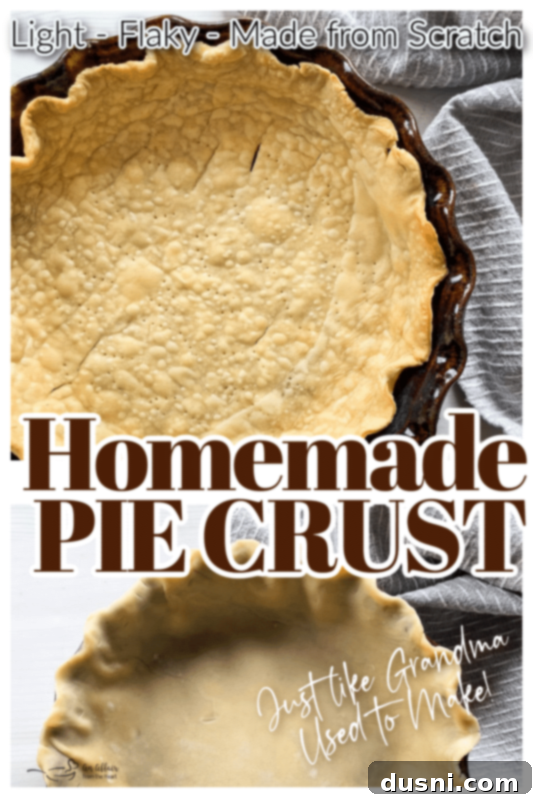
Love it? Pin it!
Don’t forget where you found this incredible guide on making the best homemade pie crust! Pin it to your favorite Pinterest board before you go so you can easily reference it for all your future pie-baking adventures!
Let’s Bake Some Pies!
Now that you’re equipped with the secret to Grandma’s perfect flaky pie crust, it’s time to put your skills to the test! Here are some of my all-time favorite pie recipes, many of which I learned directly from my Mother and Grandmother, and all of which are absolutely divine when paired with this homemade pie dough:
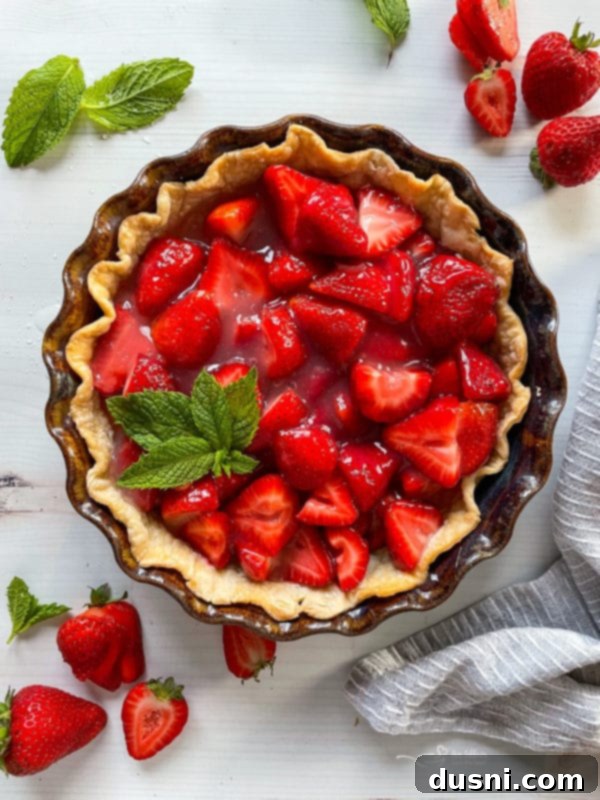
- Fresh Strawberry Pie (pictured above) – A burst of summer flavor!
- Pecan Pie – A classic Southern delight, perfect for holidays.
- Grandmother’s Rhubarb Pie – A tart and sweet comfort food.
- Coconut Banana Cream Pie – Tropical indulgence with a creamy finish.
- Chocolate Meringue Pie – Rich, decadent, and topped with a cloud of meringue.
- Reuben Pot Pie – A savory twist on a classic sandwich, encased in a flaky crust.
- German Onion Pie (Zwiebelkuchen) – A unique and flavorful savory pie.
- Chicken Pot Pie – The ultimate comforting meal in a crust.
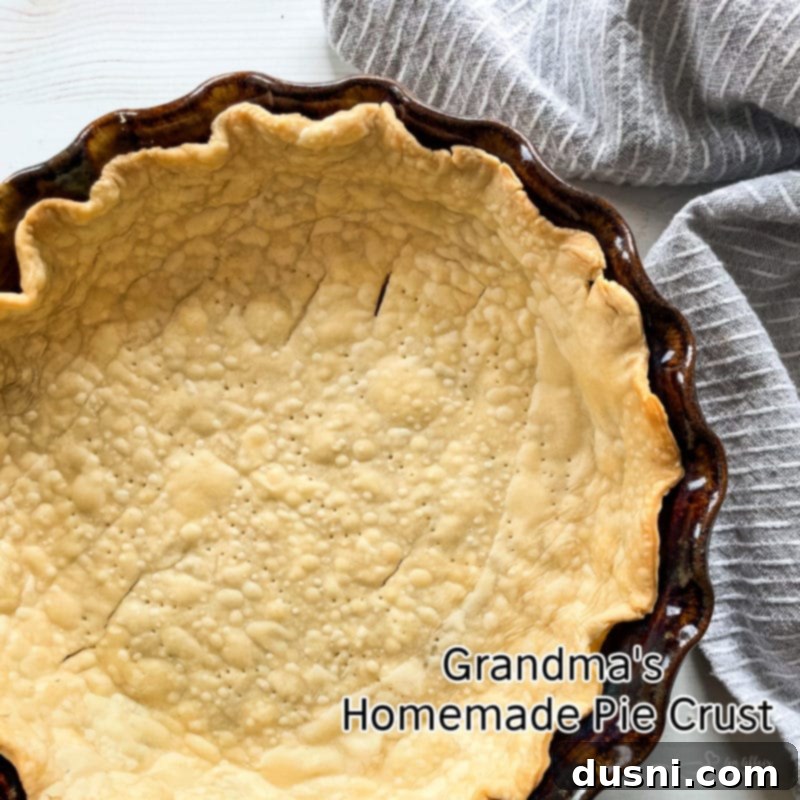
Ready to create your own cherished memories and delicious bakes? Let’s make a pie crust and fill your kitchen with the wonderful aroma of homemade goodness! 
LIKE THIS RECIPE?
Don’t forget to give it a ⭐️⭐️⭐️⭐️⭐️ star rating and
leave a comment below the recipe!
Print Recipe
Grandma’s Homemade Pie Crust
Ingredients
- 1 ½ cups all-purpose flour sifted (plus extra for dusting)
- ½ teaspoon salt
- ½ cup Crisco shortening (chilled and cut into cubes)
- About 1/3 cup ice-cold water (add gradually as needed)
Instructions
-
**Prepare Flour:** Sift your all-purpose flour before measuring. For accurate measurement, lightly spoon the sifted flour into a measuring cup and level it off without shaking or packing it down. This ensures a light, tender crust.
-
**Combine Dry Ingredients:** In a large mixing bowl, combine the sifted flour and salt. Whisk them together thoroughly to ensure even distribution.
-
**Cut in Shortening:** Add the chilled Crisco shortening (cut into cubes) to the flour mixture. Using a pastry blender, two knives, or your fingertips, cut the shortening into the flour until the mixture resembles coarse crumbs with some pea-sized pieces of shortening remaining. Be careful not to overmix; distinct pieces of fat are key for flakiness.
-
**Add Cold Water:** Gradually sprinkle in the ice-cold water, a tablespoon at a time. Using your hands, gently work the dough until it just comes together to form a firm ball. You may not need all of the water, or you might need a tiny bit more; add just enough until the dough is cohesive but not sticky. Avoid overworking the dough, which can lead to a tough crust.
-
**Roll Out Dough:** Place the dough ball on a lightly floured board or counter. Roll it out into a circle that is about 1 ½ inches larger than your pie plate when inverted onto the crust. This allows for ample overhang to create decorative edges.
-
**Fit and Edge the Crust:** Carefully transfer the rolled dough into your pie plate. Trim the excess crust so there is about ½ inch to 1 inch overlap on the pie plate. Use this overlap to form your desired crust edge (e.g., fluted, crimped with a fork, or decorative).
-
**Bake or Blind Bake:** Your pie crust is now ready to be filled with your chosen ingredients and baked according to your specific pie recipe. Alternatively, if your filling does not require baking or is particularly wet (like a no-bake cream pie or a quiche), follow instructions for blind baking and allow it to cool completely before filling.
