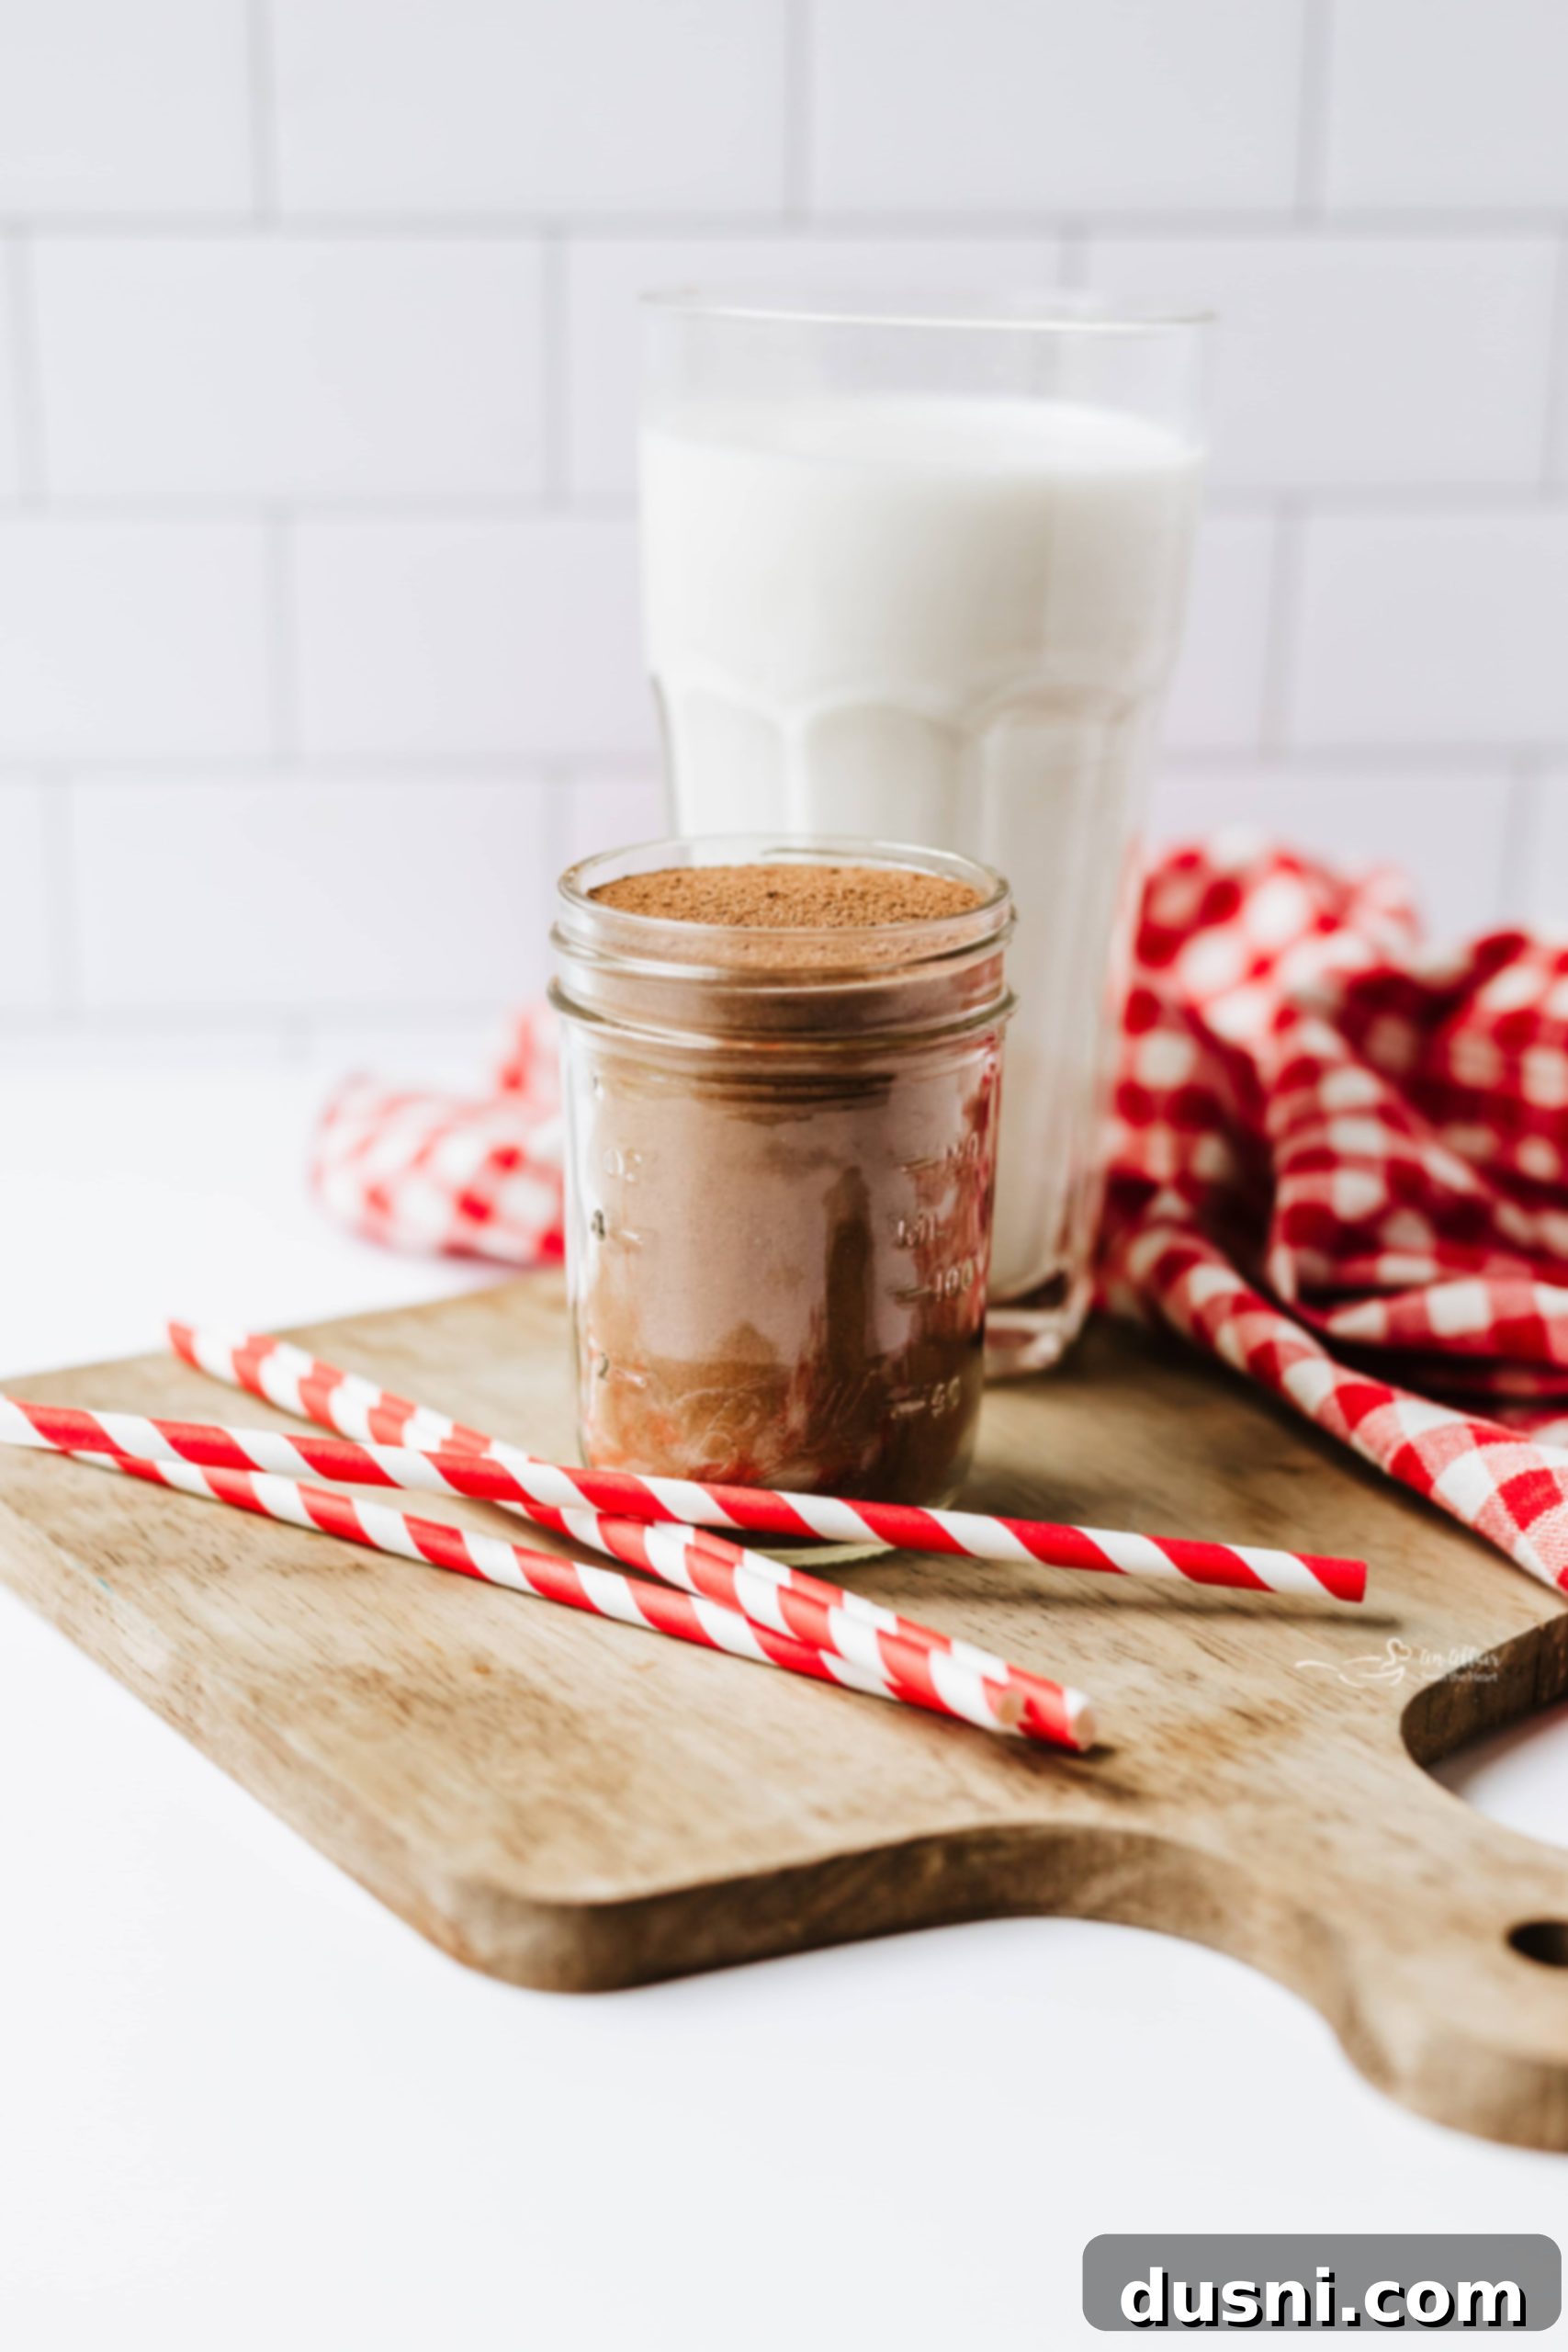
Homemade Nesquik: Craft Your Own Classic Chocolate Milk Powder for Unforgettable Flavor
Ah, the unmistakable taste of Nesquik chocolate milk. For many of us, it’s a direct portal back to childhood – a simpler time when a cold glass of milk, transformed by that iconic powder, felt like the ultimate treat. If you’ve ever yearned to recreate that beloved flavor, but perhaps with a little more control over the ingredients, you’re in the right place. This homemade Nesquik recipe is your ticket to rekindling that nostalgia, using only three simple ingredients you likely already have in your kitchen pantry. Forget about unnecessary fillers or artificial additives; what you’ll create is a pure, rich, and wonderfully chocolaty mix that dissolves beautifully in both hot and cold milk, just like the classic.
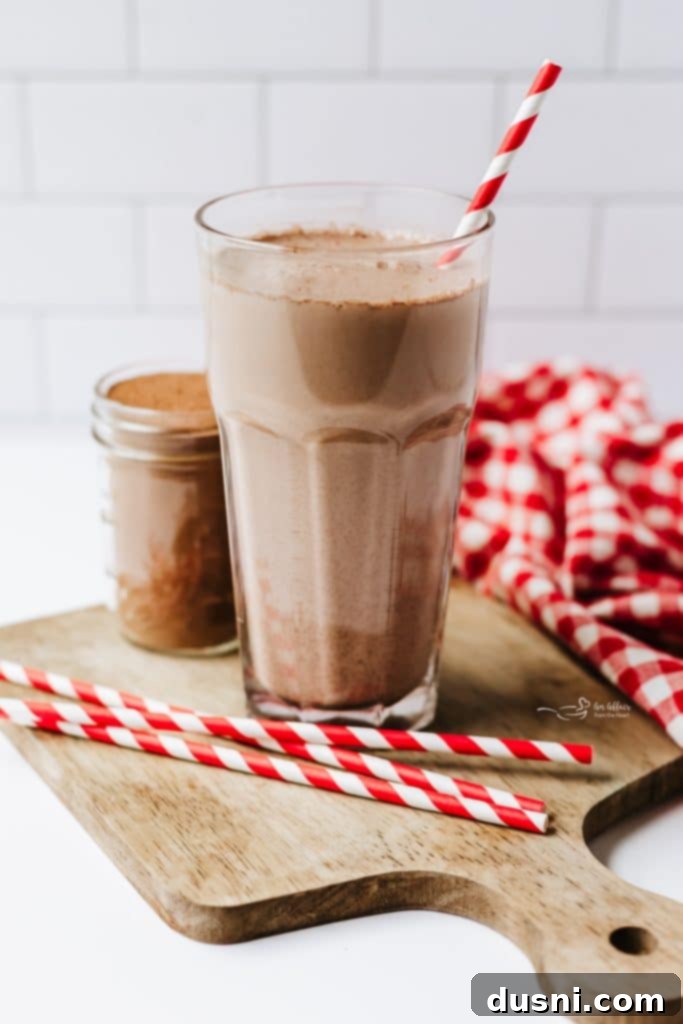
I distinctly remember the joy when my Mom would declare it chocolate milk day for my brother and me! The ritual of prying off that metal lid, the scent of chocolate wafting out, and then scooping the powder into an ice-cold glass of milk was a cherished memory. My own children grew up loving chocolate milk just as much. However, it’s been quite some time since I’ve purchased the store-bought version. Why? Because I discovered just how incredibly easy it is to make my own copycat Nesquik at home. The bonus? No long lists of ingredients I can’t pronounce. Just three fundamental components that are always readily available in my pantry, allowing for a pure, delicious chocolate experience every time.
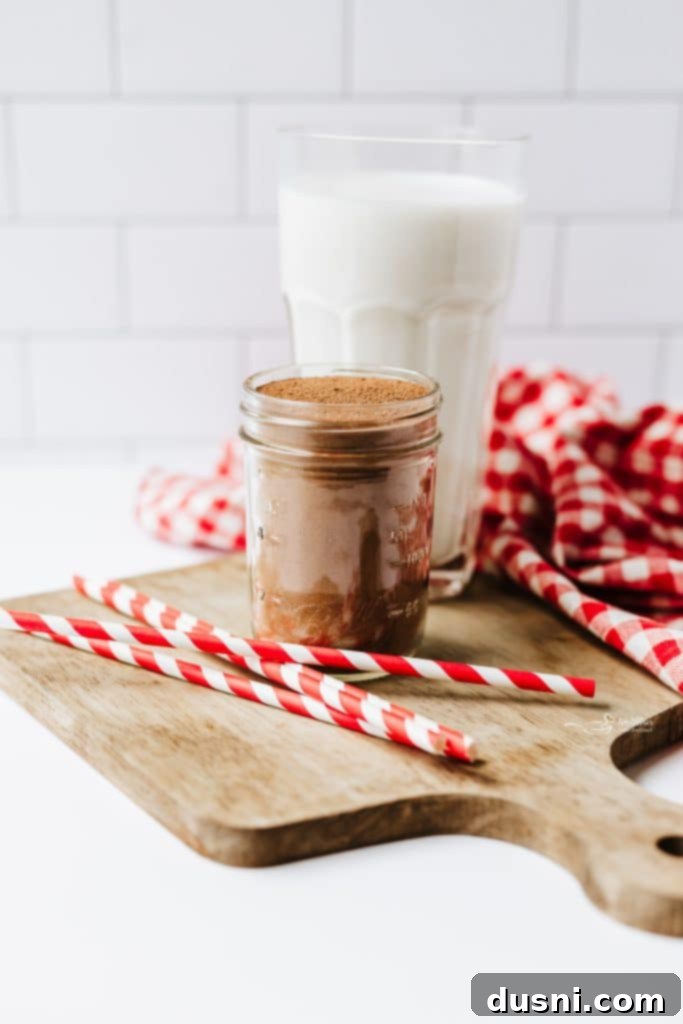
Crafting Your Own Homemade Nesquik Powder: Simplicity and Flavor
This homemade chocolate milk powder recipe truly couldn’t be simpler to prepare. It comes together in mere minutes, requiring minimal effort and only those three basic ingredients. The beauty of crafting your own lies in the ability to skip the fillers, artificial colors, and preservatives often found in commercial mixes. You gain full control over the amount of added sugar, making it a more wholesome and customizable option for your family. This also allows you to choose high-quality cocoa for a superior flavor profile that rivals, and often surpasses, the store-bought counterpart. The best part isn’t just the ease or the healthier aspect; it’s the incredible versatility. Of course, it makes the absolute best chocolate milk – whether hot or cold – but its uses extend far beyond the glass. Imagine whisking it into warm milk for a comforting hot chocolate, sprinkling it generously over vanilla ice cream for an instant chocolatey delight, or even incorporating it into your favorite dessert recipes like fudgy brownies or chewy chocolate cookies. It delivers that exact same nostalgic taste you remember from cracking open a container of Nesquik, only with the added satisfaction of knowing it was lovingly made right in your own kitchen.
Essential Ingredients for Your Copycat Nesquik
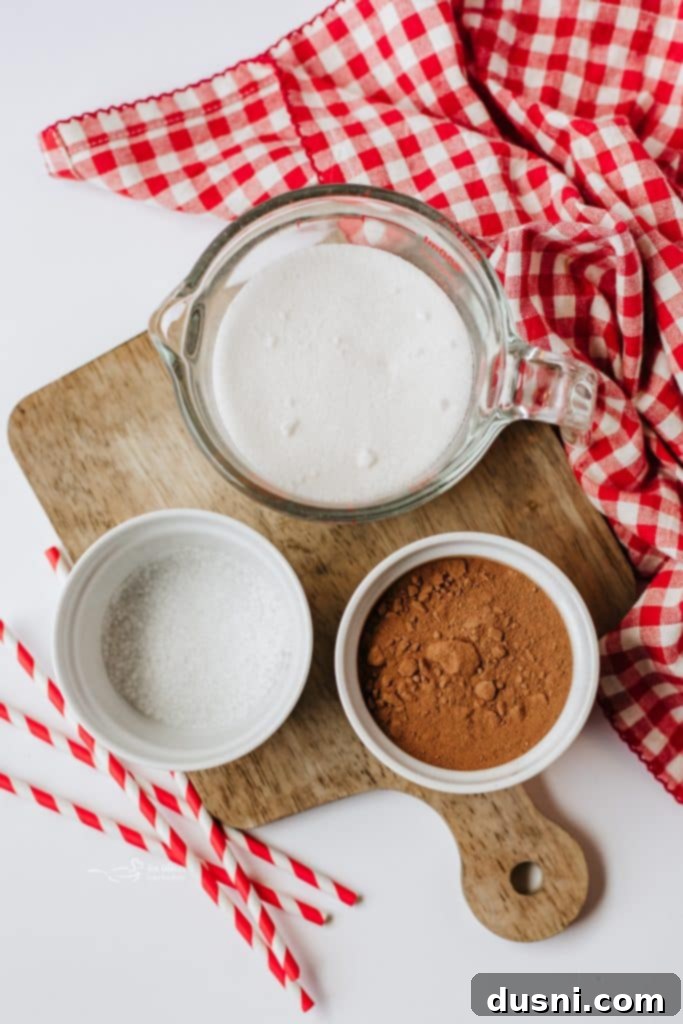
Creating this delicious homemade chocolate milk powder requires just a handful of pantry staples. While the full, detailed list and instructions are available in the printable recipe card below, let’s briefly discuss the role of each key ingredient and how to make the best selections for an outstanding result. The simplicity of this recipe ensures that even novice cooks can achieve perfect, flavorful chocolate milk every time.
- Granulated Sugar: This forms the sweet base of our chocolate milk powder. For a classic Nesquik taste, regular granulated sugar works perfectly. However, if you’re looking to introduce a richer, slightly caramel-like depth to your chocolate, you can experiment with swapping some or all of the granulated sugar for brown sugar. Be aware that brown sugar tends to be clumpier, so you’ll need to sift and mix it considerably longer to ensure a perfectly smooth, lump-free powder that dissolves well in milk. The choice of sugar also allows you to control the overall sweetness, adjusting it to your family’s preferences.
- Unsweetened Cocoa Powder: The heart of any chocolate-flavored mix! The quality of your cocoa powder will significantly impact the final taste of your homemade Nesquik. Opt for a good quality, unsweetened cocoa powder for the richest, deepest, and smoothest chocolate flavor. Both natural cocoa powder and Dutch-processed cocoa powder can work, but Dutch-processed often provides a darker color and a milder, less acidic chocolate flavor that many find closer to commercial chocolate milk mixes. Read your labels and choose a brand known for its robust flavor.
- Pinch of Salt: While often overlooked in sweet recipes, a small pinch of salt is a secret weapon in baking and dessert making. In this copycat Nesquik recipe, salt doesn’t make the mix taste salty; instead, it acts as a flavor enhancer. It cleverly balances the sweetness of the sugar and intensely deepens the chocolate notes, making the overall flavor more complex and pronounced. It’s an optional addition if you prefer to omit it, but I highly recommend including it for that extra layer of deliciousness that truly elevates the taste.
Mastering the Art of Homemade Chocolate Nesquik
Get ready to be amazed at how quickly you can create this delicious chocolate milk powder. In less than 5 minutes, you’ll have a batch of your own mix ready, and soon after, you’ll be sipping on a big, comforting glass of homemade chocolate milk or hot cocoa. The process is incredibly straightforward, but there’s one key step that makes all the difference for a silky-smooth finish.
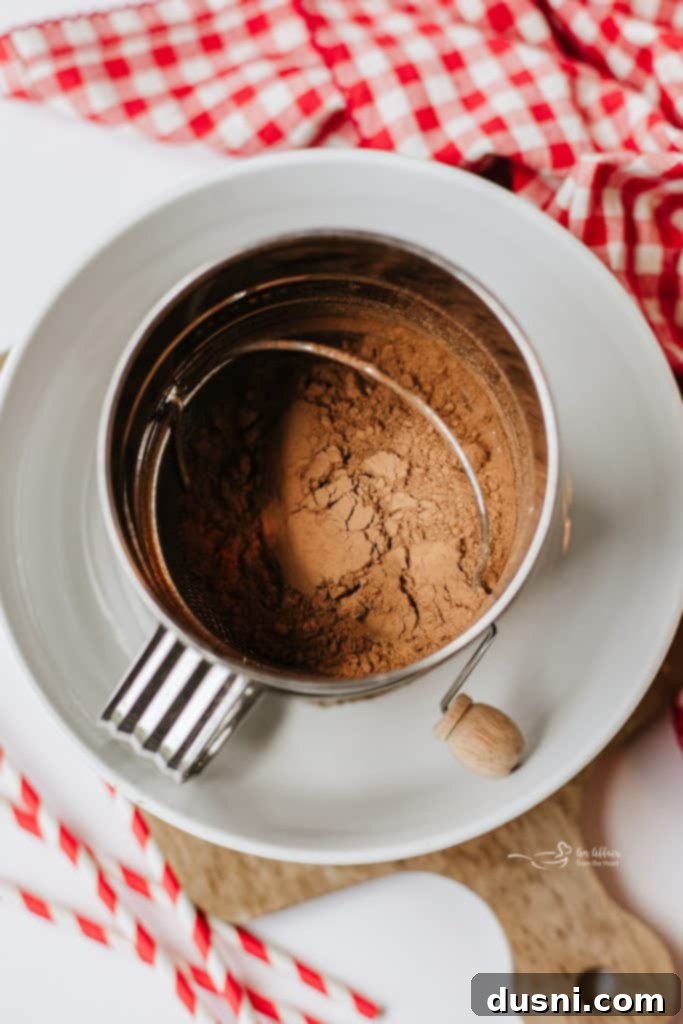
The first crucial step is to gather your ingredients: the granulated sugar, unsweetened cocoa powder, and that essential pinch of salt. Then, carefully add them all to a sifter. Make sure you have a clean bowl positioned underneath the sifter to catch the beautifully fine powder. Sifting isn’t just for baking; it’s the secret to achieving that perfectly smooth, lump-free homemade Nesquik powder that will effortlessly dissolve in any liquid. It breaks down any potential clumps in the cocoa powder and sugar, aerating the mix and ensuring a consistent texture. This step is non-negotiable for a truly superior chocolate milk experience.
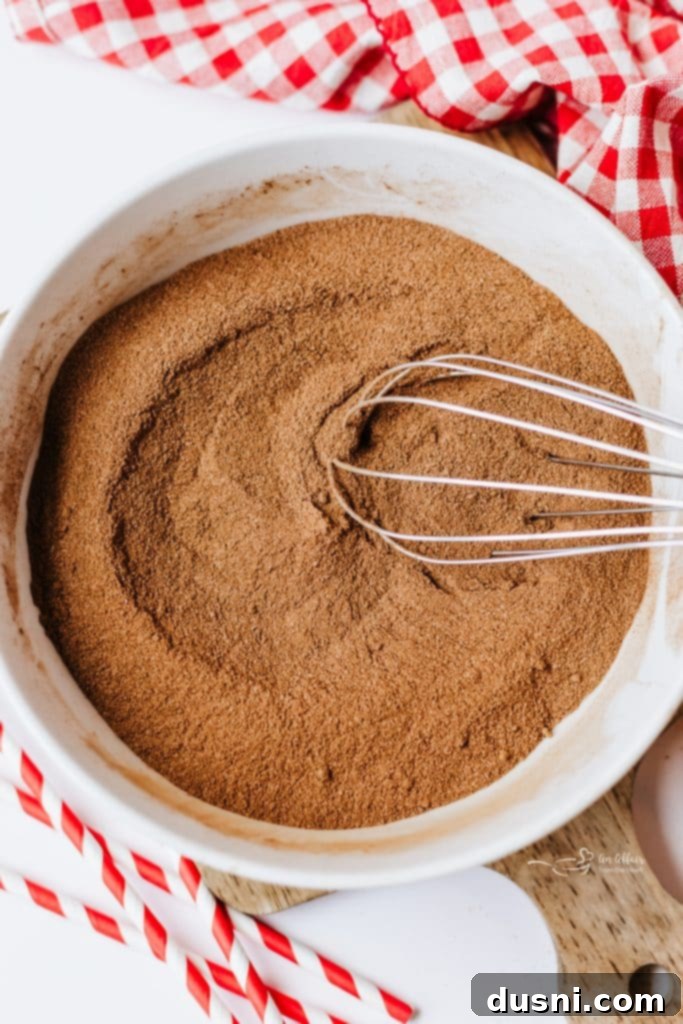
Once your ingredients are in the sifter, begin the sifting process. Continue sifting until the mixture is incredibly fine, light, and completely blended. You want to ensure there are absolutely no visible lumps of sugar or cocoa powder remaining. After sifting, give the mixture a final whisk in the bowl to thoroughly incorporate everything. This meticulous sifting is what guarantees your homemade Nesquik powder will dissolve perfectly in both hot and cold liquids, giving you that smooth, rich chocolate drink you’re aiming for.
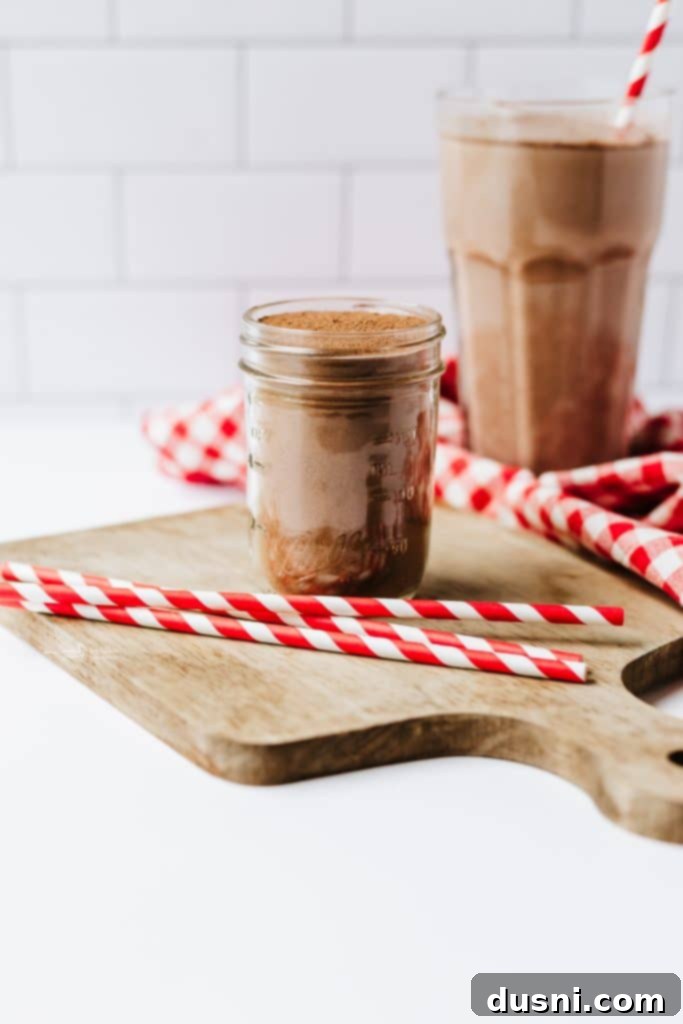
Finally, once your beautifully blended homemade Nesquik powder is ready, carefully transfer the mixture into a mason jar or any other suitable airtight container. Proper storage is key to maintaining its freshness and flavor. This ensures it’s ready whenever a chocolate craving strikes. To enjoy, simply stir about 1 Tablespoon of this delectable mix into one cup (8 ounces) of cold milk for the quintessential chocolate milk experience. Alternatively, use hot milk for an instant, soul-warming cup of cozy hot chocolate. It’s truly that simple to enjoy a superior chocolate beverage made with wholesome ingredients.
How to Store Your Homemade Chocolate Milk Powder Recipe
Proper storage is essential to keep your homemade Nesquik powder fresh, flavorful, and ready for whenever a craving strikes. Its shelf life is one of the many benefits of making your own, as it’s designed to be on hand for spontaneous treats.
- Store your meticulously prepared homemade Nesquik powder in a mason jar or any other completely airtight container. This prevents moisture from seeping in and keeps the mixture from clumping or losing its potency.
- Always place the container in a cool, dry place, away from direct sunlight or any sources of heat. A pantry shelf or kitchen cabinet is ideal. Avoid storing it near the stove or in areas prone to humidity, as this can degrade the quality of the powder over time.
- When stored correctly, this chocolate milk powder mix keeps exceptionally well for several months, typically up to 3-4 months. This makes it an incredibly convenient staple to have on hand for quick chocolate drinks, last-minute dessert enhancements, or even as a thoughtful homemade gift.
- This recipe yields a generous batch of approximately 1 1/2 cups of the mix. Following the serving instructions on my recipe card (1 Tablespoon per cup of milk), this amount is sufficient to make about 24 delightful glasses of chocolate milk, ensuring you have plenty to enjoy.
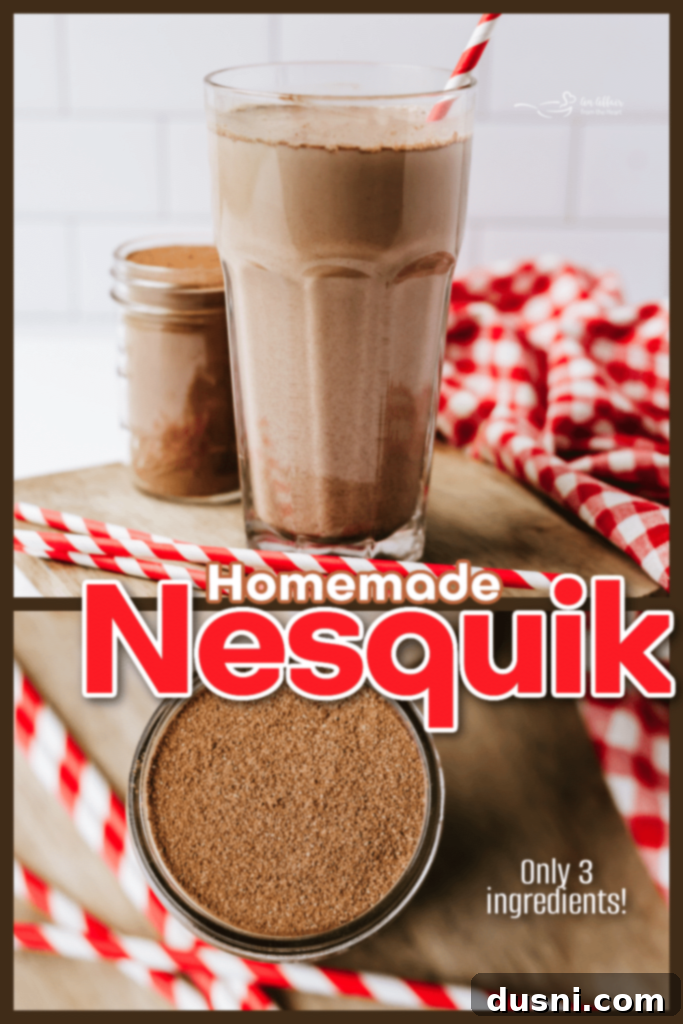
Love This Recipe? Pin It for Later!
If you’re as excited about this copycat Nesquik recipe as I am, you’ll want to make sure you can easily find it whenever that chocolate craving hits. Don’t let this fantastic recipe get lost in your bookmarks! Be sure to pin it to your favorite Pinterest recipe board. This way, it will always be close at hand, ready for you to whip up a fresh batch of homemade chocolatey goodness whenever the mood strikes. Share the joy of homemade goodness with your friends and family by saving this delightful recipe!

Expert Tips for the Best Chocolate Milk Mix Every Time
While making this homemade Nesquik powder is straightforward, a few clever tips can elevate your chocolate milk experience from great to absolutely exceptional. These insights will help you achieve the smoothest, richest, and most satisfying chocolate drink possible, ensuring perfect dissolution and maximum flavor.
- **Utilize a Milk Frother for Superior Smoothness:** If you own a milk frother, this is the perfect opportunity to use it! When mixing your homemade chocolate milk powder with milk, a frother works wonders to help it dissolve more completely and smoothly. It eliminates any potential lumps and creates a beautifully aerated, velvety texture that enhances the drinking experience. It’s a small step that makes a big difference.
- **The Hot Water Activation Secret:** This is perhaps the most game-changing tip for lump-free chocolate milk! I’ve consistently found that if you combine just 1 Tablespoon of hot water with 1 Tablespoon of your homemade Nesquik powder in the bottom of your glass first, and stir it until a smooth, thick paste forms, then you pour 8 ounces of cold milk over the top, it combines much more smoothly than mixing directly with cold milk. The hot water quickly breaks down the cocoa powder and sugar, preventing them from clumping when they encounter the cold liquid. Stir thoroughly, and enjoy a perfectly smooth and rich glass of chocolate milk.
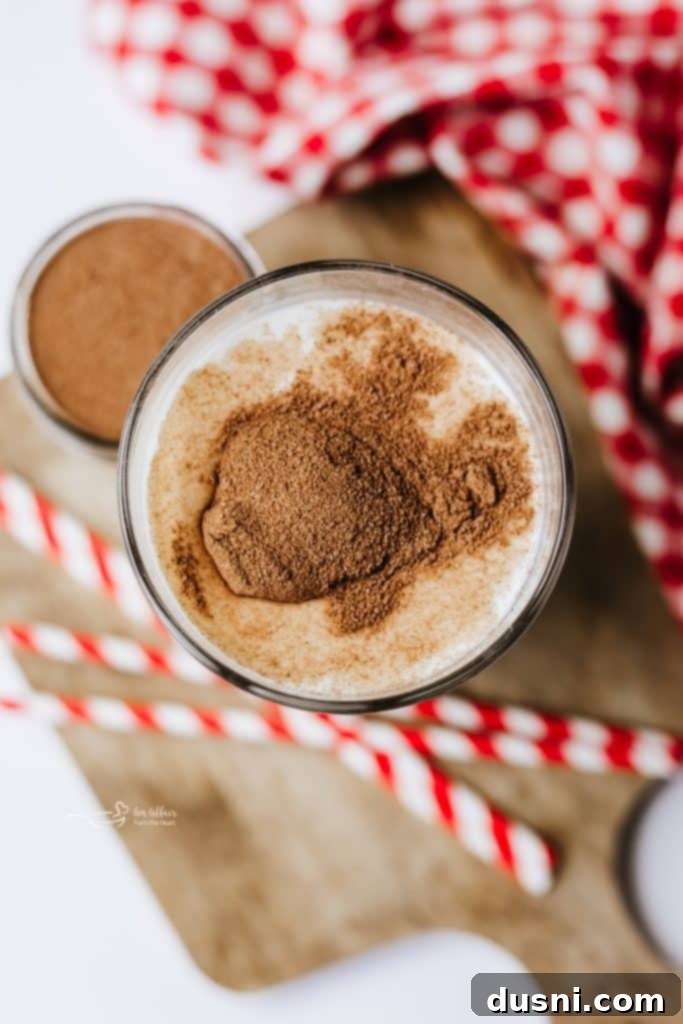
- **Quick Chocolate Topping:** Don’t limit this mix to just beverages! For an instant, effortless chocolate topping, simply sprinkle a spoonful or two of your homemade Nesquik powder over a scoop of vanilla (or any other flavor!) ice cream. It adds a lovely touch of chocolatey sweetness and a nostalgic flavor.
- **Works with All Milk Types:** One of the fantastic advantages of this DIY chocolate milk mix is its adaptability. It performs wonderfully in whatever kind of milk you prefer and enjoy. Whether you’re a fan of rich whole milk, lighter skim milk, or plant-based alternatives like creamy almond milk, soy milk, oat milk, or cashew milk – you name it! – this mix will deliver a consistently delicious chocolate flavor.
- **Customize Your Sweetness and Richness:** Feel free to adjust the proportions slightly to suit your taste. If you prefer a less sweet chocolate milk, slightly reduce the amount of sugar in the initial powder recipe. For a more intense chocolate flavor, you can add a little extra cocoa powder. This homemade version truly puts you in the driver’s seat for customization.
Makes a Truly Thoughtful Gift! This homemade chocolate milk powder isn’t just for your own enjoyment; it makes an incredibly charming and personal gift for the chocolate lovers in your life. Imagine wrapping it up beautifully in a cute mason jar, perhaps accompanied by a pretty glass and some playful decorative straws. It’s a perfect present for birthdays, a heartwarming treat for Christmas, or a sweet gesture for Valentine’s Day. Everyone appreciates a homemade gift, especially one that evokes such delightful childhood memories.
More Delicious Recipes to Love and Explore
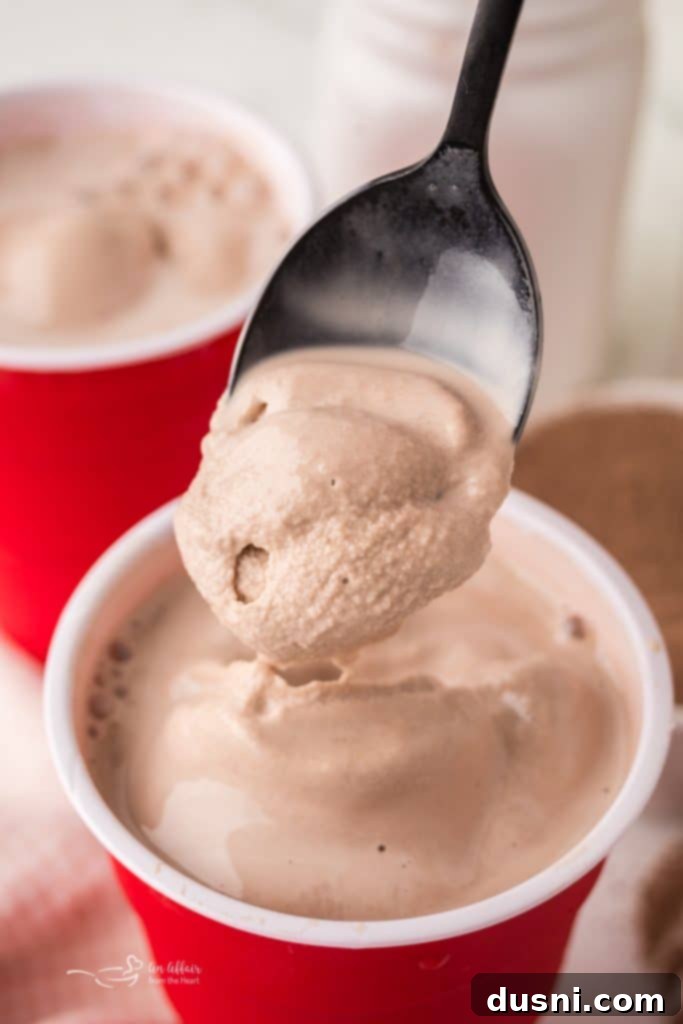
Once you’ve mastered this amazing homemade Nesquik recipe, you’ll find it becomes a versatile ingredient in many other delectable creations. In fact, I frequently use my Homemade Nesquik to enhance other favorite treats. For instance, it’s the star in my incredibly popular Copycat Wendy’s Frostys (pictured above), lending them that rich, authentic chocolatey depth that makes them truly irresistible. Beyond beverages, this mix can be seamlessly integrated into various baked goods and desserts. Consider adding it to your morning pancakes for a chocolatey twist, or incorporate it into these famously yummy no-bake cookies for a quick and satisfying dessert.
But the flavor journey doesn’t stop there! If you enjoy comforting drinks, here are some other tasty recipes that are sure to become new favorites: a cozy Homemade Hot Cocoa Mix perfect for chilly evenings, a soothing Copycat Starbucks Medicine Ball Tea recipe for when you need a little comfort, indulgent Banana Cream Pie Shakes for a luxurious treat, and this unique and delightful Peanut Butter Hot Cocoa for a rich, nutty twist on a classic. Each of these recipes offers a different way to bring warmth, flavor, and homemade goodness into your kitchen.
In conclusion, embarking on the journey to make your own homemade Nesquik recipe is an incredibly simple, rewarding, and undeniably nostalgic experience. With just a few basic pantry staples – sugar, cocoa, and a touch of salt – you can effortlessly whip up a chocolate milk mix that tastes just as good as the original, if not even better. The true satisfaction comes from knowing exactly what ingredients are going into your family’s favorite chocolate drink, free from any unwanted additives. Whether you’re craving a comforting mug of hot chocolate, a refreshing glass of cold chocolate milk, a decadent milkshake, or simply a sprinkle over ice cream, this easy and customizable recipe proves that sometimes, the most classic and wholesome homemade versions truly are the best. Enjoy the rich, pure chocolate flavor and the sweet memories it creates!

LIKE THIS RECIPE?
Don’t forget to give it a ⭐️⭐️⭐️⭐️⭐️ star rating and
leave a comment below the recipe!

Print Recipe
Homemade Nesquik Recipe
Ingredients
- 1 1/2 cups granulated sugar
- 2/3 cup good quality cocoa powder
- 2 pinches salt (optional)
Instructions
To Make the Chocolate Milk Powder:
-
Place cocoa powder, sugar and salt into a sifter and sift into a bowl. Give it a whisk to make sure the ingredients are incorporated. Place in a mason jar or other airtight container for storing.
To Make Chocolate Mil or Cocoa:
-
Use 1 Tablespoon of Homemade Nesquik to 8 ounces of hot or cold milk.
Notes
Nutrition is based on 1 Tablespoon of the chocolate milk powder only. You will need to calculate your numbers based on the milk you choose.
I find that if you put one Tablespoon of HOT water in the bottom of the glass, then add one Tablespoon of the Nesquik and stir it smooth, then pour COLD milk over the top, it mixes much smoother.
