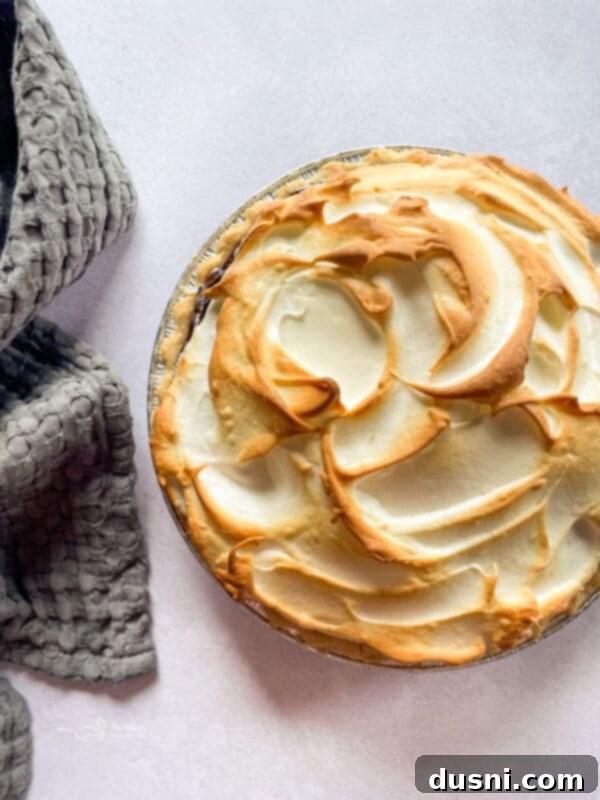
The Ultimate Homemade Coconut Cream Pie: A Decadent, Creamy Delight for Any Occasion
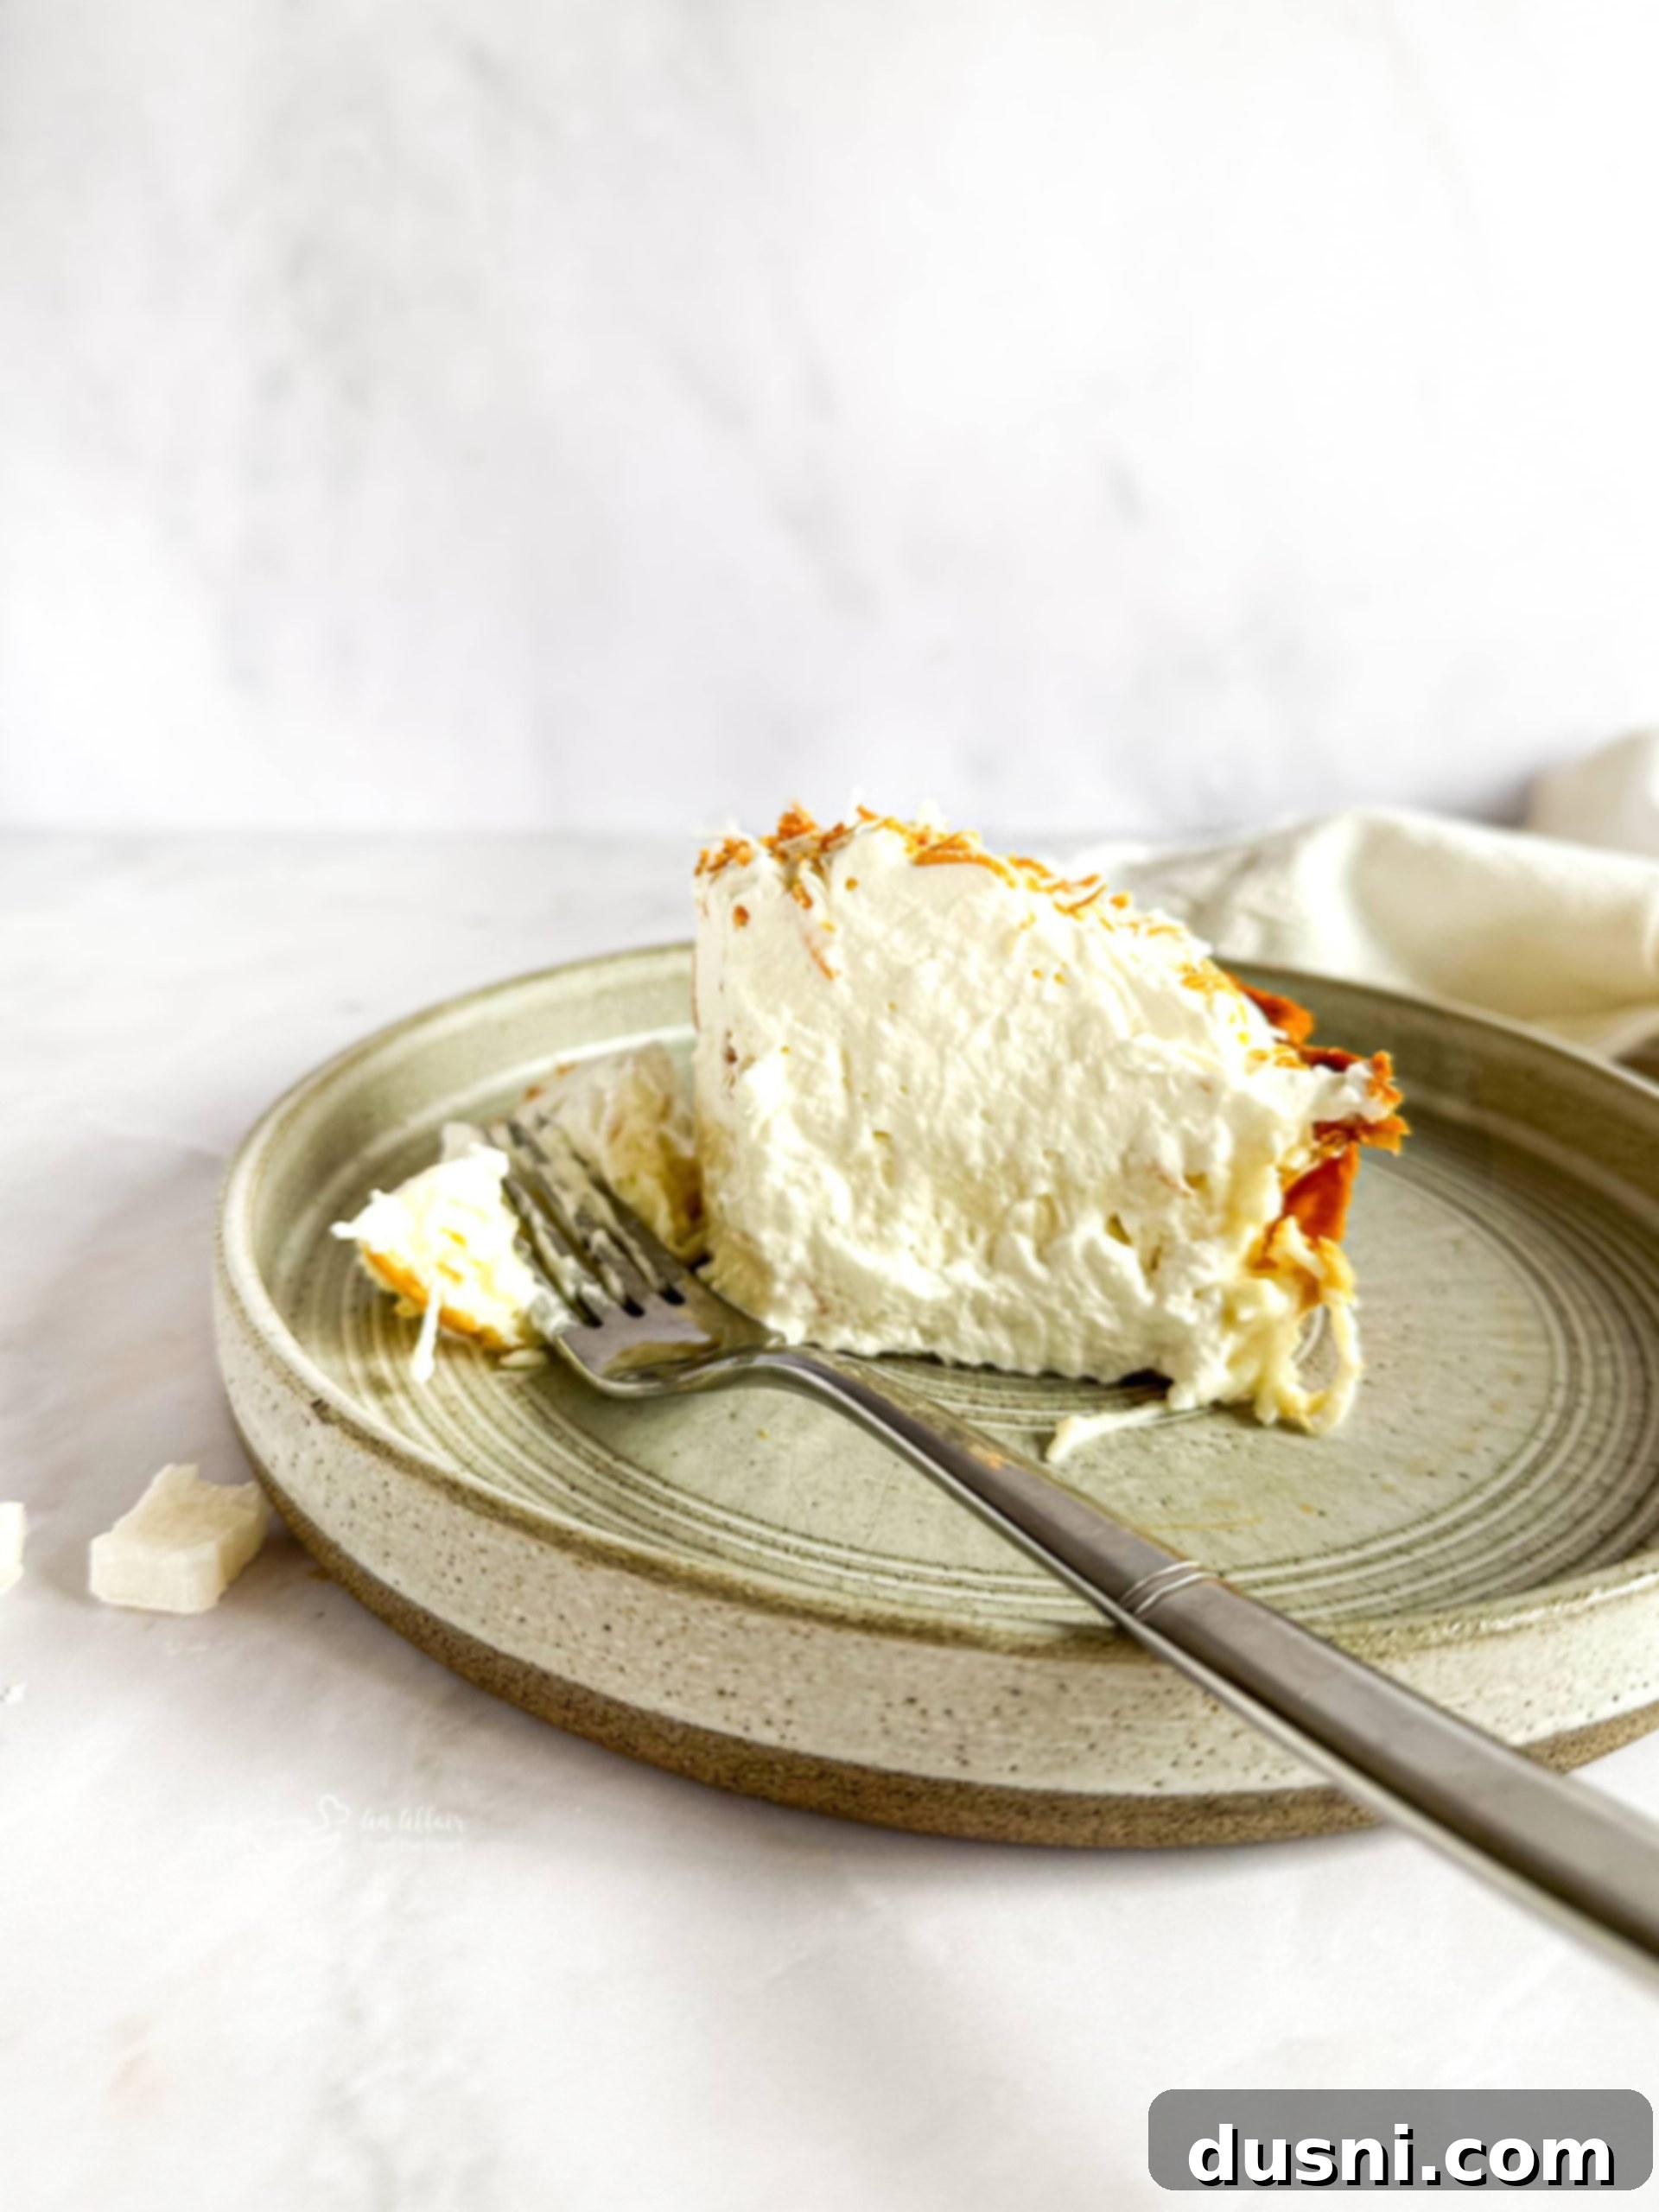
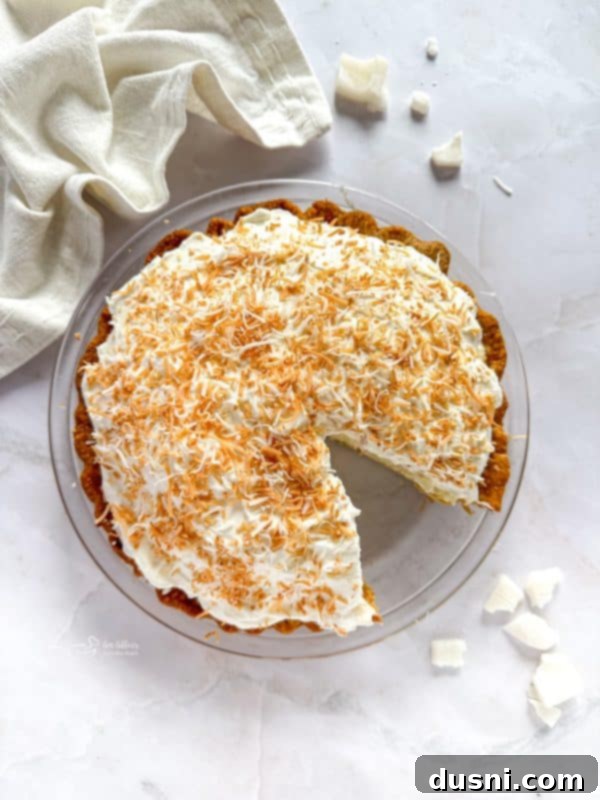
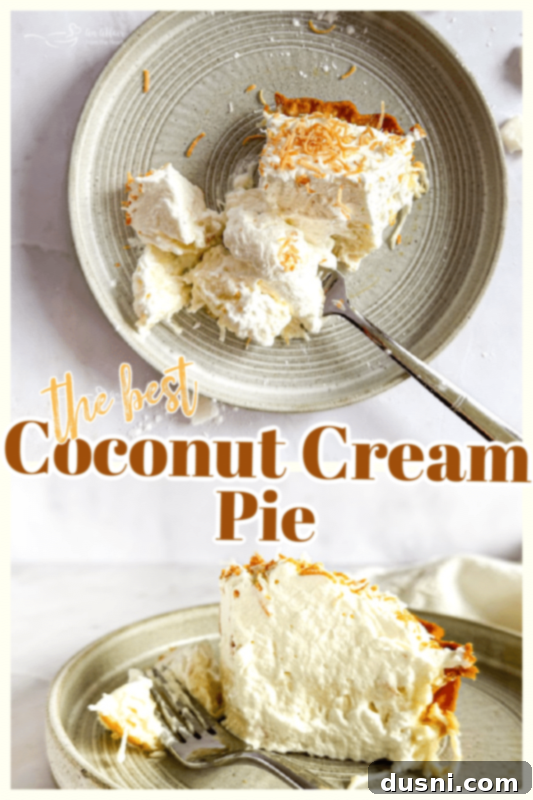
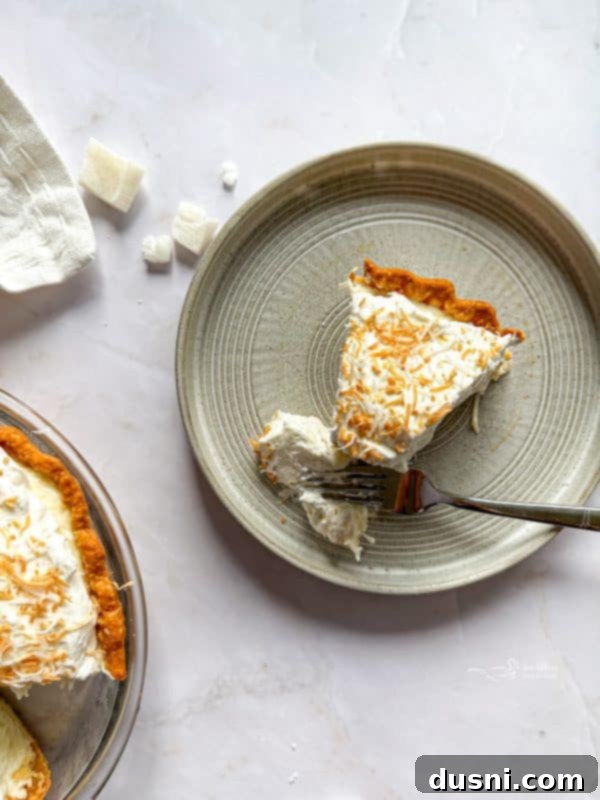
Indulge in a slice of pure bliss with this exquisite Homemade Coconut Cream Pie. Featuring an impeccably crispy pie crust that cradles a velvety creamy coconut custard, it’s then crowned with a generous, fluffy mound of sweet whipped cream, delicately dusted with golden toasted coconut. This is not just any dessert; it’s an absolutely decadent experience that promises to transport your taste buds to a tropical paradise with every single bite. Prepare for a dessert so rich, so satisfying, and so packed with authentic coconut flavor that it will quickly become a cherished family favorite.
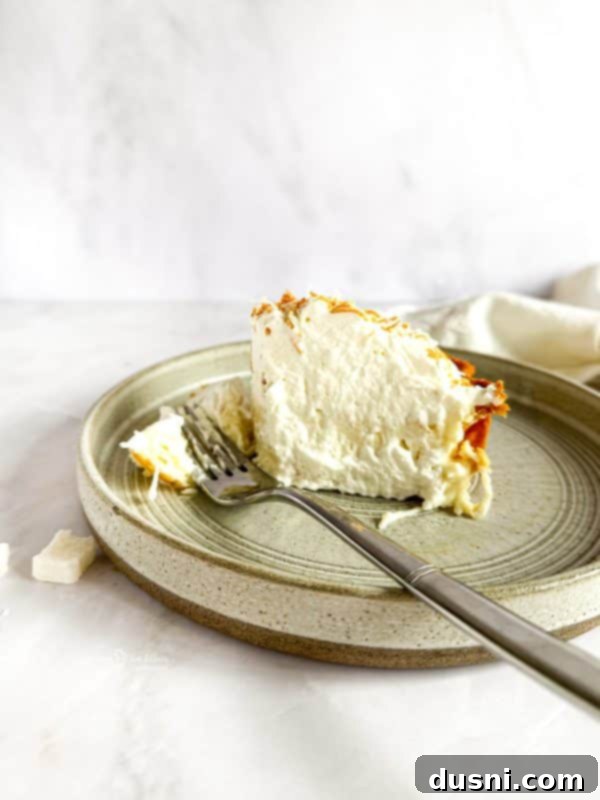
The journey to perfecting this classic Coconut Cream Pie recipe began with a special occasion: a birthday celebration for my dear mother-in-law. For years, her birthday dessert tradition centered around her beloved Peach Pie. However, I felt a longing to introduce something new, a delightful twist that would surprise and impress. Knowing my husband’s family’s deep affection for anything coconut, the choice became clear. That pivotal moment marked the inception of this incredible pie, a creation that instantly captivated my father-in-law, who declared himself “in heaven” after his first taste. This resounding success cemented its place in our family’s dessert rotation, proving that sometimes, a new tradition is born from a simple desire to share joy through food.
Embrace the Classic Appeal of Coconut Cream Pie
Few desserts evoke such a sense of nostalgic comfort and pure indulgence as a beautifully crafted Coconut Cream Pie. It’s truly a timeless classic in the world of pies, cherished for its irresistible combination of textures and flavors. What elevates this particular recipe above the rest is its ability to deliver a truly authentic and deeply satisfying experience. Imagine a delicate, flaky pastry crust providing the perfect foundation for a generously thick, velvety smooth coconut custard filling. This exquisite filling, infused with rich coconut flavor, is then crowned with an ethereal, cloud-like layer of freshly whipped cream, making for a truly spectacular presentation and an even more delightful eating experience. While the idea of a homemade pie might seem daunting, this recipe simplifies the process, making it accessible for even novice bakers.
Whether you opt for the convenience of a good quality store-bought pie crust or prefer the rustic charm of a homemade crust, the heart of this pie—its luscious custard layer—comes together with surprising ease. In just a matter of minutes, you can combine a few simple ingredients to create a rich, creamy base that sets beautifully. The final flourish, a mountain of light and airy whipped topping, completes this masterpiece. The most challenging aspect, by far, is exercising the patience required to let it chill in the refrigerator! This crucial step allows the custard to properly set, transforming it into that perfect, sliceable consistency. The reward? A rich, creamy, and absolutely indulgent dessert that is guaranteed to be adored by everyone who takes a bite.
Crafting the Authentic Homemade Coconut Cream Pie Experience
Before embarking on this particular culinary adventure, my experience with coconut-infused desserts had mostly revolved around variations. I had successfully created a delightful Banana Cream Pie, and even ventured into a unique Coconut Banana Cream Pie, which featured a distinctly flavored coconut crust. However, the true, unadulterated Coconut Cream Pie—a dessert focused solely on the pure, unadulterated essence of coconut and cream—remained uncharted territory for me. This realization sparked a quest for perfection, driving me to delve into extensive research to uncover the secrets of a truly authentic recipe.
My initial exploration revealed that many contemporary coconut cream pie recipes often utilize a graham cracker crust. While there’s certainly nothing inherently wrong with a graham cracker base, my goal was far more specific. I aimed to recreate the magic of a phenomenal coconut cream pie served at Jerico’s, a beloved local restaurant in Omaha. Jerico’s isn’t just famous for its AMAZING prime rib; they are renowned for crafting all their desserts, especially their pies, entirely from scratch. Their homemade pies embody a certain classic integrity that I deeply admired.
For me, mirroring that unparalleled taste meant adhering to a few non-negotiable standards. The foundation had to be a genuinely authentic pie crust – flaky, buttery, and substantial enough to hold the rich filling. The core of the pie demanded a gloriously rich and creamy coconut custard filling, bursting with natural coconut flavor, not just a hint. And, of course, no true cream pie is complete without a towering, “mile-high” pile of freshly made whipped cream. With these exacting criteria firmly in mind, I meticulously developed this recipe, ensuring every element contributed to a truly spectacular and authentic experience. The result was a pie that not only met but exceeded my expectations, capturing the essence of that cherished restaurant classic right in my own kitchen.
If you find yourself enchanted by this delightful easy Coconut Cream Pie, you’ll be thrilled to discover these other coconut-infused treats from my kitchen: the moist and flavorful Coconut Pudding Poke Cake, the quick and satisfying Coconut Mug Cake, the truly indulgent Coconut Cream Poke Cake with Coconut Whipped Cream Frosting, or the unique and delicious Pineapple Coconut Tunnel Cake. Each offers a different way to enjoy the wonderful tropical notes of coconut.
The Perfect Dessert for Any Occasion: Our Beloved Coconut Cream Pie
Searching for that versatile dessert that effortlessly combines everyday comfort with a festive flair and appeals to virtually everyone? Look no further than this magnificent Homemade Coconut Cream Pie. Its universal charm makes it an ideal choice for a myriad of occasions, promising to be a highlight no matter the gathering. Whether you’re celebrating joyous birthday parties, hosting warm family get-togethers, contributing to a vibrant potluck, or enjoying a relaxed summer barbecue, there’s truly no event where this pie won’t be enthusiastically welcomed and thoroughly enjoyed. Its light yet rich character makes it suitable year-round, always bringing a touch of tropical elegance to the table.
The secret to its undeniable success lies in its perfect balance of a tender crust and an incredibly flavorful, silky-smooth filling. When you pair this delightful coconut cream with a perfectly baked homemade pie crust, you’ll witness firsthand just how rapidly slices of this pie vanish from the dessert spread. The combination is simply irresistible. And for those moments when time is of the essence, remember that convenience is key. Don’t hesitate to utilize a high-quality store-bought or frozen pie crust. Opting for a pre-made crust means you’re already a significant step closer to enjoying this amazing dessert, saving you precious time without compromising on flavor. Ultimately, whatever choice simplifies your baking process and brings this delicious pie to your table faster is a winning strategy in my culinary philosophy.
Storing Your Delicious Coconut Cream Pie Leftovers
While it’s highly unlikely you’ll have any slices left of this incredibly popular pie, it’s always good to know how to properly store it to maintain its freshness and flavor. Should you find yourself with the delightful problem of leftovers, this creamy coconut pie can be safely stored in the refrigerator. For best results, place it in an airtight container or ensure it’s tightly covered with plastic wrap or aluminum foil. This method will keep your pie fresh and delicious for up to 4 days. The goal is to prevent any air exposure, which can dry out the crust or affect the creaminess of the filling.
For longer-term storage, this decadent coconut dessert also freezes beautifully. You can freeze individual slices for up to 3 months, which is a fantastic option if you’re not planning to consume the entire pie within the four-day refrigeration window. To freeze, first allow the pie to chill thoroughly in the refrigerator until completely firm. Then, cut it into individual servings. Wrap each slice tightly in plastic wrap, followed by a layer of aluminum foil, or place them in freezer-safe containers. Freezing in small pieces is particularly convenient, allowing you to easily grab and thaw just one serving at a time whenever a craving strikes. Simply thaw in the refrigerator for a few hours before serving to enjoy its creamy goodness once more.
Essential Ingredients for Your Perfect Coconut Cream Pie
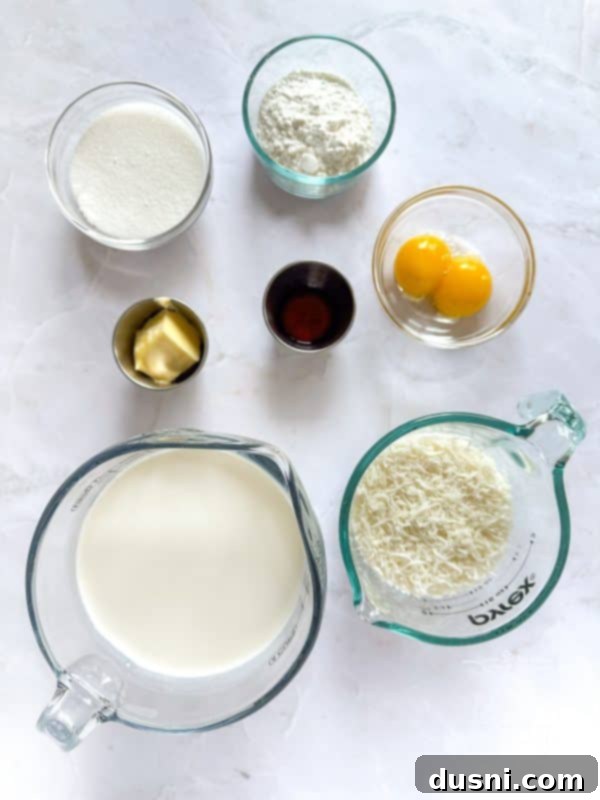
Crafting the perfect Coconut Cream Pie requires a selection of fresh, high-quality ingredients that work in harmony to create its signature creamy texture and rich flavor. For a complete list of quantities and detailed step-by-step instructions, please scroll down to the bottom of this post where you’ll find the full printable recipe card. But first, let’s dive into the key components that make this pie truly special.
For the Crust:
A foundational element of any great pie is its crust. For this authentic coconut cream pie, you’ll need one “blind baked” pie crust. This crucial step ensures a crispy, flaky base that won’t become soggy under the creamy filling. You have the flexibility to choose either your own cherished homemade pie crust, ensuring that beloved buttery flavor and perfect texture, or a convenient store-bought option. Whichever you choose, make sure it’s baked to a beautiful golden brown and cooled completely before adding the filling. A perfectly pre-baked crust is key to preventing a wet bottom pie.
For The Rich Coconut Cream Filling:
The heart of this decadent dessert is its lusciously smooth and flavorful filling. Each ingredient plays a vital role in achieving that desirable creamy consistency and intense coconut flavor:
-
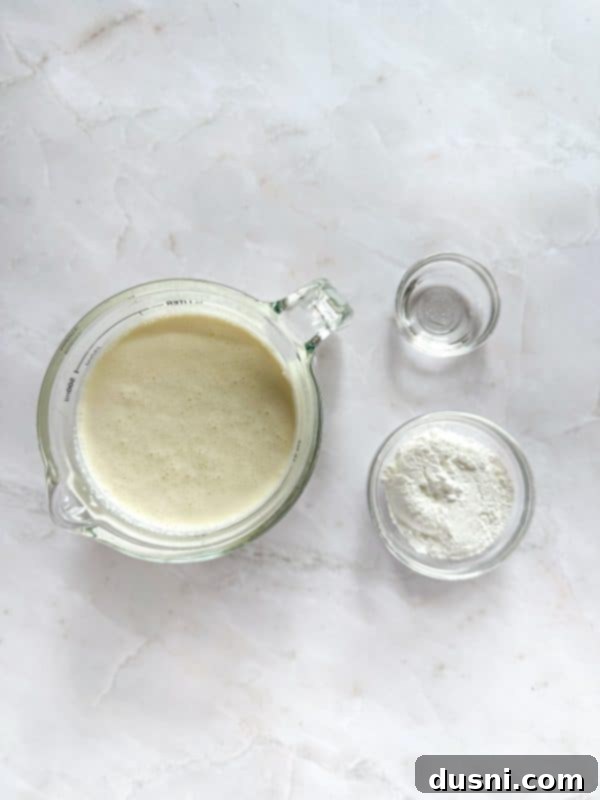
Half & Half – This is the secret to the unparalleled richness and creaminess of our creamy coconut pie filling. While whole milk can be used, and heavy cream would make it even richer, I find half and half strikes the perfect balance, providing a luxurious mouthfeel without being overly heavy. It imparts a delicate creaminess that coconut milk, while providing coconut flavor, cannot replicate in terms of texture for this specific custard.
-
Egg yolks – These golden wonders are essential for both binding the creamy pie filling and enriching its flavor and color. Egg yolks act as a natural emulsifier and thickener, contributing to the custard’s smooth, silken texture and preventing it from becoming crumbly or runny. They are what give the filling that classic custard-like body.
-
Sugar – Simple white granulated sugar is used to perfectly sweeten the custard. It balances the richness of the cream and the distinct flavor of the coconut, ensuring the pie is sweet enough to be a dessert without being cloyingly so. The amount used is carefully measured to achieve ideal sweetness.
-
Cornstarch – A critical component for thickening, cornstarch ensures your coconut cream filling sets up beautifully. It creates a stable, spoonable consistency that holds its shape when sliced, preventing any watery mishaps. This is key for a well-structured and delightful pie experience.
-
Pure vanilla extract – While it might seem a subtle addition, pure vanilla extract elevates the overall flavor profile by complementing and enhancing the natural sweetness and aroma of the coconut. I always recommend using pure vanilla for its depth of flavor, though imitation vanilla can certainly work in a pinch if that’s all you have on hand.
-
Butter – A small amount of unsalted butter stirred in at the end adds an extra layer of richness and a silky sheen to the finished custard. It melts into the warm filling, contributing to its creamy texture and luxurious mouthfeel, making this creamy custard pie even more irresistible.
-
Flaked sweetened coconut – This is, of course, the star of the show! Shredded coconut flakes are integral for delivering that unmistakable, authentic coconut flavor. Sweetened flakes integrate seamlessly into the custard, providing both texture and a burst of tropical sweetness. Opt for high-quality flakes for the best flavor impact in your tropical dessert.
For the Mile-High Whipped Cream Topping:
No Coconut Cream Pie is truly complete without a generous crown of freshly made whipped cream. It adds a delightful lightness and contrasts beautifully with the rich custard.
-
Heavy whipping cream – This is absolutely essential for creating that perfect, voluminous, and stable whipped topping. Ensure it’s very cold for optimal whipping results.
-
Coconut extract – To amplify the tropical notes and ensure every element of the pie sings with coconut essence, a touch of coconut extract is added to the whipped cream. This enhances the overall coconut flavor of the dessert.
-
Powdered sugar – Also known as confectioner’s sugar, this fine sugar sweetens the whipped topping without adding a grainy texture. It also helps to stabilize the whipped cream, giving it that desired airy yet firm consistency.
For the Finishing Touch and Enhanced Flavor:
The final flourish not only adds visual appeal but also a wonderful textural and flavor contrast.
-
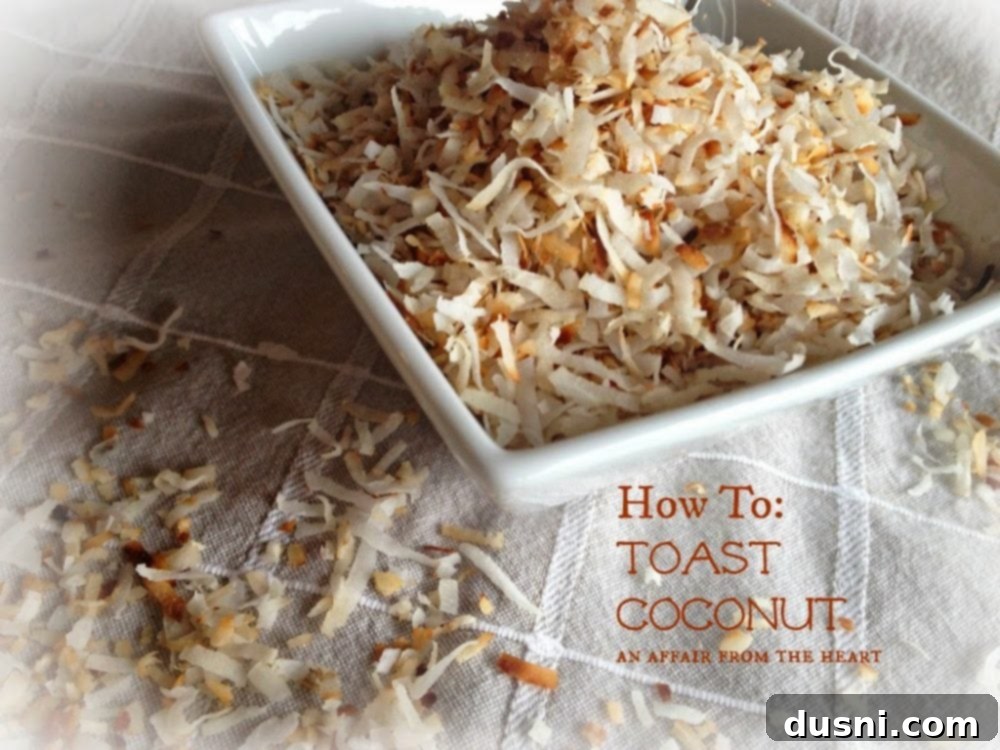
Toasted Coconut – Dusting the top of the whipped cream with golden-brown toasted coconut flakes adds an incredible depth of flavor and a pleasing crunch. The toasting process brings out the nutty, caramelized notes of the coconut, making it even more irresistible and adding to the overall coconut flavor experience. It’s a simple step that makes a big impact.
Step-by-Step Guide: How to Make This Irresistible Coconut Cream Pie
Crafting this Homemade Coconut Cream Pie is a surprisingly straightforward process, especially once you break it down into manageable steps. Don’t let the delicious final result intimidate you; each stage flows naturally into the next, ensuring a smooth and enjoyable baking experience. Follow these detailed instructions to create a truly memorable dessert.
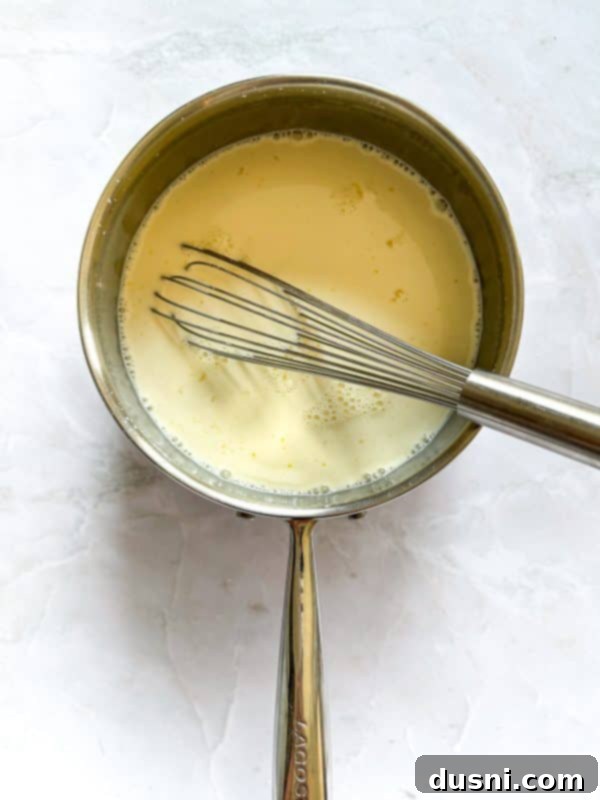
Step One: Prepare the Custard Base
In a medium-sized, heavy-bottomed saucepan, combine the half & half, egg yolks, granulated sugar, cornstarch, and pure vanilla extract. Using a whisk, stir these ingredients together thoroughly until the mixture is completely smooth and the cornstarch has fully dissolved. This initial blending is crucial to prevent lumps in your finished custard. Place the saucepan over medium heat.
Step Two: Cook and Thicken the Custard
Now, the key to a perfectly smooth and thick custard: continuously stir the mixture as it heats. This constant stirring prevents scorching on the bottom of the pan and encourages even thickening. The mixture will gradually transform from a liquid to a rich, pudding-like consistency. You’ll know it’s ready when it coats the back of a spoon and holds its shape, indicating the cornstarch has activated and thickened the custard appropriately. Be patient and keep stirring; this step typically takes a few minutes.
Step Three: Incorporate Butter and Coconut
Once the custard has reached its desired thickness, remove the saucepan from the heat immediately. Stir in the unsalted butter until it is completely melted and smoothly incorporated into the warm custard. The butter adds a luxurious sheen and an extra layer of richness. Finally, fold in the flaked sweetened coconut. This infuses the entire filling with intense coconut flavor and provides a wonderful textural element. Stir gently until the coconut is evenly distributed throughout the creamy mixture.
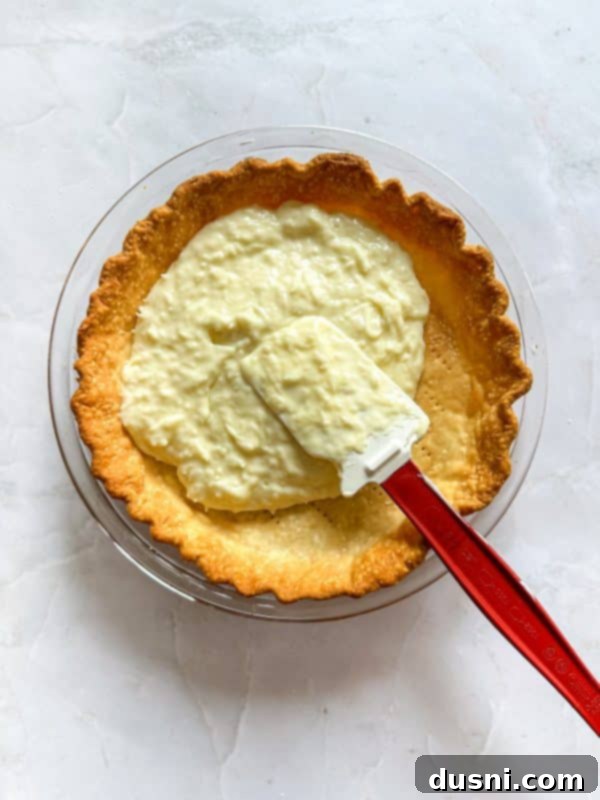
Step Four: Fill the Pie Crust
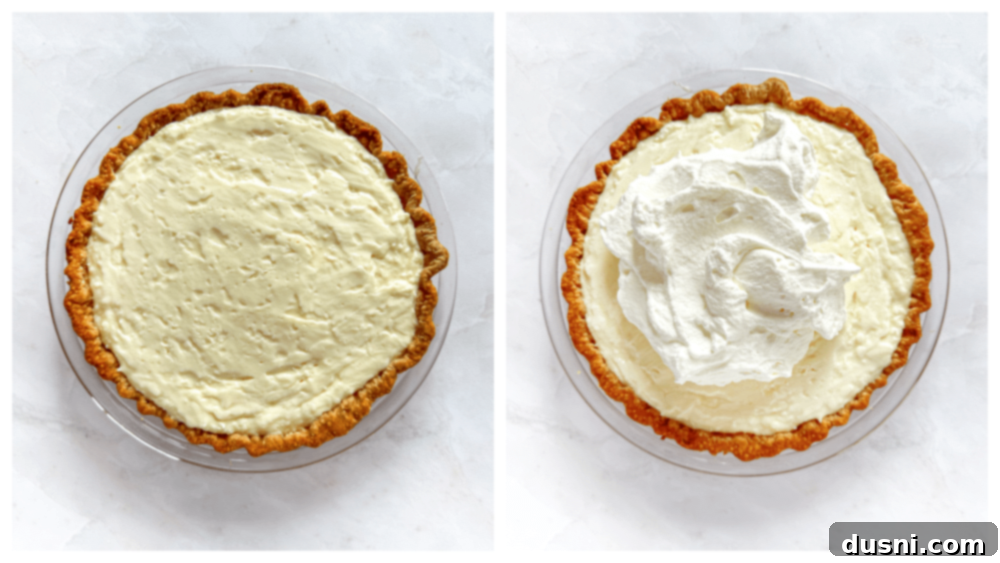
Carefully pour the warm coconut cream filling into your cooled, pre-baked pie crust. Ensure the filling is evenly spread across the bottom of the crust. The pre-baking (or blind baking) step is vital here, as it creates a barrier preventing the crust from becoming soggy as it absorbs moisture from the custard.
Step Five: Chill for Perfection
Cover the filled pie with plastic wrap, pressing it gently directly onto the surface of the custard to prevent a skin from forming. This step is non-negotiable for achieving that ideal set. Transfer the pie to the refrigerator and allow it to chill for at least a few hours, or ideally, overnight. This extended refrigeration time is essential for the custard to firm up properly, making it perfectly sliceable and enhancing its creamy texture. Patience is a virtue here!
Step Six: Prepare the Whipped Cream Topping
When your pie is thoroughly chilled and you’re ready to serve, it’s time to prepare the star topping. In the bowl of your stand electric mixer (or using a hand mixer) fitted with the whisk attachment, combine the very cold heavy whipping cream, coconut extract (for an extra boost of coconut flavor), and powdered sugar. Begin beating on low speed, gradually increasing to high.
Step Seven: Whip Until Stiff Peaks Form
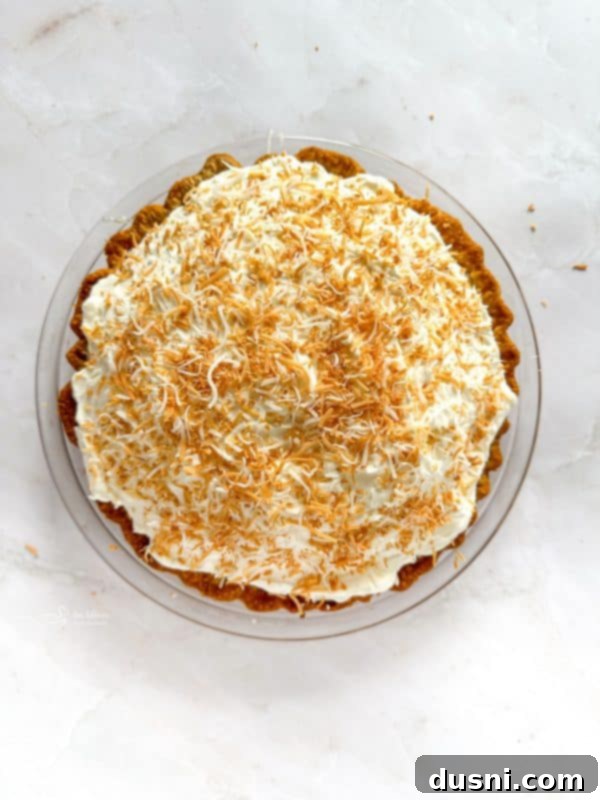
Continue beating the mixture until stiff peaks form. This means when you lift the whisk, the whipped cream should hold its shape firmly. Be careful not to overbeat, as this can turn the cream grainy. This fluffy topping is what gives the Coconut Cream Pie its signature “mile-high” look and light, airy texture.
Step Eight: Assemble and Garnish
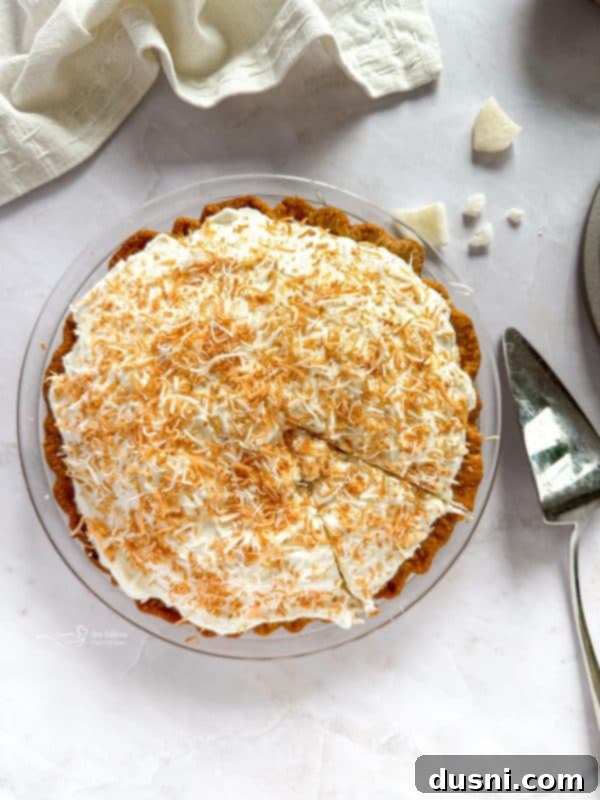
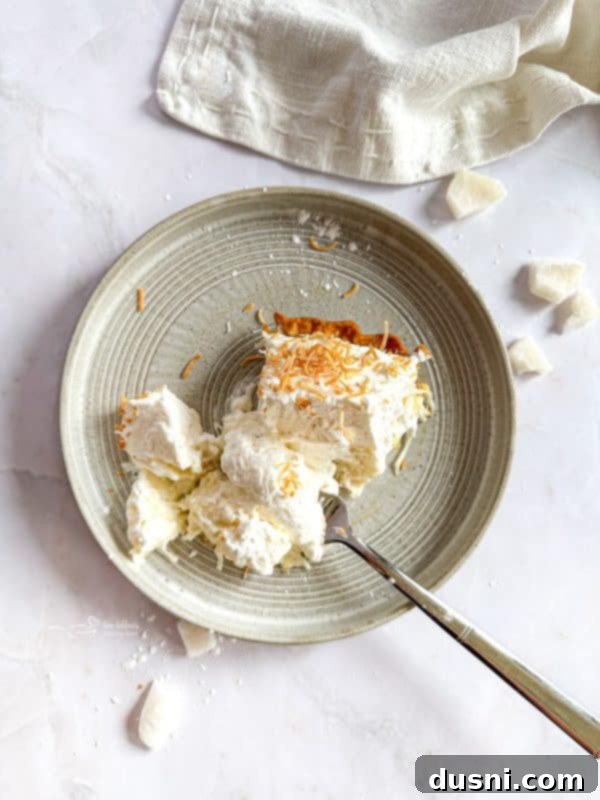
Generously pile the freshly made whipped cream onto the surface of the chilled pie. You can spread it smoothly with an offset spatula for a classic look, or create beautiful swirls and peaks for a more rustic, homemade appeal. Finally, dust the top liberally with golden toasted coconut. The toasted flakes not only add another layer of delicious coconut flavor but also provide a delightful textural contrast and visual appeal, completing your masterpiece.
Once garnished, keep any remaining pie refrigerated until ready to serve. Leftovers, if any, should be stored in the fridge for up to 4 days. If you foresee not finishing it within that timeframe, you can also freeze individual slices for up to 3 months for a delightful treat later on.
Love It? Pin It!
If you absolutely adore this homemade coconut cream pie recipe, make sure you don’t lose track of it! Pin it to your favorite Pinterest recipe board before you go so you can easily find it whenever a craving for this decadent dessert strikes!
Check out this helpful guide: How to Toast Coconut for Perfect Flavor
Frequently Asked Questions (FAQs) About This Coconut Cream Pie Recipe
Below are some common questions about making and enjoying this delicious coconut pie recipe, providing you with all the information you need for a successful and delightful baking experience.
-
What is Coconut Cream Pie made of?
A traditional Coconut Cream Pie is a delightful dessert consisting of three main layers: a sturdy, pre-baked pastry crust (often butter-based), a rich and creamy, pudding-like filling that’s intensely flavored with coconut, and a generous topping of light, airy whipped cream. This indulgent dessert is typically finished with a sprinkle of toasted coconut flakes, which add both a beautiful garnish and a deepened nutty flavor to the overall profile. The custard filling is usually thickened with ingredients like cornstarch and egg yolks, giving it that classic smooth, silken texture that makes cream pies so irresistible. -
How do you keep a coconut cream pie from getting watery?
Preventing a watery coconut cream pie is crucial for achieving that perfect, sliceable consistency. The primary method is to ensure you use an adequate amount of cornstarch or another thickening agent, and that it is fully cooked and activated. When preparing the custard filling, cook it over medium heat, stirring continuously, until it becomes very thick and pudding-like. It should coat the back of a spoon and resist running when tested. Additionally, proper chilling is paramount. Allowing the pie to refrigerate for several hours, or ideally overnight, gives the cornstarch ample time to set and firm up the custard. Covering the pie with plastic wrap directly on the surface of the filling during chilling also helps prevent condensation, which can contribute to a watery texture. -
How long does homemade coconut cream pie last in the fridge?
For optimal freshness, your homemade Coconut Cream Pie should be stored in the refrigerator. When properly covered with plastic wrap or placed in an airtight container, it will remain delicious for up to 4 days. It’s best to consume it within this timeframe, as the freshness of the whipped cream and the texture of the crust are at their peak during this period. Beyond 4 days, while still safe to eat, the quality and texture may begin to diminish. -
Can I use coconut milk instead of half & half for the filling?
While coconut milk would certainly enhance the coconut flavor, it would also significantly change the texture of the custard. Half & half provides a specific creamy richness and mouthfeel that is characteristic of a traditional cream pie. If you wish to use coconut milk, full-fat canned coconut milk would be the best option, but be aware that the resulting custard might have a slightly different consistency and a more pronounced coconut flavor, which some might prefer! You may also need to adjust the thickening agent slightly. -
Do I need to blind bake the pie crust?
Yes, absolutely! Blind baking the pie crust is a non-negotiable step for any cream pie. It ensures that your crust is fully cooked, crispy, and creates a barrier against the moist custard filling. Without blind baking, the crust would likely become soggy and unappetizing. A golden-brown, fully baked crust is essential for the structural integrity and delightful texture of your Coconut Cream Pie. For detailed instructions, refer to my guide on How to Blind Bake a Pie Crust.
Creative Substitutions for Your Coconut Cream Pie
One of the joys of home baking is the freedom to customize recipes to suit your personal preferences, dietary needs, or simply to experiment with new flavors. Remember that when it comes to making substitutions in recipes, you don’t need to be afraid to get creative and use ingredients that suit your personal taste and dietary preferences. Feel free to adapt this Coconut Cream Pie recipe to truly make it your own! Here are some ideas to get you started:
-
Elevate the Topping: While toasted coconut is classic, consider topping your pie with delicate shaved chocolate curls or a beautiful chocolate drizzle for an added layer of richness and visual appeal. A sprinkle of finely chopped nuts, like macadamias or pecans, could also add a delightful crunch.
-
Dairy Alternatives for Filling: For a truly dairy-free or more intensely coconut-flavored filling, you could use full-fat canned coconut cream instead of half and half. Be aware that the texture and overall richness might differ slightly, but it will still yield a wonderfully creamy and flavorful result that leans heavily into its tropical roots.
-
Crust Variations: For a different take on the base, pick up a pre-made graham cracker crust instead of a traditional pie crust. The slightly sweet, crumbly texture of graham crackers pairs wonderfully with the creamy coconut filling. You could also try an OREO cookie crust for a decadent chocolate-coconut combination!
-
Alternative Thickeners: If cornstarch isn’t available or you prefer an alternative, try arrowroot starch or tapioca flour instead. These natural thickeners work similarly to cornstarch to create a smooth, stable custard. Just ensure you follow the package directions for equivalent amounts, as ratios can sometimes vary slightly.
-
Sweetener Adjustments: If you prefer a less refined sugar, consider using cane sugar or a lighter brown sugar for a subtle caramel note. Adjust the quantity to your preferred level of sweetness, always tasting as you go.
Expert Tips & Tricks for Perfecting Your Coconut Cream Pie
Achieving a truly spectacular Homemade Coconut Cream Pie is simpler than you might think, especially with a few insider tips and tricks. These pointers will help ensure your pie turns out beautifully every time, from its flaky crust to its lofty whipped topping.
-
The Secret to Voluminous Whipped Cream: For the most stable and voluminous whipped cream, I highly recommend chilling your mixer bowl and whisk attachment in the freezer for about 20-30 minutes before you begin whipping. The colder the equipment, the better the heavy cream will aerate and hold its shape, resulting in that impressive “mile-high” topping.
-
Crust Choices for Convenience and Flavor: Don’t feel pressured to make your own pie crust if time is tight. A high-quality premade pie crust from the grocery store is a perfectly acceptable and delicious shortcut. You can explore different varieties too – a traditional butter pie crust, a sweet graham cracker crust, or even a chocolate-flavored crust can add an interesting twist to your creamy coconut pie.
-
Patience is Key for Setting: It can be tempting to cut into your beautiful pie right away, but resist the urge! Don’t compromise on the refrigeration time as the pie needs adequate time to set completely. This chilling period is crucial for the custard to firm up properly, ensuring clean slices and a perfectly creamy texture. Ideally, chill for at least 4 hours, or even better, overnight.
-
Whipped Topping Shortcuts: If you’re really short on time or prefer not to make whipped cream from scratch, a good quality store-bought whipped topping (like Cool Whip) can be used. While homemade whipped cream undoubtedly tastes best and offers superior texture, this is a viable option for convenience without sacrificing too much on the overall enjoyment of the decadent dessert.
-
Temperature Matters for Crust: If you are using a homemade buttery pie crust that has been blind-baked, ensure it comes to room temperature (or is fully cooled) before you pour in the warm filling. Pouring warm filling into a hot or even slightly warm crust can lead to a soggy bottom, undermining all your hard work. A cool crust provides the best foundation.
-
Preventing a Skin on Custard: To prevent a rubbery “skin” from forming on the surface of your custard as it chills, place a piece of plastic wrap directly onto the surface of the warm filling after you’ve poured it into the crust. This creates a barrier against air exposure and helps maintain its smooth, creamy texture.
-
Toasting Coconut for Maximum Flavor: Don’t skip the step of toasting your coconut for the garnish! This simple process transforms plain shredded coconut, bringing out its natural sweetness and nutty aromas, adding a deeper, more complex layer of coconut flavor to your pie. You can find a detailed guide on How to Toast Coconut here.
More Decadent Pie Recipes to Love
If your love for this Coconut Cream Pie has inspired you to explore more delicious pie creations, here are a few other fantastic recipes to add to your baking repertoire. From rich and chocolaty to fruity and refreshing, there’s a pie here for every taste and occasion!
-
Chocolate Meringue Pie (pictured above)
-
Deconstructed Patriotic Pies
-
Cherry Hand Pies
-
No Bake Peanut Butter Pie
-
French Silk Pie
- Blueberry Pie
- Angel Food Pie
Happy Birthday to my sweet Mother In Law, Marie! This pie was created with you in mind, and your joy in it makes all the effort worthwhile.
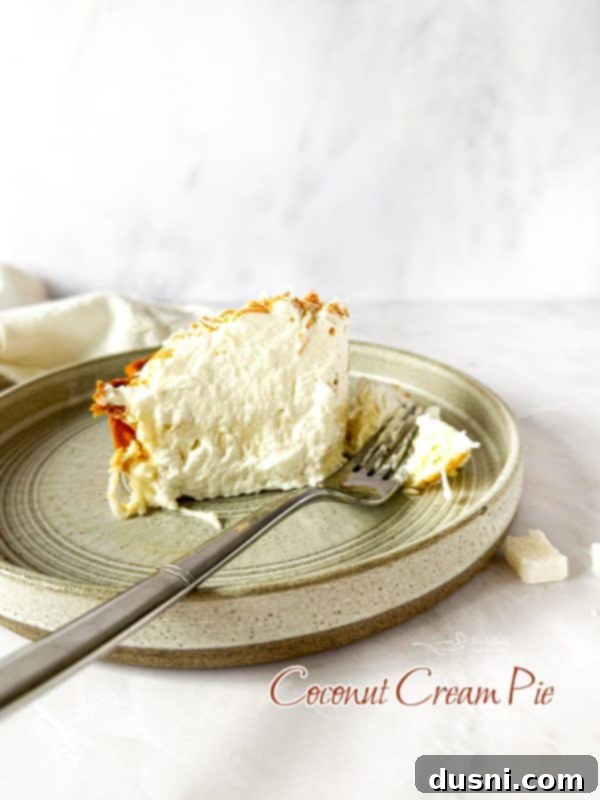
Whether it’s a grand celebration, a simple family dinner, or just a treat for yourself, you truly can’t go wrong with this incredibly delicious Homemade Coconut Cream Pie. It’s a true coconut lover’s dream, a creamy, dreamy masterpiece that is bound to become one of everyone’s absolute favorite pies. Get ready for compliments and requests for the recipe every time you serve it!

LIKE THIS RECIPE?
Don’t forget to give it a ⭐️⭐️⭐️⭐️⭐️ star rating and
leave a comment below the recipe!

Print Recipe
Coconut Cream Pie
Equipment
-
Rubber Spatulas
-
Offset Spatula , SIMEEGO Icing Spatula Set with 6 8 10 Inch Stainless Steel Blades
-
Kitchenaid Stand Mixer
-
KitchenAid Hand Mixer
-
Ceramic Pie Dish, 10-Inch
-
Wilton 12-Cavity Whoopie Pie Baking Pan
-
2 Pack Pie Crust Shield Adjustable
-
Baking Pie Crust Weights Chain
-
Ceramic Pie Weights Reusable
-
Chicago Metallic Pie Weight
Ingredients
- FOR THE CRUST:
- One blind baked pie crust store-bought or homemade, baked until golden brown and completely cooled.
- FOR THE FILLING:
- 3 cups Half & Half (for ultimate creaminess and flavor)
- 2 egg yolks (helps bind the custard and adds richness)
- 1/2 cup sugar (white granulated sugar for balanced sweetness)
- 1/3 cup corn starch (essential for proper thickening of the custard)
- 1 teaspoon pure vanilla extract (enhances flavor, avoid imitation if possible)
- 2 Tablespoons butter (adds extra richness and silkiness)
- 1 1/2 cups flaked sweetened coconut (for authentic coconut flavor and texture)
- FOR THE WHIPPED CREAM:
- 2 cups heavy whipping cream (very cold, for best whipping results)
- 1 1/2 teaspoons coconut extract (boosts the coconut flavor in the topping)
- 1/4 cup powdered sugar (confectioner’s sugar for smooth sweetness and stability)
- FOR THE TOPPING:
- 1/3 cup Toasted Coconut (for garnish, enhanced flavor, and crunch)
Instructions
-
In a medium saucepan, combine the half & half, egg yolks, sugar, cornstarch, and vanilla extract. Whisk these ingredients together until the mixture is completely smooth and the cornstarch has fully dissolved, ensuring no lumps remain.
-
Place the saucepan over medium heat. Stir continuously as the mixture heats and thickens. Continue stirring until the mixture reaches a thick, pudding-like consistency that coats the back of a spoon. This typically takes several minutes.
-
Remove the saucepan from the heat. Stir in the butter until it is completely melted and smoothly incorporated. Then, stir in the flaked sweetened coconut until it is evenly distributed throughout the creamy filling.
-
Carefully pour the warm coconut cream filling into your cooled, pre-baked pie crust. Gently spread the filling evenly.
-
Place a piece of plastic wrap directly onto the surface of the filling to prevent a skin from forming. Refrigerate the pie for several hours, or ideally overnight, to allow the custard to set completely. This step is crucial for the perfect texture.
-
To prepare the whipped cream, in your stand mixer (or using a hand mixer) with the whisk attachment, combine the very cold heavy whipping cream, coconut extract, and powdered sugar.
-
Begin beating on low speed, then gradually increase to high. Continue whisking until stiff peaks form, meaning the cream holds its shape firmly when the whisk is lifted. Be careful not to overbeat.
-
Generously pile the freshly whipped cream onto the chilled pie. Spread it smoothly or create decorative swirls.
-
Liberally top the whipped cream with golden toasted coconut for added flavor and visual appeal.
-
Keep the finished pie refrigerated until ready to serve. Leftovers can be stored in the fridge for up to 4 days, or frozen in individual slices for up to 3 months.
Notes
Read more on how to Blind Bake a Pie Crust for a perfectly crisp base.
Find My Grandma’s Award-Winning Pie Crust Recipe if you prefer to make your crust from scratch.
Nutrition
This recipe was originally posted on August 29, 2014. It has been updated to improve user experience and reshared on July 25, 20
