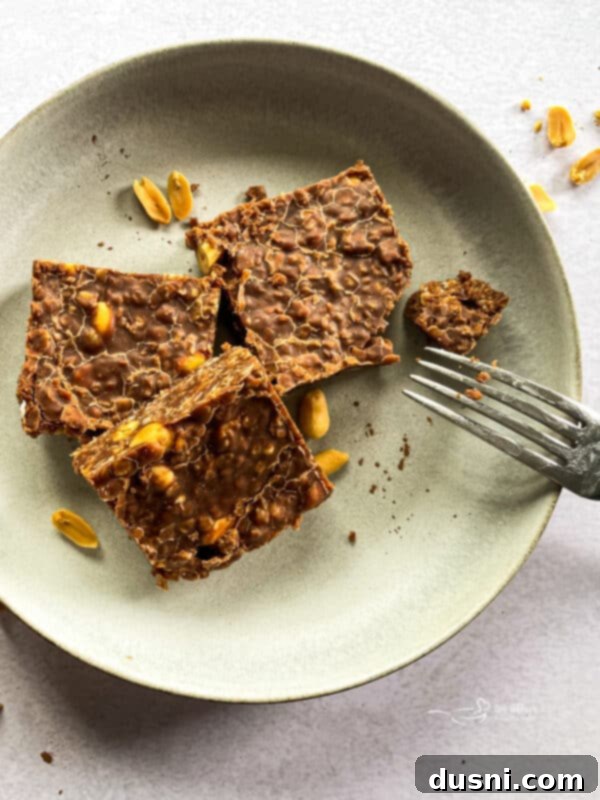
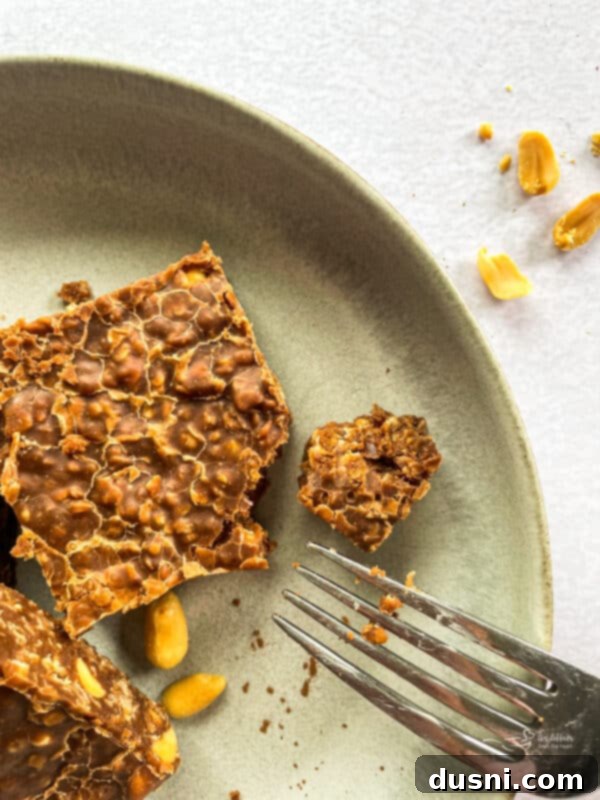
Irresistible Chewy Chocolate Peanut Butter No-Bake Cookie Bars: Your Go-To Easy Dessert!
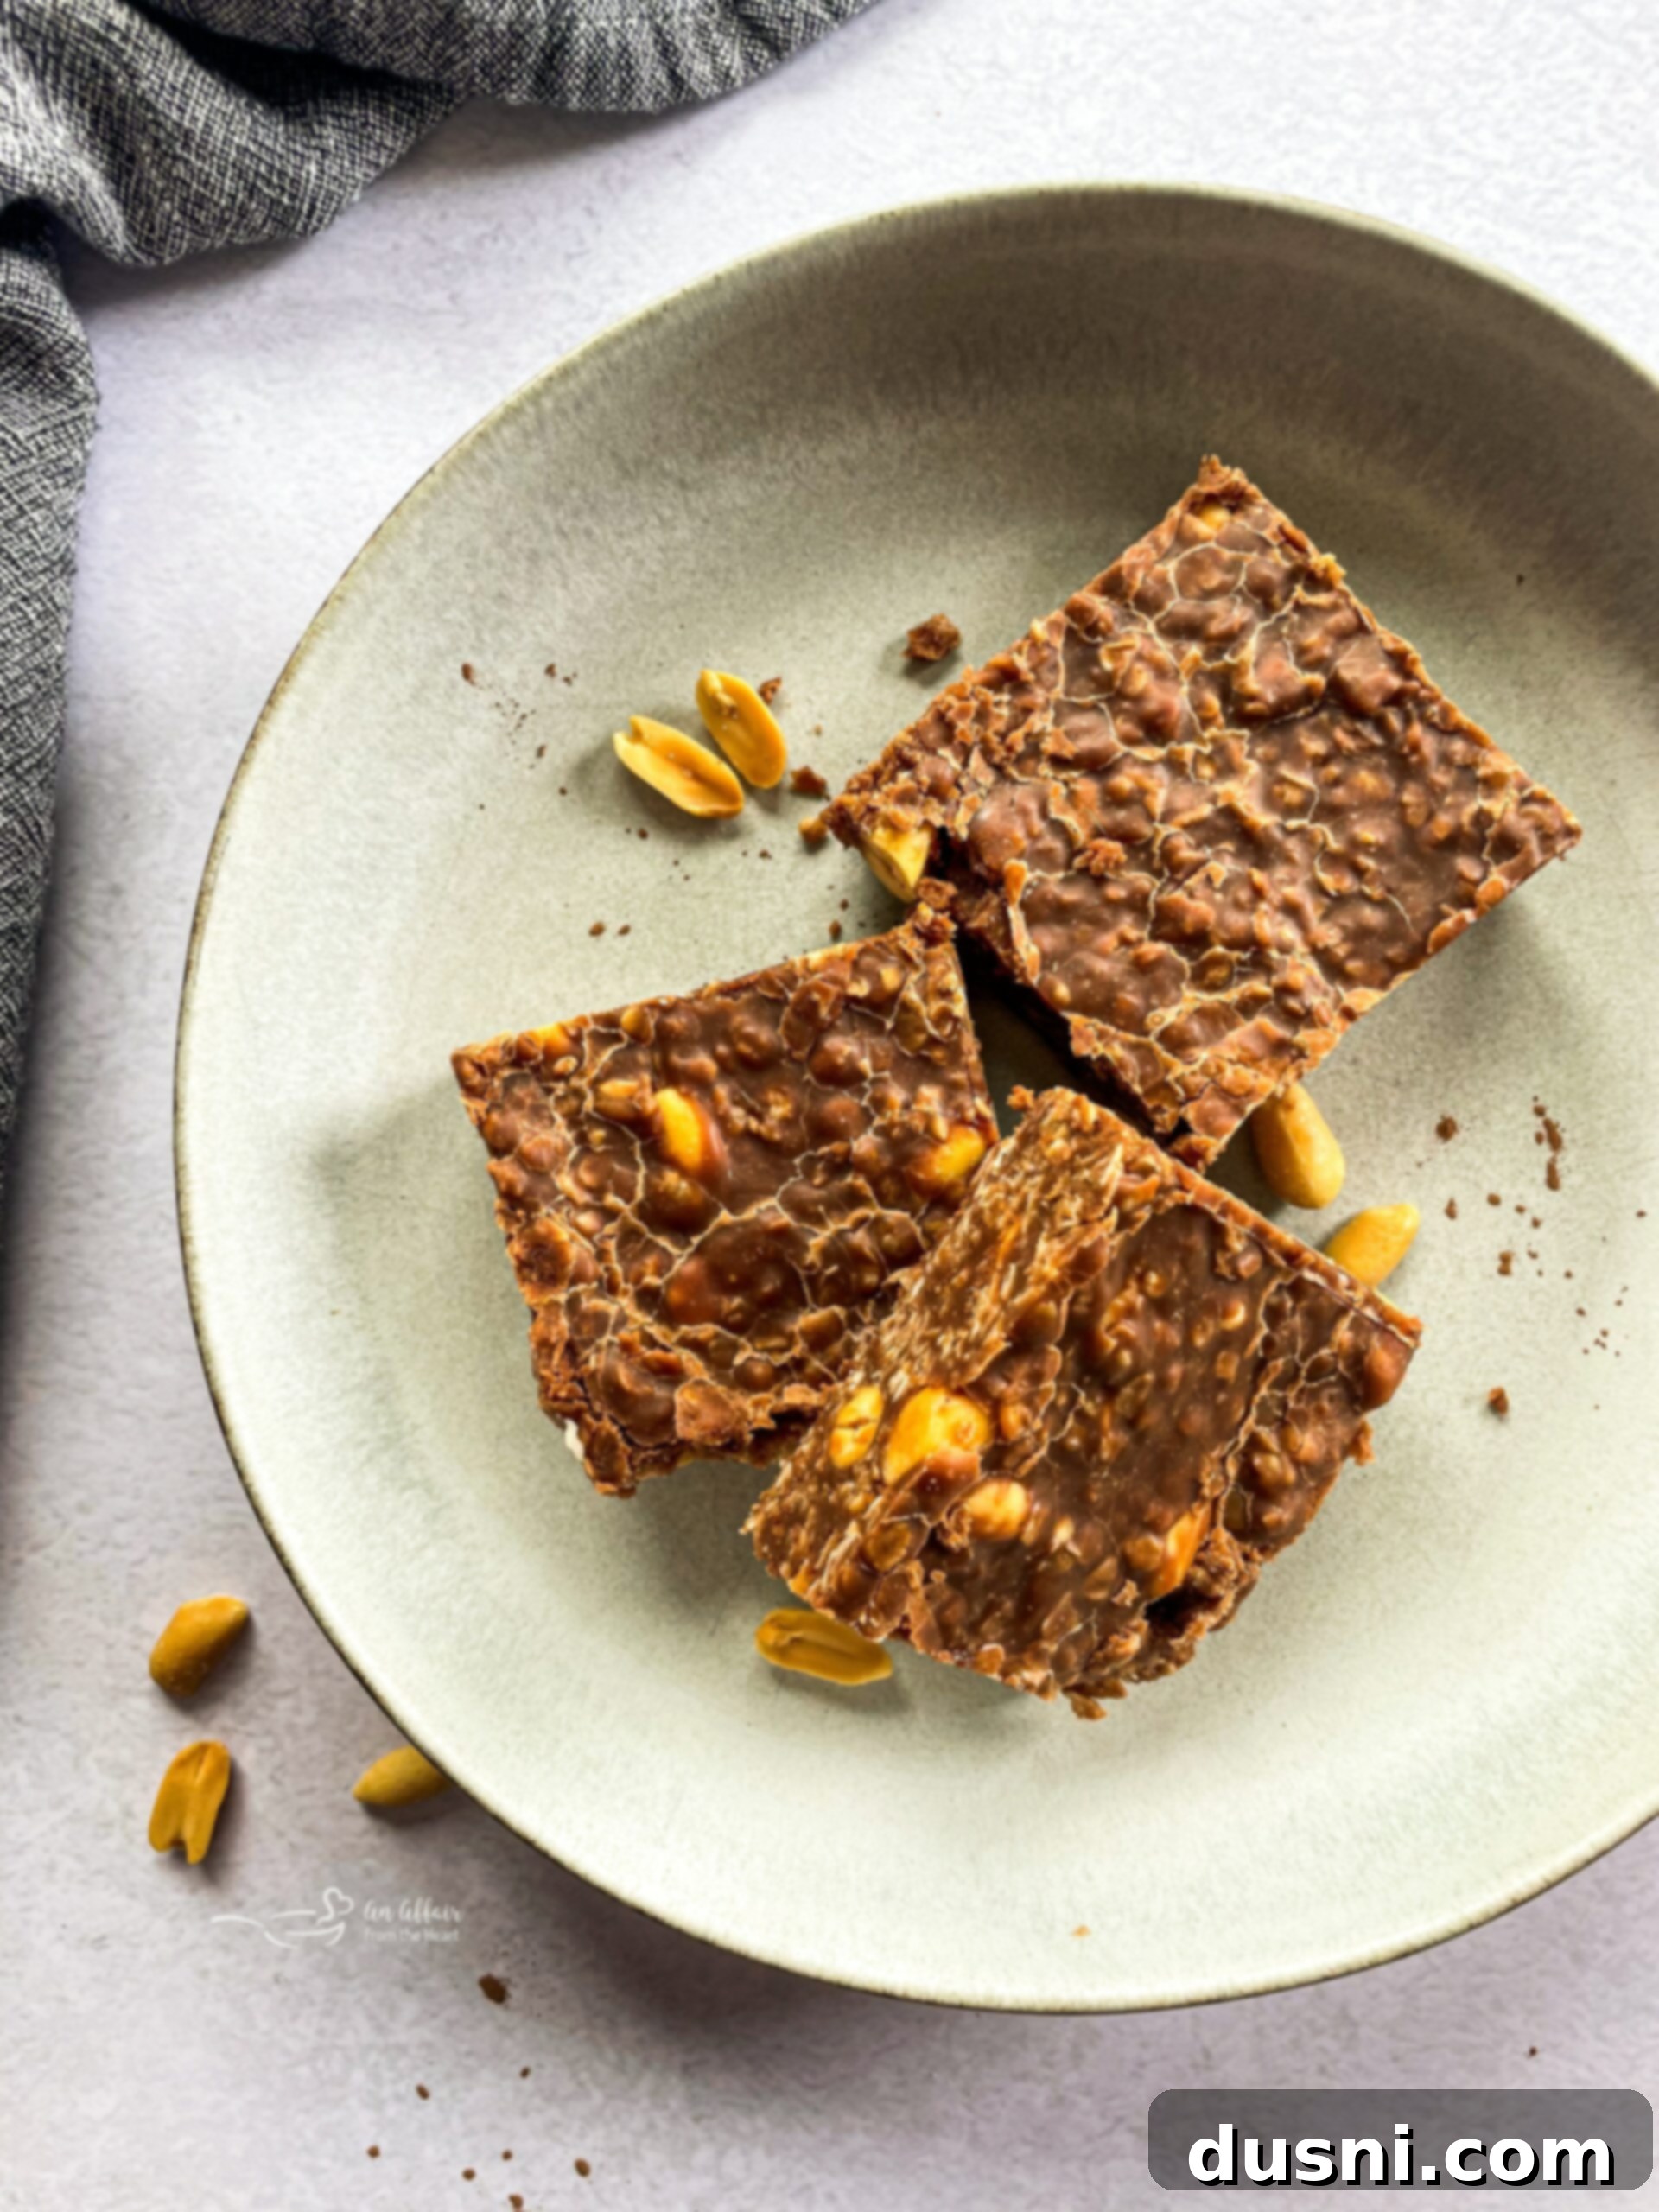
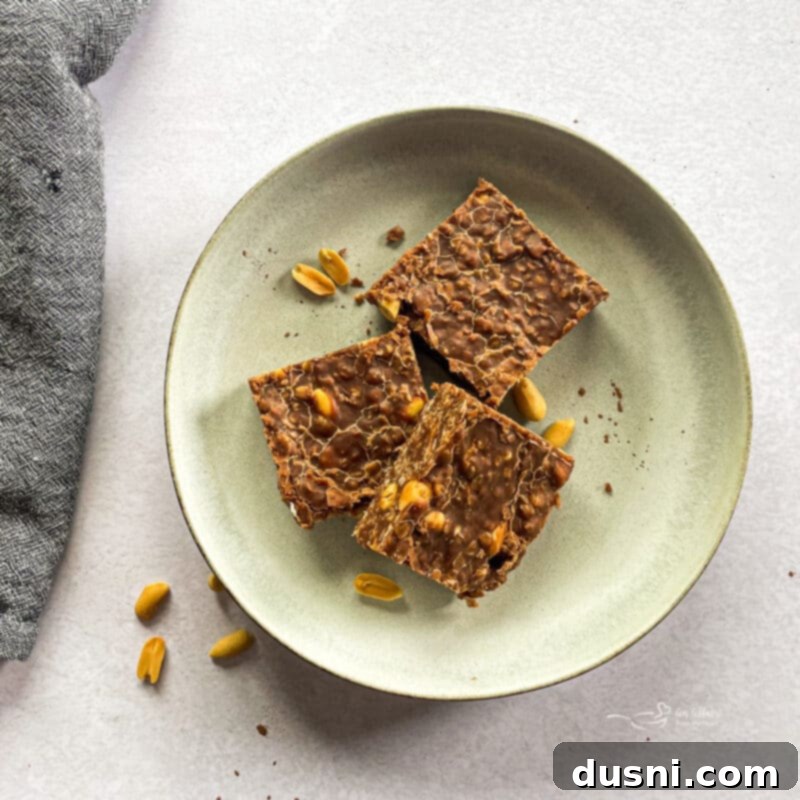
Looking for a quick, effortless, and utterly delicious dessert that requires no oven? Look no further than these incredible Chewy Chocolate Peanut Butter No-Bake Cookie Bars! This timeless recipe takes all the beloved flavors of classic no-bake cookies – rich chocolate and creamy peanut butter – and transforms them into incredibly convenient and satisfying bars. They’re so wonderfully chewy, crunchy, and packed with flavor that you might find yourself reaching for a double batch every time you make them. These bars are an absolute game-changer for anyone craving a homemade treat without the fuss and heat of baking.
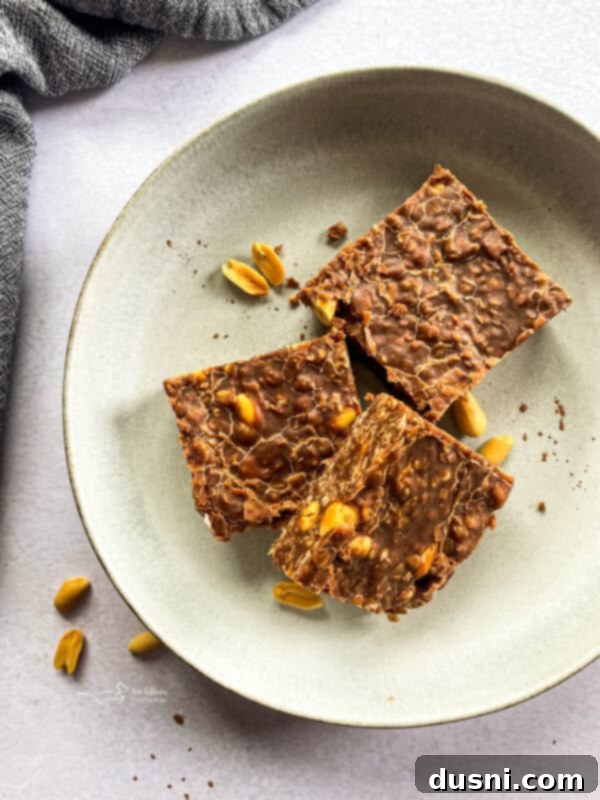
These no-bake cookie bars aren’t just a treat to eat; they’re a joy to create! I absolutely adore whipping up no-bake bar recipes because of their incredible ease of preparation and their consistently rich, satisfying taste, which is guaranteed to silence any sweet tooth craving. You simply won’t be disappointed by these chocolate peanut butter no-bake bars with oatmeal, which offer the perfect combination of a delightful crunch and a deeply satisfying flavor profile. They are truly the best no-bake dessert when you need something quick, delicious, and universally loved.
We are huge fans of no-bake desserts in our home! If you’re looking for more family favorites that keep the oven off, be sure to check out our Classic Nanaimo Bar recipe and our refreshing No Bake Fruit Tart. These recipes are perfect for busy days or when the weather calls for a cool, sweet treat.
One of the main reasons I find no-bake bar recipes superior to traditional no-bake cookies is the sheer simplicity of preparation. There’s no tedious scooping, shaping, or rolling required. Instead, you simply press the mixture into a pan, let it set, and then slice it into perfect, uniform chocolate peanut butter bars. This streamlined process truly makes this no-bake cookie bar recipe one of the easiest and most convenient no-bake desserts you’ll ever make. Furthermore, these bars are incredibly versatile: they travel exceptionally well, making them ideal for potlucks, picnics, or school lunches, and they maintain their delicious texture and flavor beautifully at room temperature. Don’t hesitate – give these amazing bars a try!
The Evolution of No-Bake Cookie Bars
The inspiration for these delightful no-bake cookie bars actually came from a nostalgic source: an old church cookbook dating back to the 1970s. The original recipe was for classic no-bake cookies, the kind that require individual spoonfuls to be dropped onto wax paper. While those cookies are undeniably delicious, I realized there was an opportunity to make the process even simpler and more efficient. My idea was to take that beloved flavor profile and transform it into an easy-to-manage cookie bar, offering a fun and practical twist on the original classic.
And I’m thrilled to say, my idea worked out perfectly! The result is a treat that not only retains all the yummy goodness of the original but also offers unparalleled convenience. Beyond their incredible taste, the best part about this recipe for no-bake bars is their incredible versatility. They are perfect for virtually any occasion: a simple dessert after dinner, a quick snack to satisfy a craving, a delightful addition to lunch boxes, or even an impressive goodie for a bake sale. Their adaptability makes them a staple in our kitchen.
What Makes No-Bake Cookies and Bars Harden?
Understanding the science behind what makes no-bake cookies and bars set is key to achieving perfect results every time. These delightful treats rely on ingredients that are either naturally sticky or solidify at room temperature, allowing them to firm up on their own without the need for an oven. Key binding agents include sugars, fats like butter and peanut butter, and sometimes milk, which all contribute to the mixture’s structure.
Another crucial step in the setting process is the boiling of the initial mixture. This boiling phase serves two important purposes: it helps to dissolve the sugar completely, preventing a gritty texture, and more importantly, it reduces the moisture content in the batter. As moisture evaporates, the mixture thickens significantly, creating a denser base that will firm up properly. The exact boiling time, as specified in the recipe, is critical; too short, and your bars might turn out gooey, while too long can make them overly crumbly. Once removed from the heat and combined with the other ingredients, the cooling process allows these natural binders to solidify, resulting in that perfectly chewy or firm texture we love. While many no-bake recipes set beautifully at room temperature, some, particularly those with higher fat content or a desire for extra firmness, may benefit from a brief period of refrigeration or even freezing to achieve their optimal consistency.
Essential Ingredients for This No-Bake Chocolate Peanut Butter Bar Recipe
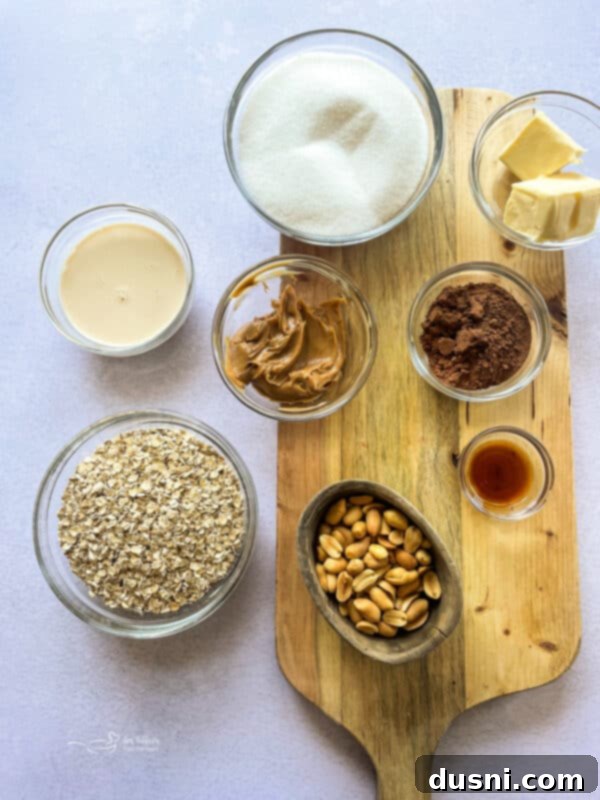
One of the many reasons this recipe for peanut butter cookie bars is such a winner is its reliance on simple, pantry-staple ingredients. You’re likely to have most, if not all, of these items on hand already. This recipe holds a special place in my repertoire of easy recipes – those reliable standbys I can whip up in a flash when a craving hits for something sweet, something salty, and a little bit crunchy. I firmly believe that everyone should have a trusty no-bake cookie recipe in their culinary arsenal for precisely these moments.
- Sugar: This recipe primarily calls for granulated sugar, which provides the essential sweetness and helps with the setting process. However, for a deeper, more nuanced flavor profile with hints of caramel, try using a blend of half granulated sugar and half light brown sugar. Both options yield delicious results!
- Cocoa: Unsweetened cocoa powder is your key to achieving that rich, deep chocolate flavor in these no-bake chocolate oatmeal bars. It perfectly complements the peanut butter without adding excessive sweetness.
- Evaporated Milk: This is a crucial binding agent in the recipe, contributing to the creamy texture. It’s important not to confuse it with sweetened condensed milk, which is much thicker and sweetened, and would alter the recipe significantly.
- Butter: I typically use unsalted butter in my baking to control the salt content. However, salted butter will work perfectly fine here, adding an extra layer of flavor that balances the sweetness.
- Peanut Butter: For the best results and a smooth, consistent texture, I highly recommend using creamy peanut butter. While natural peanut butter can be used, ensure it’s well-stirred to prevent separation, and be aware that it might yield a slightly different texture.
- Vanilla Extract: Pure vanilla extract is always preferred for its superior flavor, elevating the overall taste of the bars. If pure extract isn’t available, imitation vanilla will still work, but the depth of flavor might be slightly less pronounced.
- Rolled Oats: Quick-cooking rolled oats are absolutely essential for this recipe. They provide the necessary structure and a satisfying chewy texture. Do not substitute with steel-cut oats, as they have a completely different cooking time and texture and will not set properly in this no-bake application.
- Salted Peanuts: These are the secret ingredient for that delightful crunch and the irresistible sweet and salty contrast that makes these bars so addictive. They add another layer of texture and flavor that truly sets this chocolate peanut butter no-bake bar recipe apart.
How to Make Peanut Butter Cookie Bars: A Step-by-Step Guide
Get ready to create an amazing dessert with minimal effort! In just four straightforward steps, using only a handful of common ingredients, these no-bake bars come together in no time. This is truly my kind of dessert – quick, easy, and incredibly rewarding!
First Step: Prepare Your Pan
Begin by lining an 8×8 inch square baking pan with parchment paper. This simple step is vital for easy removal of your finished cookie bars. Once lined, lightly coat the parchment paper with butter or a non-stick cooking spray. This ensures nothing sticks, guaranteeing perfectly clean slices. Set the prepared pan aside, ready for the delicious mixture.
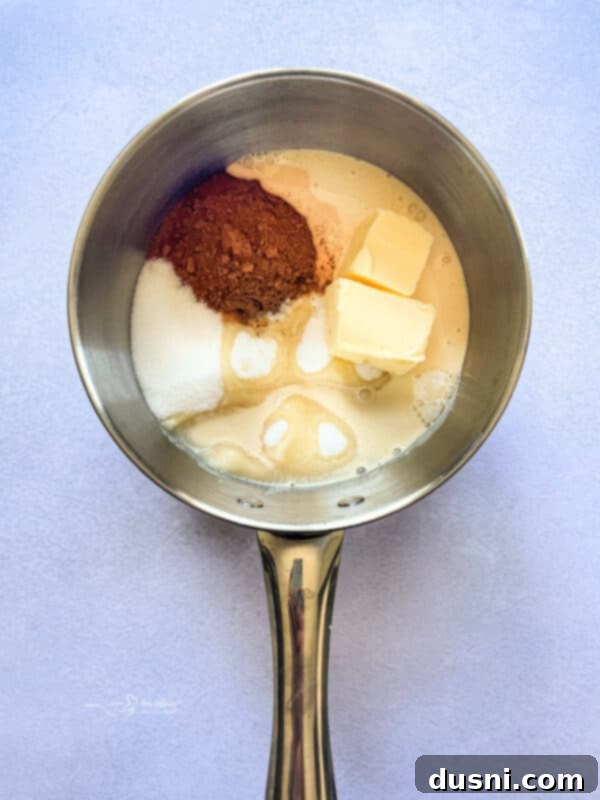
Second Step: Boil the Base Mixture
In a sturdy, heavy 2-quart saucepan, combine the granulated sugar, unsweetened cocoa, evaporated milk, and butter. Place the saucepan over medium heat. Stir continuously until all the ingredients are well incorporated and the mixture begins to simmer, displaying bubbles across the entire surface. Once boiling, continue to boil and stir for precisely 2 minutes more. This exact boiling time is crucial for the bars to set properly. After 2 minutes, immediately remove the saucepan from the heat.
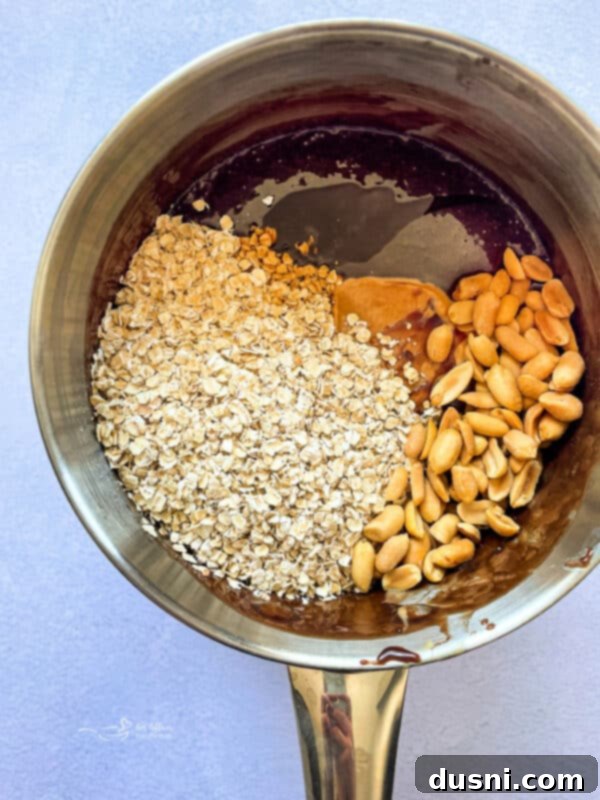
Third Step: Mix in Remaining Ingredients
Working quickly while the mixture is still hot, stir in the creamy peanut butter, pure vanilla extract, quick rolled oats, and salted peanuts. Continue mixing vigorously until the peanut butter has completely melted and all the ingredients are thoroughly combined. Ensure the oats and peanuts are evenly distributed throughout the rich chocolate-peanut butter base. This creates the delightful chewy and crunchy texture that makes these no-bake chocolate peanut butter bars so unique.
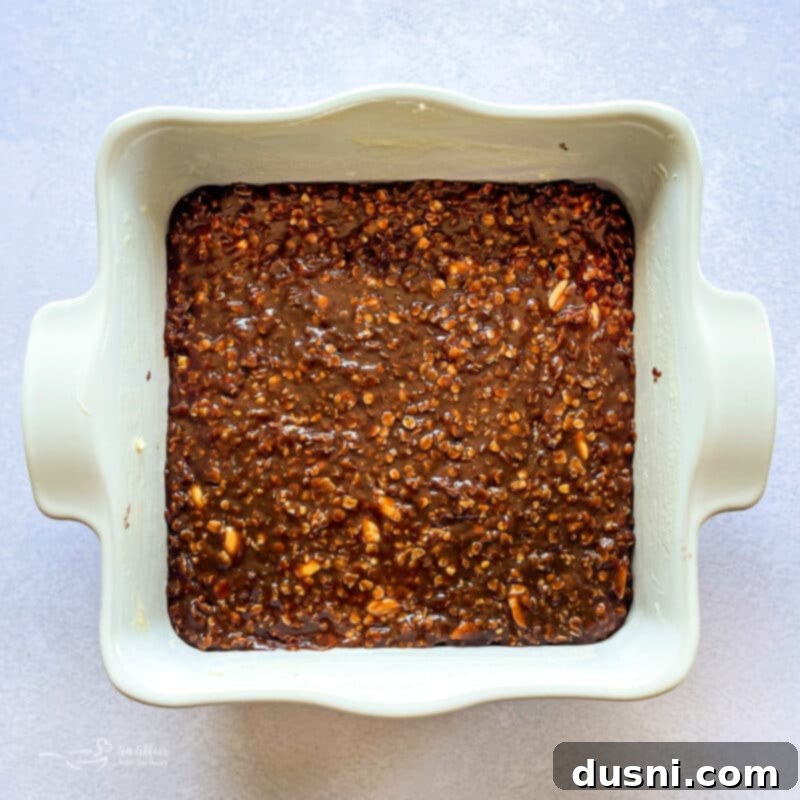
Fourth Step: Press and Set
Transfer the warm mixture immediately into your prepared baking dish. Using the back of a spoon, a spatula, or even your hands (lightly buttered to prevent sticking), press the mixture down very firmly and evenly into the pan. Compacting it tightly ensures your bars hold their shape beautifully. Let the pan sit at room temperature for at least 60 minutes, or until the bars are completely set and firm. Once firm, lift the parchment paper to remove the entire block of bars from the pan, then carefully cut them into 9 or 16 squares, depending on your desired serving size.
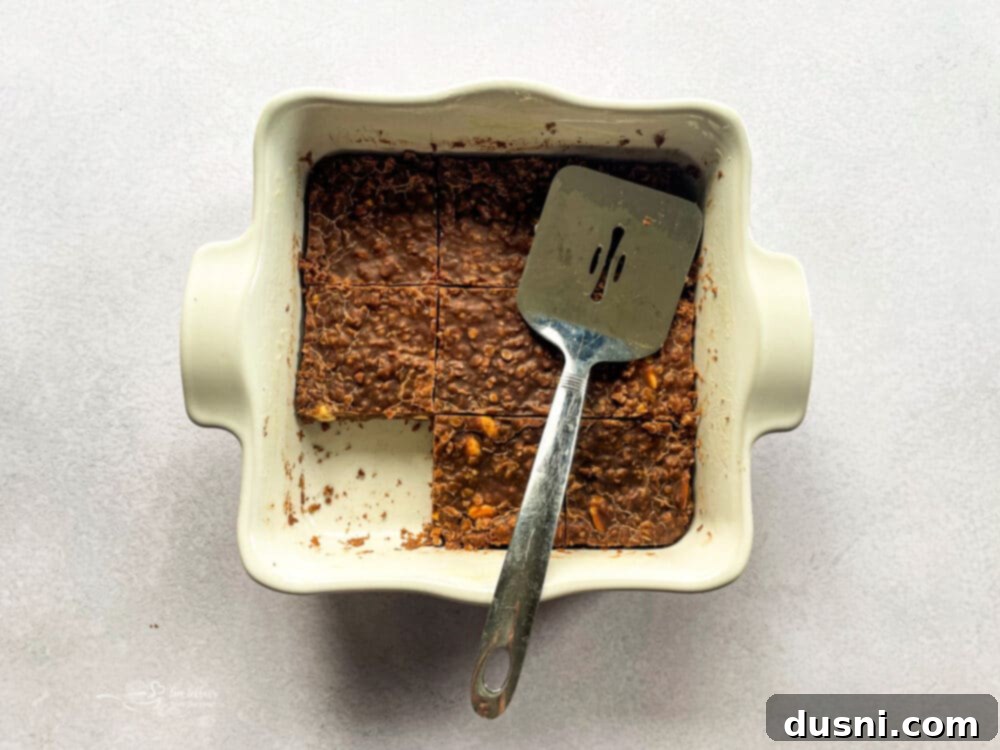
Pro Tip: These chocolate peanut butter no-bake cookie bars are incredibly rich! While cutting them into 9 generous squares is traditional, I often recommend cutting them into 16 smaller squares. This makes them the perfect bite-sized treat, ideal for portion control and sharing, and ensures everyone can enjoy a taste without feeling overwhelmed.
Storage and Shelf Life: How Long Do No-Bake Cookie Bars Last?
One of the many benefits of these no-bake chocolate peanut butter cookie bars is their excellent shelf life and ease of storage. Once fully set, your no-bake cookie bars will stay fresh and delicious for about a week when stored in an airtight container on your kitchen counter at room temperature. For an extended shelf life, you can place them in the refrigerator, where they will remain fresh for up to two weeks. If you want to prepare a batch well in advance or save some for a future craving, these bars freeze beautifully! Simply wrap them tightly in plastic wrap and then place them in an airtight freezer-safe container or bag. They can be frozen for up to 3 months and thawed at room temperature whenever you need a quick, sweet treat.
Love It? Pin It!
If you’re as excited about this Chewy Chocolate Peanut Butter No-Bake recipe as we are, don’t let it get lost in your bookmarks! Make sure to save this incredible recipe for later by pinning it to your favorite Pinterest recipe board before you go. This way, you’ll always have quick access to your new go-to easy dessert!
Frequently Asked Questions About No-Bake Cookies and Bars
Here are some common questions about making no-bake treats, along with helpful answers to ensure your success:
Why do my no-bake cookies or bars turn out gooey?
The most common reason for gooey no-bake cookies or bars is not boiling the mixture long enough. The boiling step is crucial for reducing moisture and allowing the sugars to reach a specific concentration that enables the mixture to set properly. If you cut the boiling time short, or if your heat wasn’t consistent, the mixture won’t thicken enough, resulting in a soft, unset, or gooey texture. Ensure you boil the mixture for the full 2 minutes as instructed in the recipe, stirring constantly over medium heat to achieve the desired consistency.
How long does it take for no-bake cookies to set?
Typically, no-bake cookie bars should set within 60 minutes at room temperature. However, the exact setting time can vary depending on several environmental factors. The temperature and humidity level in your kitchen play a significant role. In a warm, humid environment, they might take a bit longer to firm up. If you’re in a hurry, or if your kitchen is particularly warm, you can transfer the pan to the refrigerator for 20-30 minutes to speed up the setting process.
What can I substitute for peanut butter in these no-bake bars?
If you’re preparing these delicious bars for someone with a peanut allergy, or if you simply want to try a different flavor, you can certainly substitute the peanut butter with another type of nut or seed butter. Popular alternatives include almond butter, cashew butter, or for a nut-free option, sunflower seed butter (SunButter). Keep in mind that while these substitutions will work, the taste and subtle texture of the bars will obviously be different from the classic chocolate peanut butter combination. Always check labels to ensure your chosen substitute is genuinely allergen-free if that’s a concern.
Expert Tips & Tricks to Master No-Bake Bars with Peanut Butter
- Optimal Storage for Freshness: These no-bake chocolate peanut butter bars store exceptionally well! Keep them in an airtight container on your kitchen counter, and they will remain fresh and delicious for approximately one week. (Though, in our experience, they rarely last that long! 😉)
- “Mise en Place” for Success: Before you even begin the preparation process, take a moment to gather all your ingredients and measure them out. Having everything laid out on your counter, a technique known as “mise en place,” ensures a smooth and stress-free cooking experience, preventing last-minute rushes, especially during the crucial boiling stage.
- Room Temperature Butter and Peanut Butter: For easier mixing and a smoother, more uniform final texture, it’s best to bring both your butter and peanut butter to room temperature before you start preparing the recipe. This allows them to incorporate more readily into the hot mixture, preventing clumps and ensuring a consistent bar.
- Don’t Skimp on Boiling Time: As mentioned in our FAQ, the 2-minute boil is critical. Set a timer and stir continuously to prevent scorching. This step is what helps the bars set properly and prevents them from being gooey.
- Press Firmly: When pressing the mixture into the prepared pan, don’t be shy! Use firm, even pressure to ensure a dense, compact bar that holds together beautifully once cut. This also helps eliminate air pockets, leading to a more satisfying chew.
- Patience is a Virtue (for setting): While it’s tempting to cut into these delicious bars right away, allowing them to fully set at room temperature (or in the fridge if you’re impatient) will yield the best results. Rushing this step can result in crumbling bars.
More Irresistible Dessert Recipes to Love
My website is brimming with an array of delightful dessert recipes, especially a fantastic selection of no-bake desserts that are perfect for any occasion. Here are a few more favorites to inspire your next sweet creation:
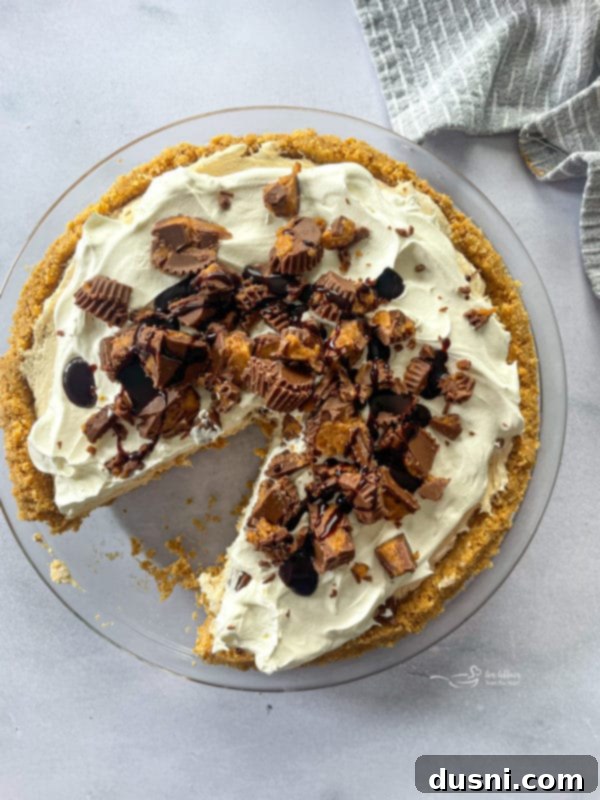
- No-Bake Peanut Butter Pie (pictured above): A creamy, dreamy pie with a rich peanut butter filling and a simple crust, requiring zero oven time. It’s light, decadent, and utterly satisfying for any peanut butter lover.
- Popcorn Cake: A fun, unique, and surprisingly delicious treat that combines the crunch of popcorn with sweet, gooey marshmallows. Perfect for parties and a real crowd-pleaser!
- No-Bake Marshmallow Cheesecake: Experience the classic creaminess of cheesecake without the baking. This recipe features a light, airy, and fluffy marshmallow-infused cheesecake filling atop a delectable crust.
- Haystack Cookies: Quick and easy clusters of chow mein noodles, peanuts, and butterscotch or chocolate that set up fast for a nostalgic, crunchy, no-bake treat.
- Old-Fashioned Strawberry Icebox Cake: Layers of crisp graham crackers, sweet whipped cream, and fresh strawberries come together to create a light, refreshing, and incredibly simple summer dessert.
- Lemon Icebox Pie: A zesty, creamy, and wonderfully tart pie that’s perfect for warm weather. With a delightful citrus kick and a refreshing no-bake filling, it’s a delightful palate cleanser.
I wholeheartedly promise that you will not be disappointed with these chewy, delightful no-bake chocolate peanut butter bars with oatmeal! They hit all the right notes: sweet, salty, chewy, and crunchy – a perfect symphony of textures and flavors in every bite. They truly are the ultimate easy dessert recipe.
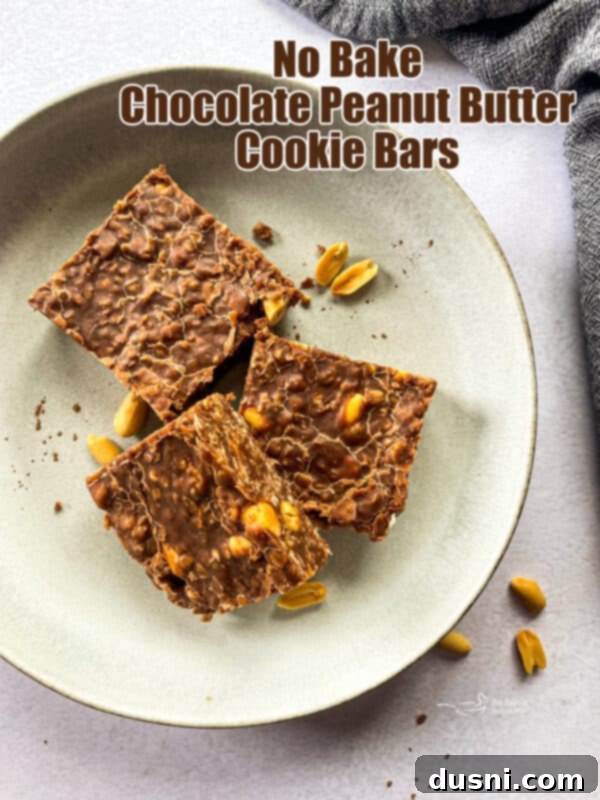
So, the next time you find yourself needing a quick, fuss-free, yet incredibly satisfying treat, make sure to give these No-Bake Peanut Butter Chocolate Cookie Bars a try! You’ll be amazed at how simple and delicious they are. Now, let’s get straight to the no-bake dessert recipe so you can start making these delightful bars today! Enjoy every scrumptious bite! 
LIKE THIS RECIPE?
Don’t forget to give it a ⭐️⭐️⭐️⭐️⭐️ star rating and
leave a comment below the recipe!
Print Recipe
No Bake Peanut Butter Chocolate Cookie Bars
Ingredients
- 1 ½ cups sugar
- ¼ cup cocoa
- ½ cup evaporated milk
- ⅓ cup butter
- ⅓ cup peanut butter
- 1 teaspoon vanilla
- 1 ½ cups quick rolled oats
- ½ cup salted peanuts
Instructions
-
Line an 8×8 baking dish with parchment paper and lightly butter it. Set aside.
-
In a heavy 2-quart saucepan, combine sugar, cocoa, milk, and butter. Stir over medium heat until the mixture has bubbles all over the top. Boil and stir for 2 minutes more. Remove from heat.
-
Stir in peanut butter, vanilla, oatmeal, and peanuts until melted.
-
Press mixture tightly into the prepared dish. Let it sit until set, and cut into 16 squares.
