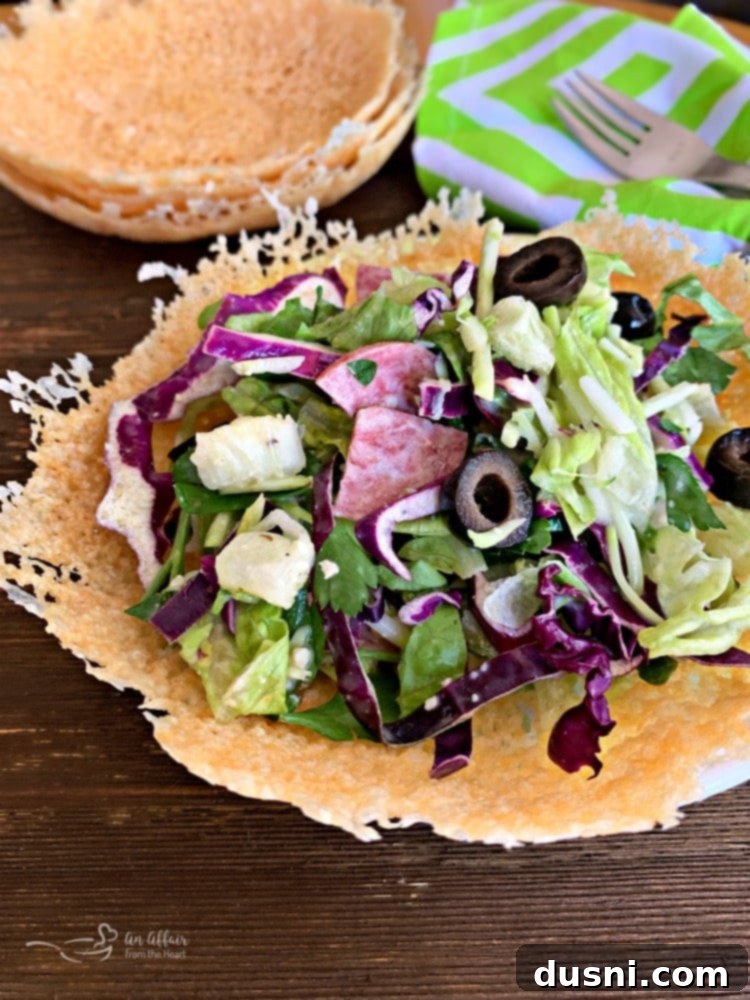
Create Stunning Edible Parmesan Cheese Bowls in Your Microwave: The Ultimate Guide
Today, we’re diving into the simple yet impressive world of creating your very own Parmesan cheese bowls using just your microwave. Forget boring serving dishes; these edible works of art are perfect for any occasion, from casual weeknight dinners to elegant dinner parties.
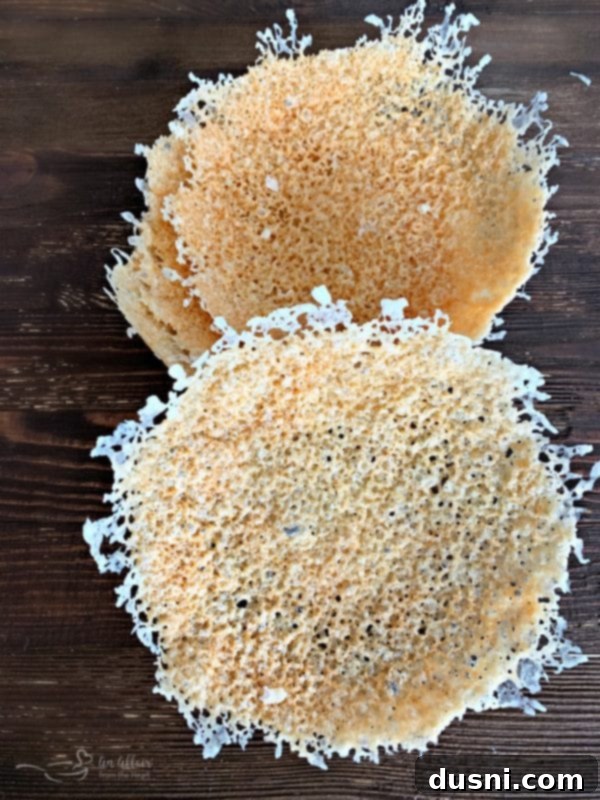
The inspiration for these delightful edible bowls dates back to 2013, when I first made them for a special Valentine’s Luncheon with my girlfriends. My friend, Sheri, had encountered them at a party and shared the brilliant idea, and I instantly knew I had to give them a try. The concept of serving individual salads in a savory, crispy cheese bowl was simply too exciting to pass up!
That year, our luncheon theme was “salad and pizza,” and these homemade Parmesan cheese salad bowls, along with a delicious Spinach Artichoke Pizza, were undoubtedly the stars of the party. It’s hard to resist the allure of all that rich, savory *cheeeese*, especially when it’s transformed into such an elegant and functional serving piece!

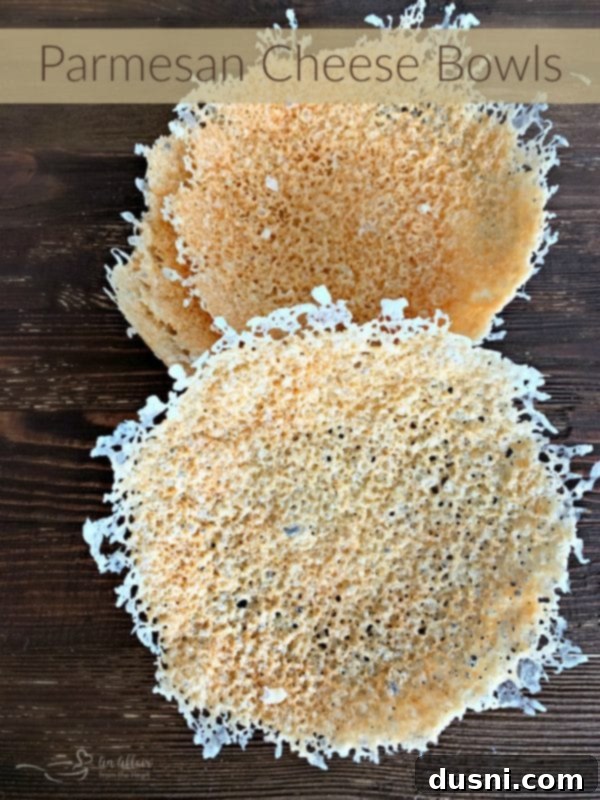
Over the years of perfecting these edible bowls, one crucial lesson has emerged: the quality of your cheese makes all the difference. While my initial attempts in 2013, as you can see from the old photo, produced pretty bowls, the taste wasn’t quite as exquisite as it could be. The secret? Grating your own fresh Parmesan cheese.
Why Grating Your Own Parmesan Cheese is Essential for Perfect Bowls:
Choosing the right Parmesan is not just a preference; it’s a game-changer for both the taste and texture of your edible cheese bowls. Here’s a closer look at why fresh, block Parmesan should always be your go-to:
- Superior Taste: When you grate your own cheese from a block, you’re getting the pure, unadulterated flavor of high-quality Parmesan. Packaged pre-shredded cheeses often contain anti-caking agents and other additives to prolong shelf life and prevent clumping. These chemicals can impart a subtle, less authentic flavor, diminishing the rich, nutty notes that define true Parmesan. Freshly grated cheese delivers a vibrant, robust taste that elevates your edible bowls from good to truly gourmet.
- Optimal Melting Properties: This is perhaps the most critical factor for achieving that stunning lattice effect and the perfect bowl shape. The anti-caking agents, typically starches like cellulose, added to pre-shredded cheese are designed to keep the cheese shreds separate. While useful for preventing a sticky mess in the bag, these starches inhibit the cheese from melting smoothly and evenly. Freshly grated Parmesan, free of these additives, melts into a beautiful, homogenous pool, allowing it to bubble, brown, and then cool into a perfectly formed, crispy bowl with a delicate, intricate pattern.
- Greater Economy and Value: Don’t be swayed by the seemingly lower price tag of an 8-ounce bag of pre-shredded cheese compared to an 8-ounce block. In reality, you typically get more usable cheese from a block of the same size. The “convenience charge” associated with pre-shredded options includes the cost of processing, packaging, and those added anti-caking agents. Buying a block often means you’re paying for pure cheese, leading to better value in the long run. Plus, the fresh flavor and melt quality are priceless!
- Unbeatable Texture: The smooth melt of fresh Parmesan results in a consistent, crispy texture throughout the bowl. Pre-shredded cheese can sometimes yield a slightly grainy or inconsistent bowl due to the starches interfering with the melt. The “lattice” effect that makes these bowls so visually appealing is best achieved when the cheese melts and spreads naturally, forming those beautiful open spaces as it cooks.
- Avoid Canned Parmesan Entirely: For the love of all things delicious, please do not use canned “Parmesan.” This product is often a blend of various cheeses and fillers, designed for convenience over quality. It simply does not possess the melting characteristics or the authentic flavor necessary to create these elegant and tasty edible bowls. Its texture and chemical profile will prevent it from forming properly, resulting in a disappointing outcome.
So, make the wise choice: invest in a good block of real Parmesan cheese, grab your grater, and prepare to be amazed. You’ll not only see and taste the remarkable difference but also get a little arm workout in the process! I promise, the extra effort is absolutely worth it for the incredible results.
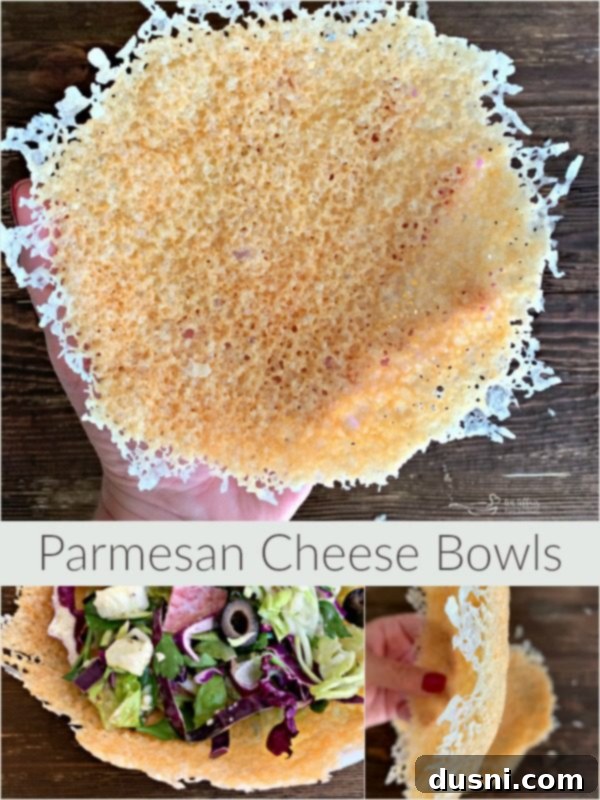
^Love these? Pin this Recipe!^
Now that we’ve firmly established the golden rule of cheese selection (freshly grated is non-negotiable!), let’s gather the other essential tools you’ll need to successfully create these incredible edible Parmesan cheese bowls.
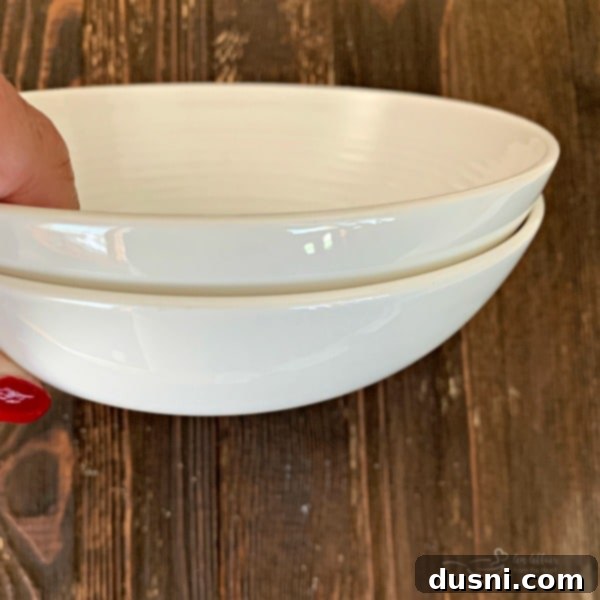
You will need two microwave-safe dinner plates, a roll of good quality parchment paper, and most importantly, two microwave-safe nesting bowls. The key to successful bowl formation lies in your nesting bowls: ensure they are not too large and that one can fit snugly inside the other. My standard set of dinnerware bowls worked perfectly for this purpose, but any similar pair will do.
Step 1: Prepare Your Shaping Station
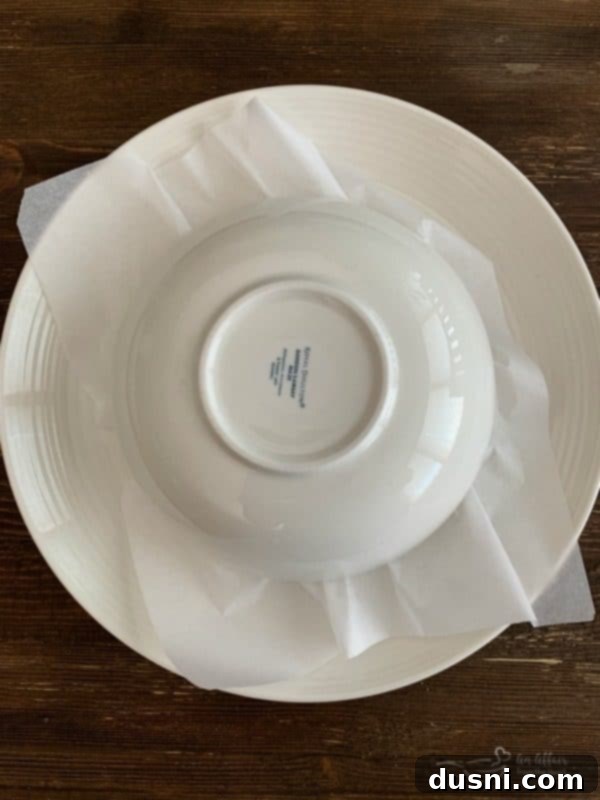
Begin by selecting one of your microwave-safe dinner plates. Invert one of your nesting bowls directly onto this plate. This will serve as the mold for your cheese bowl as it cools and sets. Set this prepared plate and inverted bowl aside for a moment.
Step 2: Portion and Shape the Cheese
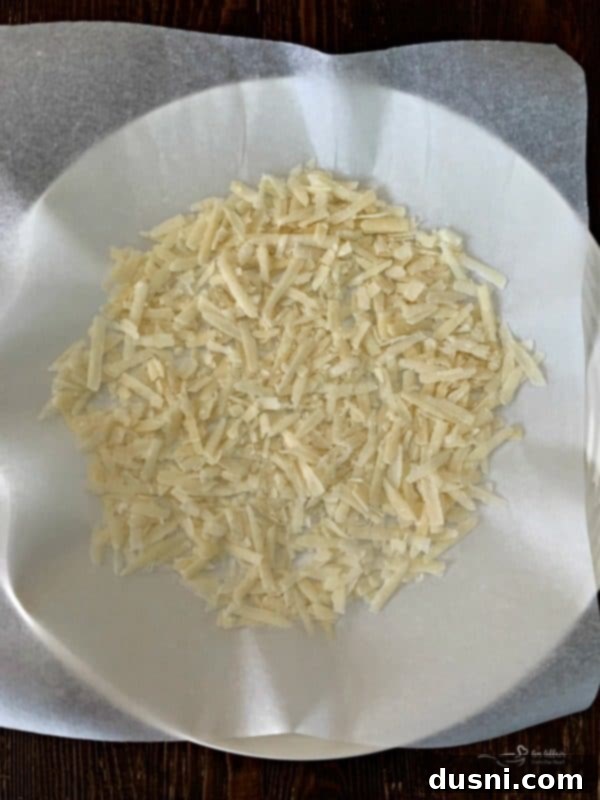
Next, cut a piece of parchment paper to comfortably cover your second microwave-safe plate. Place this parchment paper on the plate. In the very center of the parchment, place approximately 1/2 cup of your freshly grated Parmesan cheese. Using your fingers, gently spread the cheese into a circular disc. This disc should be about 1/2 inch larger in diameter than the mouth of the bowl you’ll be using for molding. Don’t worry about achieving a perfect circle; slight irregularities add to the rustic charm. Small gaps or holes are also completely fine – these actually contribute to the beautiful, delicate “lattice” effect once the bowls are finished, giving them an artisan look.
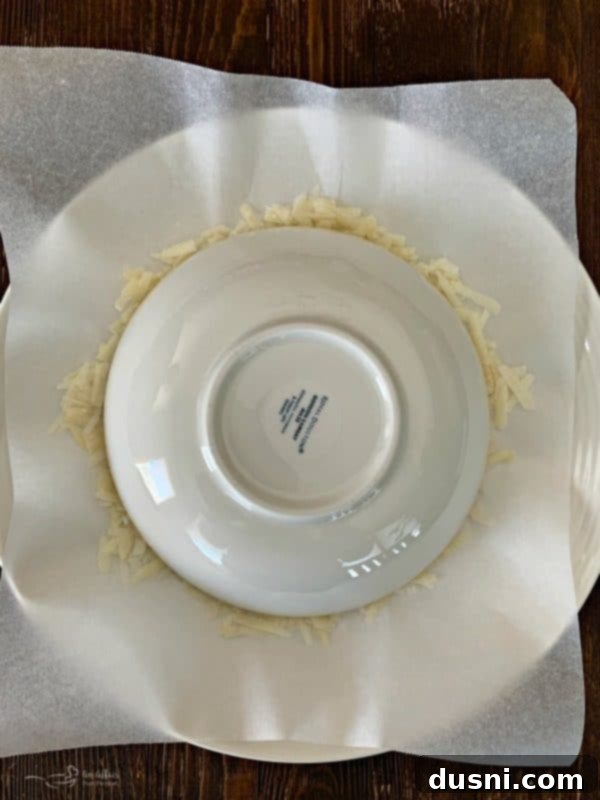
The goal is a relatively even layer of cheese that will melt consistently. The slight excess in diameter ensures that when draped over your inverted bowl, it will form a nicely shaped bowl with some height.
Step 3: Microwave and Melt
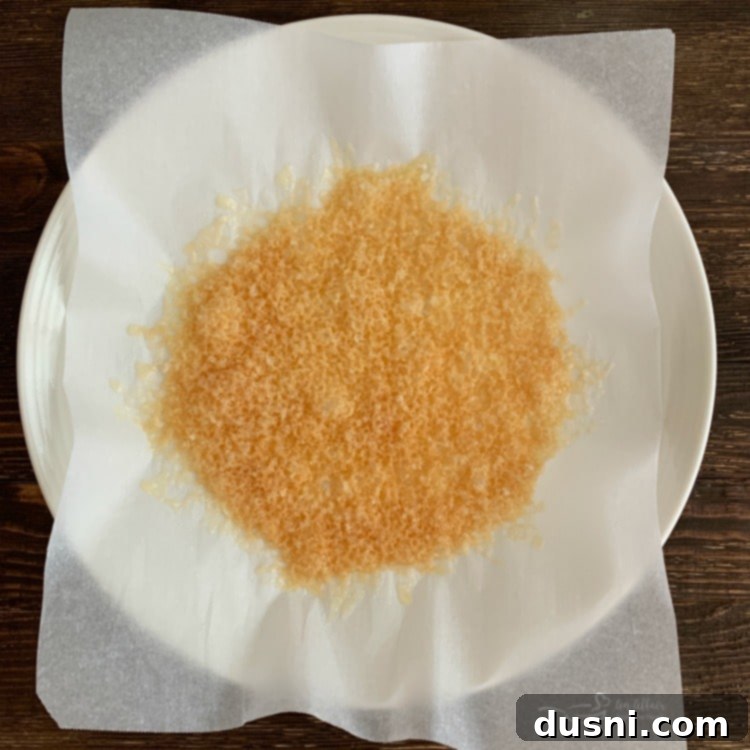
Carefully place the plate with the cheese and parchment paper into your microwave. Cook on high for approximately 2 minutes. Microwave wattages vary, so keep a close eye on your cheese. You’re looking for it to bubble vigorously and begin to brown around the edges. It should look like a crispy, melted disc. If your microwave is higher wattage, you might need slightly less time, and for lower wattage, a little more. The browning is key to achieving crispness.
Step 4: Form the Bowl Shape
Once cooked, immediately and *very carefully* (the cheese and plate will be extremely hot!) remove the plate from the microwave. Working quickly, pick up the parchment paper with the melted cheese on it, and invert it directly onto the pre-positioned upside-down bowl on your other dinner plate. The melted cheese will now drape over the inverted bowl. Immediately place the second nesting bowl on top of the cheese, pressing down gently but firmly to mold the hot cheese into the desired bowl shape. This swift action is crucial while the cheese is still pliable.
Step 5: Cool and Release
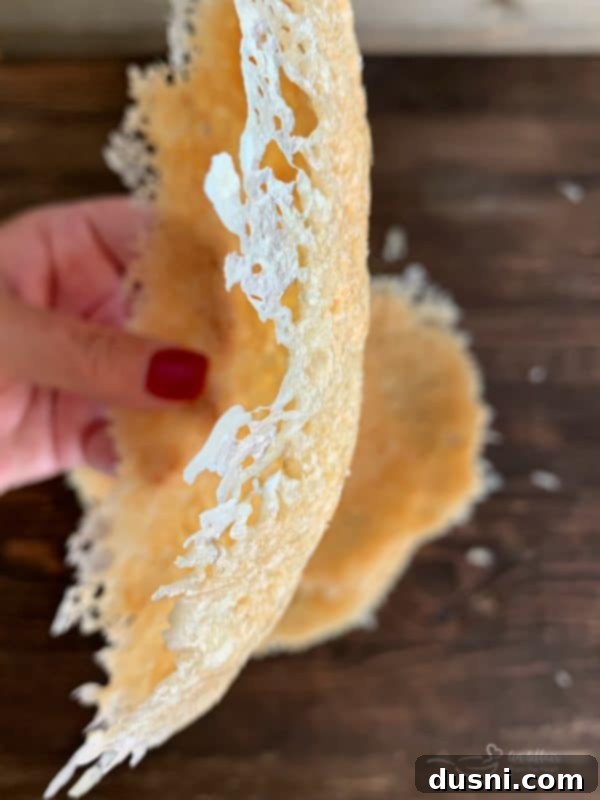
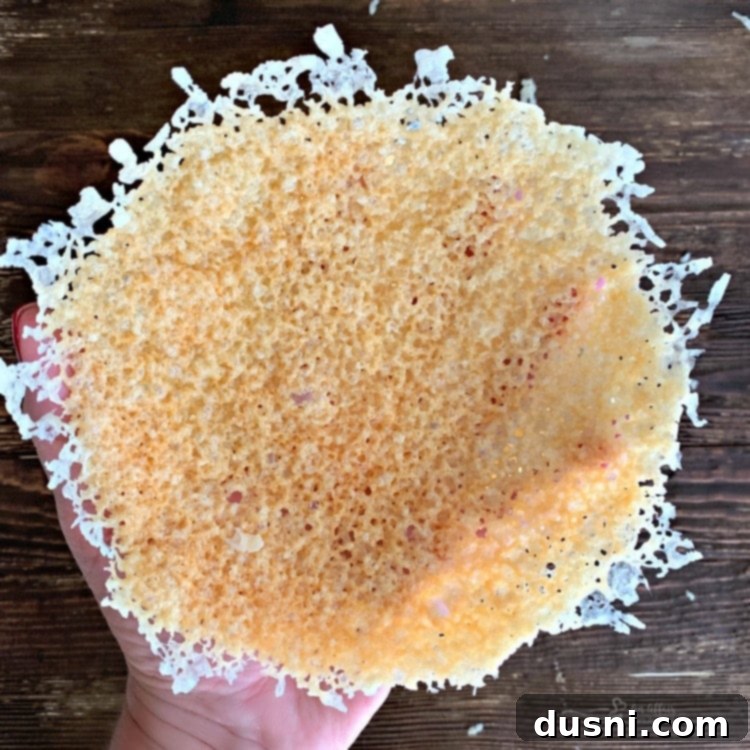
Allow the cheese to cool and set on the bowl for about 30 seconds. While still warm, carefully lift the newly formed cheese bowl off the inverted molding bowl. The Parmesan crisps cool very quickly, so don’t wait too long. Once completely cool and firm, they can be stacked gently for storage until ready to use. I found that a single piece of good quality parchment paper could be reused for all four bowls without any issues.
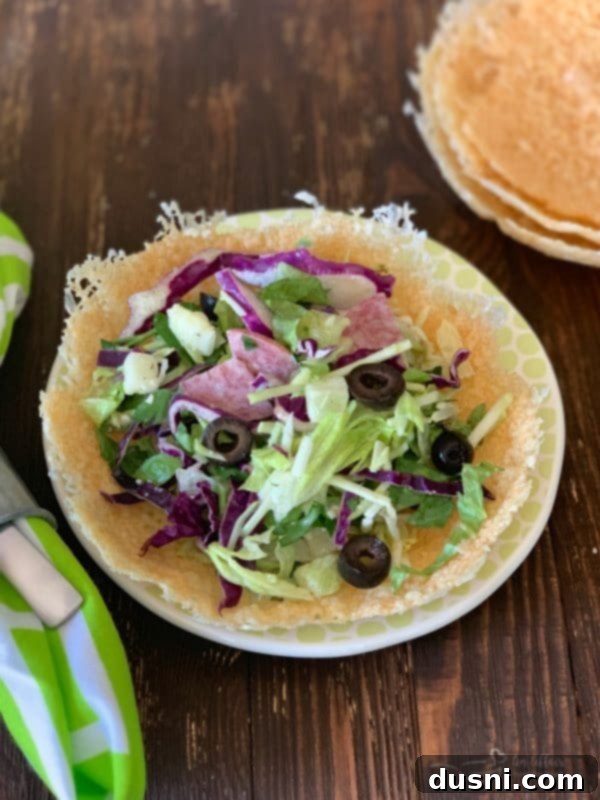
These Parmesan cheese bowls are incredibly versatile. I often fill them with a vibrant Italian chop salad, but the possibilities are endless! Imagine them holding a fresh Caprese salad, a creamy Caesar salad, or even individual servings of pasta primavera. The only real challenge? Keeping my family from devouring them before the salad even makes it inside! They are incredibly addictive, much like a gourmet Parmesan cheese crisp, but in a functional bowl form.
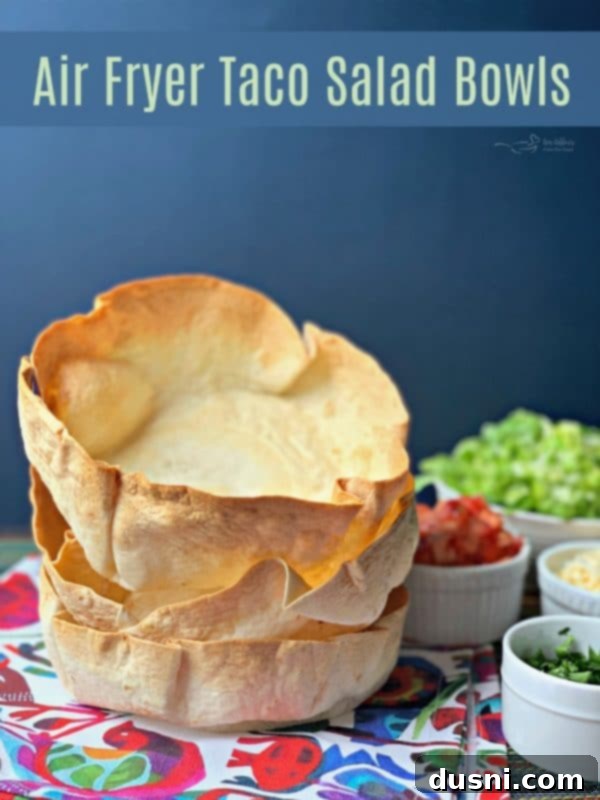
If you’re as enchanted by these edible Parmesan cheese bowls as I am, you’ll also love experimenting with other edible bowl ideas. For instance, you might enjoy making these fantastic Air Fryer Taco Salad Bowls the next time taco night rolls around!
There’s no better time than now to add a touch of edible elegance to your table. So, let’s get those Parmesan cheese salad bowls made and ready to impress!

LIKE THIS RECIPE?
Don’t forget to give it a ⭐️⭐️⭐️⭐️⭐️ star rating and
leave a comment below the recipe!
Print Recipe
Parmesan Salad Bowls
Prevent your screen from going dark
Ingredients
- 2 cups of grated fresh Parmesan cheese. not the canned stuff!!
- Good quality parchment paper
- *2 nesting bowls or see my comments below for alternatives
- 2 microwave safe dinner sized plates
Instructions
-
Invert one microwave-safe bowl onto a dinner-sized plate, and set aside. This will be your mold.
-
Cut a piece of parchment paper to cover your second microwave-safe plate. In the center of the plate, on the parchment paper, place about 1/2 cup of freshly grated Parmesan cheese and spread it into a circle with your fingers. It should be approximately 1/2 inch larger than the mouth of your molding bowl. Small holes are fine; they create a beautiful lattice effect.
-
Place the plate with the cheese into the microwave and cook on high for 2 minutes. The cheese will bubble vigorously and start to brown around the edges, indicating it’s becoming crispy. Adjust time slightly if your microwave has different wattage.
-
Carefully remove the hot plate from the microwave. Immediately and with great caution (IT’S HOT!), flip the parchment paper with the melted cheese upside down onto the inverted molding bowl you prepared earlier. Quickly cover it with your second nesting bowl, pressing down gently but firmly to shape the hot, pliable cheese into a bowl form.
-
Allow the cheese to sit on the mold for about 30 seconds. While it is still warm and slightly flexible, carefully lift the Parmesan cheese bowl off the molding bowl. These bowls cool quickly, so ensure they are fully cooled and hardened before attempting to stack them or fill them.
-
You can reuse the same piece of good quality parchment paper for all four bowls without any issues.
Notes
Nutrition
Serving: 1
|
Calories: 210kcal
|
Carbohydrates: 7g
|
Protein: 14g
|
Fat: 14g
|
Saturated Fat: 8g
|
Polyunsaturated Fat: 4g
|
Cholesterol: 43mg
|
Sodium: 902mg
