The Ultimate Creamy Snow Ice Cream: Easy Recipe with Sweetened Condensed Milk & Vanilla
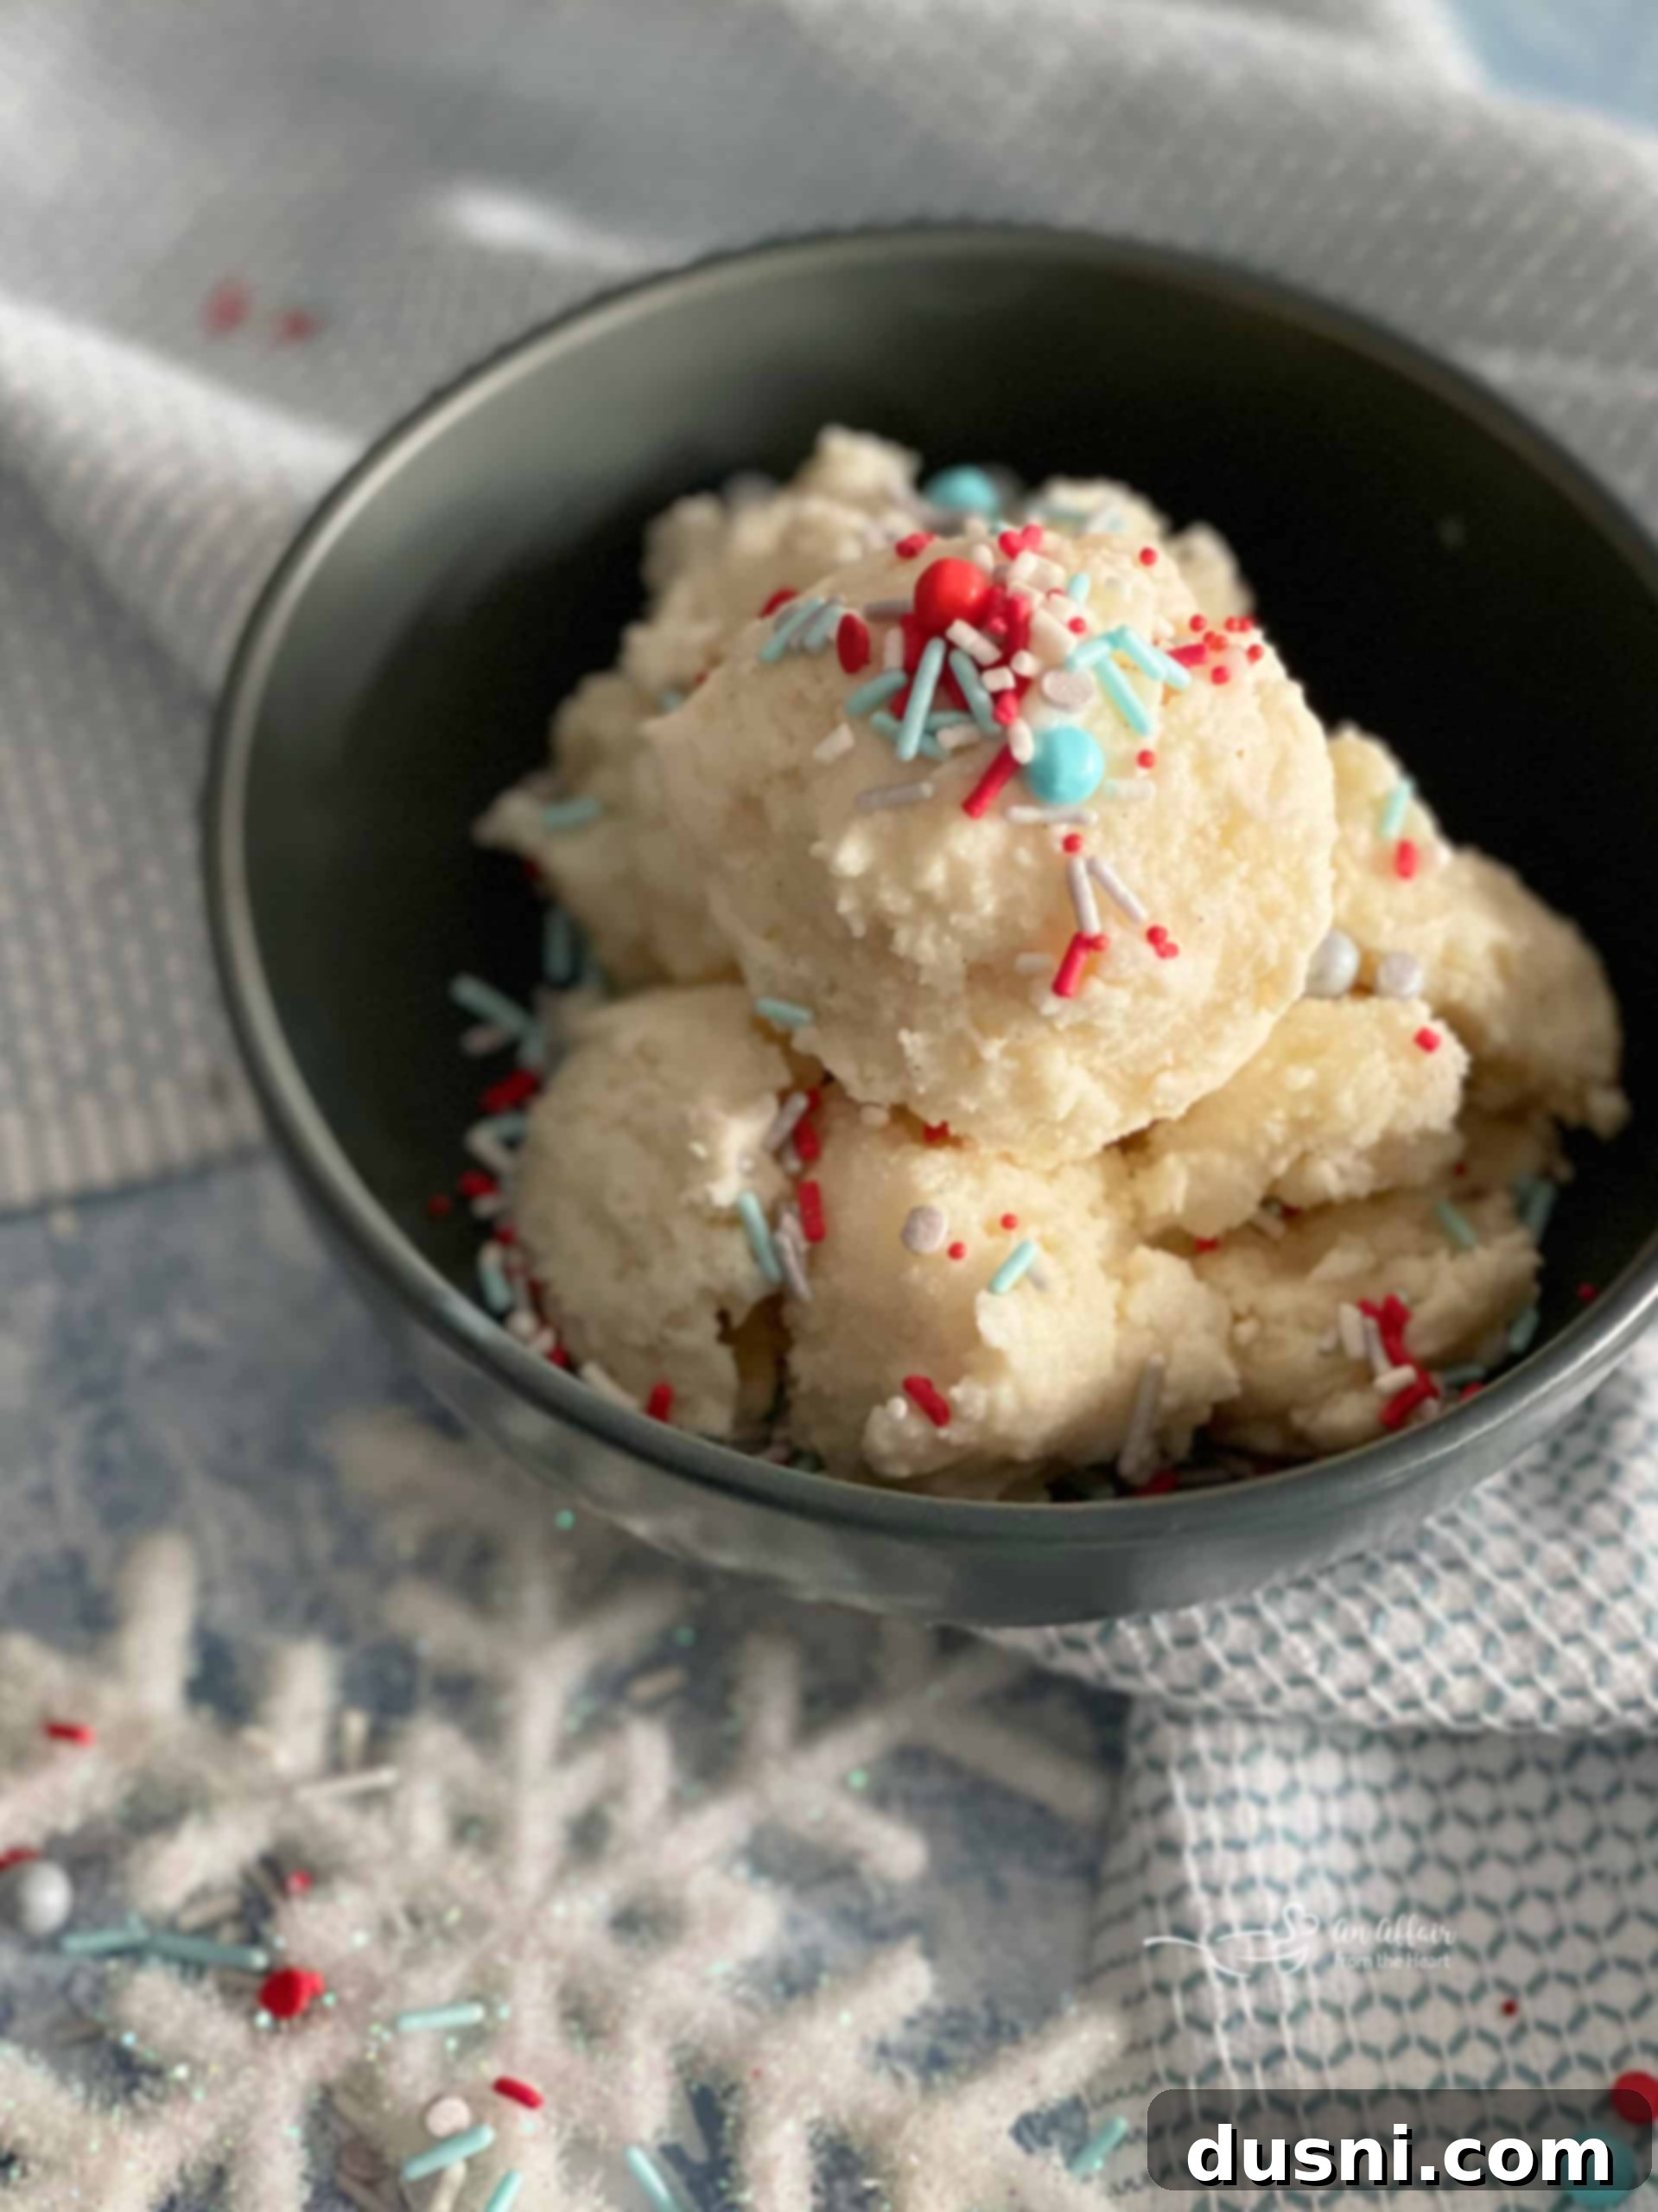
Dive into a whimsical winter wonderland with this incredibly simple and deliciously creamy snow ice cream! Made effortlessly with just a few basic ingredients like fresh snow, sweetened condensed milk, and a hint of vanilla, this delightful treat is perfect for a cozy snow day. Forget complicated recipes or special equipment; this recipe brings the magic of a snowy afternoon right to your spoon. Top your creation with your favorite ice cream toppings or a generous sprinkle of colorful joy to make it truly your own.

Embracing the Magic of a Snow Day with Homemade Ice Cream
This winter has certainly brought its share of surprises, and for many of us, the frosty temperatures have been relentless. Here in Nebraska, we’re no strangers to snow, but the biting cold can sometimes feel never-ending. What makes it all worthwhile, however, is when that glorious, fresh snow finally arrives, transforming the drab winter landscape into a pristine, white canvas. While some winters bless us with abundant snow days, this season seemed to tease us, with storms veering north, south, or simply around us, leaving us with “cold days” but no true “snow days” for the kids.
That all changed yesterday! The perfect fluffy snow finally descended, creating an ideal setting for some much-needed indoor fun. With the children happily home, I found myself in the kitchen, the comforting aroma of baking peanut butter cookies filling the air, and a pot of bubbling homemade chicken noodle soup simmering on the stove. It was the perfect moment to ask, “Hey, guys – do you want to make some snow ice cream?” The response was an immediate and enthusiastic chorus of “Yay! SNOW ICE CREAM!” A simple question, yet it unlocked a wave of excitement, transforming an ordinary chilly afternoon into a memorable family adventure.
There’s something uniquely enchanting about taking something as ephemeral as freshly fallen snow and turning it into a delicious dessert. It’s a tradition that evokes childhood joy and adds an extra layer of sweetness to any snow day. This particular recipe, utilizing sweetened condensed milk, offers a delightfully creamy texture that elevates the experience beyond what you might expect from such a straightforward treat.
Exploring Different Snow Ice Cream Recipes
While making snow ice cream is a cherished family tradition, this particular time marked our first attempt using a recipe featuring sweetened condensed milk. I had heard whispers and recommendations from others about its superior creaminess and couldn’t resist giving it a try. The results were truly delightful, offering a richer, more luxurious texture than some of the older methods.
For as long as I can remember – truly, since I was a little girl – my go-to recipe for Snow Ice Cream came from my first-grade teacher. It was the recipe we always made as kids, a simple concoction passed down through generations of school children. That traditional version is more akin to an “ice milk” than a rich ice cream, primarily because it relies on regular milk as its base. It has its own unique charm: it can easily be adapted to be dairy-free, and best of all, you can eat it almost immediately, a huge plus for impatient little ones (and adults!).
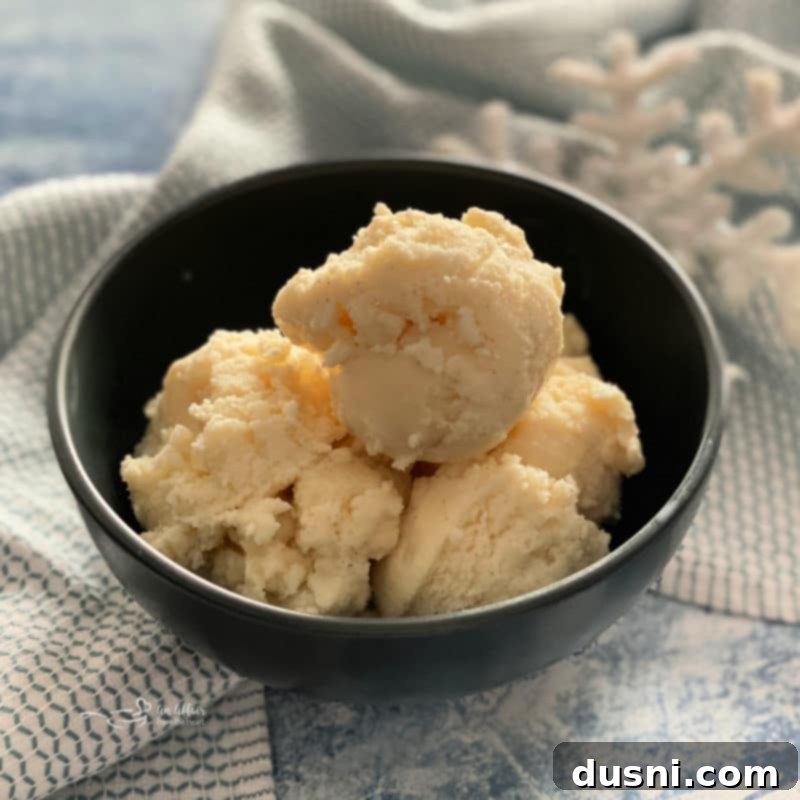
However, this recipe, often attributed to culinary icons like Paula Deen, takes a slightly different approach. By incorporating sweetened condensed milk, it achieves a noticeably creamier, more decadent texture. The trade-off is that it does require a little time in the freezer to firm up before it’s ready to scoop, but trust me, the wait is absolutely worth it for that luscious, smooth finish. Each recipe offers a distinct experience, from the light, quick satisfaction of the “ice milk” to the velvety richness of the sweetened condensed milk version, ensuring there’s a snow ice cream for every preference.
The Evolution of Old Fashioned Snow Cream
The concept of using freshly fallen snow to create a frozen treat isn’t new; it’s a nostalgic practice that dates back generations. In the 1950s, this delightful winter dessert was commonly known as “snow cream.” The preparation back then was a bit more elaborate than our modern, instant versions. It typically involved making a traditional vanilla custard on the stovetop, often enriched with eggs, which would then be cooled before being carefully mixed with fresh snow. While undoubtedly delicious, that sounds like a considerable amount of work, doesn’t it?
Interestingly, my own original snow ice cream recipe, the one from my first-grade teacher, also called for eggs. This was a common practice in the 1970s and earlier, when knowledge about the risks of consuming raw eggs wasn’t as widespread as it is today. Despite having consumed it with raw eggs many times in my youth and still being here to tell the tale, I’ve since opted to leave them out of my modern rendition. While the old custard option did cook the eggs, ensuring safety, I’m a firm believer in instant gratification and streamlining recipes to avoid unnecessary steps. Why add complexity when simplicity can deliver such fantastic results?
Today, our focus is on capturing that authentic snow cream flavor and texture without the added fuss or concerns about raw ingredients. This modern approach keeps the tradition alive while embracing convenience and safety, ensuring that everyone can enjoy this classic winter delight with peace of mind. It’s all about getting to that moment of pure enjoyment as quickly and easily as possible!
Simple Snow Ice Cream Ingredients for a Quick Treat
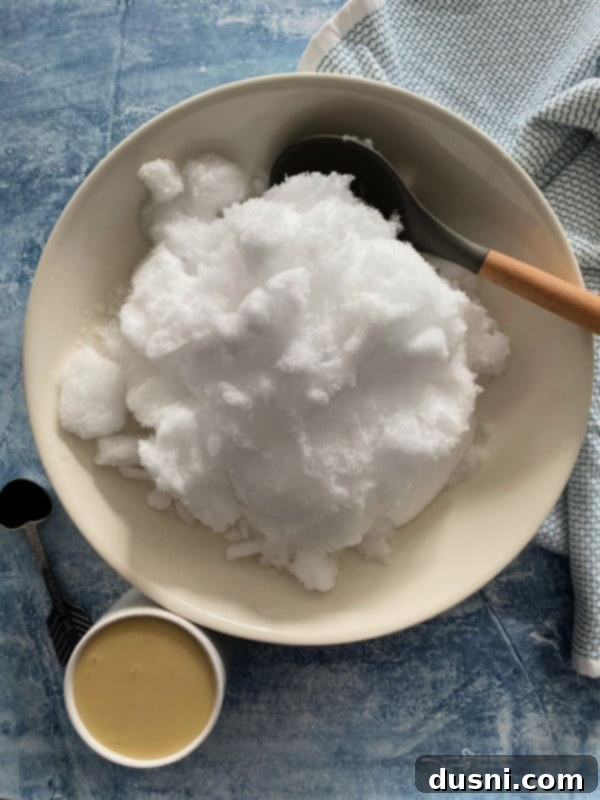
One of the most appealing aspects of this snow ice cream recipe is its incredibly short and sweet ingredient list. It truly doesn’t get much easier than combining a can of sweetened condensed milk, a dash of vanilla extract, and, of course, a generous amount of clean, white, fluffy snow. If you live in a region fortunate enough to experience regular snowfall, this recipe is a must-try. However, for those in warmer climates, this particular frozen delight might pose a charming, albeit logistical, challenge!
Let’s talk about vanilla. While standard vanilla extract works perfectly well and yields a delicious result, I personally love elevating the flavor profile by using vanilla bean paste. It imparts an extra depth of rich, nuanced vanilla flavor, complete with visible speckles of vanilla bean that hint at its premium quality. My favorite is this organic one from Taylor & Colledge, which offers an exceptional aroma and taste. But please, don’t fret if you don’t have vanilla bean paste on hand; it’s by no means a deal-breaker. A good quality vanilla extract will still make your snow ice cream incredibly tasty. The key is simply to ensure your ingredients are fresh and ready to combine with nature’s frozen gift.
Tips for Collecting Snow
Before you begin, make sure to collect fresh, clean snow. The best snow for ice cream is typically found after a recent snowfall, especially if it’s fluffy and untouched. Avoid snow that has been on the ground for a long time, near roads, or in areas where it might have picked up impurities. A clean bowl or container is essential for gathering your pristine white base.

How to Make Creamy Snow Ice Cream with Sweetened Condensed Milk
This recipe is wonderfully straightforward, making it an ideal activity for all ages. Here’s a step-by-step guide to creating your own magical winter treat:
- Gather Your Tools: You will need a very large mixing bowl. The snow will melt slightly as you mix, so a generous-sized bowl will help contain it all.
- Combine the Ingredients: Start by adding your collected clean snow to the large bowl. Pour the entire can of sweetened condensed milk over the snow. Add your vanilla extract (or vanilla bean paste) to the mixture.
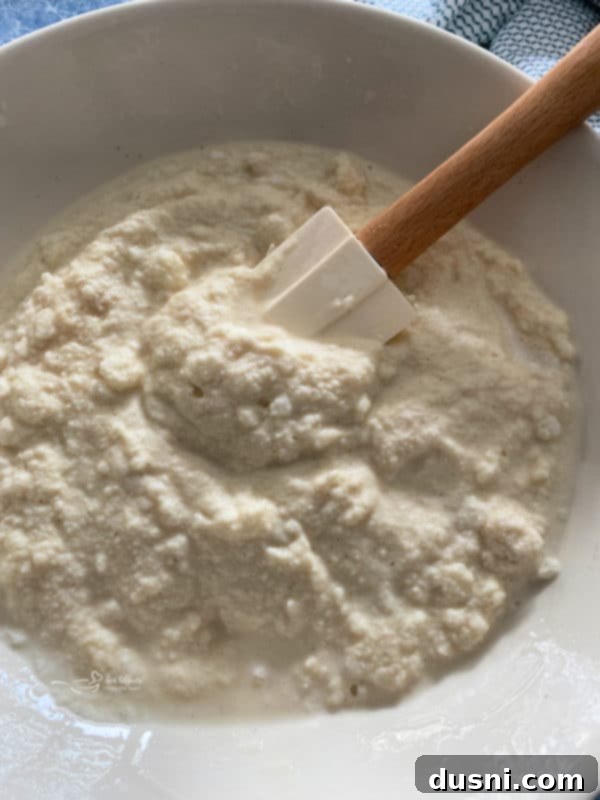
- Mix Until Smooth: Using a large spoon or spatula, gently fold and stir all of the ingredients together. Continue mixing until the sweetened condensed milk and vanilla are fully incorporated into the snow. The mixture will initially be very loose and slushy, resembling a very thick milkshake or a soft-serve consistency. Ensure there are no pockets of plain snow or unmixed liquid.
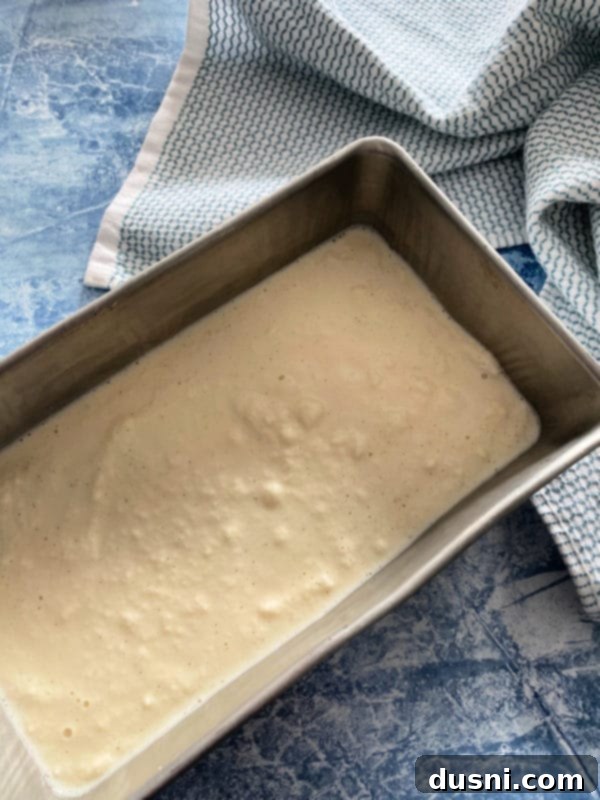
- Prepare for Freezing: Once thoroughly combined and slushy, pour the mixture into a metal baking pan. A loaf pan works perfectly for this, but any shallow metal pan will do. Metal conducts cold well, helping your ice cream freeze more quickly and evenly.

- Chill and Enjoy: Place the pan in the freezer. In a couple of hours, your creamy snow ice cream will be perfectly firmed up and ready to scoop and enjoy! The freezing time can vary depending on your freezer’s temperature and the pan’s size, so check periodically for your desired consistency.
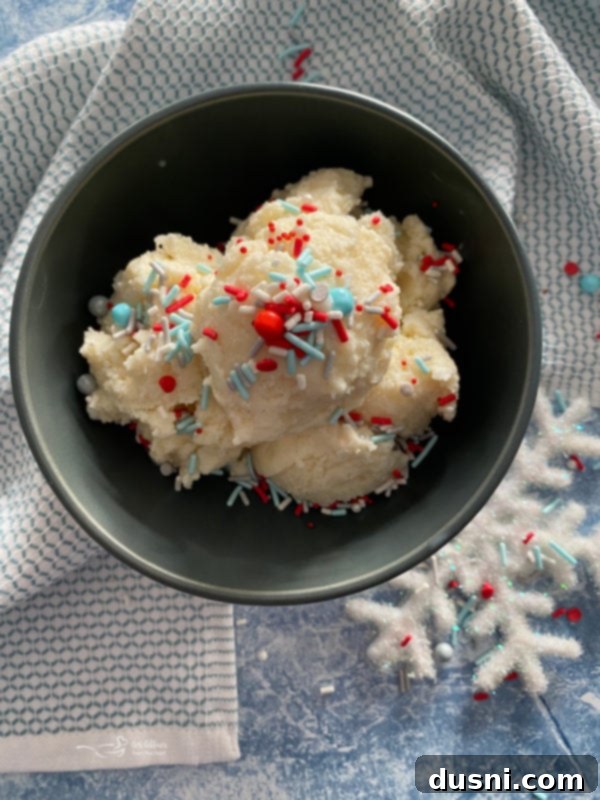
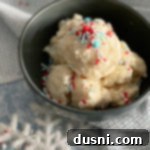
Adding some sprinkles always makes it more fun, right? It’s a fantastic way to customize each serving and add a pop of color to this delightful winter treat!
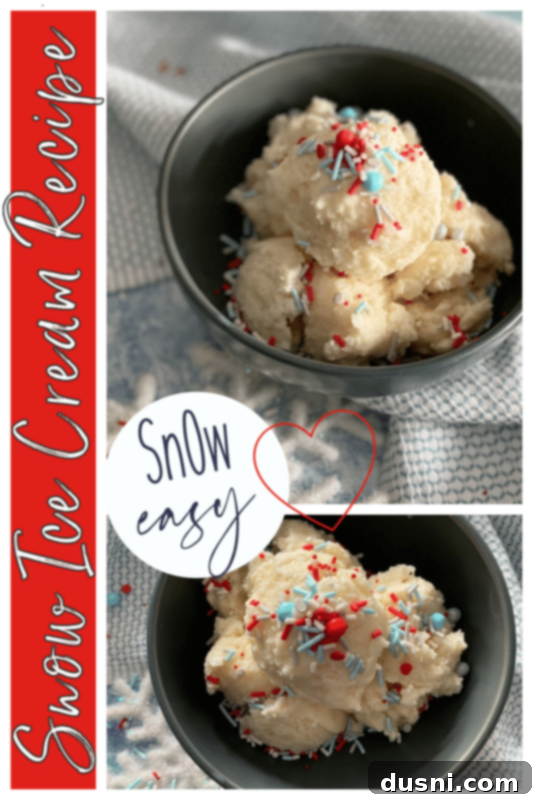
Serving Suggestions and Toppings
While snow ice cream is delightful on its own, adding toppings can turn it into an even more festive dessert. Classic choices include chocolate syrup, caramel sauce, or a drizzle of honey. For fruit lovers, fresh berries or sliced bananas make a wonderful addition. Whipped cream and a cherry on top always elevate any ice cream experience. And, of course, a variety of colorful sprinkles, chopped nuts, or even crushed cookies can add both texture and visual appeal. Get creative and let your imagination run wild!
Why You’ll Love This Recipe
This sweetened condensed milk snow ice cream stands out for several reasons:
- Effortless Preparation: With minimal ingredients and simple steps, it’s a fuss-free dessert perfect for spur-of-the-moment snow day fun.
- Creamy Texture: The sweetened condensed milk ensures a smoother, richer consistency compared to traditional milk-based versions.
- Nostalgic Charm: It’s a wonderful way to create new family traditions or relive cherished childhood memories.
- Kid-Friendly Activity: Gathering snow and mixing the ingredients is an exciting activity for children, making them part of the cooking process.
- Unique Treat: It’s a truly unique dessert that celebrates the magic of winter and the simple beauty of nature.
LOVE IT? PIN IT!
Make sure you remember how to make this easy recipe for snow ice cream. Pin it to your favorite Pinterest recipe board before you go, then you will know right where the recipe is. Share the joy of this simple winter treat with your friends and family!
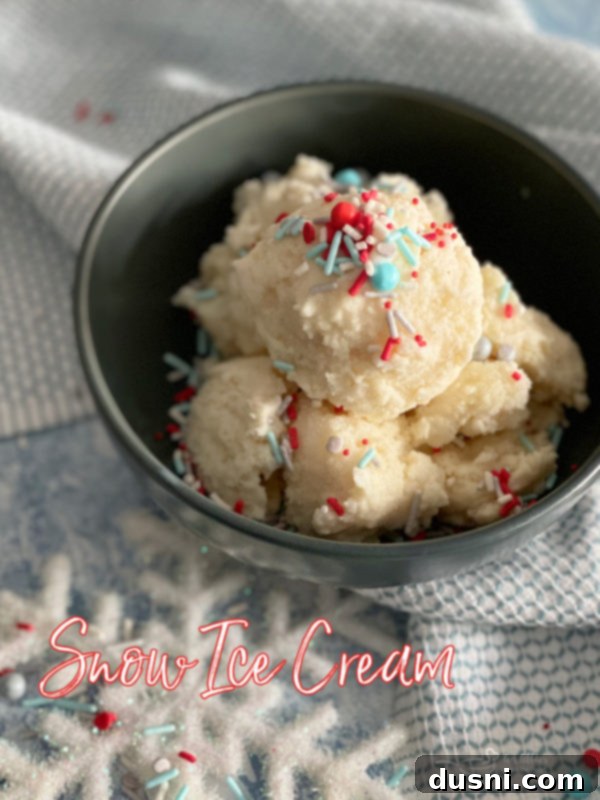
It’s SnOw easy to make! Let’s get to it and create some delicious winter memories.

LIKE THIS RECIPE?
Don’t forget to give it a ⭐️⭐️⭐️⭐️⭐️ star rating and
leave a comment below the recipe!
Print Recipe
Snow Ice Cream
Ingredients
- 8 cups snow
- 1 – 14 ounce can of sweetened condensed milk
- 1 teaspoon vanilla
Instructions
-
Combine ingredients in a big bowl until smooth.
-
Pour into a metal baking dish and freeze for a couple of hours.
-
Scoop and enjoy!
Nutrition
This recipe was updated on February 13, 2021, to improve the reader experience and ensure it remains a timeless snow day favorite. We hope you enjoy this delightful winter treat!
