Homemade Drumsticks: Craft Your Perfect Ice Cream Cone Treat
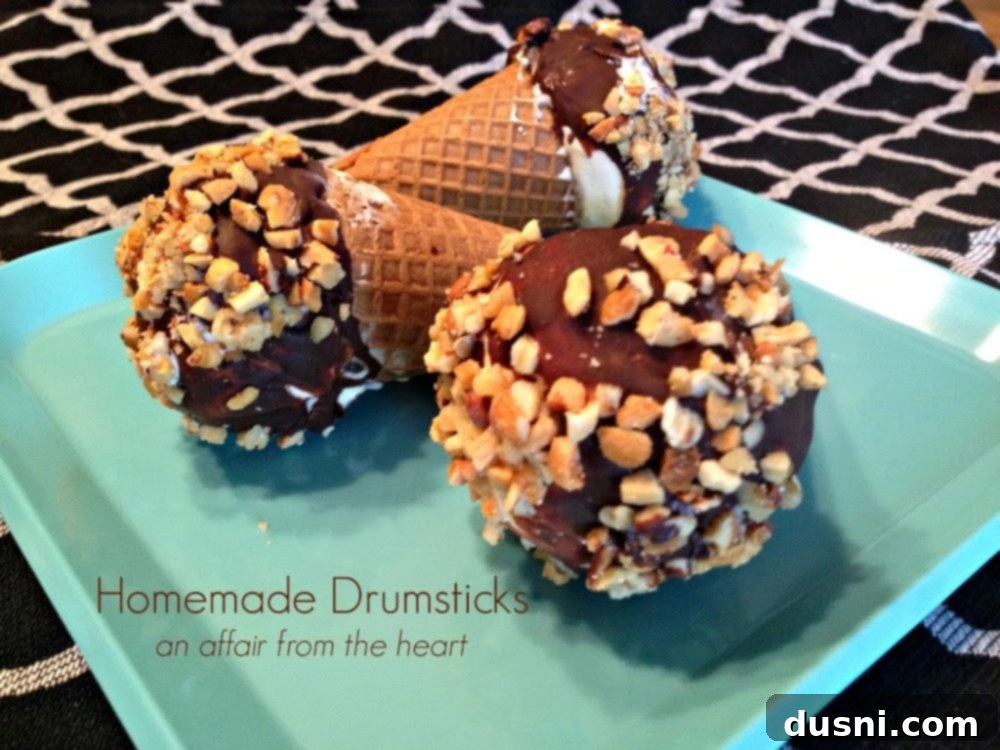
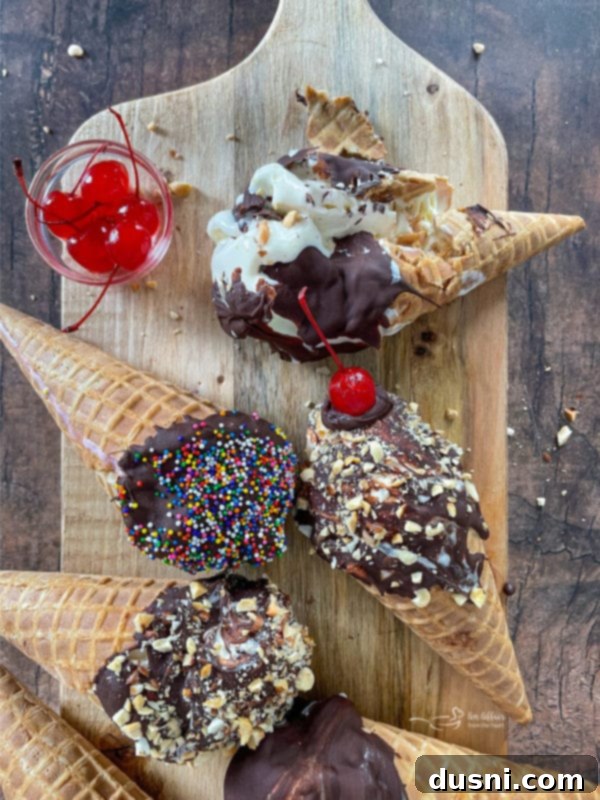
These Homemade Drumsticks are truly everything you could ever want in an ice cream recipe! Imagine a delightful combination of rich hot fudge, perfectly chopped nuts, a sweet and crispy ice cream cone, all filled with your absolute favorite ice cream. These irresistible ice cream sundae cones boast some of the most satisfying flavors and textures out there, offering a superior experience to anything store-bought. Perfect for any occasion, they bring a touch of nostalgic joy to every bite.

Nutty, sweet, and wonderfully refreshing, these homemade ice cream drumsticks are the quintessential treat for a warm summer day. They’re a hit with all ages – from the youngest family members who will love lending a helping hand in the kitchen to adults savoring a moment of pure bliss. This easy sundae cone recipe transforms simple ingredients into an unforgettable experience, making it a fantastic activity for family bonding and creating cherished memories.
What could possibly be better than the classic combination of crunchy peanuts and smooth chocolate? Bite into these incredible frozen treats and revel in the yummy, crunchy, and creamy delight that only homemade drumsticks can offer. This drumstick recipe is, without a doubt, a significant upgrade from their store-bought counterparts. The ability to customize flavors and toppings truly elevates them. Be sure to prepare a generous batch because once you taste them, you’ll want to keep them stocked in your freezer all summer long!
Crafting Your Own Homemade Drumstick Ice Cream Cones
My journey with homemade drumsticks began in the vibrant summer of 2013. That year, my kids and I were in the midst of a delightful homemade ice cream-making frenzy. We had just perfected our homemade Buster Bars when inspiration struck: why not try our hand at homemade drumsticks? They had always been one of my favorite ways to enjoy ice cream as a child, and honestly, even now, who can resist a classic drumstick?
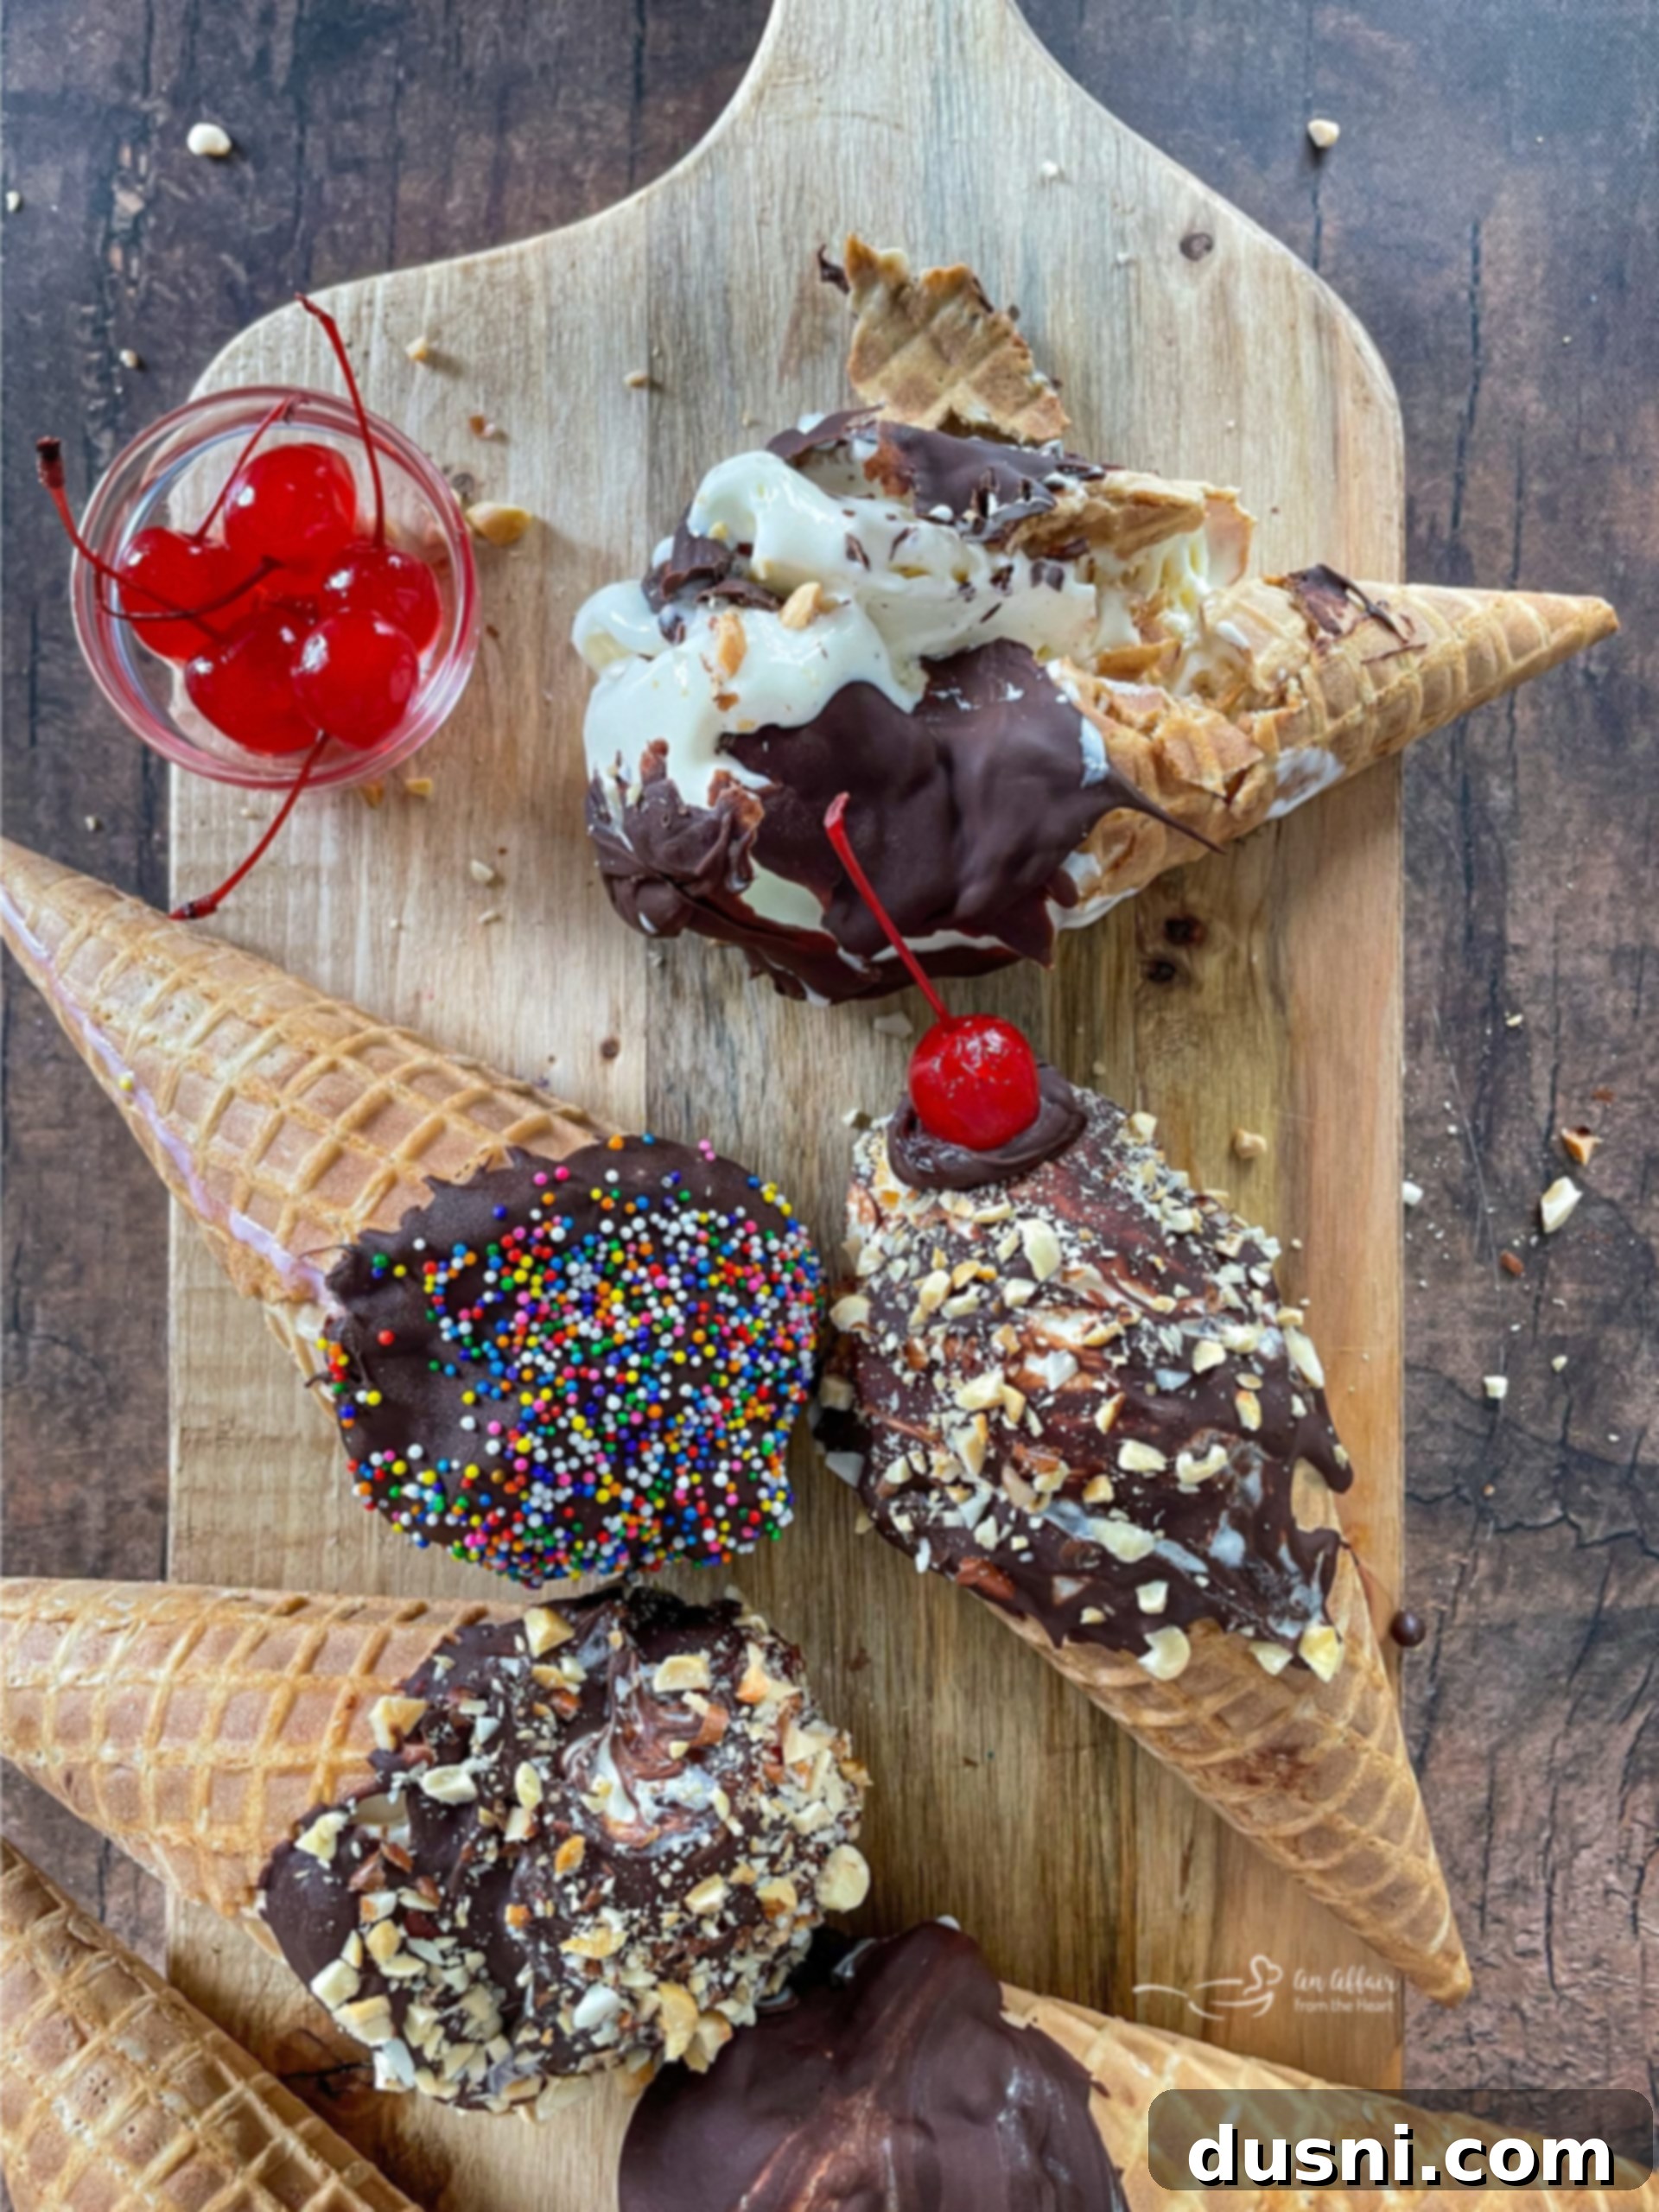
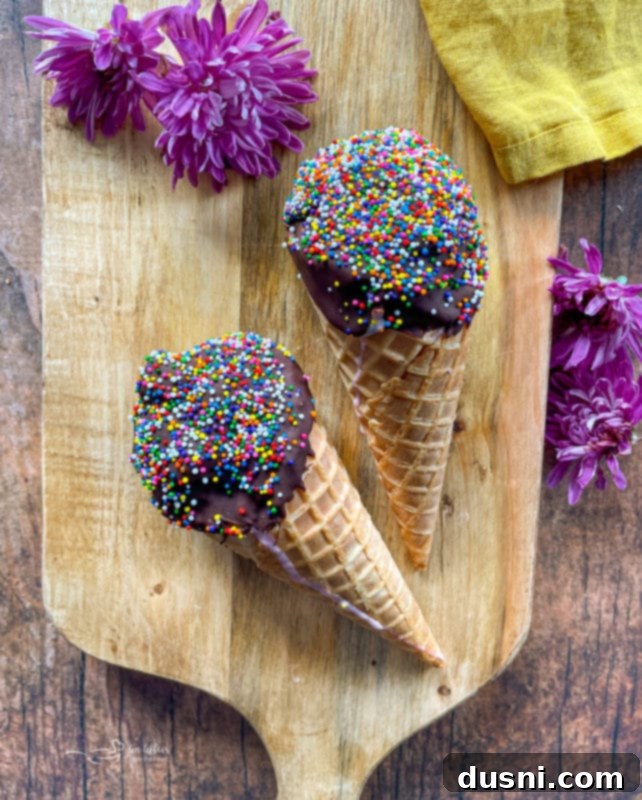
The true magic of making them yourself lies in the endless customization possibilities. You’re not limited to standard flavors! You can easily switch up the ice cream, choosing anything from classic vanilla bean to decadent chocolate fudge or even a vibrant strawberry. Beyond that, you can elevate the experience by adding extra components like a gooey caramel swirl or a rich peanut butter layer in the centers of the cones. The toppings are equally versatile – instead of just peanuts, consider other nuts like chopped pecans, walnuts, or almonds. For those who aren’t nut fans, or if you simply want a pop of color, sprinkles are a fantastic alternative. (Personally, I always look forward to eating the peanuts off my husband’s cone when we buy them from the store, because he *hates* peanuts. Lucky me, more for me!)
This hands-on approach allows you to tailor each drumstick to individual preferences, ensuring everyone gets their perfect frozen treat. It’s a wonderful way to involve the whole family, from selecting ingredients to the fun of assembly, culminating in a truly personalized and delicious dessert that beats any pre-packaged option.
Why These Homemade Ice Cream Drumsticks Will Be Your New Favorite
- A Taste of Classic Nostalgia: You’re going to absolutely adore these homemade drumsticks because they perfectly capture the essence of your favorite childhood frozen treat. The unbeatable trio of creamy vanilla ice cream, crisp melted chocolate shell, and crunchy nuts creates a flavor and texture profile that is simply iconic and incredibly satisfying. Each bite transports you back to simpler, sweeter times, making them more than just a dessert – they’re a memory in the making.
- The Ultimate Warm Weather Companion: Whether you’re lounging by the pool on a scorching day, hosting a lively backyard barbecue, or simply seeking a refreshing escape from the heat, these homemade frozen treats are always the perfect choice. They are incredibly versatile and come in handy for any summer occasion, big or small. Sometimes, you just want to kick back and enjoy your favorite ice cream snack, and these drumsticks deliver pure, unadulterated pleasure.
- Effortlessly Delicious & Incredibly Easy: Don’t let their impressive appearance fool you – these homemade drumsticks are remarkably simple to make. With a surprisingly short list of ingredients and a fool-proof, straightforward approach, you’ll find yourself whipping up batches of these delightful cones all the time. The minimal steps mean less time in the kitchen and more time enjoying your perfectly crafted dessert, proving that gourmet taste doesn’t have to mean complicated recipes.
- Endless Customization at Your Fingertips: One of the greatest perks of making drumsticks at home is the freedom to customize every element. From choosing your favorite ice cream flavor (think chocolate, strawberry, mint chip, or even coffee!) to experimenting with different types of chocolate for the shell (milk, dark, or white), and adding various toppings like sprinkles, crushed cookies, mini candies, or different nuts, the possibilities are truly endless. This allows you to cater to everyone’s unique tastes and dietary preferences.
- A Fun & Engaging Family Activity: Making homemade drumsticks is more than just cooking; it’s an enjoyable experience for the whole family. Kids will love helping to scoop the ice cream, dip the cones in chocolate, and sprinkle on their favorite toppings. It’s a fantastic way to spend quality time together, fostering creativity in the kitchen and creating lasting memories as you craft these delicious treats side-by-side.
Essential Ingredients for Your Homemade Drumsticks
For the precise measurements of these homemade drumstick ice cream cones, please make sure to scroll down to the detailed recipe card below!
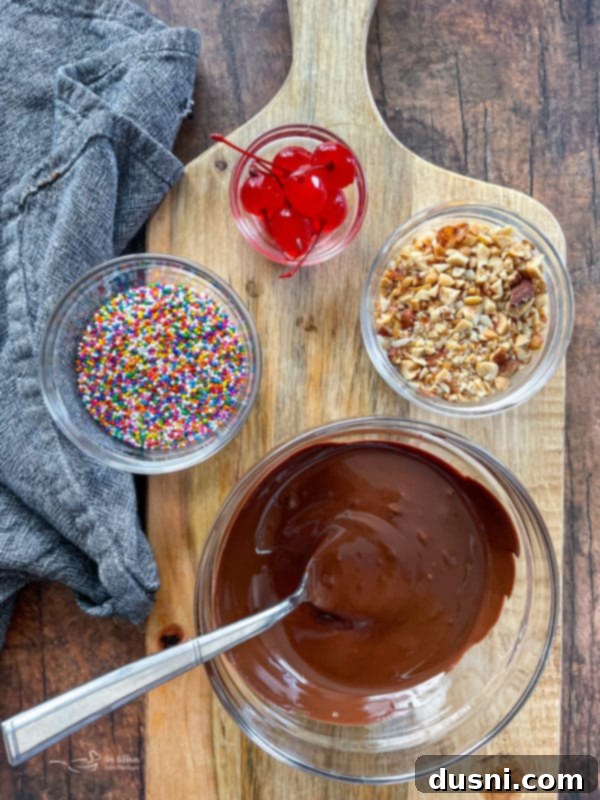
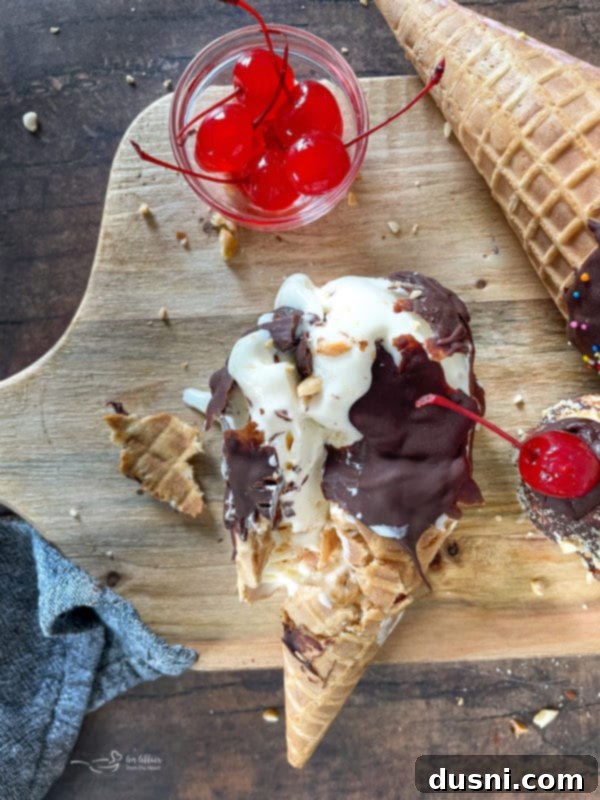
Hot Fudge: You’ll want a good quality jar of hot fudge ice cream topping. This luscious layer goes into the bottom of the cone, creating that signature “chocolate plug” that prevents ice cream drips and adds a delightful rich surprise at the end. For a different but equally delicious twist, you can easily substitute it with caramel sauce – yum!
Chocolate Chips: Opt for semi-sweet chocolate chips for a balanced flavor profile that’s not too bitter, not too sweet. However, don’t hesitate to experiment! Dark chocolate chips will give a more intense, sophisticated flavor, while milk chocolate chips will create a sweeter, creamier shell. White chocolate chips can also be used for a unique variation.
Vegetable Oil: Any neutral-flavored vegetable oil, such as canola, sunflower, or even refined coconut oil, will work perfectly. The oil is crucial for achieving that wonderfully smooth, snappy chocolate shell when melted with the chocolate chips. It helps thin the chocolate slightly, making it easier to dip, and ensures it sets quickly and firmly on the cold ice cream.
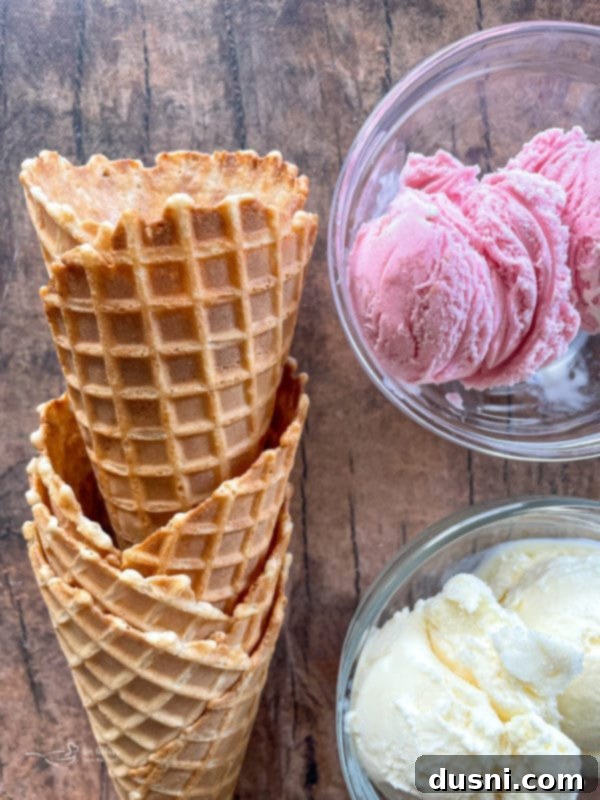
Ice Cream: While classic vanilla ice cream is a fantastic choice and truly highlights the chocolate and nut flavors, the beauty of homemade drumsticks is that you can use any ice cream flavor your heart desires! Get creative with chocolate, strawberry, mint chip, coffee, or even a fun swirl flavor. Just ensure it’s firm enough to scoop and pack.
Ice Cream Cones: I personally love using sturdy sugar ice cream cones because their slightly thicker walls provide a great base and their caramelized flavor complements the other ingredients so well. Waffle cones are another excellent option, offering a larger size and a satisfying crunch. While cake cones can also be used, sugar and waffle cones tend to hold up better to the weight of the ice cream and fudge.
Chopped Nuts: This is your opportunity to personalize! A mix of finely chopped nuts provides a fantastic textural contrast and nutty flavor. While peanuts are traditional, feel free to use your preferred variety, such as pecans, walnuts, or almonds. This ingredient is completely optional, though; if you or your family aren’t keen on nuts, you can easily swap them out for colorful sprinkles, crushed candy bars, or even toasted shredded coconut!
What Kind of Nuts Are Typically Found on Drumsticks?
Traditionally, the iconic store-bought ice cream drumsticks are adorned with roasted peanuts, offering that classic salty-sweet crunch. However, when you’re crafting these delightful treats at home, you have complete freedom to choose any nut you prefer! Feel free to experiment with finely chopped pecans, which lend a buttery richness, or walnuts for an earthy, robust flavor. Almonds, whether slivered or chopped, provide a delicate crunch and distinct taste. And remember, you don’t even have to use nuts at all! If you have allergies, dietary preferences, or simply prefer a different topping, feel free to omit them entirely and opt for colorful sprinkles, crushed cookies, or even mini chocolate chips for an equally satisfying finish.
How to Make Homemade Drumsticks: A Step-by-Step Guide
Creating your own homemade drumsticks is a rewarding and surprisingly simple process. Follow these detailed steps to achieve perfect, store-quality frozen treats right in your own kitchen.
Step 1: Prepare the Cone Base and Chocolate Coating
First, begin by placing a generous dollop of hot fudge at the very bottom of each sugar cone. This creates that delightful chocolate plug, ensuring no ice cream drips out the bottom and adding a delicious surprise at the end. Next, prepare your chocolate coating. Combine the semi-sweet chocolate chips and vegetable oil in a microwave-safe bowl. Melt them in the microwave, using 30-second intervals. Stir well after each interval until the mixture is completely smooth and fluid. The oil helps to create a “magic shell” consistency that hardens quickly on contact with cold ice cream.
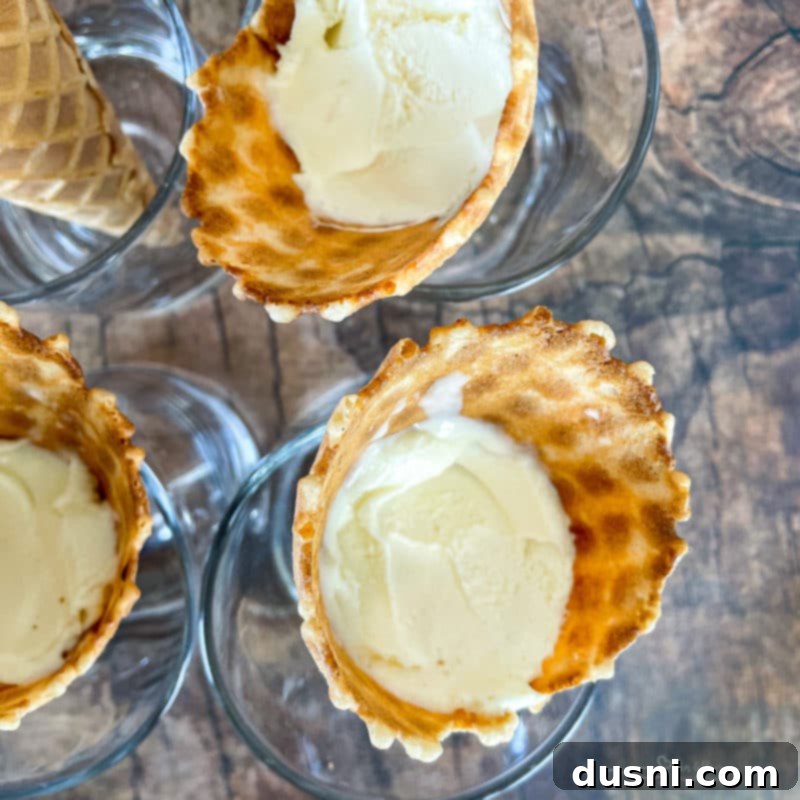
Step 2: Fill the Cones with Ice Cream
Now, it’s time to fill your cones! Carefully pack the ice cream into each cone, pressing down lightly but firmly to remove any air pockets and ensure a dense, satisfying fill. For a cleaner and easier process, I’ve found that standing the cones upright inside short glasses or a muffin tin makes the entire filling process much more stable and prevents tipping. This also keeps your hands free for efficient scooping and packing.

Step 3: Create the Perfect Ice Cream Scoop Top
Once the cones are packed, use an ice cream scoop to create a beautifully rounded, generous scoop of ice cream for the very top of each cone. This is the classic drumstick dome that will be coated in chocolate. Make sure to press it down gently onto the packed ice cream to ensure it adheres well and forms a cohesive unit.
Step 4: Dip and Decorate
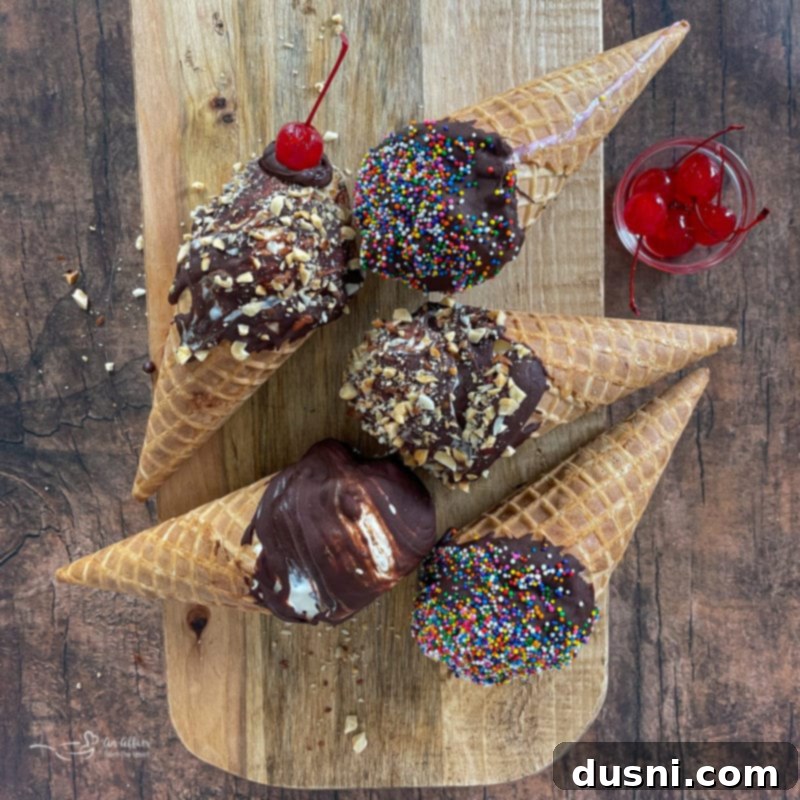
This is where the magic happens! Swiftly dip the rounded top of each ice cream cone into the melted chocolate mixture. Ensure an even coating, but don’t linger too long as the cold ice cream will make the chocolate set quickly. Immediately after dipping, dunk the chocolate-coated top into your chosen topping – whether it’s chopped nuts (peanuts, pecans, almonds) or colorful sprinkles. Work quickly here so the chocolate doesn’t fully harden before the toppings adhere.
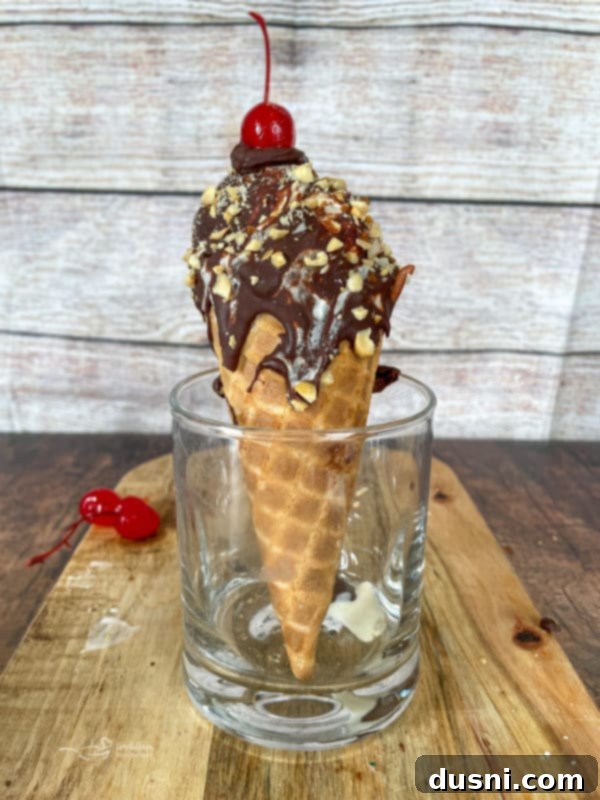
Step 5: Freeze for Optimal Setting
To ensure your homemade drumsticks are perfectly set and ready to enjoy, place them upright in glasses. Arrange these glasses in the freezer. Allow them to freeze for at least a couple of hours, or ideally, for 3 hours. This crucial freezing time ensures the ice cream is rock solid, the chocolate shell is completely firm and snappy, and the hot fudge at the bottom is perfectly chilled, preventing any sogginess and guaranteeing the best possible texture and flavor experience.
The Origin of the Name: Why Are They Called Ice Cream Drumsticks?
Have you ever wondered about the peculiar name “drumsticks” for these delicious ice cream cones? The answer is quite simple and rather amusing! These chocolate-dipped ice cream cones earned their name because their shape, particularly with the round scoop of ice cream on top and the cone acting as the “bone,” strikingly resembles a chicken leg or a drumstick. It’s a fun, quirky observation that stuck, giving this beloved frozen treat its iconic and memorable moniker.
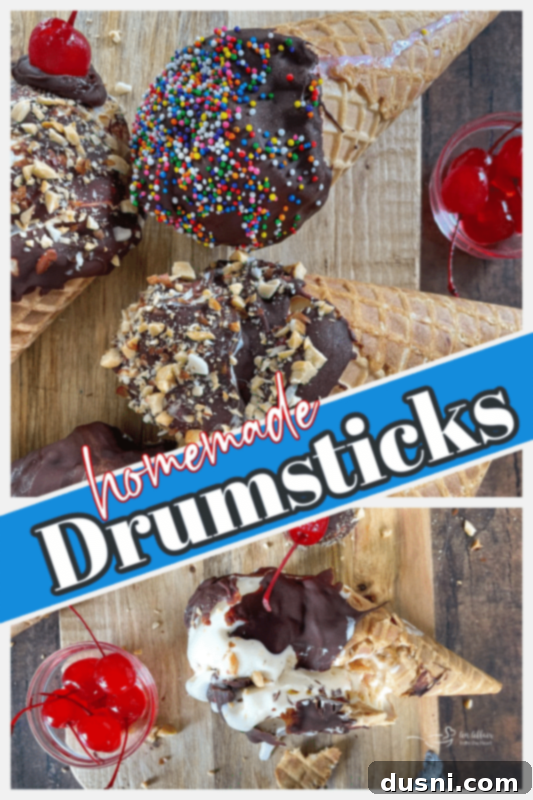
LOVE IT? PIN IT!
Make sure to save this incredible homemade drumsticks recipe to your favorite Pinterest recipe board before you go! You’ll definitely want to keep it handy for later whenever a craving for the perfect frozen treat strikes!
Why Do Ice Cream Drumsticks Sometimes Get Soggy?
Sogginess in ice cream drumsticks is a common issue, primarily occurring when they are left out for too long, allowing the ice cream to melt and saturate the cone. The cone, being porous, will absorb moisture from the melting ice cream, losing its desirable crispness. To prevent this, it’s crucial to enjoy these homemade ice cream drumsticks as soon as you pull them out of the freezer. Additionally, ensure your cones are adequately frozen for at least 3 hours after assembly, as detailed in the instructions. The hot fudge layer at the bottom also acts as a barrier, helping to protect the cone from moisture, so don’t skip that step!
Expert Tips for Perfect Homemade Drumsticks
- Optimal Storage for Freshness: To maintain the freshest flavors and textures, always store any leftover homemade drumsticks in an airtight container in the freezer. Proper sealing prevents freezer burn and keeps the cones crisp and the ice cream delicious for up to two weeks. Individual wrapping in plastic wrap before placing in a container can add an extra layer of protection.
- Dairy-Free Delight: For those with dietary restrictions or preferences, easily transform this recipe into a dairy-free version. Simply swap out traditional ice cream for your favorite dairy-free ice cream or frozen yogurt. Many excellent plant-based options are available today, from oat milk to coconut milk and almond milk varieties, ensuring everyone can enjoy this delightful treat.
- Stability is Key: When assembling your drumsticks, a simple yet effective tip is to stand the cones upright in short glasses. These glasses can then be placed within a 9×13 baking pan for easy transfer to the freezer. This method provides crucial stability during filling and freezing, preventing the cones from tipping over and ensuring your drumsticks maintain their perfect shape.
- Perfecting the Chocolate Shell: For an extra-snappy chocolate shell, you can add a tiny bit more vegetable oil (half a teaspoon) to your melted chocolate mixture if it seems too thick. This helps thin it out for a smoother, quicker dip and a thinner, more brittle shell when hardened. Work quickly when dipping, as the cold ice cream will cause the chocolate to seize almost instantly.
- Pre-Chill Your Toppings: If you’re using nuts or sprinkles, consider chilling them in the freezer for about 10-15 minutes before dipping. This helps them adhere better to the rapidly setting chocolate and prevents them from warming up the ice cream too much.
- Variety in Cones: While sugar cones are recommended for their sturdiness and flavor, feel free to experiment with waffle cones for a larger, more substantial treat, or even flat-bottomed cones if you prefer them to stand on their own without support after freezing.
More Delicious Recipes for Homemade Frozen Treats
Making homemade ice creams and frozen treats at home is always a wonderfully fun and refreshing activity, especially when the weather heats up in the summertime! If you’ve enjoyed crafting these homemade drumsticks, here are some more delightful frozen dessert recipes that I think you and your family will absolutely love:
- Homemade Buster Bars (shown above)
- Grasshopper Ice Cream
- Grape Nut Ice Cream
- Strawberry Lemonade Popsicles
- Dairy-Free Fudge Pops
- Super Fun Summer Ice Cream Pops
- Dairy Queen Apple Pie Blizzard
- Pina Colada Popsicles
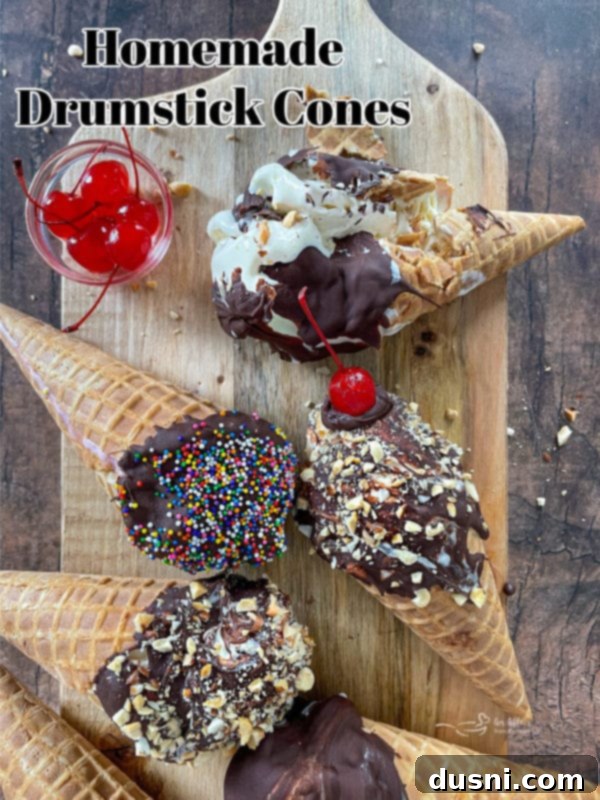
Ready to get dippin’ and create some incredible memories? Let’s make some spectacular Homemade Drumsticks! 
LIKE THIS RECIPE?
Don’t forget to give it a ⭐️⭐️⭐️⭐️⭐️ star rating and
leave a comment below the recipe!

Print Recipe
Homemade Drumsticks
Equipment
-
9×13 Pyrex Baking Dish with a Lid
-
Marquis by Waterford Markham Double Old Fashioned Glasses, Set of 4
-
Ice Cream Scoop with Comfortable Handle
Ingredients
- 1 quart vanilla ice cream
- 8 sugar ice cream cones
- 1/3 cup hot fudge ice cream topping or caramel
- mixed chopped nuts or sprinkles
- 6 ounces semi-sweet chocolate chips
- 1 1/2 Tablespoons vegetable oil
Instructions
-
Place a dollop of hot fudge in the bottom of each cone.
-
Place chips and oil in a microwave and melt in 30 second intervals until smooth.
-
Pack ice cream into the cone and use an ice cream scoop to make a perfect ball shaped scoop on the top, pressing down tightly.
-
Dip top of cone in melted chocolate and dunk into nuts or sprinkles.
-
Stand on end in short glasses.
-
Place in freezer for at least 3 hours.
Notes
- Store leftover drumsticks in the freezer for up to two weeks for the freshest flavors.
- For a dairy-free version, use dairy-free ice cream or frozen yogurt.
Nutrition
