The Ultimate Guide to Blind Baking a Pie Crust: Achieve Flaky Perfection Every Time
Many delectable pie recipes require a pre-baked or blind-baked pie crust before you even think about adding the filling. This crucial step prevents a common culinary disappointment: the dreaded soggy bottom. This comprehensive guide will walk you through the simple yet essential process of how to pre-bake a pie crust effectively, even if you don’t have specialized equipment – sometimes all you need is a piece of humble foil!
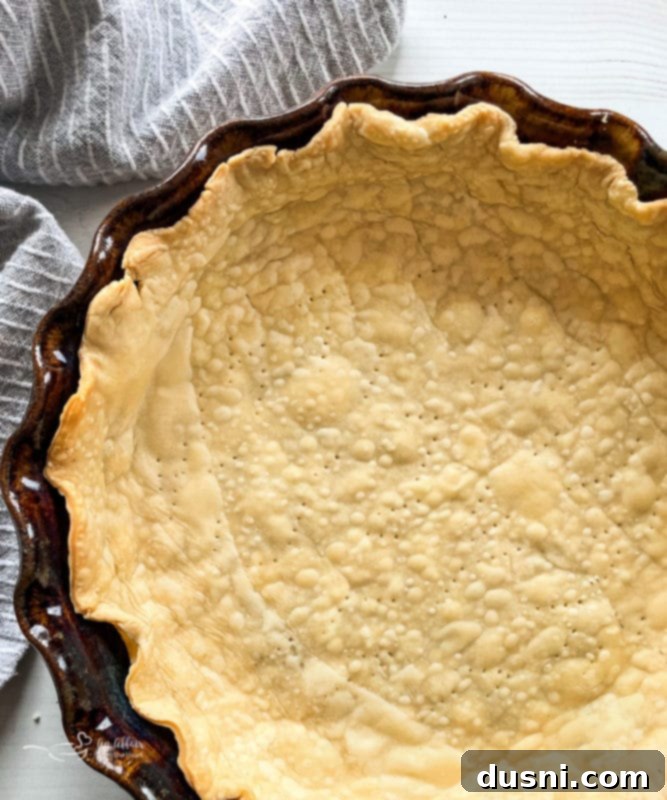
Have you ever diligently followed a pie recipe, baked your beautiful homemade or store-bought crust, only to find it slumped tragically down the sides of the pie pan, collapsing into an unappetizing puddle at the bottom? Perhaps you’ve encountered a pie with a wonderfully golden top, but a stubbornly raw and unbaked bottom? This frustrating experience is all too common for aspiring bakers.
You might have, in a moment of despair, perhaps uttered a few choice words, then salvaged the situation by sprinkling the collapsed dough with cinnamon and sugar, baking it further, and eating it to soothe your wounded baking ego. Or perhaps you gave up on scratch crusts entirely and reached for a pre-made alternative the next time. We’ve all been there!
No? *cough*… me neither. (Wink, wink.)
Fear not! Should you ever need to pre-bake a crust, here’s the incredibly easy and effective method to do it correctly, ensuring a perfectly crisp, flaky foundation for your pie, every single time.
Understanding Blind Baking a Pie Crust
The term “blind baking” a pie crust has a charming history rooted in old English baking traditions. It simply refers to the process of lightly baking the pie crust *empty* – without any filling. Essentially, the crust is baked “blind” to whatever delicious ingredients will eventually fill it. Don’t worry, you don’t need a blindfold for this technique (unless you’re truly a pie crust master who can do it with your eyes closed!).
Blind baking is a fundamental technique that helps stabilize the crust, prevent shrinkage, and create a barrier against moisture from wet fillings, which can lead to a soggy bottom. It’s especially crucial for pies with uncooked or very moist fillings, such as quiches, cream pies, or fresh fruit pies, where the filling won’t spend enough time in the oven to fully cook the crust.
Why Is Blind Baking Necessary? The Benefits Explained
Many home bakers wonder if blind baking is truly essential. The simple answer is, for most pies, absolutely yes. Neglecting this step often results in several common pie problems:
- Prevents Soggy Bottoms: This is arguably the most important reason. When a wet filling is added directly to an uncooked crust, the moisture seeps into the dough, preventing it from baking through and turning it into a gummy, unappetizing layer. Blind baking creates a partially cooked barrier that resists this moisture.
- Maintains Crust Shape: During baking, pie dough tends to shrink and slide down the sides of the pan. Blind baking sets the structure of the crust, ensuring it holds its desired shape and thickness, providing a sturdy vessel for your filling.
- Achieves Even Baking: A pre-baked crust allows for more uniform cooking. The dough starts to dry out and firm up, ensuring that by the time your filling is cooked, the crust is also perfectly done, without raw spots.
- Enhances Flakiness and Texture: The initial high heat of blind baking helps create steam within the layers of butter and flour, contributing to a wonderfully flaky and crisp texture that is the hallmark of a great pie crust.
- Supports Delicate Fillings: For pies with delicate fillings that require minimal baking time (like no-bake cream pies or fresh fruit tarts), a fully blind-baked crust is non-negotiable, as the filling itself won’t provide sufficient cooking time for the raw dough.
How to Par-Bake a Pie Crust: The Technique
When we talk about blind baking, we are essentially referring to “par-baking” the pie dough. Similar to parboiling vegetables (lightly boiling them before full cooking), par-baking means partially cooking something at high heat for a limited amount of time. The goal is to cook the pie dough just enough to set its shape and structure, forming a light crust, but not so much that it becomes overly brown, dry, or crumbly. After all, it will likely return to the oven with its filling.
The Ideal Temperature for Blind Baking Your Crust
Achieving the perfect blind bake isn’t just about the oven temperature, but also the initial temperature of your pie crust. The uncooked pie dough should always be well-chilled in the refrigerator before it goes into the oven. But why is chilling so important?
When your dough is chilled, the fat (butter or shortening) in the crust firms up significantly. This firm fat is crucial for maintaining the crust’s shape and thickness during the initial blast of heat. It helps prevent the crust from shrinking excessively as it cooks, keeping those beautiful crimped edges intact. Furthermore, cold dough helps inhibit gluten development, which can make the crust tough. A cold crust hitting a hot oven promotes a tender, flaky result.
Before you place your chilled crust into the oven, ensure your oven is fully preheated to a high temperature, typically 450 degrees Fahrenheit (230 degrees Celsius). This high heat quickly sets the crust’s structure and helps create those desirable flaky layers.
How Long to Blind Bake a Pie Dough Crust?
How Do You Blind Bake a Crust Without Pie Weights? (The Foil Method)
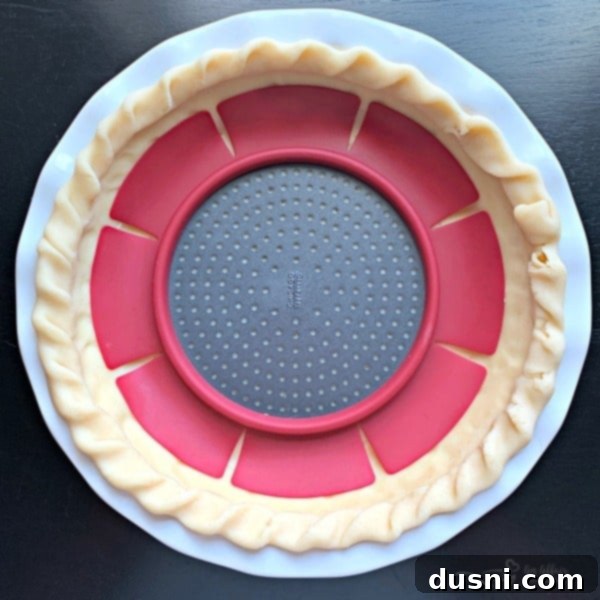
While specialized “pie weights” are available for purchase and are designed to help the crust hold its shape, don’t feel obligated to rush to the store if you don’t have them. In a pinch, or if you prefer a simpler approach, you can use several effective workarounds. My preferred method, and the one demonstrated here, involves using aluminum foil. The heavy foil gently presses the crust against the pie plate, preventing it from puffing up or sliding down.
Other excellent household alternatives include:
- Dried Beans or Rice: Line your chilled pie crust with a piece of parchment paper, then fill it with dried beans, uncooked rice, or even lentils. These dry goods act as temporary weights, distributing even pressure across the crust. Just remember that once used for baking, these beans or rice are generally not suitable for cooking and consumption but can be stored and reused indefinitely as pie weights.
- Pennies (Cleaned!): Yes, even pennies can work in a pinch! Place parchment paper over the crust, then scatter clean pennies across the bottom. If you opt for this method, please ensure you wash them thoroughly first – you never know whose hands have touched them!
The key with any of these methods is to create an even layer of weight across the entire surface of the crust, particularly along the sides, to prevent bubbling and shrinkage.
Explore Pie Weight Options for Serious Bakers
If you’re a frequent pie baker and want to invest in dedicated pie weights, here are a few popular options to consider:
- Metallic/Silicone Pie Weights: These come in various forms, from small metal beads to silicone discs, and are excellent for even heat distribution and reuse. The metallic type pictured in some resources is always a reliable choice.
- Ceramic Pie Weights: Similar to the dried bean idea, these small ceramic beads are designed specifically for baking. They are heavy, retain heat well, and are reusable indefinitely, making them an eco-friendly option.
- Chain Pie Crust Weights: These clever weights consist of stainless steel balls linked together in a chain. They conform easily to the shape of your pie crust and are easy to remove after baking.
Is Blind Baking a Pie Crust Truly Necessary?
To reiterate, the simple answer is a resounding yes for many pie recipes. As mentioned earlier, if you wish to avoid a pie that resembles a sad, slumped lump of undercooked dough rather than a beautifully structured pie, then blind baking is the indispensable first step. Pre-baking the crust is not just a suggestion; it’s a technique that:
- Sets the shape: It prevents the crust from shrinking and losing its form in the oven.
- Ensures correct thickness: It bakes the bottom evenly, preventing thin or soggy spots.
- Facilitates filling: A sturdy, partially baked crust makes adding both hot and cold fillings much easier and ensures a pleasant texture for the final product.
How to Pre-Bake a Store-Bought Crust
There’s absolutely no shame in using a pre-made crust! Store-bought crusts are a fantastic time-saver and can yield excellent results when handled correctly. You’ll typically find them either frozen or unfrozen in the grocery store, and both types can be successfully blind-baked. The main difference lies in the initial preparation:
- Frozen Raw Crusts: For a frozen, unbaked crust, it’s generally best to let it thaw slightly first, while still keeping it thoroughly chilled. Transfer it from the freezer to the refrigerator an hour or two before you plan to bake. This helps prevent thermal shock and allows for easier handling and pricking.
- Unfrozen Raw Crusts: These can go straight from the fridge to your baking process.
Once thawed (if applicable) and still chilled, the blind baking steps (pricking, adding weights, baking time, and temperature) remain the same as for a homemade crust. With store-bought crusts, you might also find that their edges brown a little more quickly, so keep an eye on them and consider using a pie crust shield if needed to prevent overcooking the edges.
Step-by-Step: How To Pre-Bake a Pie Crust
Here’s a clear, simple breakdown of the blind baking process to ensure your pie crust is perfectly prepared for its filling:
1. Preheat your oven to 450°F (230°C). A hot oven is key for a quick, even bake and to set the crust structure.
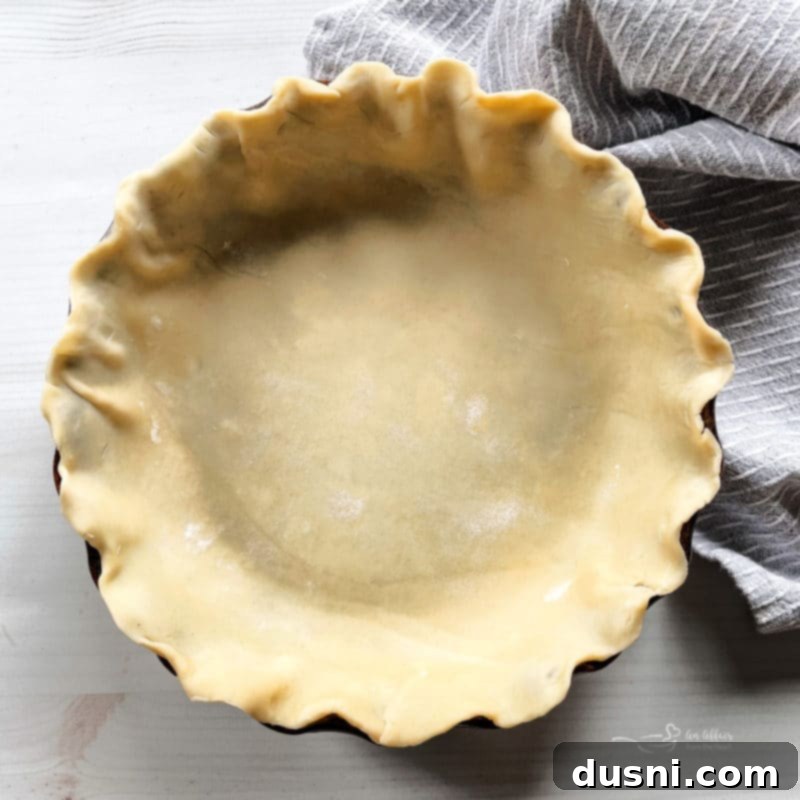
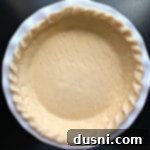
2. Prepare the Dough: Carefully lay your chilled pie dough into your pie plate. Gently press it into the contours of the pan and form your desired crust edge, whether crimped, fluted, or trimmed. Ensure the dough is evenly distributed.
3. Prick the Crust: Using the tines of a fork, prick small holes all over the bottom and sides of the pie crust. These “vent holes” allow steam to escape during baking, preventing the crust from puffing up unevenly or creating large bubbles.
4. Add Your Weights: Lay a large piece of heavy-duty aluminum foil directly over the pricked crust, carefully pressing it into the pan and up the sides to fully cover the dough. The foil will act as a weight, holding the crust in place and preventing it from shrinking or bubbling. Alternatively, use parchment paper and fill with dried beans, rice, or pie weights.
5. Initial Bake: Place the pie plate in the preheated oven and bake for 4 minutes with the foil/weights still in place. This initial bake helps set the crust’s structure.
6. Second Bake: Carefully remove the foil and any weights. Return the crust to the oven and bake for an additional 2-4 minutes, or until the crust appears light golden and dry to the touch. This step allows the bottom to fully crisp up and achieve a beautiful color.
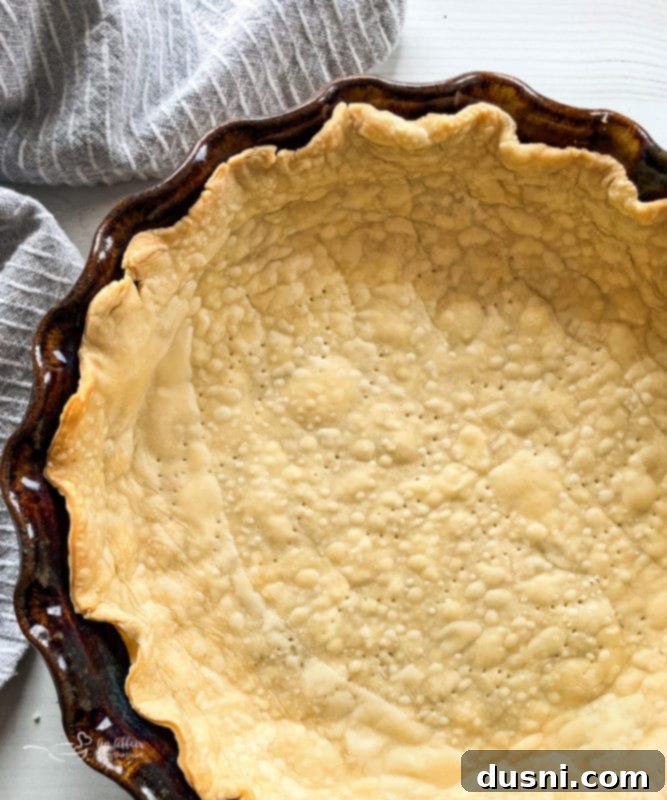
7. Cool: Remove the blind-baked crust from the oven and place it on a wire rack to cool completely. Allowing it to cool fully is essential, especially for pies with cold or no-bake fillings, as it prevents the crust from becoming soggy.
Once cooled, your perfect, flaky pie crust is ready to be filled with whatever your pie-loving heart desires! Enjoy the satisfaction of a perfectly baked pie from bottom to top.
Love It? Pin It! Share Your Pie Success!
Don’t let these invaluable blind baking tips slip away! Be sure to bookmark this page, or better yet, pin it to your favorite Pinterest baking board. That way, these helpful techniques for achieving a perfectly blind-baked pie crust will always be at your fingertips when you need them most!
Beyond Traditional: Other Pie Crust Options to Explore
It’s no secret that I have a deep love for pie recipes! In my humble opinion, pie reigns supreme as the ultimate dessert. While this guide focuses on traditional pastry crusts, there are many other delightful ways to create a pie crust:
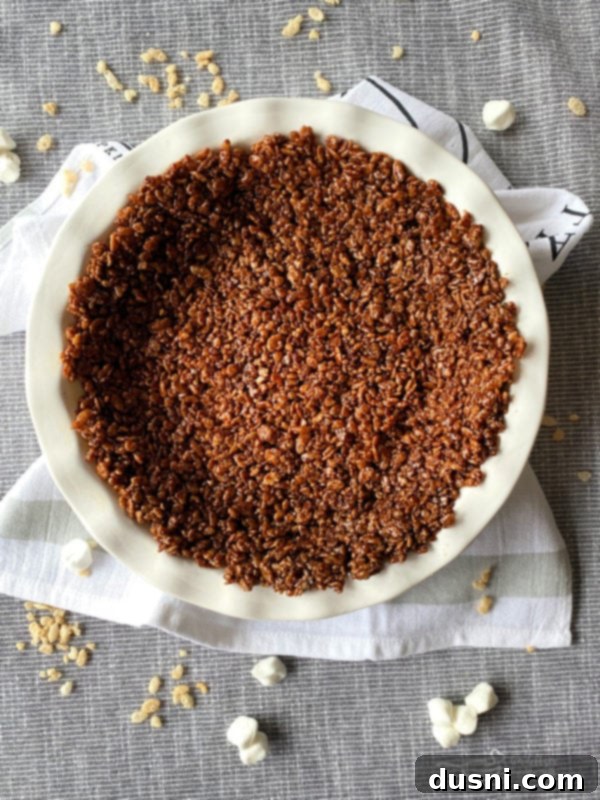
For a simple yet incredibly satisfying dessert, consider filling the Chocolate Marshmallow Pie Crust (pictured above) with your favorite ice cream. It’s a fun and quick alternative. If you’re looking for a savory option, this Bacon & Swiss Quiche Recipe beautifully showcases my treasured Grandmother’s Homemade Pie Crust, which is the very type of crust I’ve used as an example in this post.
Have you ever tried slab pies? They’re perfect for feeding a crowd! My Pumpkin Pie Bars feature a rich Shortbread Crust, offering a delightful crumbly texture. And for a refreshing twist, my Key Lime Slab Pie boasts a subtly sweet and crisp crust. For classic indulgence, my French Silk Pie can be made with either a regular pastry crust or a decadent Oreo Cookie pie crust. And for something truly unique, the crust for this Coconut Banana Cream Pie is ingeniously crafted from toasted coconut, adding an incredible depth of flavor and texture! Yum!
Excellent Pie Recipes to Try After Mastering Your Crust
Now that you’ve mastered the essential technique of blind baking a pie crust, it’s time to put your skills to delicious use! If you’re inspired to make a pie crust from scratch, you can’t go wrong with my beloved Grandma’s Homemade Pie Crust Recipe. It’s a timeless classic that guarantees a flaky foundation.
Of course, store-purchased crusts work wonderfully too, especially when time is of the essence!
Here are some fantastic sweet and savory pie options to get you started, or you can explore all of my diverse pie recipes here. Happy baking!
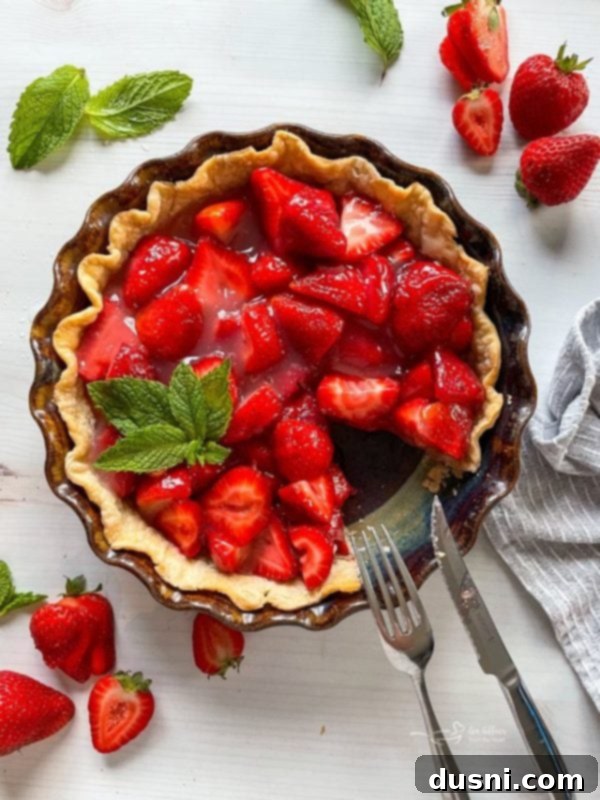
- Fresh Strawberry Pie (pictured above – a vibrant, sweet delight!)
- Hearty Chicken Pot Pie (perfect comfort food)
- Classic Pecan Pie (a holiday favorite)
- Creamy Coconut Banana Cream Pie (tropical indulgence)
- Savory German Onion Pie (Zwiebelkuchen) (a unique and flavorful dish)
- Flavorful Tomato Pie (a summer sensation)
- Rich Coconut Cream Pie (luscious and classic)

LIKE THIS RECIPE?
Don’t forget to give it a ⭐️⭐️⭐️⭐️⭐️ star rating and
leave a comment below the recipe!
Print Recipe
How to: Blind Bake a Pie Crust
Equipment
-
Chicago Metallic Pie Weight
-
Ceramic Pie Weights Reusable
-
Baking Pie Crust Weights Chain
-
2 Pack Pie Crust Shield Adjustable
-
Large Silicone Pastry Mat
-
KitchenAid Gourmet Rolling Pin, One Size, Red
-
Ceramic Pie Dish, 10-Inch
Ingredients
- 1 Homemade pie crust or a quality store-bought crust works beautifully! Ensure it’s well-chilled.
Instructions
-
Prepare Oven: Preheat your oven to a high temperature of 450 degrees F (230°C). This high heat is essential for quickly setting the pie crust.
-
Place Dough: Carefully lay your chilled pie dough into your pie plate. Gently press it into the contours of the pan, ensuring it fits snugly, and form your desired crust edge.
-
Prick Crust: Using the tines of a fork, prick holes generously across the bottom and up the sides of the pie crust. This allows steam to escape and prevents bubbling.
-
Add Weights: Lay a large piece of heavy-duty aluminum foil directly over the pricked crust, pressing it gently into the pan and up the sides to cover the dough completely. Alternatively, use parchment paper and fill with dried beans, rice, or dedicated pie weights.
-
Bake (First Stage): Bake for 4 minutes with the foil/weights in place. This initial bake helps to set the crust’s structure and prevents shrinkage. Remove the foil and weights carefully after this stage.
-
Bake (Second Stage) & Cool: Return the crust to the oven (without foil/weights) and bake for an additional 2-4 minutes, or until the crust turns a light golden color and feels dry. Remove from the oven and cool completely on a wire rack before filling, especially for cold fillings.
Notes
Nutrition
This post was originally shared on December 16, 2013, providing foundational blind baking advice. It has been thoroughly updated to enhance user experience, provide more detailed insights, incorporate modern SEO best practices, and was re-shared on March 20, 2022, ensuring you have the most comprehensive and helpful guide available.

