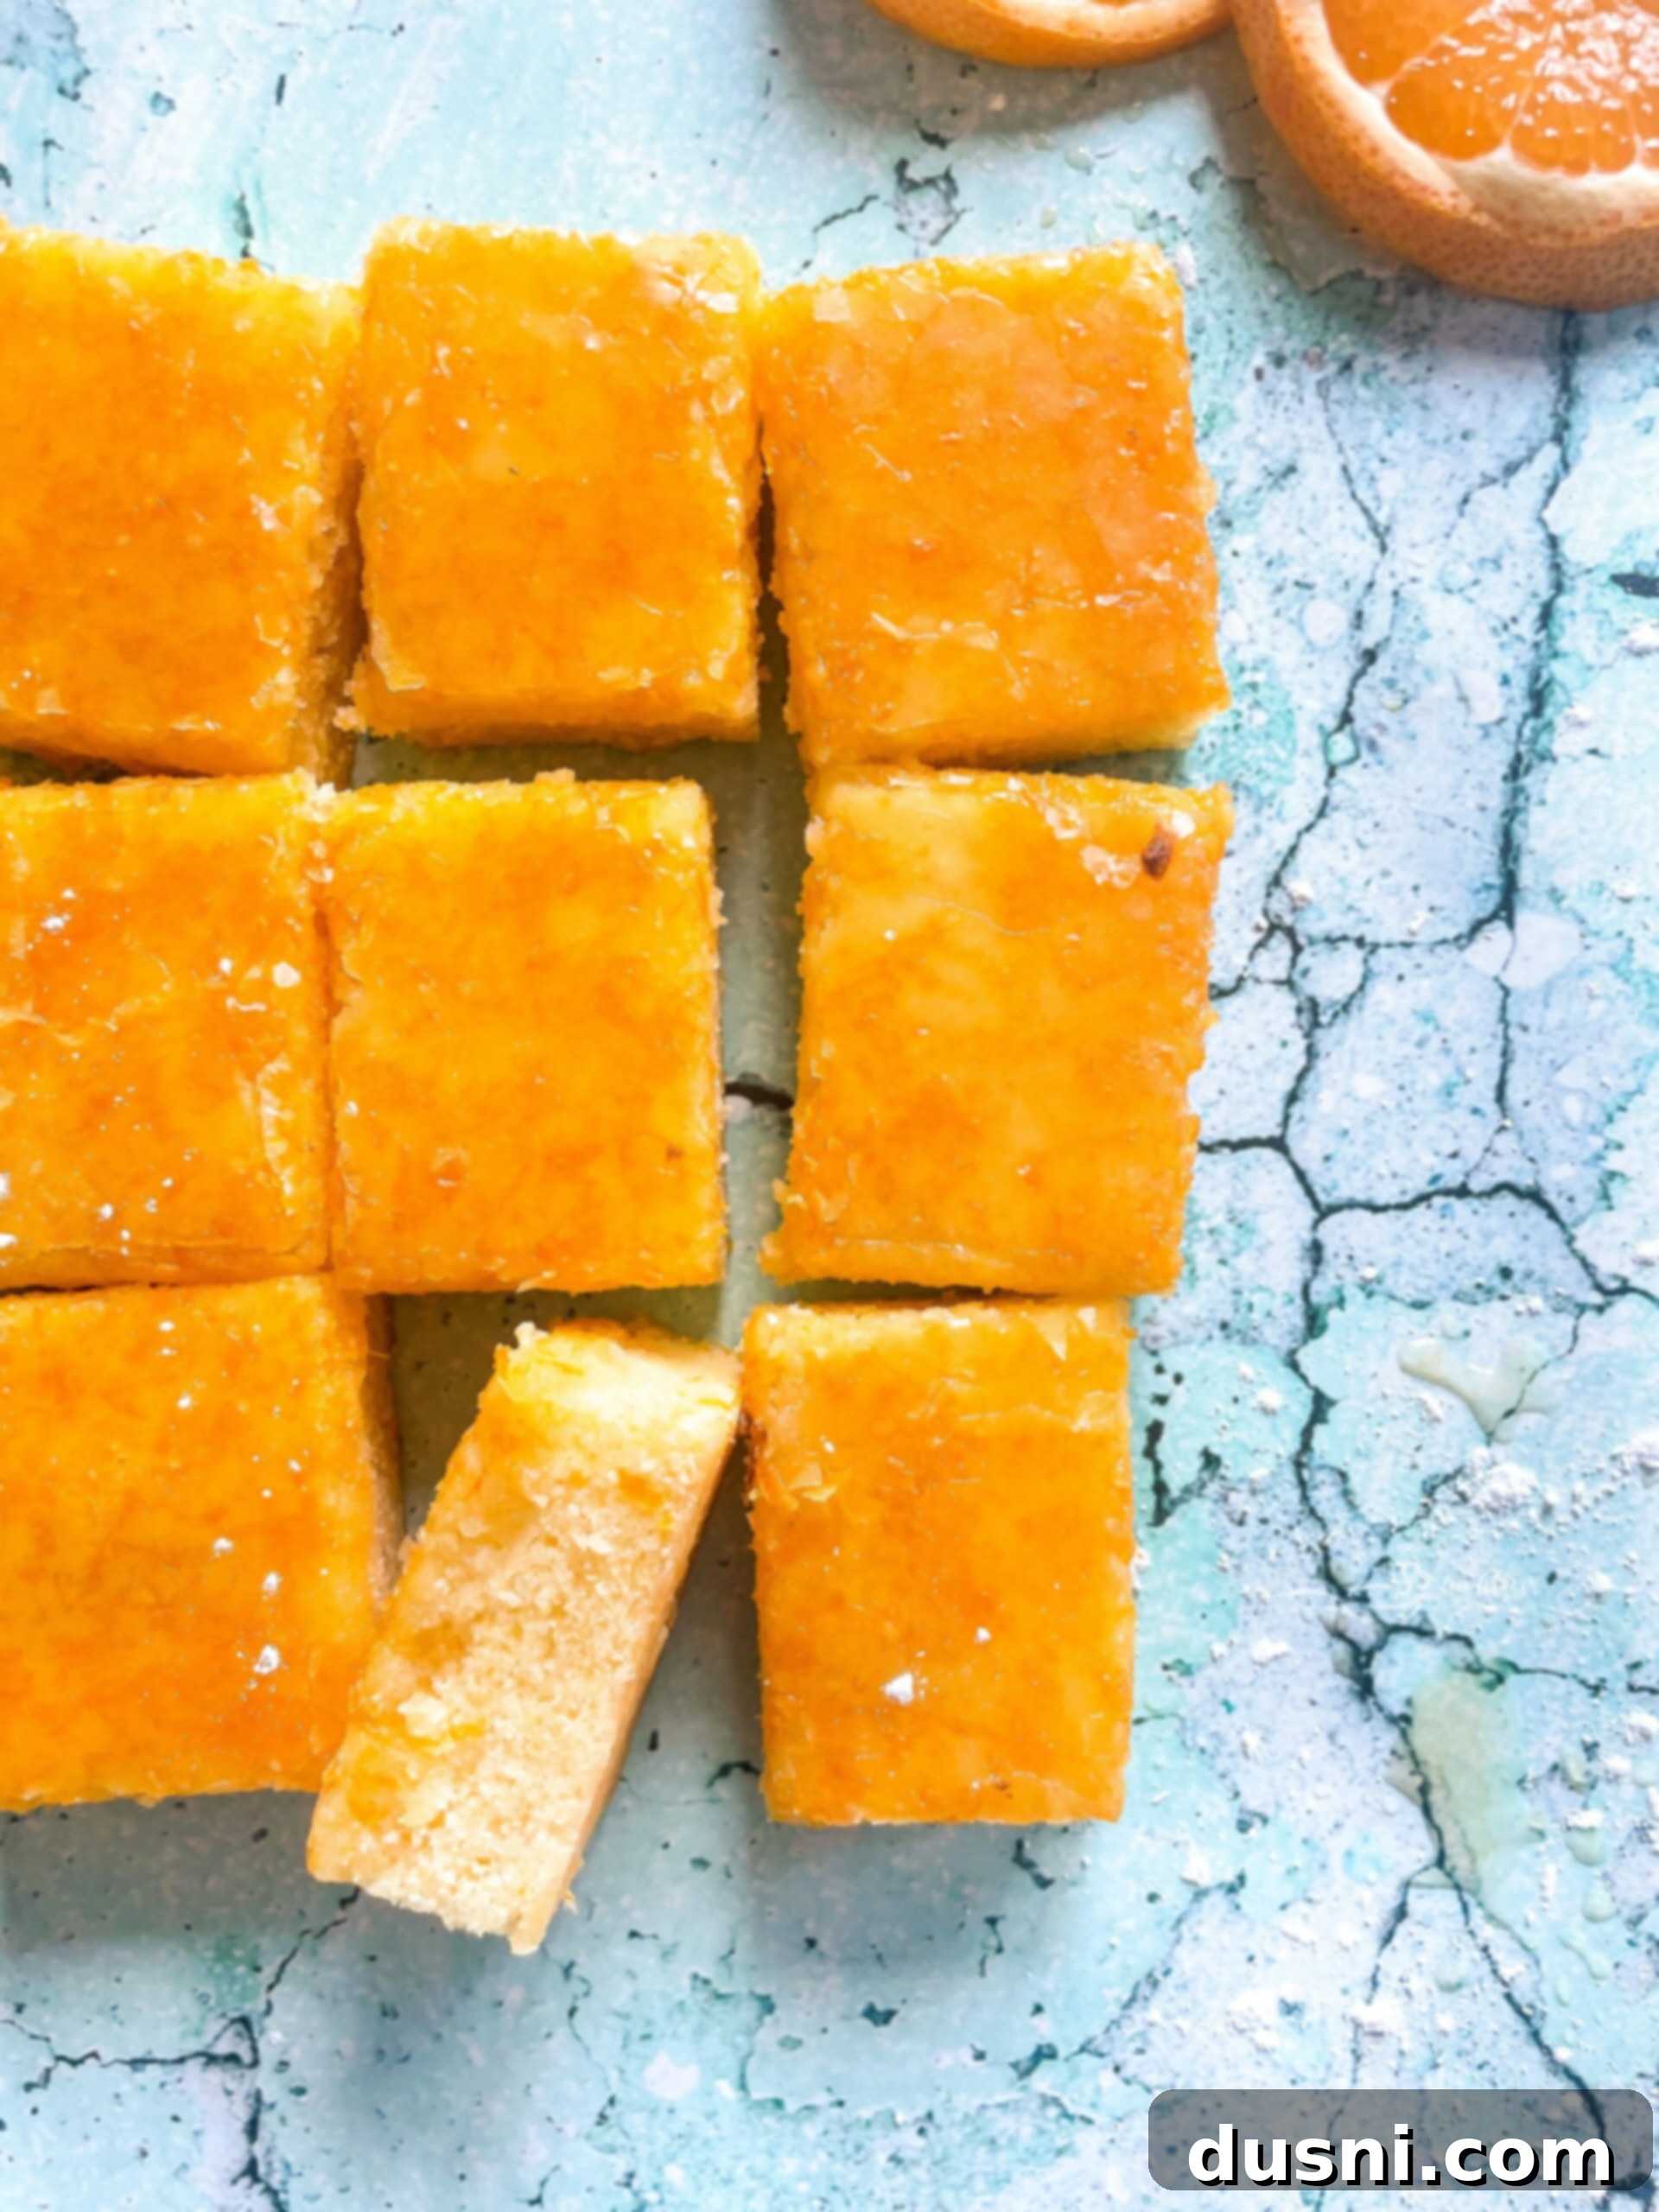
Zesty Fresh Orange Bars: A Bright & Easy Citrus Dessert Recipe Your Family Will Love
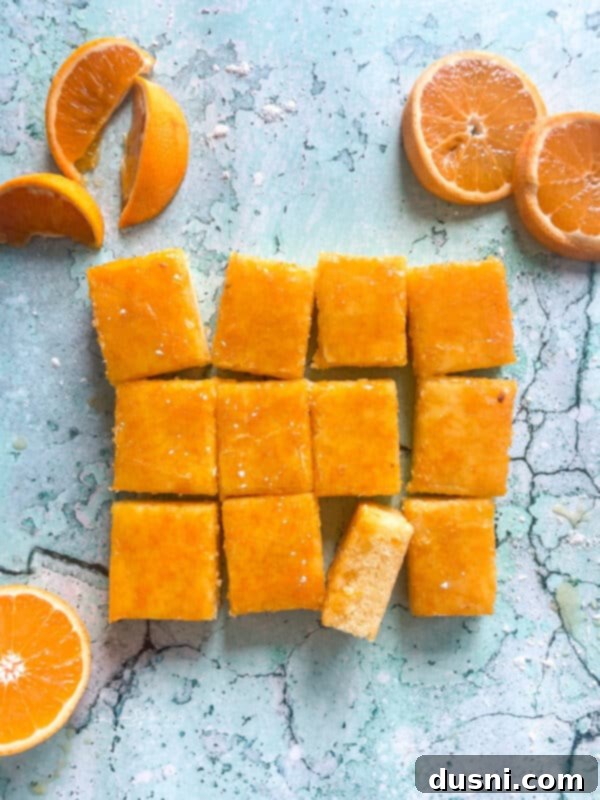
If you’re a devoted fan of classic lemon bars, prepare for your taste buds to be utterly delighted with this incredible recipe for Fresh Orange Bars! Imagine the vibrant, zesty flavor of fresh orange combined with a rich, buttery shortbread crust, all generously topped with a shimmering, sweet-tart orange citrus glaze. These decadent orange squares aren’t just a dessert; they’re a burst of sunshine and joy, guaranteed to bring a smile to anyone’s face. They’re perfect for potlucks, family gatherings, or simply as a special treat to brighten your day.
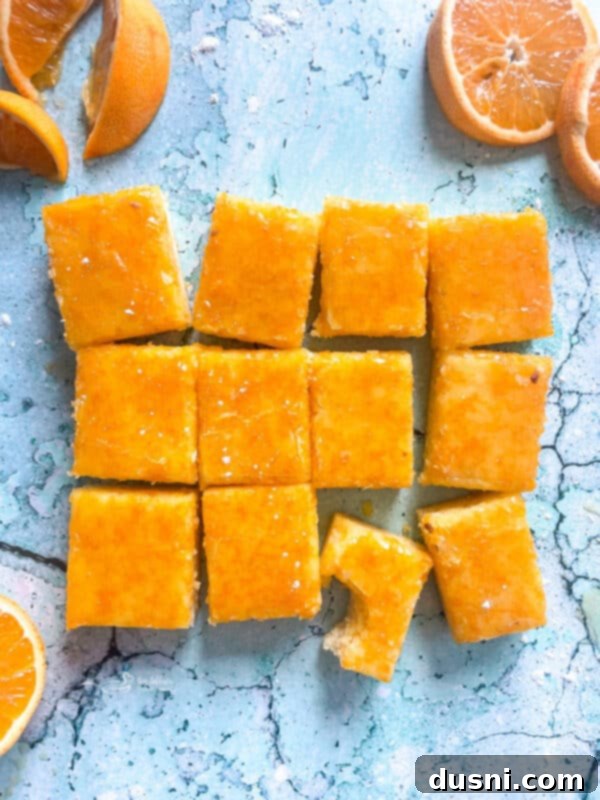
The journey to these delightful orange bars began back in 2014, when I found myself absolutely obsessed with my go-to Lemon Brownie recipe – seriously, those are the best lemon bars, hands down! I was planning to whip up a batch for a friend when I noticed some truly gorgeous, ripe oranges nestled in my fruit basket. A thought sparked: “Why not swap the lemon for orange?” The idea of an equally fantastic orange dessert version of those beloved lemon treats was irresistible.
Turns out, my culinary intuition was spot on! The result was a revelation. My husband even declared them superior to the lemon version, which, frankly, suits me just fine – more for him, less for my hips, right?
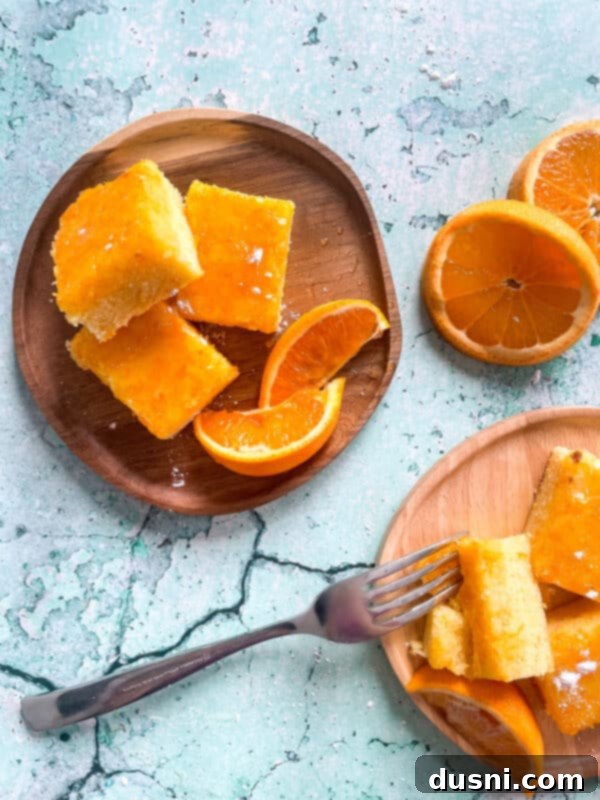
However, when it came time to write down the recipe, I paused. Calling them “orange brownies” felt… off. There’s something about the word “brownie” that sets certain expectations, and a dessert that isn’t brown can often cause a minor stir on social media. People sometimes struggle to conceptualize a “brownie” that doesn’t fit the traditional chocolate mold. So, to avoid any confusion and simply celebrate their unique citrus charm, I decided to officially christen them “Fresh Orange Bars.” Despite the name change, the core recipe, with its incredible buttery base and zesty topping, remains virtually the same as its lemon counterpart, simply infused with the sunnier flavor of oranges.
Are you always on the lookout for more delightful bar recipes and special treats? I certainly am! Here are a few of my absolute favorite dessert bar recipes to inspire your next baking adventure: the warmly spiced Iced Snickerdoodle Bars, the rich and classic Classic Nanaimo Bars, or for a quick and easy option, these satisfying No Bake Peanut Butter Chocolate Cookie Bars. Each offers a unique flavor and texture, perfect for any occasion where a sweet treat is desired.
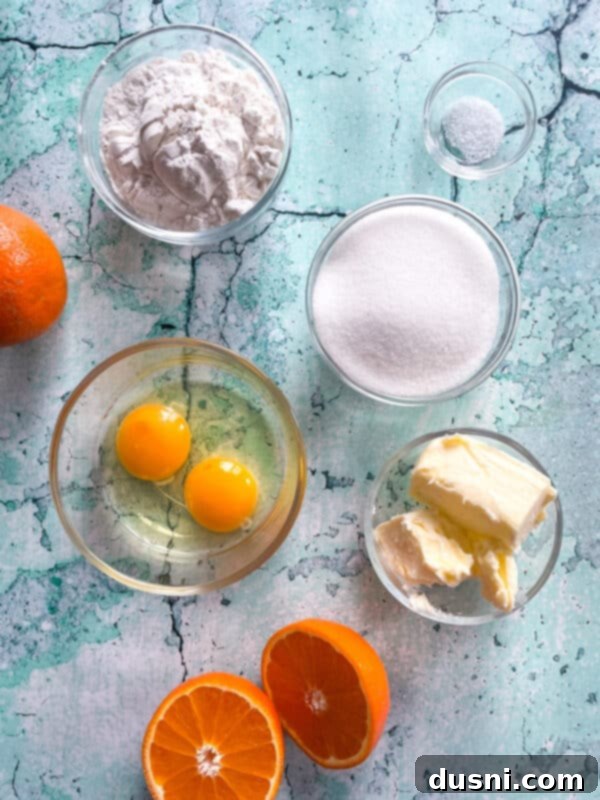
Key Ingredients Needed To Make This Zesty Orange Bar Recipe
Crafting the perfect Fresh Orange Bars requires a few simple, high-quality ingredients, divided into those for the rich bar base and those for the vibrant citrus glaze. You will find the complete recipe and detailed instructions, including precise measurements, at the very bottom of this post on the printable recipe card.
For the Bars:
Unsalted Butter – I always recommend baking with unsalted butter to have full control over the salt content in your recipe. For best results, remember to take it out of the fridge at least an hour before you start mixing, giving it ample time to soften to room temperature. This ensures it creams smoothly with the sugar, creating a tender, uniform crumb.
Granulated Sugar – This recipe calls for white granulated sugar. It provides the essential sweetness that balances the tartness of the orange, while also contributing to the structure and golden-brown edges of our delicious orange bars.
All-Purpose Flour – Standard all-purpose flour is the backbone of our buttery bar crust. It provides the necessary structure, creating a perfectly chewy yet soft texture that holds up beautifully to the zesty orange filling.
Salt – Just a touch of salt goes a long way. It’s crucial for enhancing all the other flavors, particularly the sweetness and the bright orange notes. Don’t skip it; it truly makes a difference!
Eggs – Eggs act as a binder, giving the bars their delightful structure and a rich, moist texture. Any standard large chicken eggs will work perfectly in these good bars, adding essential richness and helping them rise slightly.
Fresh Orange Zest – This is where the magic happens! Orange zest is packed with aromatic oils that deliver an intense, concentrated orange flavor. You’ll need the zest from two to three large, ripe oranges for this recipe. Feel free to use any kind of orange you prefer – navel, Valencia, blood oranges, or fresh mandarin oranges all work wonderfully and add their unique subtle notes.
Fresh Orange Juice – Complementing the zest, freshly squeezed orange juice provides a tart, bright flavor and the necessary moisture for the bar filling. For the freshest and most vibrant taste, squeeze the juice from the same oranges you just zested!
For the Glaze:
Fresh Orange Juice – For the perfect glaze consistency and flavor, you’ll use four tablespoons of freshly squeezed orange juice. This keeps the glaze bright and harmonizes perfectly with the orange flavor in the bars.
Orange Zest – To ensure an extra strong and wonderfully aromatic orange punch in your glaze, I recommend using eight teaspoons of finely grated orange zest. This boosts the flavor significantly and adds a beautiful speckled appearance.
Powdered Sugar – Also widely known as confectioner’s sugar, one and a half cups of powdered sugar forms the base of our smooth, pourable glaze. Its fine texture dissolves easily, creating a silky finish that sets beautifully.
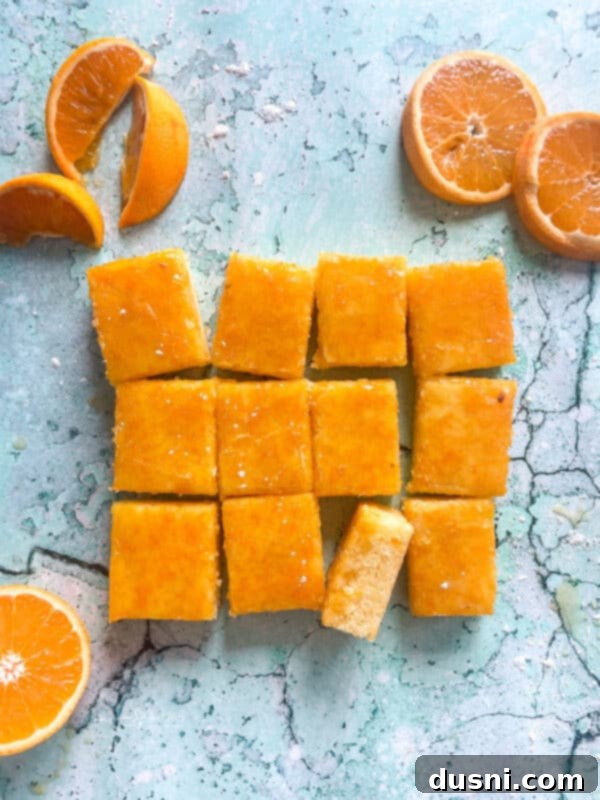
How To Make Delicious Orange Squares: Step-by-Step
Creating these vibrant orange bars is surprisingly simple and incredibly rewarding. Follow these steps for a perfectly zesty, sweet treat every time.
1. Prepare Your Pan and Oven: Begin by preheating your oven to 350 degrees Fahrenheit (175°C). Then, prepare an 8×8 inch baking dish. For the easiest removal and cleanest cuts, I highly recommend lining the dish with parchment paper, leaving an overhang on two sides to act as “handles.” Lightly butter or spray the parchment paper and the exposed sides of the pan with cooking spray.
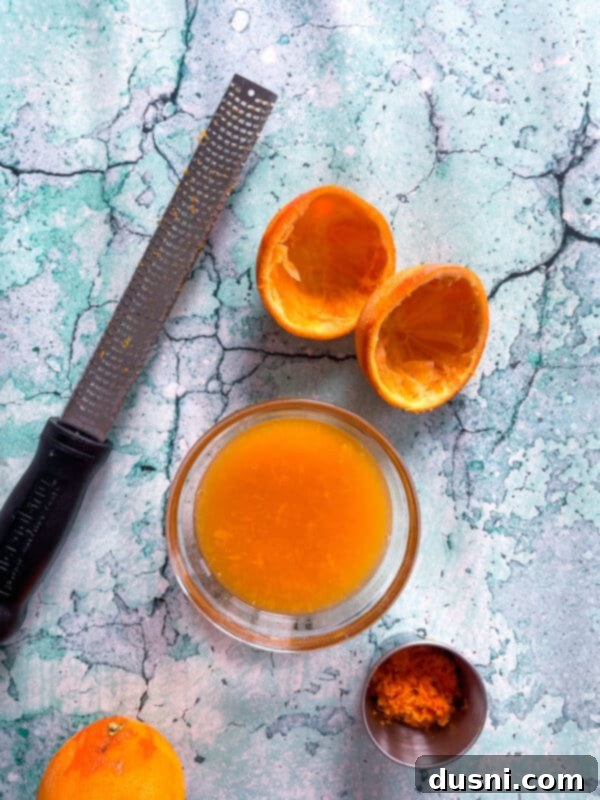
2. Zest and Juice Your Oranges: This crucial step ensures maximum freshness and flavor. Using a microplane or a fine grater, carefully zest your oranges, being sure to only get the bright orange outer layer and avoid the bitter white pith. Then, juice the zested oranges. Measure out the required amounts for both the bar mixture and the glaze, and set them aside.
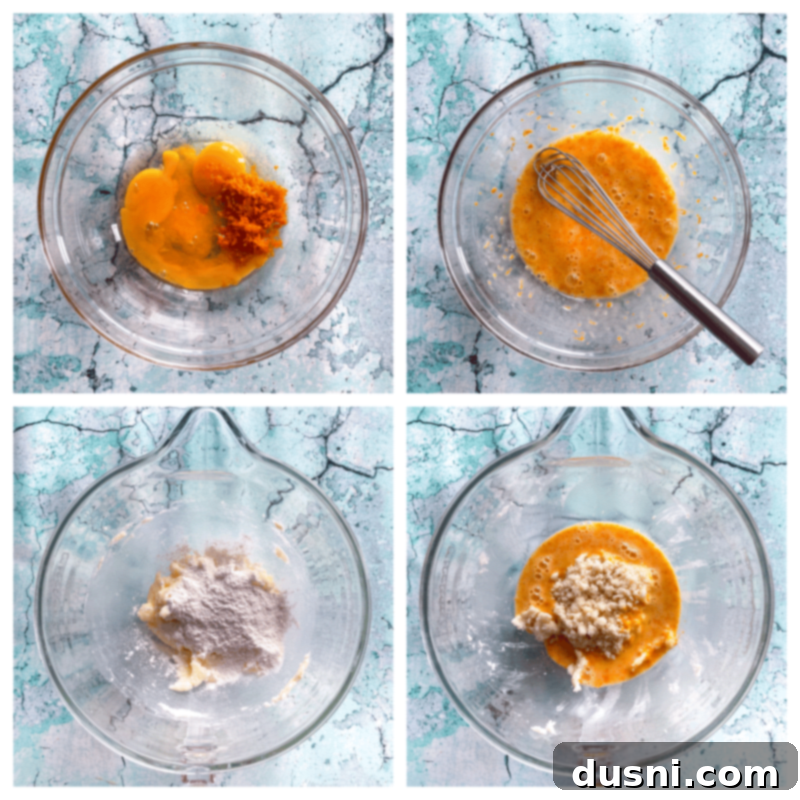
3. Prepare the Bar Mixture:
For the Wet Ingredients: In a medium bowl, whisk together the eggs, orange zest, and orange juice designated for the bars. This ensures these vibrant flavors are well combined before adding them to the butter mixture. Set this bowl aside for a moment.
For the Dry Ingredients: In the bowl of your stand mixer (or a large bowl with a hand mixer), cream together the softened unsalted butter and granulated sugar until the mixture is light, fluffy, and pale in color. This process incorporates air, contributing to the bars’ tender texture.
Combine: Gradually add the all-purpose flour and salt to the creamed butter and sugar. Mix on low speed just until they are combined and no dry streaks of flour remain. Be careful not to overmix at this stage.
Finish the Batter: Pour the reserved egg and orange mixture into the flour mixture. Beat on medium speed for exactly 2 minutes. This step helps develop the texture and ensures all ingredients are thoroughly incorporated, resulting in a smooth and consistent batter.
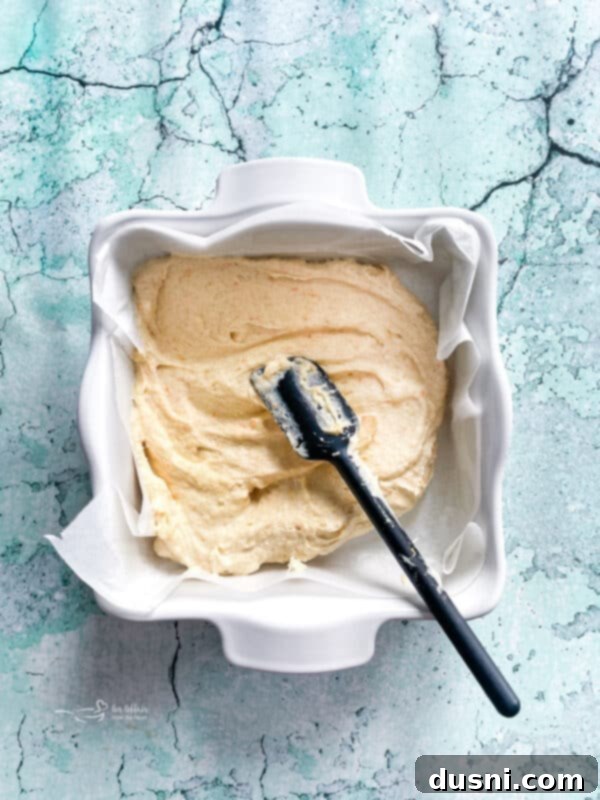
4. Bake the Bars: Carefully spread the orange bar batter evenly into your prepared baking dish. Transfer the dish to the preheated oven and bake for 20-25 minutes. Keep a close eye on them; the edges should be lightly golden brown, and the center should be set. Oven temperatures can vary, so adjust baking time as needed. It’s crucial not to overbake, as this can lead to dry bars. A moist, tender interior is key!
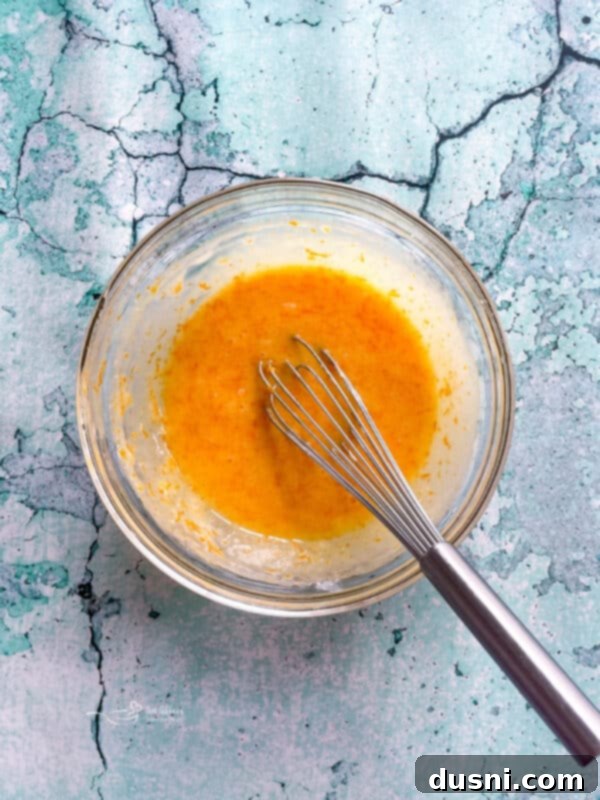
5. Prepare the Orange Glaze: While the bars are cooling (they should be mostly cool before glazing for best results), combine the powdered sugar, the remaining orange zest, and the remaining orange juice in a small bowl. Whisk vigorously until the mixture is completely smooth and free of lumps. The consistency should be pourable but thick enough to coat a spoon.
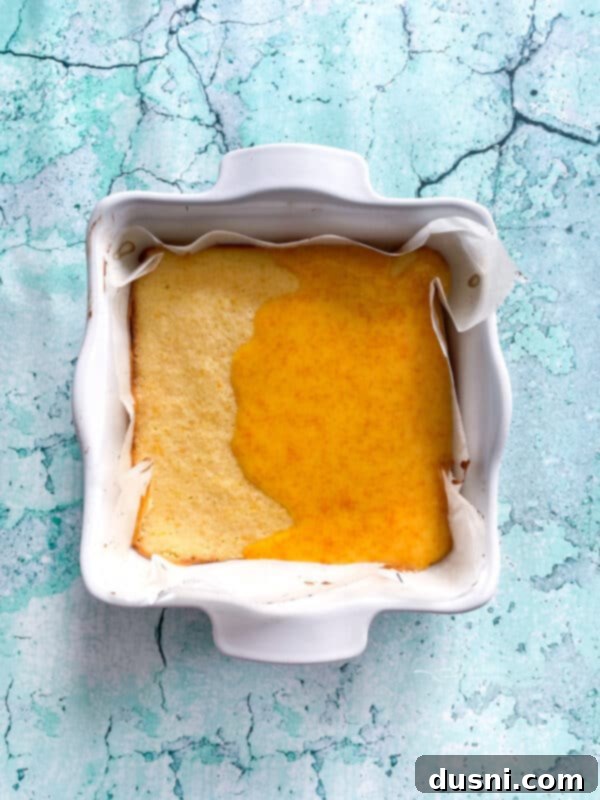
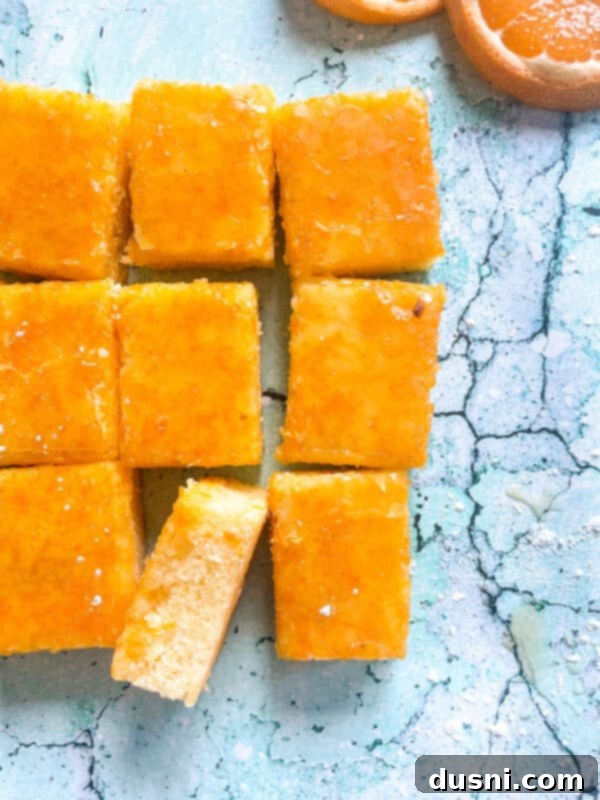
6. Glaze and Chill: Once the bars have cooled sufficiently, pour the smooth orange glaze evenly over the top. Use an offset spatula or the back of a spoon to spread it if needed. For the glaze to set properly and for the bars to firm up, place the entire baking dish in the refrigerator. Chill for at least an hour before attempting to cut and serve. This step ensures clean, beautiful squares.
7. Storage: Store any leftover Fresh Orange Bars in an airtight container in the refrigerator to maintain their freshness and texture. They’ll keep wonderfully for several days.
I must say, I am absolutely thrilled with how well this orange bars recipe turned out. If you’re yearning for traditional lemon bars but find yourself without lemon juice, or simply craving a delightful citrus twist, these orange dream bars are a fantastic alternative. They offer all the beloved characteristics of a classic bar dessert but with a bright, sunny orange flavor that’s utterly captivating.

LOVE IT? PIN IT!
Don’t let this fantastic recipe for vibrant orange squares disappear into the depths of the internet! You’ll be sad if you can’t find it when that next citrus craving hits. Make sure you pin it to your favorite Pinterest recipe board right now before you navigate away! Sharing is caring, and your friends will thank you for discovering this sweet, zesty treat.
Frequently Asked Questions (FAQs) About Making Fresh Orange Bars
- What exactly are orange bars? Orange bars are a delightful variation of classic citrus desserts, similar to lemon bars. Instead of using lemons, this recipe brilliantly incorporates fresh oranges, transforming the beloved sweet-tart bar into a sunny, vibrant orange-flavored treat. They feature a buttery shortbread crust topped with a tangy, citrusy filling and a sweet orange glaze.
- How do I effectively zest oranges? Zesting oranges is quite similar to zesting lemons. I personally prefer using a long, fine zesting plane (like a Microplane) as it quickly and efficiently removes the colored outer layer of the peel, which is rich in aromatic oils. Alternatively, you can achieve excellent results with a handheld box grater, using the fine side. Remember to only remove the orange part of the peel, avoiding the white pith underneath, which can be bitter.
- Can you freeze orange bars for later? Absolutely! These orange bars freeze exceptionally well, making them perfect for meal prep or enjoying a taste of sunshine whenever you like. To freeze, ensure they are completely cooled and the glaze is set. Place them in an airtight freezer-safe container, separating layers with parchment paper if stacking. They will maintain their quality for up to 3 months. For ultimate convenience, you can cut them into individual squares and wrap each piece tightly in plastic wrap before placing them in a container. This allows you to easily grab and thaw these “orange brownies” one at a time as needed.
- How long do these orange bars last in the refrigerator? When stored properly in an airtight container, Fresh Orange Bars will stay fresh and delicious in the refrigerator for up to 4-5 days.
- Can I use bottled orange juice instead of fresh? While fresh orange juice is highly recommended for the most vibrant and authentic flavor, bottled 100% orange juice can be used in a pinch. However, be aware that the flavor might not be as intense or bright as with fresh juice, as bottled juice often lacks the fresh acidity and aromatic qualities.
Creative Substitutions and Variations
One of the best things about bar recipes is their versatility! Don’t hesitate to experiment and make these Fresh Orange Bars truly your own.
Change Up the Citrus: While oranges are fantastic, you can easily transform this into a general citrus bar recipe. Try using grapefruit for a more bittersweet note, pomelos for a milder sweetness, tangerines for a delicate floral hint, or even a mix of citrus fruits for a vibrant medley of flavors. Each will offer a unique twist!
Glaze Enhancements: For a slightly different flavor profile in the glaze, consider adding a touch of pure vanilla extract alongside the orange, which will round out the sweetness beautifully. Alternatively, you could create a completely different vanilla glaze or even a simple lemon glaze if you’re looking for a delightful contrast.
Additions to the Bars: Stir in a handful of white chocolate chips into the batter for an extra layer of sweetness and texture, or sprinkle a few dried cranberries or chopped pistachios over the glaze before it sets for a pop of color and complementary flavor.
Essential Tips and Tricks for Perfect Orange Bars
Achieving bakery-quality orange bars is simple with these helpful hints and expert advice:
- Ensure Room Temperature Butter: This tip is vital! Make sure your butter is at proper room temperature (softened but not melted) before you begin. This allows it to cream smoothly with the sugar, creating an airy, uniform base for your bars that bakes evenly and has a tender crumb.
- Use Parchment Paper for Easy Removal: To simplify the removal of your baked bars from the dish and ensure beautifully clean cuts, always line your baking dish with parchment paper. Leave enough overhang on the sides so you can easily lift the entire slab of bars out once cooled.
- Don’t Overbake: This is perhaps the most important tip! Overbaking will result in dry, crumbly bars. Keep a close eye on your oven and remove the bars as soon as the edges are golden brown and the center is just set, with perhaps a very slight wobble. Remember, they will continue to set slightly as they cool.
- For Even More Orange Flavor: If you’re a true citrus enthusiast and want to amplify the orange notes, consider adding a tiny splash (about ¼ to ½ teaspoon) of orange extract to either the bar batter or the glaze. This will give it an extra aromatic boost without making it taste artificial.
- Cool Completely Before Glazing: For the best results, allow your baked bars to cool completely before pouring on the glaze. Applying glaze to warm bars can cause it to melt and absorb into the bars, leading to a less vibrant finish.
- Chill for Clean Cuts: After glazing, it’s essential to chill the bars in the refrigerator for at least an hour, or until the glaze is fully set. This step firms up both the bars and the glaze, making it much easier to achieve neat, precise squares when cutting.
More Delicious Dessert Bar Recipes to Love
While cookies, cakes, and pies are always wonderful desserts, dessert bars truly shine for their incredible convenience and ease of preparation. They’re often quicker to whip up, travel beautifully, and are perfect for feeding a crowd. Here are some more delectable dessert bar recipes that are sure to earn a permanent spot in your recipe collection:
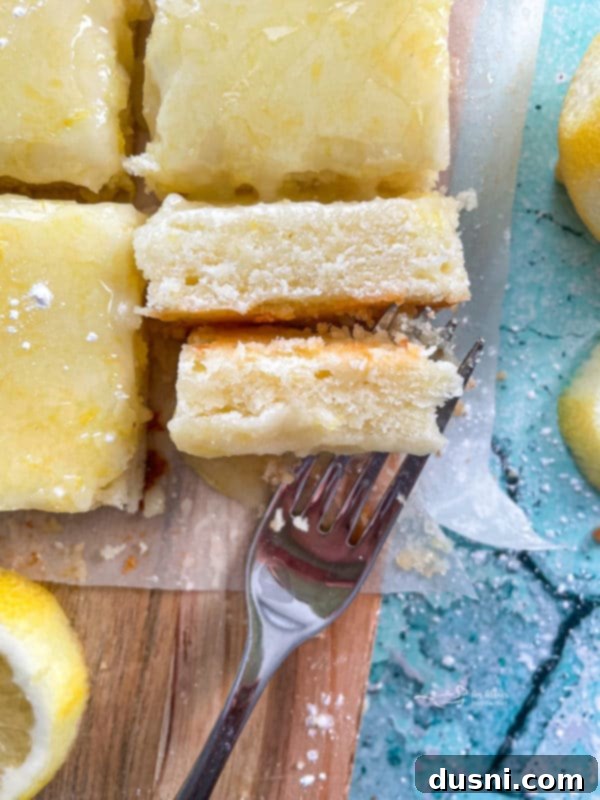
- Lemon Brownies (the inspiration for these orange bars, pictured above!)
- Raisin Spice Bars
- Pumpkin Bars with Shortbread Crust
- Lemon Blueberry Crumb Bars
- Sweet & Salty Brownies
- S’Mores Cookie Bars
- Butterscotch Pecan Bars

LIKE THIS RECIPE?
Don’t forget to give it a ⭐️⭐️⭐️⭐️⭐️ star rating and
leave a comment below the recipe!

Print Recipe
Fresh Orange Bars
Equipment
-
Citrus Zester (Microplane)
-
Manual Juicer / Citrus Squeezer
-
Whisks for Cooking, 3 Pack Stainless Steel Whisk 8″+10″+12″
-
Kitchenaid Stand Mixer (or large mixing bowl)
-
KitchenAid Hand Mixer (optional, if not using stand mixer)
-
Wilton Performance Aluminum Square Cake and Brownie Pan, 8-Inch
Ingredients
- FOR THE BARS:
- 1 stick (1/2 cup) unsalted butter softened to room temperature
- 3/4 cup granulated sugar
- 3/4 cup all-purpose flour
- 1/4 teaspoon salt
- 2 large eggs
- 2 Tablespoons fresh orange zest
- 2 Tablespoons fresh orange juice
- FOR THE GLAZE:
- 4 Tablespoons fresh orange juice
- 8 teaspoons fresh orange zest
- 1 1/2 cups powdered sugar (confectioner’s sugar)
Instructions
-
Preheat oven to 350 degrees F (175°C). Lightly grease an 8×8 inch baking dish and line it with parchment paper, leaving an overhang on two sides for easy removal.
-
Zest and juice your fresh oranges. Measure out the required amounts for both the bars and the glaze, and set them aside.
-
FOR THE BARS: In a small bowl, whisk together the 2 eggs, 2 tablespoons orange zest, and 2 tablespoons orange juice. Set this mixture aside.
-
In the bowl of a stand mixer fitted with a paddle attachment (or using a large bowl and a hand mixer), cream together the softened butter and granulated sugar until light, fluffy, and pale, about 2-3 minutes. Add the flour and salt, mixing on low speed until just combined.
-
Gradually add the reserved egg mixture to the butter-flour mixture. Beat on medium speed for 2 minutes, scraping down the sides of the bowl as needed, until the batter is smooth.
-
Spread the batter evenly into the prepared baking dish. Bake for 20-25 minutes, or until the edges are golden brown and the center is set. Be careful not to overbake, as this will result in dry bars.
-
Remove from the oven and let the bars cool in the pan on a wire rack while you prepare the glaze. They should be mostly cool before glazing.
-
FOR THE GLAZE: In a separate small bowl, combine the 4 tablespoons orange juice, 8 teaspoons orange zest, and 1½ cups powdered sugar. Whisk until completely smooth.
-
Pour the glaze evenly over the cooled bars. Place the entire pan in the refrigerator for at least 1 hour to allow the glaze to set and the bars to firm up.
-
Once set, use the parchment paper overhangs to lift the bars out of the pan. Place them on a cutting board and slice into squares to serve.
-
Store any leftover Fresh Orange Bars in an airtight container in the refrigerator.
Notes
If you don’t have an 8×8 inch baking dish, you can use a 9×9 inch pan, but you will need to adjust your baking time slightly, as the bars will be thinner and may bake faster. Keep an eye on them!
Nutrition
