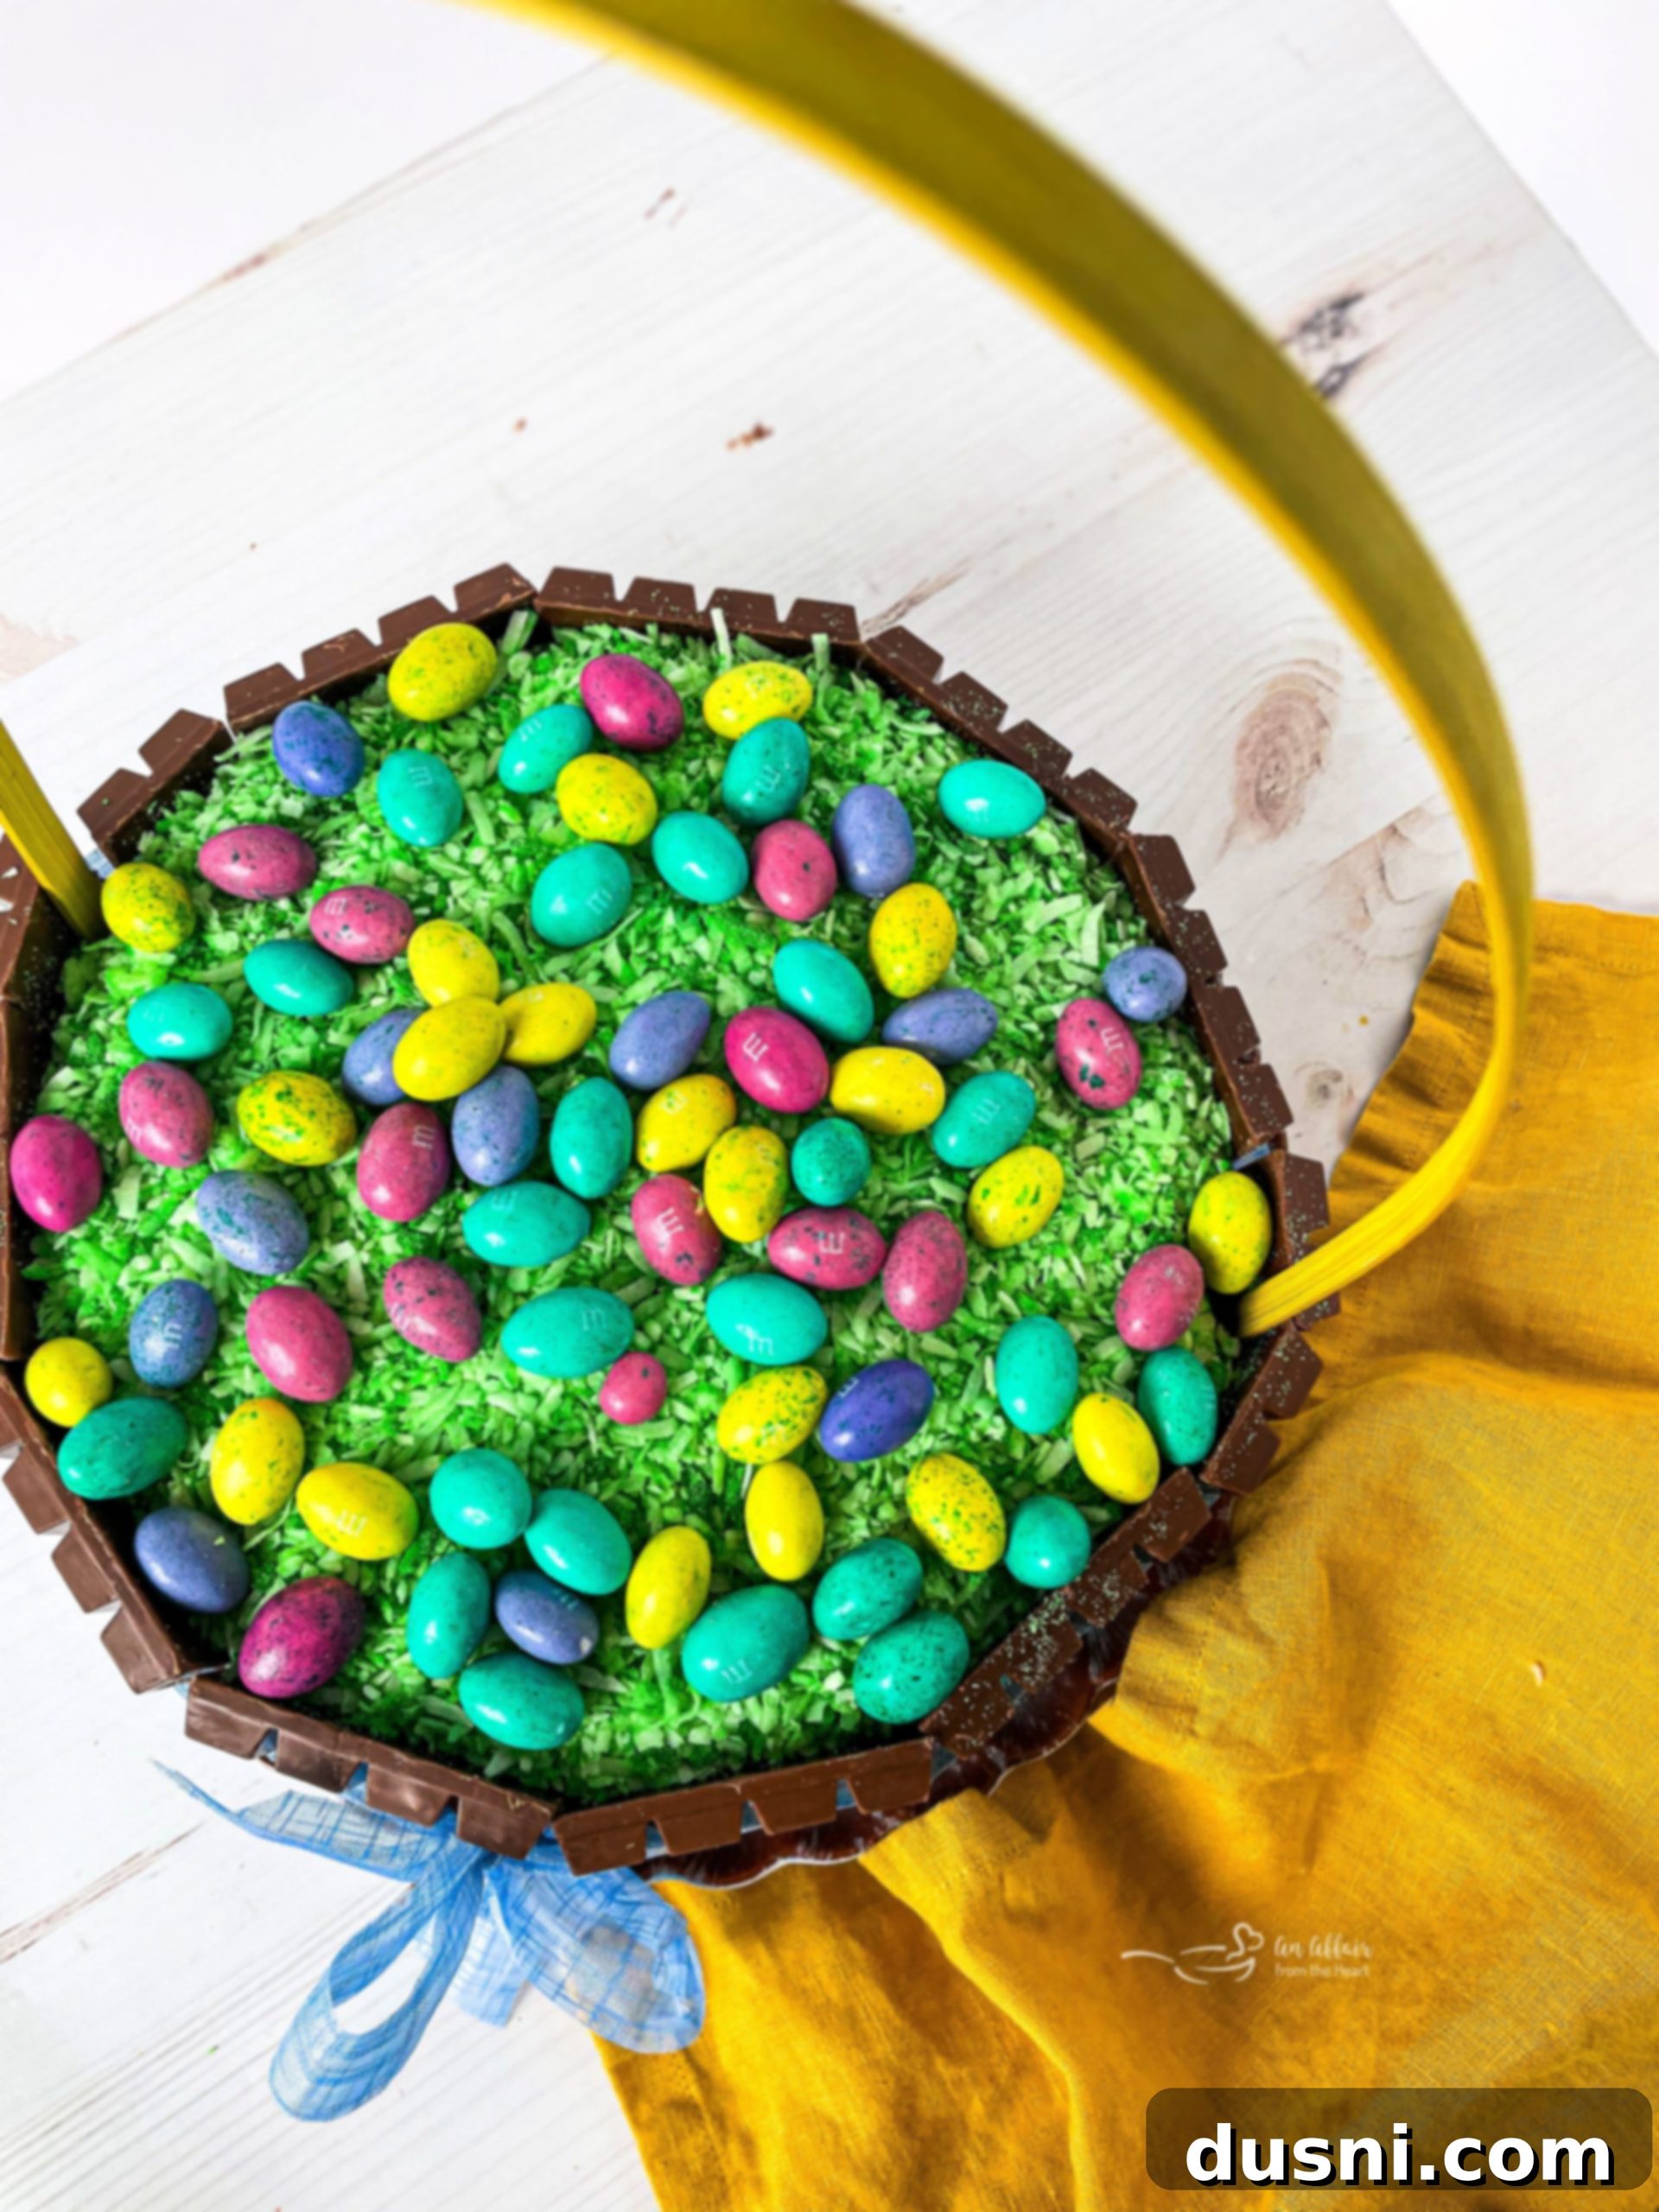
The Ultimate Kit Kat Easter Basket Cake: A Festive and Easy Dessert
Prepare to dazzle your guests and elevate your holiday celebrations with this incredible Kit Kat Easter Basket Cake! This delightful creation is not just a cake; it’s a centerpiece, a conversation starter, and an irresistible treat all rolled into one. Featuring a moist, fluffy yellow cake, rich and creamy chocolate frosting, and the iconic crunch of Kit Kat bars, this recipe is surprisingly simple to assemble yet yields a truly spectacular result. While perfectly designed for Easter, its charming versatility means it can easily be adapted into a show-stopping birthday cake or a delightful dessert for any special occasion throughout the year.
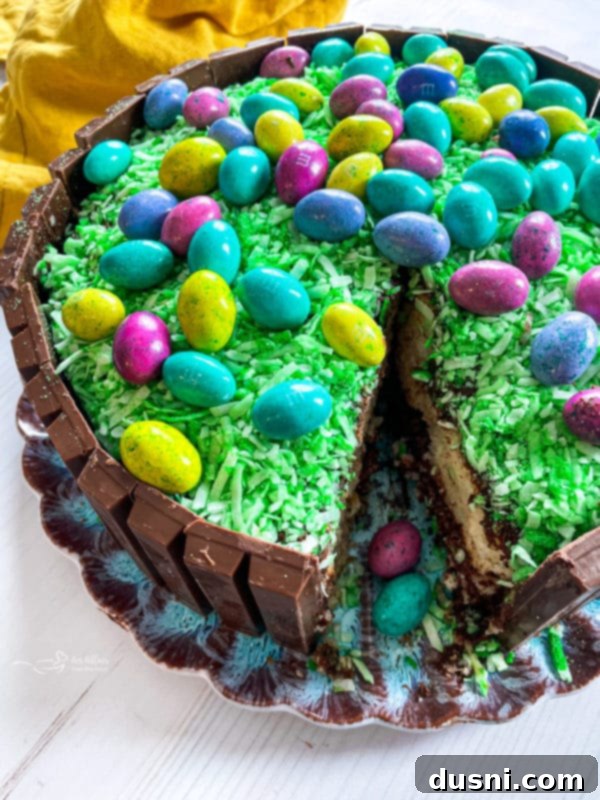
Discover the Magic of This Easy Kit Kat Cake for Easter
If you’ve been searching for that perfect homemade dessert that looks incredibly impressive but is, in reality, remarkably effortless to create, then this Kit Kat Cake for Easter is about to become your new favorite! It perfectly balances visual appeal with ease of preparation, making it ideal for busy hosts who want to present something truly special without spending hours in the kitchen.
The beauty of this adorable dessert lies in its simplicity. You’ll need just a few key ingredients: a box of your favorite yellow cake mix (or homemade, if you prefer), a generous amount of rich chocolate frosting (my recipe is fantastic!), plenty of classic Kit Kat candy bars, a festive ribbon, colorful M&M Easter eggs, a handle from an old Easter basket, and either shredded coconut or whimsical edible Easter grass to complete the basket illusion. Each component plays a vital role in creating a dessert that’s as fun to look at as it is to eat.
More Fun Dessert Ideas to Sweeten Your Day
Craving more delicious and creative dessert inspiration? Why not explore some of my other delightful recipes? For a playful and unique treat, try my Bubblegum Cupcakes, or for a classic with a twist, my moist and flavorful Carrot Bundt Cake! Each recipe offers a different flavor profile and level of fun for your next baking adventure.
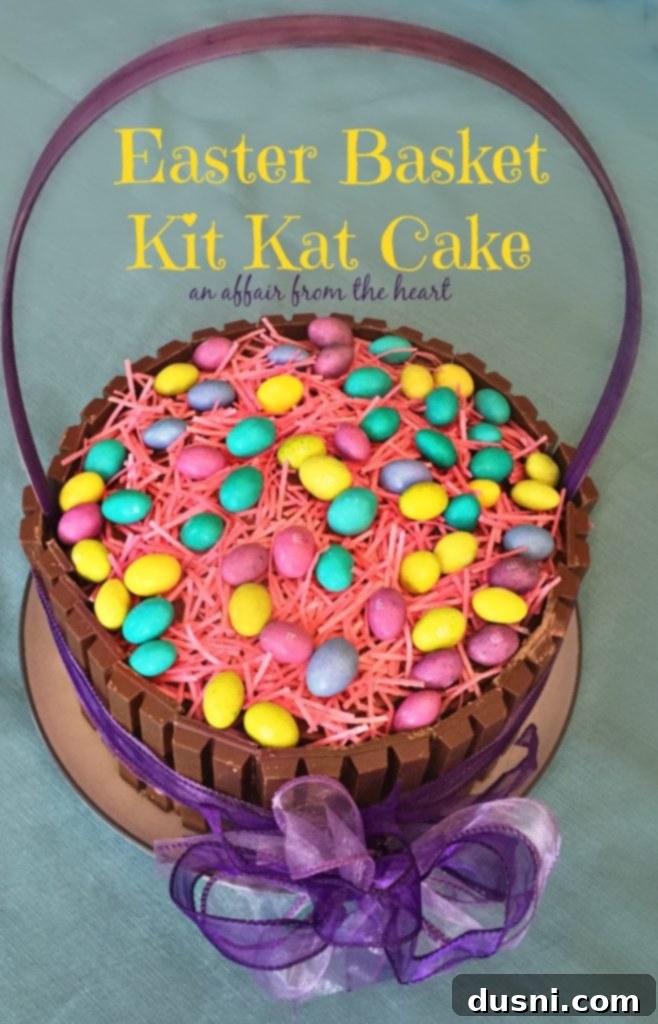
The idea for this charming Easter Basket Kit Kat Cake first came to me several years ago. I decided to take the popular concept of a Kit Kat cake and give it a festive, holiday-specific twist. The result was genuinely delightful, and I was pleasantly surprised at how simple and straightforward it was to assemble. This impressive dessert quickly became a staple for our Easter celebrations, often requested by family and friends.
Since its debut in 2016, this Easter dessert has graced our holiday table countless times. It’s a tradition that brings smiles year after year. This year, I’m excited to make it again, and before I do, I wanted to share updated prep photos and more detailed instructions. My goal is to clearly demonstrate just how easy it is to create this beautiful and delicious cake, empowering you to make your own memorable Easter treat!
Beyond Easter: Versatile Kit Kat Cake Designs and Ideas
While this scrumptious dessert was initially conceived for Easter, its design is incredibly adaptable for numerous other occasions! By simply omitting the Easter basket handle, this creation transforms into a classic Kit Kat Cake, perfect for any casual gathering or celebration. Do you need a birthday cake for a dedicated chocolate lover? Easily swap the yellow cake mix for a rich chocolate cake mix to craft a decadent Kit Kat Chocolate Cake! The possibilities are endless when it comes to customizing the aesthetic.
You can also change the color of the M&M’s (or substitute with any other small candy – Reese’s Pieces are a fantastic and delicious alternative!) on top to make it festive for any holiday or theme. M&M’s often release special colors for various holidays, making it simple to tailor your cake to Halloween, Christmas, Valentine’s Day, or even school colors. Feel free to switch up the cake flavors too – perhaps a funfetti cake for a whimsical birthday, or a red velvet for a more sophisticated touch. This is your cake; unleash your creativity and make it truly your own!
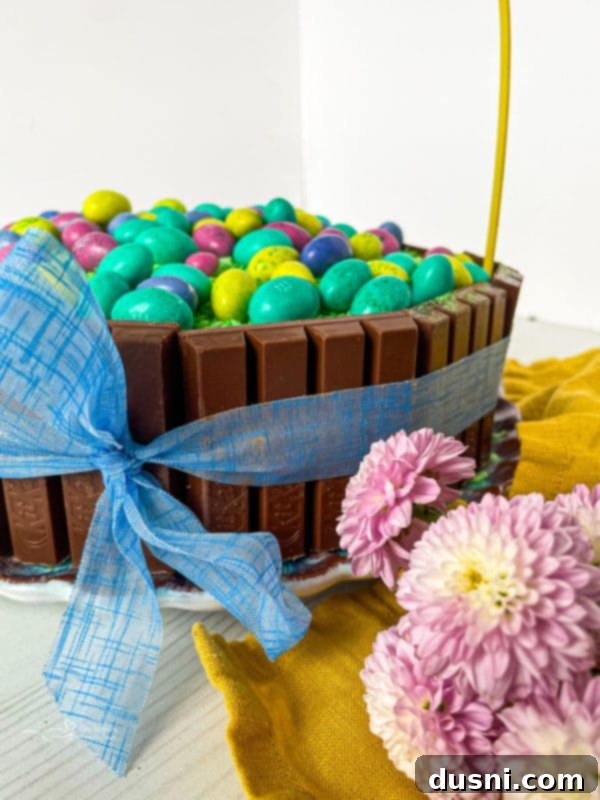
One often-overlooked advantage of Kit Kats, especially for a widely shared dessert, is their versatility as a candy that is generally nut-free. While some international Kit Kat varieties may feature different flavors or inclusions, the standard Kit Kat bars widely available in the United States typically do not contain peanut butter. Moreover, the packaging on these popular sweets frequently indicates that Kit Kats are not even manufactured in facilities that handle peanuts, making them a safer option for those with nut allergies. This thoughtful detail ensures that even friends and family with dietary restrictions can confidently enjoy this sweet and festive treat!
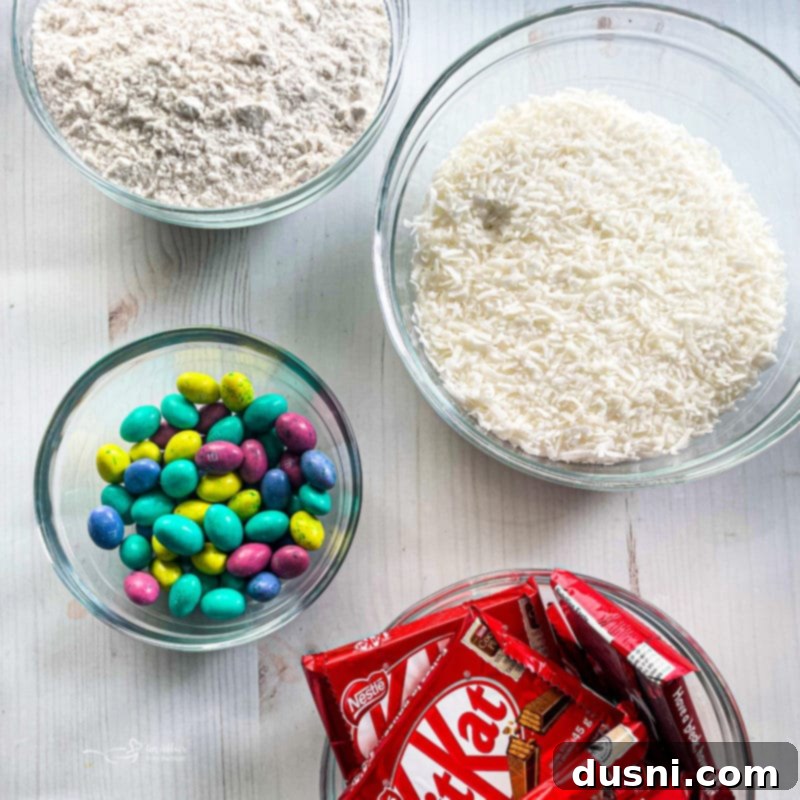
Essential Ingredients for Your Kit Kat Delight
Gathering your ingredients is the first step to creating this impressive cake with Kit Kats. Here’s a breakdown of what you’ll need, along with some helpful tips for substitutions and variations:
- Kit Kat Candies: You’ll need approximately 11 standard Kit Kat candy bars to encircle a two-layer cake. The exact number may vary slightly based on the circumference of your cake layers. For reference, I typically use 9-inch round pans, which work perfectly with this quantity. Break them into individual four-finger sections before assembly for easier placement.
- Yellow Cake Mix: A classic yellow cake mix forms the delicious foundation of this dessert. Prepare it precisely according to the package instructions for a reliably fluffy and moist cake. Feel free to substitute with any other cake mix flavor you prefer, such as chocolate, vanilla, or even funfetti. For an extra homemade touch, you can also bake your favorite yellow cake recipe from scratch!
- M&M’s: To fully embrace the Easter theme, colorful M&M Easter eggs are highly recommended for topping the cake. Their pastel colors and egg shape add an undeniable festive charm. However, if you can’t find the Easter-specific variety, regular M&M’s work wonderfully, or you can opt for any other small, colorful chocolate candy that suits your celebration’s theme.
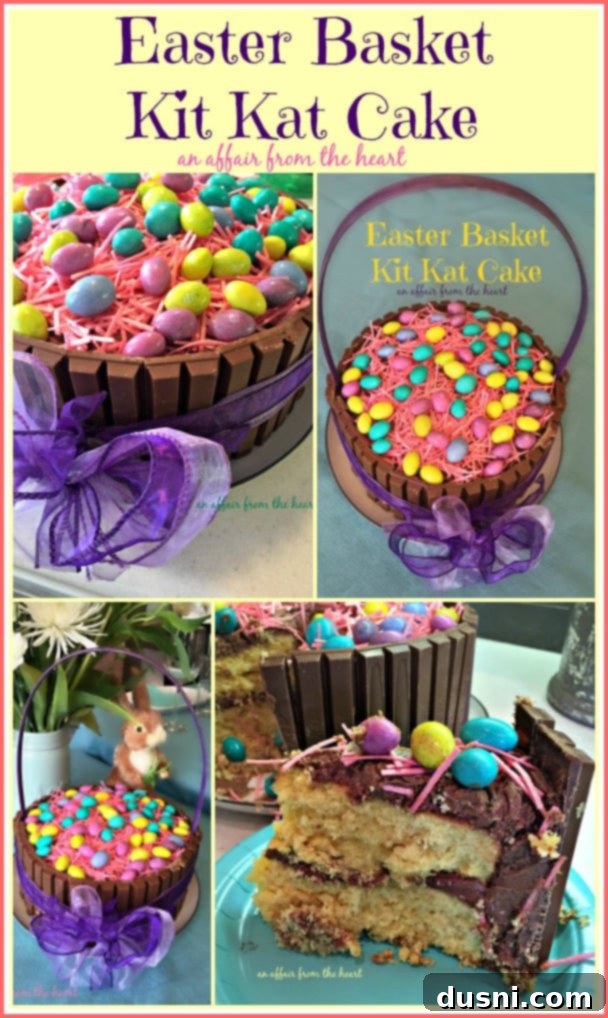
- Edible Easter Grass: This is a fantastic and whimsical addition that truly brings the “Easter basket” look to life! It adds a playful texture and a pop of color. I personally love the strawberry flavor (often pink or red), but edible grass is also available in blueberry (blue) and green apple (green) flavors, allowing for even more customization.
- Ribbon: You’ll only need about half a roll of decorative ribbon to tie around the cake. This not only adds a lovely decorative touch but also helps to secure the Kit Kat bars. Experiment with different colors and patterns to match the specific occasion or your personal aesthetic – a vibrant spring color for Easter, or a bold hue for a birthday.
- Easter Basket Handle: A crucial element for the “basket” effect! Reusing the handle from an old Easter basket is a clever and sustainable way to get this component. Ensure it’s clean and sturdy enough to stand upright in the cake.
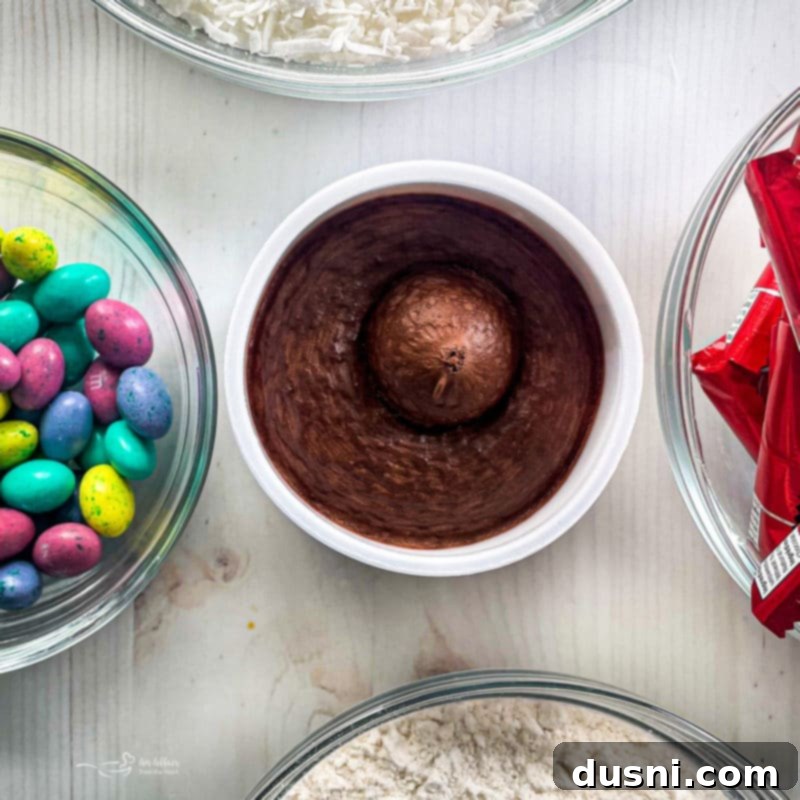
- Frosting: Whether you opt for a decadent homemade chocolate frosting or the convenience of a store-bought container, the rich, creamy texture is essential. Chocolate is my absolute favorite for this cake, as it provides a perfect contrast to the yellow cake and complements the Kit Kats beautifully.
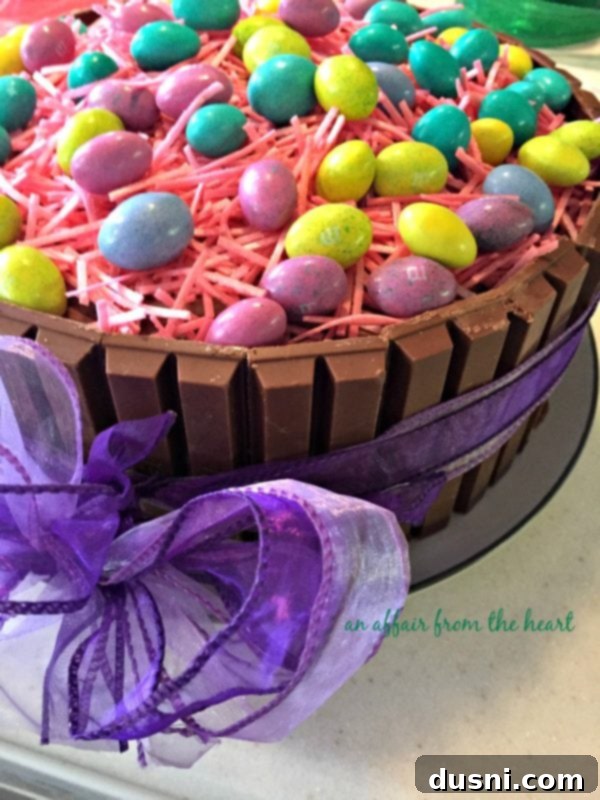
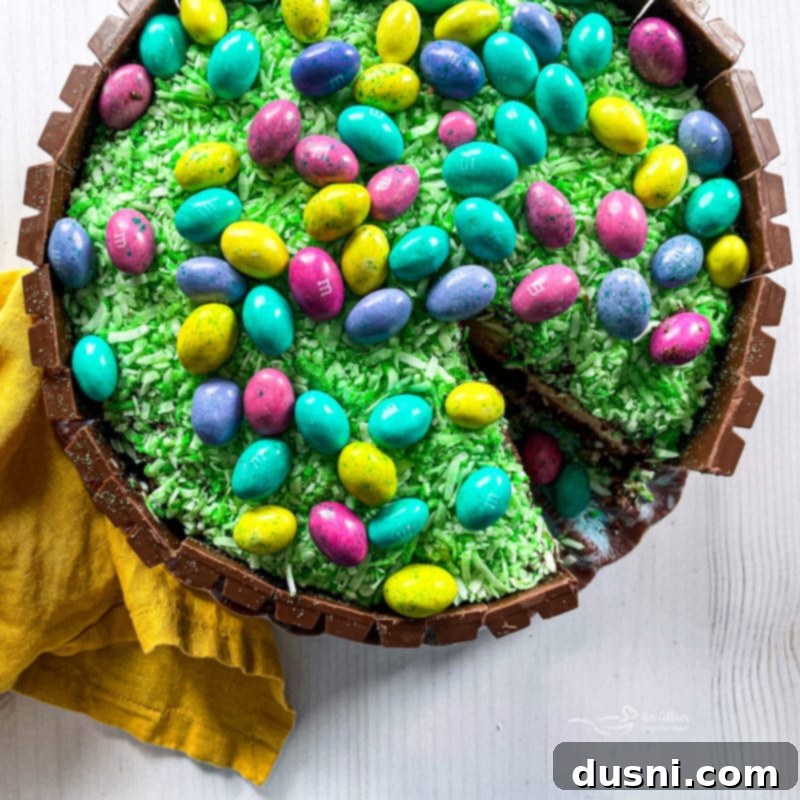
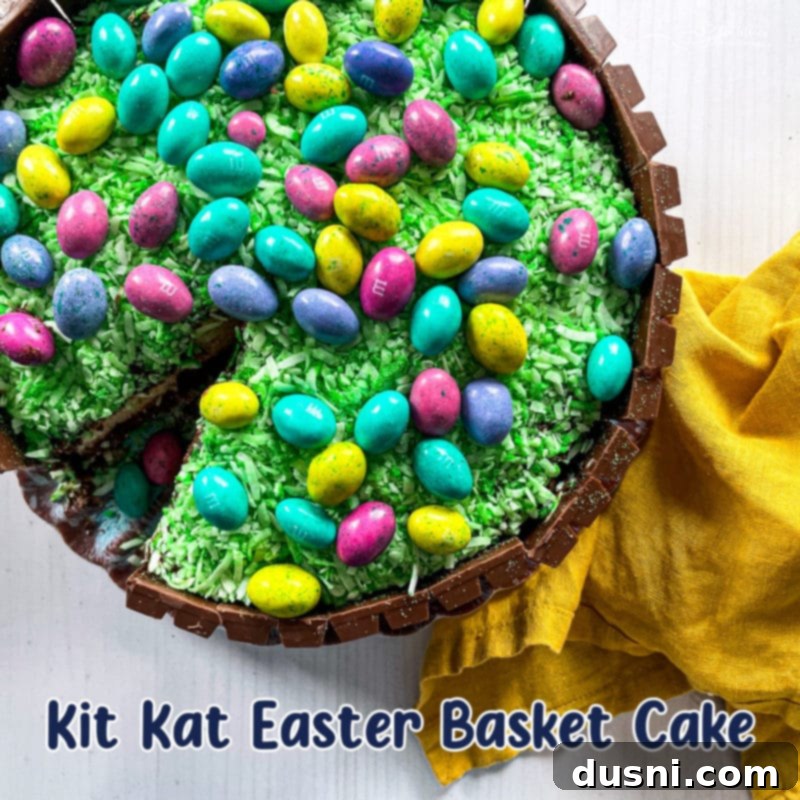
The edible Easter grass was a delightful discovery I made the very first time I created this cake. I originally ordered mine from Amazon, and it’s actually a product made in Germany! They offered three distinct flavors, and I particularly enjoyed the strawberry-flavored pink grass. It truly looks super cute and adds an authentic basket aesthetic. However, don’t fret if you can’t find it; most of the time, I achieve a similar effect by using shredded coconut tinted green with a few drops of food coloring.
Alternatively, if you prefer not to introduce additional flavors or textures to the top of your cake, you could simply frost the top with green buttercream. This offers a vibrant, grassy appearance and can be piped with a star tip for a more realistic look, ensuring your Easter Basket Kit Kat Cake is both beautiful and delicious.
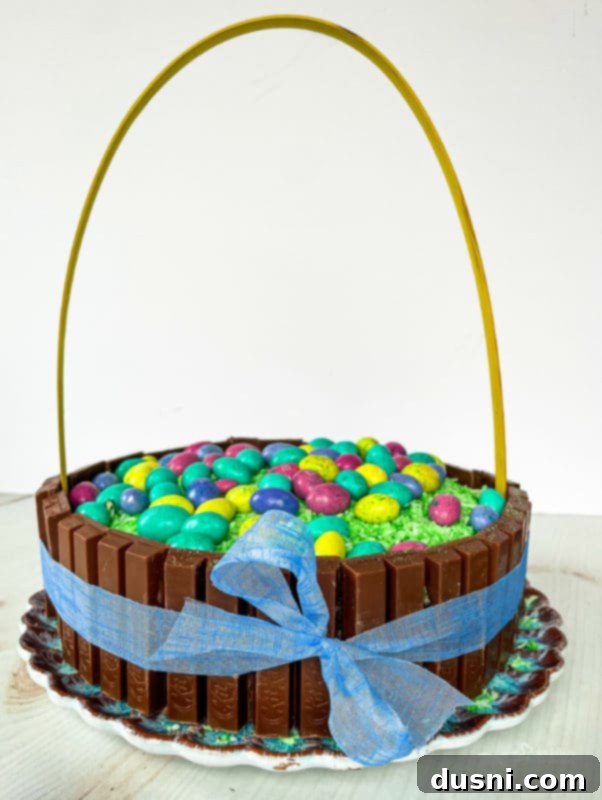
Crafting Your Kit Kat Basket Cake: A Step-by-Step Guide
STEP 1: MAKE THE CAKE
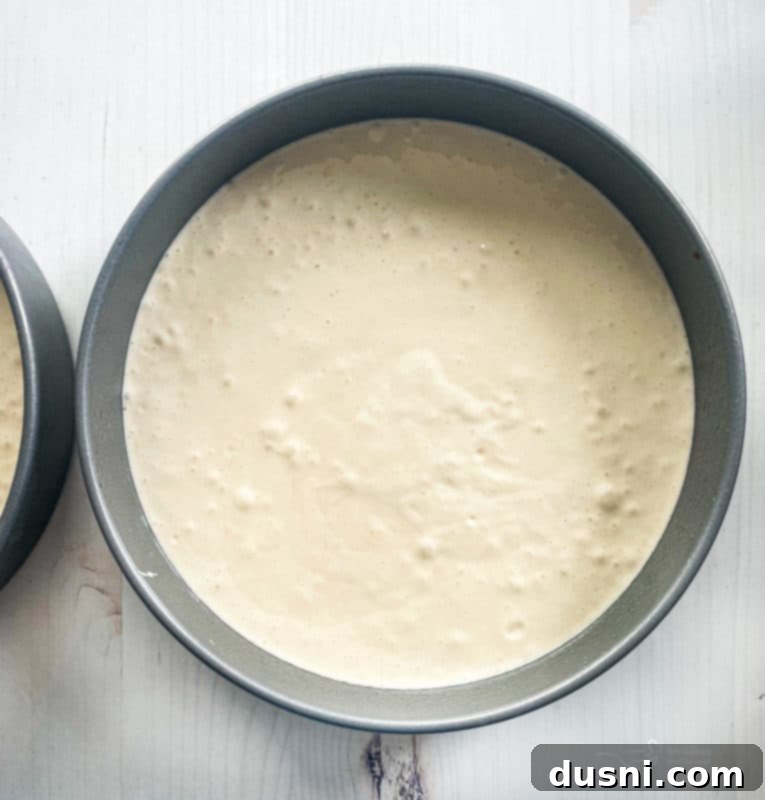
To start your beautiful Kit Kat Easter Basket Cake, begin by thoroughly preparing your chosen cake mix according to the specific instructions provided on the box. Ensure the batter is smooth and lump-free. Once mixed, carefully divide the batter evenly between two greased and floured layer cake pans (9-inch pans are recommended for the specified Kit Kat quantities). This careful preparation ensures perfectly baked layers.
STEP 2: BAKE AND COOL
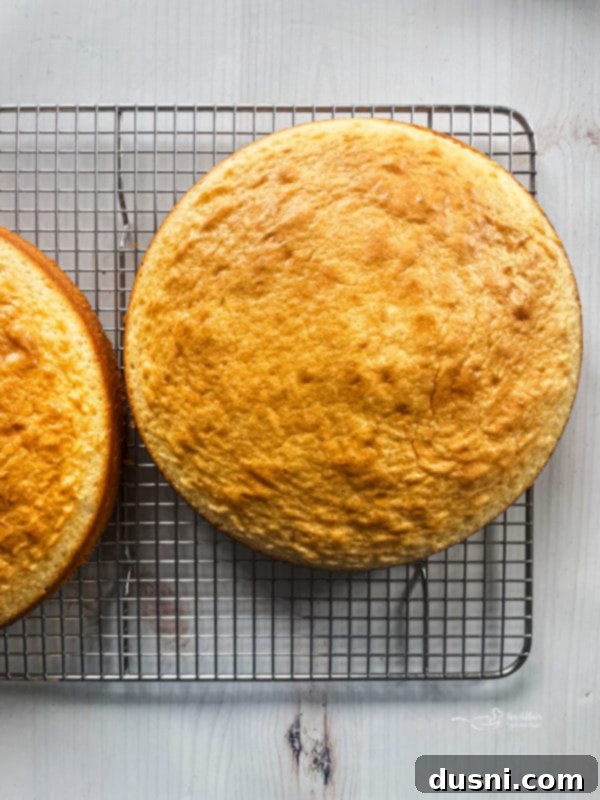
Bake the cake layers as directed by your cake mix instructions, ensuring they are golden brown and a toothpick inserted into the center comes out clean. Once baked, remove the pans from the oven and allow them to cool in the pans for about 10-15 minutes before carefully inverting them onto a wire cooling rack. It’s crucial that the cake layers cool completely to room temperature before frosting; otherwise, your frosting will melt and slide off.
STEP 3: FROST THE CAKE
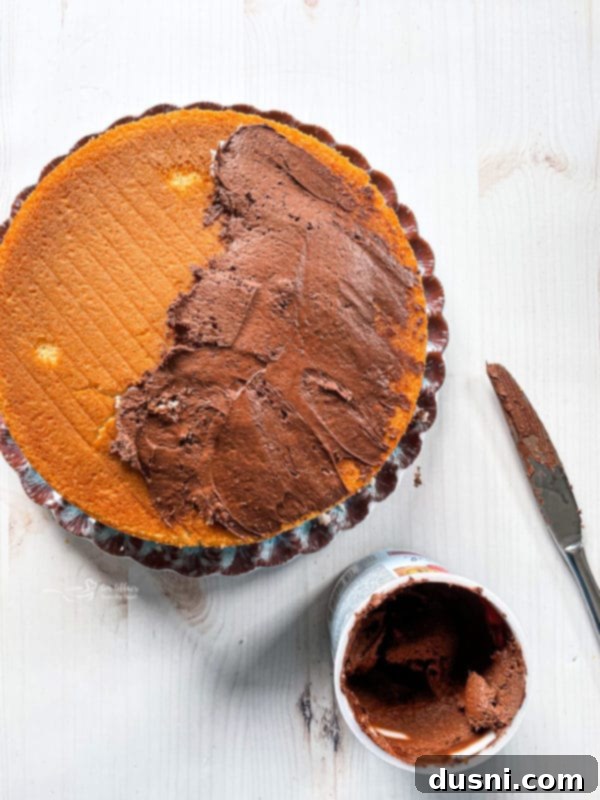
Once your cake layers are thoroughly cooled, place one layer onto your serving plate or cake stand. Spread a generous, even layer of your delicious chocolate frosting over the top of this bottom layer. Carefully place the second cake layer on top, aligning it perfectly. Now, using an offset spatula or knife, evenly frost the entire top and sides of the cake. This layer of frosting acts as the “glue” that will hold your Kit Kat bars in place, so ensure it’s sufficiently thick and smooth.
STEP 4: ADD THE KIT KATS
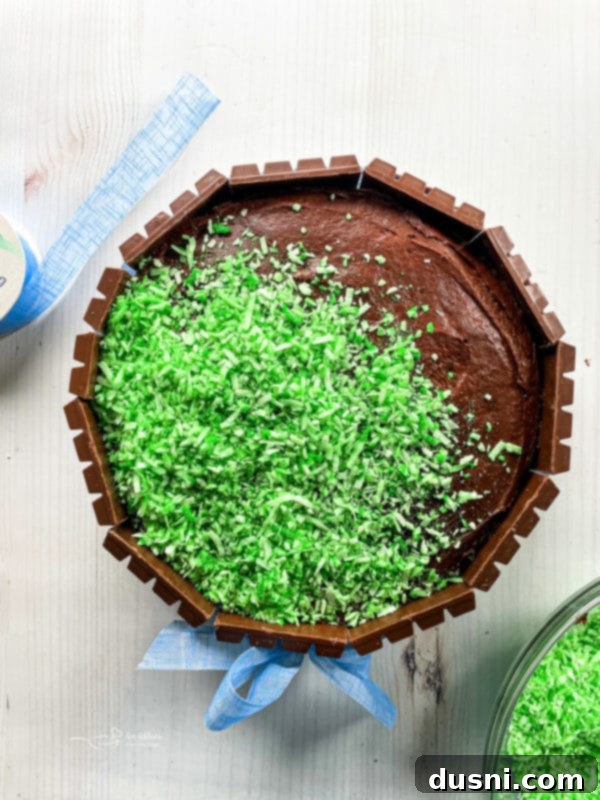
This is where the magic happens! Break your Kit Kat bars into individual four-finger sections. Begin carefully pressing these Kit Kat sections onto the frosted sides of the cake, standing them vertically. I find it easiest to add them two at a time, gently pressing them into the frosting to ensure they adhere well. Make sure each Kit Kat bar is nearly touching its neighbor, creating a continuous “fence” around the cake. This close placement will not only look neat but also help ensure smoother slices when you cut the cake. Once the entire circumference is covered, sprinkle your edible Easter grass or tinted shredded coconut liberally over the top of the cake, creating a soft, colorful bed for your Easter eggs.
STEP 5: ADD THE RIBBON FOR SECURITY AND STYLE
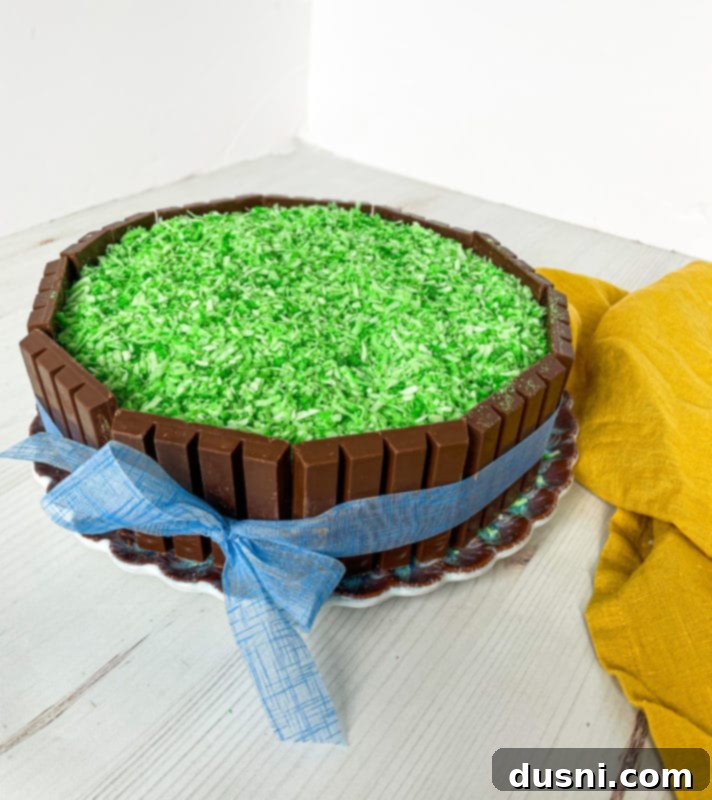
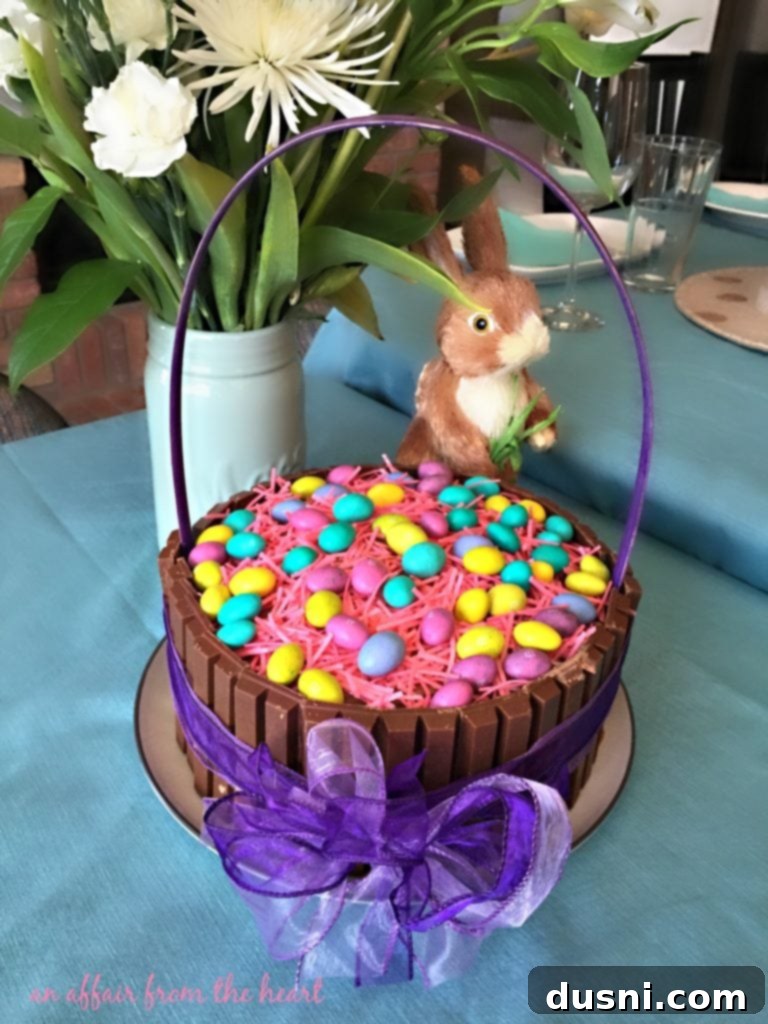
After successfully encircling the cake with Kit Kats, it’s time to add a decorative and functional touch. Carefully wrap your chosen ribbon around the entire cake, over the Kit Kat bars. Securely tie it in a pretty bow at the front. It’s important to tie the ribbon quite tightly – this extra snugness is key to preventing the Easter basket handle from “springing” outwards and potentially dislodging your perfectly placed Kit Kat bars. This step truly helps keep everything neatly in position, ensuring your Kit Kat Easter Basket Cake maintains its charming structure.
STEP 6: COMPLETE THE BASKET WITH HANDLE AND EGGS
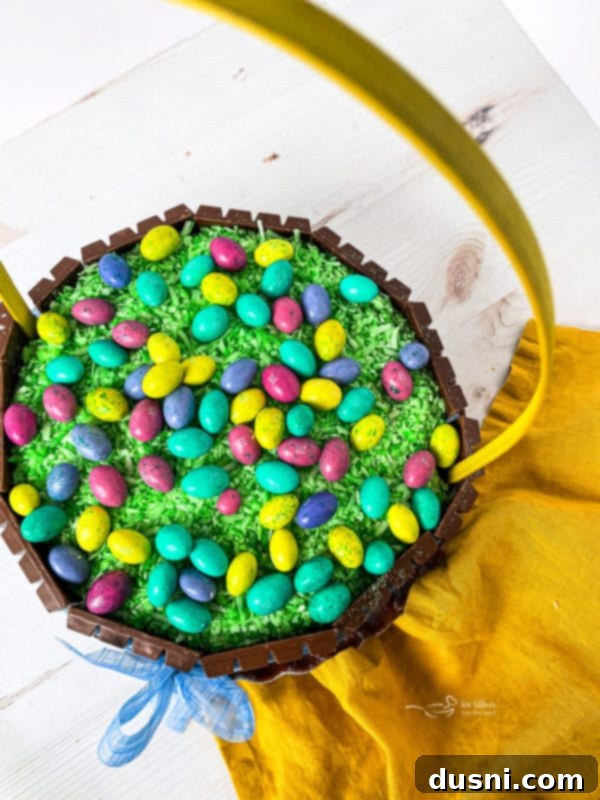
With the Kit Kat “fence” and ribbon in place, it’s time to add the defining feature of your Easter basket. Carefully insert the ends of the Easter basket handle into the cake, pushing them all the way down until they firmly rest on the plate or cake stand beneath. Ensure the handle is centered and stands upright. Finally, generously scatter your colorful chocolate candy eggs over the edible grass or tinted coconut on top of the cake, filling your edible Easter basket with delicious treasures. Your magnificent Kit Kat Easter Basket Cake is now complete and ready to impress!
Serving and Storing Your Delicious Creation
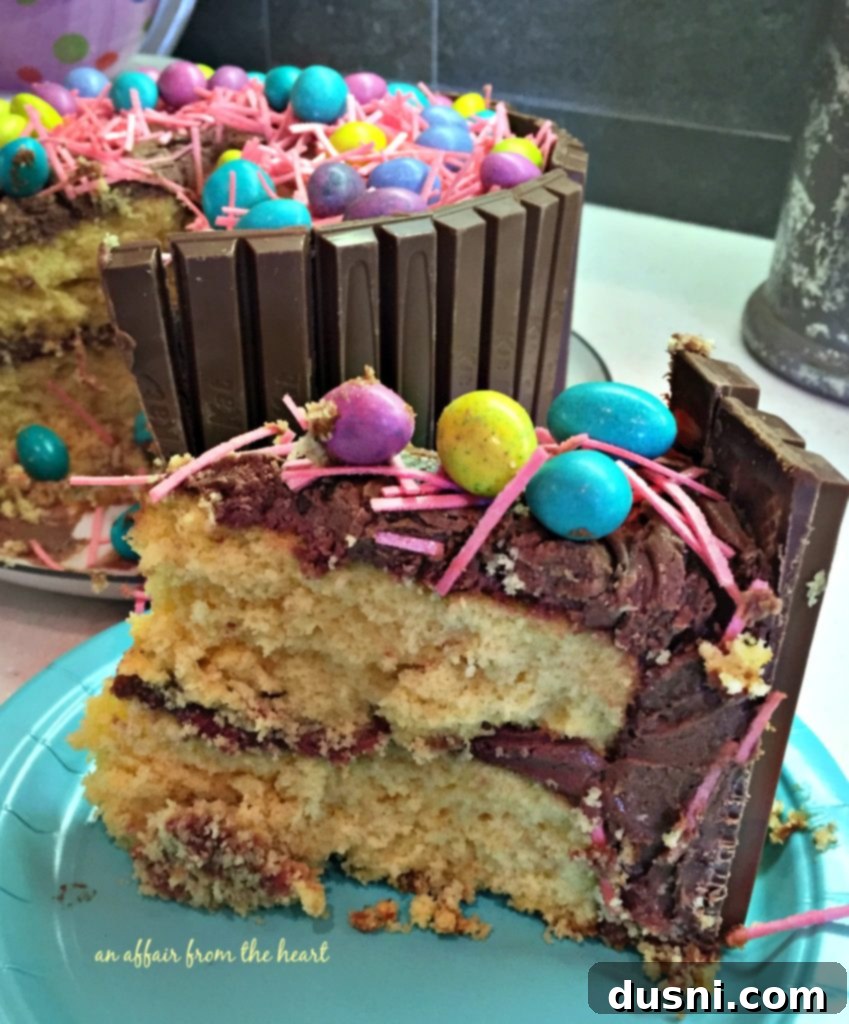
To serve your stunning Easter Basket Kit Kat Cake, use a sharp knife to cut directly through the Kit Kat bars and the cake for clean, impressive slices. The ribbon helps keep the Kit Kats in place while cutting. Each slice will reveal the beautiful layers of cake and frosting, framed by the crunchy Kit Kats. This cake is best enjoyed at room temperature for optimal flavor and texture. Any leftovers should be stored covered in the refrigerator to maintain freshness. Simply bring it back to room temperature for about 30 minutes before serving again.
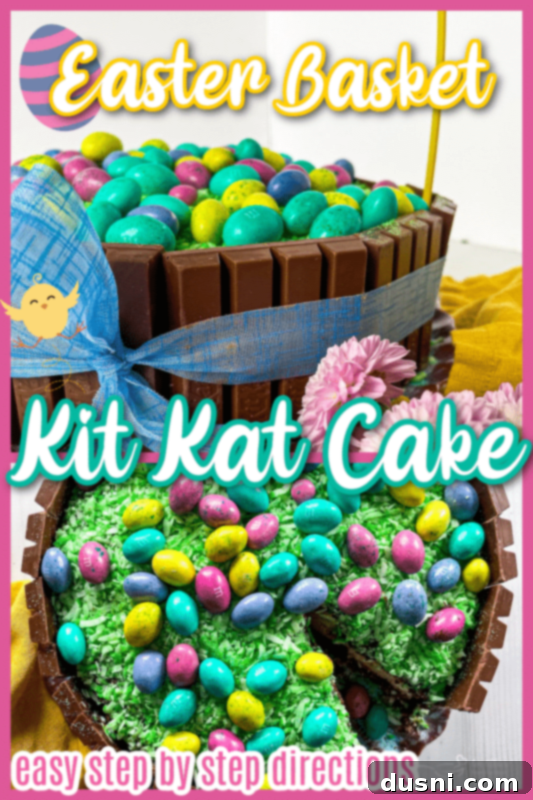
Love it? Pin it for Later!
Don’t let this adorable and easy Easter cake recipe slip away! Be sure to pin it to your favorite recipe board on Pinterest so you can easily find it for your next holiday gathering or special celebration. Share the sweetness and spread the joy!
OTHER RECIPES YOU WILL ENJOY
- Black Forest Cake
- Fresh Apple Cake
- Blueberry Banana Bundt Cake
- Lemon Blueberry Trifle
- Hamburger Cupcakes
- Chocolate Chip Cookie Dough Ice Cream Cake
- Pink Lemonade Cake
- Cinnamon Crunch Coffee Cake
- Banana Bread Coffee Cake
Let’s make this unforgettable Easter Basket Kit Kat Cake a cherished part of your holiday traditions! 
LIKE THIS RECIPE?
Don’t forget to give it a ⭐️⭐️⭐️⭐️⭐️ star rating and
leave a comment below the recipe!

Print Recipe
Easter Basket Kit Kat Cake
Ingredients
- 1 yellow cake mix prepared according to box instructions (or your favorite homemade cake)
- 1 batch of chocolate frosting (homemade or 2 tubs store-bought)
- 1 bag M&M eggs (or regular M&M’s / other small candies)
- 1 bag Edible Easter grass (or green tinted shredded coconut)
- 1/2 roll of ribbon
- 1 Easter basket handle
- 11 Kit Kat candy bars (standard size, 4-finger bars)
Instructions
-
Prepare your chosen cake mix according to the box instructions. Pour evenly into two layer cake pans (9-inch suggested) and bake until done. Let the cake layers cool completely on a wire rack.
-
Place the first cake layer on your serving plate. Spread a generous layer of chocolate frosting over the top. Add the second cake layer. Continue by frosting the entire top and sides of the cake smoothly. Break Kit Kat bars into individual four-finger sections and begin placing them vertically around the sides of the cake, pressing gently into the frosting. I found it easiest to add them two at a time, ensuring they are nearly touching.
-
Once the cake is fully encircled with Kit Kats, securely tie a ribbon around the cake, leaving a festive bow in the front. Make sure the ribbon is tight to help hold the Kit Kats in place and prevent the basket handle from pushing them out. Insert the Easter basket handle into the cake, pushing it firmly all the way down to the plate. Finally, top the cake with edible Easter grass (or tinted coconut) and sprinkle with M&M eggs.
-
Present your beautiful Easter Basket Kit Kat Cake and wow your guests! 😉
Notes
** If M&M Easter eggs are unavailable, regular M&M’s or other small candies work perfectly.
*** I used 9-inch pans and needed approximately 10.5 to 11 standard Kit Kat bars to encircle the cake. If you use 8-inch pans, you will likely need fewer.
**** The basket handle and Easter specific decorations can be left off if you want to make a general Kit Kat cake for any occasion. Decorate with candies and colors suitable for your event!
Nutrition
This recipe for the Kit Kat Easter Basket Cake was originally posted on April 1, 2016. It has been thoroughly updated to improve user experience, enhance clarity, and add new photos, and was re-shared on March 25, 2022.
