The Ultimate Homemade French Silk Pie with Oreo Crust: A Decadent Chocolate Dessert Recipe
Crafting the Perfect French Silk Chocolate Pie
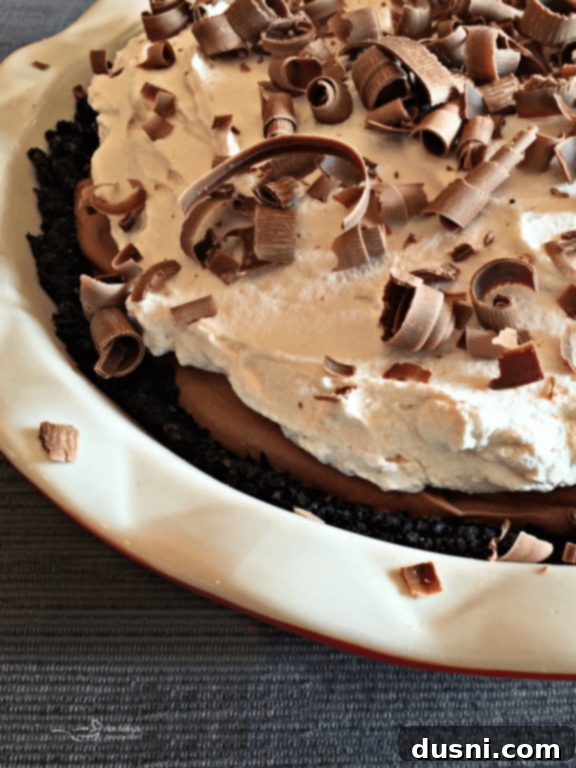
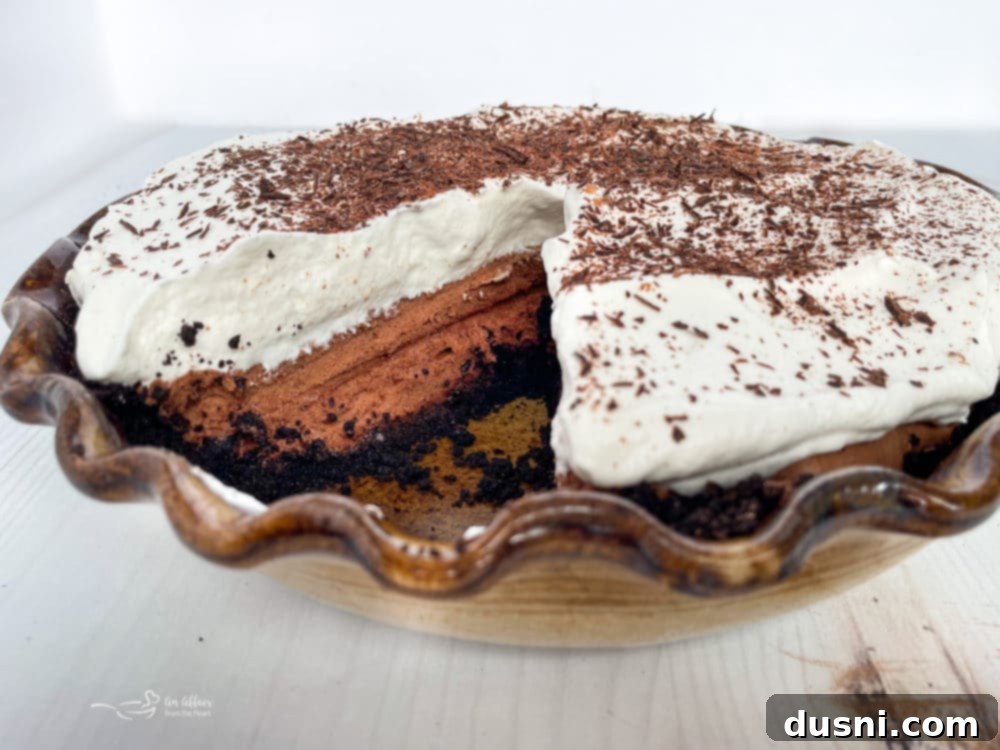
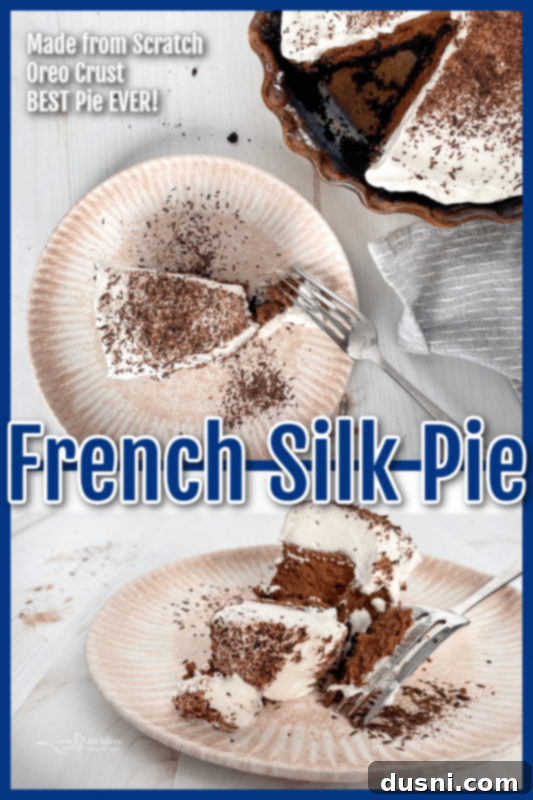
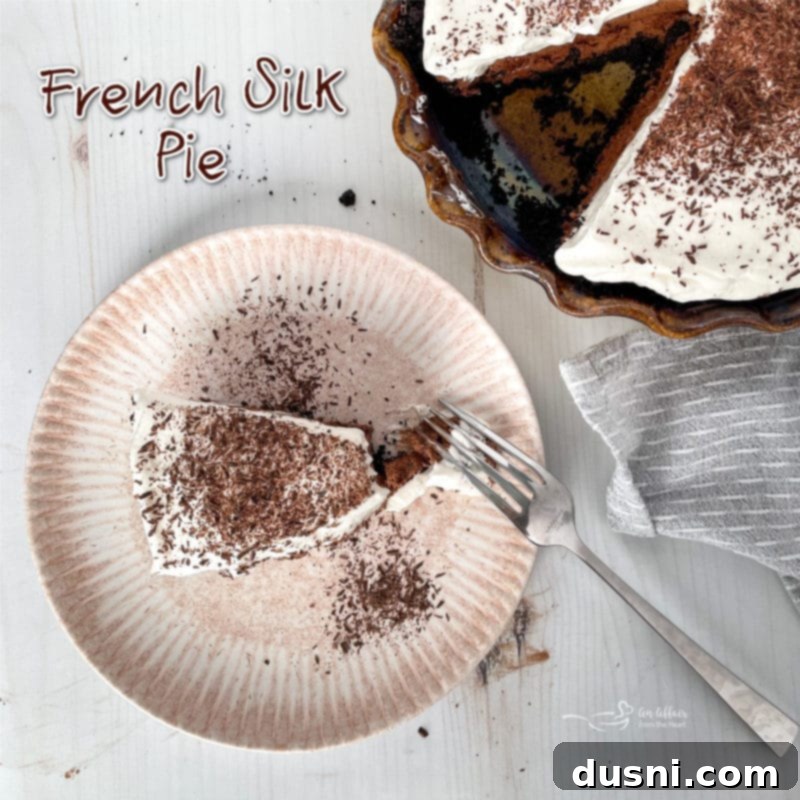
As pie season approaches, or any time you yearn for a truly exceptional dessert, there’s no better choice than this exquisite French Silk Pie. Its filling boasts a velvety texture, infused with a harmonious blend of rich chocolate and fragrant vanilla, creating a flavor profile that is utterly captivating. Crowned with airy, homemade whipped cream and delicate chocolate curls, this pie is not just a dessert; it’s a celebration of pure indulgence.
Over the years, I’ve mastered this old-fashioned chocolate silk pie, often preparing it in two delightful variations: with a crisp, buttery homemade Oreo crust, or for a more classic approach, using my Grandma’s flaky pastry pie crust. Both options yield magnificent results, making it tempting to bake a version of each for your holiday spread or next special occasion—they are truly that exceptional! However, when I’m looking to add an extra layer of sweetness and a delightful crunch, the buttery Oreo crust is my go-to choice, offering a perfect counterpoint to the silky filling.
The Silken Origin: Why “French Silk Pie”?
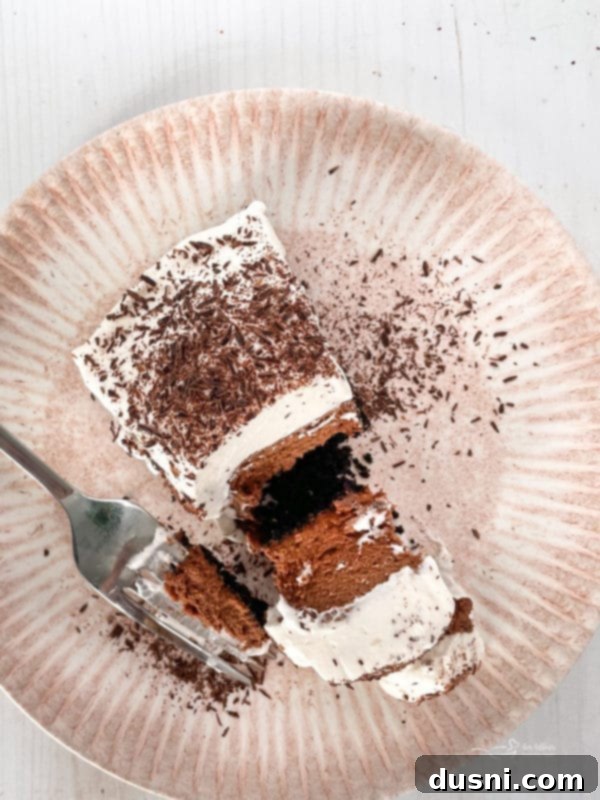
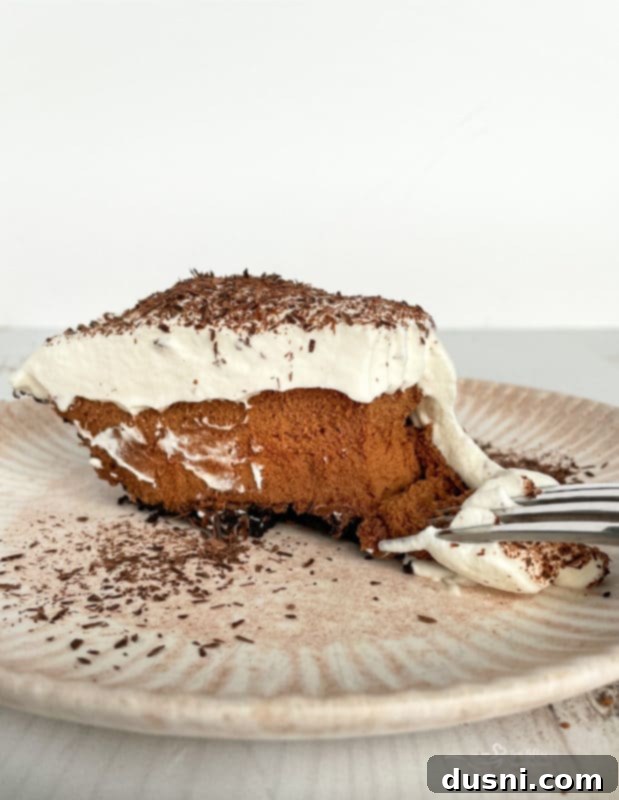
The elegant name “French Silk Pie” perfectly describes the dessert’s signature characteristic: an ultra-smooth, light, and exquisitely creamy chocolate filling. This filling, reminiscent of a delicate chocolate mousse, achieves a texture so refined and luxurious that it evokes the softness and luster of silk itself. It’s a testament to the dessert’s sophisticated mouthfeel, which sets it apart from other chocolate pies.
What Goes into a Classic French Silk Pie?
This exceptional pie is crafted using classic, high-quality ingredients that transform simple components into an extraordinarily satisfying and incredibly delicious dessert. I can confidently say this homemade French Silk Pie surpasses any you might find at a diner or bakery, like Village Inn. I promise, the time and love you invest in making it yourself are absolutely worth it. The result is a dessert that’s truly in a league of its own.
Essential Ingredients for the Crust and Filling
For the Buttery Oreo Crust:
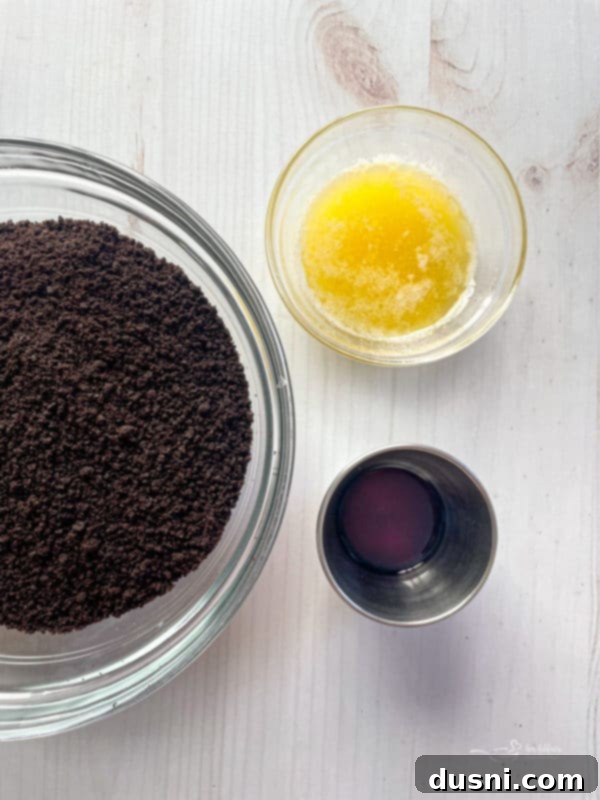
- Oreos: For this recipe, I find classic store-bought Oreos work perfectly. Opt for the original, not double-stuffed, as their crumb consistency is ideal for a stable and flavorful crust. Crushing them finely ensures a uniform and buttery base.
- Vanilla Extract: A touch of rich vanilla extract is crucial, as it enhances the chocolate flavor of the Oreos, adding a subtle warmth and depth to the crust. Be sure to use a good quality extract for the best results.
- Butter: You’ll need both softened and melted butter for different stages of this recipe. Ensure your butter is at room temperature for creaming and precisely melted for the crust. Whether you use unsalted or salted butter is a matter of preference; both will work beautifully.
For the Silky Chocolate Filling:
- Granulated Sugar: Standard white granulated sugar provides the perfect level of sweetness, allowing the deep chocolate notes to shine without being overly cloying.
- Unsweetened Chocolate: This is key for achieving the signature rich, intense chocolate flavor of French Silk Pie. Using unsweetened chocolate prevents the pie from becoming excessively sweet and allows for a more complex, satisfying taste.
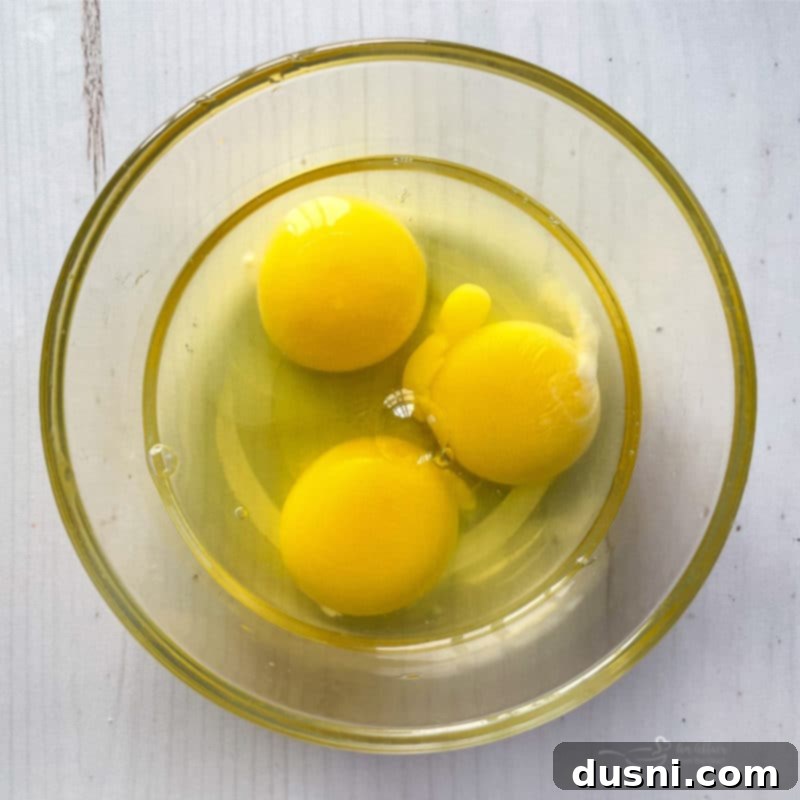
- Whole Eggs: Fresh, high-quality whole eggs are fundamental to the iconic texture of French Silk Pie. When beaten correctly, they create the incredibly creamy, fluffy, and undeniably silky consistency that gives this pie its name. We’ll discuss egg safety later.
- Butter: As with the crust, salted or unsalted butter can be used here. It contributes to the pie’s richness and helps create its luxurious mouthfeel.
- Pure Vanilla Extract: Do not skimp on this! Investing in a good quality, pure vanilla extract makes a world of difference in enhancing both the chocolate and the overall aroma and flavor of the pie. Its aromatic notes elevate the entire dessert.
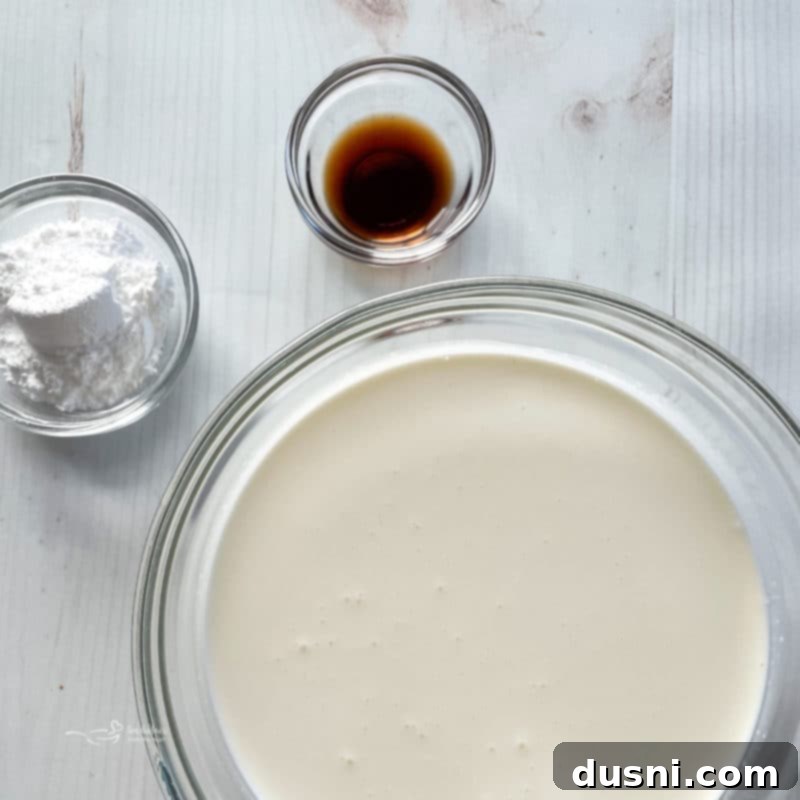
For the Light and Fluffy Whipped Topping:
Heavy Cream: Full-fat heavy whipping cream is essential for creating a stable, airy, and freshly whipped topping. It provides a delightful contrast to the rich chocolate filling.
Powdered Sugar: Also known as icing sugar or confectioners’ sugar, powdered sugar sweetens the whipped cream without adding a grainy texture. Its fine consistency dissolves easily, resulting in a smooth, sweet cloud of cream.
Vanilla Extract: Just like in the filling and crust, a dash of your favorite pure vanilla extract brightens the whipped cream, adding a fragrant and comforting aroma that completes the pie.
Mastering This French Silk Pie Recipe: A Simple Guide
You’ll be amazed by the straightforwardness of this chocolate silk pie recipe. With these clear steps, you’re guaranteed to achieve a perfect, delectable pie every single time!
Step One – Preparing the Perfect Oreo Crust
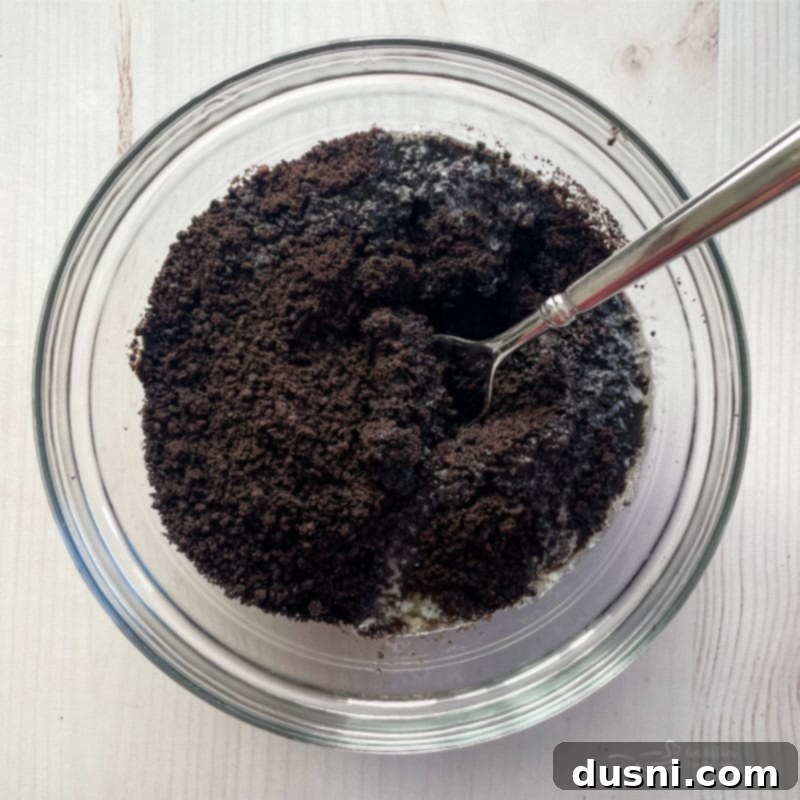
Begin by preheating your oven to 300 degrees Fahrenheit. Next, crush your Oreos into fine crumbs. This can be easily done using a food processor for consistent results, or by placing them in a sealed bag and crushing them with a heavy object like a rolling pin. Once crushed, transfer the crumbs to a bowl, add the vanilla extract and melted butter, and mix thoroughly with a fork until the crumbs are uniformly moist and clump together when pressed. This ensures a stable and flavorful crust.
Carefully press the prepared Oreo crumb mixture evenly into the bottom and up the sides of a 9-inch deep-dish pie pan. Pay attention to the edges to create a neat border. For a truly professional finish and to prevent shrinking, use the bottom of a glass or your knuckles to firmly and evenly press the crumbs into place.
Bake the pie crust for precisely ten minutes. This short baking time helps to set the crust, making it sturdy and preventing it from becoming soggy once the filling is added. After baking, remove it from the oven and set it aside on a wire rack to cool completely. A fully cooled crust is essential before adding the delicate chocolate filling. For more detailed tips on crust preparation, explore how to pre-bake a pie crust for any of your favorite pies.
Step Two – Creating the Silky Chocolate Filling
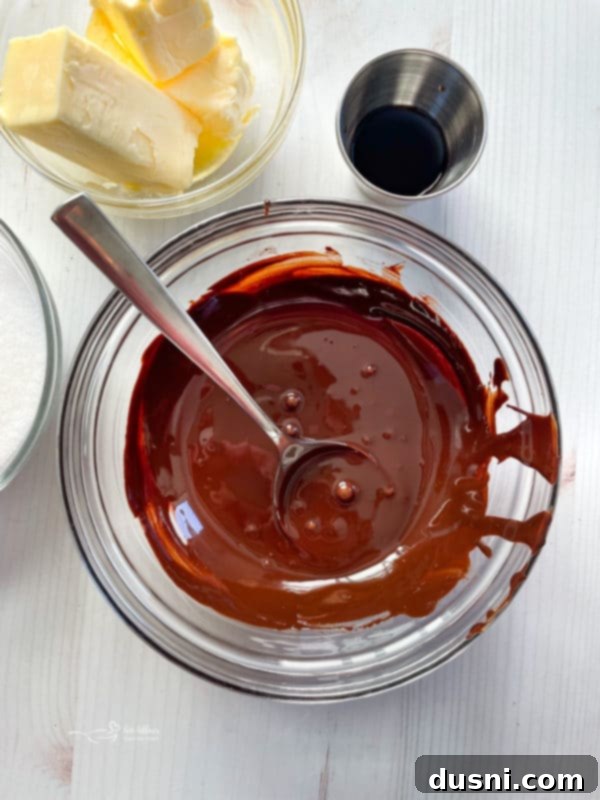
While your crust is cooling, turn your attention to the star of the show: the silky filling. In the bowl of an electric mixer fitted with a paddle attachment, cream together the softened butter and granulated sugar until the mixture is visibly lightened in color and wonderfully fluffy. This usually takes about two minutes. With the mixer running on low speed, slowly incorporate the vanilla extract and the cooled melted chocolate. Ensure the chocolate is completely cooled to avoid cooking the eggs prematurely in the next step.
Next, and this is a crucial step for achieving the signature “silk” texture, add the eggs one at a time. After each single egg addition, beat the mixture on medium speed for a full five minutes. This lengthy beating process is what incorporates air and emulsifies the ingredients, transforming the mixture into a light, airy, and incredibly smooth mousse-like consistency. Resist the urge to rush this step; the total beating time for all three eggs will be approximately fifteen minutes, but it’s well worth the effort for that perfect, luxurious texture.
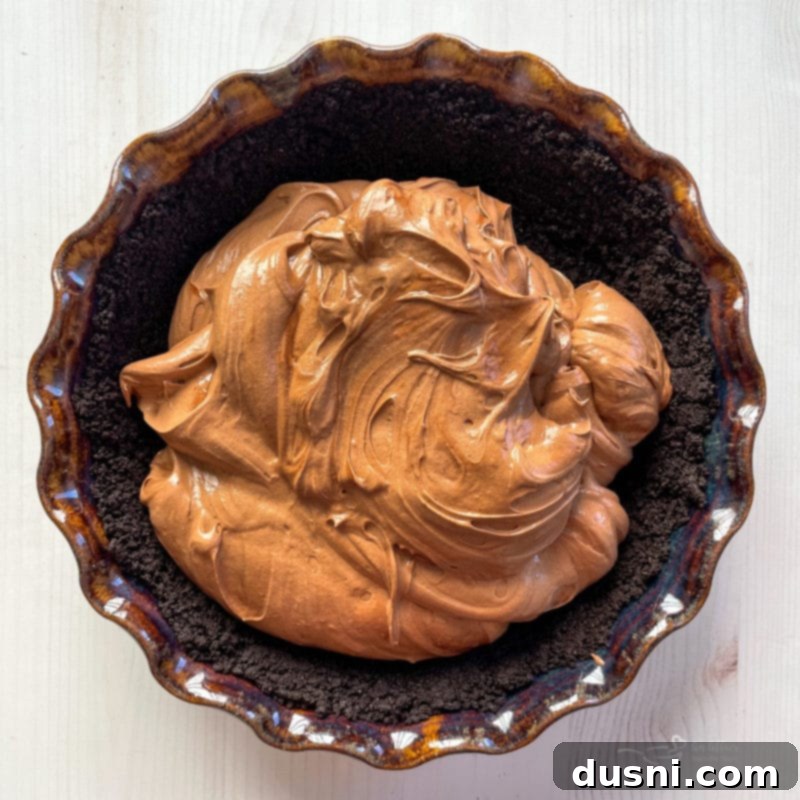
Once the filling is beautifully airy and smooth, carefully spread it evenly into the cooled pie crust, ensuring the top is flat and consistent.
Step Three – The Essential Chilling Process
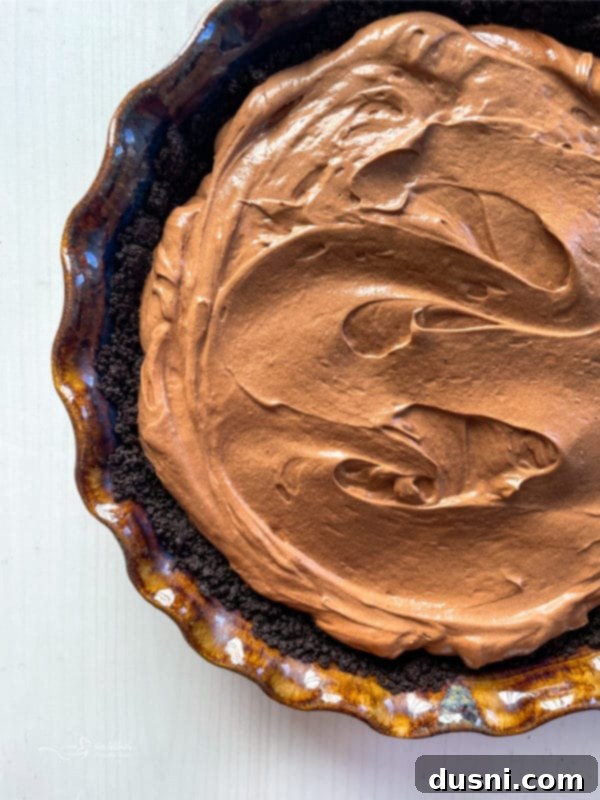
Once the filling is in the crust, cover the entire pie tightly with plastic wrap, making sure the wrap doesn’t directly touch the filling to avoid indentations. Place the pie in the refrigerator to chill for a minimum of four hours, or ideally, overnight. This chilling period is crucial; it allows the pie to set properly, firm up, and allows the flavors to meld and deepen, resulting in that perfectly stable, silky slice.
Step Four – Crafting the Fluffy Whipped Topping
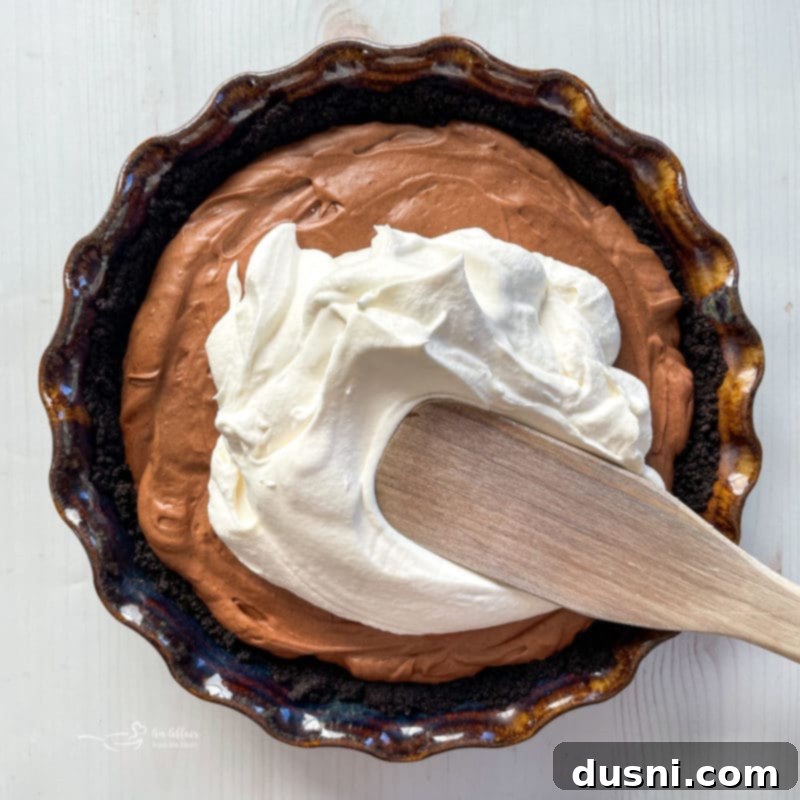
Just before you’re ready to serve, prepare the homemade whipped topping. In the bowl of your electric mixer, fitted with a whisk attachment, pour in the cold heavy cream, powdered sugar, and vanilla extract. Begin whipping on low speed, gradually increasing to high, until the cream forms stiff, distinct peaks. Be careful not to over-whip, or it will turn grainy.
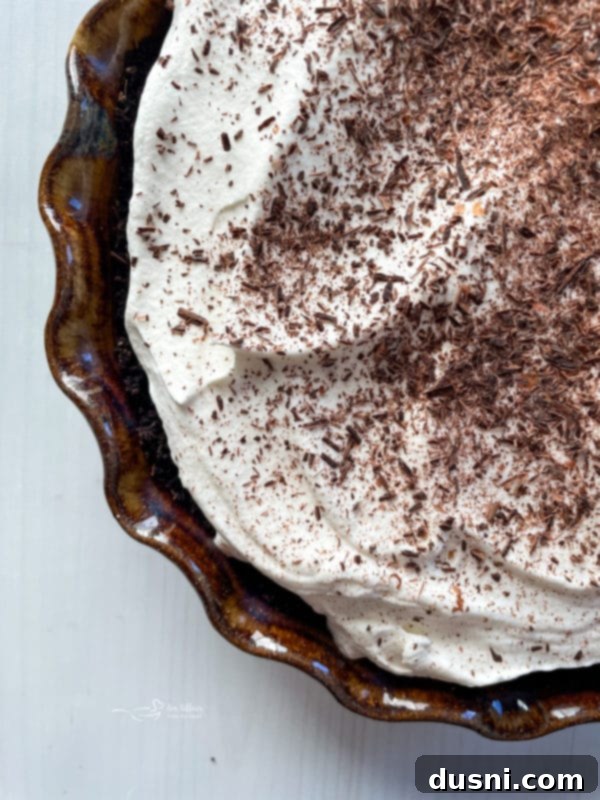
Finally, spread or pipe the freshly whipped cream over the chilled chocolate pie filling. For an elegant finish, garnish generously with freshly shaved or curled chocolate. Serve immediately and watch it disappear!
Tips for Success & Recipe Notes
- Storage: To maintain its freshness and delightful texture, store any leftover chocolate French Silk Pie in an airtight container in the refrigerator for up to four days.
- Make Ahead: This pie is an excellent choice for making ahead! You can prepare the filling and crust, then chill the pie overnight or for up to two days. However, always make the whipped cream just before serving to ensure it’s at its fluffiest and most stable.
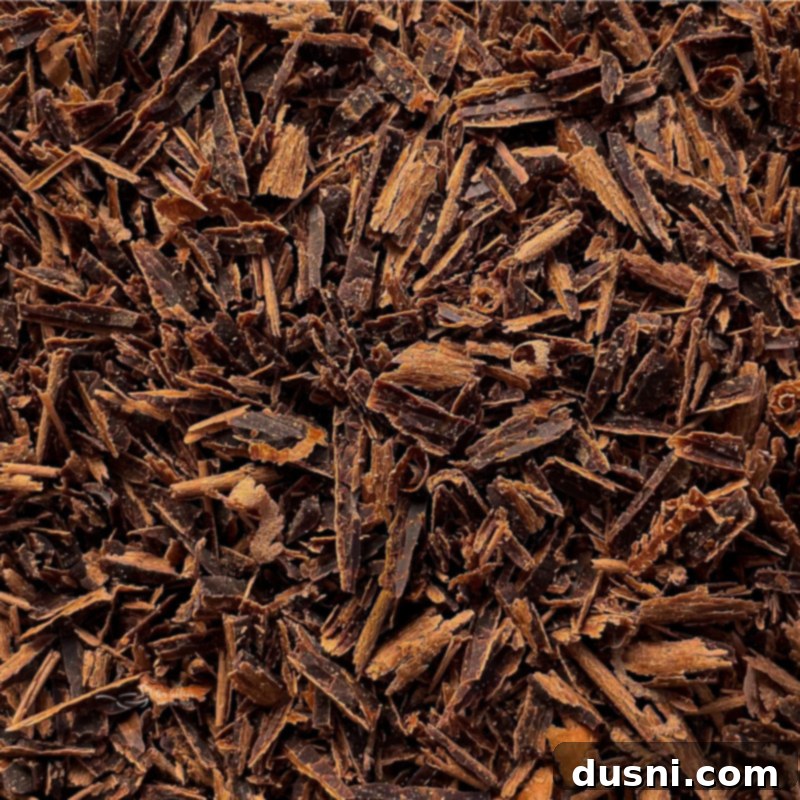
- Perfect Chocolate Curls: To make beautiful chocolate curls, take a bar of good quality chocolate that’s at room temperature. Use a vegetable peeler or a sharp knife to scrape along the edge of the chocolate, creating delicate curls that will instantly elevate your presentation.
- Troubleshooting: If your filling doesn’t seem to set properly, it might be due to insufficient beating of the eggs or not enough chilling time. Ensure you beat each egg for the full five minutes and give the pie ample time in the refrigerator.
Love it?! Be Sure to Pin This Recipe!
Don’t let this incredible recipe slip away! Save this irresistible French Silk Pie to serve during upcoming holidays, special occasions, or simply for those moments when a deep, rich chocolate craving strikes. Pin this exceptional pie recipe to your favorite Pinterest dessert board and share the sweetness with friends and family!
A Note on Raw Eggs: Is French Silk Pie Safe to Eat?
A common question regarding French Silk Pie concerns the use of raw eggs. Yes, this French Silk Pie recipe, prepared correctly, is generally considered safe to eat! Traditionally, French Silk Pie relies on raw eggs for its signature silky, airy texture. For peace of mind and enhanced safety, I highly recommend using organic or pasteurized eggs. Pasteurized eggs have undergone a rapid heating process that effectively kills any potential bacteria, such as Salmonella, without fully cooking the egg. This allows you to enjoy the classic, luxurious texture of French Silk Pie with confidence and safety. Always ensure your eggs are fresh and from a reputable source.
Serving Suggestions for Your Decadent French Silk Pie
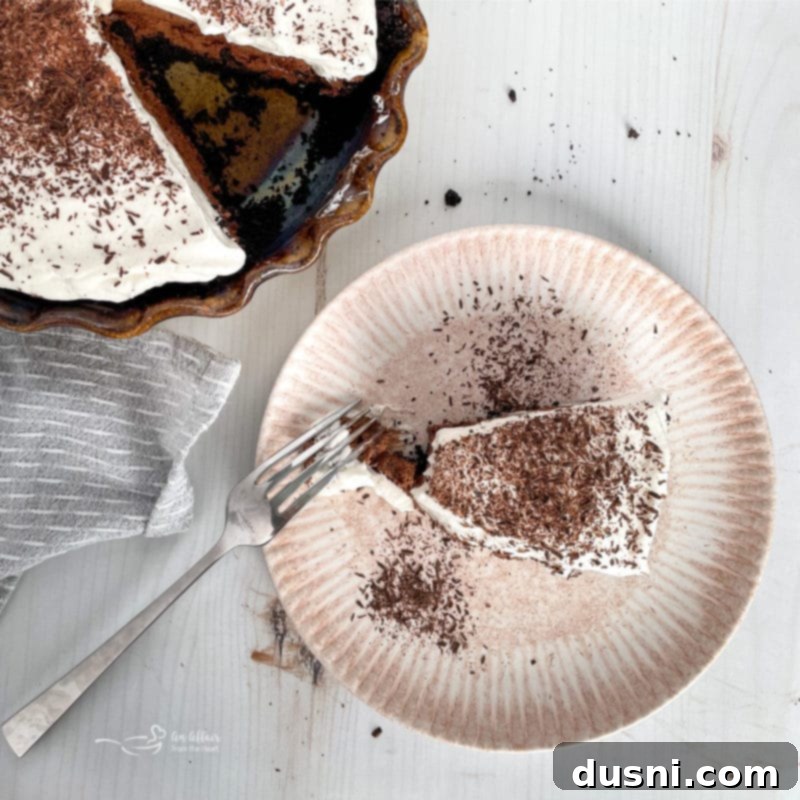
This luscious chocolate silk pie recipe is the ideal grand finale to any meal. Serve it after your favorite main dishes or alongside other tasty holiday desserts for an unforgettable spread. The versatility of this chocolate pie means it pairs wonderfully with a variety of accompaniments. Enjoy a generous slice with a tall, cold glass of milk, a comforting cup of warm coffee, or a soothing herbal tea. For an extra touch of indulgence, consider a scoop of vanilla bean ice cream or a drizzle of raspberry coulis on the side.
More Irresistible Pie Recipes You Will Love
If you’ve fallen in love with the magic of pie, explore these other fantastic recipes that are sure to satisfy your sweet tooth:
- Chocolate Lasagna: Layers of cookie crust, cream cheese, chocolate pudding, and whipped cream.
- Fresh Strawberry Pie: A vibrant and refreshing classic, bursting with seasonal berries.
- Key Lime Slab Pie: A tangy and sweet crowd-pleaser, perfect for larger gatherings.
- Chocolate Marshmallow Pie with a Unique Crust: A fun and playful twist on traditional pie, offering a delightful textural contrast.
- Lemon Icebox Pie: A bright, zesty, and no-bake dessert ideal for warm weather.
- Coconut Banana Cream Pie: A tropical dream with creamy banana custard and shredded coconut.

LIKE THIS RECIPE?
Don’t forget to give it a ⭐️⭐️⭐️⭐️⭐️ star rating and
leave a comment below the recipe!

Print Recipe
French Silk Pie
Ingredients
- French Silk Pie
- Crust:
- 1/2 package of Oreos not double stuffed crushed in food processor
- 2 Tablespoons butter melted
- 1 teaspoon vanilla
- Filling:
- 1 1/2 sticks salted butter room temperature
- 1 cup granulated sugar
- 3 ounces unsweetened chocolate melted and cooled
- 1 1/2 teaspoons vanilla
- 3 eggs
- Whipped topping:
- 2 cups heavy whipping cream
- 1 teaspoon vanilla
- 2 Tablespoons of powdered sugar
- chocolate curls or shavings for serving
Instructions
-
Preheat oven to 300 degrees.
-
Crush cookies and in a bowl, pour in vanilla and melted butter. Mix with a fork until moist.
-
Press into bottom and sides of a 9″ deep dish pie pan.
-
Bake for 10 minutes and set aside to cool.
-
In the bowl of your electric mixer, cream together your butter and sugar until light and fluffy, about 2 minutes or so. While machine is running add your vanilla and melted chocolate.
-
Add eggs, one at a time, beating after each addition on medium speed for 5 minutes.
-
(15 minutes total)
-
Pour filling into cooled crust, cover with plastic wrap, and place in the refrigerator for at least 4 hours or overnight.
-
In your mixer with the whisk attachment, pour cream, powdered sugar and vanilla.
-
Whip until cream is stiff.
-
Top your filling with cream, and add shaved or curled chocolate to top for serving.
