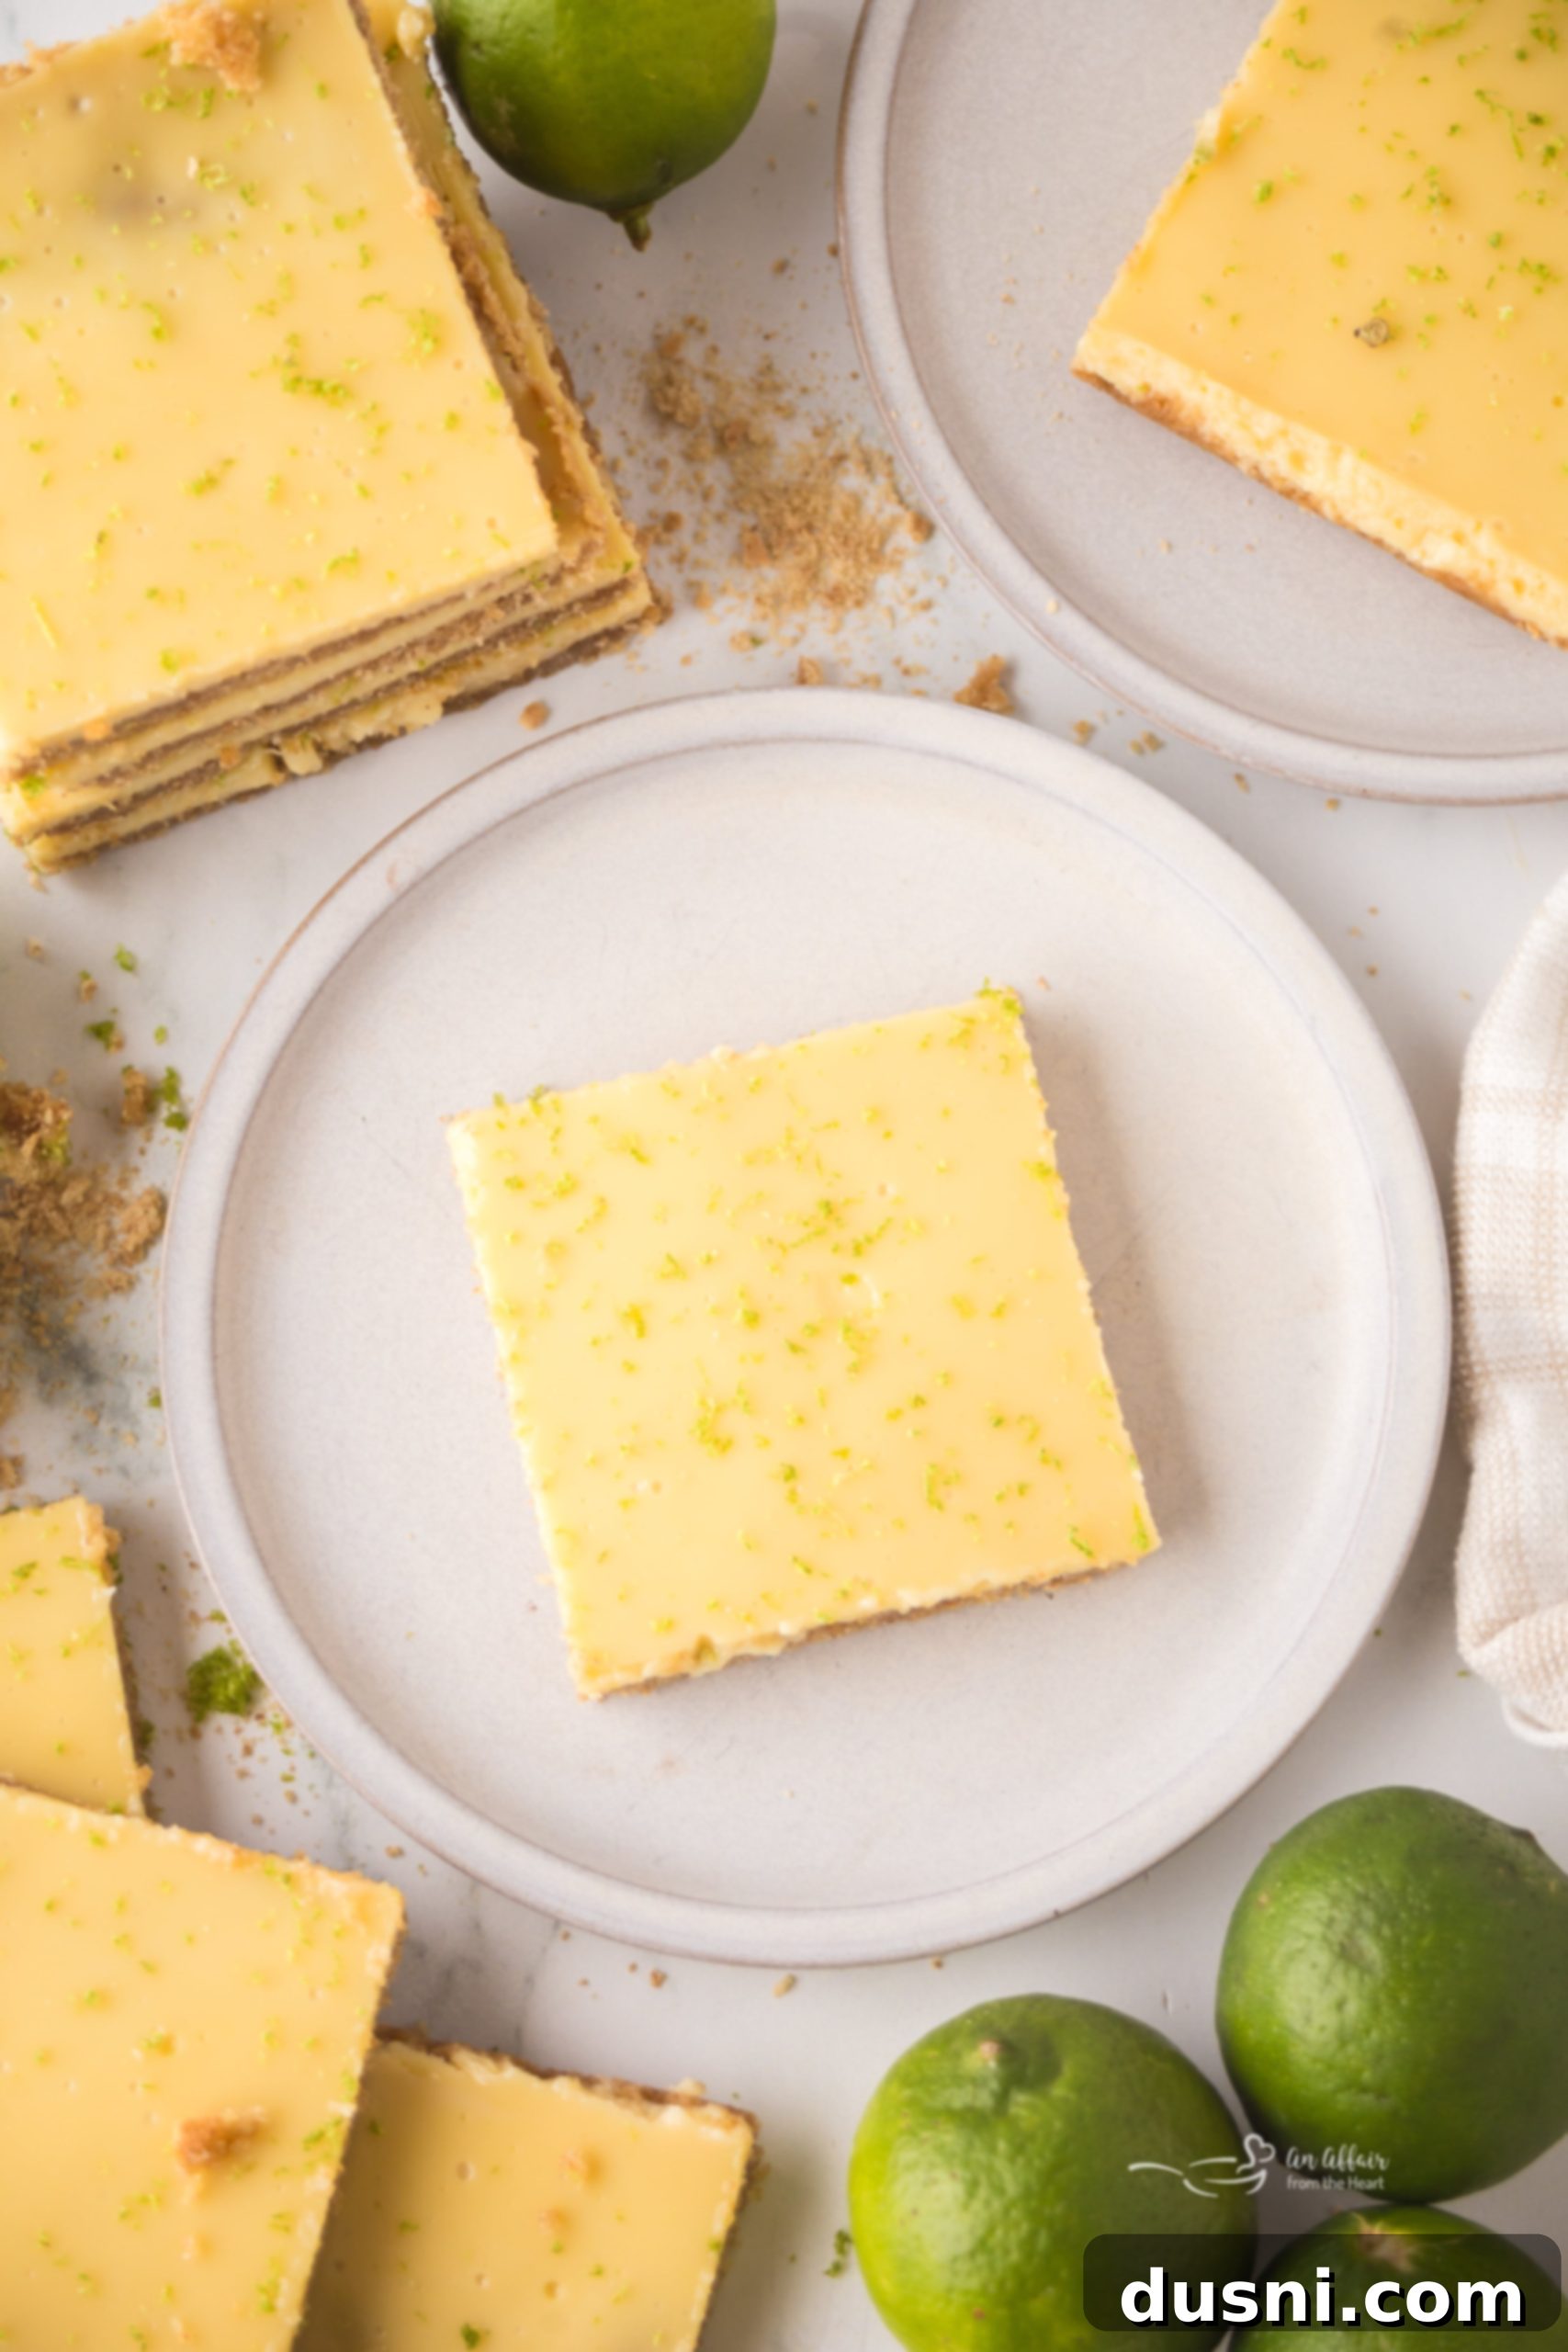
Easy Key Lime Pie Bars: Your Ultimate Tangy & Sweet Dessert Recipe
If you’re a devoted fan of key lime pie, but the thought of crafting an entire pie seems a bit daunting for a casual gathering or a simple sweet craving, these incredible Key Lime Pie Bars are your perfect solution. They capture the quintessential creamy, vibrant citrus filling and the irresistible buttery graham cracker crust of the classic pie, but in a convenient, easy-to-slice bar form. This makes them ideal for any occasion – whether you’re contributing to a bustling potluck, laying out a refreshing treat for a backyard BBQ, or simply indulging your family with a delightful homemade dessert. These bars consistently prove to be a crowd-pleaser, beloved for their bright flavor and delightful texture.

My adoration for all things key lime runs deep. Just a couple of years ago, my husband and I, along with some dear friends, embarked on an unforgettable road trip through the picturesque Florida Keys. During our week-long adventure, which we fondly dubbed “The Key Lime Pie Tour,” we made it our mission to sample over 15 different variations of Key Lime Pie! From rustic roadside stands to upscale restaurant desserts, each slice offered a unique perspective on this iconic treat. It was a journey of discovery, filled with laughter, stunning ocean views, and, of course, an abundance of that perfect tangy, sweet, and creamy goodness, all nestled atop a crumbly graham cracker base. If you share my passion for that distinct tangy filling and crisp, buttery graham cracker crust, you absolutely must try these incredibly easy dessert bars. They come together remarkably quickly, allowing you to bring a taste of the Keys right into your kitchen with minimal fuss. The most challenging part, I promise, will be patiently waiting for them to cool sufficiently before you can slice into them and savor every mouthwatering bite!
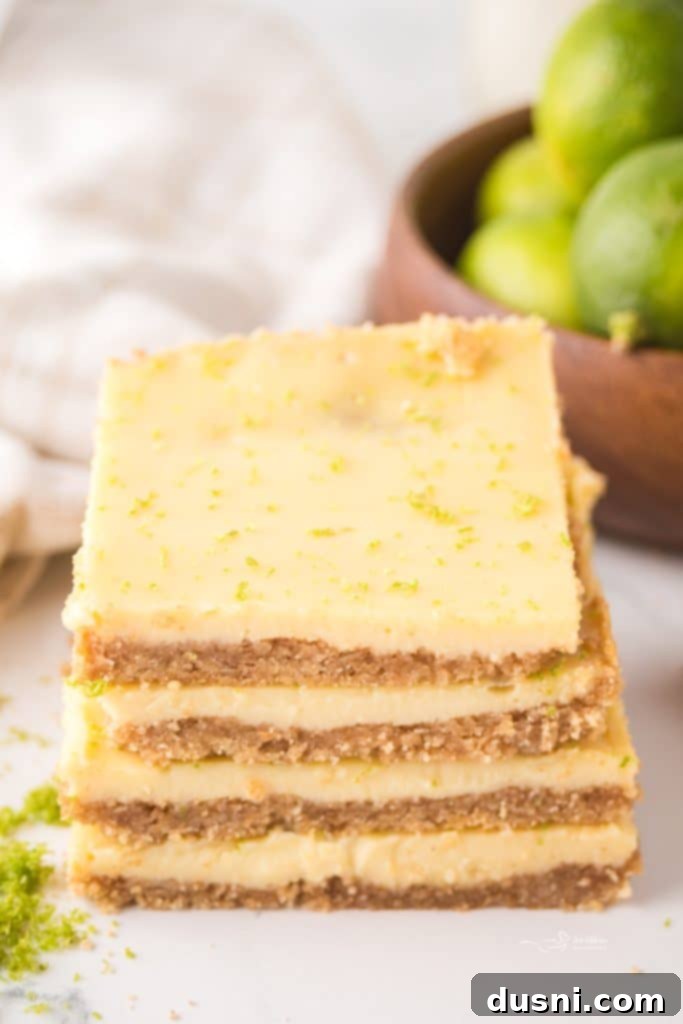
Why You’ll Love This Easy Key Lime Bar Recipe
These Key Lime Pie Bars are a true testament to effortless elegance in dessert making. They are wonderfully bright and exceptionally refreshing, boasting that signature tangy lime flavor that perfectly balances the sweetness, preventing it from ever being cloying. What makes them even more appealing is their reliance on simple, everyday ingredients you likely already have stashed away in your pantry. No exotic finds or specialty stores required! This makes them a spontaneous treat you can whip up whenever the craving strikes.
Beyond their delightful taste, their clean, neat slices make them a dream for entertaining. Forget the messy plating of traditional pies; these bars are perfectly portioned for sharing at any gathering, from casual potlucks to formal family dinners. But their appeal isn’t limited by season. While they undeniably evoke images of warm summer days and tropical breezes, their cheerful citrus notes make them a welcome ray of sunshine in the gloomier winter months. So, whether you’re dreaming of a beach vacation or simply need a zesty pick-me-up, these Key Lime Pie Bars are a perfect choice year-round.
If your taste buds also sing for Key Lime, I highly recommend exploring a couple of my other favorite recipes: my invigorating Key Lime Pie Smoothie, a perfect breakfast or snack, and this impressive yet approachable Key Lime Slab Pie, ideal for feeding a larger crowd!
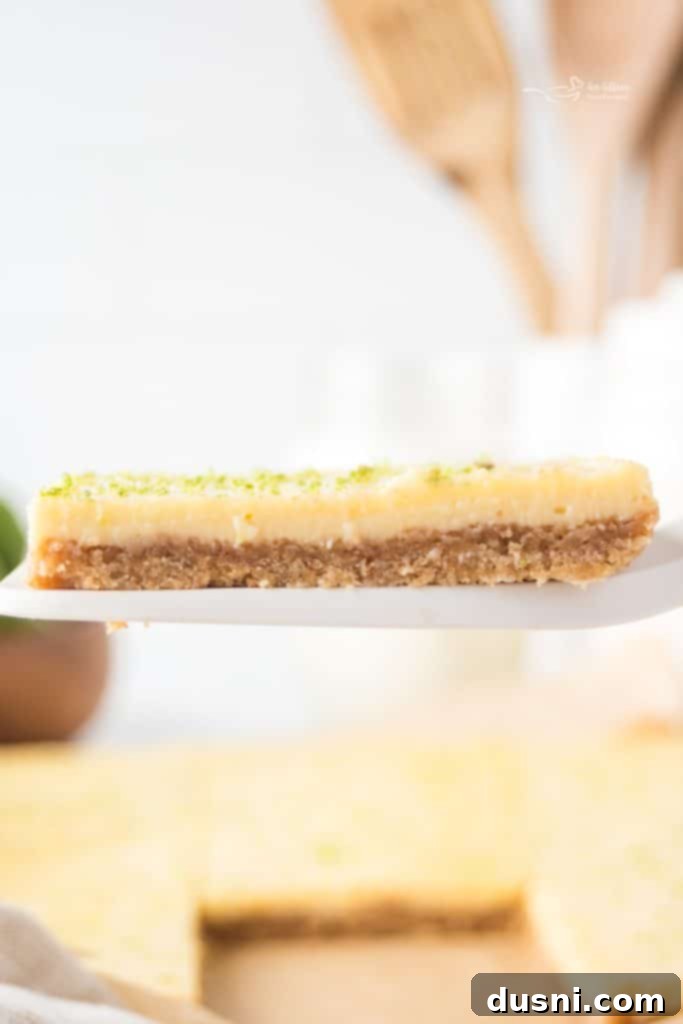
Effortless Key Lime Dessert for Any Season
When it comes to simplicity, these Key Lime Pie Bars truly shine. You won’t need any specialized kitchen gadgets or advanced baking techniques, making this recipe incredibly approachable for bakers of all skill levels. The process is straightforward: create a quick, press-in crust, whisk together a few ingredients for the creamy filling, and let your oven work its magic. The most challenging part, believe it or not, is summoning the patience to allow them to cool completely before slicing – a crucial step for achieving those perfectly neat, irresistible squares.
Their inherent ease and vibrant flavor profile make them a versatile dessert for any time of year. Imagine serving them chilled on a sweltering summer afternoon, their zesty coolness providing a welcome respite. Or, picture them as a cheerful, bright pick-me-up during the colder months, a burst of tropical sunshine when fresh fruit desserts are less common. These bars are a delicious reminder that a simple recipe can deliver extraordinary taste and bring joy no matter the season or the occasion.
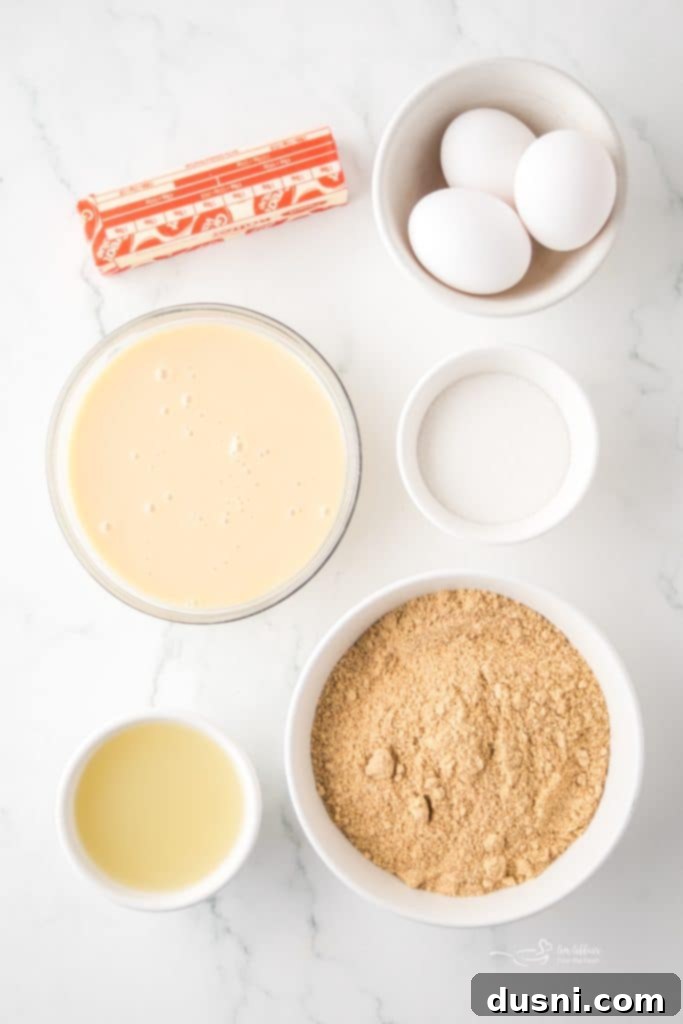
Essential Ingredients for Perfect Key Lime Pie Bars
Crafting these delectable Key Lime Pie Bars requires a handful of pantry staples that combine to create something truly magical. For the full list of ingredients with precise measurements and detailed instructions, please refer to the comprehensive printable recipe card located at the very bottom of this post.
- Graham Crackers, Butter, and Sugar: This classic combination forms the foundation of our sweet, buttery crust. For the best texture, ensure your graham cracker crumbs are very finely crushed. You can achieve this using a food processor for a perfectly uniform crumb or by placing crackers in a zip-top bag and crushing them with a rolling pin. The sugar adds sweetness, while melted butter binds it all together into a firm, flavorful base.
- Sweetened Condensed Milk: This is the secret to the incredibly creamy, luscious texture and rich sweetness of the filling. It thickens beautifully when combined with the other ingredients and baked, giving these bars their signature “pie-like” consistency without needing cornstarch or flour for thickening. It’s absolutely essential for that authentic key lime pie taste and mouthfeel.
- Eggs: Large eggs play a crucial role in the filling. Much like in a baked cheesecake, they act as a binding agent, helping the filling to set and achieve its smooth, firm structure once baked. They contribute to the luxurious creaminess and ensure the bars hold their shape beautifully when sliced.
- Key Lime Juice: Undoubtedly the star of the show, key lime juice imparts the distinct bright, tart, and intensely aromatic flavor that defines this dessert. While fresh key lime juice is always preferred for its superior flavor, it can sometimes be challenging to find. In a pinch, bottled key lime juice is a good substitute. If key limes are unavailable, regular lime juice will also work, though it will yield a slightly different (but still delicious) flavor profile. Ensure the juice is fresh for the best results.
- Lime Zest: While optional, a sprinkle of fresh lime zest (either key lime or regular lime) over the finished bars adds a beautiful pop of color and an extra burst of aromatic citrus flavor. It’s a simple garnish that elevates both the appearance and taste.
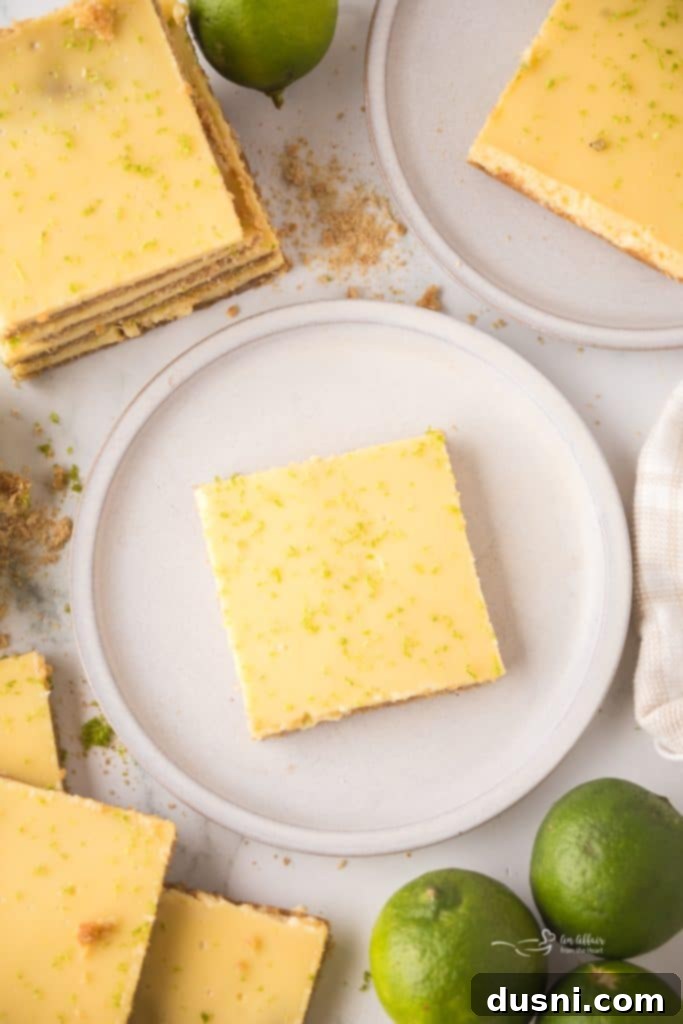
Step-by-Step Guide: How to Make Key Lime Pie Bars
Get ready to delight your taste buds with this simple and satisfying Key Lime Pie Bar recipe. You’ll be enjoying these fantastic treats in no time at all!
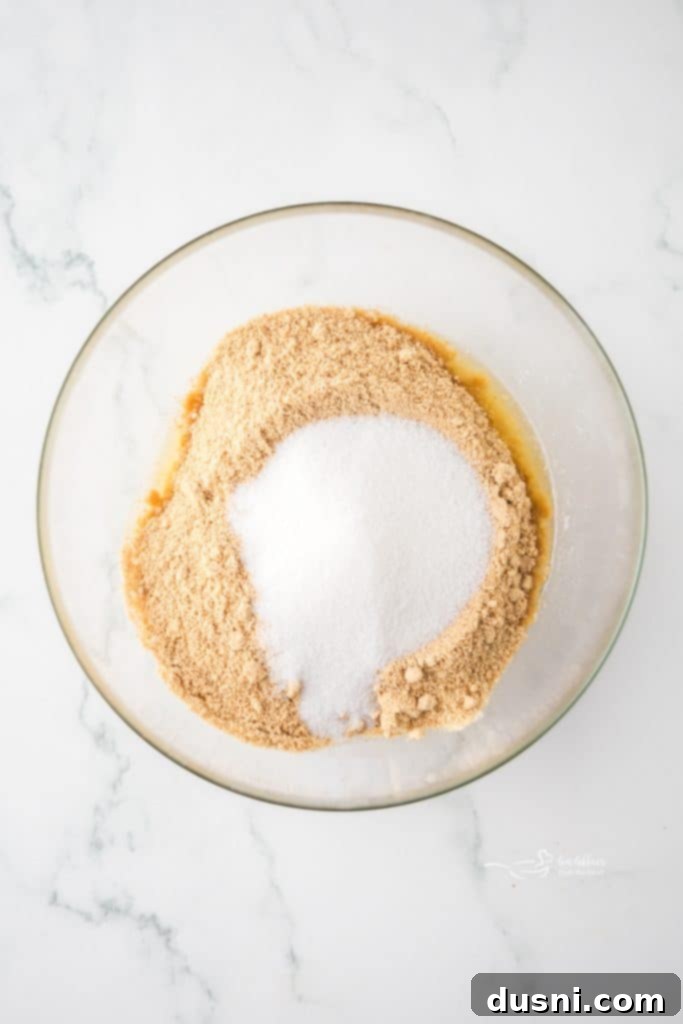
First, you’ll prepare your buttery graham cracker crust. Begin by melting your butter gently in the microwave. Heat it in 30-second intervals at half power, stirring after each, until it’s completely liquid. Once melted, pour the butter over your finely crushed graham cracker crumbs and sugar in a mixing bowl. Stir thoroughly until the mixture is evenly moistened and resembles wet sand. This ensures every crumb is coated, creating a cohesive and flavorful crust.
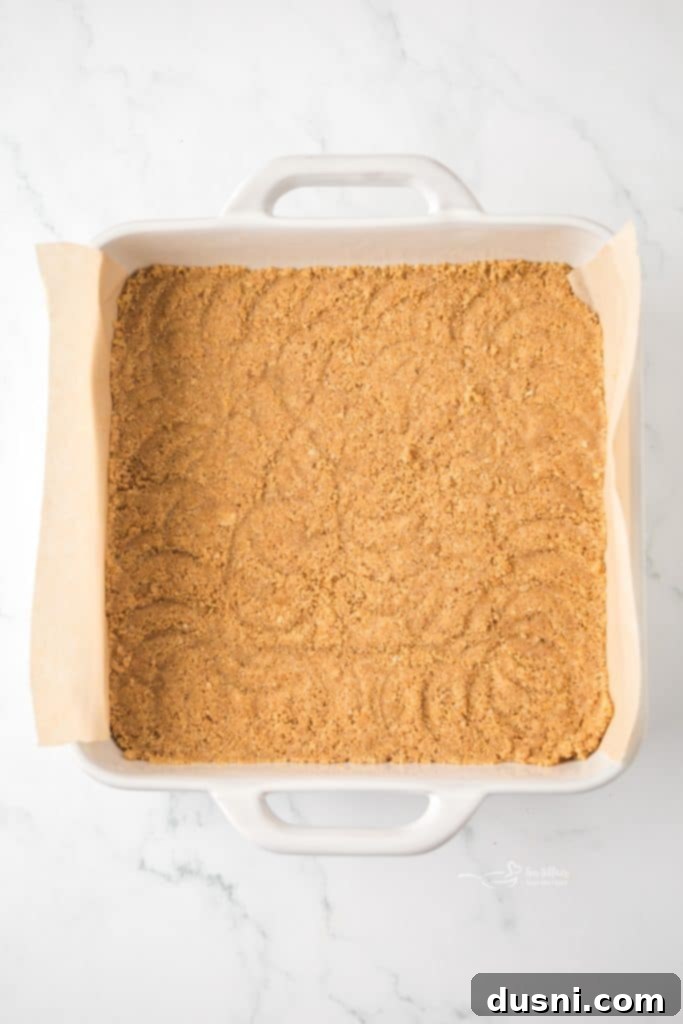
Next, transfer the graham cracker mixture into the bottom of an 8×8-inch square baking pan. Using the bottom of a glass or your fingers, firmly and evenly press the mixture across the bottom of the pan and slightly up the sides if you desire. A well-compacted crust is key to preventing crumbling when you slice the bars. Once pressed, set the crust aside while you prepare the filling.

For the luscious filling, combine the large eggs, sweetened condensed milk, and the star ingredient – key lime juice – in a medium bowl. Whisk them together thoroughly until the mixture is smooth and evenly combined. This simple blend creates a rich, tangy, and sweet concoction that will bake into the creamy center of your bars. Ensure there are no lumps and the color is uniform.
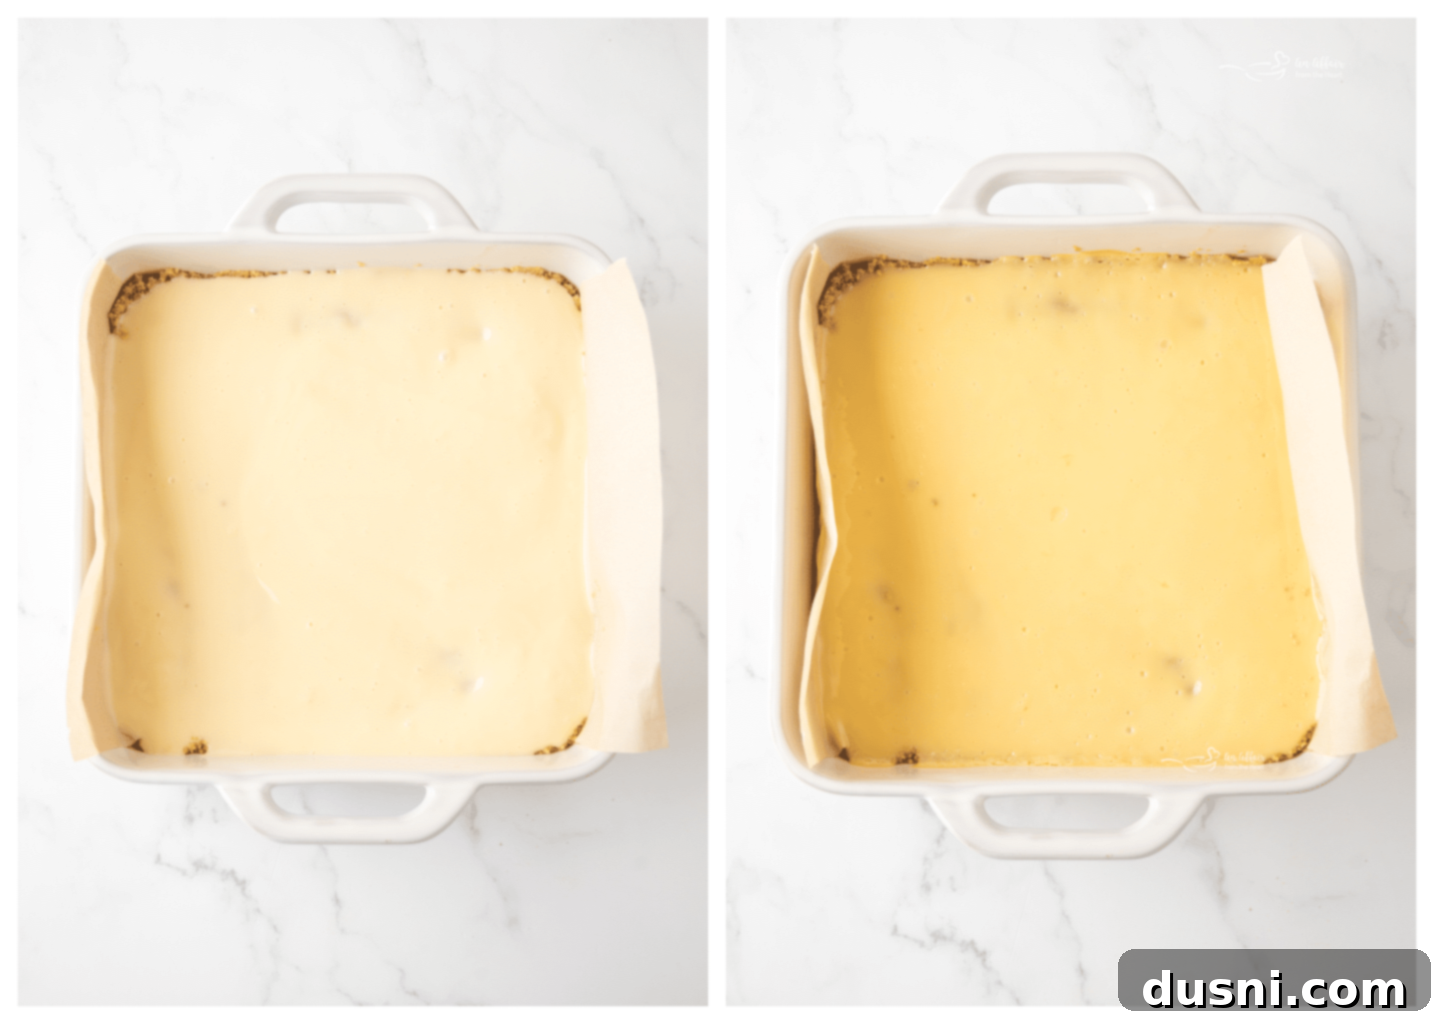
Carefully pour the whisked key lime filling over the prepared graham cracker crust in the baking dish. To ensure a smooth, even top and prevent any large air pockets, gently tap the dish on the counter a few times. This releases trapped air bubbles, resulting in a perfectly smooth and uniform filling. Bake your key lime pie bars in a preheated oven for approximately 30 minutes, or until the center is just set with a slight jiggle. The edges should look slightly firm, and a light touch to the center should feel stable, much like a baked cheesecake.
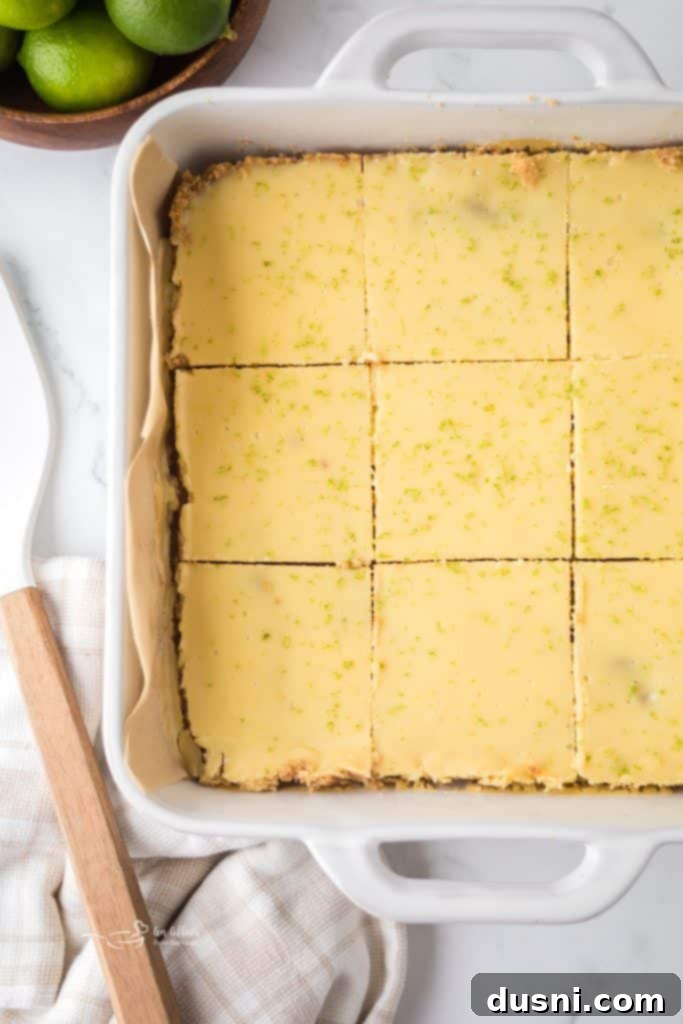
Once baked, remove your key lime pie bars from the oven. For an extra touch of brightness and visual appeal, dust them with a little fresh lime zest, if desired, while they are still warm. This allows the zest’s oils to release their fragrance. The most critical step now is patience: let them cool completely on a wire rack for at least an hour at room temperature, or even longer in the refrigerator, before attempting to slice them. This crucial cooling period allows the filling to fully set, ensuring clean, perfect slices every time. Once cooled, slice and serve these delightful bars to appreciative smiles!
Storing and Serving Your Delicious Key Lime Pie Bars
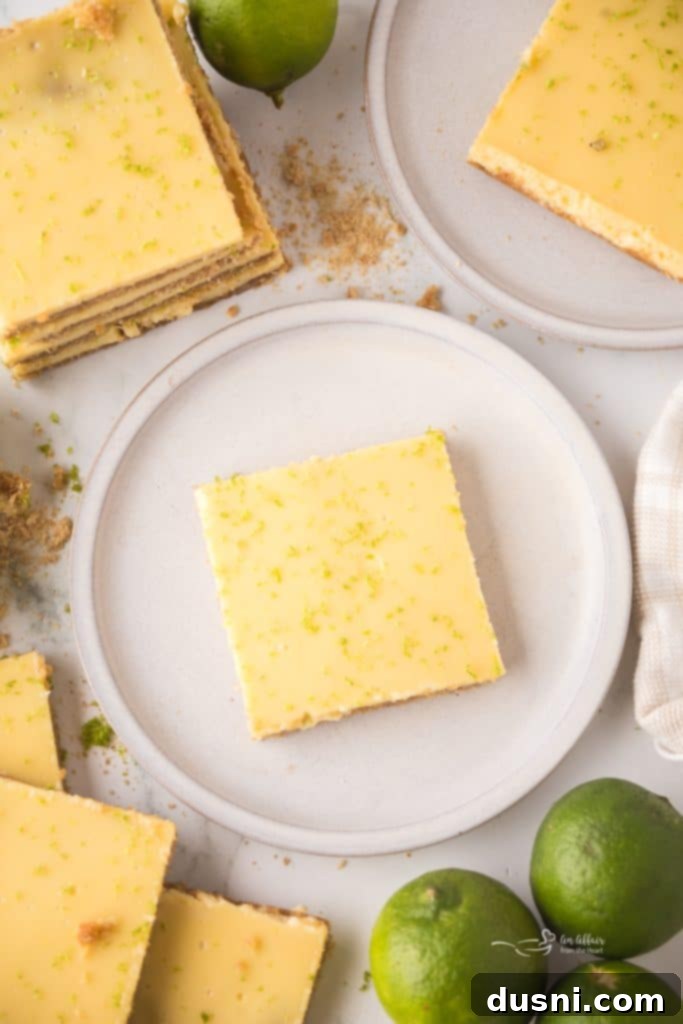
One of the many advantages of these Key Lime Pie Bars is how well they store, allowing you to enjoy their refreshing flavor for days. Once cooled, you can keep them in an airtight container either in the refrigerator or on the counter for up to 4 days. I encourage you to experiment and try them both ways! When served straight from the fridge, they offer a wonderfully cool, firm, and creamy texture that’s exceptionally refreshing, especially on a warm day. At room temperature, the filling becomes slightly softer and more luscious, melting delightfully in your mouth.
For serving, these bars are absolutely delicious plain, allowing the pure key lime flavor to shine. However, if you wish to dress them up for a special occasion, a dollop of freshly whipped cream adds a touch of elegance and complements the tartness beautifully. You could also sprinkle them with toasted coconut flakes for a tropical twist, or add a few fresh berries like raspberries or blueberries for a burst of color and additional flavor. These bars are versatile and adaptable to your serving preferences, making them a consistently delightful dessert.
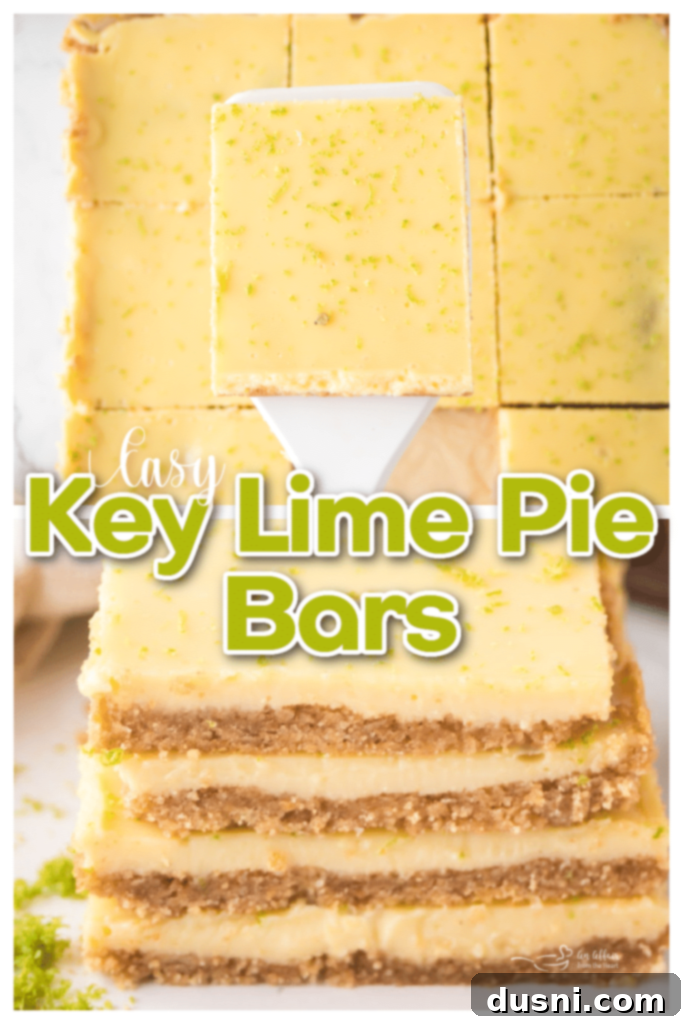
Love This Recipe? Pin It for Later!
If you’ve fallen in love with this irresistible Key Lime Pie Bar Recipe, make sure you don’t lose track of it! Head over to Pinterest and pin it to your favorite dessert or recipe board before you navigate away. This way, you can easily find it whenever that tangy key lime craving strikes again, or when you need a reliable, crowd-pleasing dessert for your next event!
Expert Tips for the Best Key Lime Pie Squares
- Balance the Flavors with Salt: If you’re using unsalted butter for your graham cracker crust, I highly recommend adding about ¼ teaspoon of fine sea salt to the crumb mixture. This small addition makes a big difference, enhancing the buttery notes and providing a crucial balance to the sweetness and the zestiness of the lime. It truly elevates the overall flavor profile of the crust.
- Key Lime vs. Regular Lime: While authentic Key Lime juice provides a unique floral and intensely tart flavor, it’s not always readily available. Don’t fret if you can only find regular limes! You can absolutely swap in regular lime juice. For an extra boost of lime essence when using regular limes, grate a little extra lime zest directly into your filling mixture. This trick helps to mimic the complex aroma of key limes.
- The Importance of Cooling: Patience is a virtue when it comes to these bars. Skipping or shortening the cooling time is the most common mistake. It’s absolutely crucial to let the bars cool completely – first at room temperature, then ideally in the refrigerator – for the filling to properly set. This setting process ensures that your bars will cut cleanly and hold their shape, rather than being a gooey mess.
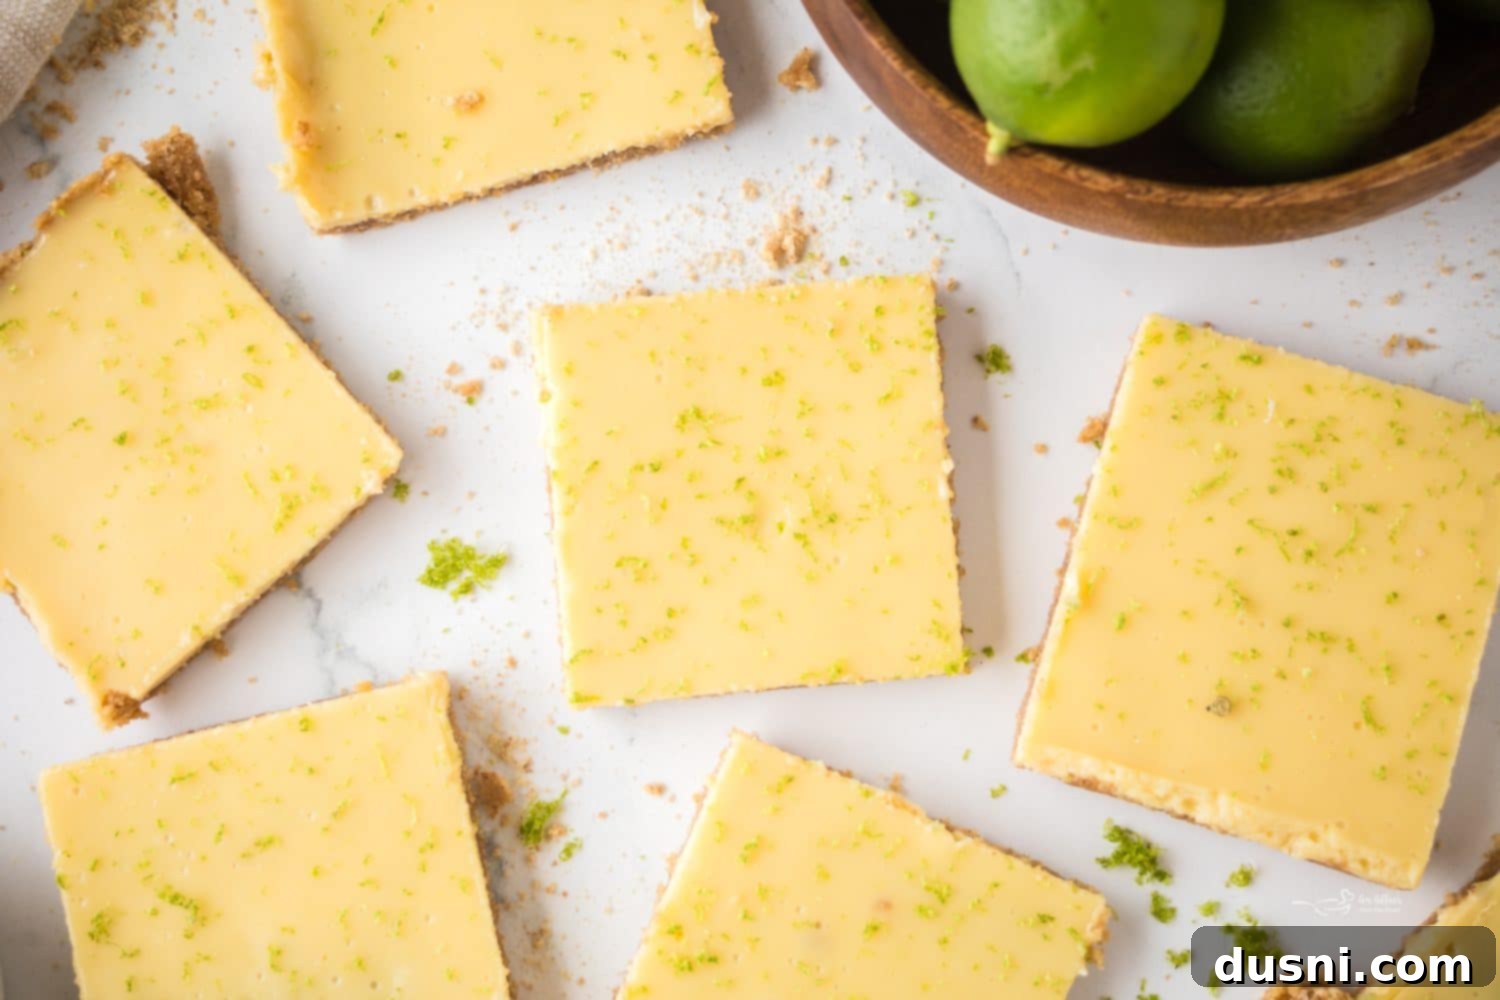
- Garnish for Visual Appeal and Flavor: A final sprinkle of fresh lime zest over the top of your cooled bars not only adds a vibrant pop of color, making them look incredibly appetizing, but it also releases fragrant citrus oils that enhance the overall experience. A little zest goes a long way in adding brightness and a professional finish.
- Ensuring Doneness: To check if your key lime filling is perfectly baked, gently tap the side of the baking pan or lightly touch the center of the bars. The center should be mostly set with just a slight wobble, similar to a perfectly baked cheesecake. Avoid overbaking, as this can make the filling less creamy.
- Lining the Pan for Easy Removal: For the easiest removal and cleanest slices, line your 8×8-inch baking pan with parchment paper, leaving an overhang on two sides. Once the bars are completely cooled, you can simply lift them out of the pan using the parchment paper handles before slicing.
More Delightful Dessert Bar Recipes to Love
Dessert bars are undeniably one of the most convenient and delicious ways to bring a sweet treat to any table, quickly and with minimal fuss. Their portability, ease of portioning, and satisfying flavors make them a perennial favorite. I’ve curated an extensive whole collection of diverse dessert bar recipes here on my site, ranging from fruity and fresh to rich and decadent. Here are just a few of my personal favorites that I believe you’ll adore just as much as these Key Lime Pie Bars:
- Dutch Letter Bars: A delightful pastry-inspired treat with a sweet almond filling.
- Raisin Spice Bars: Comforting and warmly spiced, perfect for a cozy afternoon.
- Fresh Orange Bars: Another bright citrusy option, bursting with sunny orange flavor.
- Double Chocolate Cranberry Magic Bars: A rich and indulgent bar packed with chocolate and tart cranberries.
- Apple Pie Crumb Bars: All the flavors of a classic apple pie in an easy-to-eat bar form.
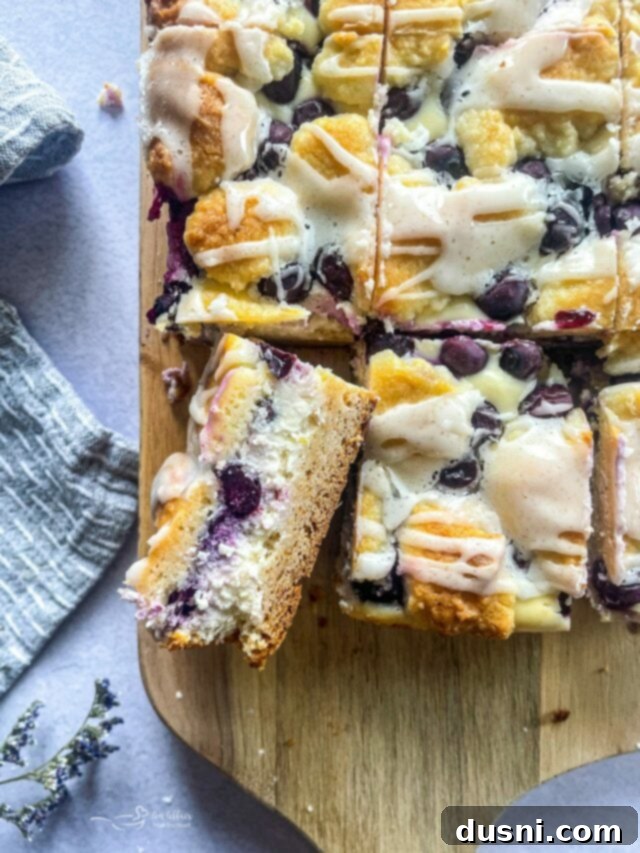
- These amazing Lemon Blueberry Bars (pictured above): A vibrant combination of tart lemon and sweet blueberries with a delightful crumb topping.
- And don’t forget my viral Lemon Brownie recipe: A chewy, zesty twist on a beloved classic.
Each of these recipes offers a unique flavor profile and easy preparation, proving that dessert bars are truly a baker’s best friend. I encourage you to explore these options and find your next favorite sweet treat!
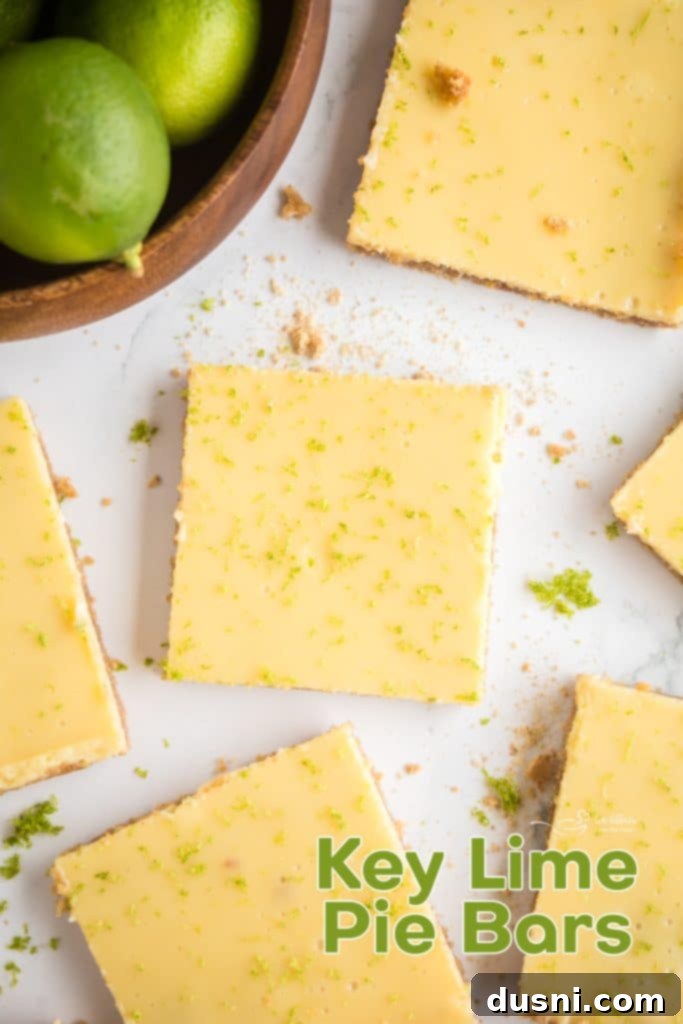
Whether you’re a long-time enthusiast of the distinctive taste of key lime pie or simply on the hunt for a quick, effortless dessert that doesn’t compromise on big, bold flavor, these Key Lime Pie Bars are destined to become a firm favorite in your recipe repertoire. They effortlessly deliver all the creamy, tangy, and sweet goodness of the beloved classic pie, but in an undeniably fun, portable, and perfectly portioned bar format that’s ideal for sharing (or not!). Make sure to keep this versatile recipe readily accessible for your next potluck, holiday gathering, or simply for those moments when you crave a little sweet pick-me-up that evokes sunshine and good times. You’ll undoubtedly find yourself returning to this delightful recipe again and again, eager to recreate its irresistible charm.

LIKE THIS RECIPE?
Don’t forget to give it a ⭐️⭐️⭐️⭐️⭐️ star rating and
leave a comment below the recipe!

Print Recipe
Key Lime Pie Bars
Equipment
-
KitchenAid Gourmet Rolling Pin, One Size, Red
-
Ninja BN601 Professional Plus Food Processor 9-Cup Capacity and a Silver Stainless Finish
Ingredients
- ½ cup salted butter
- 2 ½ cups crushed graham crackers
- ½ cup white granulated sugar
- 1 14-ounce can sweetened condensed milk
- 3 large eggs
- ¼ cup key lime juice
Instructions
-
Preheat the oven to 350°F.
-
Melt your butter in the microwave on 30-second intervals at half power. Once it is completely melted, stir the butter and graham cracker crumbs together until the mixture resembles wet sand.
-
Press the graham cracker mixture into the bottom of an 8×8-inch baking dish. Set aside.
-
Whisk together the eggs, sweetened condensed milk, and key lime juice. Pour the filling into the baking dish and tap the dish on the counter a few times to remove any air bubbles. Bake your key lime pie bars for 30 minutes.
-
Remove your key lime pie bars from the oven and let them cool for an hour before slicing them. Enjoy!
Notes
- You can store these bars in the fridge or on the counter for up to 4 days. We loved how they tasted at room temperature or straight from the fridge.
- You can use regular lime juice instead of key lime juice if you’d like. Regular lime juice/ limes can sometimes be easy to find at your local grocery store.
- If you are using unsalted butter, then add ¼ teaspoon to your graham cracker crust. You want to have that light hint of saltiness to help cut through the zestiness of the lime juice.
- It is important to give your key lime pie bars time to cool. As they cool, they will set up a little more, making them easier to slice.
- I like to top my key lime pie bars with a little bit of lime zest. You can use the zest of about 1 lime or 3 key limes.
- You can make sure your key lime pie bars are done baking by very lightly poking the top. The filling should hold its shape. Your key lime pie filling should have a similar texture to a properly cooked cheesecake.
